Pink & Main – Lovely Friend

Happy Friday everyone! I had a little die cutting fun with the most recent Pink & Main release and wanted to share it with you. This butterfly release was beautiful with so many options for styles of crafting! Today I’m using the Bold Butterfly Cover Panels and some fun paper!

For today’s card, I cut the layers using all 3 Bold Butterfly Panels from the following cardstock:

  • Panel A – black cardstock
  • Panel B – blue glitter cardstock from the summer glitter pack
  • Panel C – watercolor patterned paper from the Butterfly Wishes paper pack
  • Background panel using the largest layered A2 rectangle from patterned paper also from the Butterfly Wishes paper pack
  • Top frame – white cardstock using the two largest layered A2 rectangle dies together

I took the bottom layer of my card and the top layer of the butterfly and placed them in my MISTI together. Then I chose a sentiment from Cherry Blossom, placed it in the top left corner, removed the butterfly panel and stamped it in black ink.

Finally, I used EZ Squeeze liquid glue to adhere all of my layers together and then to a white card base. Then, to finish things off I scattered a few Butterfly Kisses enamel dots around the design.

These new fun cover plate dies have absolutely endless combination possibilities. You can use them all together, all separate or in different combinations too. Then when you add changing colors, textures and all the things, I could make butterflies forever!

Products used on today’s card:
Bold Butterfly Cover Plates Bundle
Cherry Blossom stamps
Layered A2 Rectangle dies
Butterfly Kisses paper pad
Butterfly Kisses enamel dots
EZ Squeeze liquid glue

I appreciate you sharing your time with me. Have a fabulous day!
(This blog uses affiliate links whenever possible, at no additional cost to you.)

Miss Ink Stamps – Blowing Hugs and Kisses Your Way

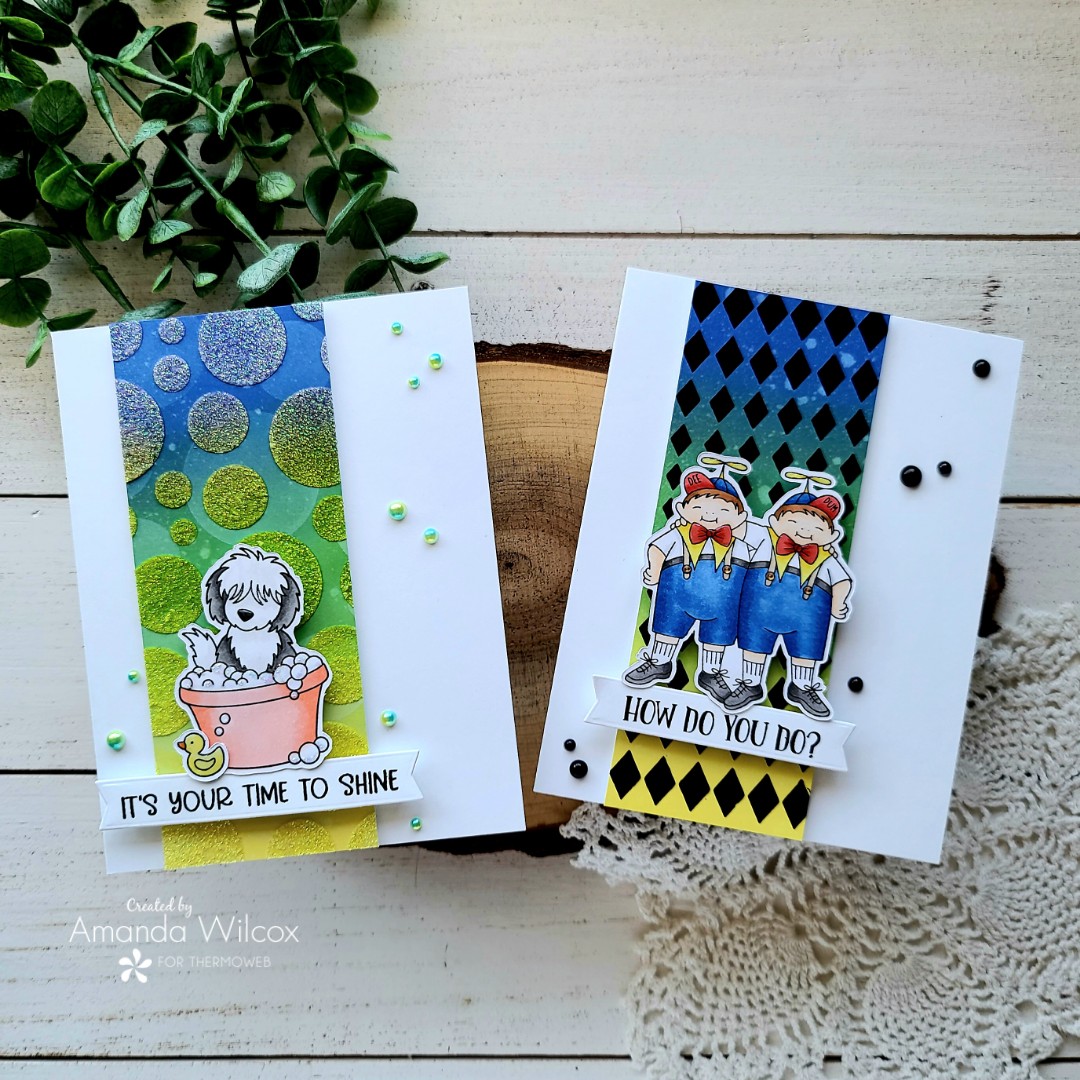
Happy Thursday everyone! I recently ordered some older Miss Ink Stamps sets that I had missed when they release so I’m having a blast playing with them. Today I have a fun bubble card to share with some of the cutest critters out there!

To create my card, I stamped images from Bubbles and colored them with my copic markers. Then I used the coordinating dies to cut them out and set it all aside to get messy inky for my background!

For that, I trimmed a piece of white cardstock to 3×5.5 inches and inked it up with tumbled glass, mermaid lagoon and wilted violet distress oxide inks. Next, I took a scrap strip of white cardstock and inked it up with tea dye and gathered twigs distress oxide. I spritzed it all with a distress sprayer and blotted it dry. Then I smooshed some seedless preserves and gathered twigs on my glass mat and spritzed them with water. I used a small paintbrush and splattered the panels with the corresponding color.

Now it’s time to build the scene. I cut a piece of black cardstock to 3.25×5.5 inches and adhered the inked panel. Then I added the ground layers with liquid glue. Next, I adhered that panel to the center of an A2 size white card base.

Then I added the critters with a combination of liquid glue and foam squares. Next, I chose a sentiment and heat embossed it on a black strip with white embossing powder. I trimmed it into a flag shape and added it with foam strips.

For finishing touches, I added glossy accents to critter noses and bubble bottle labels. Then I added unicorn Stickles to edges of the bubbles for a little sparkle.

These guys are just soooo cute and I have tons of ideas for them! Can’t wait to create more fun to share with you!

Products used on today’s card:
Bubbles stamps and dies
Distress oxide inks – gathered twigs, tea dye, tumbled glass, mermaid lagoon, wilted violet
Glossy accents
Stickles – unicorn

I appreciate you sharing your time with me. Have a fabulous day!
(This blog uses affiliate links whenever possible, at no additional cost to you.)

Trinity Stamps – Happy Everything Balloon Shaped Cards

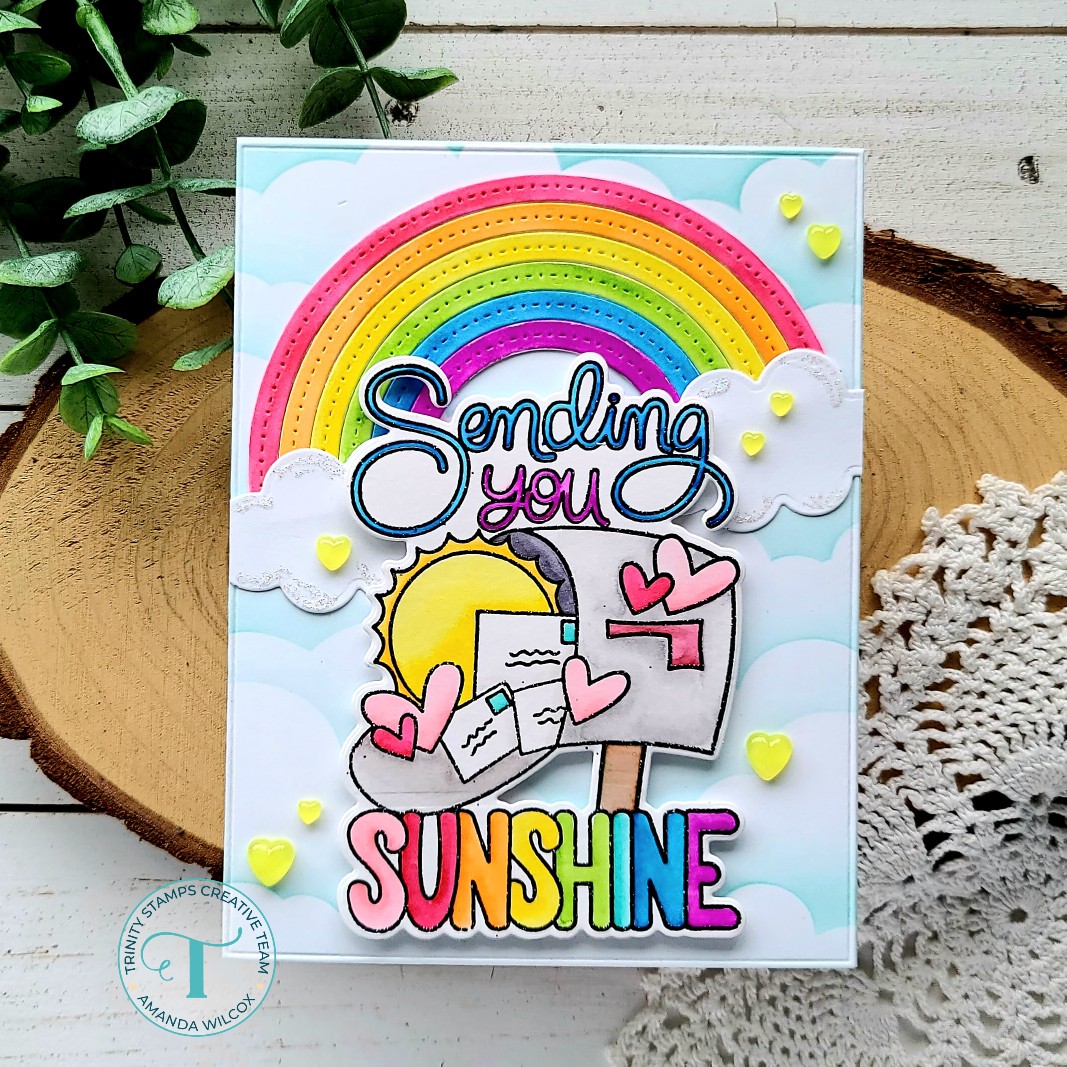
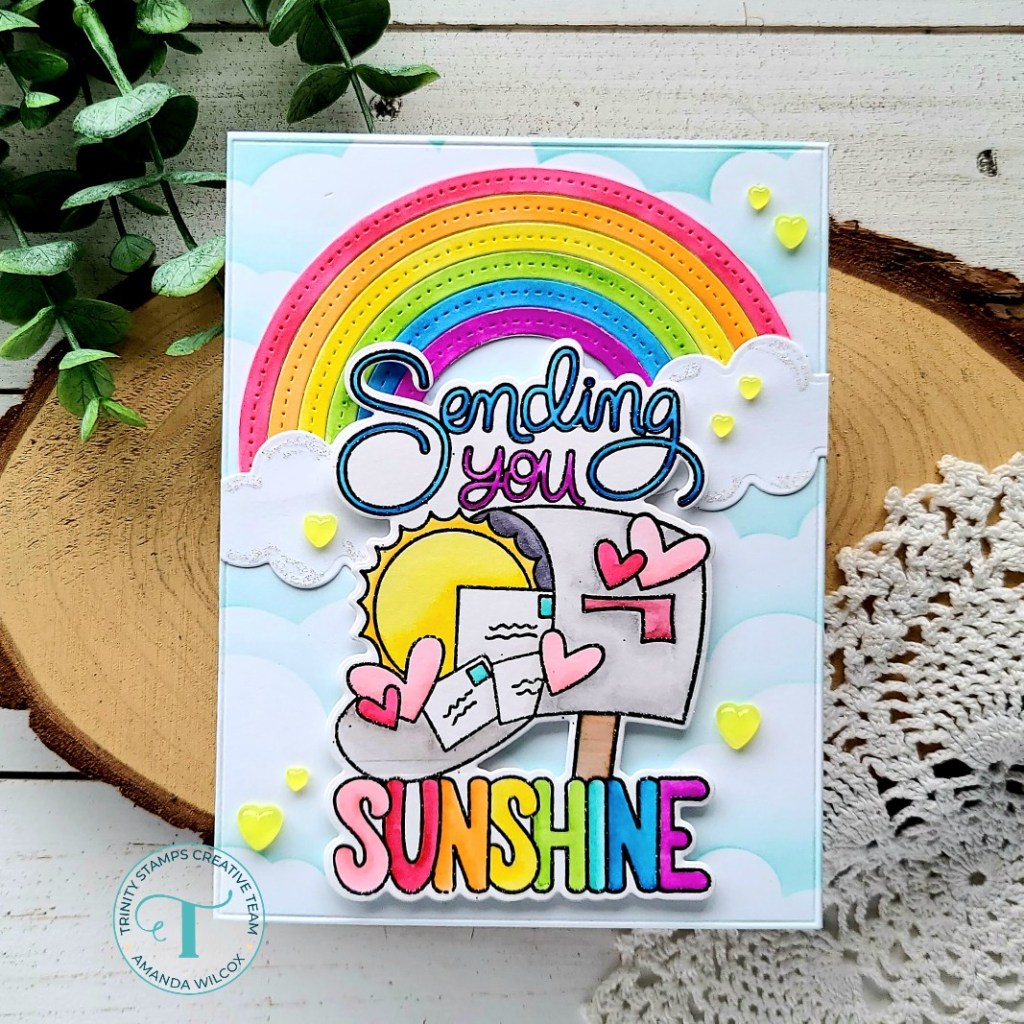
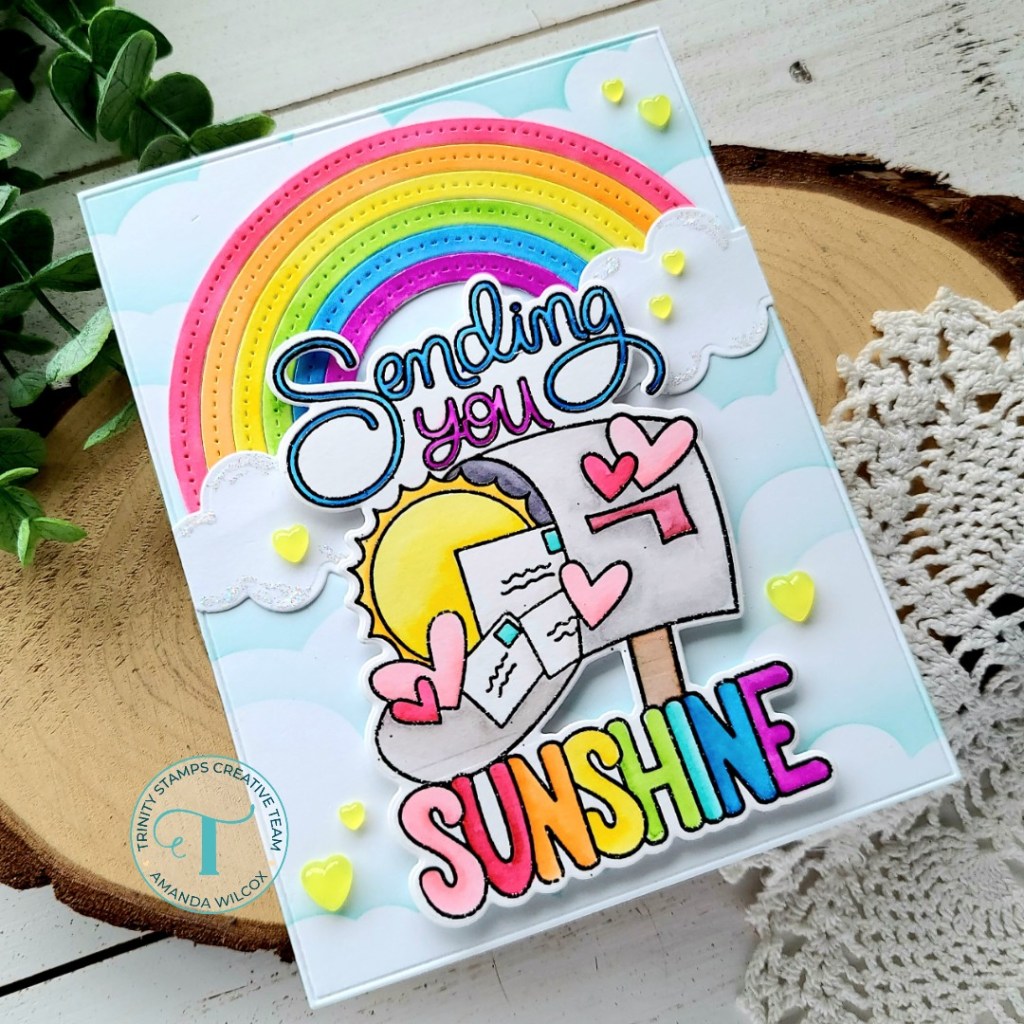
Hello everyone! We’re already to Wednesday of this awesome week! Today I have another set of cards to share with you. These balloon shaped cards were so fun to create! It all started with the Trinity Stamps Rainbow Funshine dies. Whenever I die cut colored cardstock for rainbows, I love to cut the whole rainbow from each color and then mix and match them for different rainbows. It also, always leads to multiple cards which is fabulous for stocking your stash or sending happy mail to a group of friends.

I began this project by die cutting and assembling all of my rainbows and sunshines. Then I die cut the largest balloon from the Bunch of Balloons die set and inked up the new puffy cloud borders stencil on each one. Then I just glued the rainbows, clouds and sunshines to each balloon.

I couldn’t decide on one sentiment so I pulled out the Happy Senti-mini stamps and dies and cut the happy from silver cardstock and vellum and glued them together. Then I chose a random assortment of supporting sentiments from the same set, stamped and heat embossed them. Then I used the banner die cut from the Merry Christmas Senti-mini die set and cut them all out. Then all of the sentiment pieces were adhered with liquid glue.

Last, I created 6 white card bases, positioned the same balloon die so that the top of the die hung over the edge (meaning it won’t cut the top portion) and created shaped card bases. Once those were done, I adhered the balloons and tied some black and white baker’s twine to the bottom of each one.

Aren’t these just so much fun!?! I love how they turned out!

Products used on today’s project:
Bunch of Balloons dies
Rainbow Funshine dies
Puffy Cloud Layers stencil
Happy Senti-mini stamps and dies
Merry Christmas Senti-mini dies
Pink & Main silver glitter paper

Also, this month is Trinity Stamps’ birthday month so we’ll be sharing tons of fun birthday inspiration and there will be fun challenges and giveaways going on. Be sure to stay in touch via Instagram and the Facebook group to make sure you don’t miss any of the fun!

I appreciate you sharing your time with me. Have a fabulous day!
Pretty Pink Posh – Happy Summer

Hello there! Thanks for stopping by today! I have a bright and happy summer card to share featuring some Pretty Pink Posh images paired with Trinity Stamps and Lawn Fawn dies to help create my scene. I hope you like it!

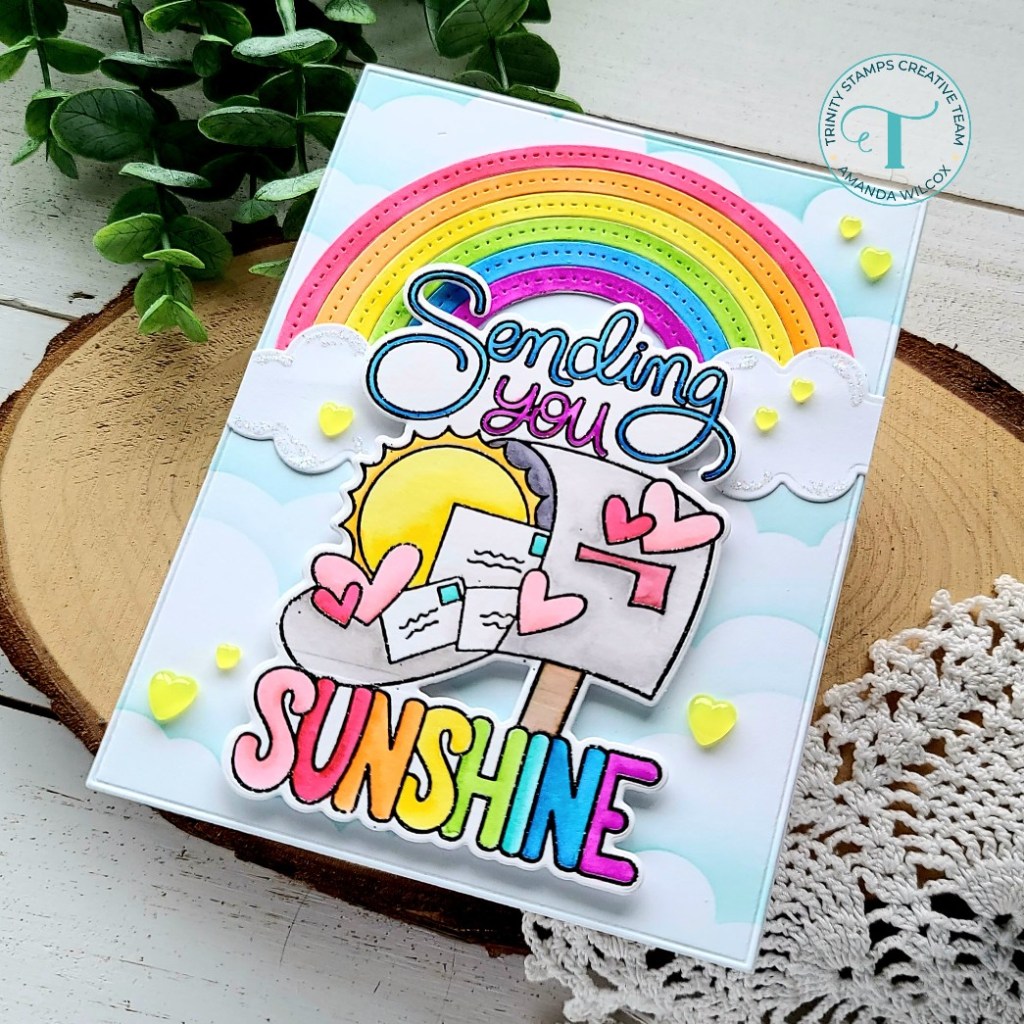
To create my card, I chose the images I wanted to use on the Summer Surfboards, Summer Friends and Playful Puppies sets from Pretty Pink Posh. I stamped and colored them with my copic markers and used the coordinating dies to cut them all out. Then for my scene building, I die cut the elements from white cardstock using the Trinity Stamps Slimline scalloped panels, stitched panels, scenic borders and great outdoors borders.

I inked up my layers with distress oxide inks. For the sky I used the puffy cloud stencil with spun sugar and picked raspberry. For the water I used mermaid lagoon and peacock feathers. Then for the sand I came in with tea dye and gathered twigs. After each panel was inked up I spritzed them with water and then flicked the darker color of ink on them. Once the sand was complete and dry, I came back in with the Lawn Fawn sandy beach accents dies to create the mounds to slip my surfboard into.

Moving on to assembly, I used liquid glue to adhere all of the layers together including the surfboards. Then I popped that panel in my MISTI and stamped a sentiment from Summer Surfboards in the sky. I added foam tape to the back of my panel and popped it on the white slimline scalloped panel. Then I added foam squares to the boy and his pup and popped them in place last. Finally, I used liquid glue to adhere the whole thing to a card base.

For finishing touches, I added white gel pen accents to the images and glossy accents to the puppy’s nose, tongue and tag.

This card is so happy and was a blast to create! I am very ready for summer break and all the adventures the come with it!

Supplies used on today’s card:
Pretty Pink Posh Summer Friends stamps and dies
Pretty Pink Posh Summer Surfboards stamps and dies
Pretty Pink Push Playful Puppies stamps and dies
Trinity Stamps Slimline Scalloped Panels dies
Trinity Stamps Slimline Stitched Panels and Windows dies
Trinity Stamps Slimline Great Outdoors Borders dies
Trinity Stamps Slimline Scenic Borders dies
Trinity Stamps Puffy Cloud Layers stencil
Lawn Fawn Sandy Beach Accents dies
Glossy accents

I appreciate you sharing your time with me. Have a fabulous day!
(This blog uses affiliate links whenever possible, at no additional cost to you.)

Pink & Main – Stamp of the Month

Happy Sunday everyone! I’m popping in really quick today to remind you that there is still time to sign up for the Pink & Main stamp of the month and get the May cuties! This month’s stamp set is called Way to Glow and it’s an adorable set of fireflies. I have a super fun glow in the dark card to share with you too!

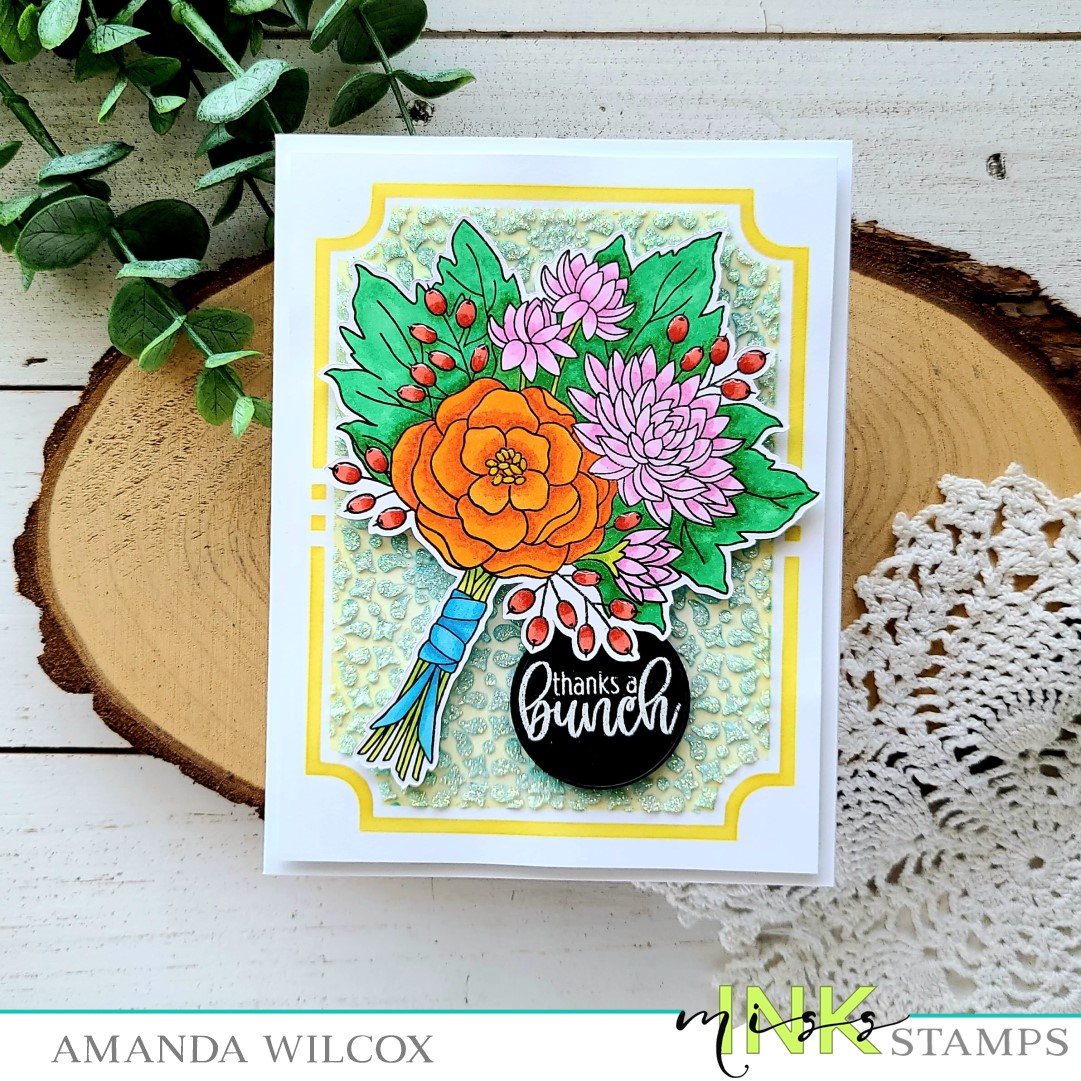
I inked up that background with seedless preserves, blueprint sketch and chipped sapphire distress oxide inks. Then I flicked some water drops on it and let it dry. I stamped the star image from the set with versamark ink and heat embossed it with Lawn Fawn glow in the dark embossing powder! It’s so cool!!!

I chose one of the cute firefly images, stamped and colored him with copics, then used the coordinating dies to cut him out. He’s popped up with foam squares.

For my sentiment, I cut a strip of white cardstock to 1.5×4 inches and stamped the sentiment on it. Then I adhered a strip of silver glitter paper to the back of it and added foam tape. I popped it on my inked panel and added foam tape to the back of that before adding it to a white card base.

For finishing touches, I added a few butterfly kisses enamel dots, glossy accents to the bug’s bum and unicorn Stickles to its wings. Ready to see it glow? It’s so fun!!!

Now, head over and subscribe to the stamp of the month before you miss your chance! You won’t be sorry! These sets are sooo much fun to play with!

Products used on today’s card:
Pink & Main Stamp of the Month
Metallics glitter paper pad
Butterfly Kisses enamel dots
Distress Oxide inks – seedless preserves, blueprint sketch, chipped sapphire
Glossy accents
Stickles – unicorn
Glow in the dark embossing powder

I appreciate you sharing your time with me. Have a fabulous day!
Birch Press Design – Striped Thinking of You Cards

Hello everyone! I’m over on the Birch Press Design blog today with another pair of cards to share because I couldn’t just stop at one of these. They were really fun to create! I highly recommend trying today’s technique.

For these cards, I chose the layer A plate for a couple of layering die sets and cut them from white cardstock. I like thick layers for this so I cut them 4 times and glued them together.

Then I chose a couple of fun color palettes and cut 1/4 inch strips. I glued them together on another piece of cardstock and trimmed them down to fit behind the frames.

For this card, I chose a sentiment and heat embossed it on a long vellum strip. I used liquid glue to adhere the striped frame to a white piece of cardstock measuring 4×5.25 inches and wrapped the vellum around it, gluing it down with tape runner. I added foam tape to the back and popped it on a white card base. Then I finished it off with some fairy jewels from Birch Press.

For this card, I trimmed a white panel to 4×5.25 inches again, glued my striped frame down and stamped a sentiment on the bottom right corner. I added foam tape to the back and added it to a white card base as well. I couldn’t resist those fairy jewels so I used them again on this card.

For a more details walk through of these cards, head over to the Birch Press Design blog.

I appreciate you sharing your time with me. Have a fabulous day!
Pink & Main – Dream Big

Happy Friday crafty friends! Today I have a really fun, no coloring needed slimline card to share with you featuring the recent Pink & Main May release! I love these products so much and had a blast die cutting and gluing all sorts of things to make today’s creation!

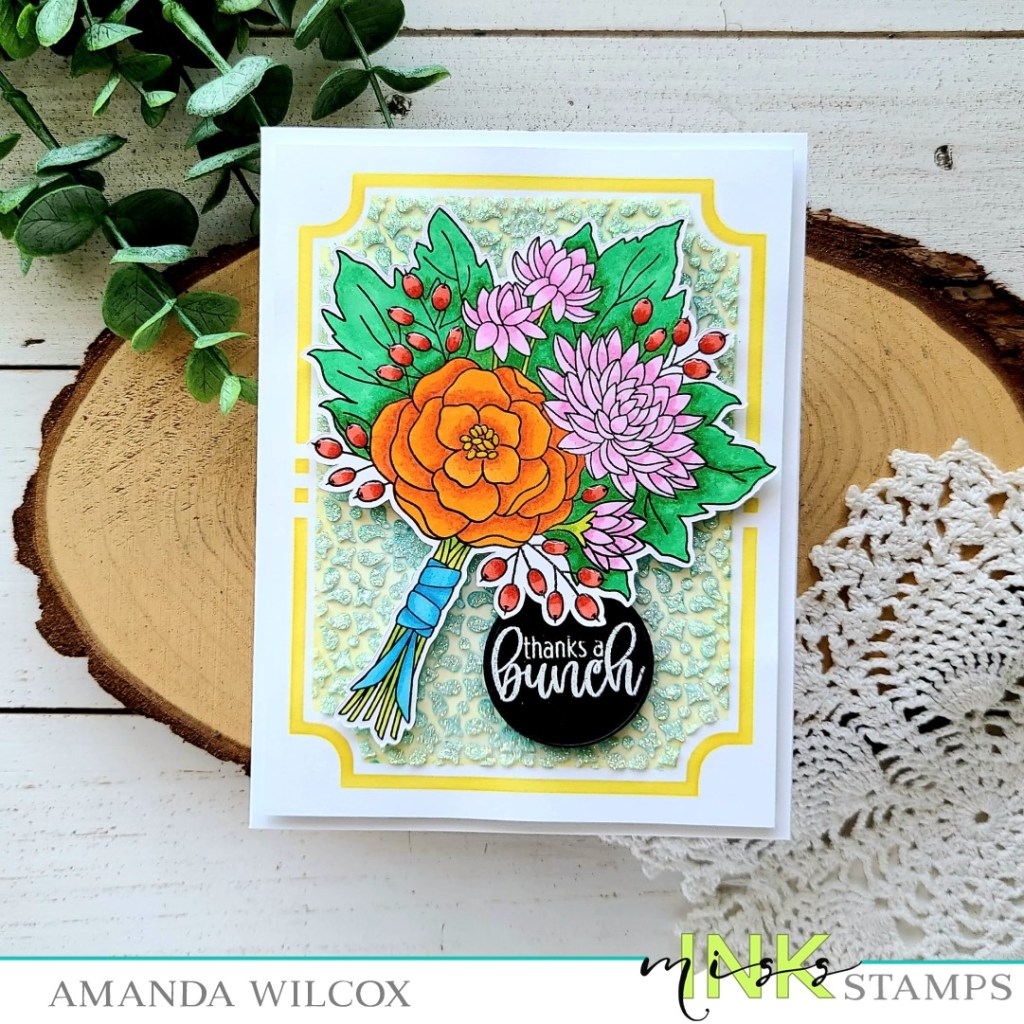
I started by choosing a color palette that seemed bright and happy – distress oxide colors in twisted citron and peacock feathers. I inked up a slimline panel with both colors in sort of an angled stripe pattern but I wasn’t too careful with it at all. Then I spritzed it with water and flicked white acrylic paint on the panel. Once it was dry, I die cut it with the largest layered slim line die. Then, I chose some cardstock from my stash that was close to those ink colors and used the new plaid layering dies on them. I cut each panel twice and glued them together. Then I glued those to a white panel and set them aside to dry for a minute.

While those were drying under acrylic blocks I stamped and heat embossed 3 butterflies from the new Butterfly Sketches stamp set on vellum. Then I used the coordinating dies to cut them out. Next, I die cut 3 reverse scalloped circle frames from white cardstock. Then I found a circle die the same size as the frame and die cut 3 circles from my plaid panels. I used liquid glue to adhere the frames to the plaid and now it’s time to assemble our card!

I adhered the ink blended panel to a white card base. Then the plaid circles directly to that. Next, I hid a thin foam strip behind the body portion of each butterfly and popped it in place on each circle. Finally for my sentiment, I stamped it in peacock feathers distress oxide ink to match the background and die cut it with a large sentiment strip die. I popped it up with foam squares and my card is finished.

I just think this design is so bright and fun! These are some of the brightest colors I think I’ve ever used and it’s just beautiful to look at!

Here are the products I used on today’s project:
Layered Slim Line dies
Butterfly Sketches stamps and dies
Reverse Scalloped Circle dies
A2 Plaid Layering dies
Large Sentiment Strip dies

I appreciate you sharing your time with me. Have a fabulous day!

Miss Ink Stamps – Smokin’ Caterpillars Watercolor

Hey friends! Today I’m sharing a beautiful watercolor scene card featuring Miss Ink Stamps Smokin’ Caterpillar stamps to create a mini slimline scene.

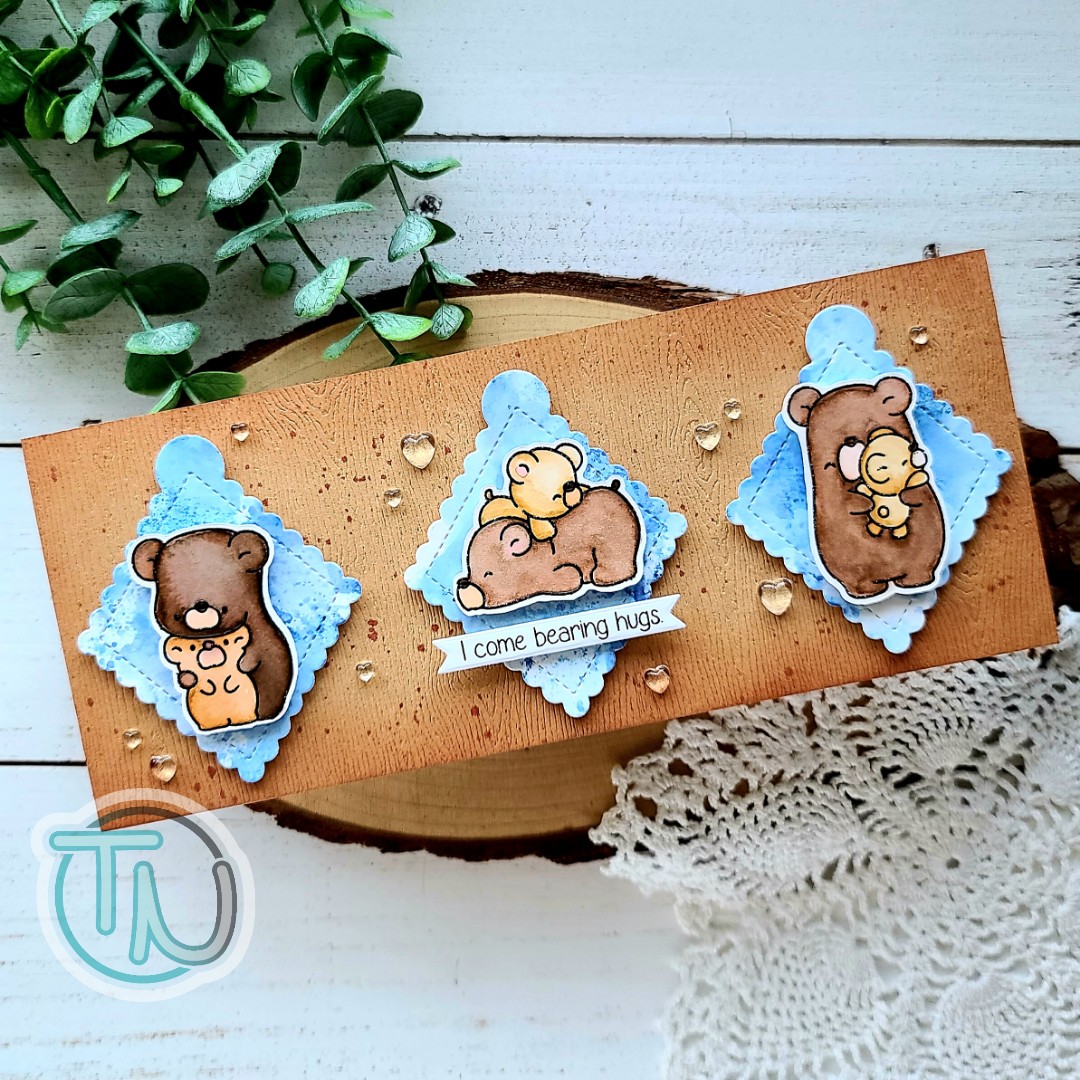
To create my card, I stamped and heat embossed the two main images in Smokin’ Caterpillars with gold embossing powder on watercolor paper. Then I watercolored the whole scene with my Zig Clean Color Real Brush markers. After the panel was dry, I die cut it with the new Trinity Stamps Clean and Simple Mini Slimline Panels. I created a 3×6 inch card base and adhered my scene to it. Then I stamped and heat embossed a sentiment from Wonderland Wisdom on a green cardstock strip that went with the tones of the watercolor. Then I used the banner die cut in the Trinity Stamps Mini Slimline Card and Envelope die set. I popped it up on the scene with foam strips.

Next, I used the envelope dies in the same set to create a custom envelope for my card. I die cut the pieces from kraft cardstock and stamped the caterpillar on the front. I adhered it all together with scrappy tape and my project is complete.

Here are the products used on today’s project:
Smokin’ Caterpillars
Wonderland Wisdom
Clean and Simple Mini Slimline Panels
Mini Slimline Card and Envelope
Foam strips
Scrappy tape

I appreciate you sharing your time with me. Have a fabulous day!
(This blog uses affiliate links whenever possible at no additional cost to you.)

Newton’s Nook – Hello Summer

Hello again everyone! I hope your week is going well. I’m over on the Newton’s Nook blog today sharing a fun, bright taste of summer! I’m so ready for bbqs, sprinklers and soaking up the sunshine! So I channeled all those things into my card for today. I hope you like it!

I started by stamping and coloring the Newton’s Melon image with my copics. Then I cut him out with the coordinating die. Next, I die cut the scalloped square in the Frames Squared die set and stamped the Tropical Fringe image on it. I used my copics to color the image in and then die cut a second scalloped square from vellum.

I chose a sentiment from Tropical Fringe and stamped it on a scrap of white cardstock. Then, using my Newton image as a guide die cut it with a stitched circle in the Framed Squared die set so that I could layer them together.

I took a turquoise panel and inked up the waves stencil with a slightly darker ink. Then I trimmed the panel down to A2 size and blended a little extra ink on the edges for some depth. When I layered everything together for a “test fit” I thought things were a little sparse so I dug in my stash and found this super fun melon colored ribbon and decided to add it. I cut a strip and adhered it to the back of my stenciled panel. Then I cut another piece and tied it around the strip.

To assemble the rest of the card, I worked from the top down. I adhered Newton to the circle. Then, holding the Tropical Fringe image behind the vellum, I figured out where to place Newton and used some tape runner to adhere him. (Pro-tip: I learned that liquid glue can make your vellum buckle from the moisture so I try to use dry adhesive whenever I can now.) Hiding adhesive behind the image I added tape runner to the back of the vellum and adhered it to the colored panel. Then I added foam tape to the back of the square, but only on the sides so it doesn’t get wonky from the ribbon and popped it in place.

For finishign touches, I added glossy accents to Newton’s nose, the watermelon seeds and the letters in SUMMER.

I hope you enjoyed today’s fun, summer themed card! Products I used on today’s card are:
Newton’s Melon stamps and dies
Tropical Fringe stamps
Frames Squared
Waves stencil
Glossy accents

I appreciate you sharing your time with me. Have a fabulous day!
(This blog uses affiliate links whenever possible at no additional cost to you.)

Heffy Doodle – Popping By To Say…

Hey friends! I’m super excited to be over on the Heffy Doodle blog again today for my second card guest designing for them! I had so much fun creating today’s project; I hope you enjoy it too!

I love making interactive cards and today’s is so cute and was easy to pull together. Here’s how I did it.

I started by stamping images from Popping By and colored them with my copic markers. Then I used the coordinating dies to cut them out. I used liquid glue to adhered the mouse, cake, candle and balloons together and set them aside to work on the rest of the card.

Pulling from the color palette in the balloons, I inked up the Lots of Happy stencil on a white panel. Then I used the second largest Stitched Rounded Imperial Rectangle dies to cut it out. Next, I used the largest to cut a teal panel which will be my card front.

I took out the Slimline Pull Tab dies and cut the mechanism pieces from white cardstock. I lined up the notch die and cut it from the top of my stenciled panel, careful to keep the tab because I wanted to use it. I built my mechanism without using the stabilizer piece because there wasn’t enough room. This isn’t really an issue because the pull tab doesn’t go up very far so I’m not worried about it wobbling too much. I added foam tape to the back of the stenciled panel, placing strips right next to the pull tab which almost acts as a stabilizer to help guide it anyway, removed the backing paper and popped it on the teal panel.

Then I added foam squares to the back of my mouse, cake and balloons, careful to avoid where the fox will be moving and added it on the card front. Last, I stamped the sentiment on a white scrap of cardstock and carefully used the smallest Stitched Rounded Imperial Rectangle die to cut half of it, I slid it over and taped it back down and die cut the other half to create a longer sentiment strip. Then with a combo of liquid glue and foam squares on the end I added it across the bottom of the cake.

For finishing touches, I die cut the pull tab from teal cardstock and just glued the arrow to the notch and saved the other piece for another project. Then I added white gel pen accents to the balloons and star dust stickles to the candle and cake frosting. I pulled the tab up and added glossy accents to both critter noses and set my card front aside to dry completely before I pushed the tab back in.

To create my card base, I took a 4.25×11 inch piece of cardstock and folded it in half. Then I placed the largest Stitched Rounded Imperial Rectangle die just over the fold line and die cut it to create a shaped card base. I used liquid glue to adhere my card front to the base.

Instead of leaving the inside blank for a message, I decided to stamp two sentiments from Popping By on the inside for fun. I used the same inks that are blended on the Lots of Happy stenciling so it all ties in together.

Products used on today’s project:
Popping By stamps and dies
Stitched Rounded Imperial Rectangle dies
Slimline Pull Tab dies
Lots of Happy stencil

I hope you enjoyed today’s card and found some inspiration to create something wonderful and share it with someone!

I have had so much fun guest designing for Heffy Doodle and want to thank them so much for having me!

I appreciate you sharing your time with me. Have a fabulous day!