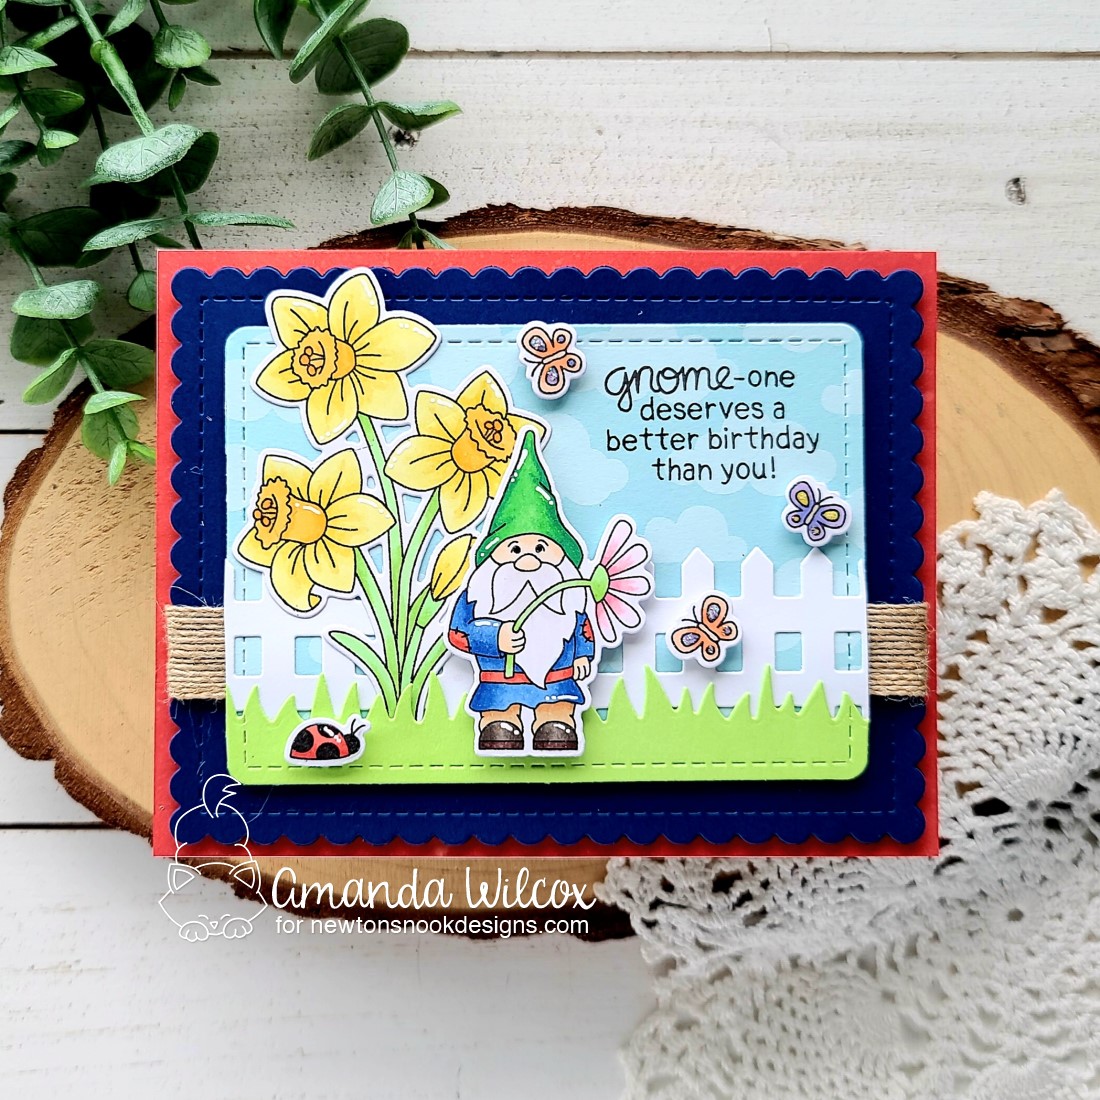
Hey everyone! I’m over on the Newton’s Nook blog with a super sweet birthday card for the gnome lover in your life. I know I have plenty of those in mine!
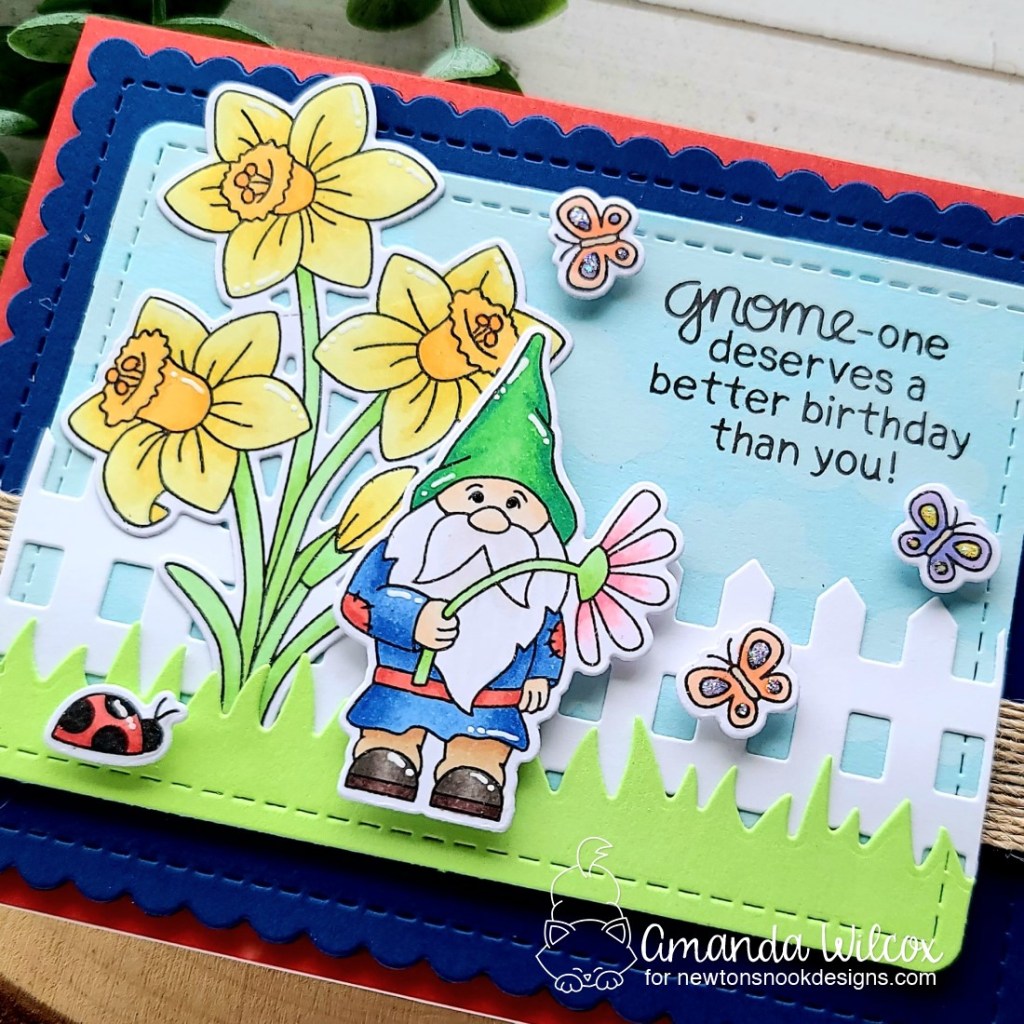
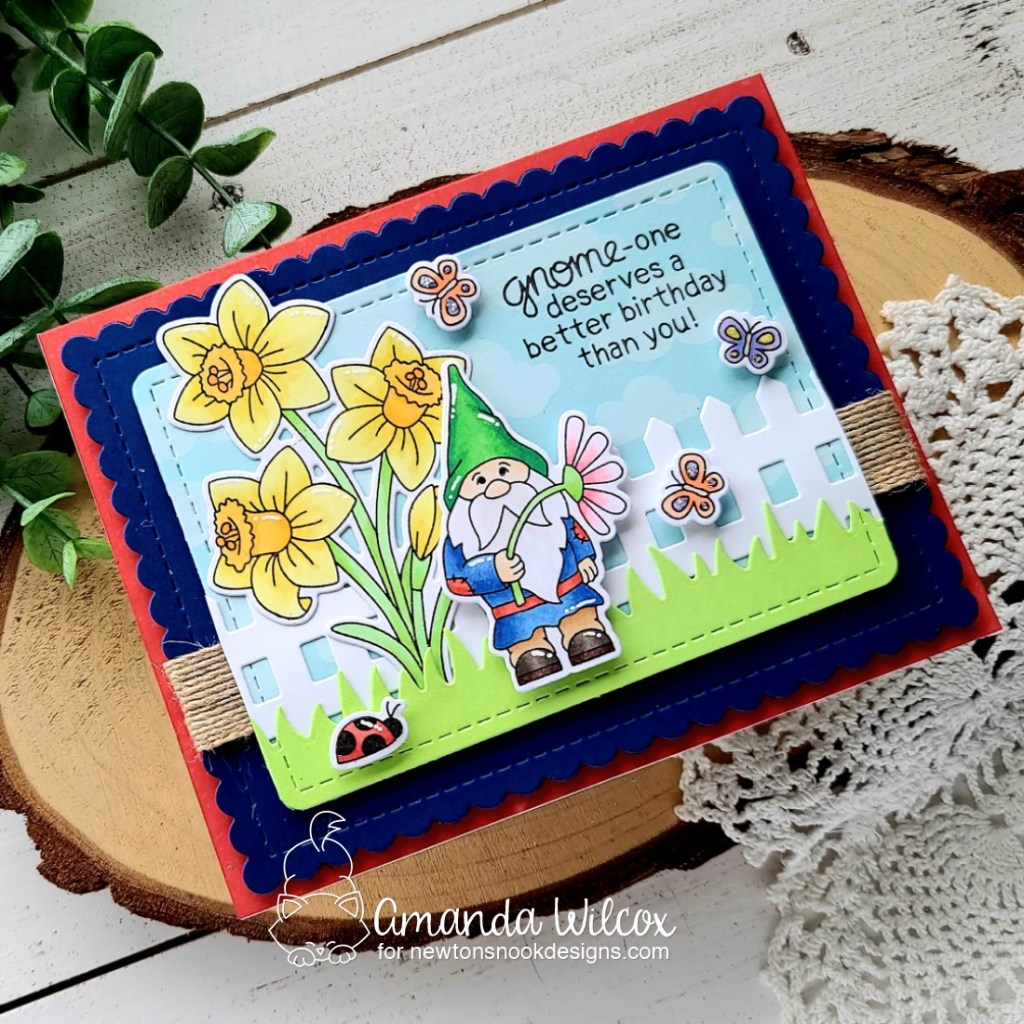
Isn’t this guy just the cutest in his little garden?!? I used Gnome Garden and Daffodils stamps sets for the images today. Then I stenciled a blue panel with white pigment ink and the cloudy sky stencil, and die cut it with the rounded rectangle from Frames & Flags.
I also used the same rectangle to die cut a green scrap and make some grass with the Land Borders die. Then I die cut a cute white picket fence with the Fence die. I used tape runner to adhere all these layers together. At this point I stamped my sentiment in the upper right corner.
I die cut a dark blue scalloped rectangle from the Frames & Flags die set and wrapped some cool ribbon around it. I added the rounded rectangle with foam tape on top. Then I glued the daffodils down to my scene and popped the other images up with foam squares.
I ink blended a white panel with candied apple distress oxide ink and spritzed it with water. I used liquid glue to adhere it to a white card base and popped the blue panel up with foam tape on that.
Moving on to finishing touches, I added some white gel pen accents to the images and star dust Stickles to the butterfly wings.
Hey friends! I’m over on the Trinity Stamps blog today, sharing a sneak peek of the upcoming release! It’s absolutely packed full of adorable and amazing products! Be sure to watch the other design team members all week for other sneak peeks and head to Instagram and YouTube on Friday for hops with even more inspiration and prizes up for grabs!
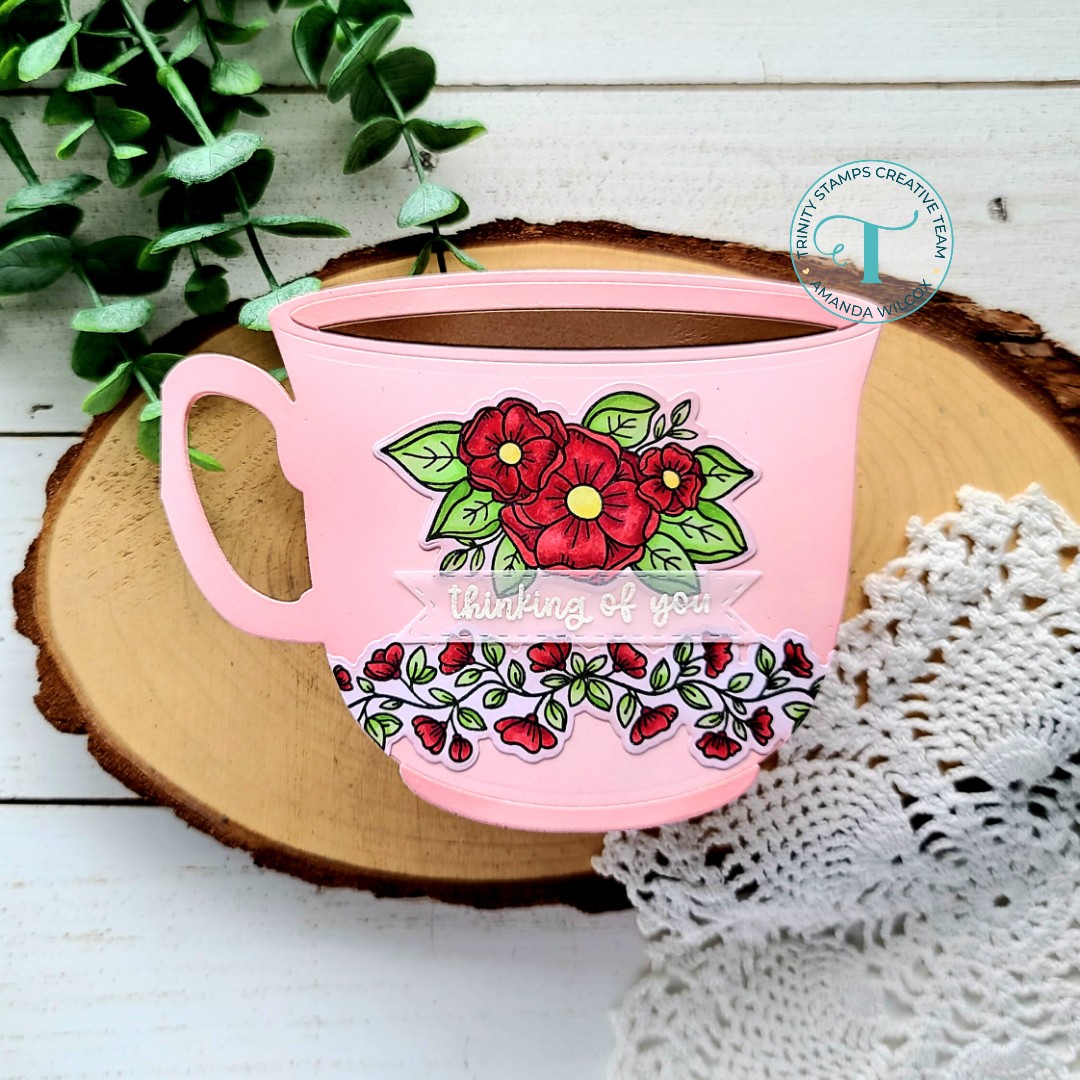
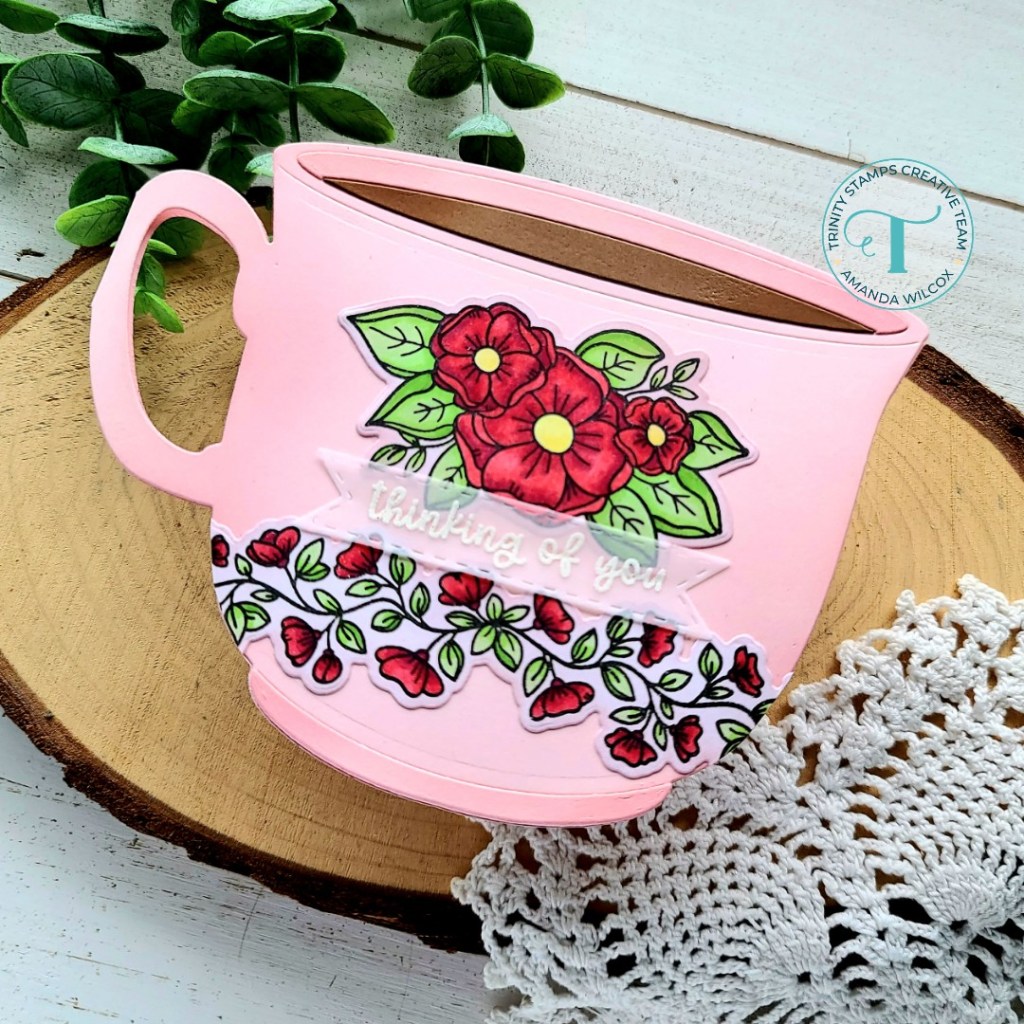
Is this shaped tea cup card not the sweetest thing?!? I fell in love as soon as I saw it! Then, pairing it with new Buttercup Blossoms stamps to create a decorated cup takes me back to the days of tea parties with my daughter. So much fun!
To create this card, I die cut the elements of the Trini-tea Cup die set from pink and brown cardstock and used my blending brushes to add some dimension to various accents. Then I used liquid glue to adhere the pieces. Next, I stamped, colored and die cut a few images from Buttercup Blossoms and inked them up with the same pink ink to help them blend in with my cup. I adhered them with liquid glue and trimmed off the excess.
Last, I stamped and heat embossed a sentiment from Buttercup Blossoms and die cut it with a banner from Slimline Scalloped Panels and Banners. I hid a little tape runner behind the words and adhered it to my cup.
I can’t wait for you to see the rest of the release so stay tuned for Friday when it all goes live for purchase!
Hello everyone! I’m over on the Coffee Loving Cardmakers blog today with a super fun sneak peek of the upcoming Trinity Stamps release! Trust me when I tell you that it’s TEA-rrific!!! You’re going to love it all!
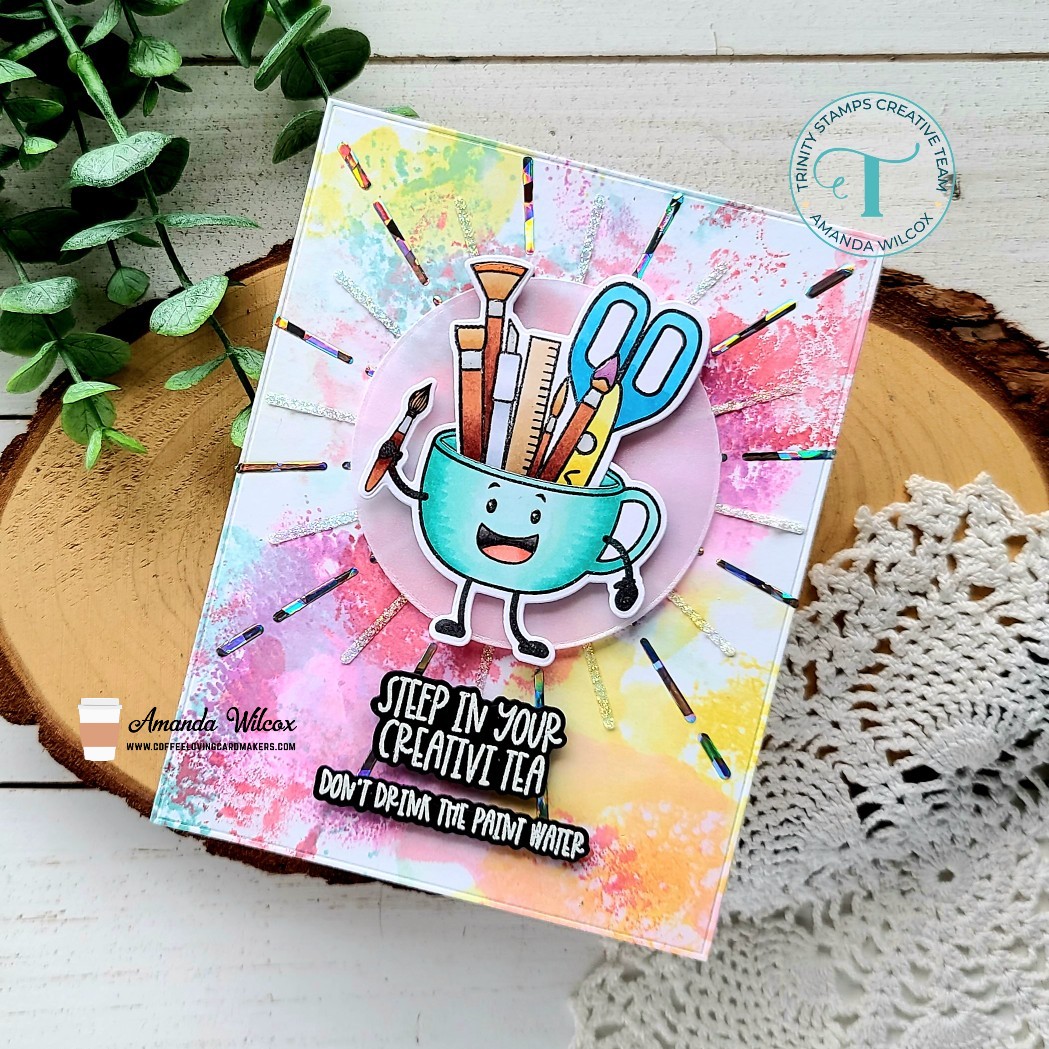
Today I did a little rainbow ink smooshing on a panel, then used the Trinity Stamps Shine Brighter stencil – first with transfer gel and decofoil and then iridescent glitz gel for the second layer.
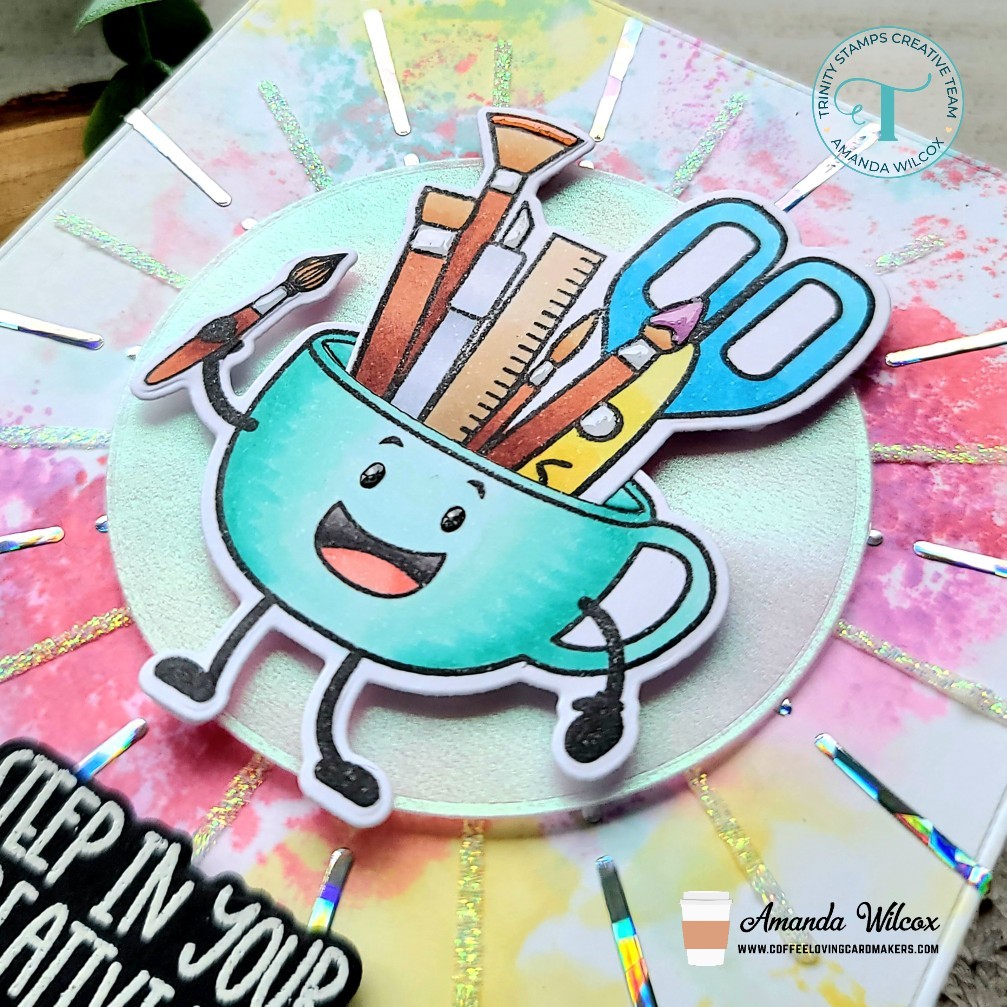
I stamped and colored the image from Creativi-TEA with my copic markers. Then used the coordinating dies to cut it out. I stamped and heat embossed a couple of sentiments from the set and die cut those as well. Isn’t he just the cutest!?!
I die cut the background panel with an embossed edge rectangle and adhered it to a white card base. Then Used an embossed edge circle die to cut an iridescent vellum circle out. I popped my image up with foam squares and hid my tape runner behind that to adhere it to the card front. Last, I popped the sentiments up with foam squares and moved on to finishing touches.
For those, I simply added some glossy accents to various parts like paint on paint brushes and the eyes on the mug.
I had a messy inky blast creating this card and am so excited for you all to see the Trinity Stamps release that goes live on Friday! Head over to Instagram and YouTube to check out the inspiration hops then!
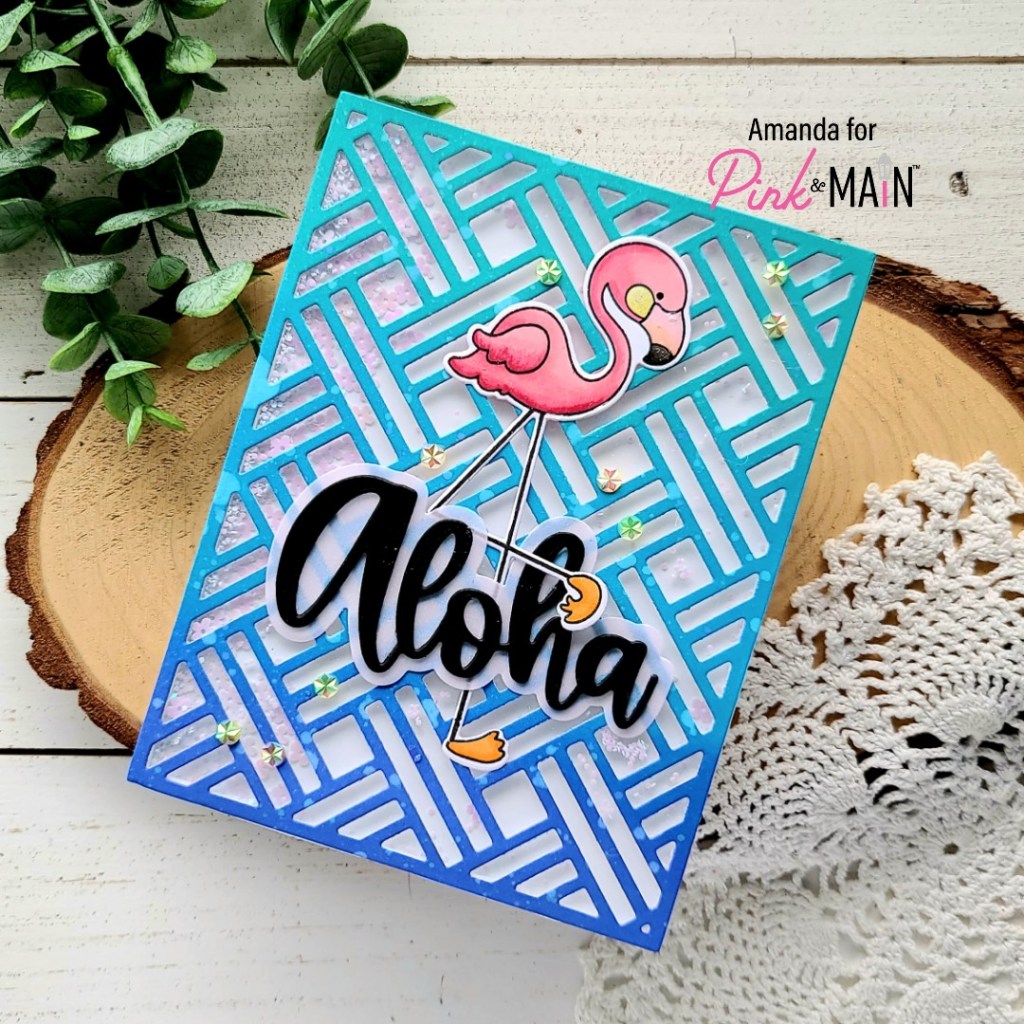
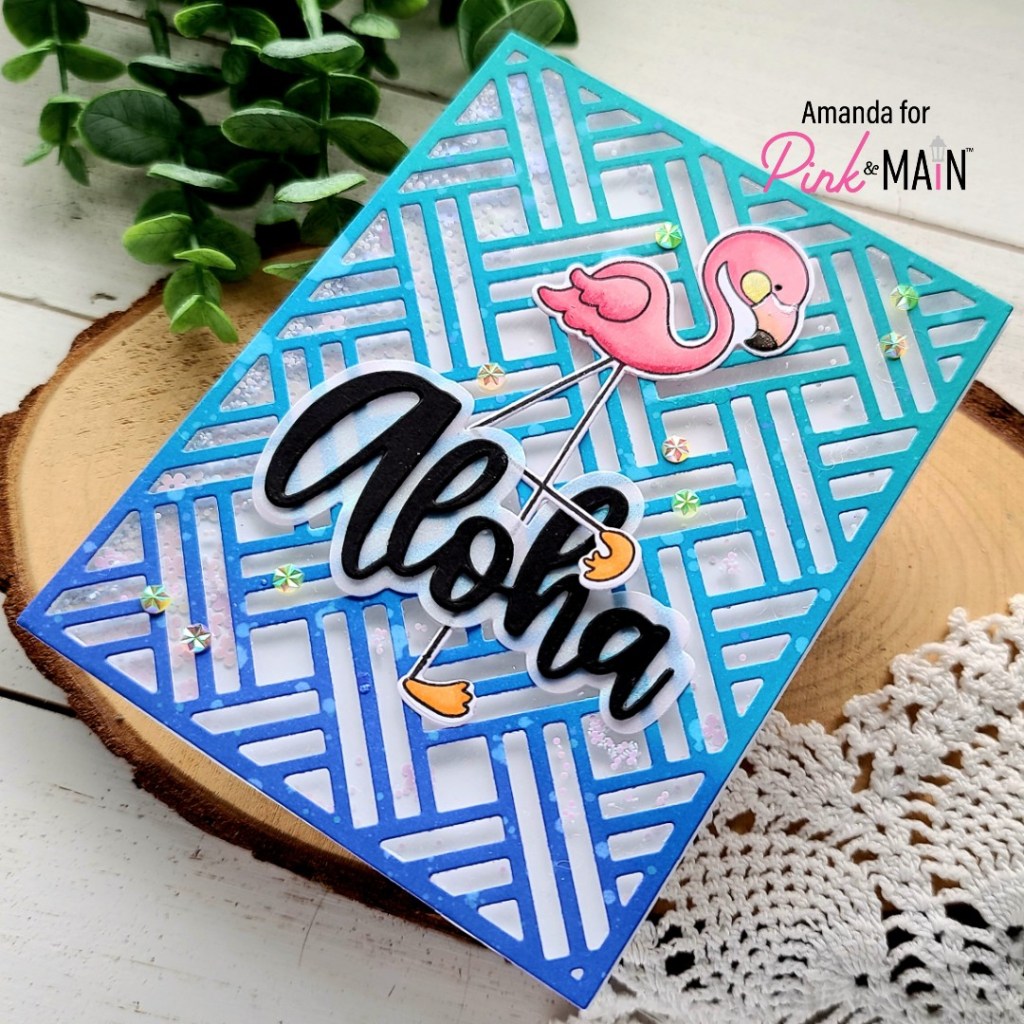
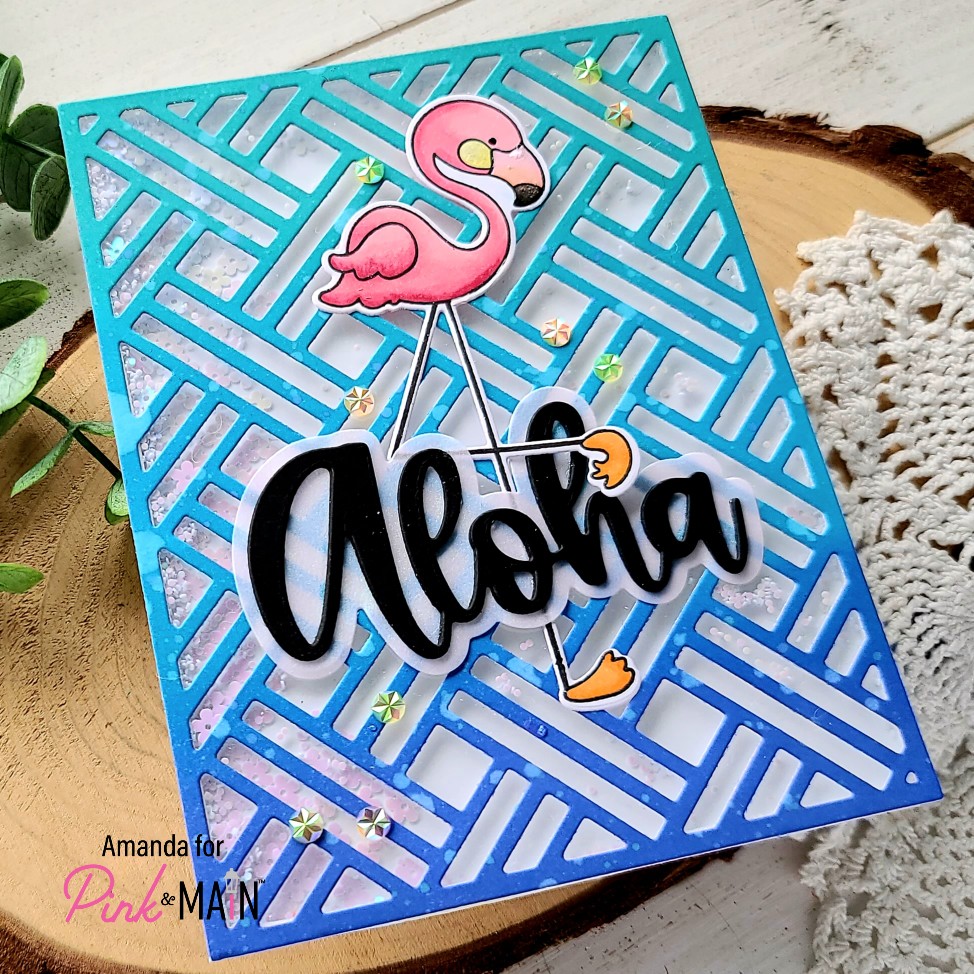
Happy Friday my friends!!! I’m so glad we’ve made it through another week! And bonus, today I get to share a super fun sneak peek with you of the upcoming June release with Pink & Main. It is absolutely fantastic and I can’t get enough of it!
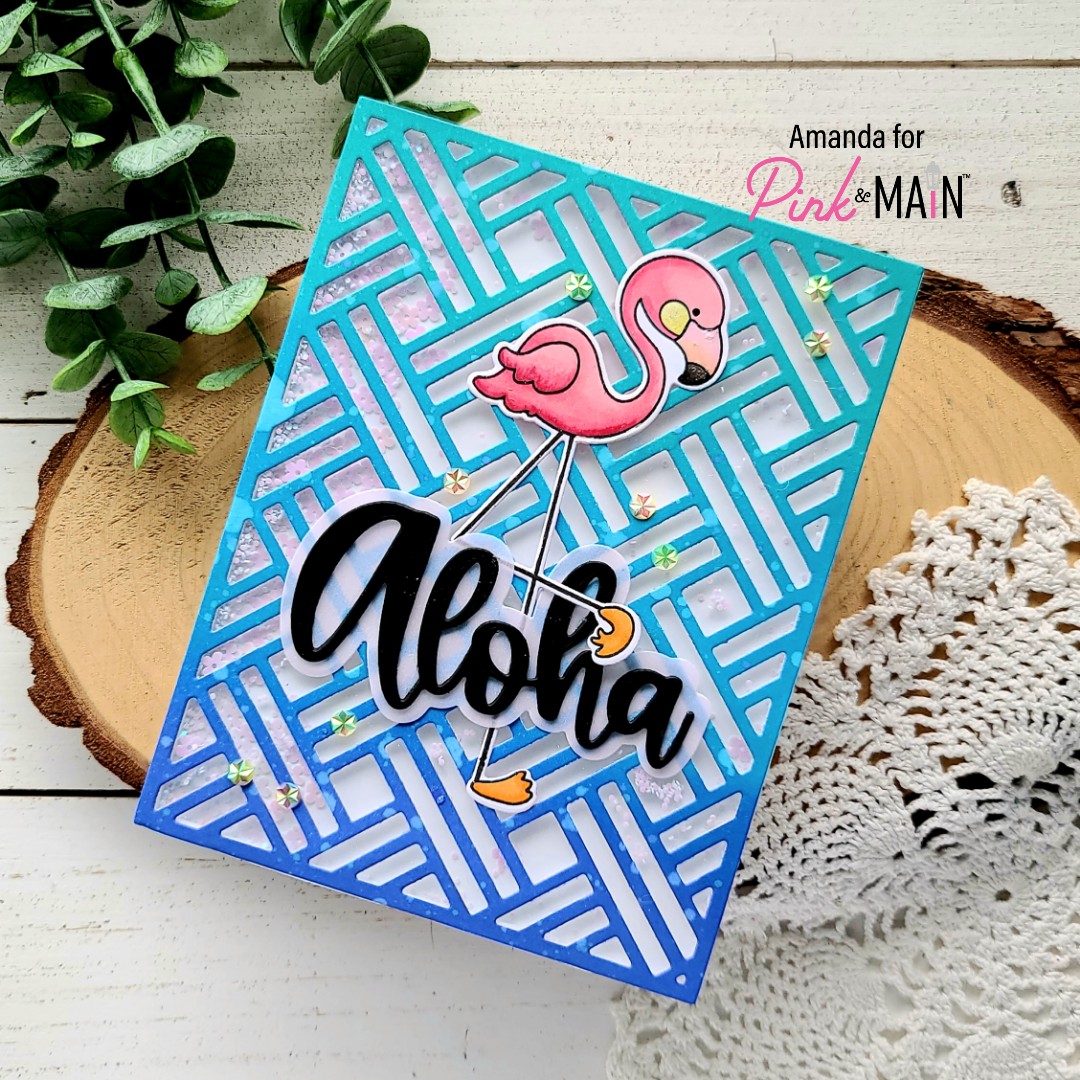
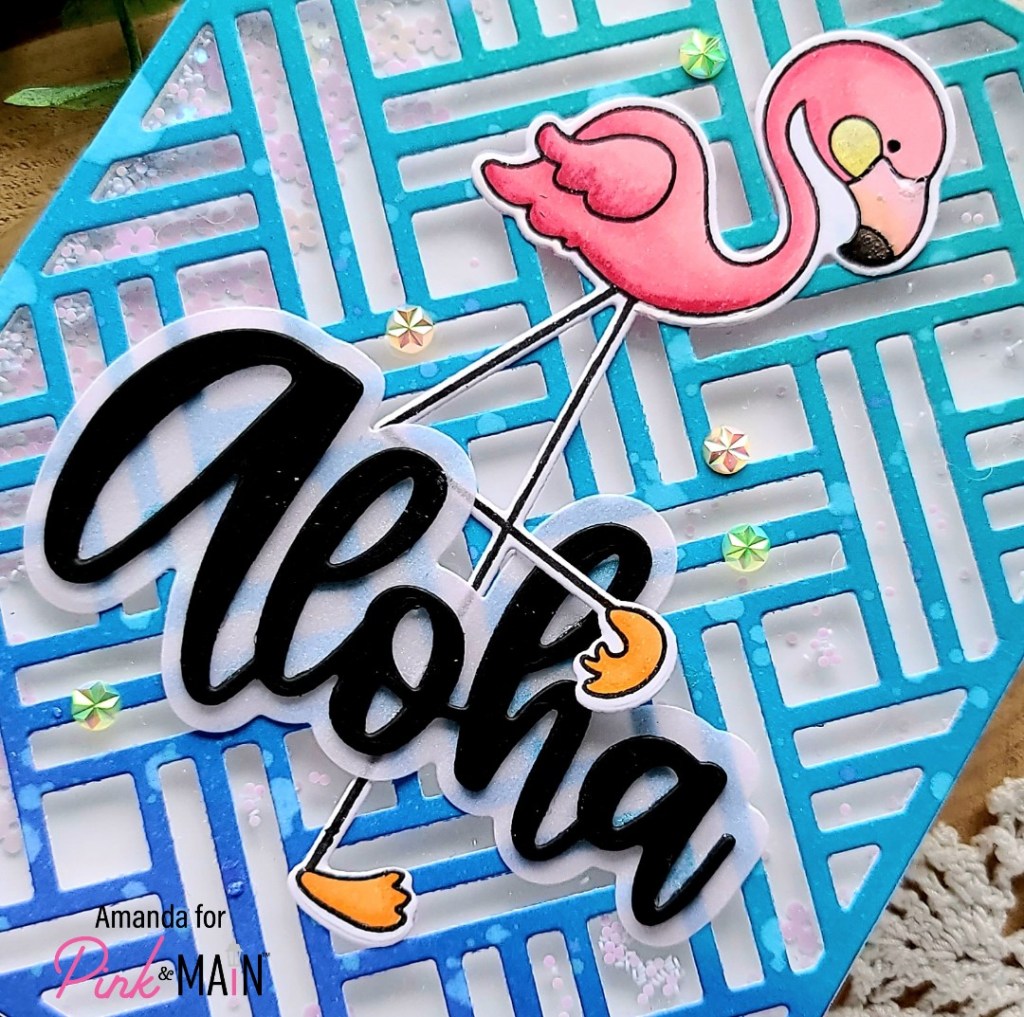
Check out that fantastic new flamingo from the stamp set Stand Tall coming your way! Oh, and don’t miss that bold and beautiful Aloha die cut with a perfect shadow behind it! That die set is absolutely amazing!
To create my card today, I stamped my flamingo and colored it with copic markers. Then I used the coordinating die to cut it out and set it aside. Next, I die cut the word aloha from black cardstock three times and glued them together with EZ Squeeze liquid adhesive. I die cut the shadow from vellum and glued the two together.
For that fabulous background, I ink blended distress oxides in blueprint sketch, salty ocean and peacock feathers. Then spritzed it with water and let it dry. Once it was completely dry, I ran it though my die cut machine with the basket cover die. This immediately made me think of a shaker card so I cut a piece of acetate and glued it to the back, then lined the edges with foam strips.
I sprinkled in some white primrose confetti bits and sealed it up with a white cardstock backing. Moving on to assembly, I used EZ Squeeze liquid glue to adhere the shaker to a white card base, then also adhere my die cut sentiment and flamingo.
Moving on to finishing touches, I added glossy accents to the flamingo’s beak and Wink of Stella glitter brush pen to his cheek. Then I glued down a scattering of starlight gems in yellow and orange.
Oh, you guys…I really can’t wait for you to see all of the goodness this release holds! Stay tuned to the Pink & Main blog for more sneak peeks from other DT members. It’s all going to be wonderful to see!
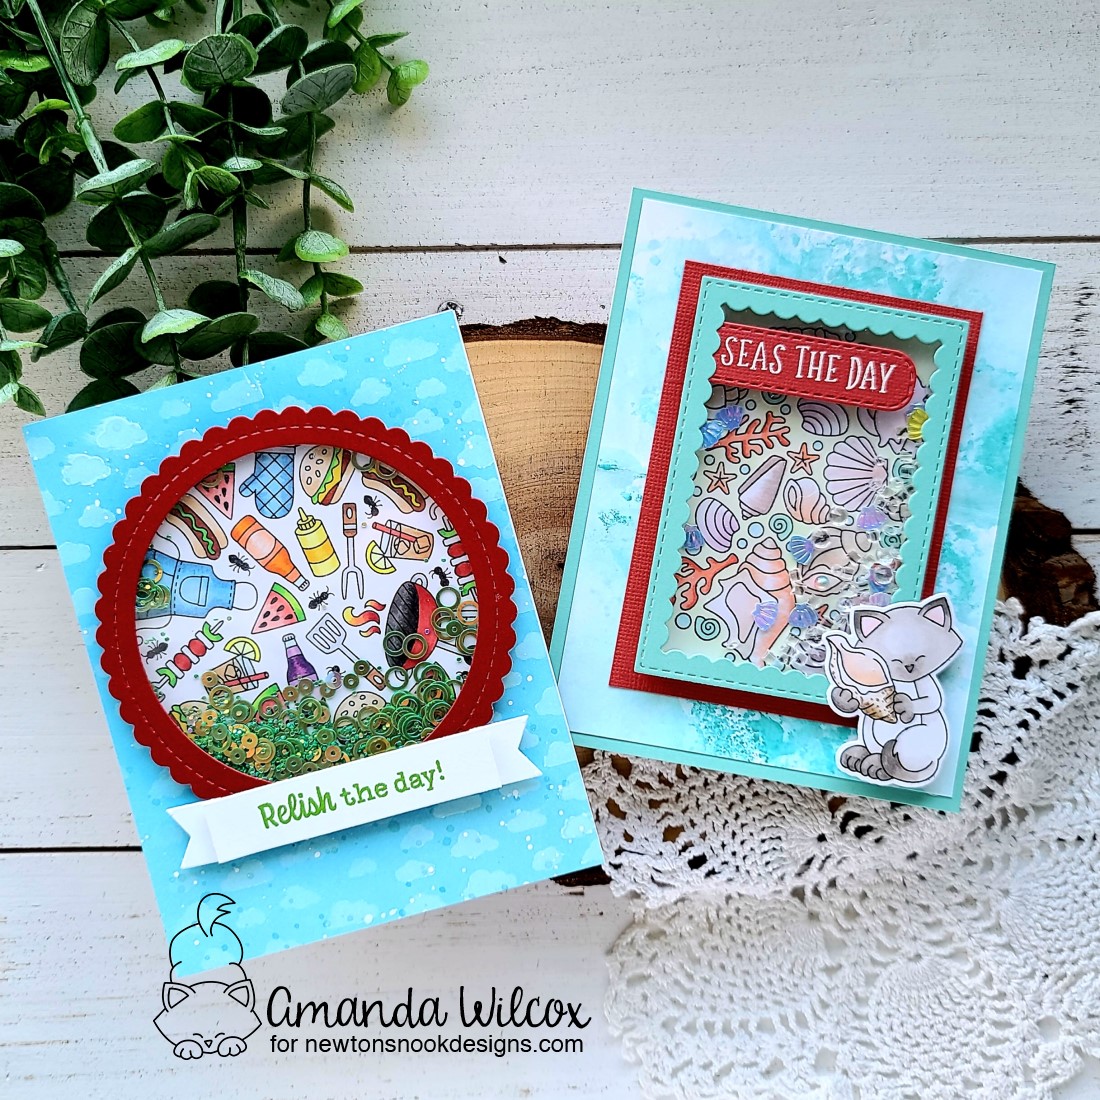
I can’t believe the Newton’s Nook June Release reveals are coming to a close today. I hope you love today’s reveals as much as the rest of the week and are super excited for release day tomorrow! We have two new sets to add to your roundabout collection today and they are both wonderful!
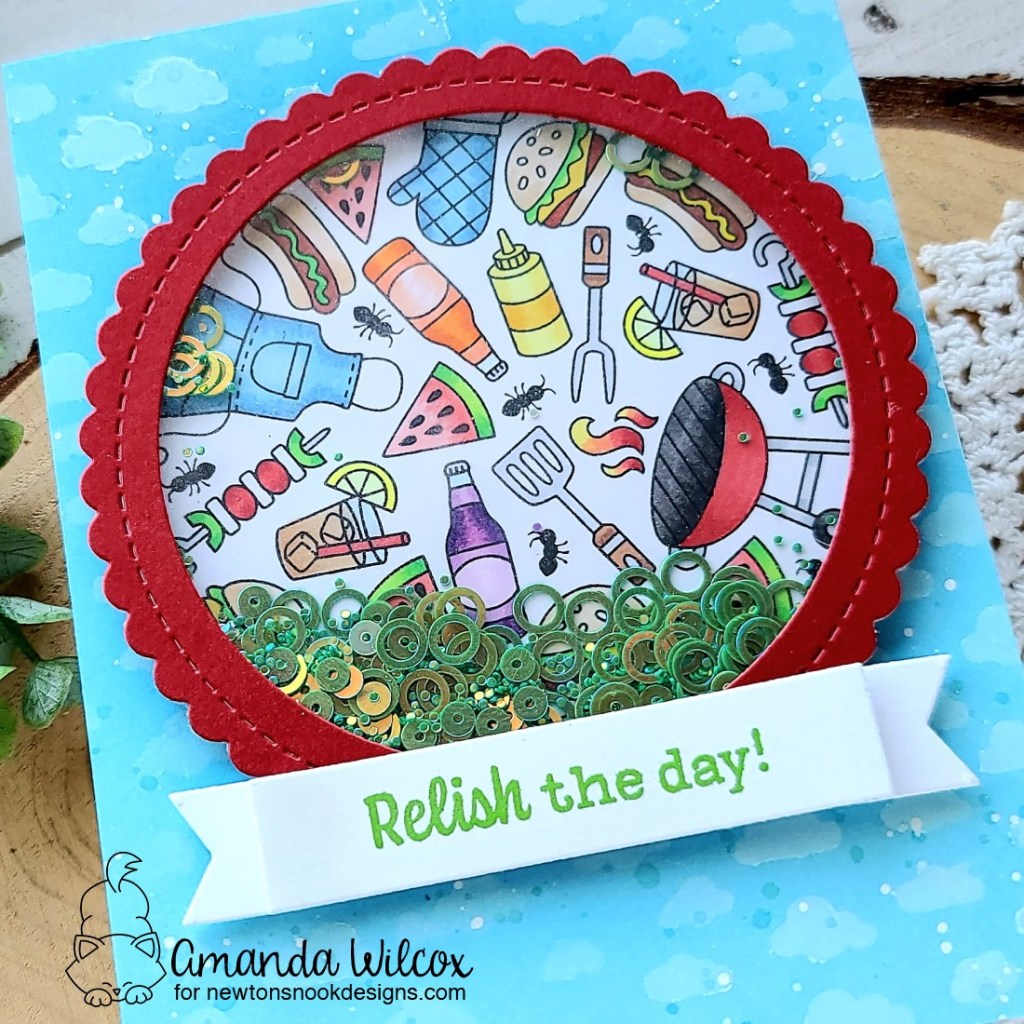
BBQ Roundabout
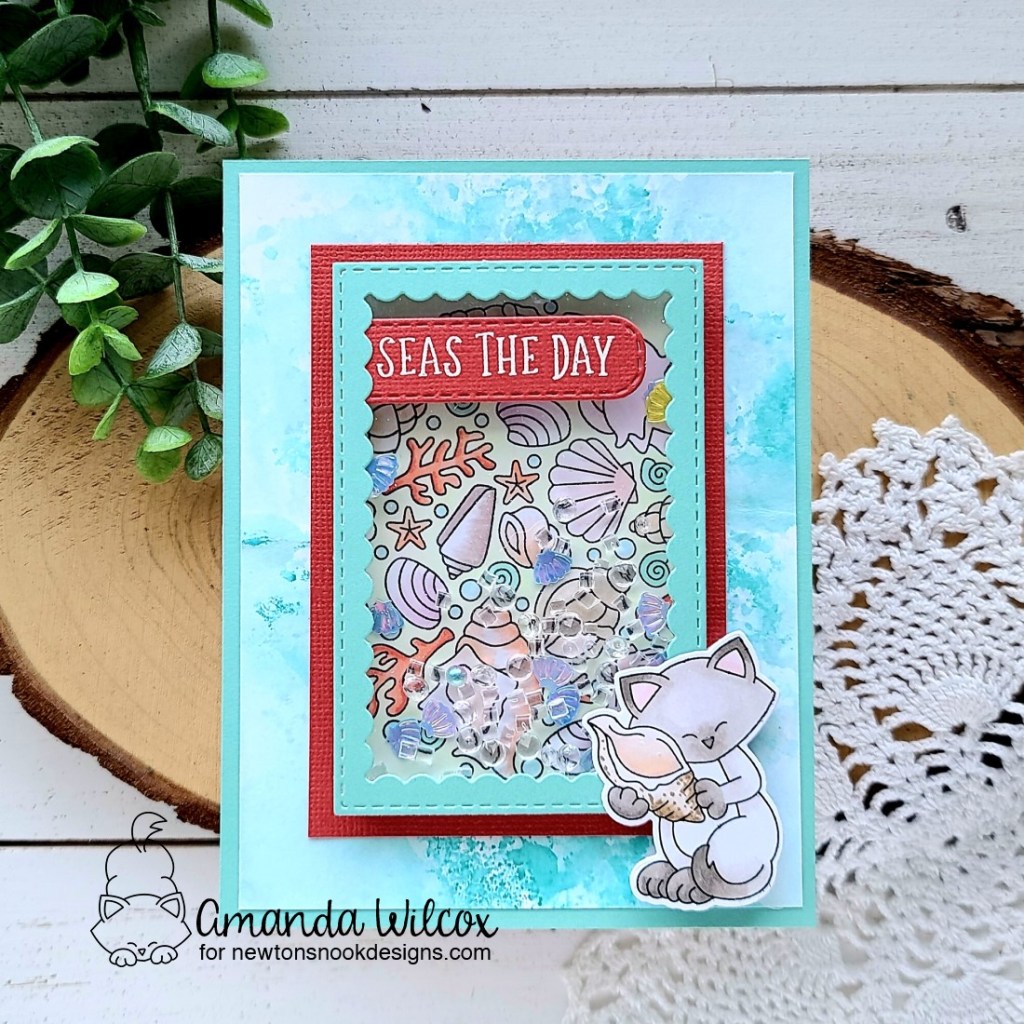
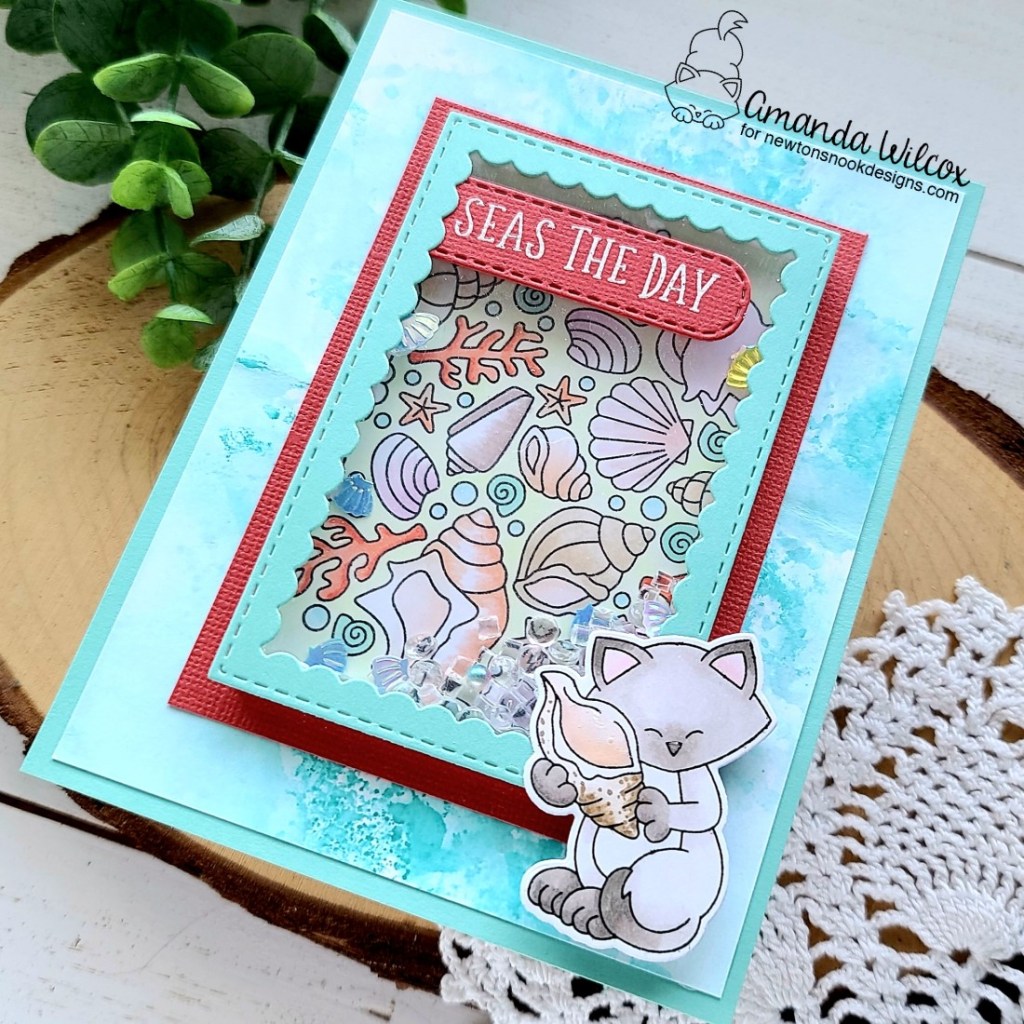
Seashell Roundabout
I really love how these products work so well on their own, with the circle frames dies and the sentiments fit perfectly in the banner trio dies too! It’s a perfect little set giving you tons of ways to play!
I made today’s cards on completely different days and both cards ended up being shakers. It made me giggle when I realized it later on. Aren’t they so fun though?!?
For the BBQ Roundabout card, I pre-die cut the scalloped circle from circle frames and then stamped the image on it. I find it easier to line up my image this way but you could do it the other way around too. Once it was stamped, I colored the whole thing with my copic markers. Then I die cut 2 more scalloped circles – one from acetate and another from red cardstock. With the red one I came back and die cut the next size down stitched circle from the center, leaving me with a frame. I adhered the frame to the acetate and then added foam tape around the edge to create me shaker mechanism. I sprinkled some embellishments on the colored panel and sealed it up with the shaker window.
Moving on to my background, I inked up a white panel with salty ocean and tumbled glass distress oxide inks. Then I layered the petite clouds stencil on top and used a white pigment ink to add those. I removed the stencil and flicked watered down mermaid lagoon distress oxide and white ink all over the panel. While that was drying I die cut a banner from the Banner Trio dies and stamped a sentiment in green ink on it. I folded the banner tails in and glued them down. Then I added foam squares and adhered it to my shaker circle.
When my stenciled panel was dry, I adhered it to a white card base and then adhered my shaker circle to that. This card cracks me up. I love the BBQ theme and the punny sentiment is just perfect!
Now for a little twist on the roundabout idea…turning a circle into a rectangle. What?!?
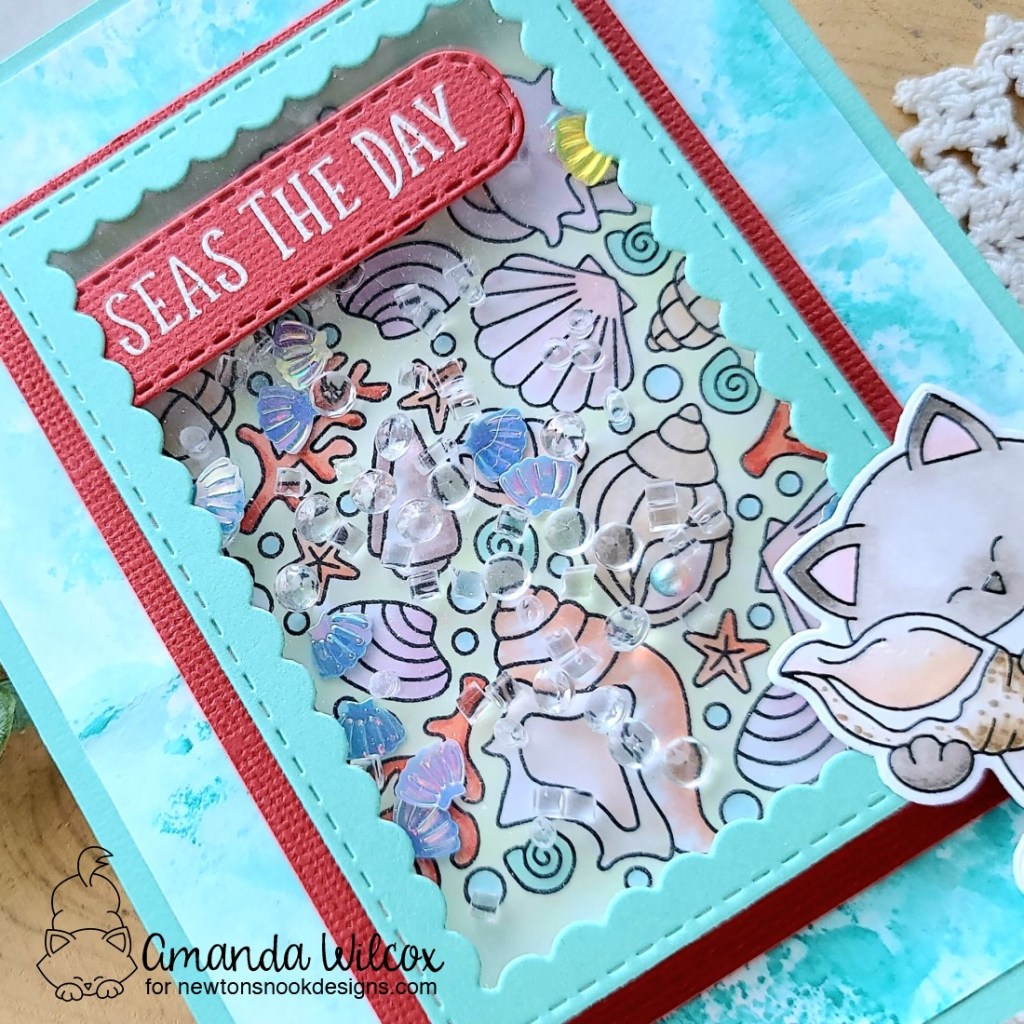
For this card, I stamped my seashell roundabout and colored it with my copic markers. Then I die cut the reverse scalloped rectangle from the Framework die set and trimmed the colored panel to fit it. I cut a piece of acetate and adhered the frame to it, then I added a double-layer of foam tape to the back, sprinkled some embellishments on the colored panel and sealed it up.
Then I did a little ink smooshing with teal inks to create a background panel. While that was drying I decided to play off the colors I used on the seashells and cut an orange rectangle to separate the frame from the ink smooshed background. Next, I die cut a rounded banner from the Banner Trio set from the same orange cardstock and heat embossed a sentiment on it. I trimmed off one end and glued it under the edge of the shaker frame.
Finally, I stamped and colored Newton’s Seashell from the day 1 reveals and then used the coordinating die to cut him out.
For assembly, I created a teal card base and used tape runner to adhere my ink smooshes panel to it. Then I added the shaker mechanism the same way and finally popped Newton in place with a combination of liquid glue and foam squares so he lays flat.
Finishing things off, I added a little glossy accents to Newton’s nose and the inside of the seashell he’s holding.
Would you like to win the “BBQ Roundabout” or the “Seashell Roundabout” Stamp Set? We will choose ONE lucky winner for each stamp set!
Here’s how to win: Comment on the NND blog and Design Team blogs (see list below)! Thewinner will be chosen at random from the collective reveal posts. Make sure to check out each of their blogs and comment for your chance to win. You will not know which blog has been chosen so the more you comment on the better your chances are of winning! You have until Thursday June 17th at 9pm ET to comment — winners will be announced on the blog post on Friday, June 18th.
Check out all the awesome Design Team Blogs below to enter:
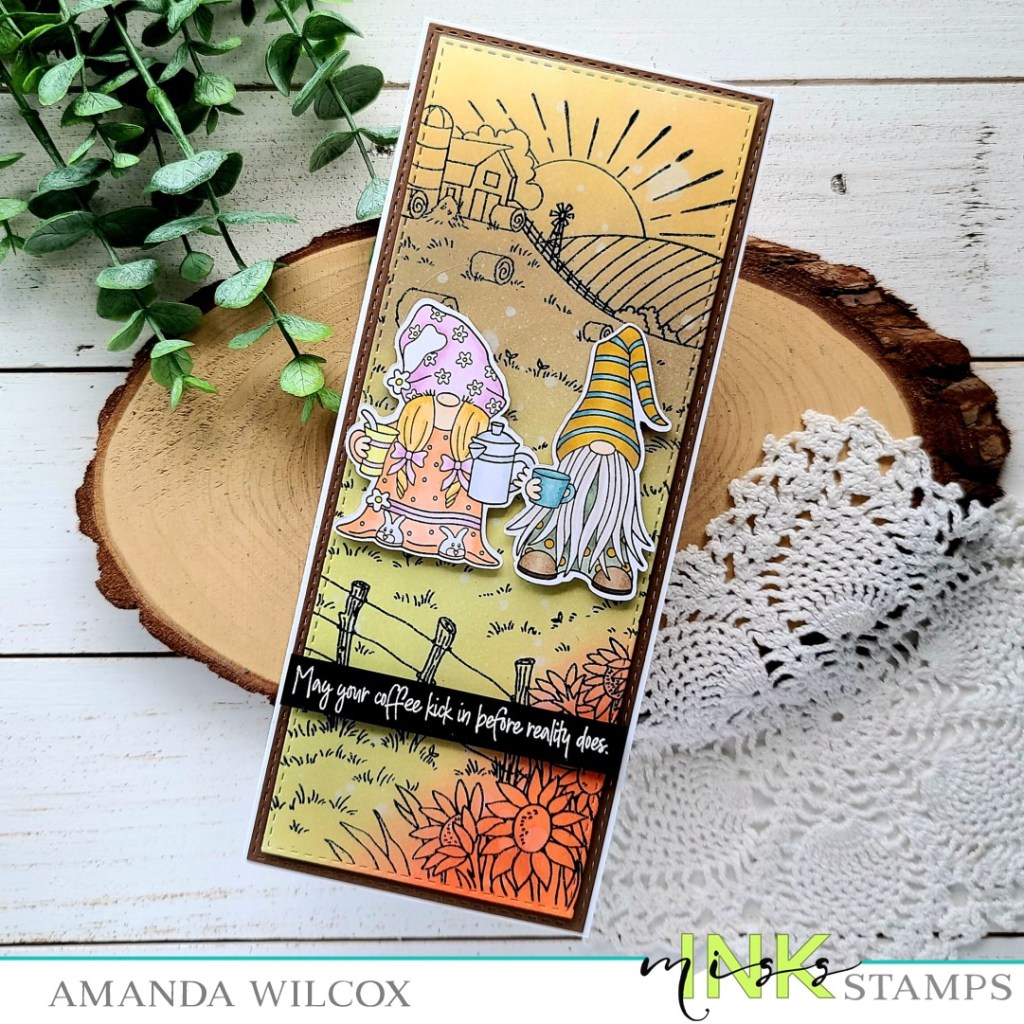
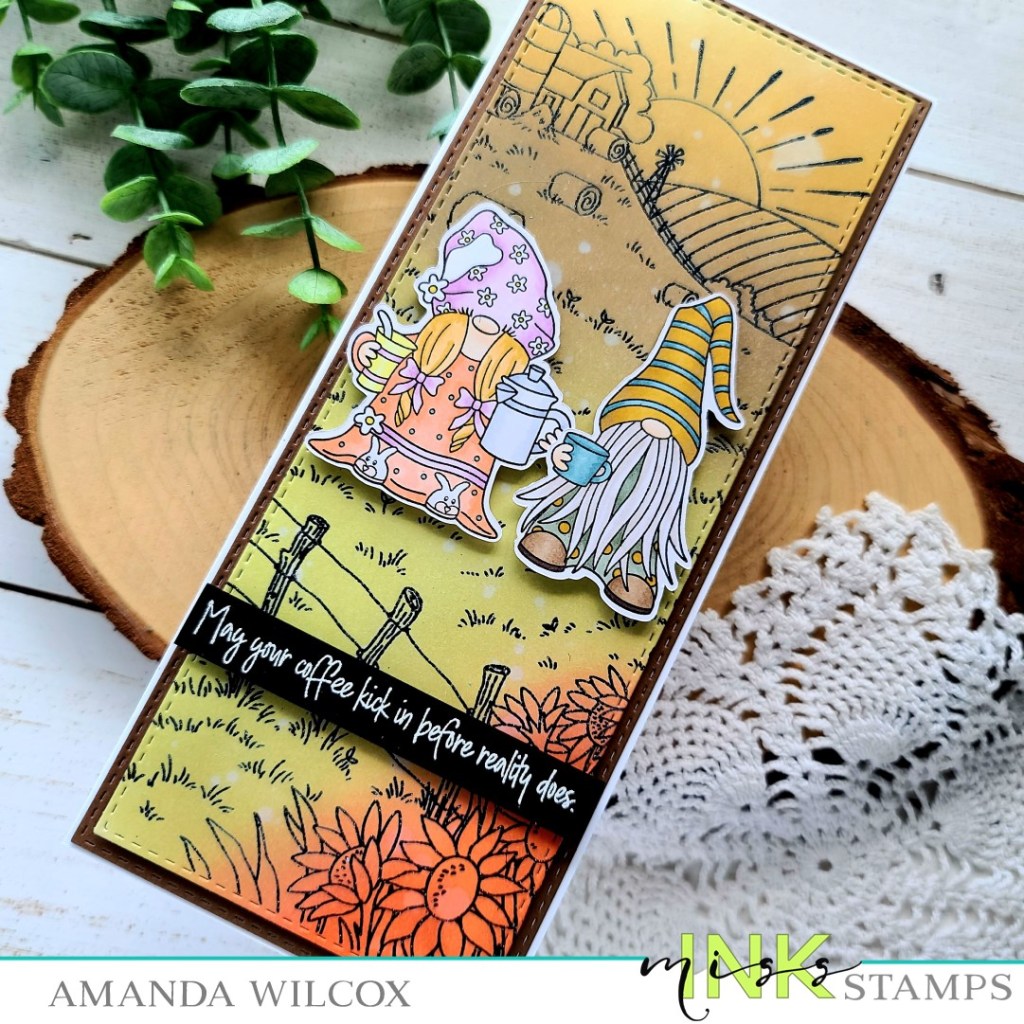
Hey friends! I’m back with a fun Miss Ink Stamps caffeinated card to share with you and the sentiment could not be more true!
I started by stamped the Hay Daze background stamp on an extra large panel and blended distress oxide ink from top to bottom in scattered straw, frayed burlap, shabby shutters and ripe persimmon. Then I die cut it with the Trinity Stamps slimline stitched panel die in the middle size. I took the largest size and die cut a brown panel with that.
I stamped the gnomes from coffee gnomes and colored them with my copics. Then I used the scan-n-cut to cut them out. I chose a sentiment from the same set and heat embossed it on black cardstock, trimming it into a strip.
Moving on to assembly, I used liquid glue to adhere the brown panel to a white card base. Then I popped the inked panel up with foam tape. Next, I added foam squares to the gnomes and sentiment and put them in place.
Sometimes these background stamps can be daunting to color but they are really fun to just ink blend over too!
Welcome to the third day of Newton’s Nook June Release reveals! Today we’re getting super furry and loving every minute of it! Let’s check it out!
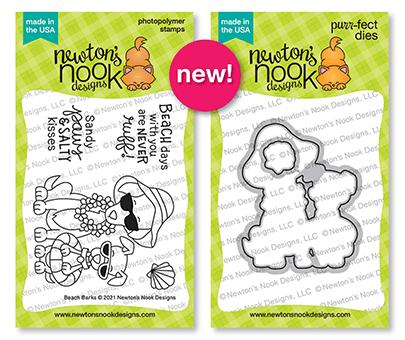
Beach Barks
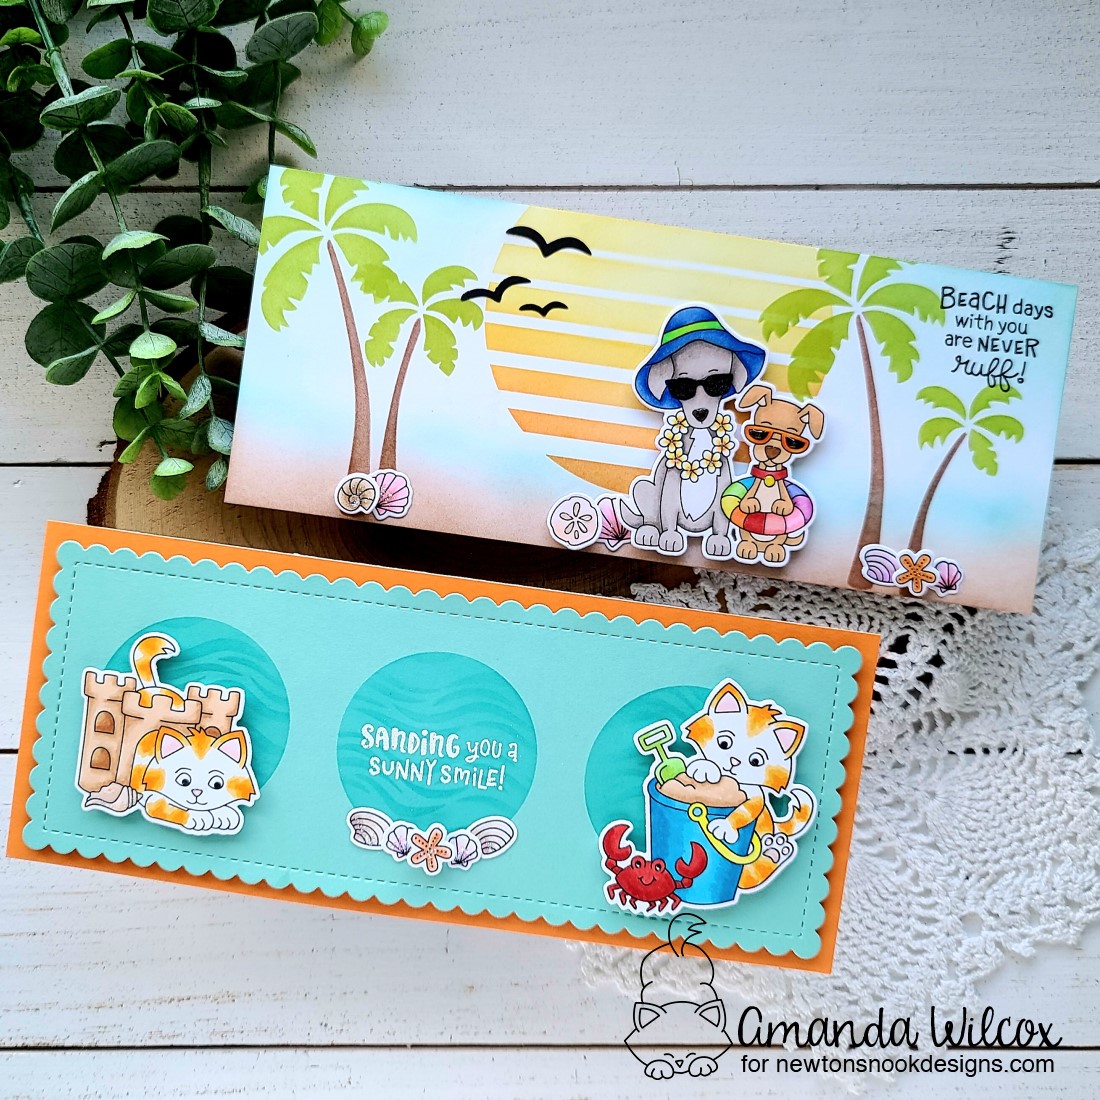
Kitten Beach
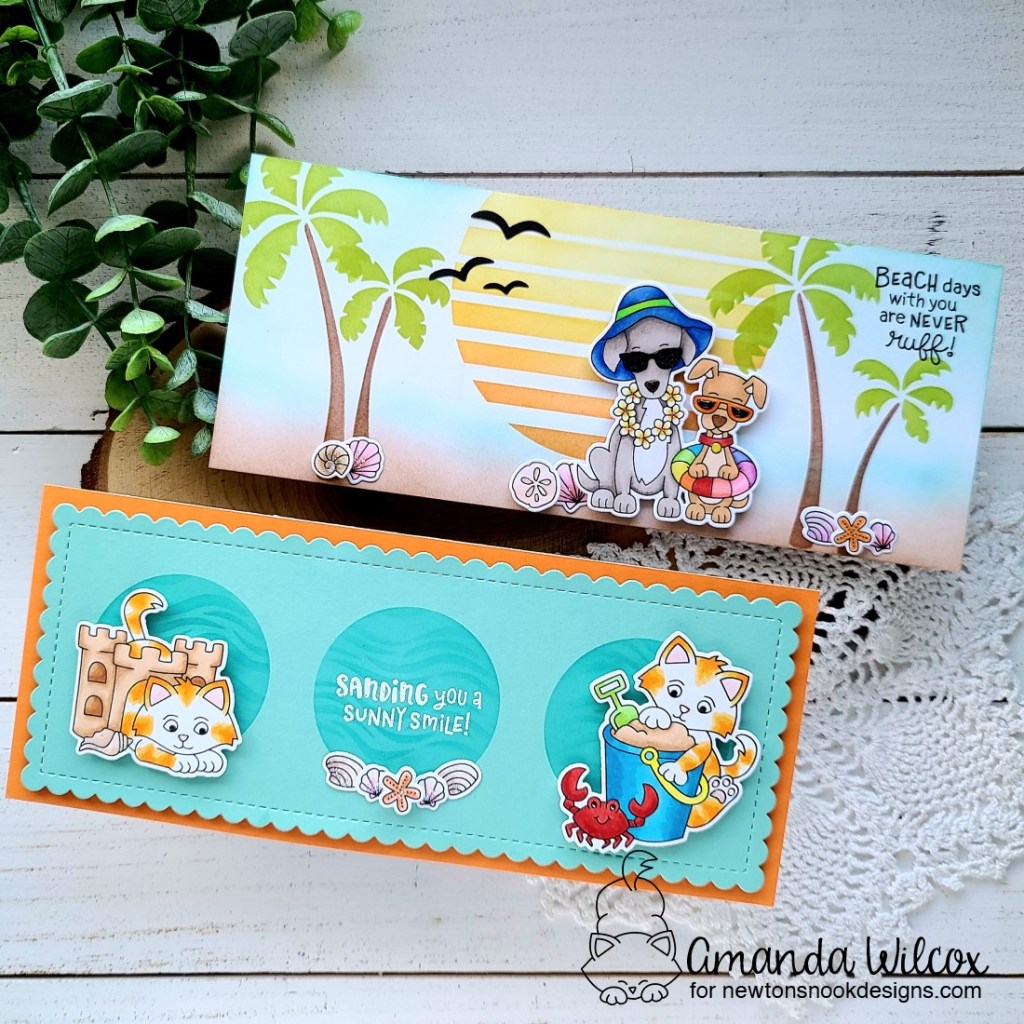
Aren’t these little furballs all so super cute?!? I love them all! I had so much fun creating today’s cards. I hope you enjoy them too!
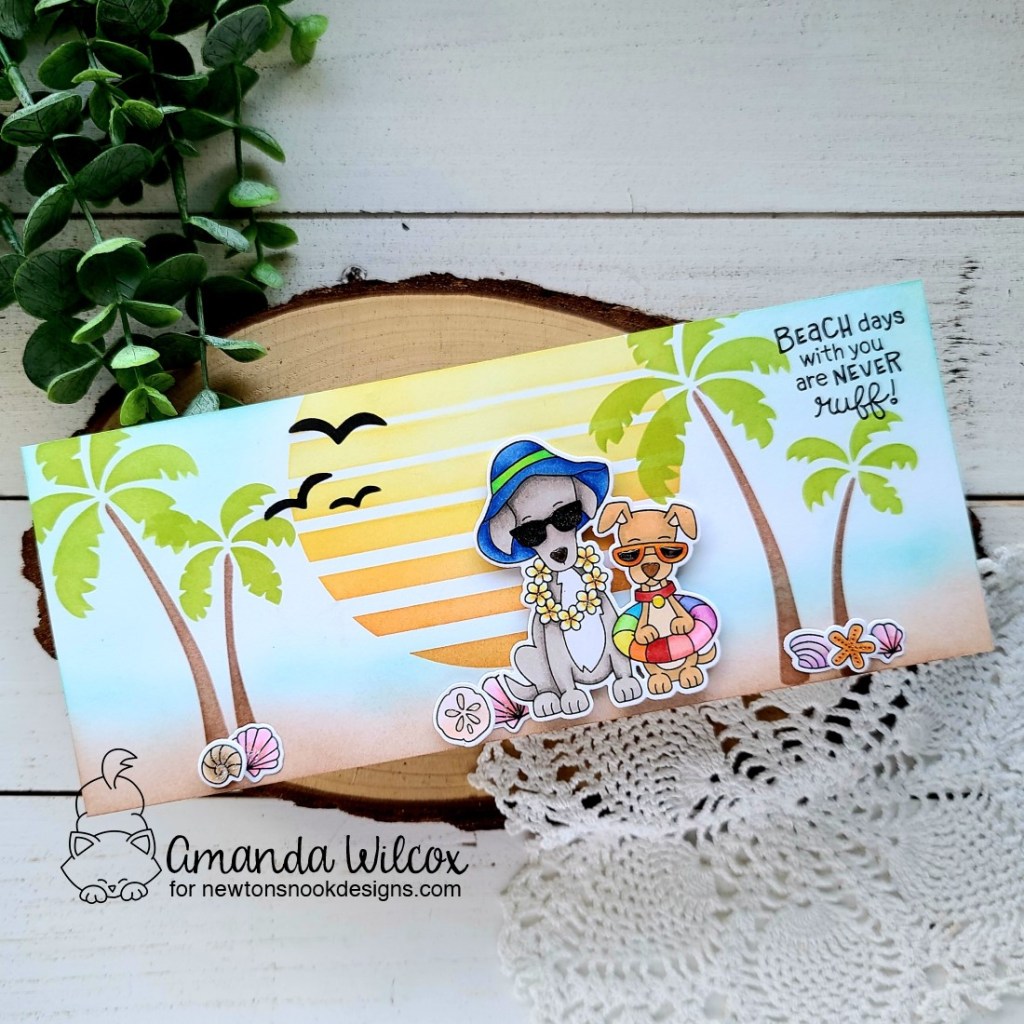
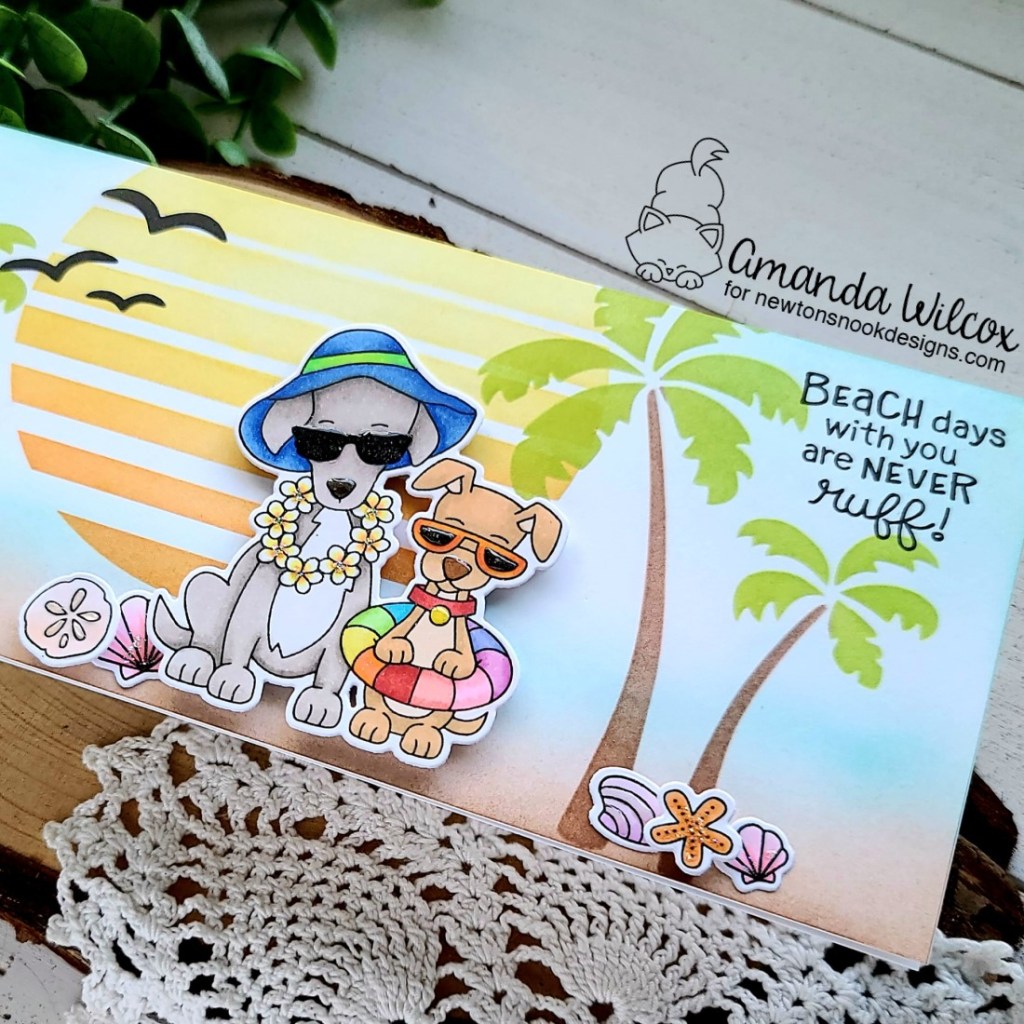
For the card I created using Beach Barks, I tried a different look with the Retro Sun & Palms stencil by masking and inking it up like a sun and regular palm trees instead of the silhouette. It wasn’t difficult and looks really cool!
Then I stamped images from Beach Barks and a few supporting shells and such from Kitten Beach to fill in my sand. I used the coordinating dies to cut everything out and added them to my scene with a combination of foam squares and liquid glue. Then I popped the panel in my MISTI and stamped a sentiment in the top right corner.
For finishing touches, I added glossy accents to the pup’s sunglasses, collar and sand dollar. Then I came in wtih some unicorn Stickles on the seashells too.
And if you’re not really a dog person, we’ve got kitties covered today too! With sooooo much cuteness!!!
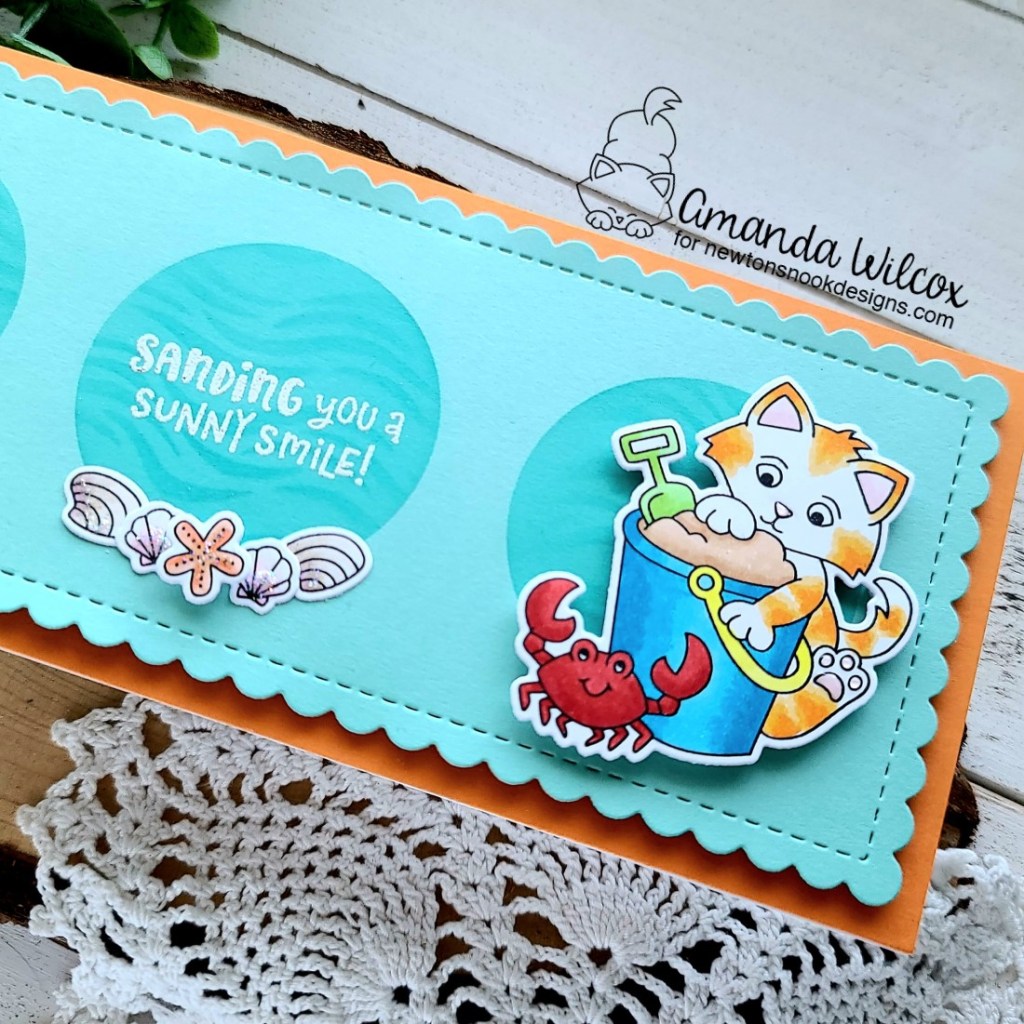
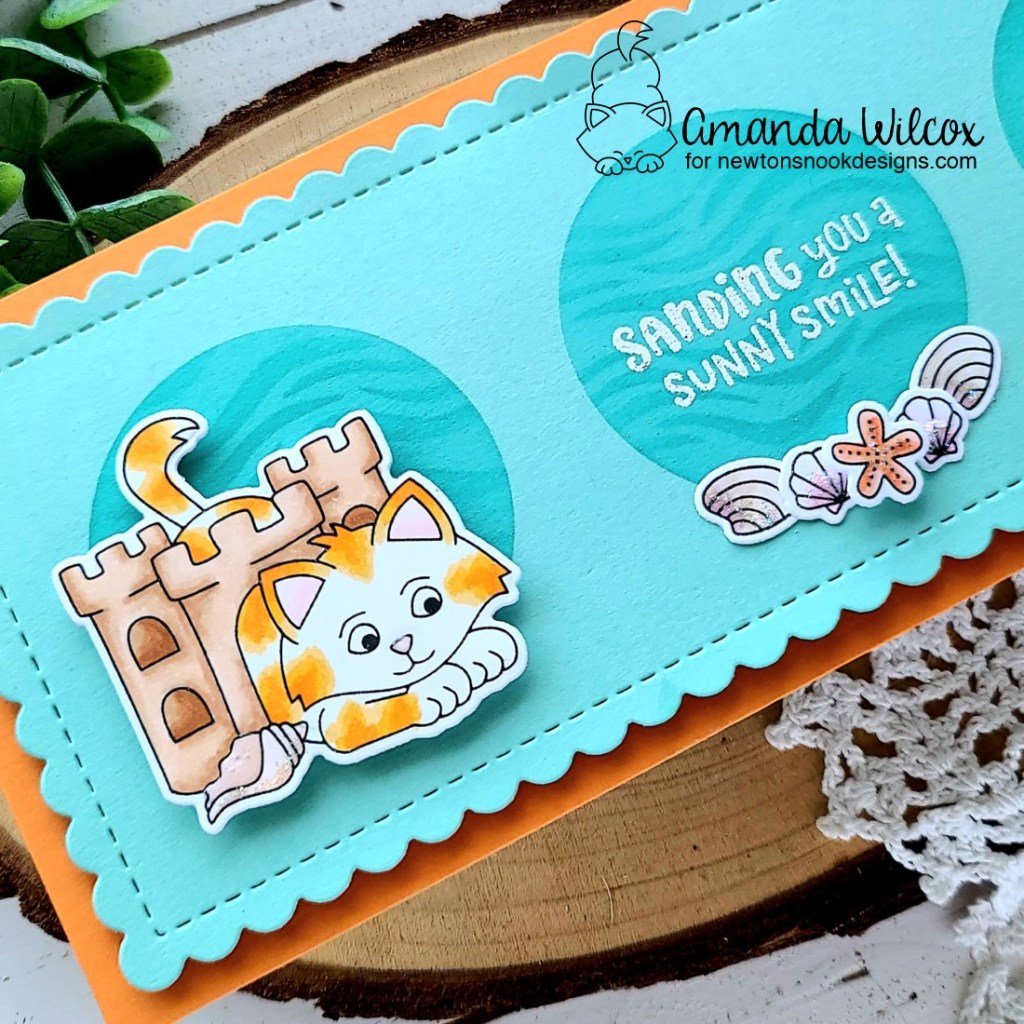
For this card, I used the Slimline Frames & Portholes die to cut a scalloped rectangle. Then I taped it to the Slimline Masking Circles stencil and inked it up with a teal ink. Leaving that stencil in place, I taped the Waves stencil over it and used more of the same teal ink to create a little texture to my circles. Then I stamped and heat embossed a sentiment in the middle circle.
I stamped my images from Kitten Beach and colored them with my copic markers. I used the coordinating dies to cut them out and added them to my panel with foam squares. Some of the seashells are adhered with liquid glue as well. Next, I trimmed a piece of orange cardstock and adhered it to a white card base, then popped my scalloped panel up with foam tape.
For finishing touches on this sweet card, I added glossy accents to the kitty noses and paws and one seashell. Then I came in with unicorn Stickles on the seashells in the center for a little extra shimmer.
Would you like to win the “Kitten Beach” or the “Beach Barks” Stamp Set? We will choose ONE lucky winner for each stamp set!
Here’s how to win: Comment on the NND blog and Design Team blogs (see list below)! Thewinner will be chosen at random from the collective reveal posts. Make sure to check out each of their blogs and comment for your chance to win. You will not know which blog has been chosen so the more you comment on the better your chances are of winning! You have until Thursday June 17th at 9pm ET to comment — winners will be announced on the blog post on Friday, June 18th.
Check out all the awesome Design Team Blogs below to enter:
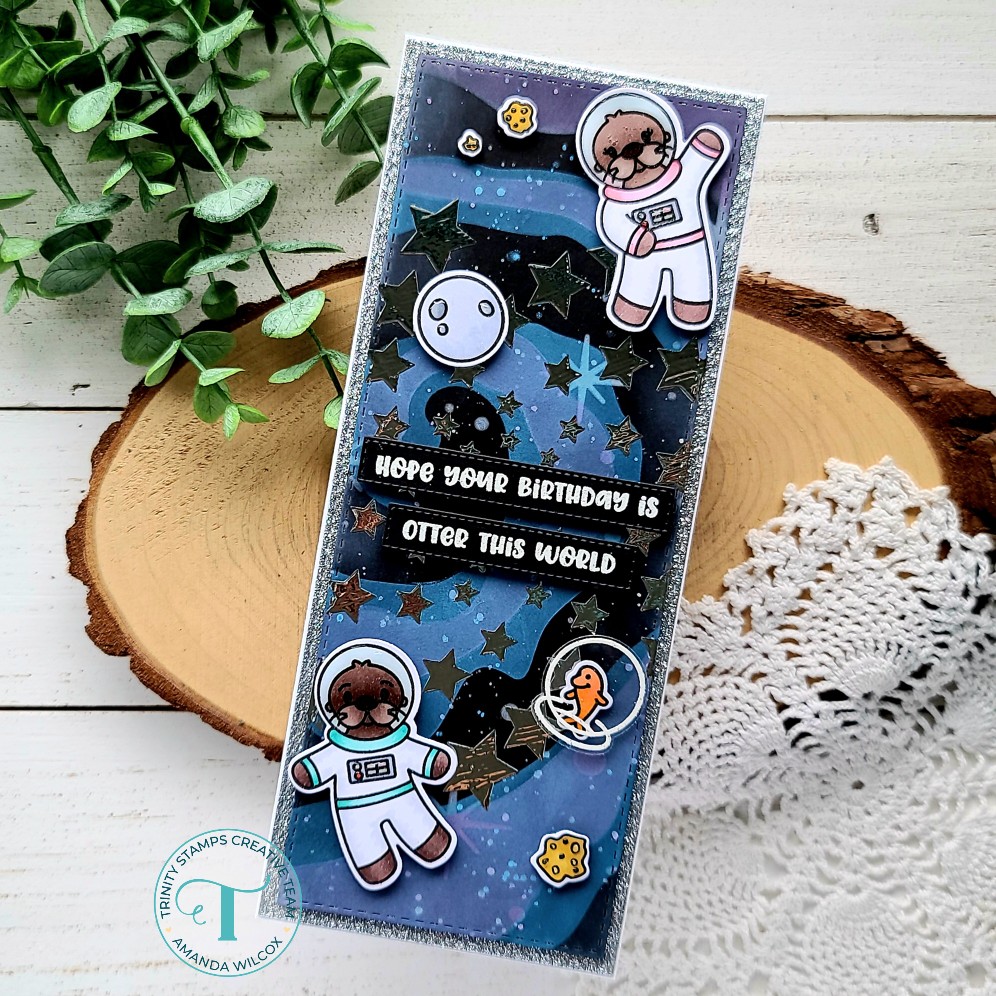
I’m back today with an out of this world card to share with you featuring some fun stamps and stencils from Trinity Stamps! Since it’s Trinity’s 3rd birthday, I’m sticking with the birthday theme as long as possible to keep the celebration going!
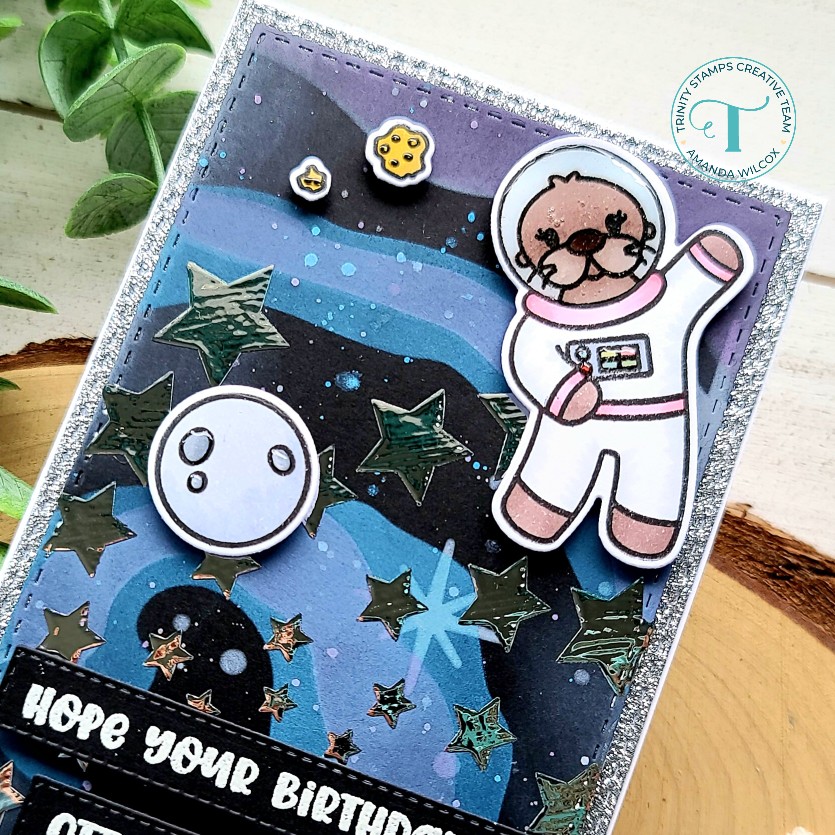
To start my card, I inked up a black cardstock panel with distress oxides using the space swirl stencil. Then I spread Thermoweb transfer gel blanco through the starstruck stencil and set it aside to dry. While it was drying, I turned my laminator on to heat up and stamped images from Otter Space to color with my copics. Then I used the coordinating dies to cut the images out. I stamped and heat embossed the bowl for the fish onto acetate and die cut it as well.
Once my panel was dry I ran it through my laminator with silver decofoil for a set of fabulously shiny stars in the background! Then I die cut this with a slimline stitched panel. Next, I stamped and heat embossed my sentiments on black cardstock and used the sentiment strip die from Sending Hugs to cut them out. I added foam squares to my images and popped them on the stenciled panel.
I also die cut a silver glitter cardstock panel with the largest slimline stitched panel die and start assembling the layers. Using liquid glue, I adhered the silver glitter to a white card base, then foam tape to adhere the stenciled scene to that.
Moving on to finishing touches, I added glossy accents to the helmets and buttons of the otters and also to the little crater dots on the moon rocks and planet.
Such a super fun, otter this world card that I am excited to share with someone!
We’re just chugging along to the second day of Newton’s Nook June Release reveals and today is just a packed full of fun as yesterday was. I hope you’re ready!
Retro Sun & Palms Stencil
Summer Moments stamps and dies
Newton’s Seashell
Today’s products are so amazing and were a blast to create with. There are so many ways to use them all, it’s wonderful! I have two more cards to share with you featuring all these goodies!
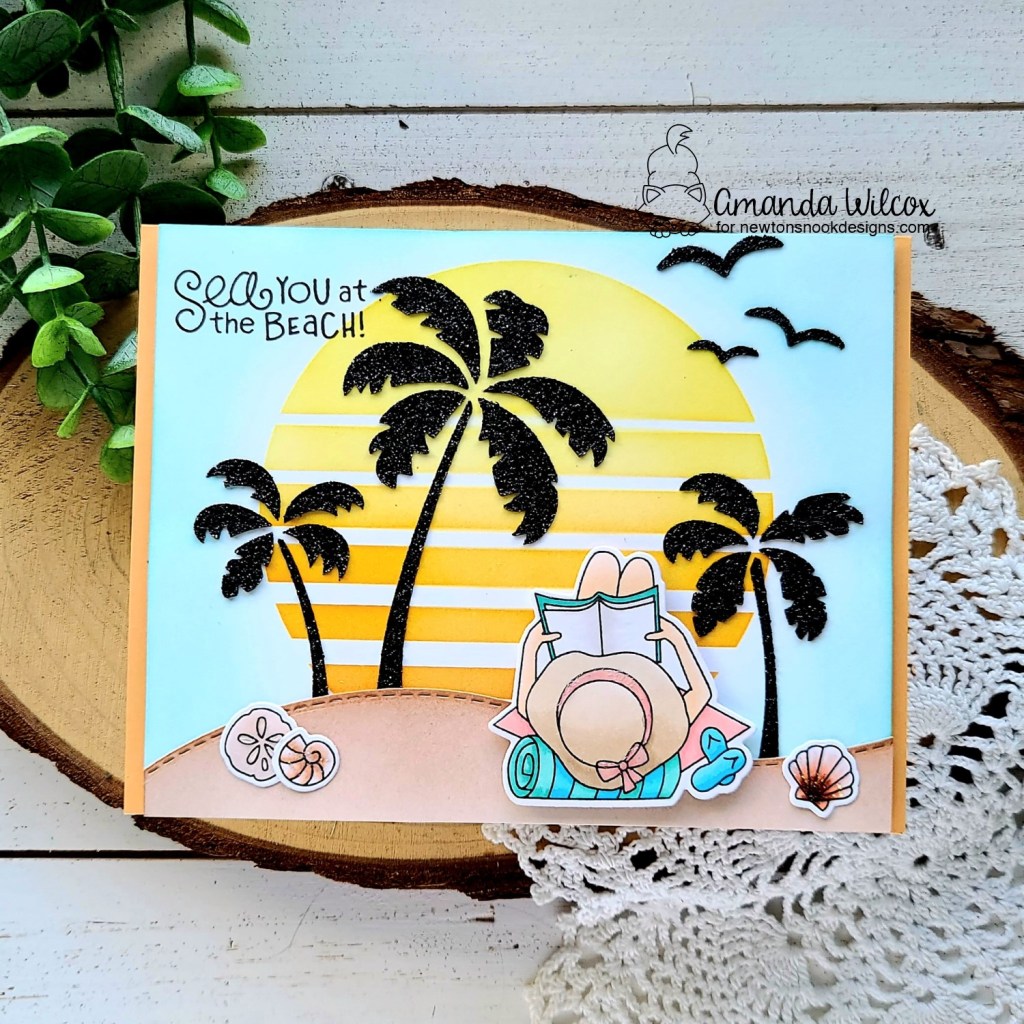
I couldn’t wait to give this new Retro Sun & Palms stencil a try so let’s look at that card first, shall we?!?
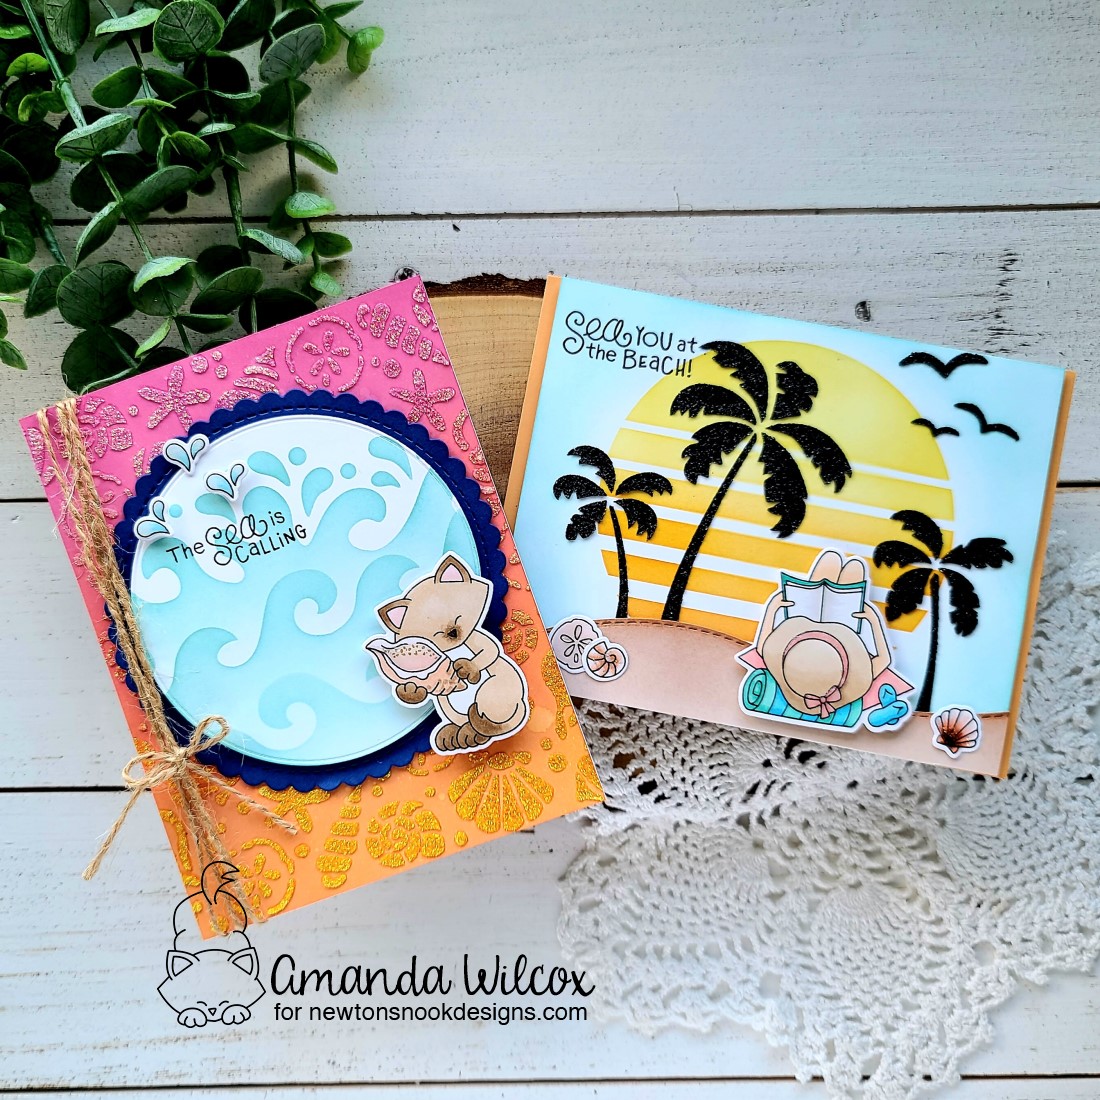
I started this card by inking up the sun portion of the new Retro Sun & Palms stencil with dye inks. Then I smeared black glitz gel through the palms portion and set it aside to dry.
Next, I stamped and colored images from Summer Moments with copic markers and used the coordinating dies to cut them out. Once my stenciled panel was dry, I trimmed it down to 4×5.5 inches and added foam tape to the back and popped it on an orange card base. Then I added foam squares to the back of my images and placed them down too. Last, I placed my card in my MISTI and stamped a sentiment in the upper left sky.
For finishing touches on this glitzy card, I added some glossy accent’s to the girl’s hat and unicorn Stickles to the seashells.
My family immediately told me that I just created myself on a card the moment they looked at it. I have to admit…it’s true. This would absolutely be me every day if I could!
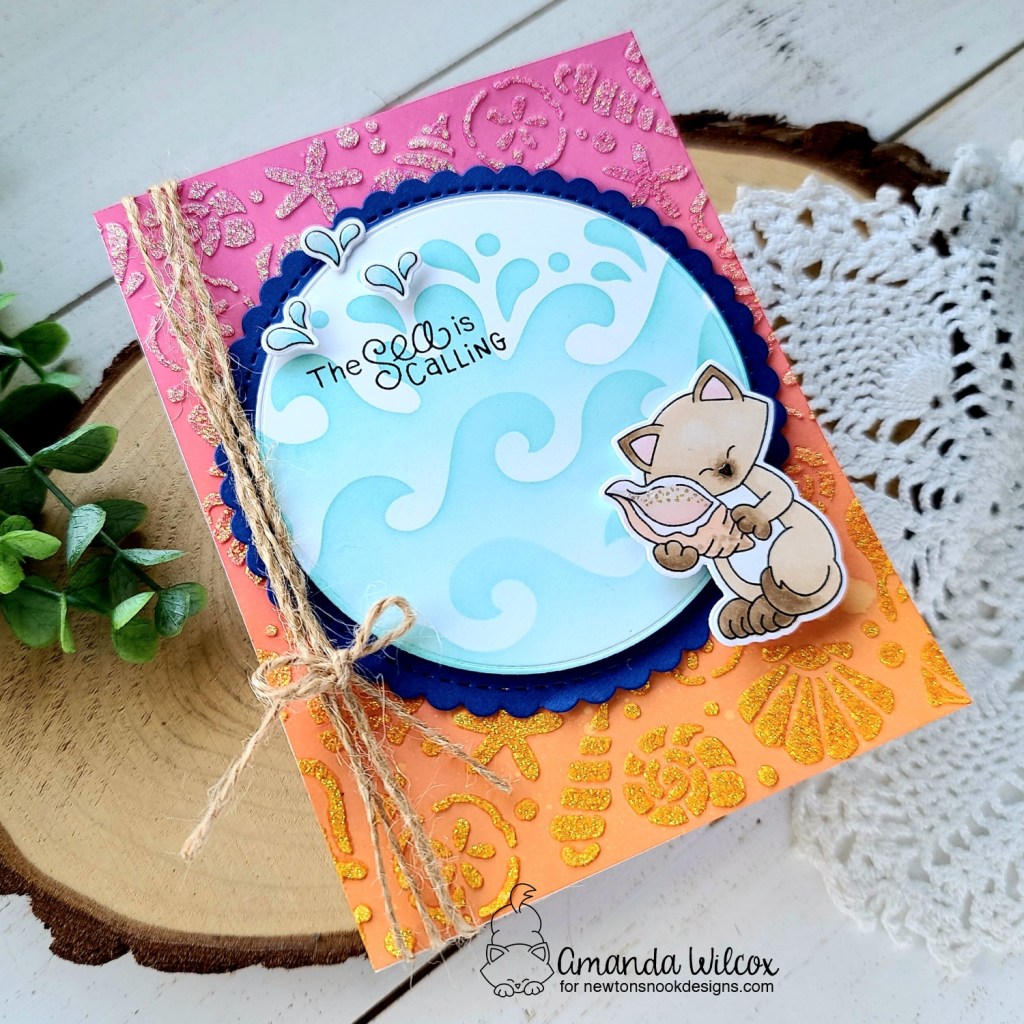
Do you just love the little mini stamp sets? I don’t know why but I’m always drawn to them and just fell in love with Newton’s Seashell the same as all the others. I loved creating this card!
To start I stamped and colored the images with my copic markers and used the coordinating dies to cut them out. Then I switched gears to get inky messy!
I inked up a white panel with distress oxides in picked raspberry, abandoned coral and spiced marmalade. I taped the seashell stencil to it and spread iridescent glitz gel from Thermoweb over the whole thing. Then I set that panel aside and picked up my waves stencil.
This time I die cut a white circle and ink blended waves with a teal ink. I also stamped my sentiment on this panel. Next, I die cut the largest of the circle frames and started to assemble my card.
I used liquid glue to adhere my stenciled panel to a white card base. Then I also used liquid glue to adhere my blue circle. I used foam tape to add the waves circle and foam squares to add my images.
For finishing touches I wrapped some twine around the left side of my card and tied it in a bow. I just love the rough texture this gives. It makes me think of a tiki hut on the beach. Finally, I added glossy accents to the seashell, Newton’s Nose and the water drops by the sentiment.
Would you like to win the “Summer Moments” Stamp Set? This stamp set will be given away to ONE lucky winner!
Here’s how to win: Comment on the NND blog and Design Team blogs (see list below)! Thewinner will be chosen at random from the collective reveal posts. Make sure to check out each of their blogs and comment for your chance to win. You will not know which blog has been chosen so the more you comment on the better your chances are of winning! You have until Thursday June 17th at 9pm ET to comment — winners will be announced on the blog post on Friday, June 18th.
Check out all the awesome Design Team Blogs below to enter:
Who’s ready for a whole week of amazing Newton’s Nook reveals??? I totally am! This release is my favorite so far…EVER!!!! It’s packed full of such amazing summer goodies. I know you’re going to love it all! Today we have three new things to share with you so let’s get started!
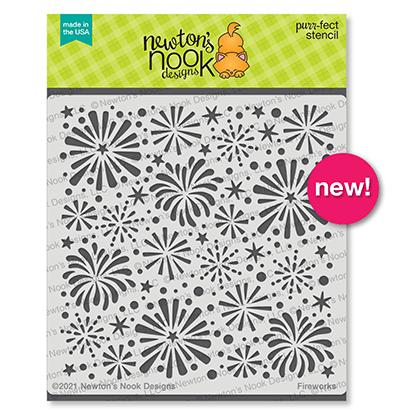
Fireworks Stencil
Newton’s 4th of July
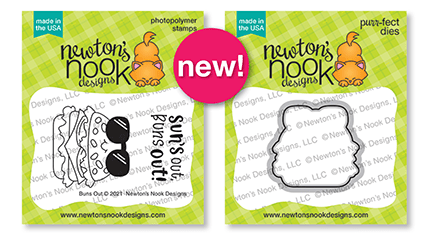
Buns Out
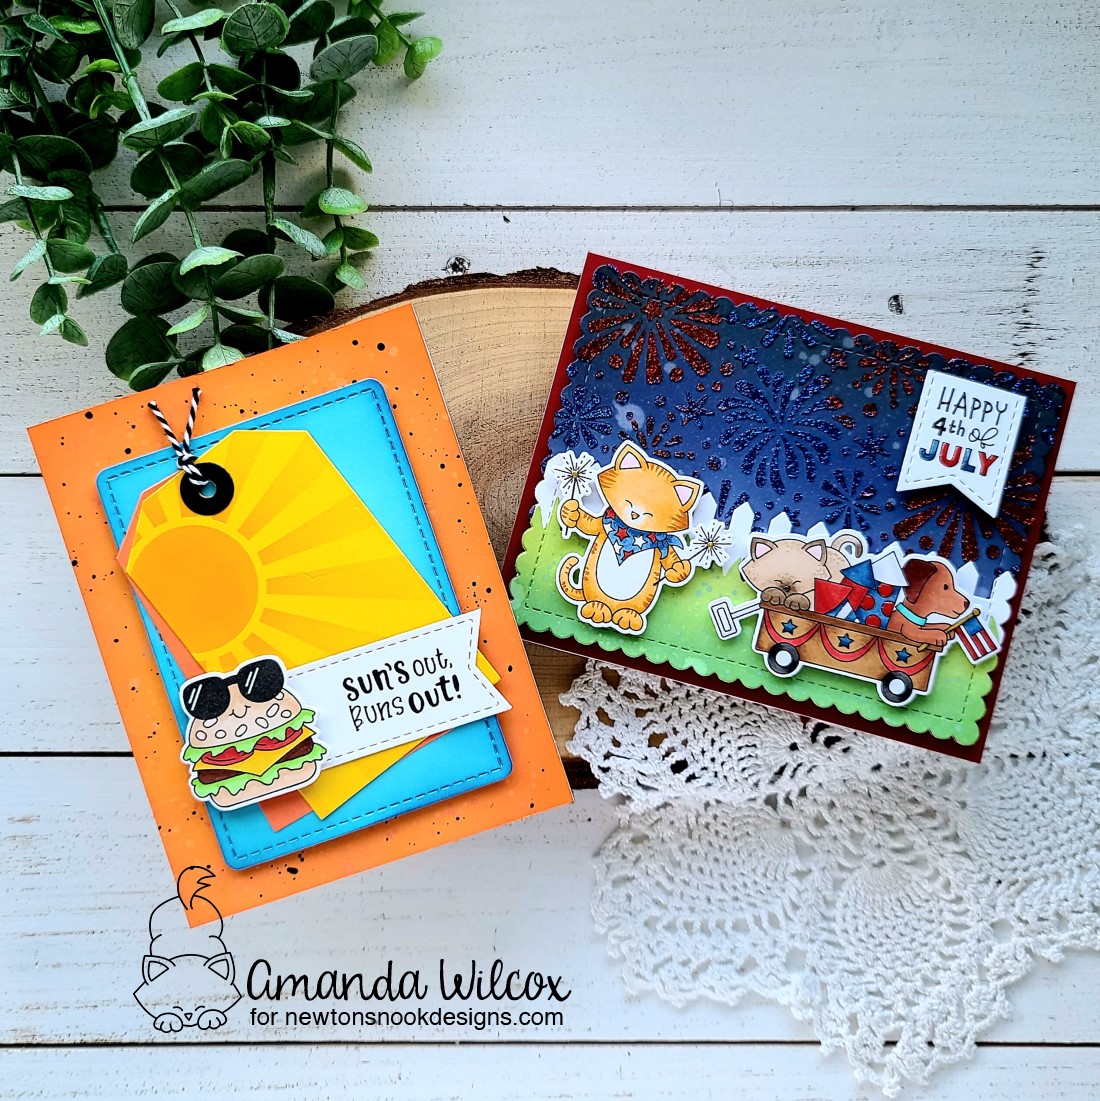
OH! MY CUTENESS!!! Am I right?!? Yeah, I know I’m right! I have two really fun cards to share with you today using all of these products.
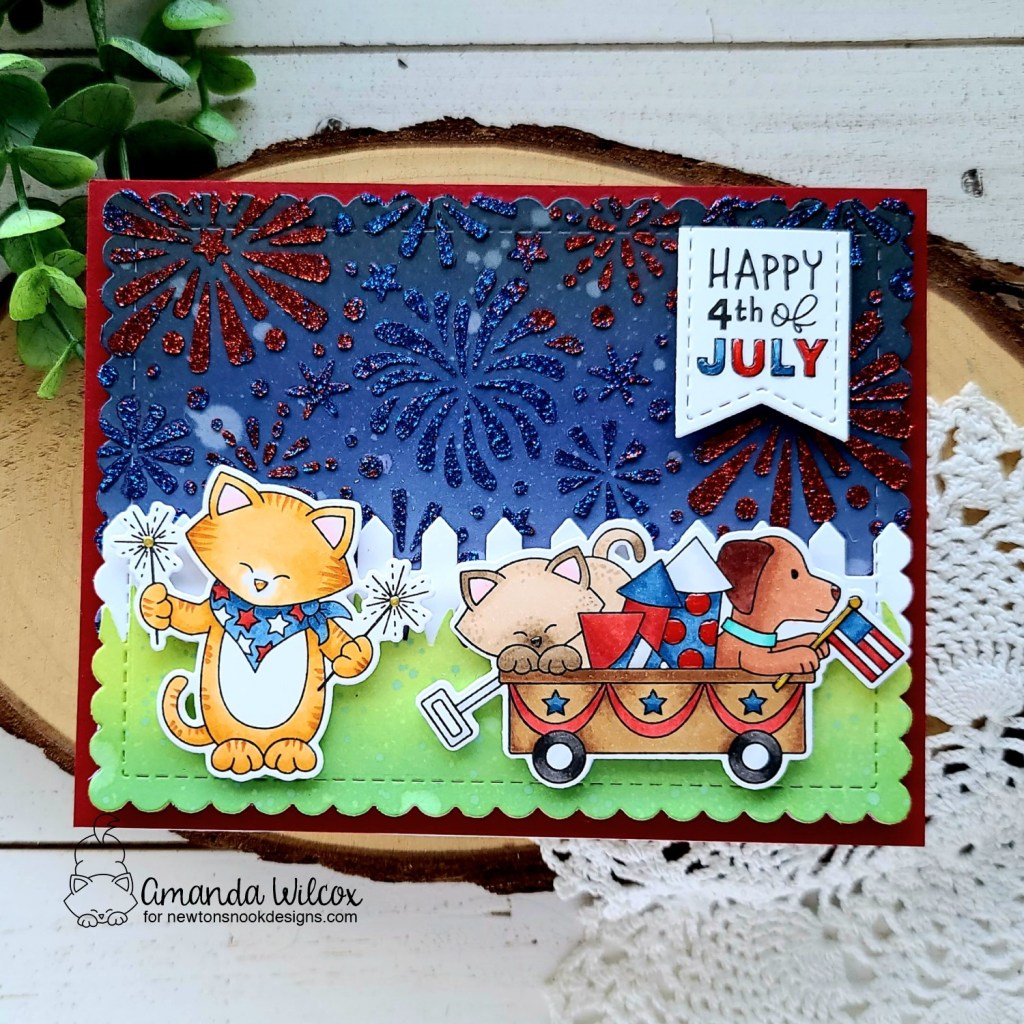
For this awesome 4th of July card, I started by stamping and coloring images from Newton’s 4th of July and then used the coordinating dies to cut them out. Then I die cut a scalloped rectangle from Frames & Flags dies and taped it to the new Fireworks stencil. I carefully smeared glitz gel in brilliant blue and red velvet in various spots trying for a multicolored fireworks look. I set the panel aside to dry while I did a little more die cutting of the ground and fence.
I left the fence white and ink blended the grass panel with twisted citron and mowed lawn distress oxide inks. Then I spritzed it with water and flicked some watered down mowed lawn ink too.
For assembly, I cut down a piece of red cardstock to A2 size and adhered it to a white card base. Then I used foam tape to pop up the fireworks panel and liquid glue to adhere the ground and fence. Last, I added foam squares to the back of my images and popped them in place.
Finally, I die cut a stitched flag from Frames & Flags and stamped my sentiment. I used copics to do simple coloring on the open letters, trimmed the flag down and adhered it to my scene with foam squares.
For finishing touches, I added glossy accents to various spots on my images like the stars and dots and, of course, noses. Then I added little dots of bright gold Nuvo Crystal Drops to the center of Newton’s sparklers on the left image.
I really love creating 4th of July crafts of all kinds so this card brought me a bit of extra joy. I can’t wait to make new decorations for my house for the 4th this year too!
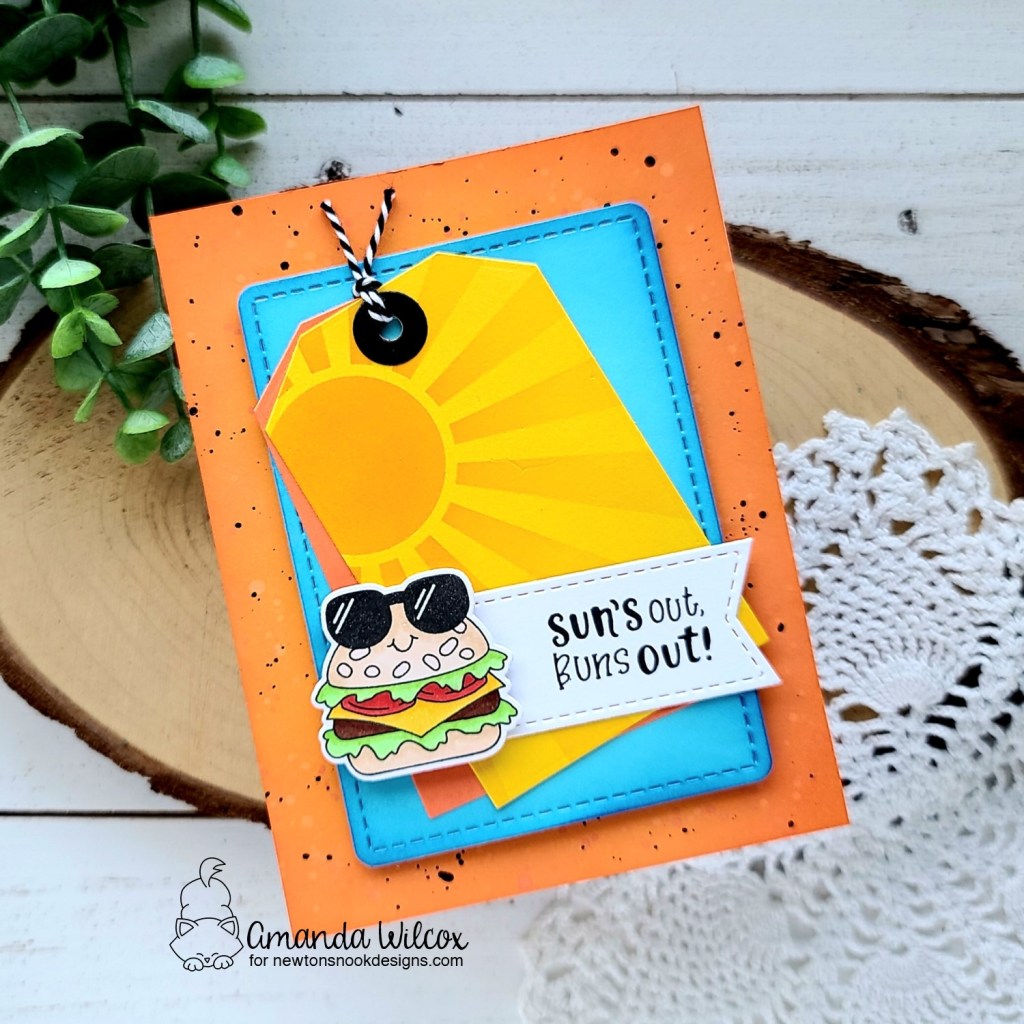
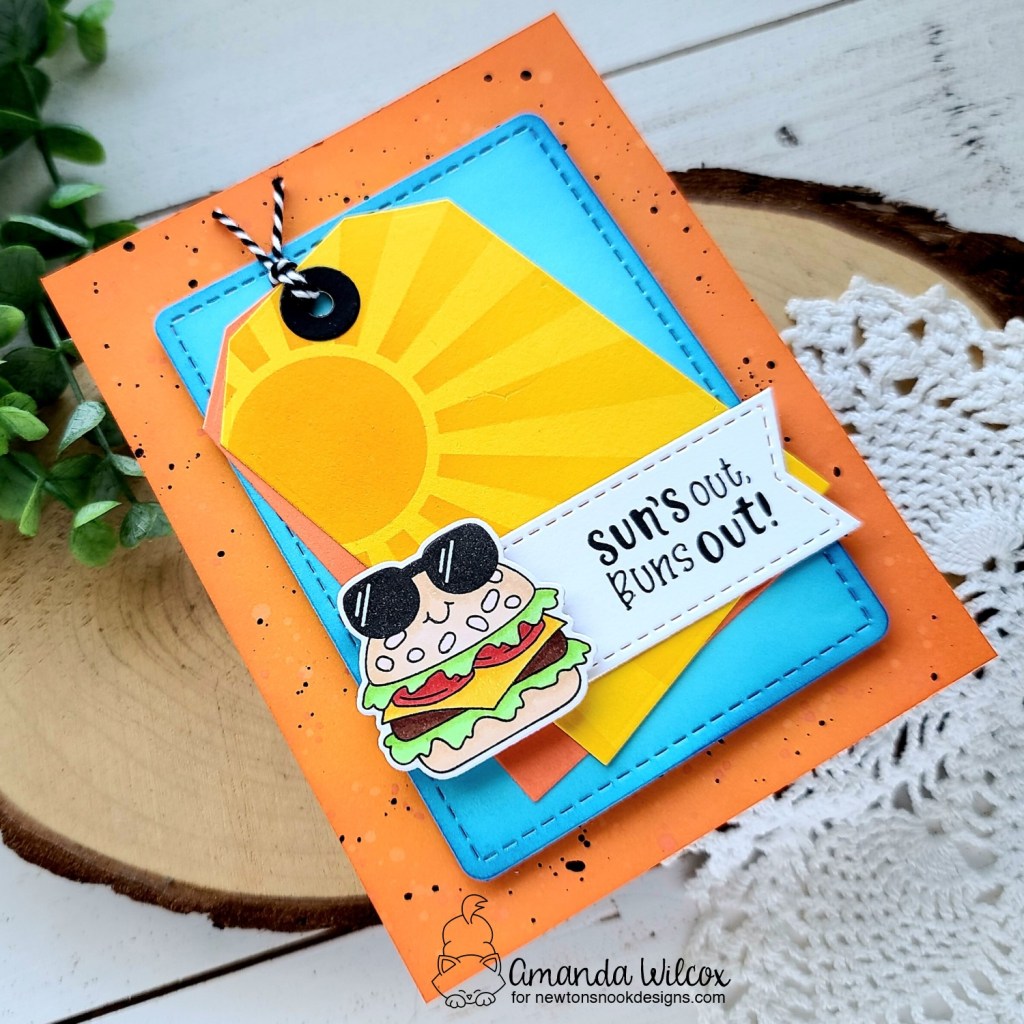
Next, we have a card featuring the super silly and awesome Buns Out stamps and die.
I stamped and colored this adorable image with my copic markers and used the coordinating die to cut it out. Next, I die cut the Fancy Edges Tag from yellow and orange cardstocks. Then I inked up the yellow one with the Sunscape stencil. I die cut the hole reinforcer from black and strung the tags together with baker’s twine.
Next, I die cut the rounded rectangle from Frames & Flags dies from blue cardstock and inked up the edges with a slightly darker blue ink for some depth. Then for my background panel, I inked up an orange piece of cardstock with spiced marmalade distress oxide and spritzed it with water. Then I came back and flicked some watered down black acrylic paint on the panel too.
Last, I die cut a stitched flag from Frames & Flags and stamped my sentiment on the right side of it. Then I moved on to assembling my card layers.
I started by adhered the orange panel to a white card base with liquid glue. Then I popped the blue panel up with foam tape. I adhered the tags with liquid glue and then the banner to that the same way. Finally, I popped up my cheeseburger (Oh my cuteness!) with foam squares.
Isn’t this just too cute?!? Cracks me up every time!
Would you like to win the “Newton’s 4th of July” Stamp Set? This stamp set will be given away to ONE lucky winner!
Here’s how to win: Comment on the NND blog and Design Team blogs (see list below)! Thewinner will be chosen at random from the collective reveal posts. Make sure to check out each of their blogs and comment for your chance to win. You will not know which blog has been chosen so the more you comment on the better your chances are of winning! You have until Thursday June 17th at 9pm ET to comment — winners will be announced on the blog post on Friday, June 18th.
Check out all the awesome Design Team Blogs below to enter: