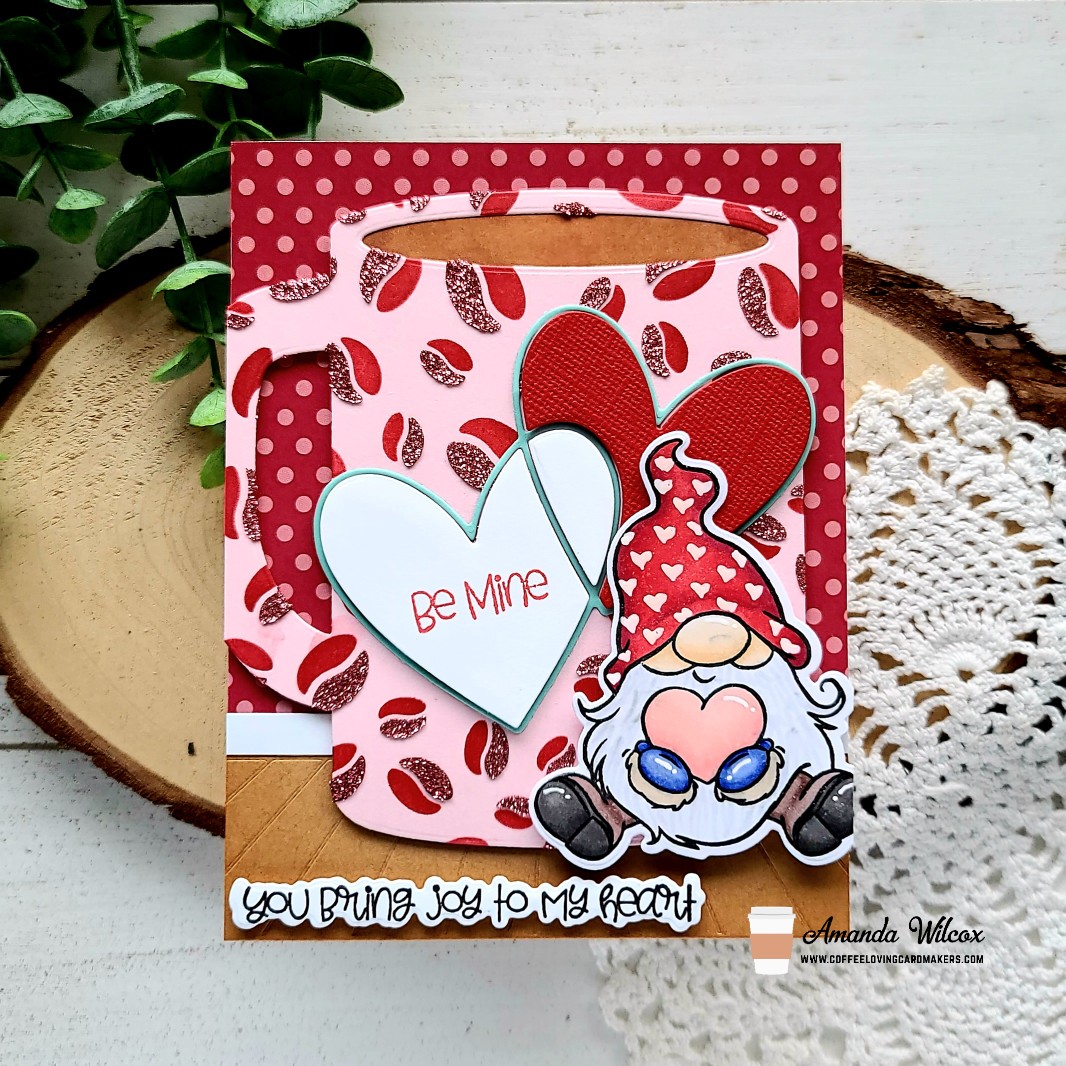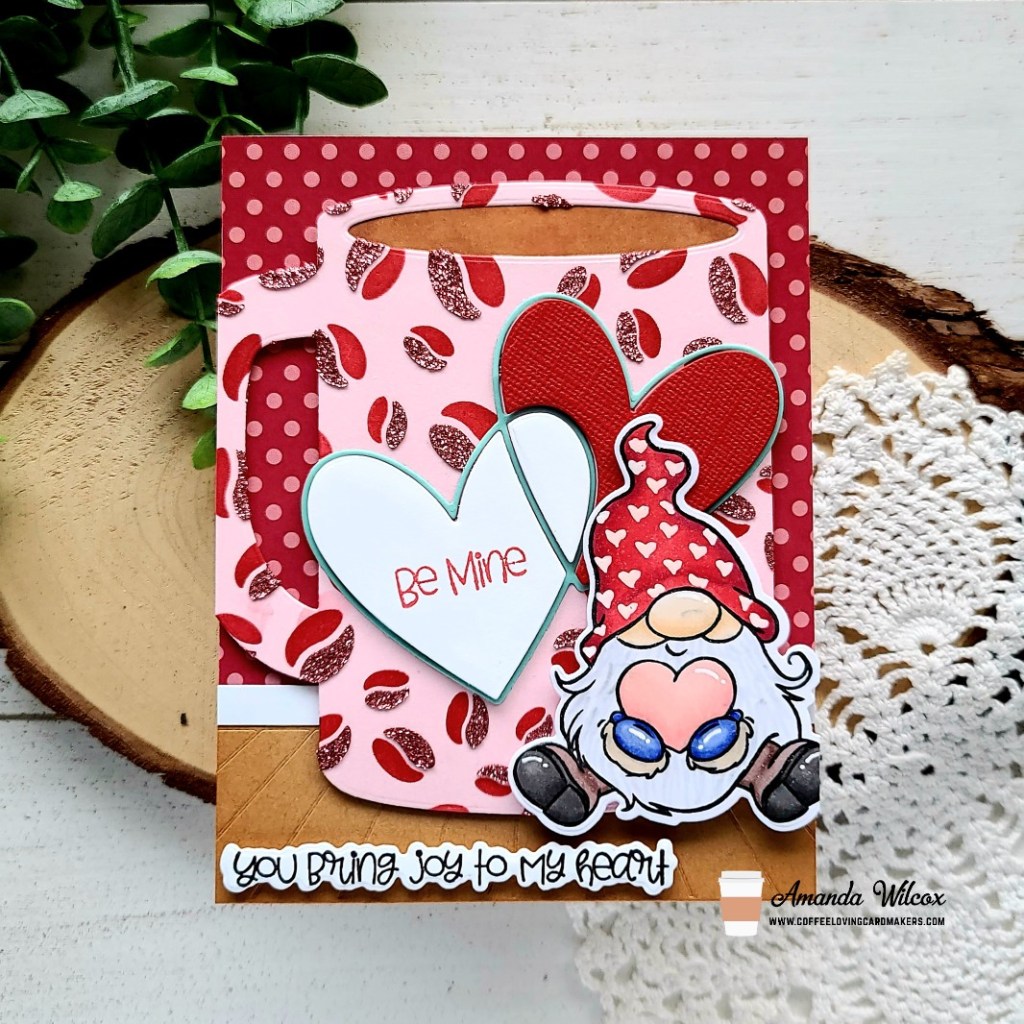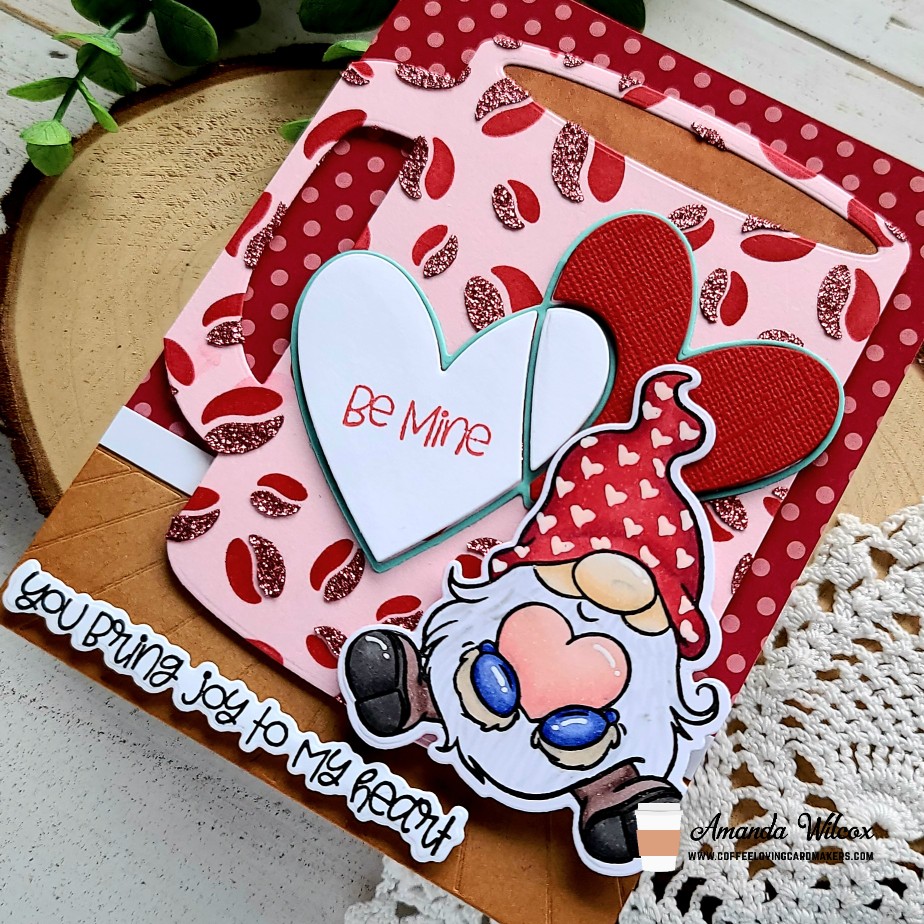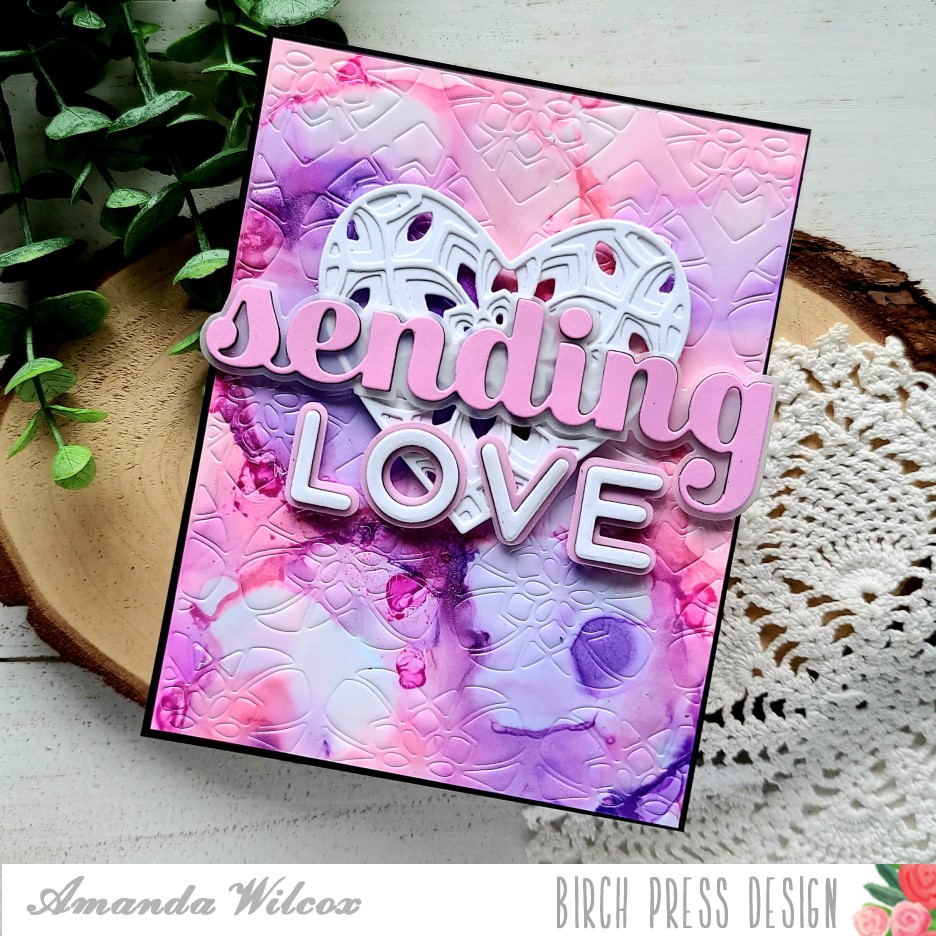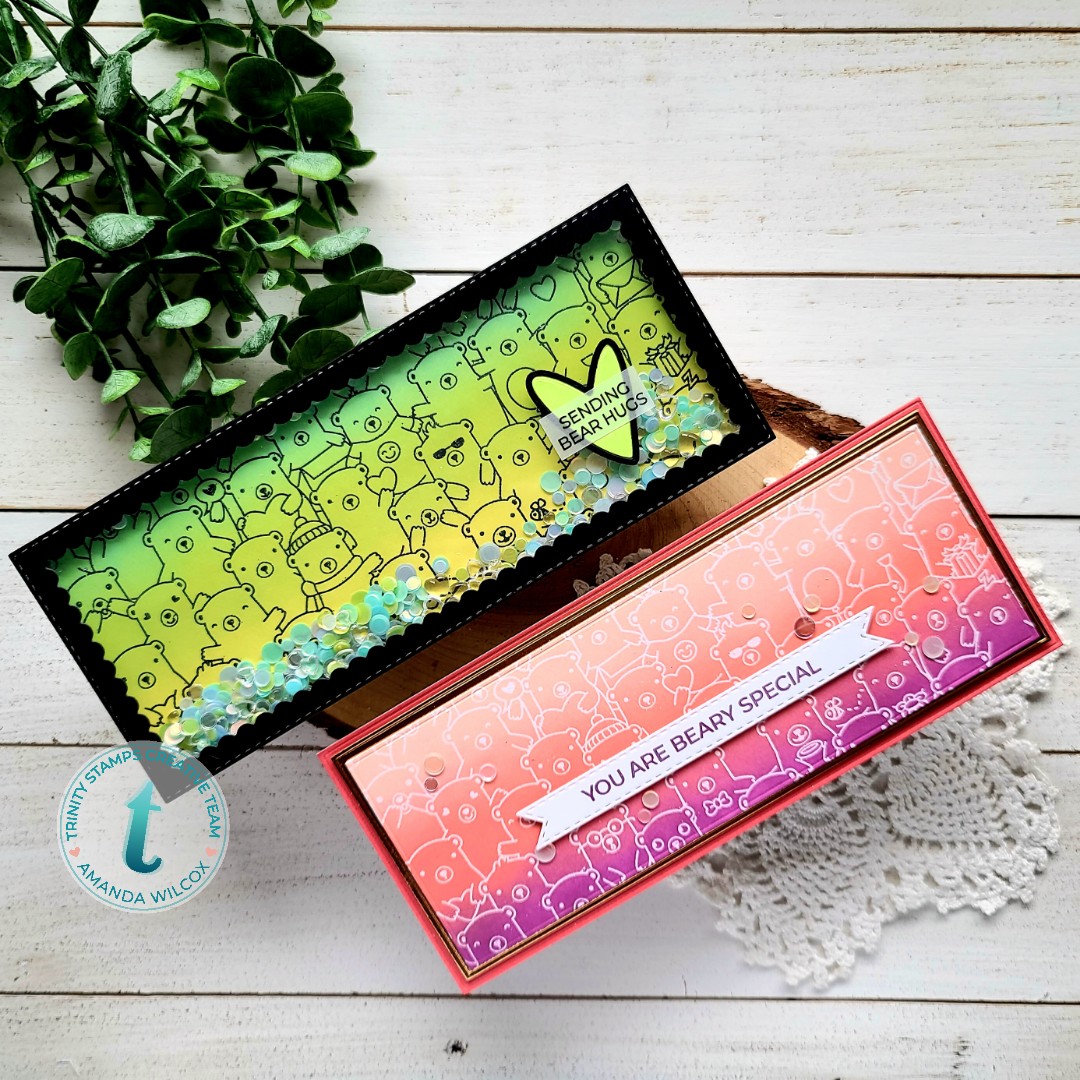
Hey friends! I’m over on the Trinity Stamps blog today with a couple of fun slimline cards featuring the newly released Beary Special slimline stamp set. I thought it would be fun to make 2 different cards using a lot of the same techniques and products.
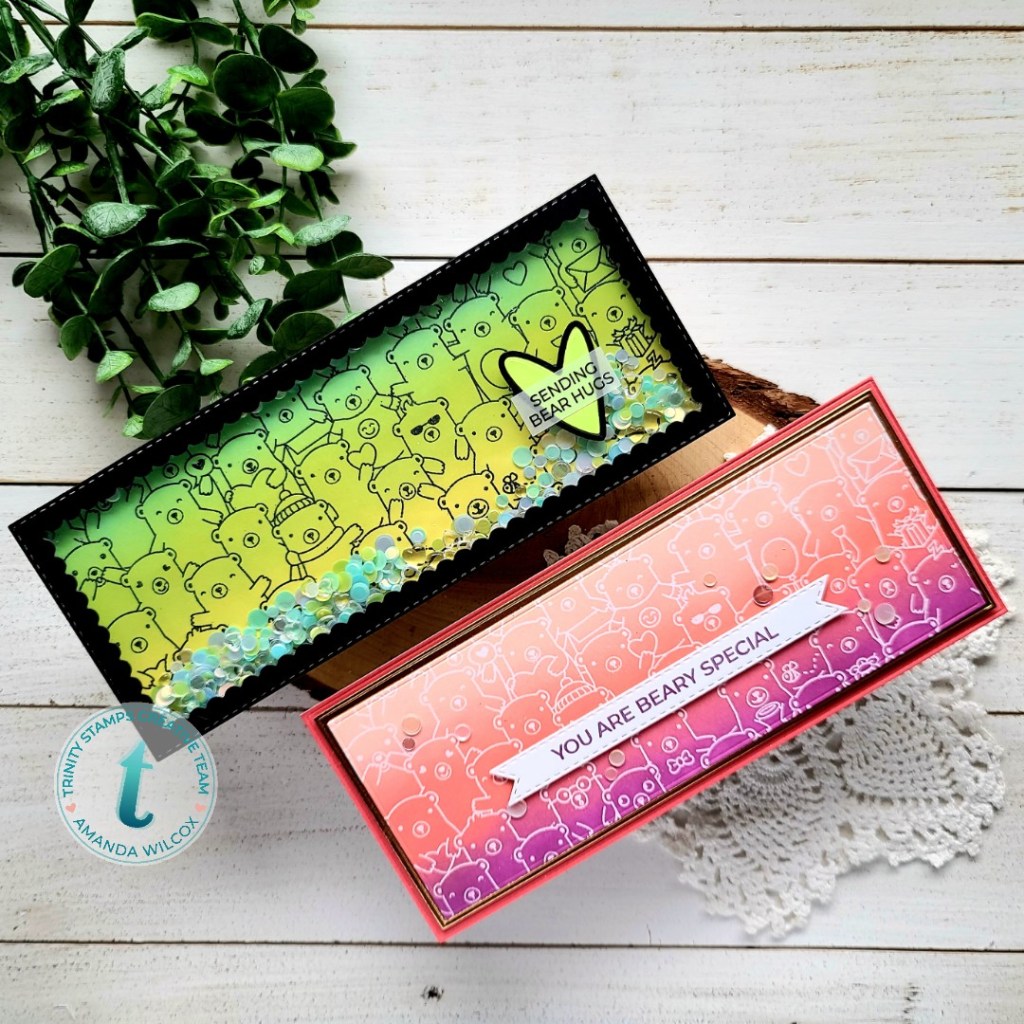
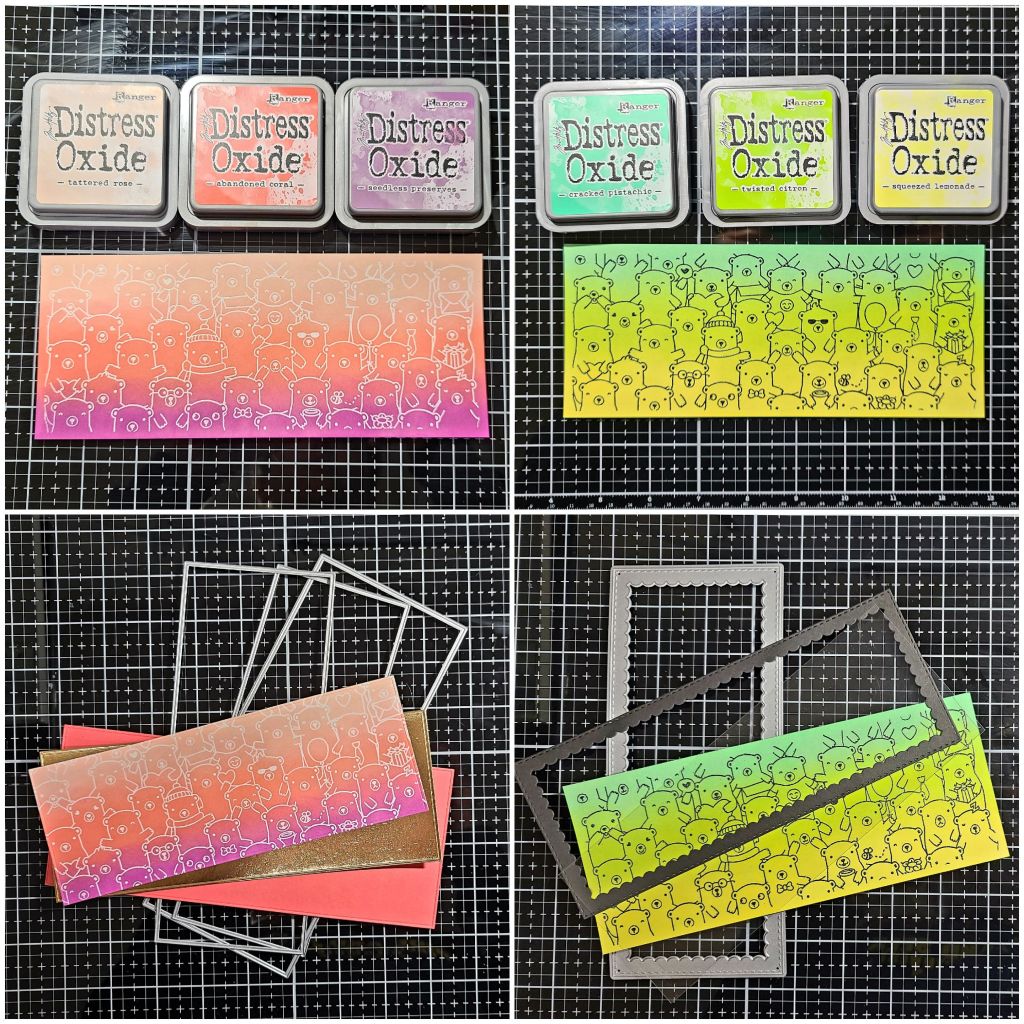
I started by inking up my Beary Special stamp with VersaMark ink and heat embossing 2 panels – one in white and one in black. Then I ink blended distress oxides over each one. I cut the green-toned one with the largest of the Modern Embossed Slimline dies. For the pink-toned panel, I cut three pieces with those same dies – coral cardstock, rose gold foiled cardstock, and then the inked panel.
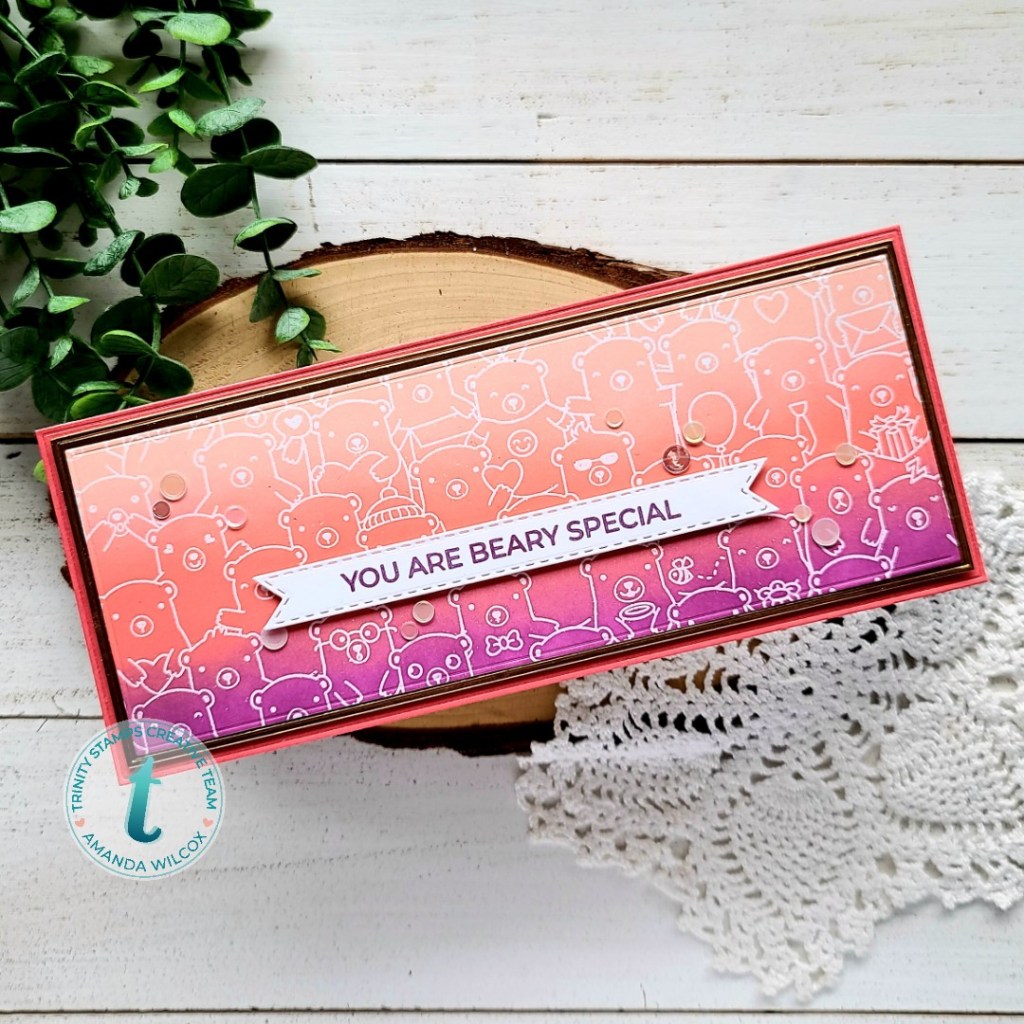
Finishing off the pink-toned card, I adhered the largest panel to a white cardbase, then popped up the other 2 panels with foam tape. I stamped a sentiment from Beary Special with Seedless Preserves and die cut it with a banner from Slimline Series Scalloped Panels and Banners. I popped the banner up with foam tape and glued a scattering of confetti embellishments across the design.
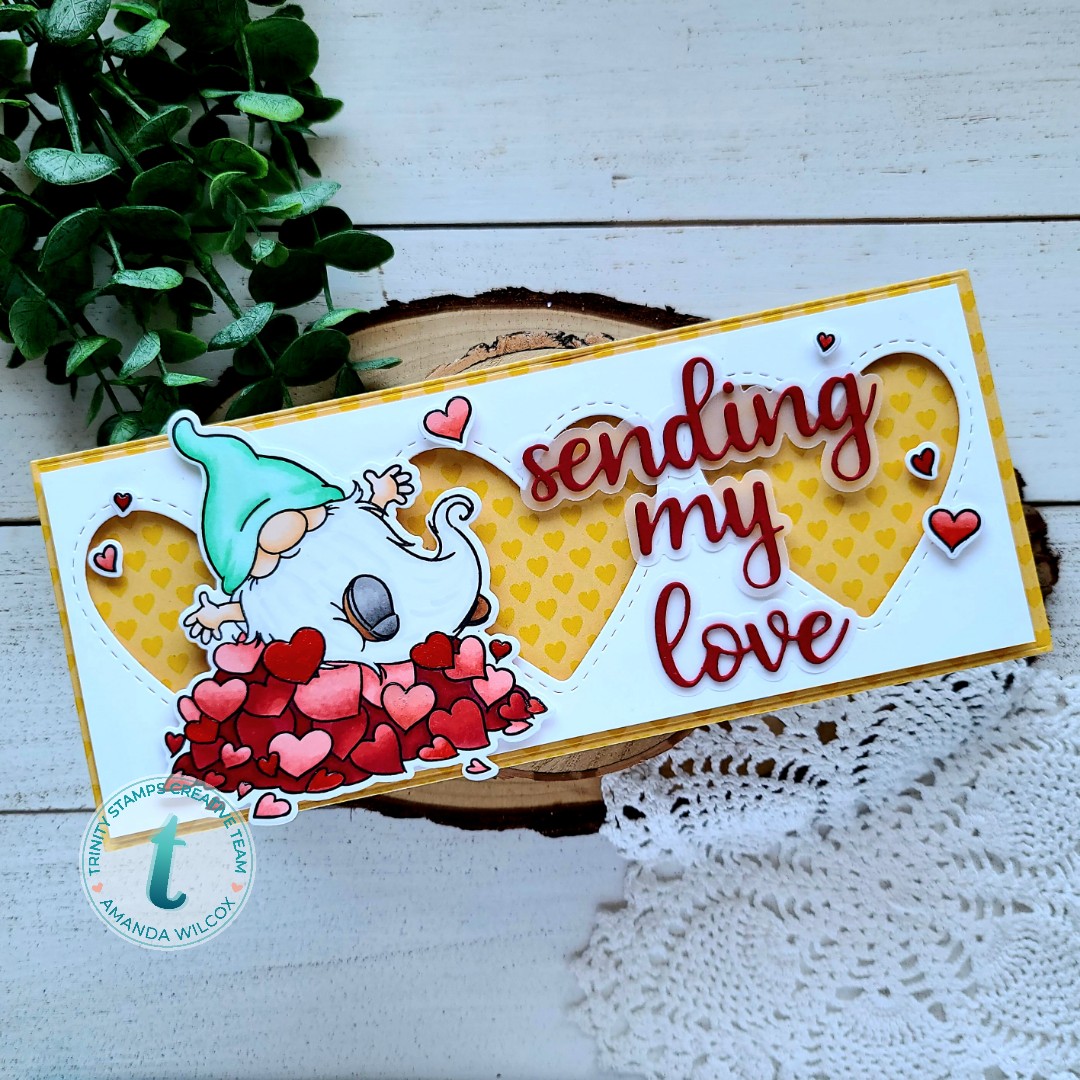
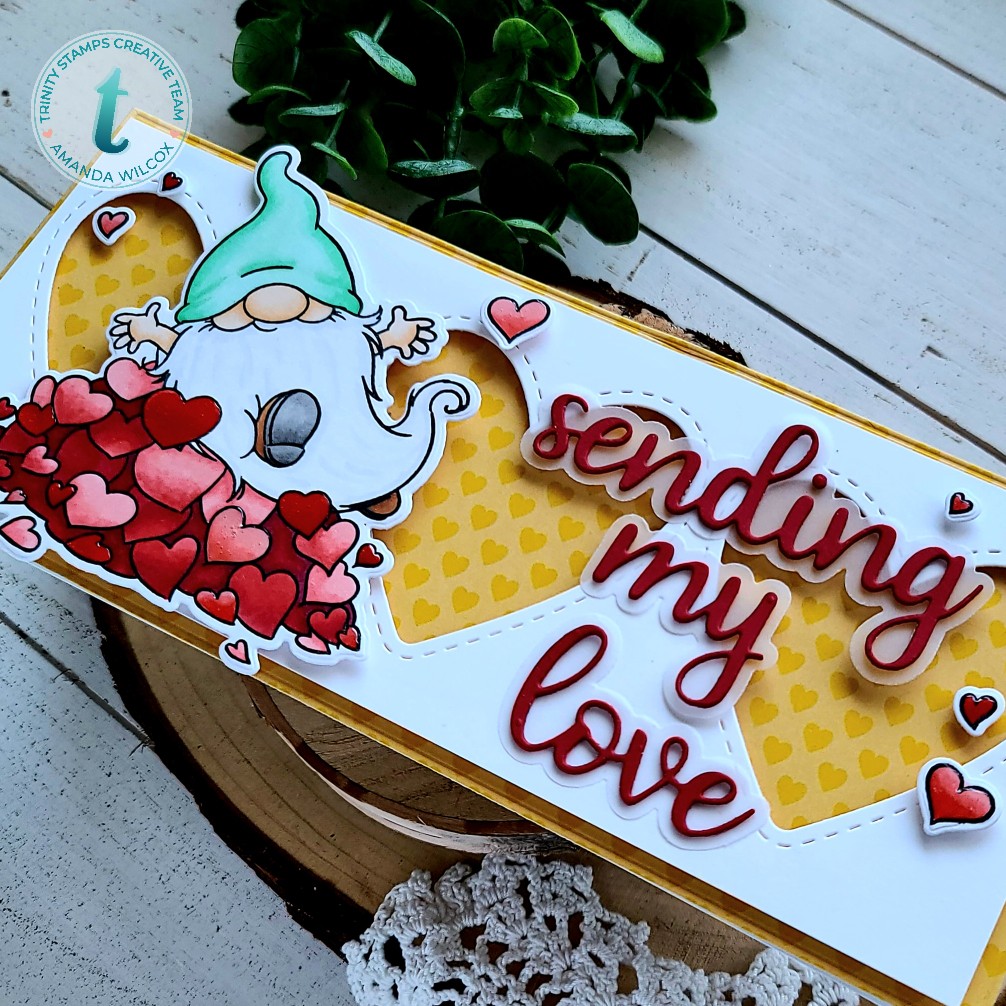
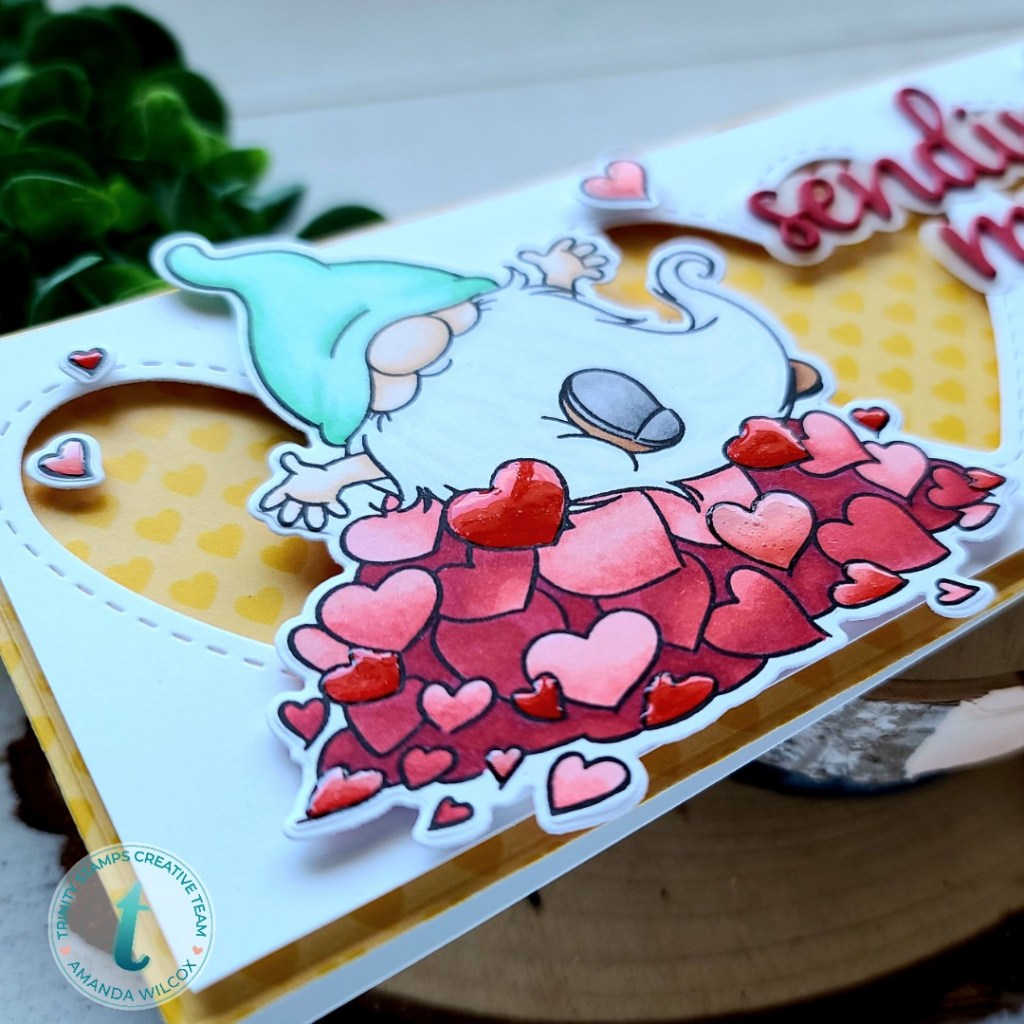
Switching gears back to the green-toned card, we’ve got our panel and now it’s time to build it into a shaker. I die cut the scalloped frame that comes with the Slimline Envelope Builder die set from back cardstock. I cut a piece of acetate and adhered them together with double-sided tape. Then I lined the frame with double-height foam strips.
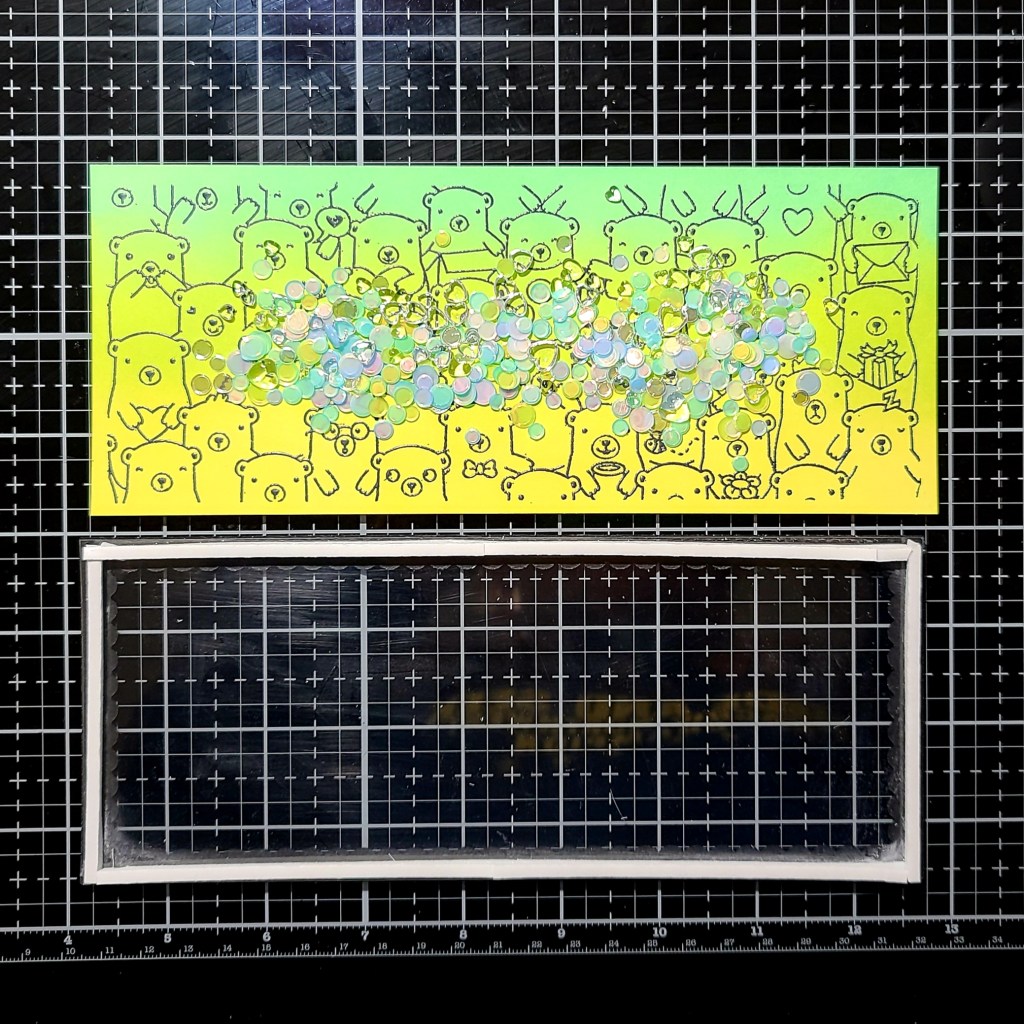
I sprinkled confetti bits and resin hearts on my panel, removed the release paper from the foam strips and adhered them together. I used liquid glue to add the shaker to a card front and moved in to the sentiment.
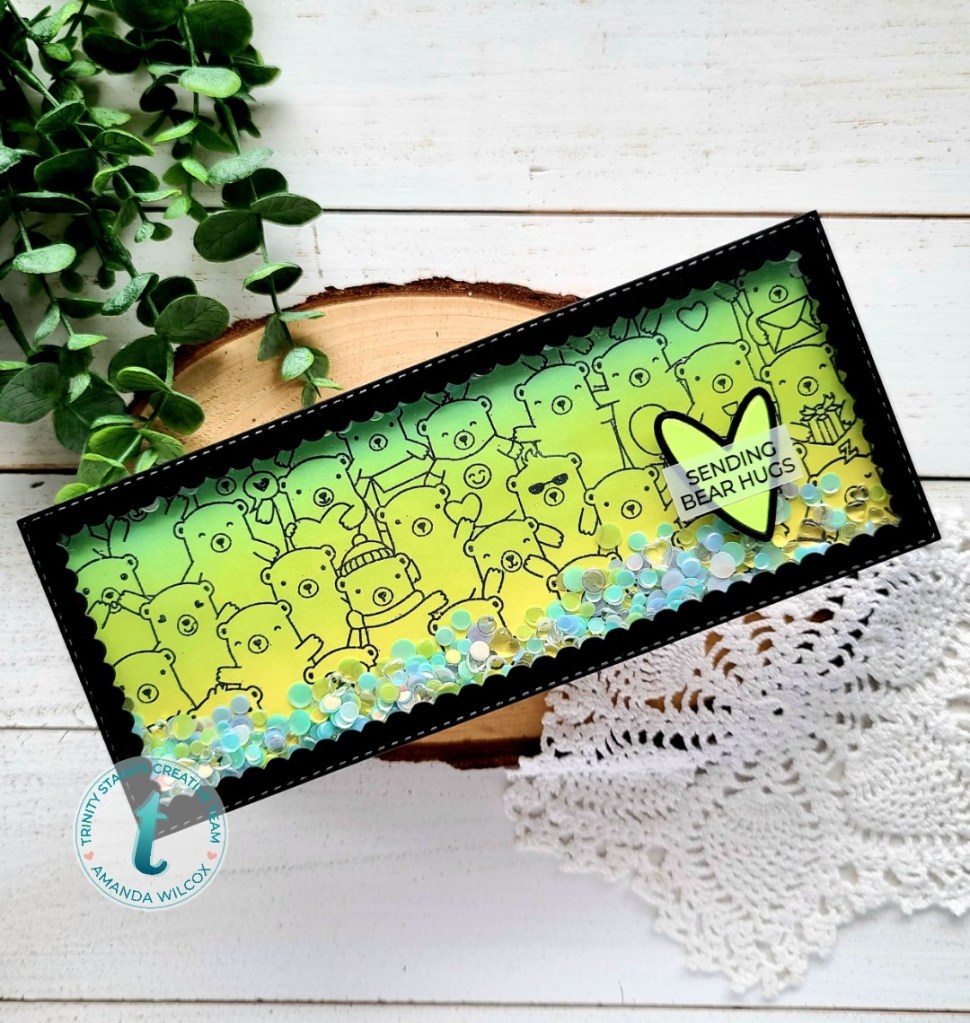
For that, I die cut the heart from the Marshmallow Alphabet dies from a similar green and black cardstock and adhered them to the acetate window with liquid glue. I stamped and heat embossed a sentiment from Beary Special on vellum and cut it into a rectangle. I smeared a layer of liquid glue on the back of the vellum and attached it to the heart.
I hope you’ve enjoyed today’s projects and found a little inspiration to create something wonderful.
I appreciate you sharing your time with me. Have a fabulous day!