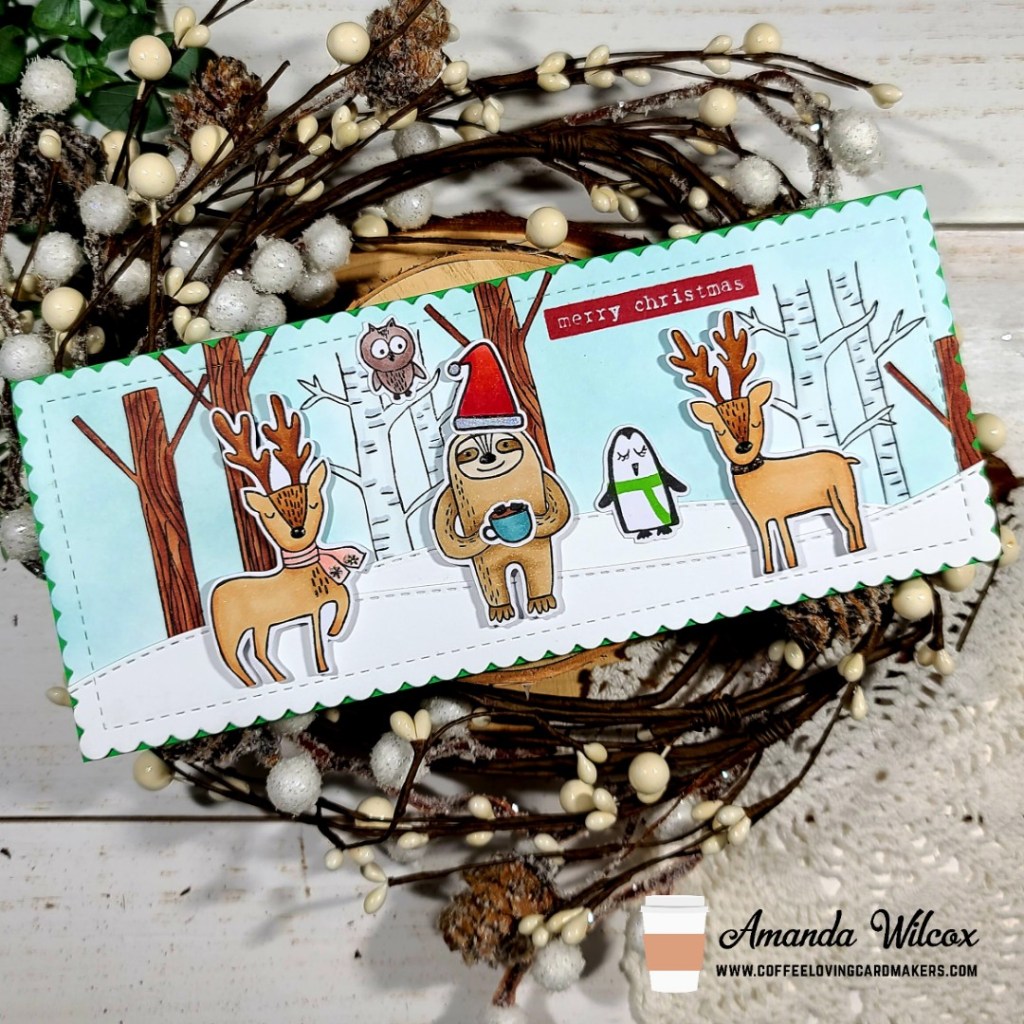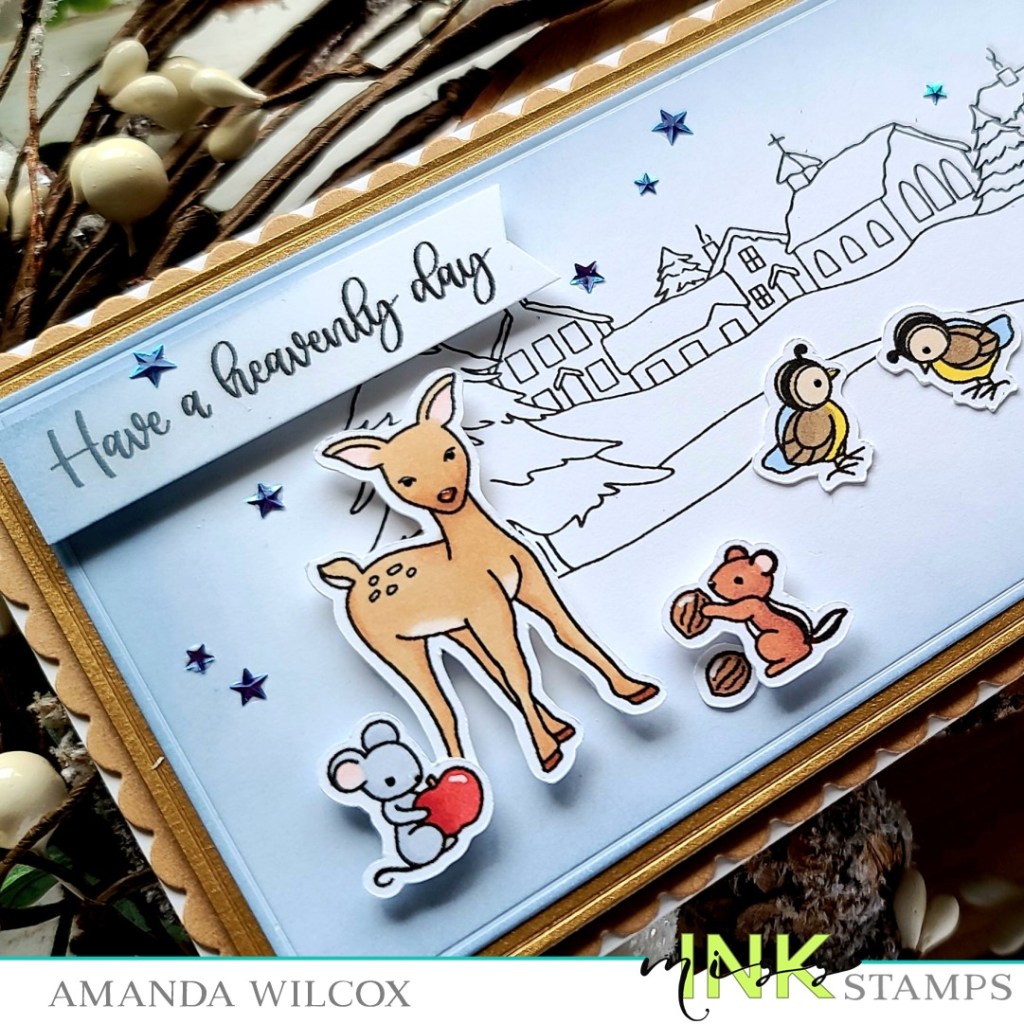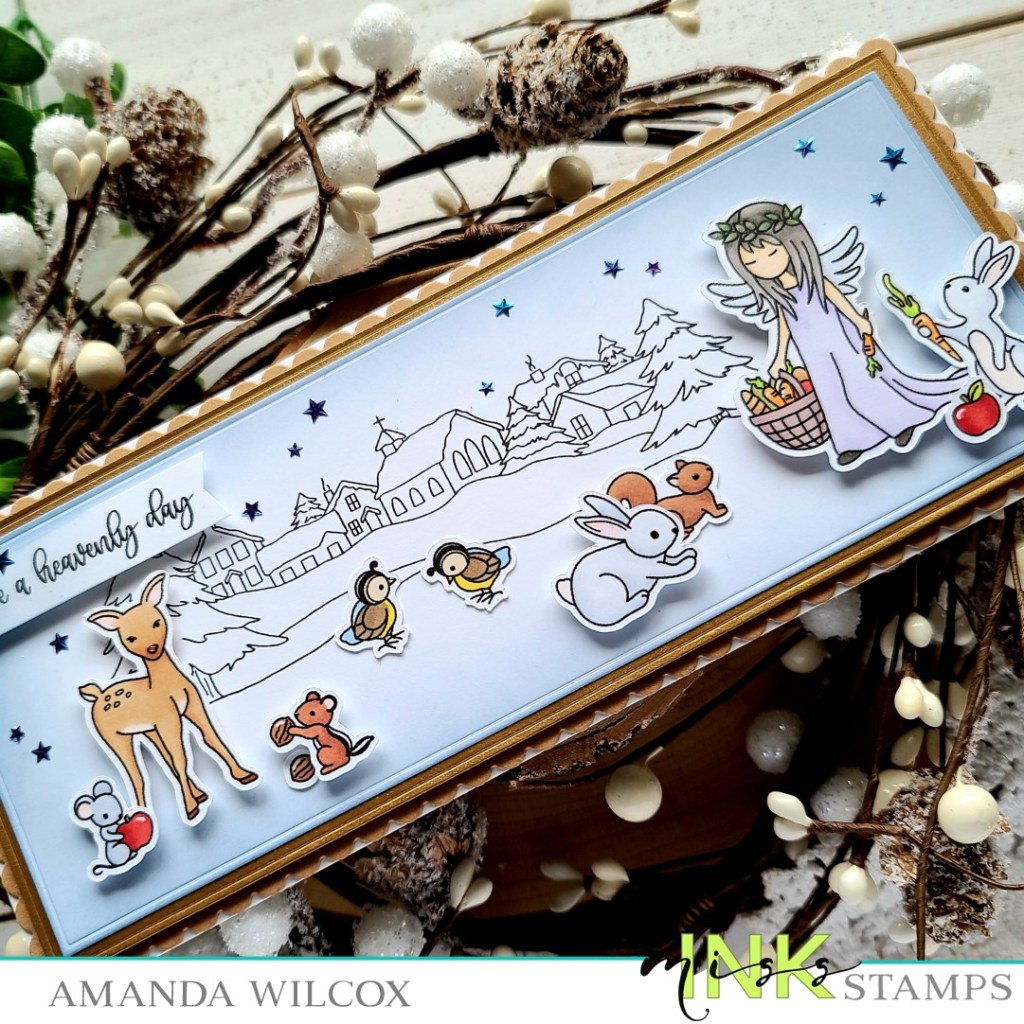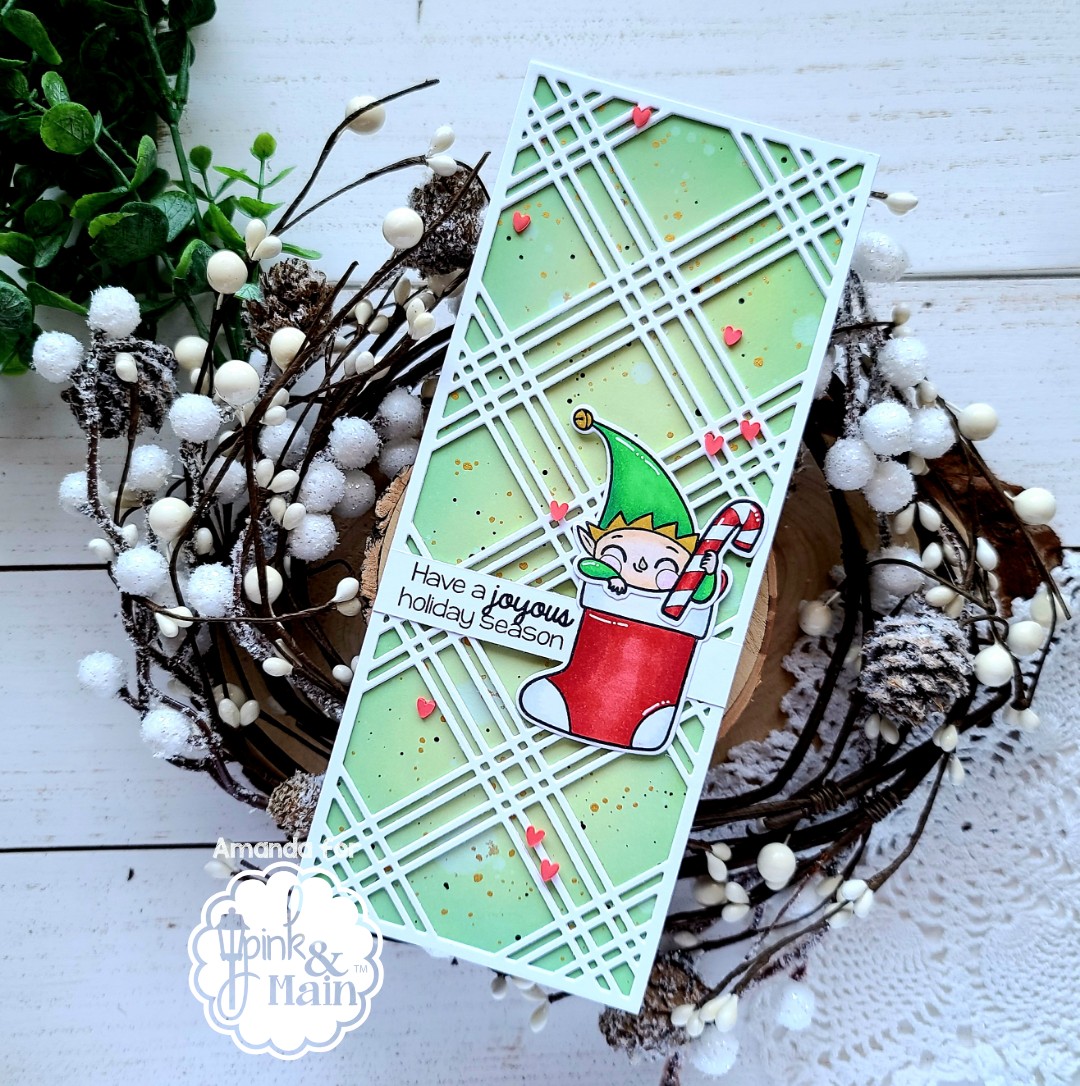
Hey friends! I’m over on the Pink & Main blog today mixing and matching some fun goodies to create an adorable slimline Christmas card!

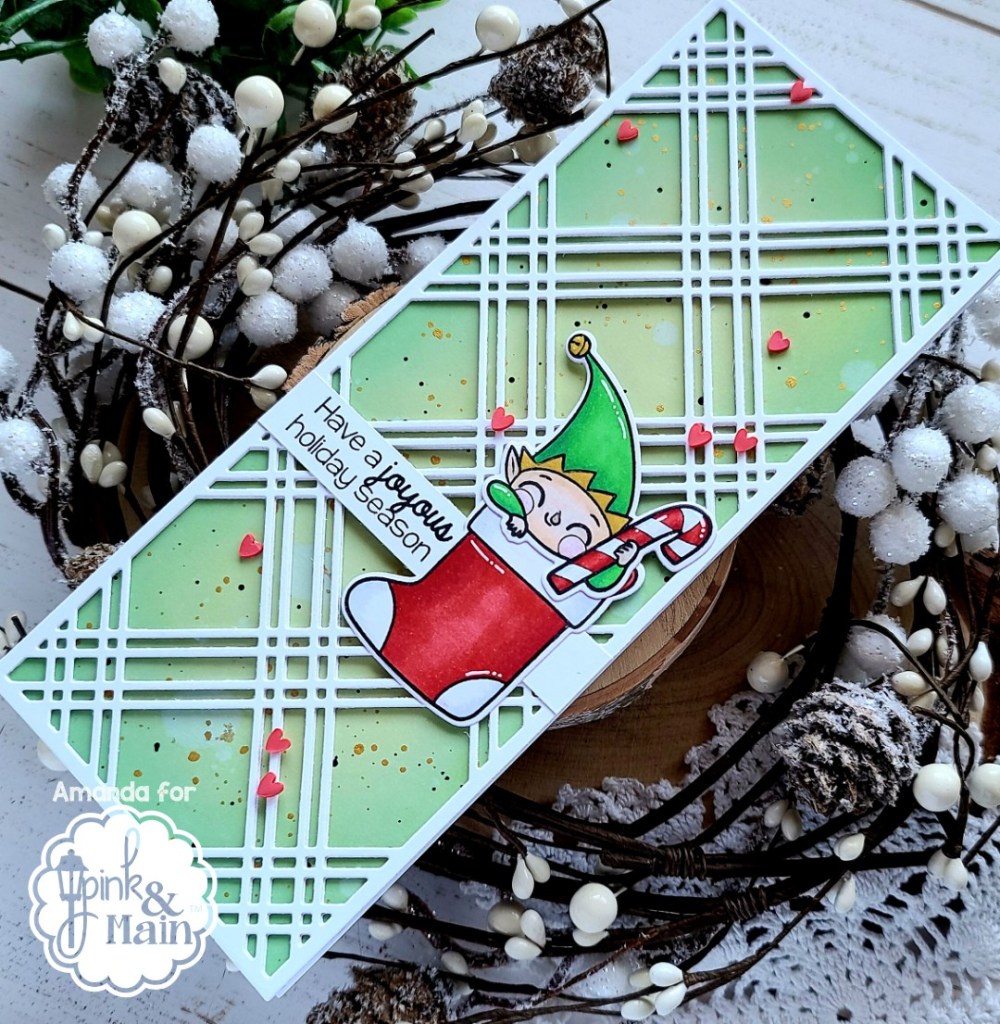
I knew I wanted to try something with the new slimline plaid die so I cut it out first off. I actually cut it out 3 times and glued them all together for some dimension. Then I pulled out Stocking Stuffers because I have been itching to get that elf colored up! I stamped and colored my images with copic markers and used the coordinating dies to cut them out.
I wasn’t totally sure on a sentiment so I planned to use the Merry Christmas in the Stocking Stuffers set but dug in my stash instead and found this sweet sentiment in Christmouse to use instead. I stamped it on a strip and glued my elf stocking to the side of it.
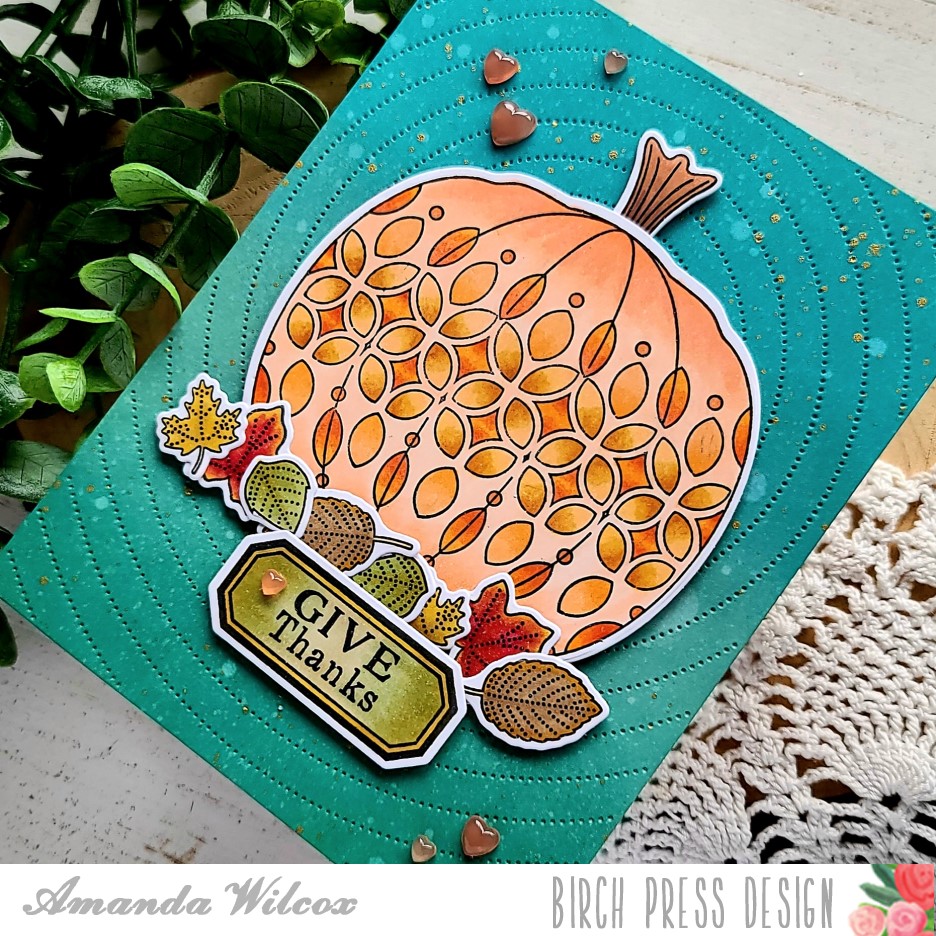
I couldn’t decide on a background color from my cardstock stash so I pulled out my distress oxide inks and made my own. This is a blend of shabby shutters and mowed lawn. I spritzed it with water and then flicked black acrylic paint and gold watercolor all over it too.
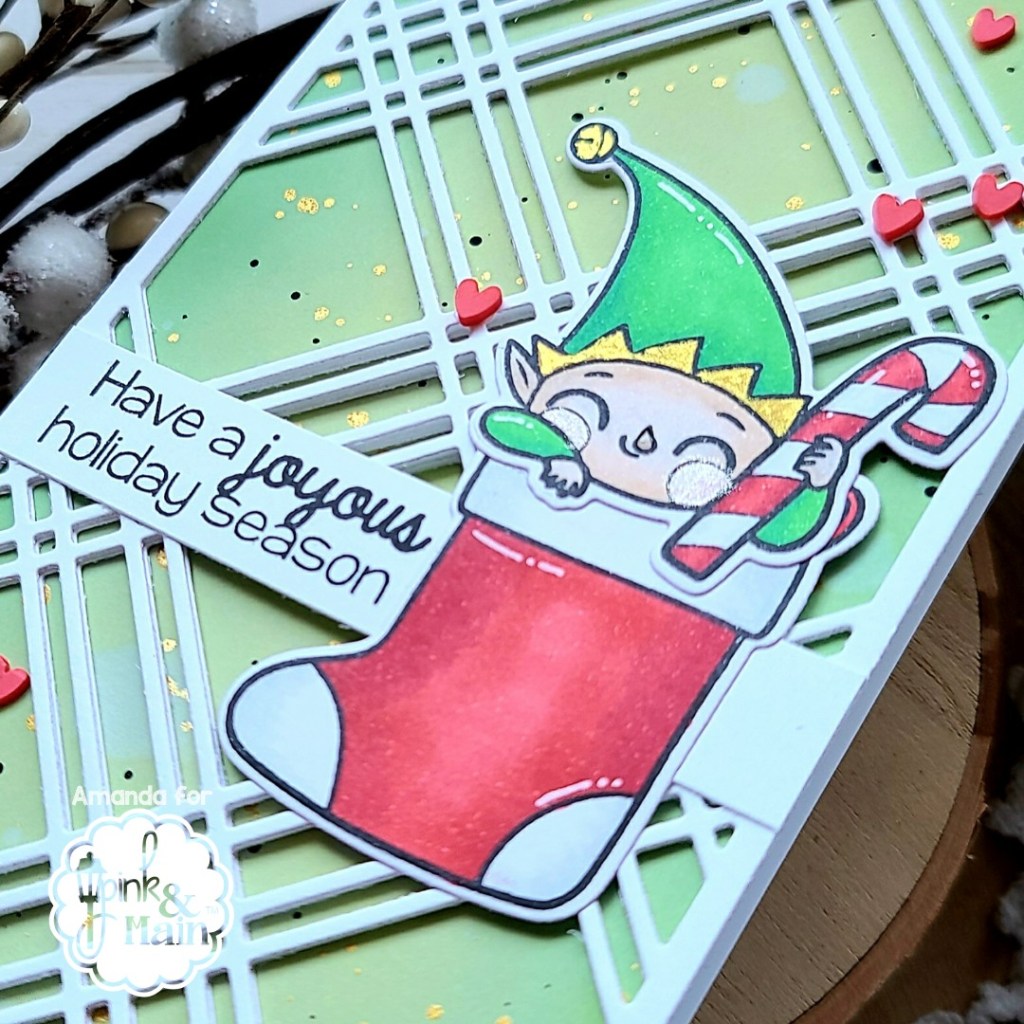
I adhered all of my layers to a white card base and decided to add just a few finishing touches. For those, I started with Wink of Stella glitter brush pen on the elf’s cheeks and then I thought some shimmer on his hat would be good so I watercolored just a bit of gold on his hat brim and bell. I added a little glossy accents to his nose and some white gel pen accents to his hat, sleeve, the candy cane and stocking. Last of all, I added some cute red clay hearts throughout the design.
Such a fun and festive card! I really hope you like it. You could swap out colors of what you stuff the stocking with and make a bundle of these. It would be so cute to see a line up of all the different stockings together.
I appreciate you sharing your time with me. Have a fabulous day!