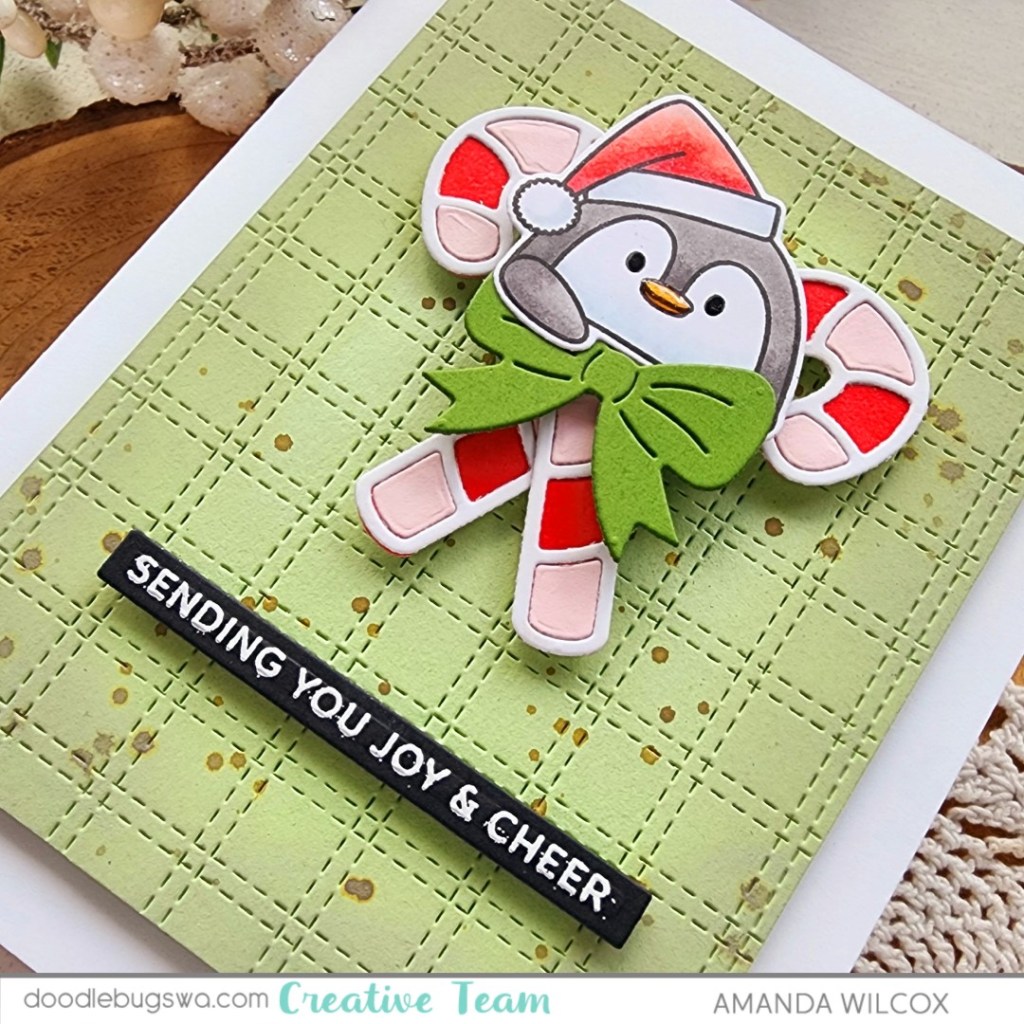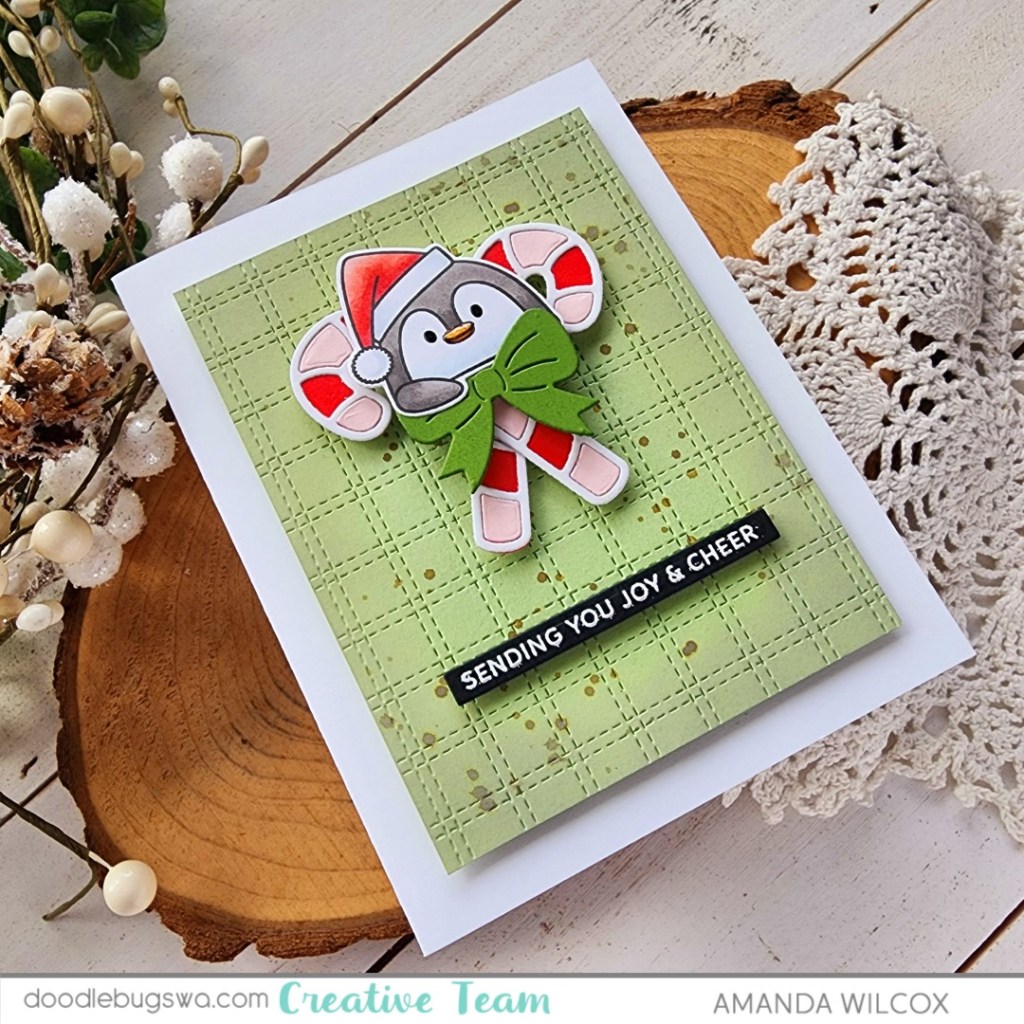
Welcome back! I’m SUPER excited to share today’s product reveals and my project using them! It’s all so fun and has really gotten me transitioning to holiday crafting.
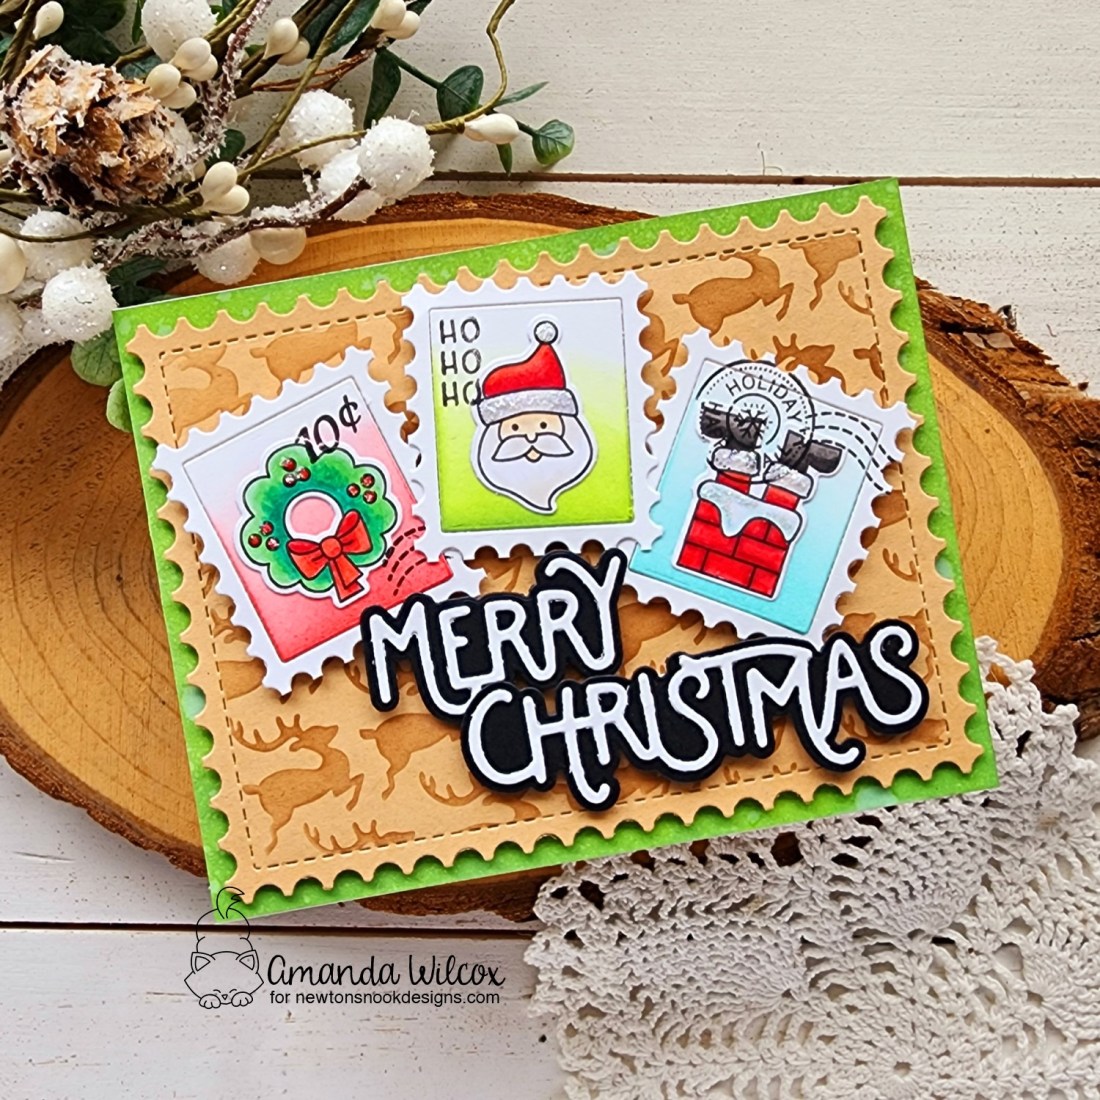
Holiday Postage Sample stamps and dies, Postage Stamp Layout die

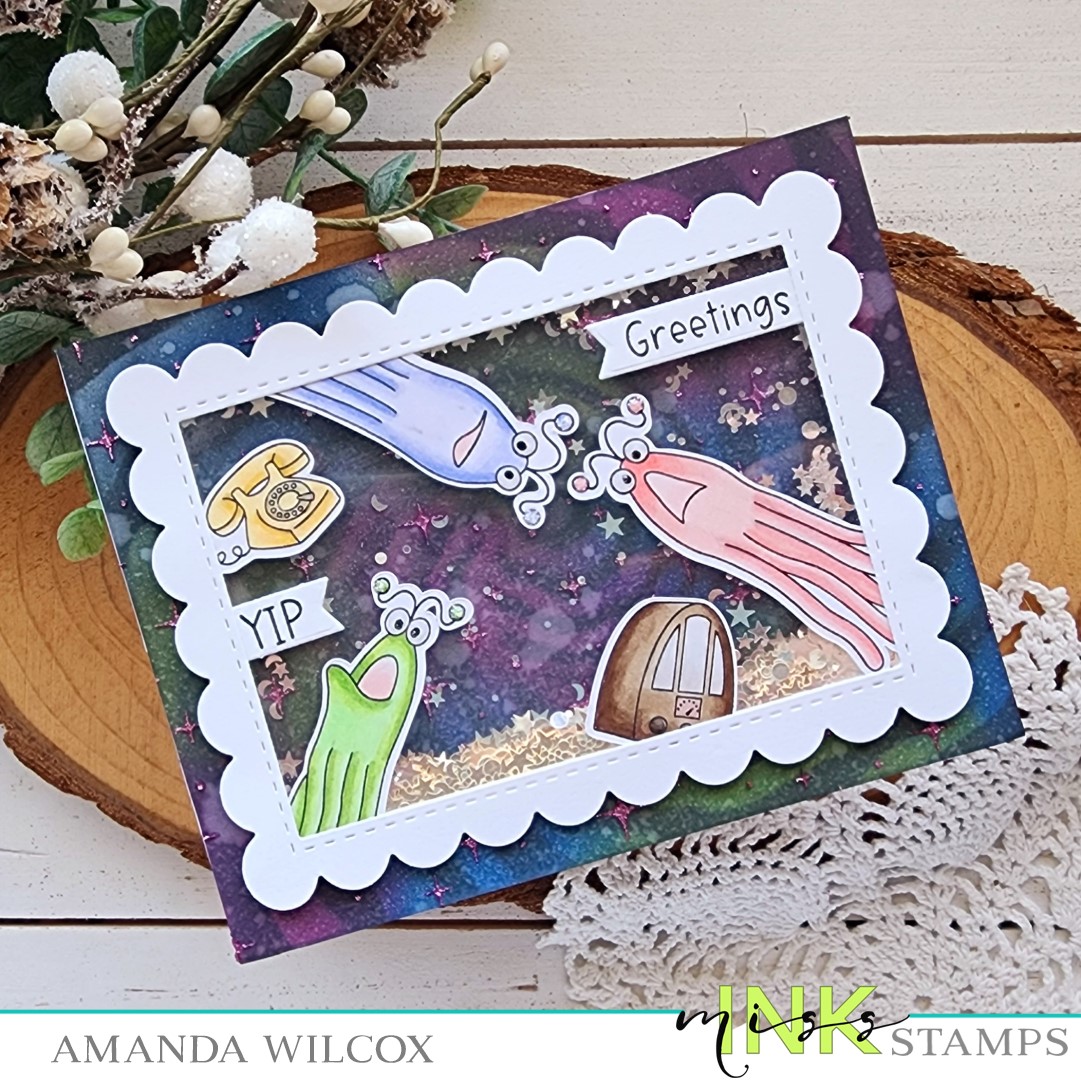
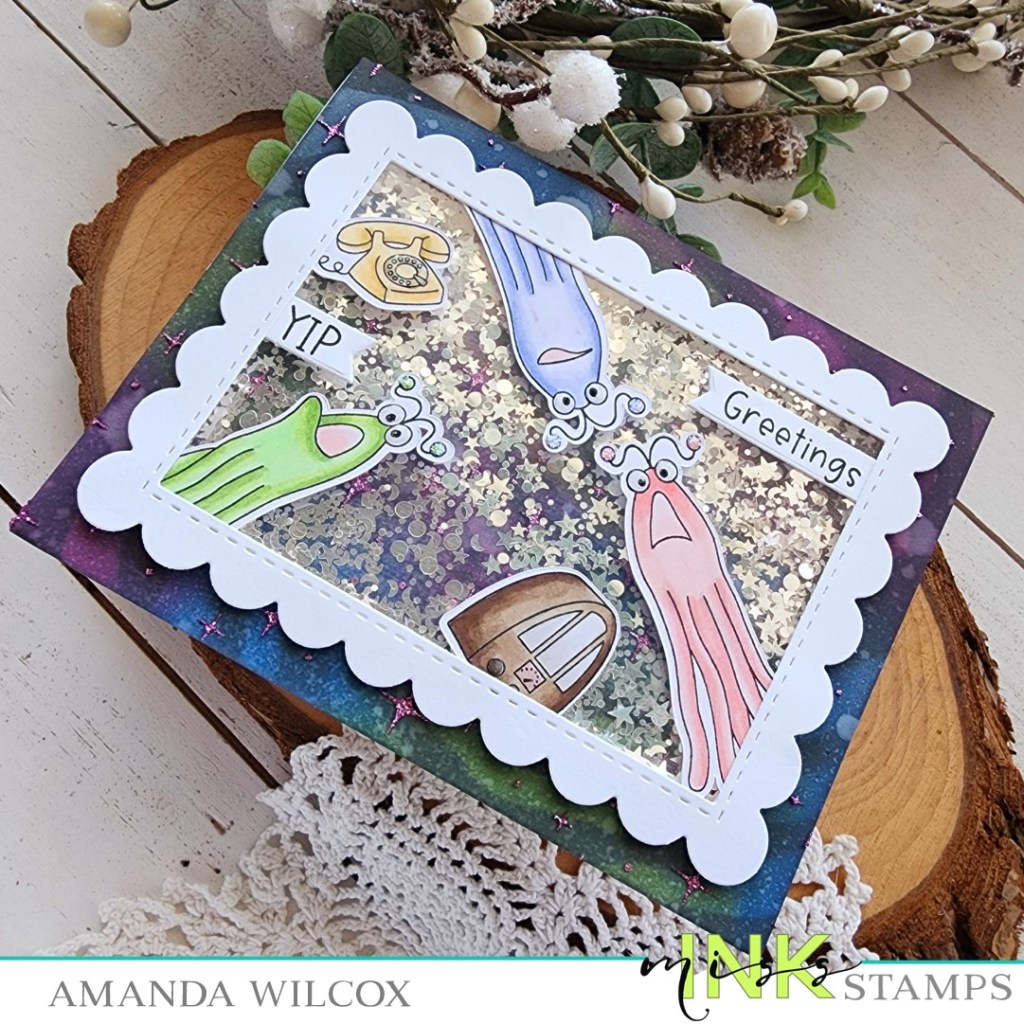
Isn’t this new set so fun and festive!?! I love these images and had so much fun making all the postage stamps!

I started by stamping, coloring and die cutting all the bits for six postage stamps, then used my paper trimmer to cut them apart. I chose three for this card and saved the others for later in the week.

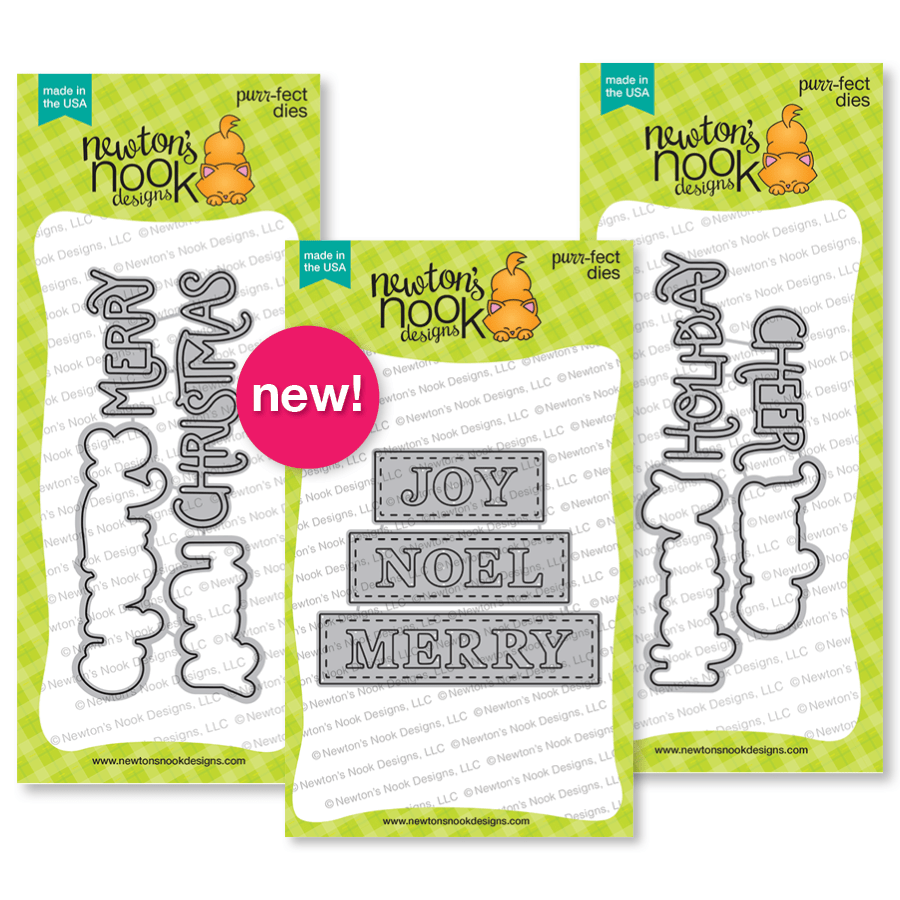
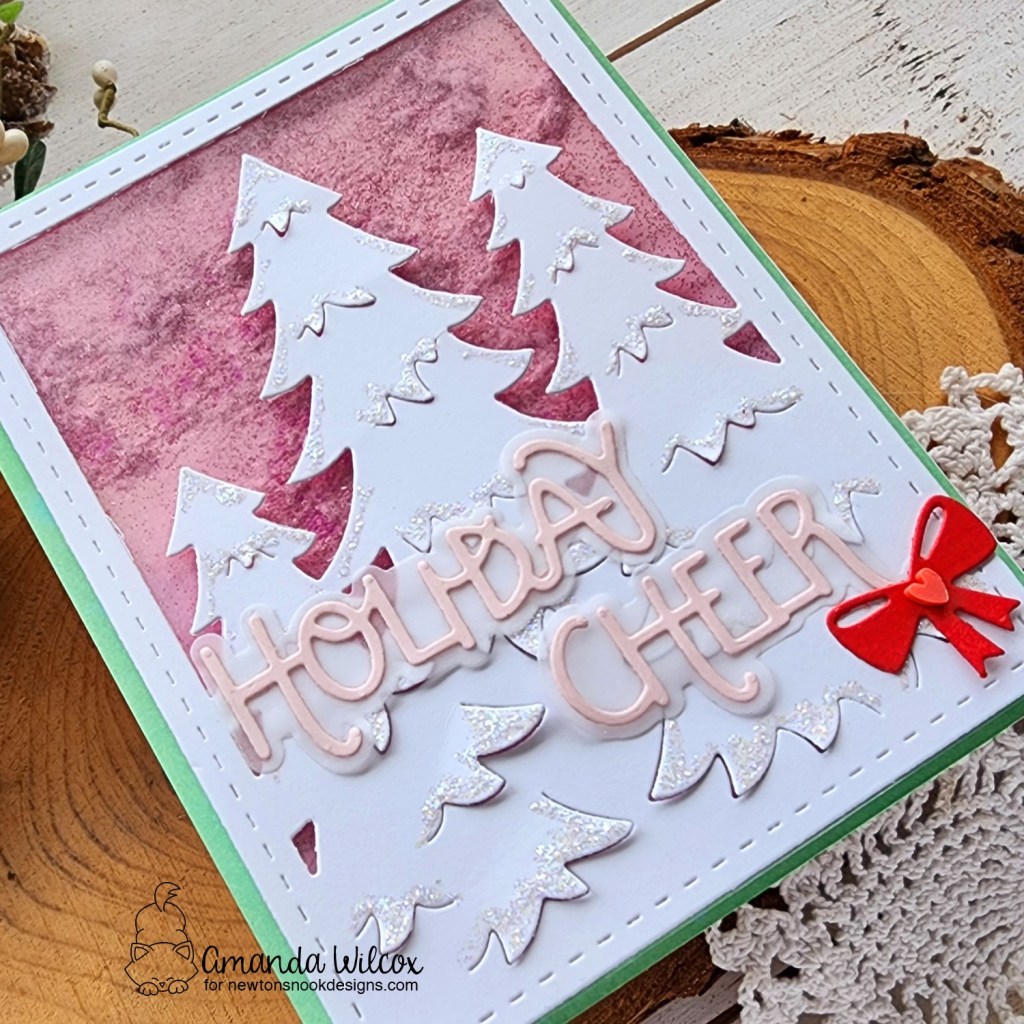
I paired my stamps with the new Merry Christmas sentiment dies and my favorite Reindeer stencil for the background. I also used the largest Framework die for that background panel to mimic more postage stamp look.
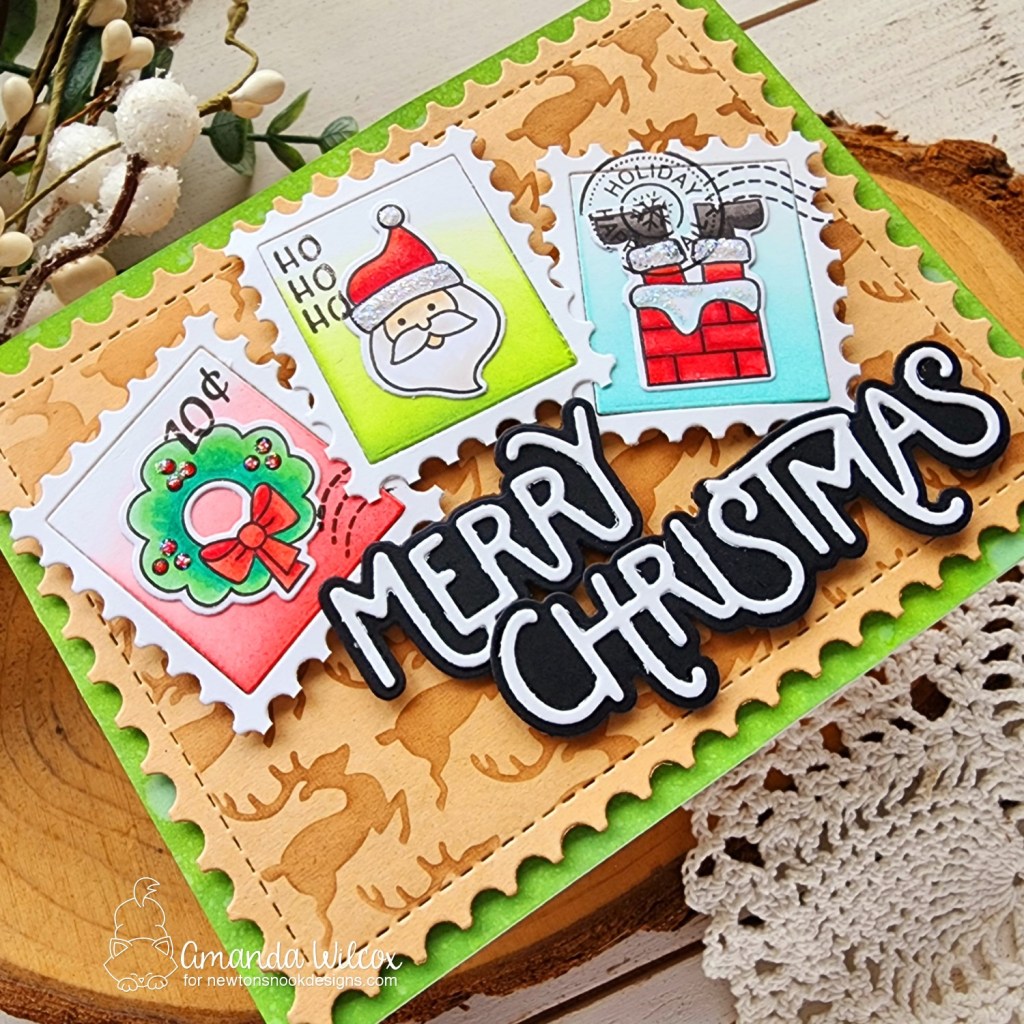
You know how I am about dimension so it’s all popped up with foam tape and squares. Then I finished the stamps off with stardust Stickles on each one for some sparkle.
Enter to Win a $25 Prize!
One lucky winner will receive a $25 store credit to spend at Newton’s Nook Designs online shop! The winner will be chosen at random from the collective blog posts featuring our new products this week. For a chance to win, leave comments on the Design Team Member Blog Posts (see list below) from Monday October 14th through Thursday October 17th. You will not know which blog has been chosen so the more you comment on the better your chances are of winning! You have until Thursday, October 17th at 9 pm ET to comment — winners will be announced on the NND blog on Friday, October 18th.
Check out all the awesome Design Team Blogs below to enter:
Newton’s Nook Designs
Donna Idlet
Larissa Heskett
Samantha Mann
Diane Morales
Farhana Sarker
Amanda Wilcox