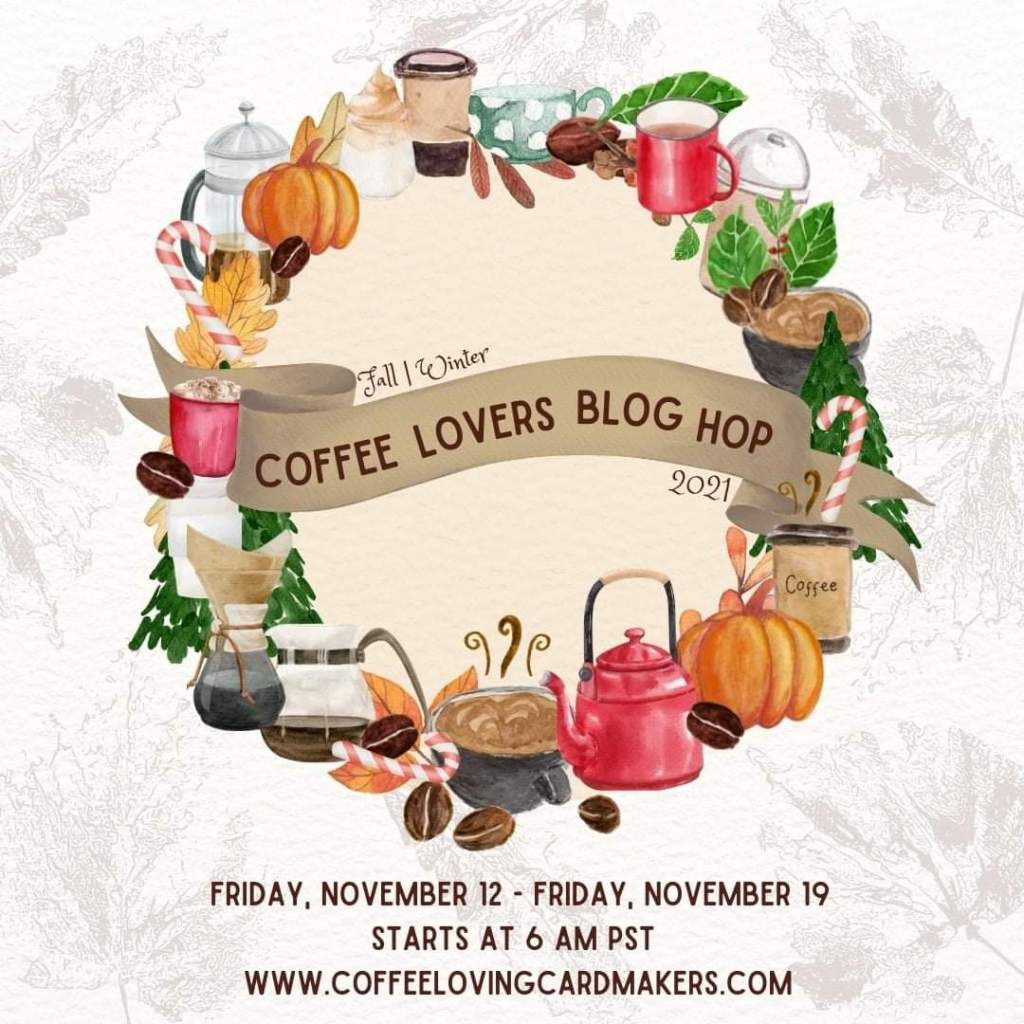
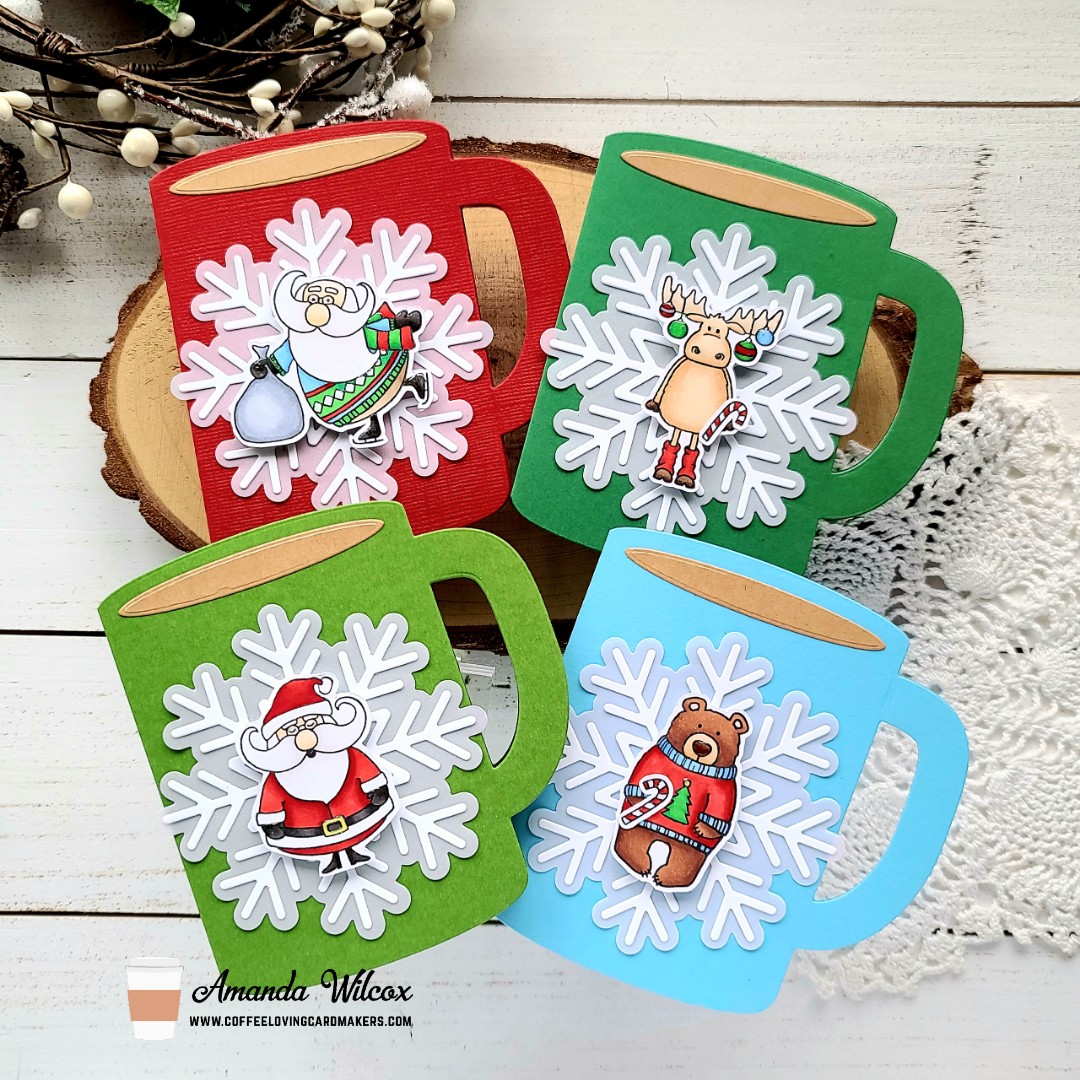
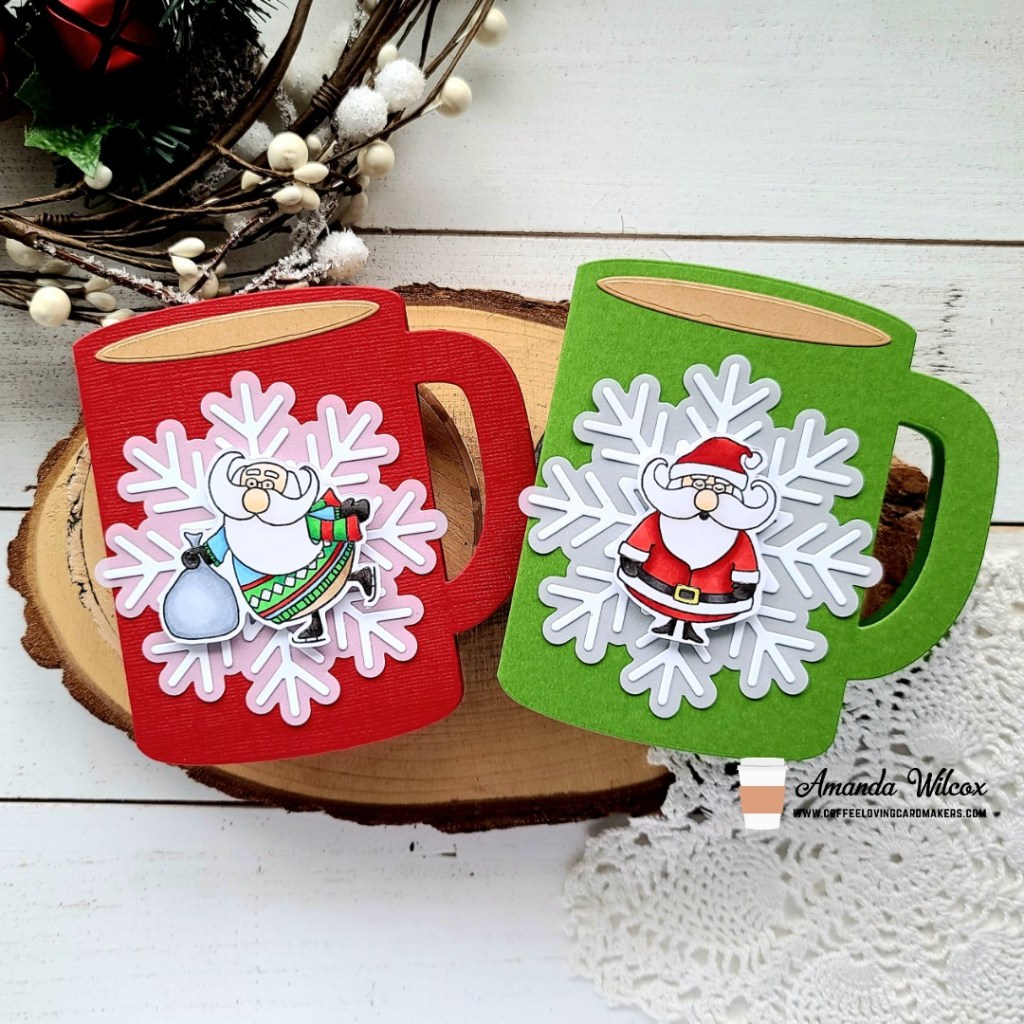
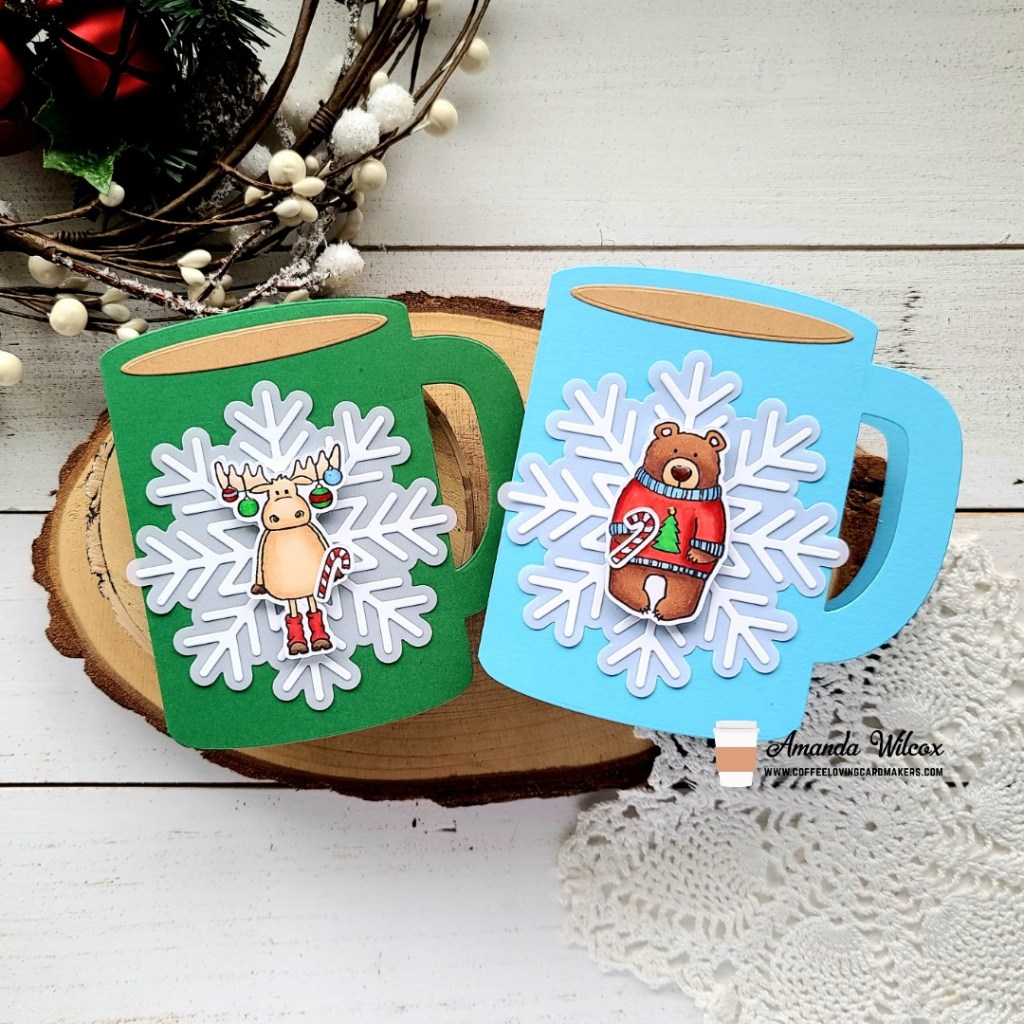
Hi there! I’m back today with a fun project for the Coffee Loving Cardmakers Fall | Winter Hop! Instead of a card today, I have a set of treat boxes that I made with my all-time favorite die set – the Lawn Fawn Tiny Gift Box! This box is fun to decorate on its own but when you add the mountains of add-on die sets Lawn Fawn has created, give me all the things and let me make boxes for decades!!! Seriously, I love it all! So today I have a set of kitties to share with you.
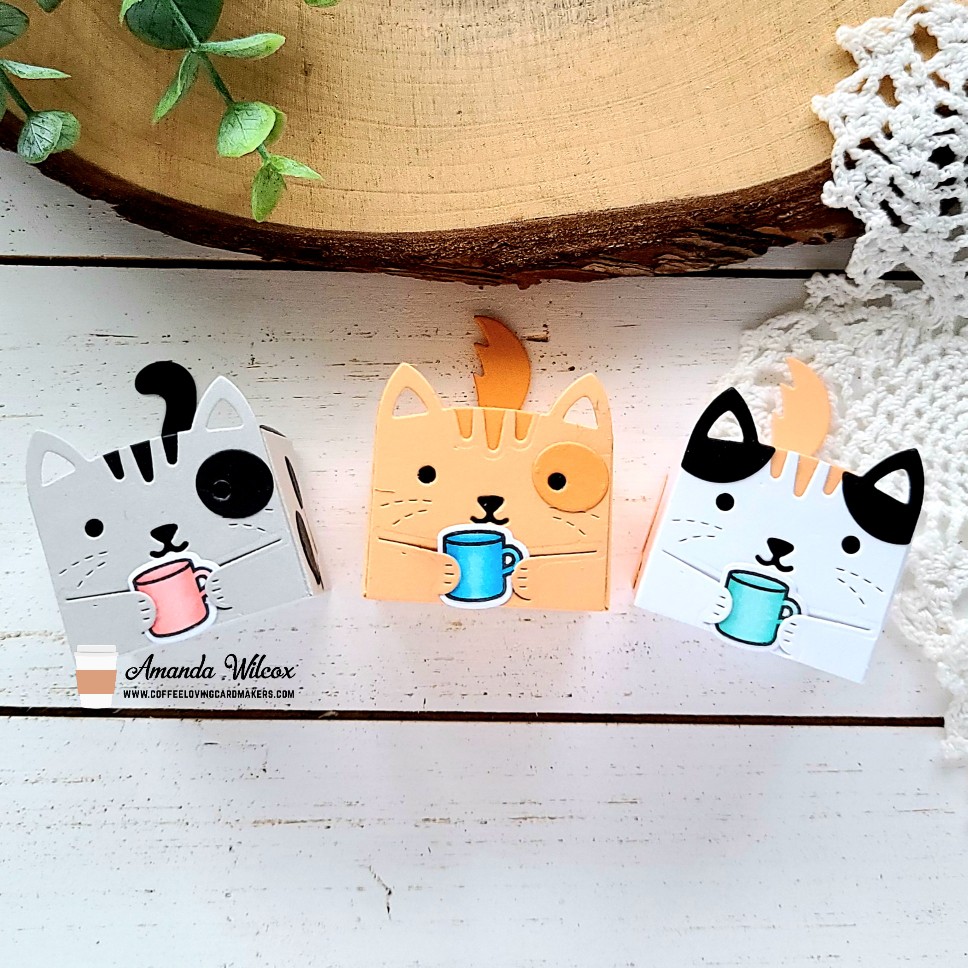
Aren’t these just the most adorable things you’ve ever seen?!? I know you agree! Here’s a link to the Lawn Fawn video on how to create the boxes with the cat add on options. I won’t bore you with those details.
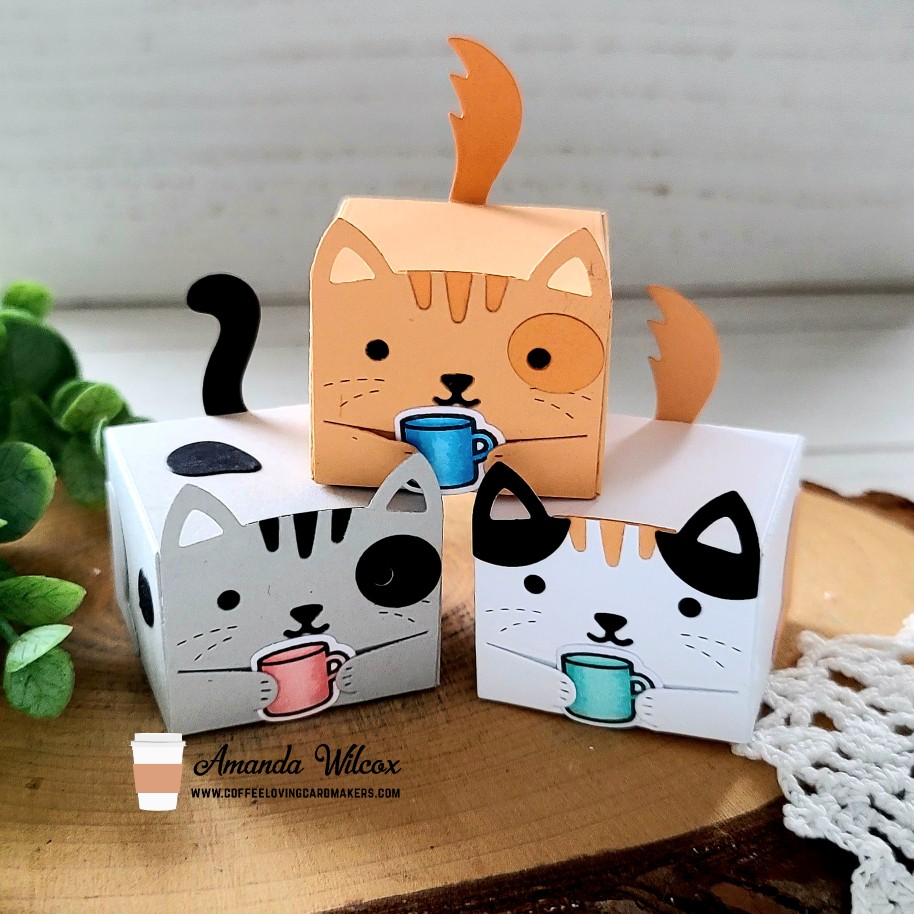
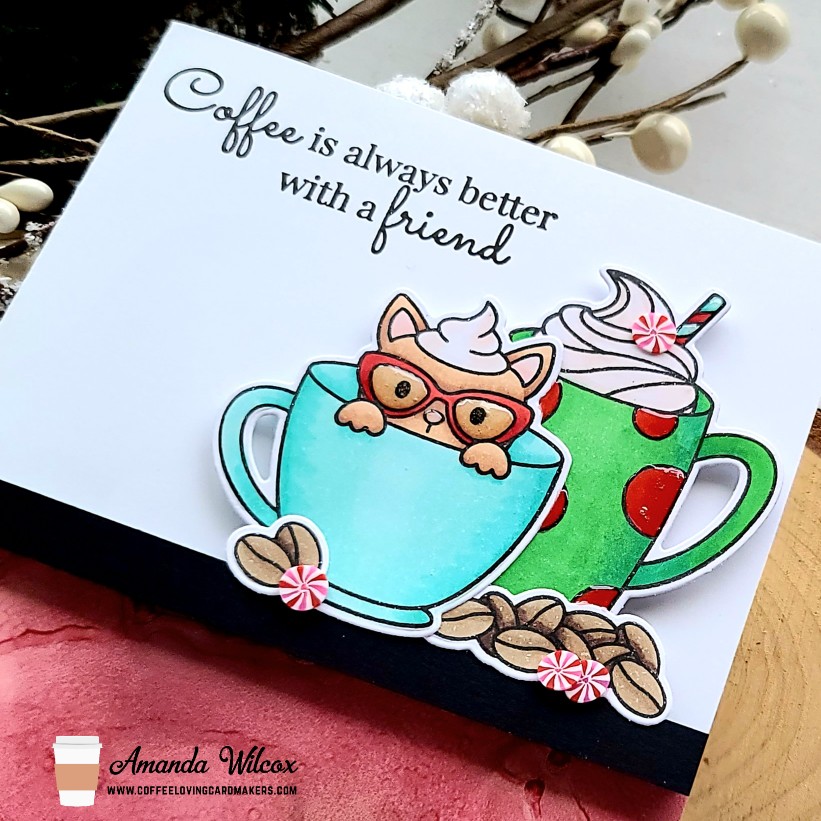
After creating my kitty boxes, I went digging for a coffee mug for them to hold. I found the one in the Den Sweet Den set and it is absolutely PERFECT for this! I stamped and colored 3 of them, used the coordinating dies to cut them out and slid them in the kitty’s paws for each box.
Filling for these boxes today is a folded up Starbucks Via packet and chocolate covered espresso beans! YUM!!! Super excited to share these and also can’t wait to create more with the other critter add ons too!
Products used today:
Lawn Fawn Tiny Gift Box dies
Lawn Fawn Tiny Gift Box Cat Add On dies
Lawn Fawn Den Sweet Den stamps and dies
Copic markers
Tombow Mono Multi liquid adhesive
Scrappy tape – 1/4 inch
I appreciate you sharing your time with me. Have a fabulous day!