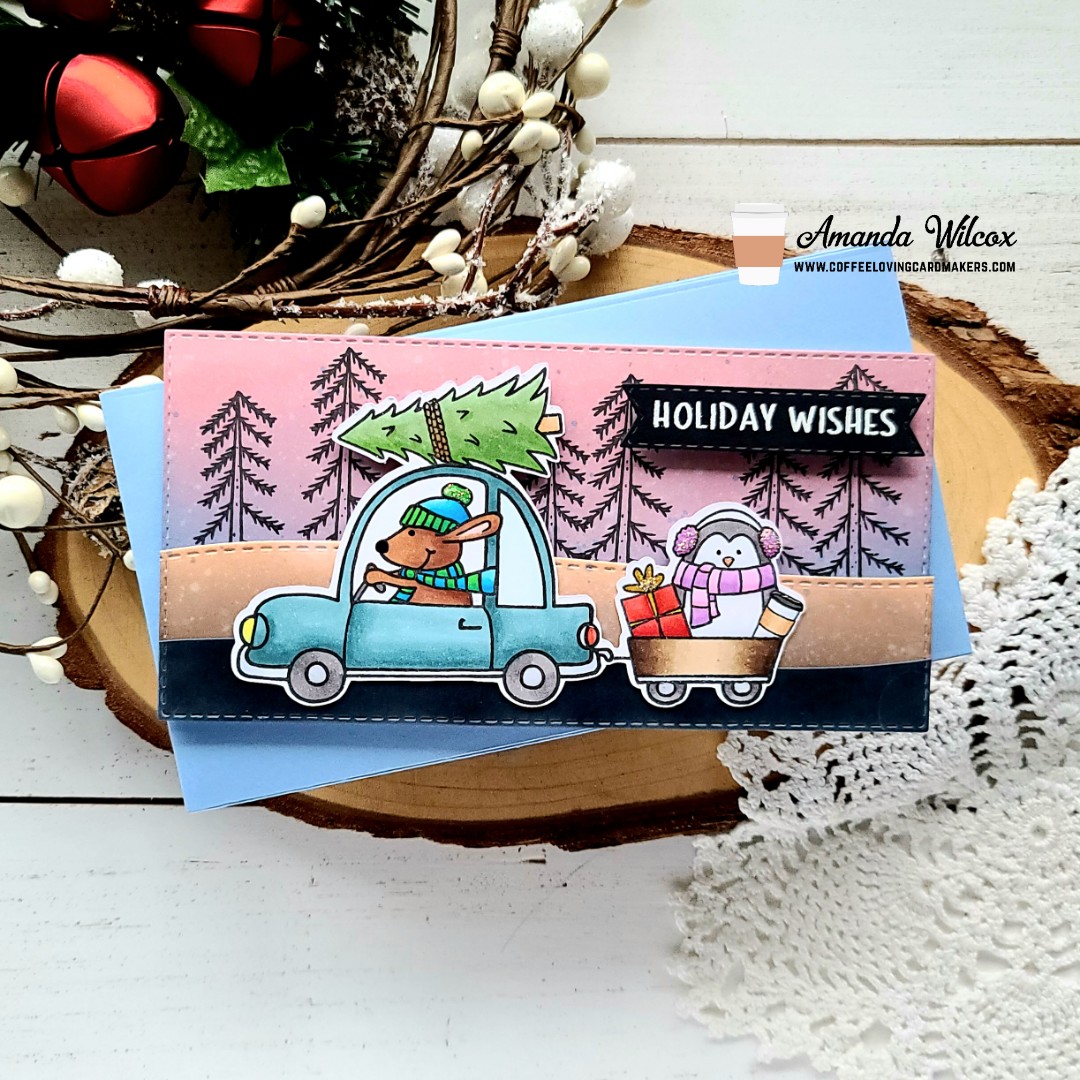
Hello everyone! It’s that time again, Tuesday Tea with Twiddler’s Nook over on the Coffee Loving Cardmakers blog today. I’m sharing a super fun and silly mini slimline card featuring a mash-up of Jane’s Doodles sets and Trinity Stamps slimline dies.

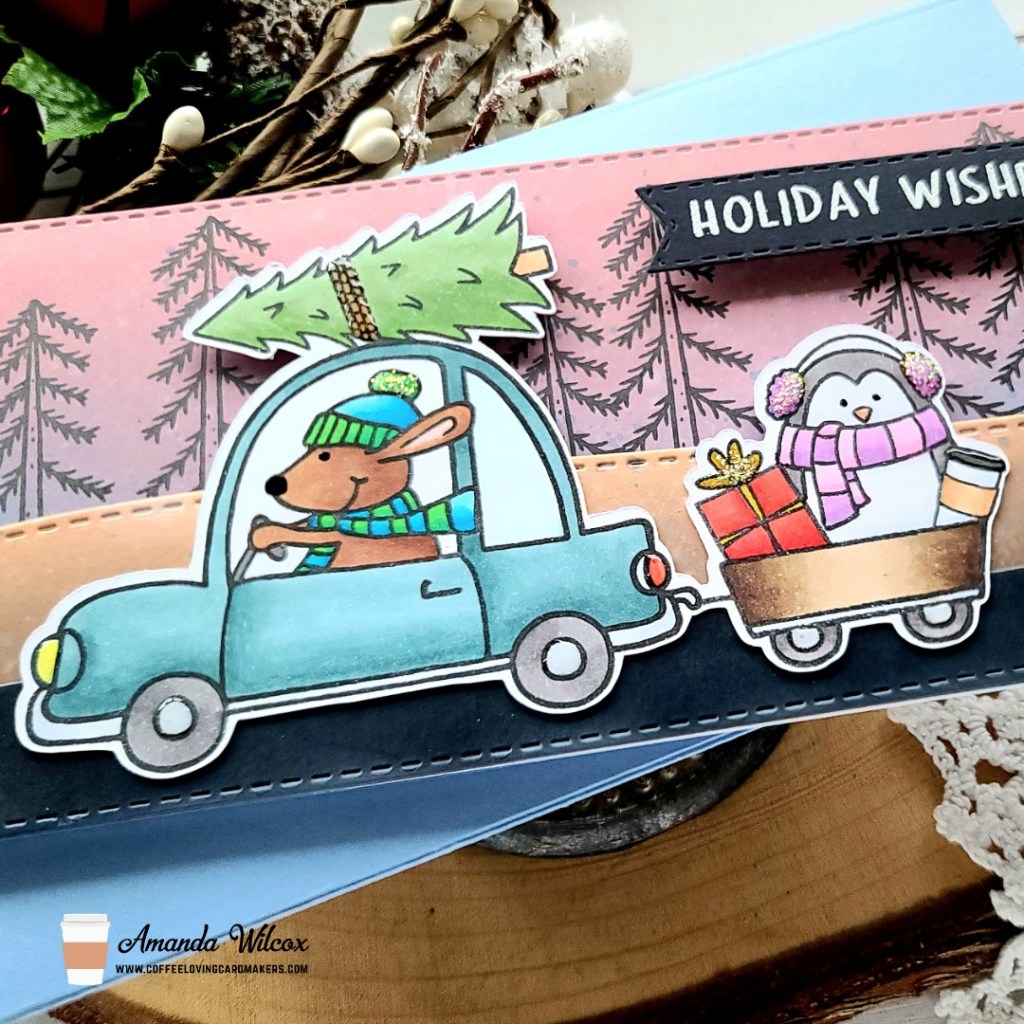
To start my card, I pulled out a few Jane’s Doodles sets and played around with different images. Once I figured out how I wanted to layer everything I started stamping and cutting masks and then stamping the layers. The car, tree, trailer and gift are all from Driving Home. The penguin and trees in the scene are from Hot Cocoa while the coffee cup came from Warm Hugs and the sentiment from Warm and Cozy. I wasn’t kidding when I said this was a mash-up. Lol! It’s so fun to get use from so many sets on one card though!
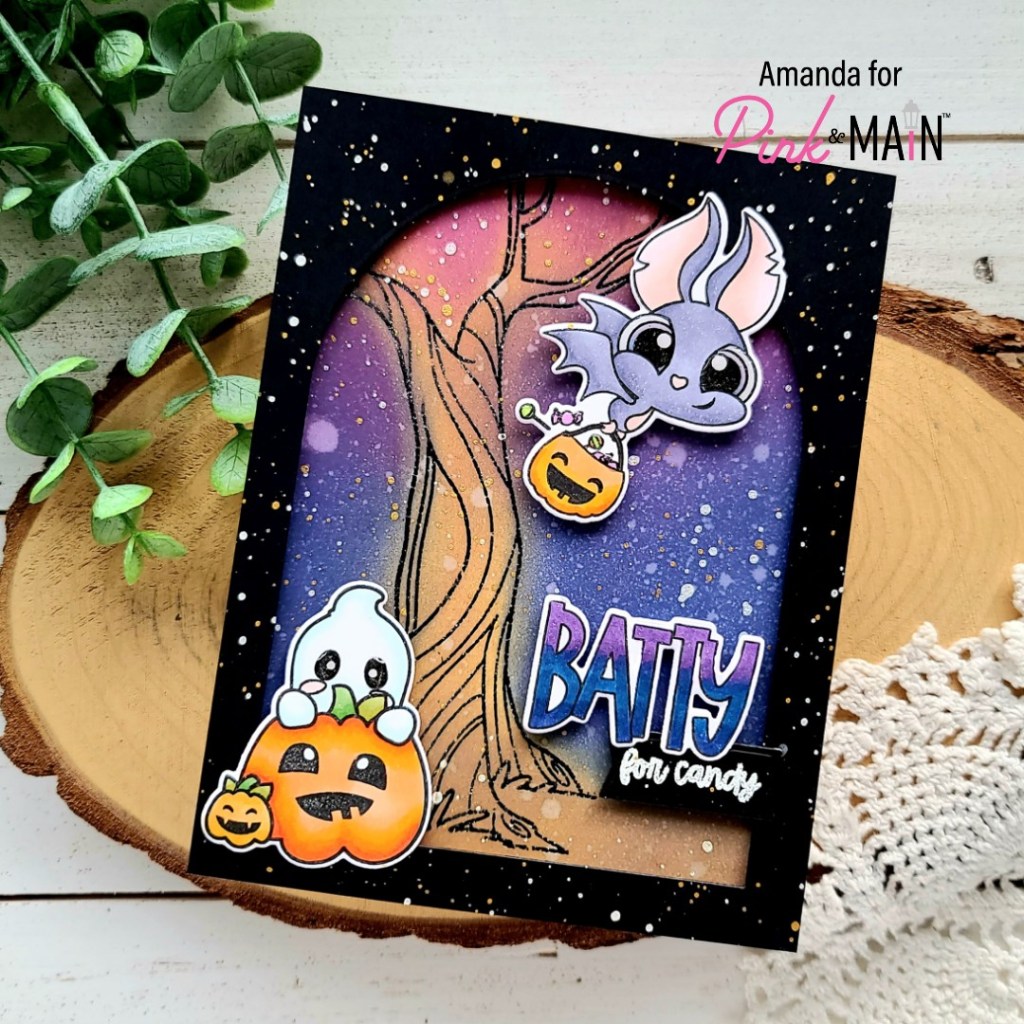
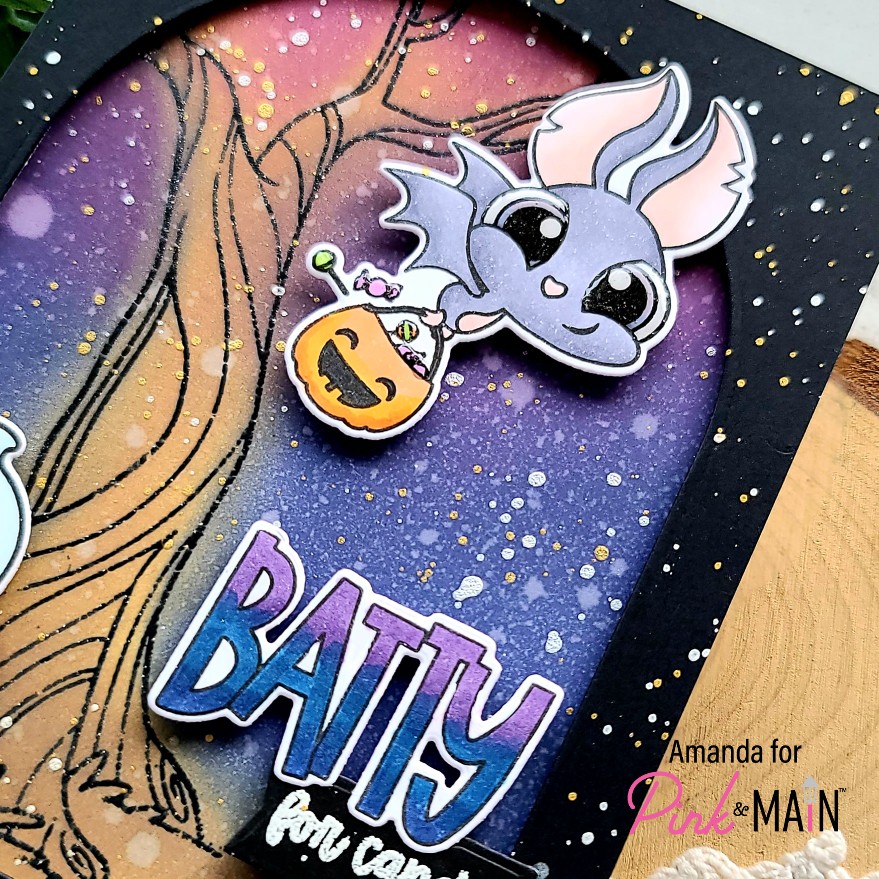
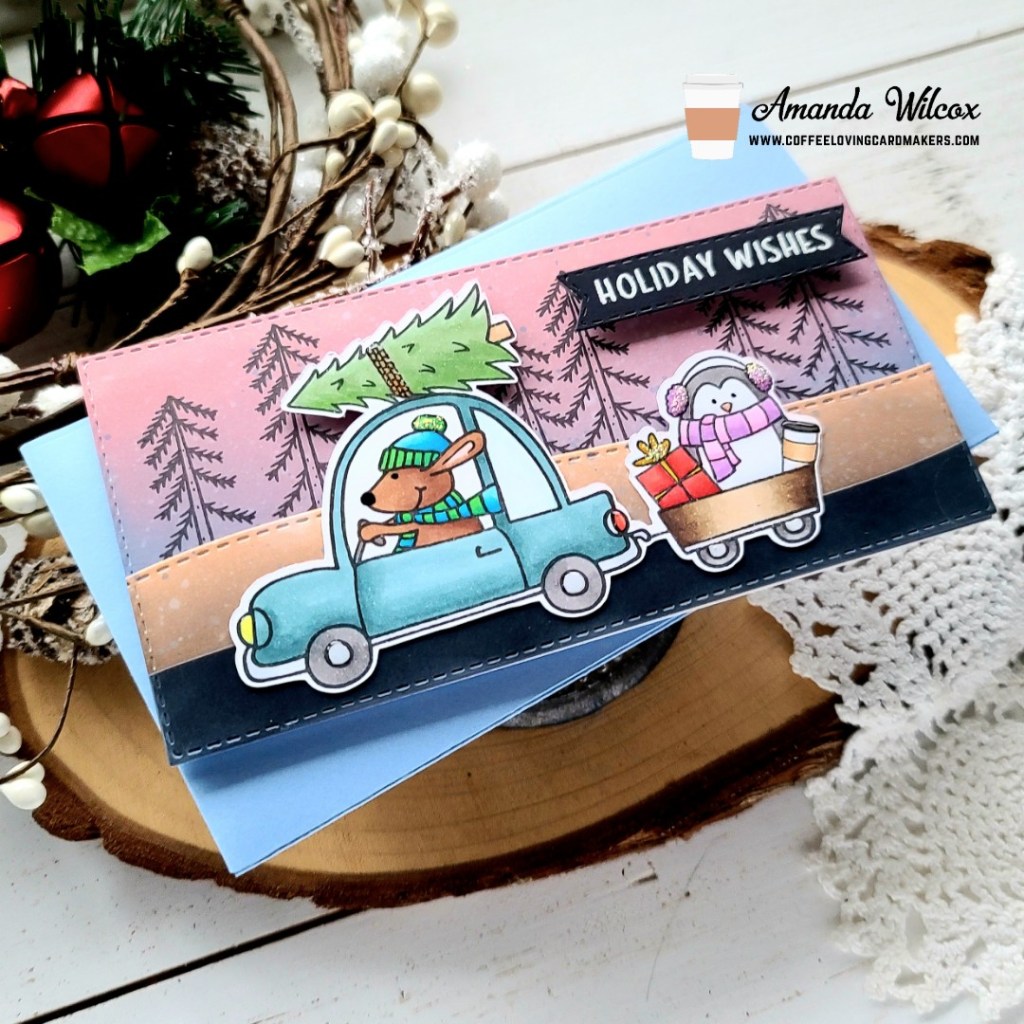
Anyway, once everything was stamped out I colored everything with copic markers and used the scan-n-cut to cut it out. Next, I switched gears to ink blending my background scene layers with distress oxide inks. The sky is stormy sky and victorian velvet with a little chipped sapphire on the edge and splattered on the panel. The dirt is gathered twigs and tea dye with some ground espresso splatters. Then I cut a black layer for the road and inked it up with the leftovers of white pigment ink on my blending brush just so it wasn’t flat in comparison to the rest of the card.

I cut the layers with the largest Trinity Stamps Stitched Mini Slimline die and then cut the ground layers with Slimline Scenic Borders die. I stamped the trees in the background with VersaFine ink and started assembling my layers. The background is mounted on a white card base measuring 3×6 inches and then the dirt layer is popped up with foam tape. The road is adhered with liquid adhesive and the image is mounted with a combination of liquid adhesive and foam squares. For my sentiment, I stamped and heat embossed it on black cardstock and used the banner die from the Trinity Stamps Mini Slimline Card and Envelope die set. Then I popped it up with foam strips.
I finished things off with black glaze pen on the critter eyes and the dog’s nose. Then glossy accents on the penguin beak, coffee cup lid, lights and wheel hubs on the card and trailer and also the rope around the tree. For a little shimmer fun I added unicorn Stickles to the penguin’s earmuffs, the bow on the gift and the dog’s pompom.
I created an envelope to coordinate using the Trinity Stamps die set. I love doing this from time-to-time. It gives the card a little extra something. Sometimes I even stamp an image from the card on the front to give a hint what’s inside.
Products used on today’s card:
Jane’s Doodles Driving Home
Jane’s Doodles Hot Cocoa
Jane’s Doodles Warm Hugs
Jane’s Doodles Warm and Cozy
Trinity Stamps Mini Slimline Card and Envelope dies
Trinity Stamps Mini Slimline Stitched Layers dies
Trinity Stamps Slimline Scenic Border dies
Thermoweb 3D Foam Tape
Thermoweb Ultra Bond Liquid Adhesive
Glossy accents
Copic markers
Distress Oxide ink – victorian velvet, stormy sky, tea dye, gathered twigs, chipped sapphire, ground espresso
Stickles – unicorn
I appreciate you sharing your time with me. Have a fabulous day!