Hello again. I’m back with some inspiration for the Hero Arts February Release but this time goodies from the Spring Meadow Collection. This one is beautiful and caters more to those who enjoy spring florals vs the cute furry critters. I’m focusing on the stencil/die combo and new sentiments from this collection though.
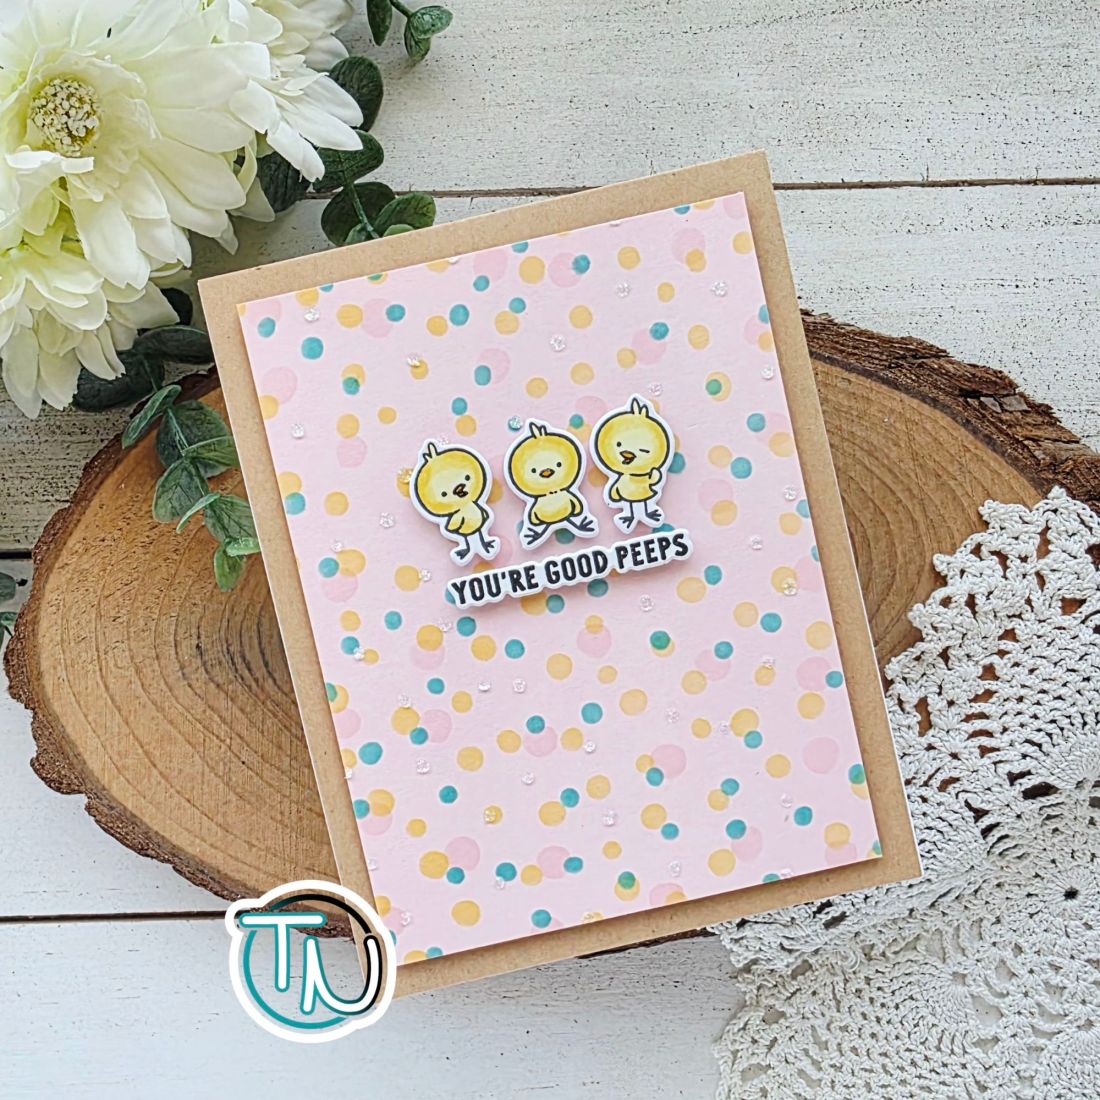
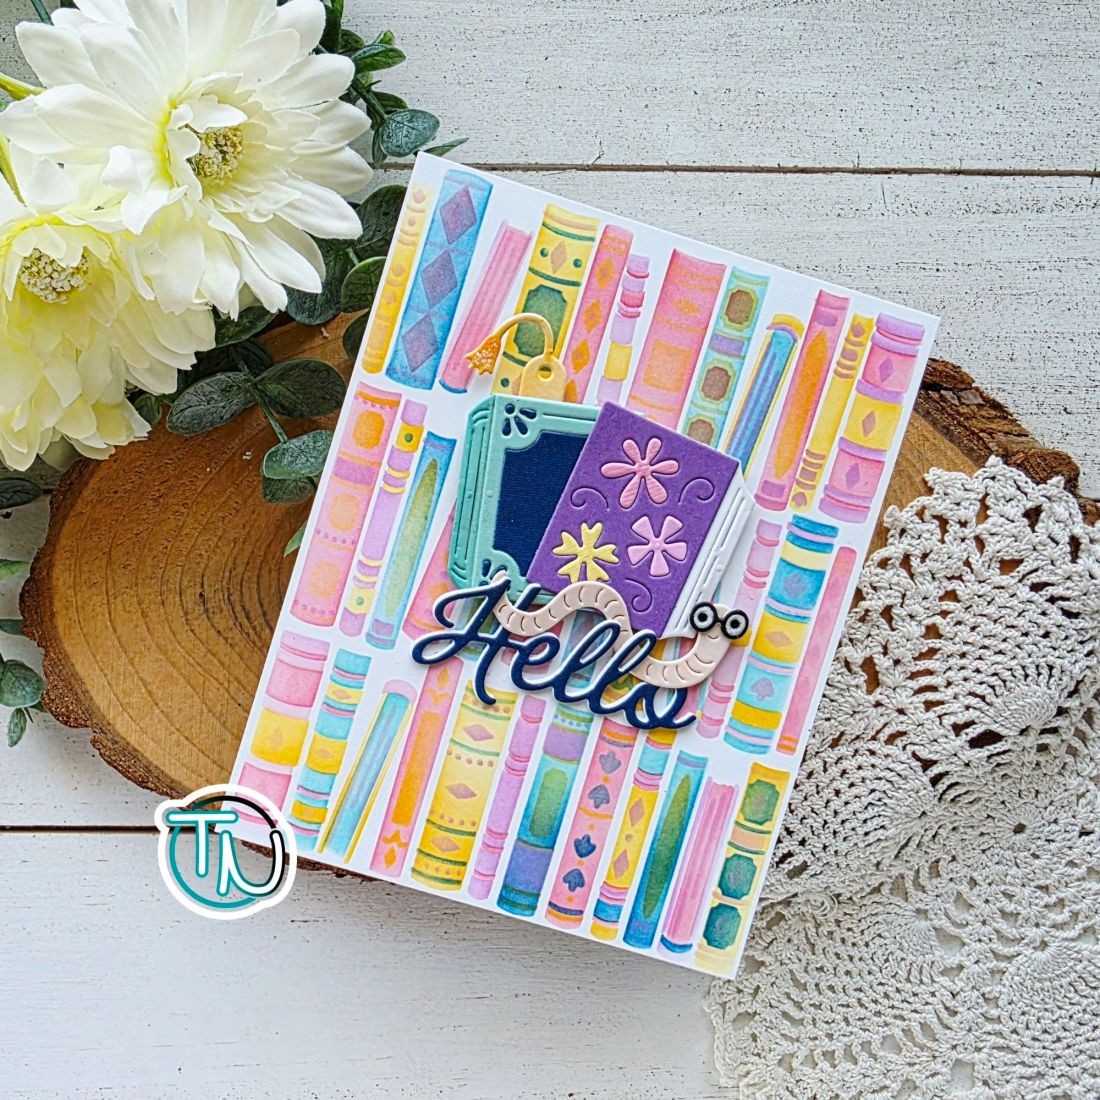
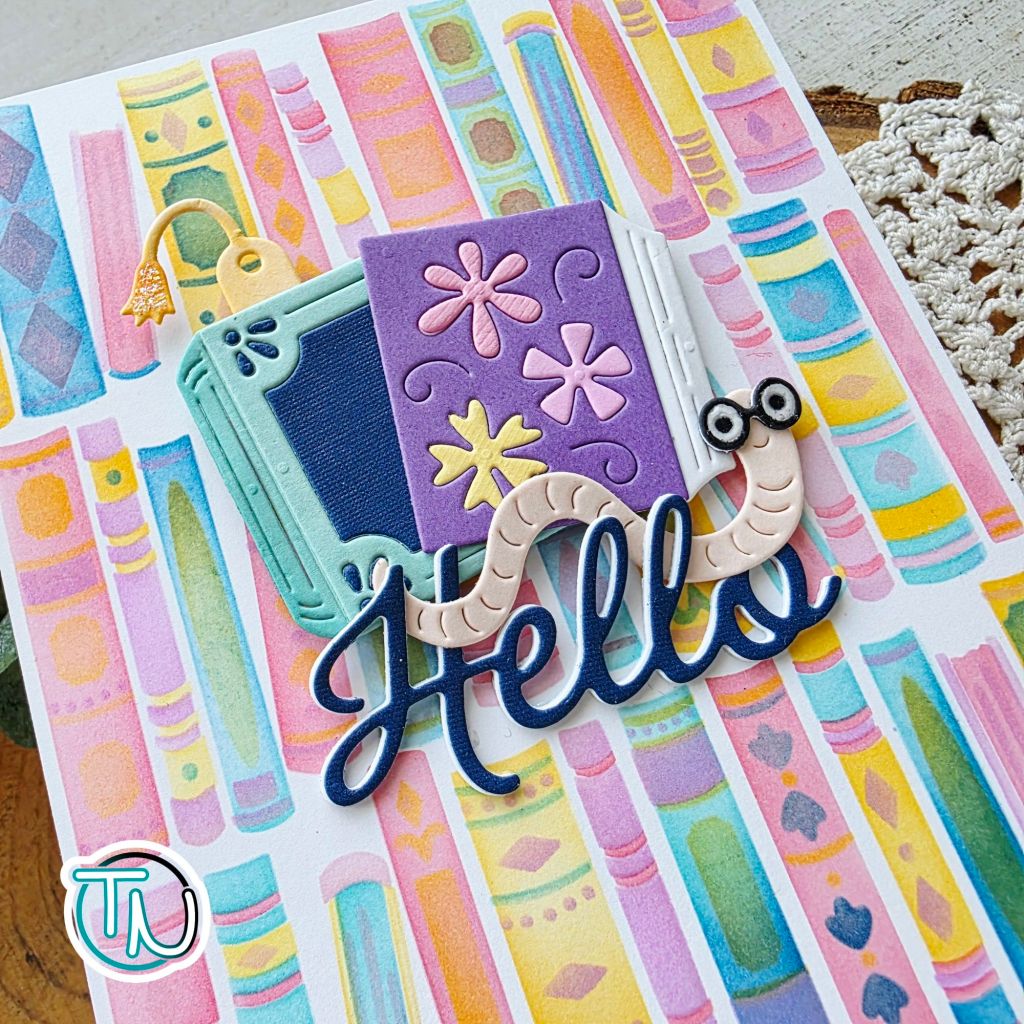
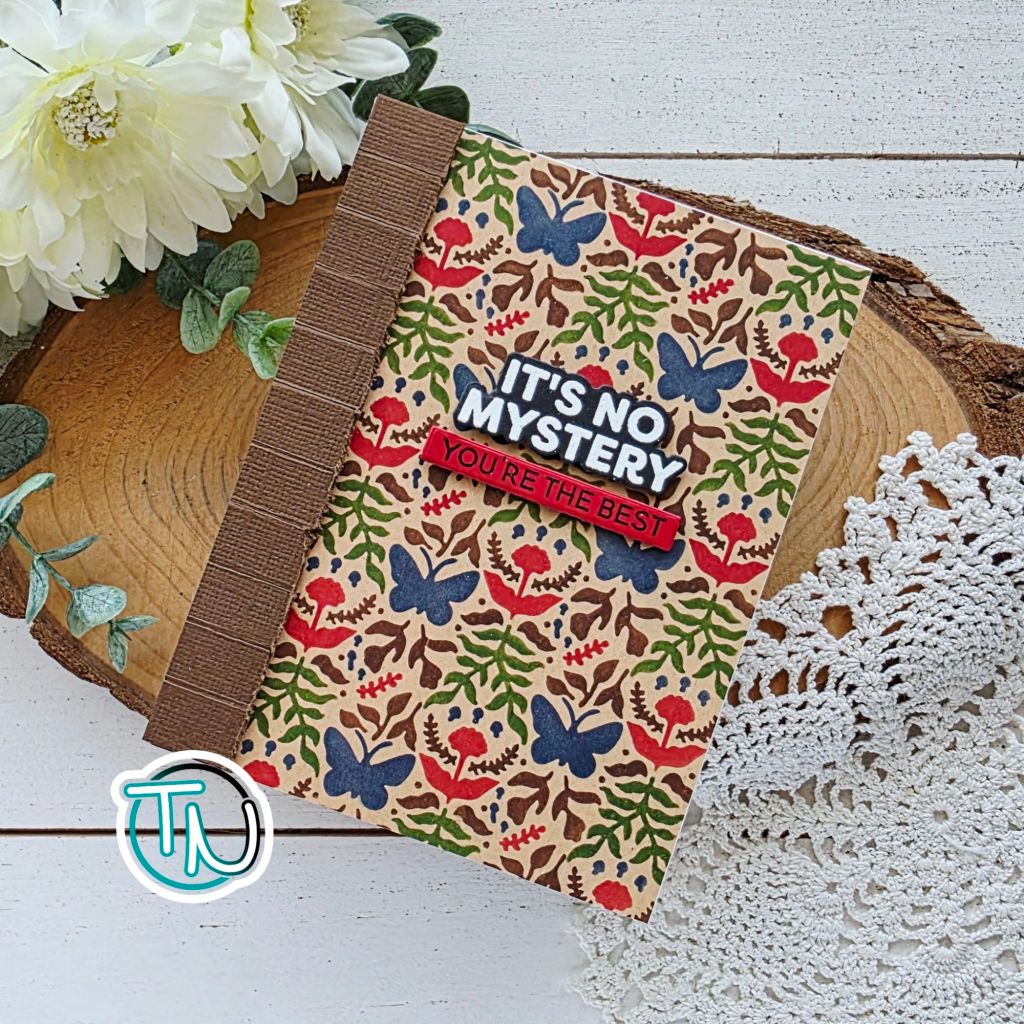
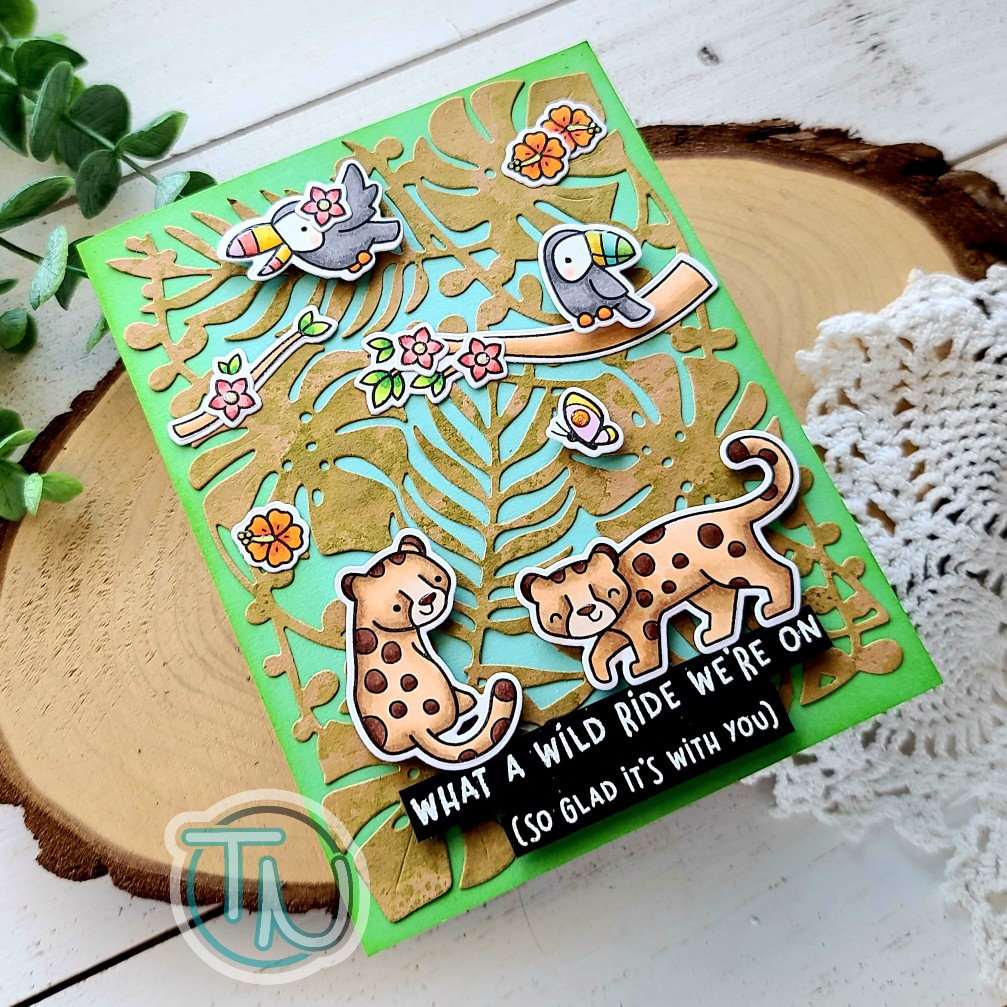
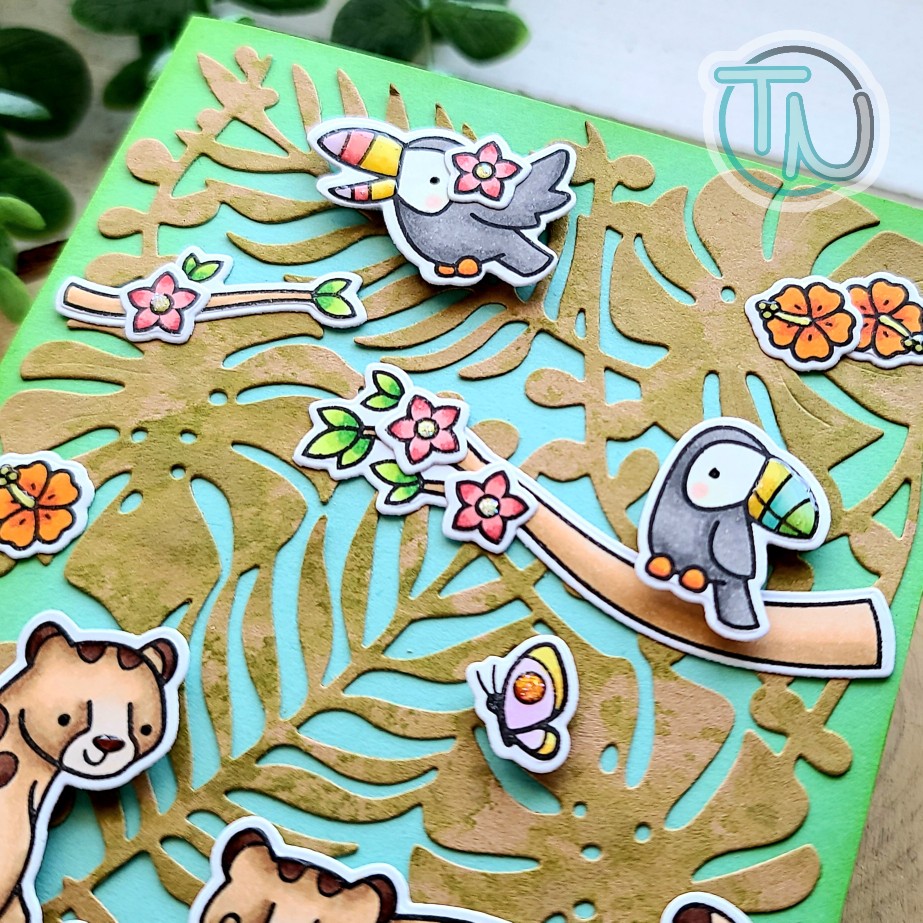
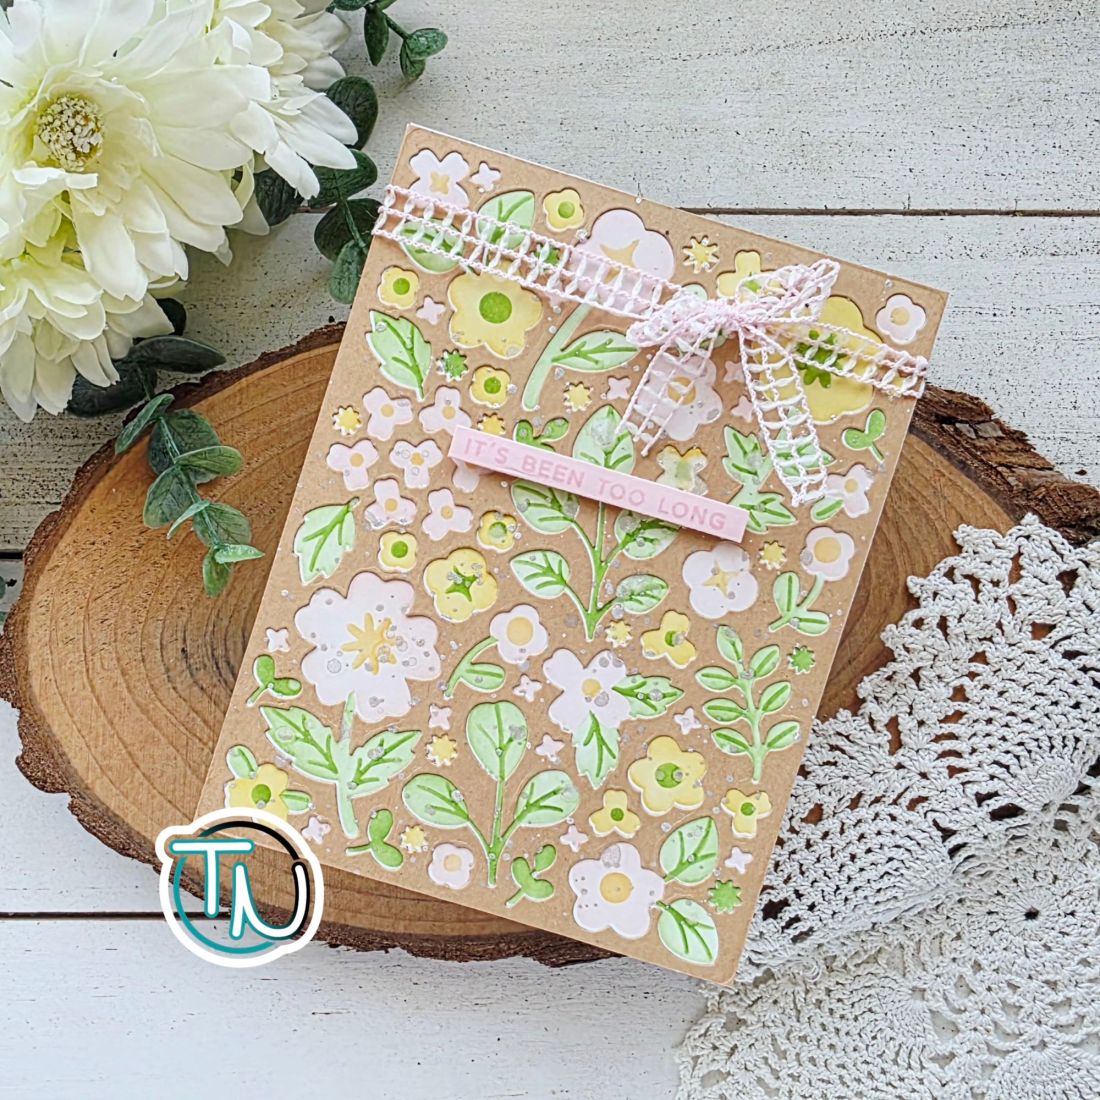
I love this combo because the stencils and die fit perfectly together but they are both wonderful on their own as well. This first card shows the combo where I stenciled all the layers on a white panel, then diecut the cover from kraft cardstock and layered them together.
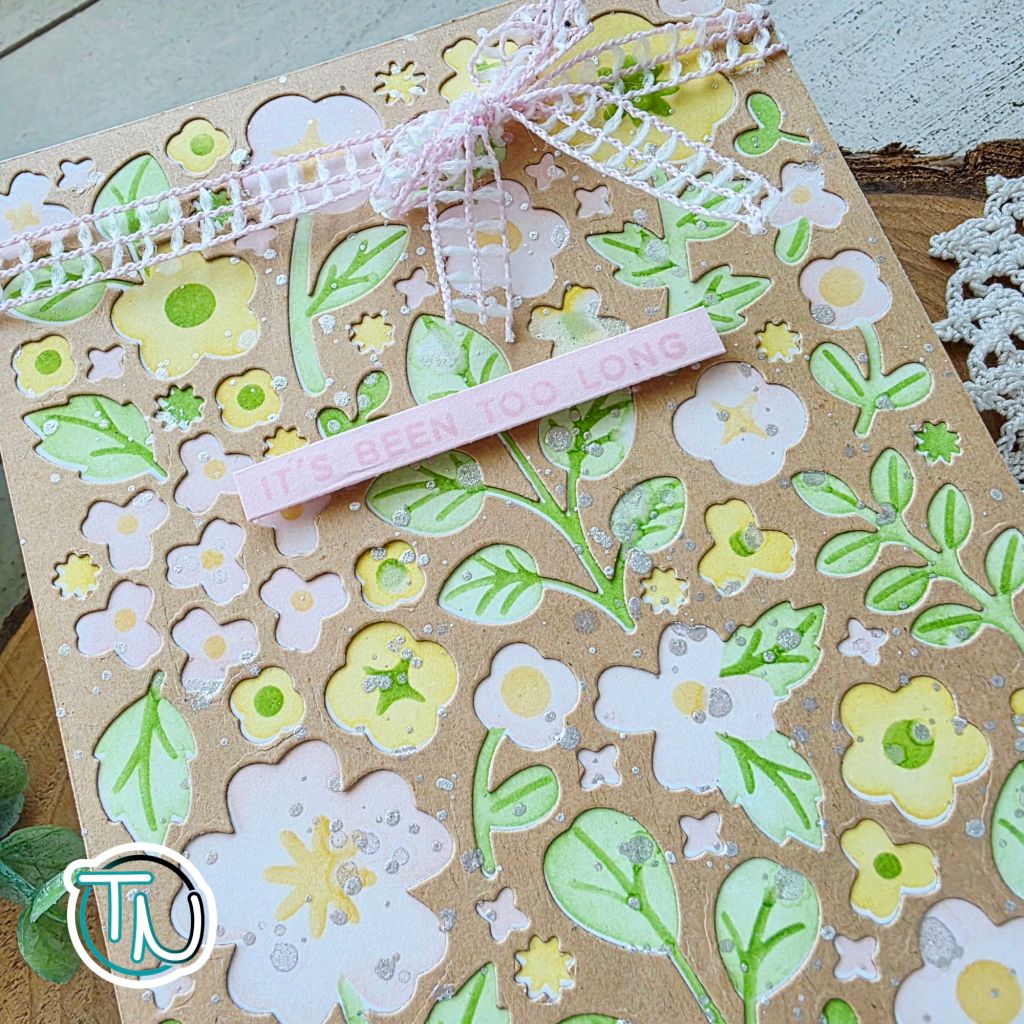
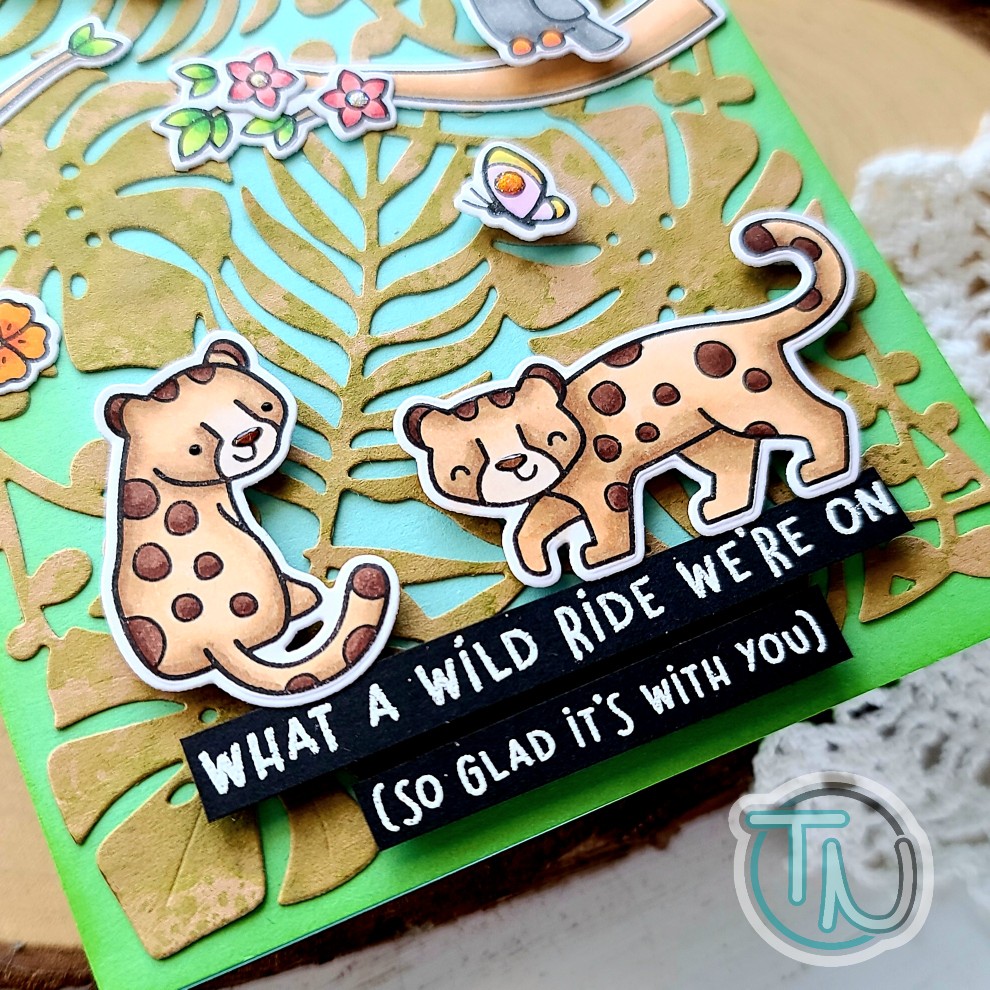
I splattered the panel with silver watercolor and added a sentiment strip using the new Everyday Sentiment Strips 2 stamp. It coordinates with the Sentiment Strips die giving you a billion and one sentiments with one stamp and one pass through the die cut machine. It’s brilliant!
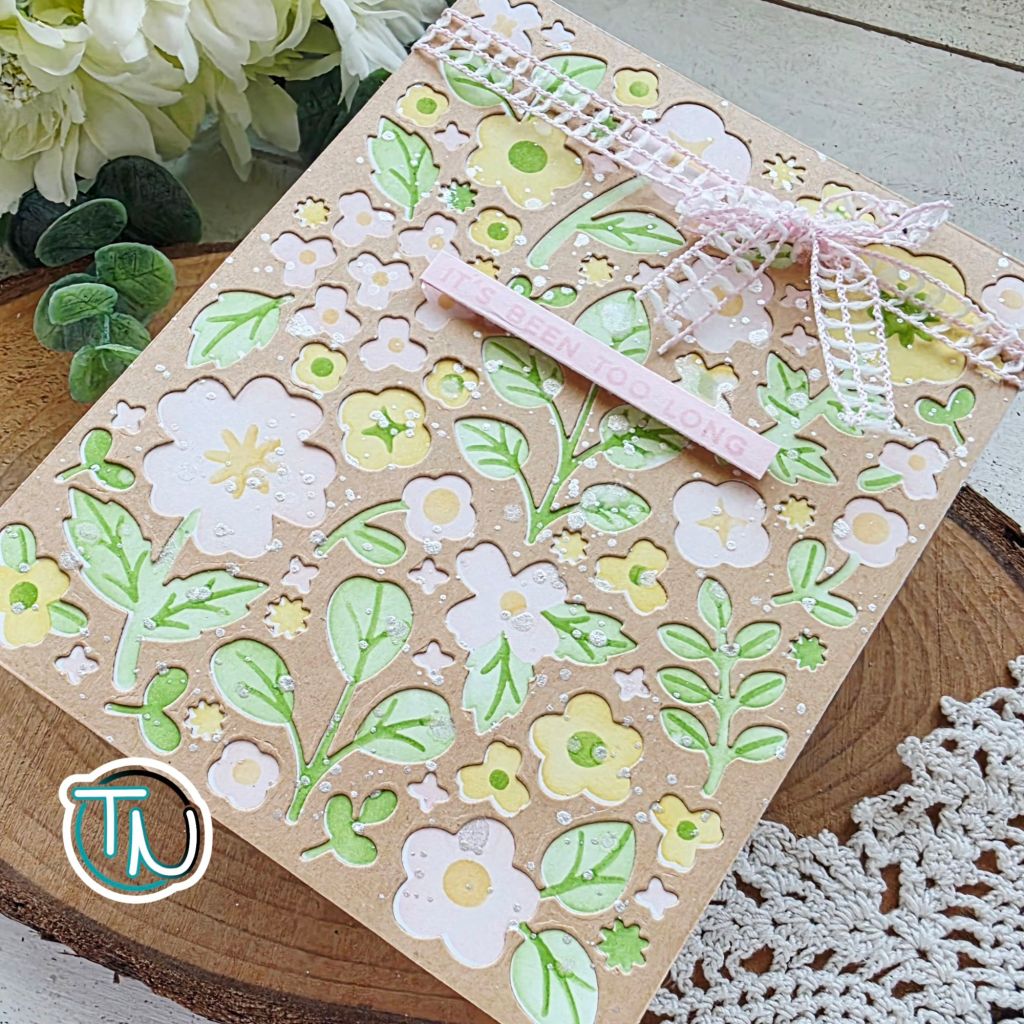
After popping up my sentiment strip with a foam strip, I glued the panel to a white card base and finished the design off by tying some ribbon around the top. This card just sings spring happiness to me.
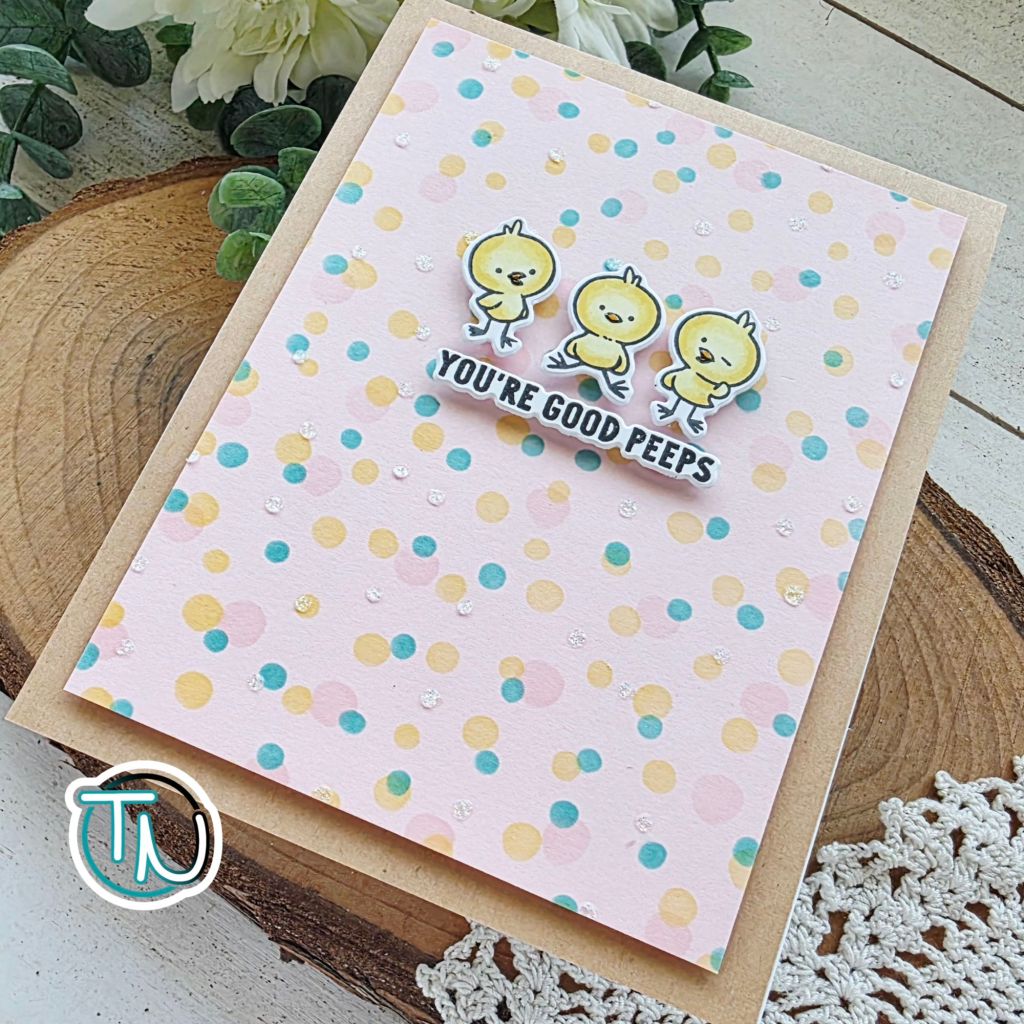
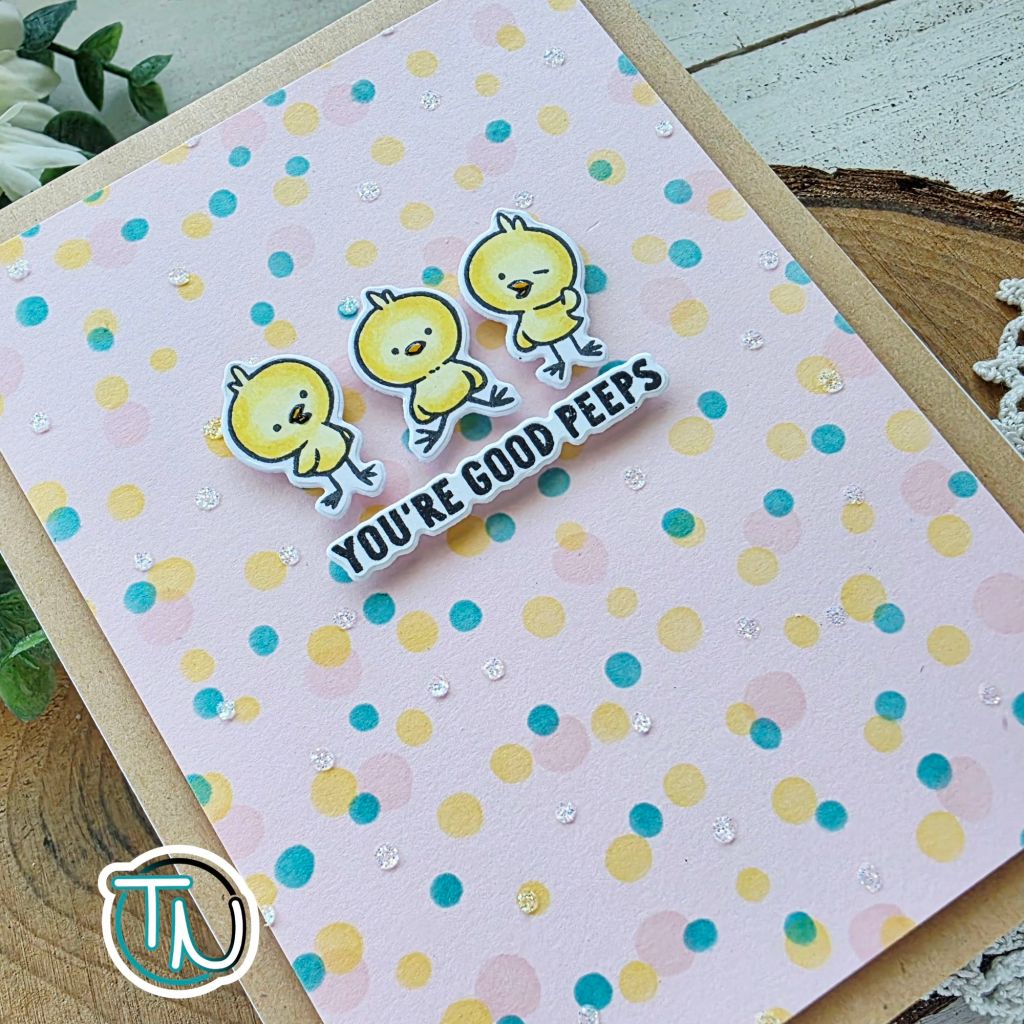
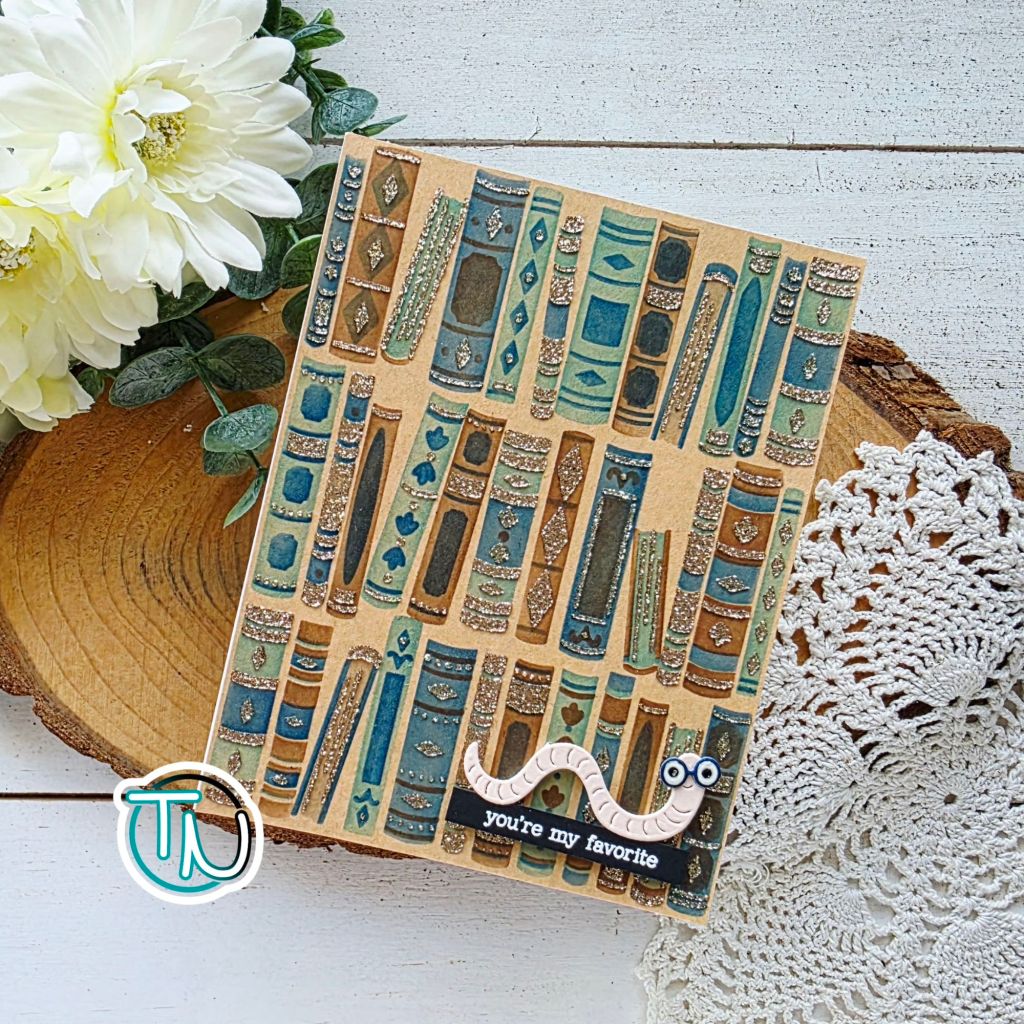
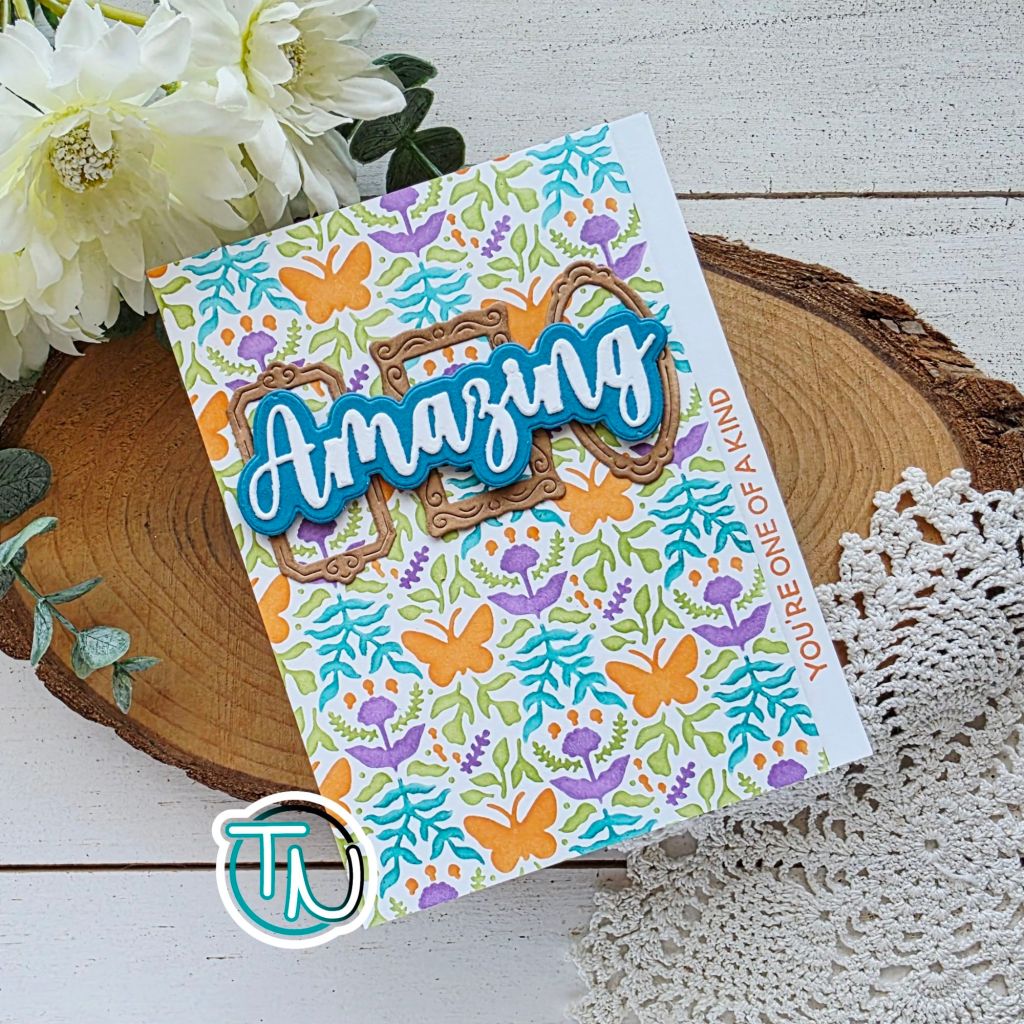
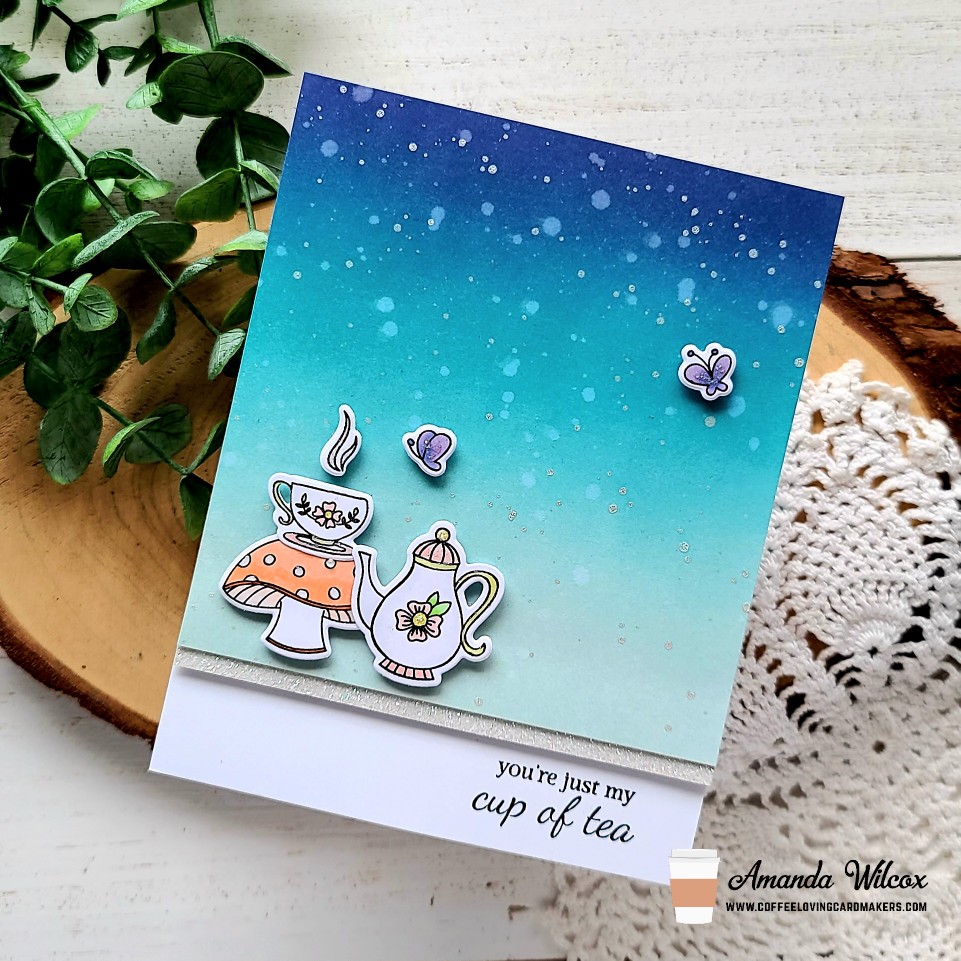
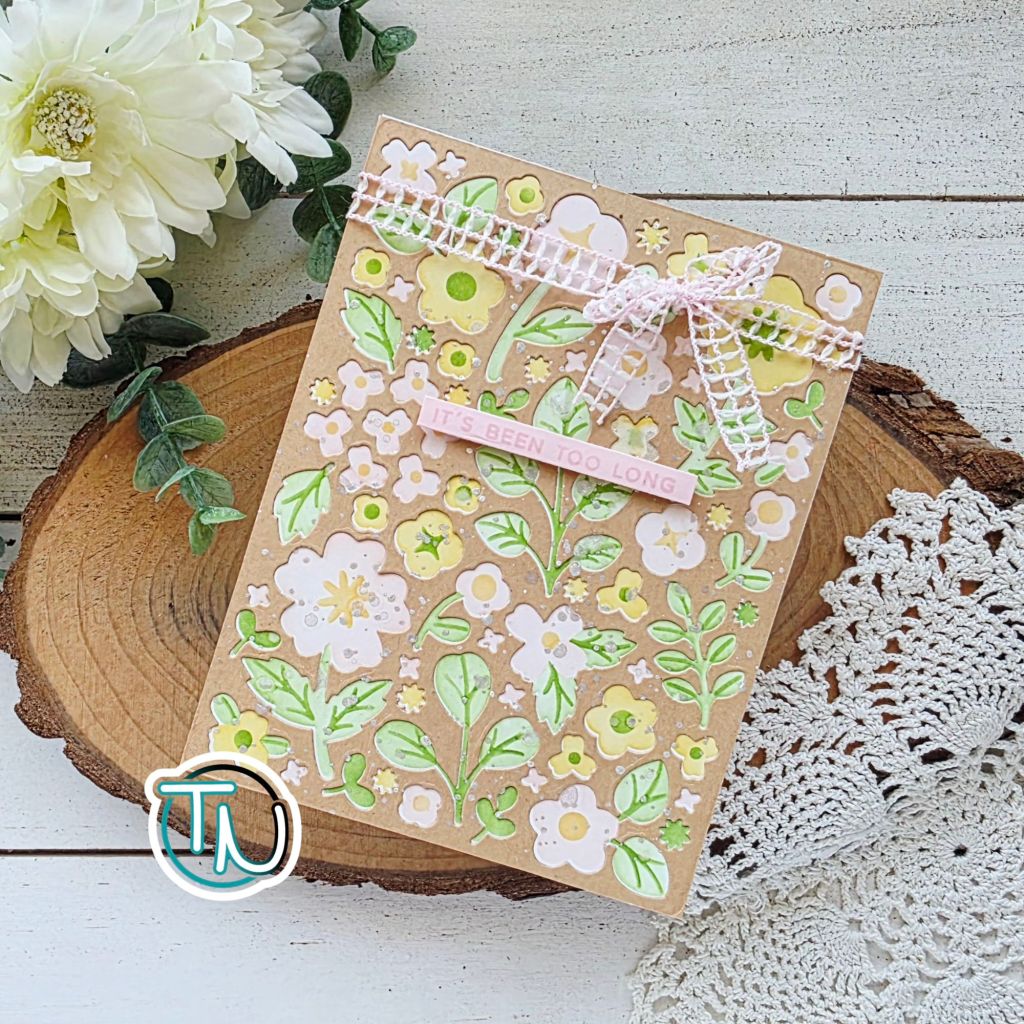
Next, I have a card using the stencils without the cover die and it’s just as pretty!
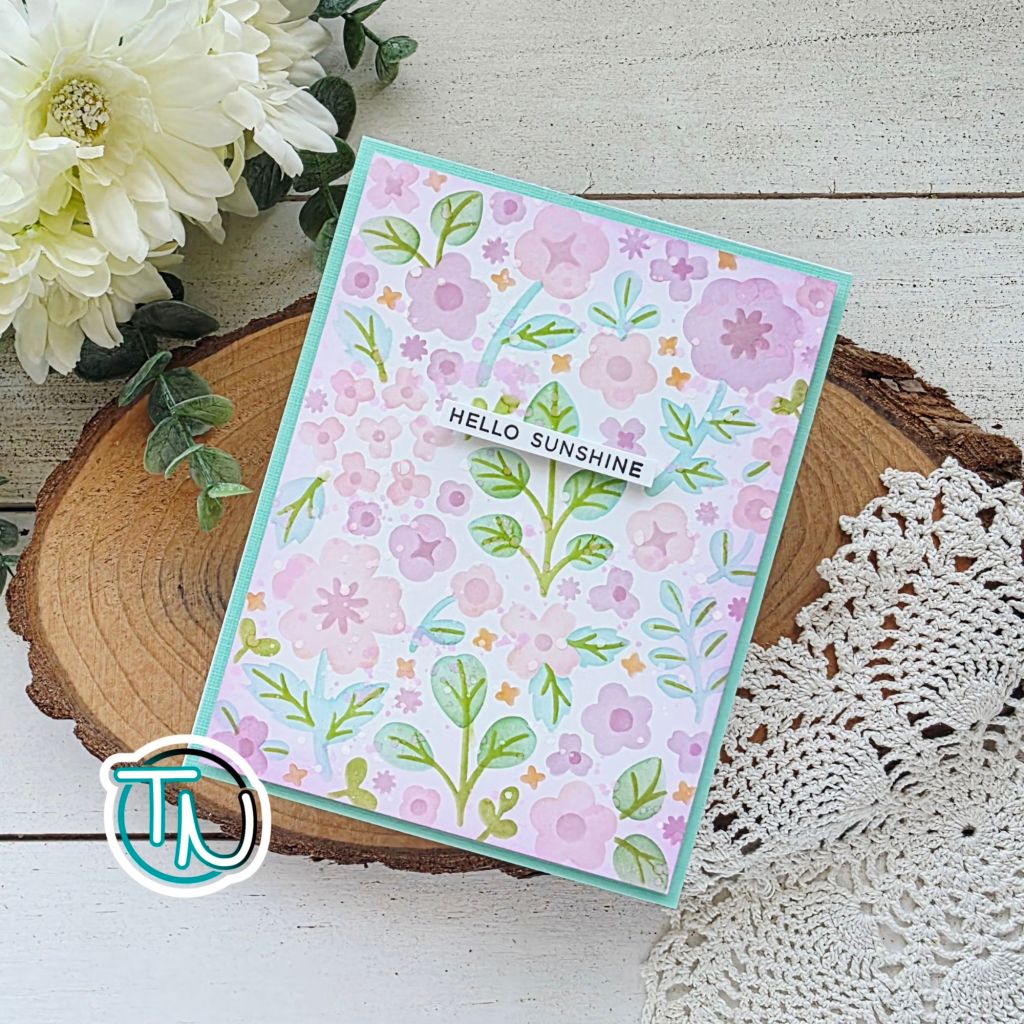
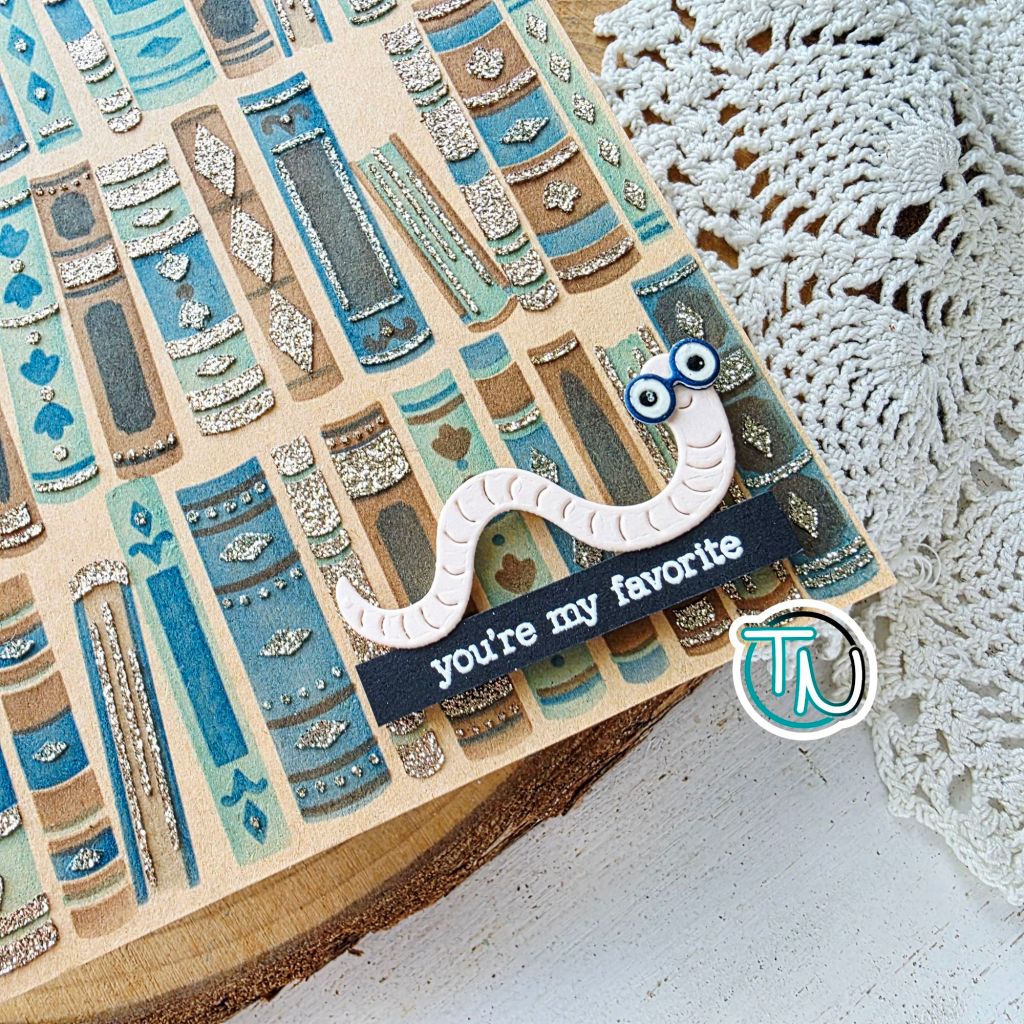
I chose a different color palette for the flowers and added some teal to my leaves. I also pulled out the detail blending brushes to add different colors to some of the small openings and give a splash of yellow among the cooler feeling tones.
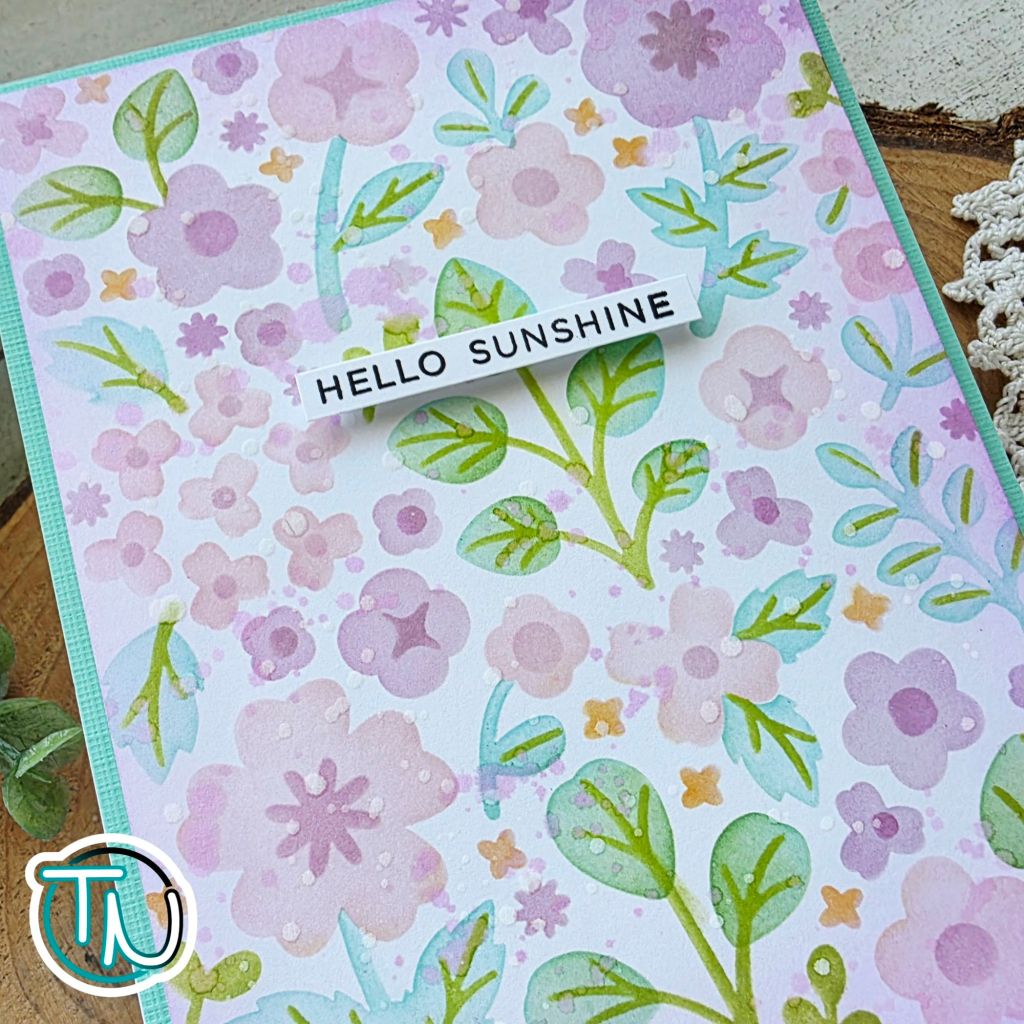
This panel was spritzed with water and splattered with white paint for extra texture. Once that was dry, I trimmed it down to 4×5.25 inches and popped it up on a teal panel. That was glued to a white card base and another sentiment strip was popped up in the center. This time I created a set of simple black ink on white cardstock so they are extra versatile. I just save the extras for future cards which will come in handy for sure!

My next adventure will be to create a card featuring just the cover plate for this and no stencils. Stay tuned for that to come later.
I appreciate you sharing your time with me. Have a fabulous day!