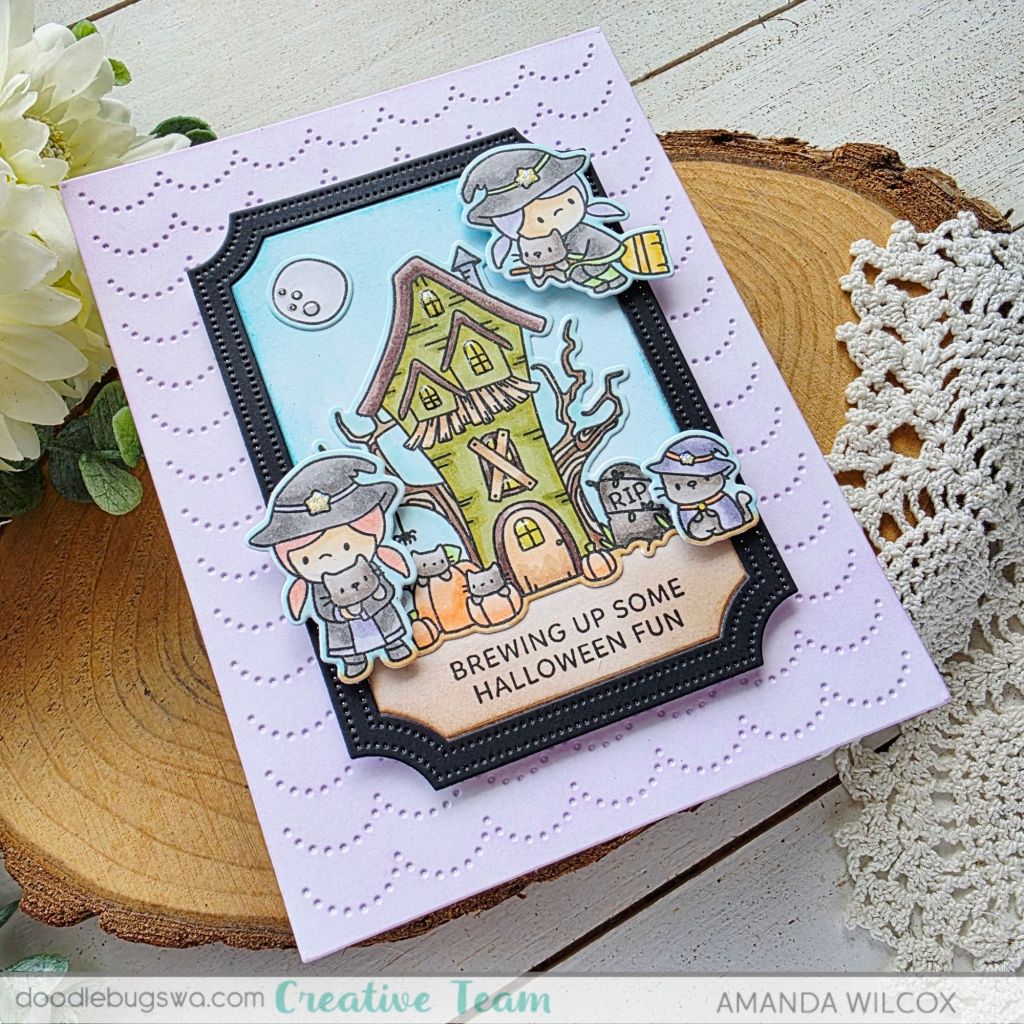
Happy Mix it up Monday everyone! I’m here with this week’s fun concoction, featuring the giveaway from last week – the Mama Elephant Curly Screen Frame – and at the end of this post the reveal of the winner of this die set!
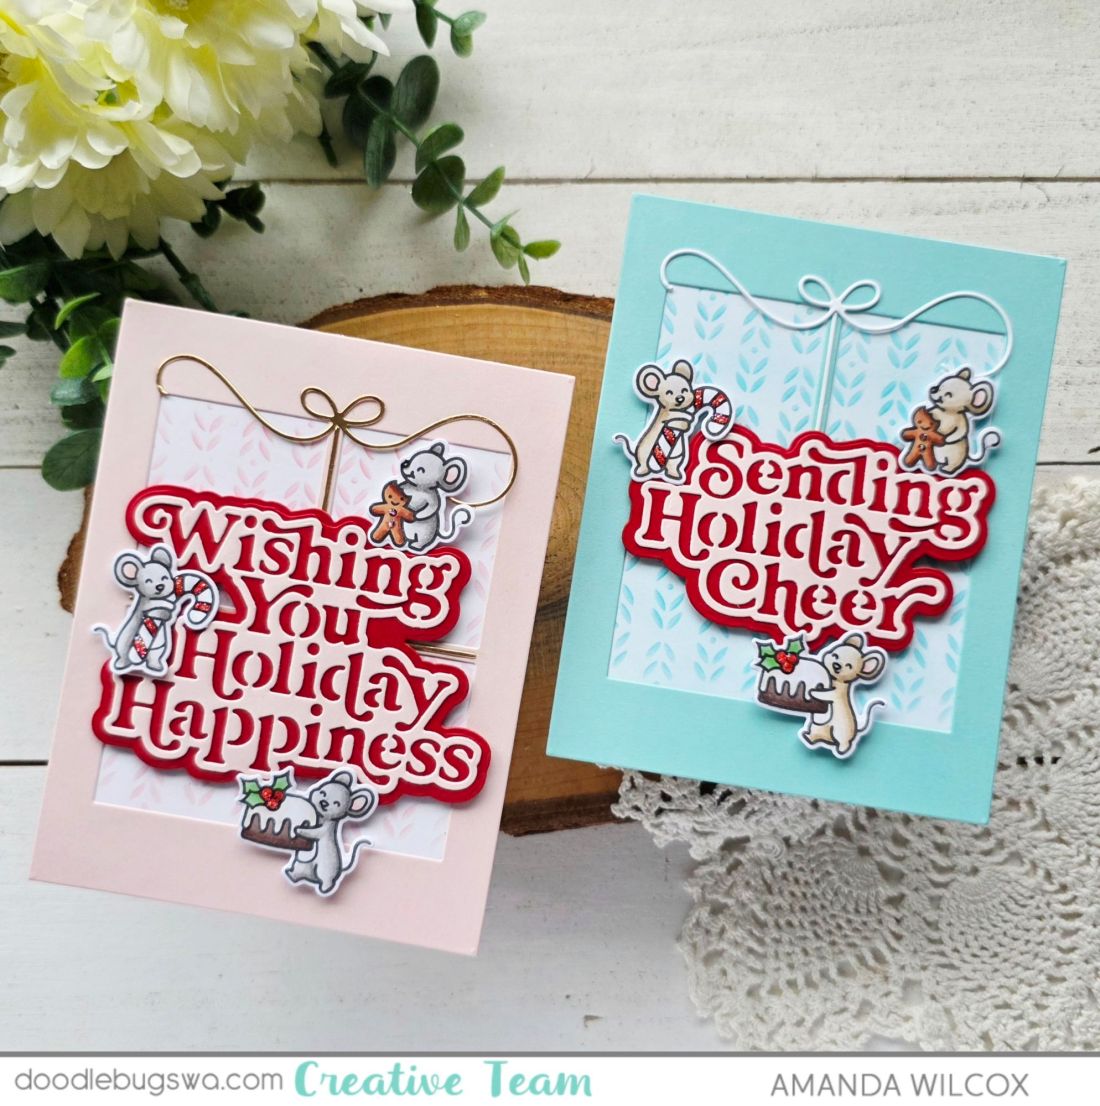
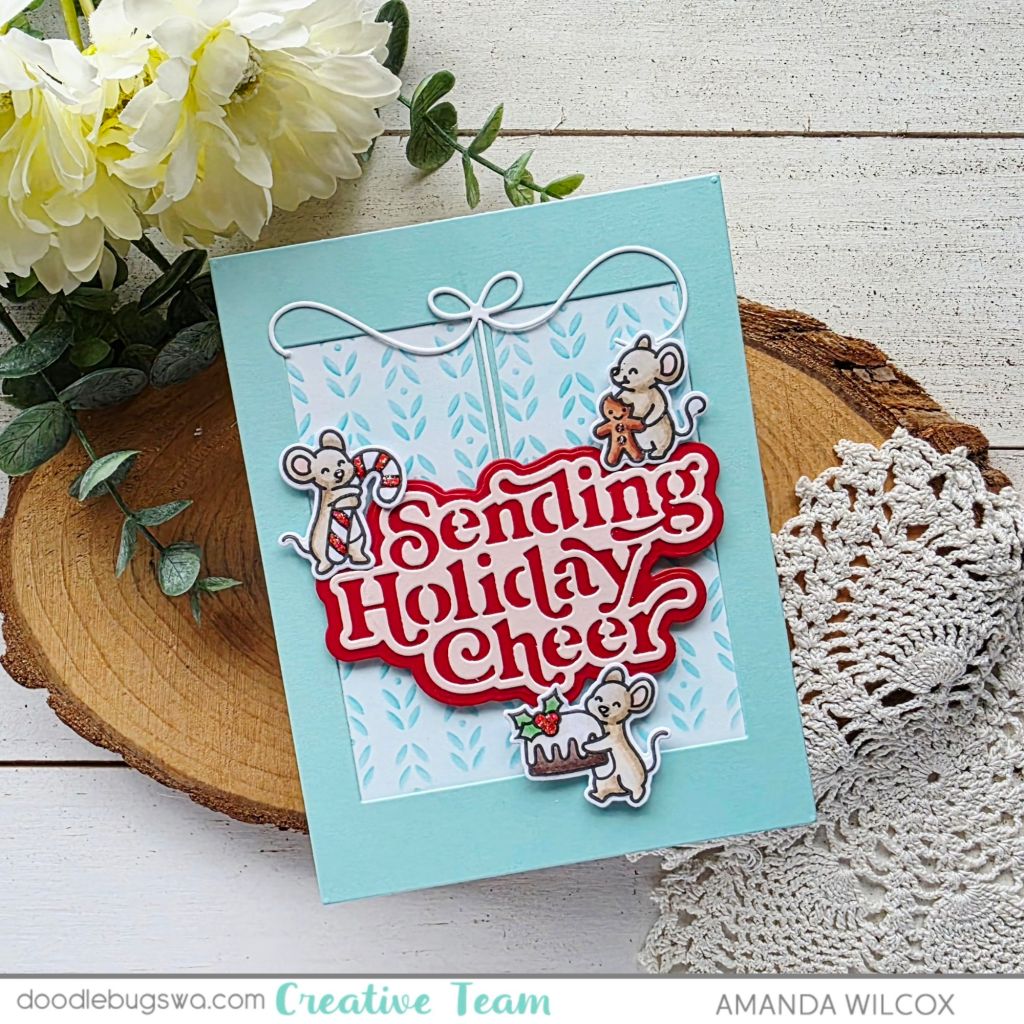
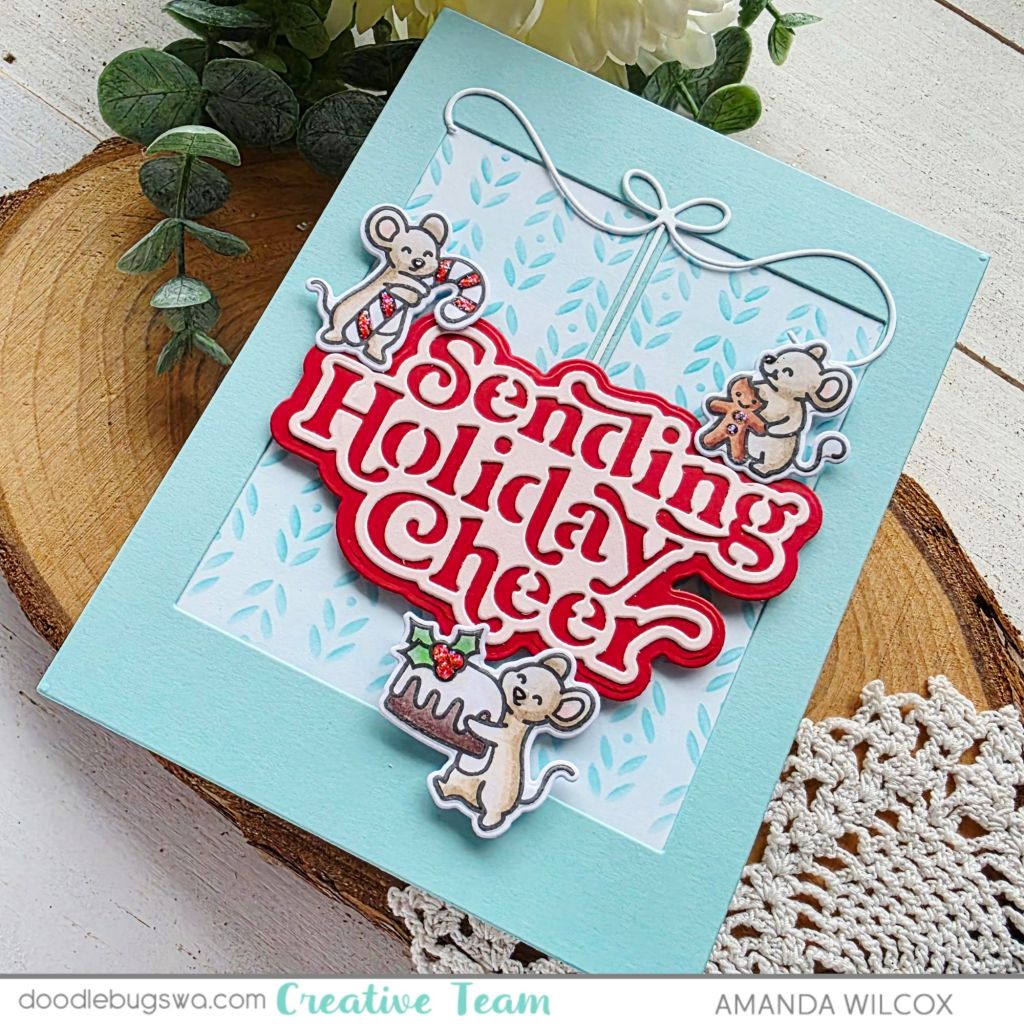
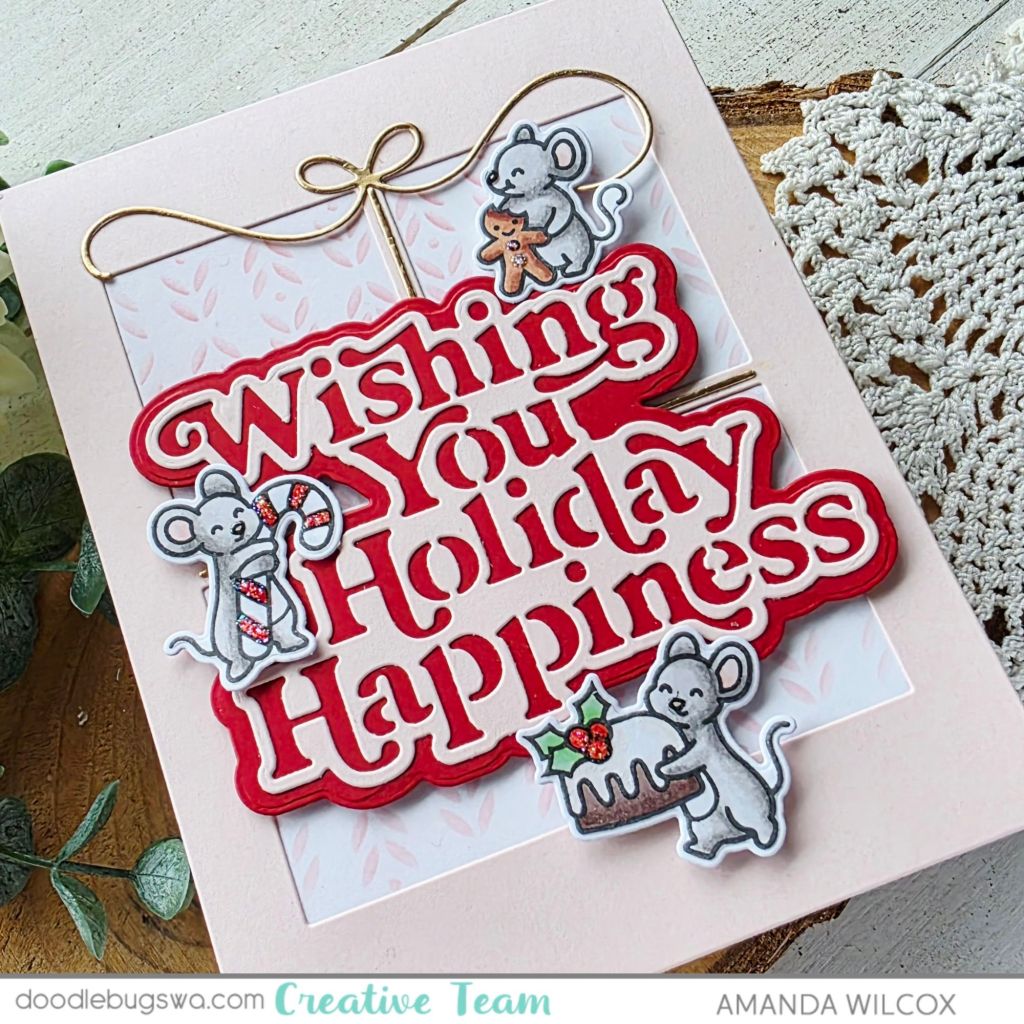
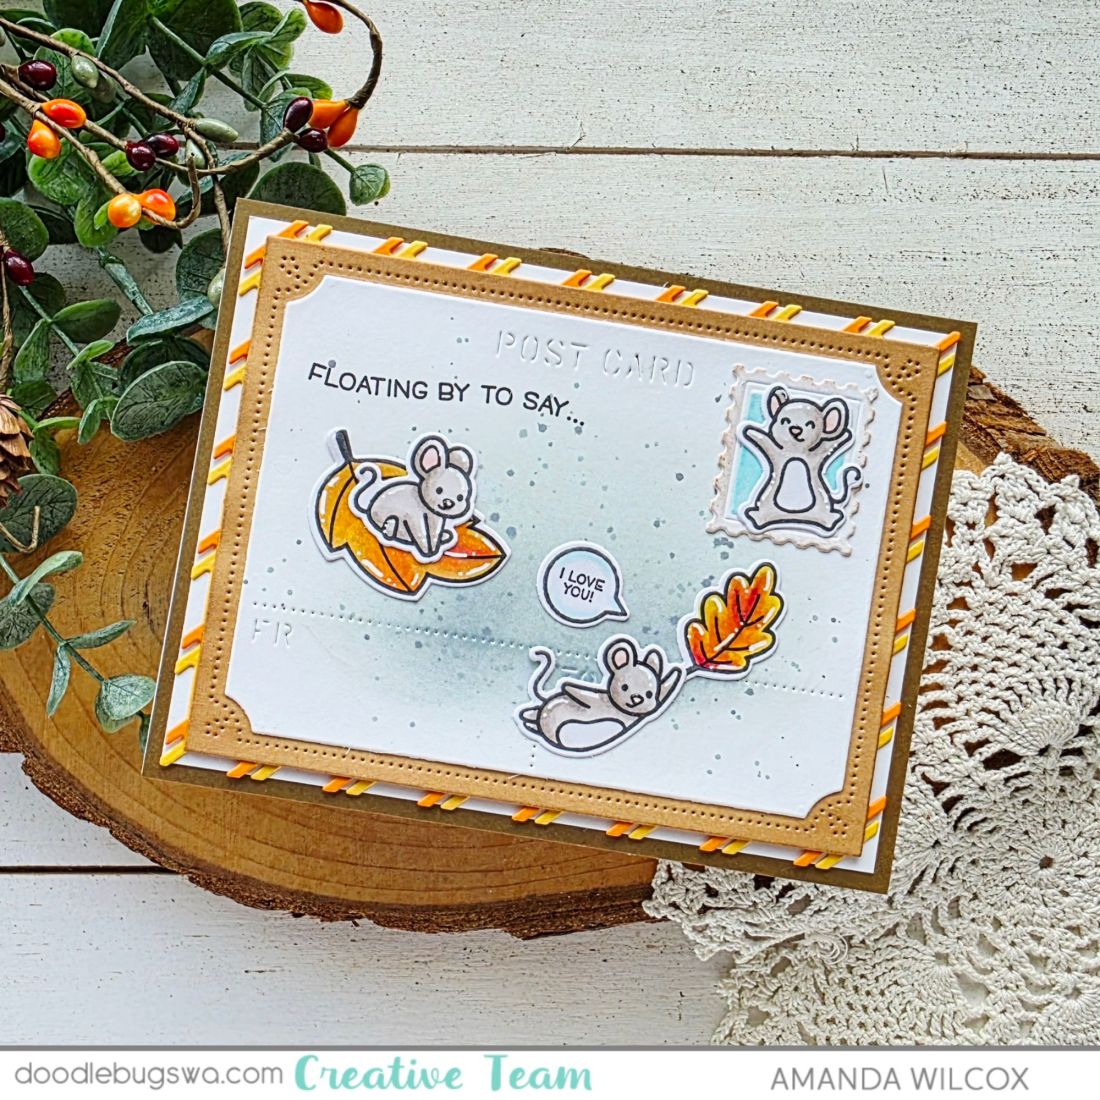
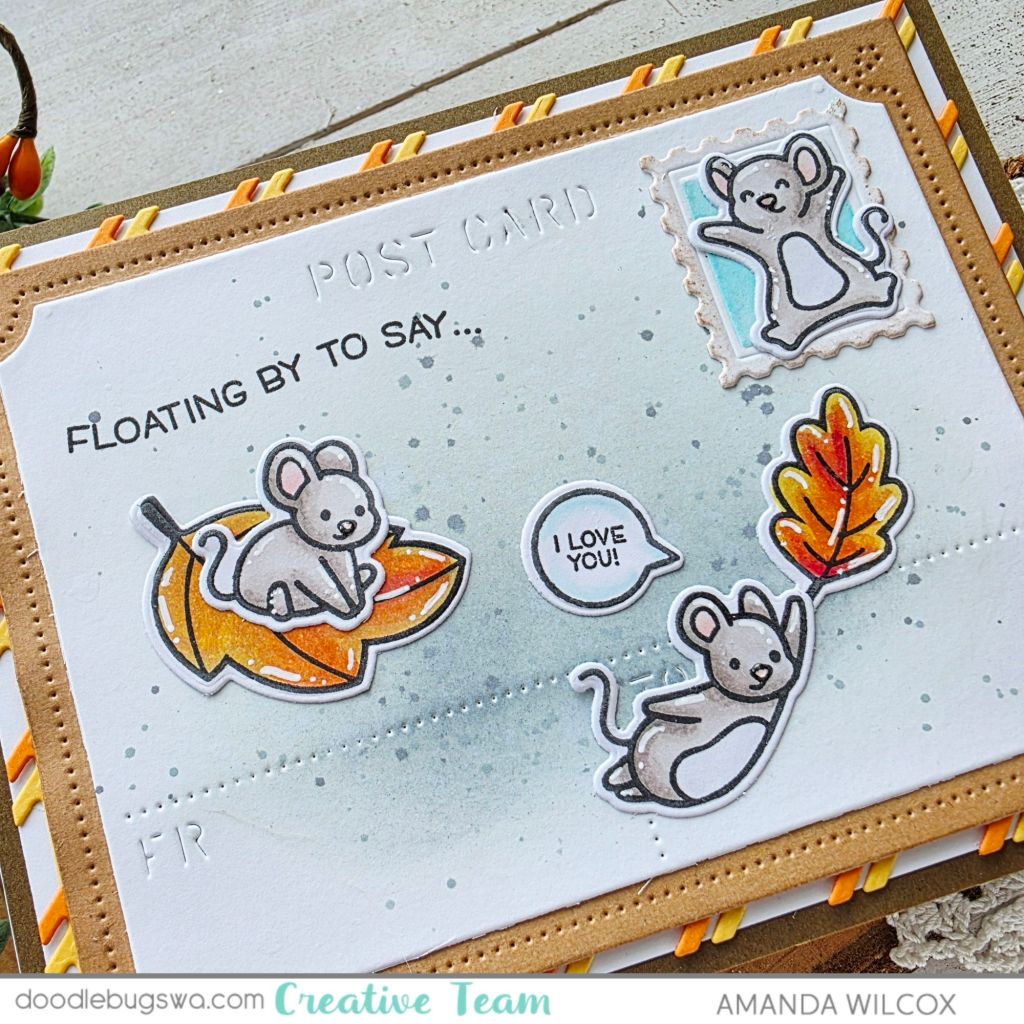
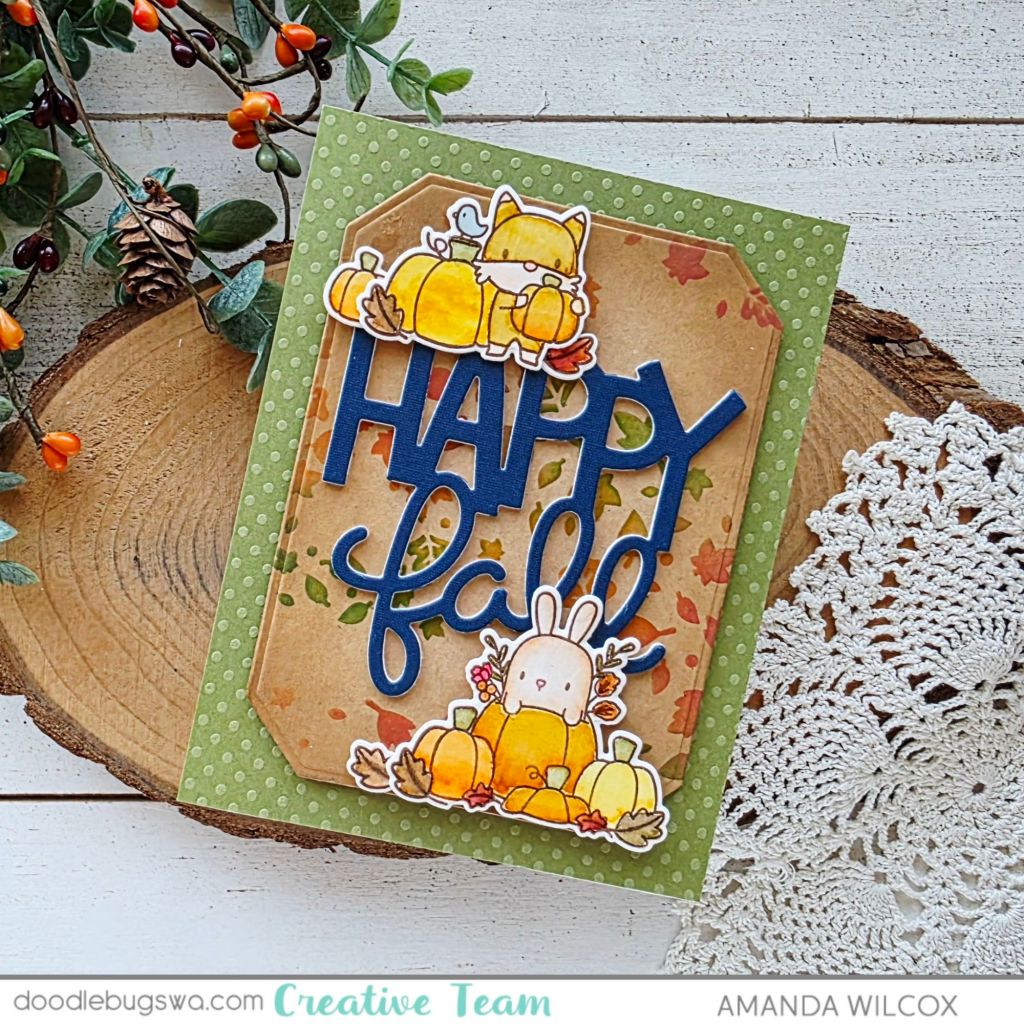
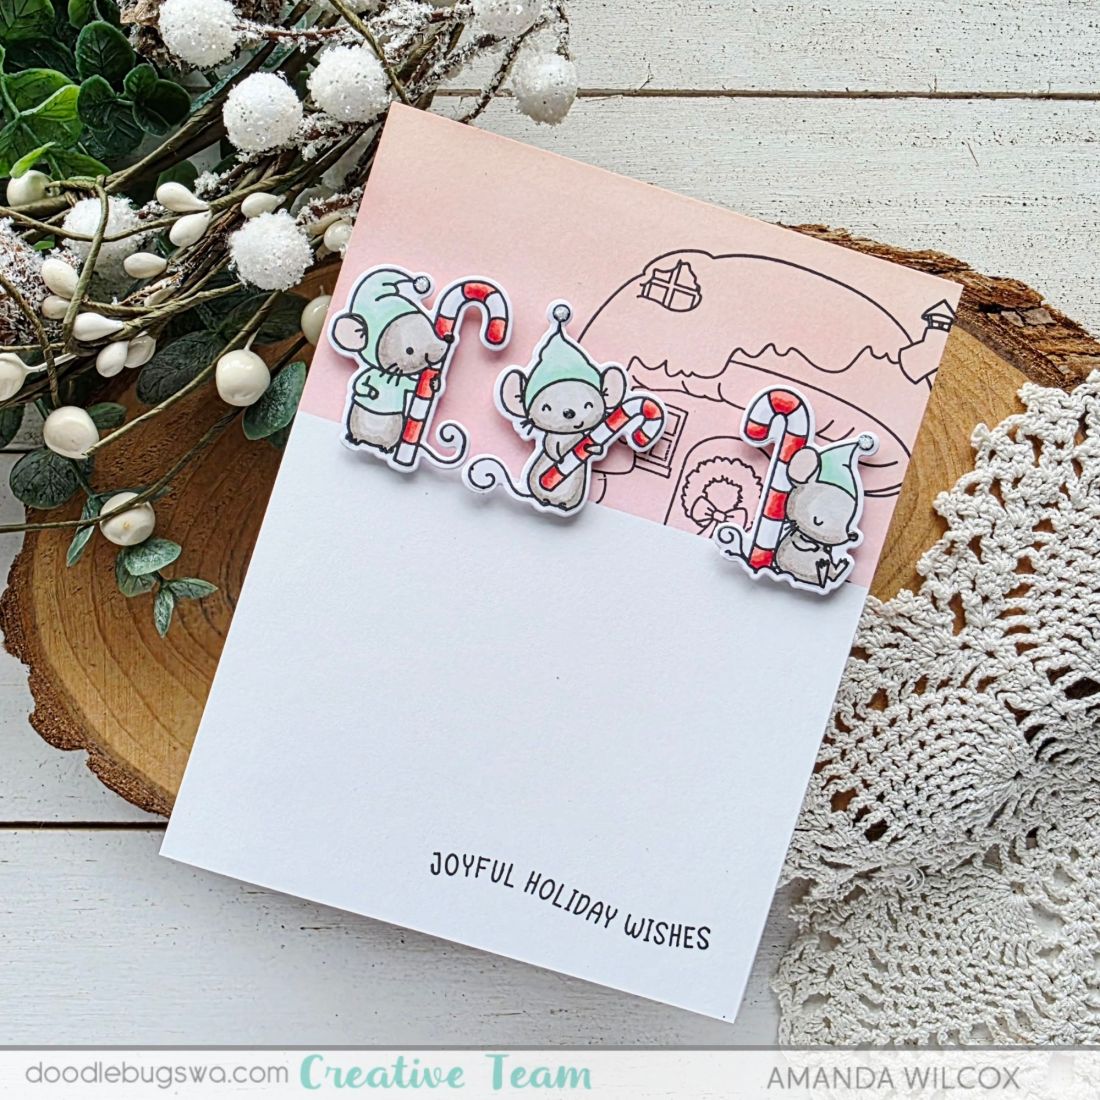
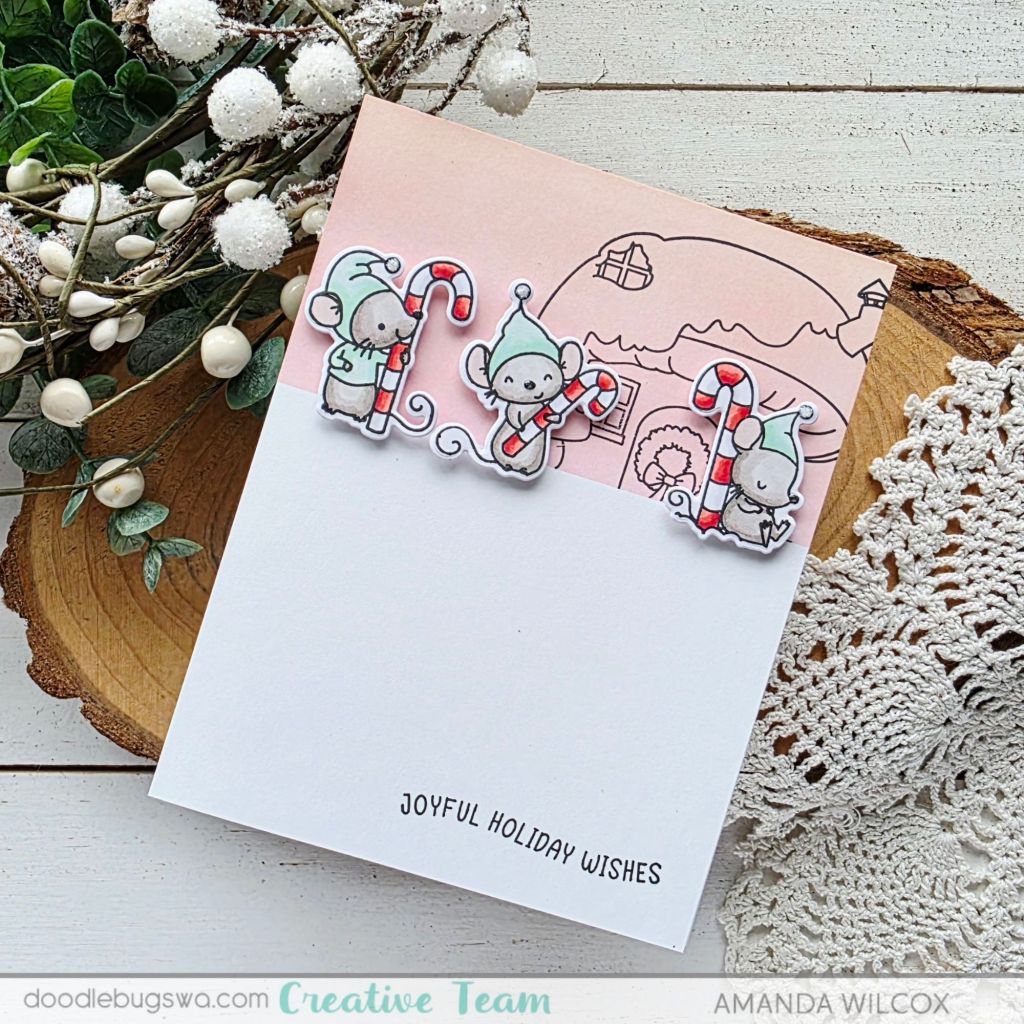
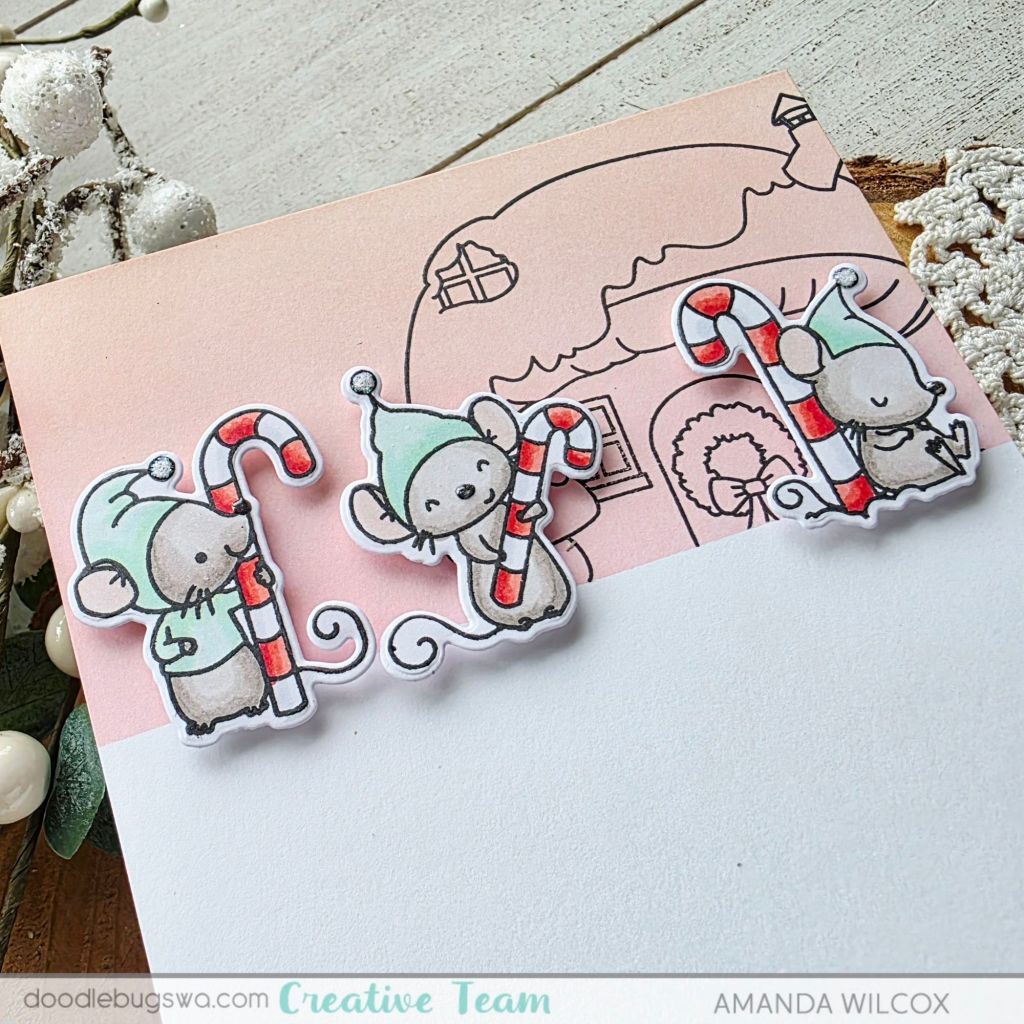
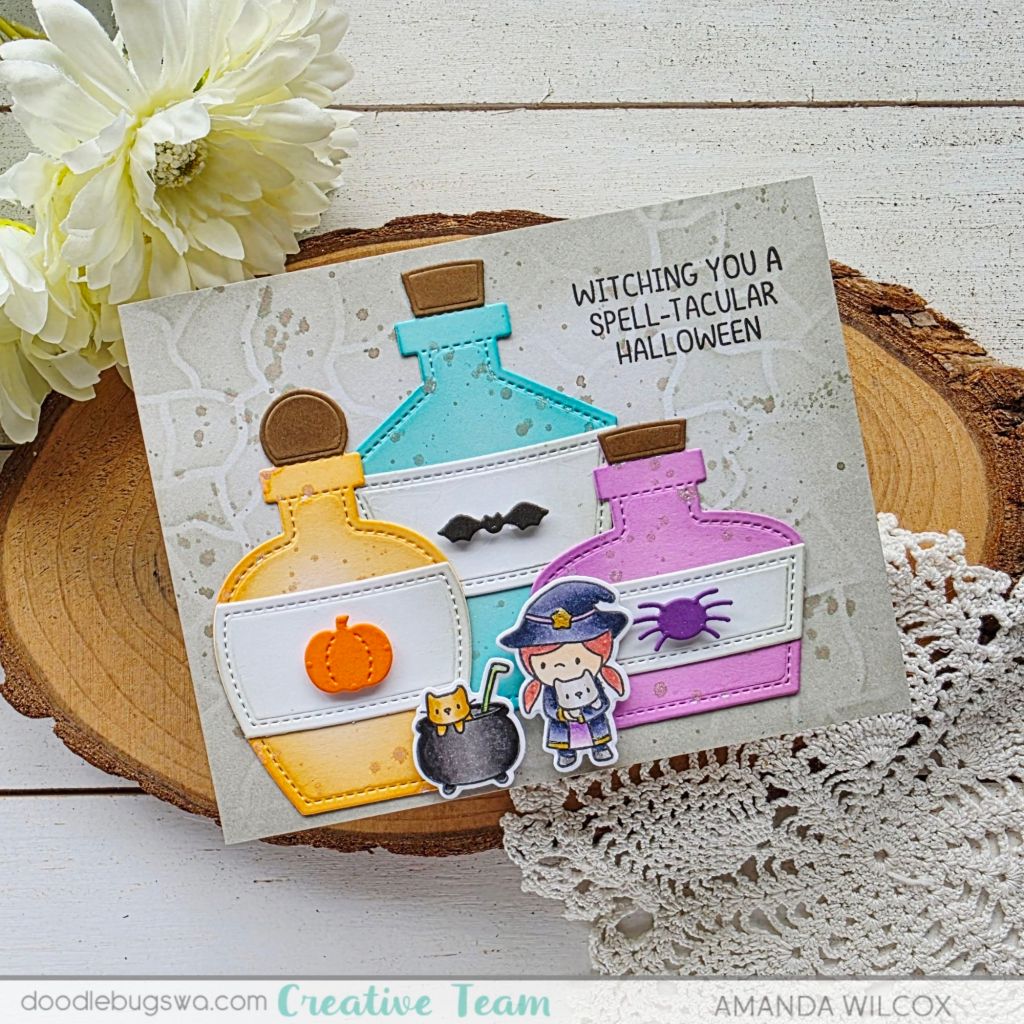
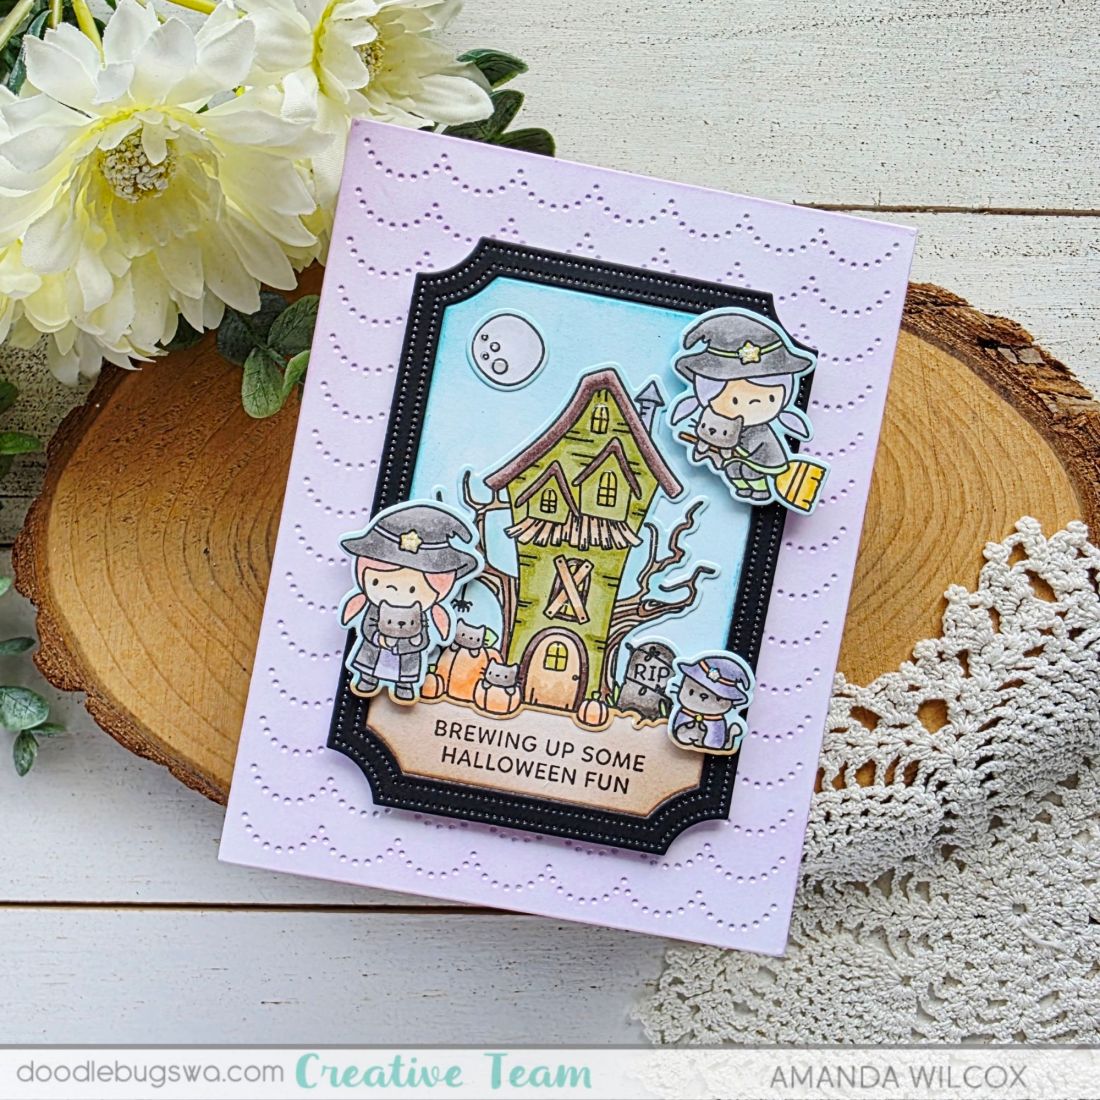
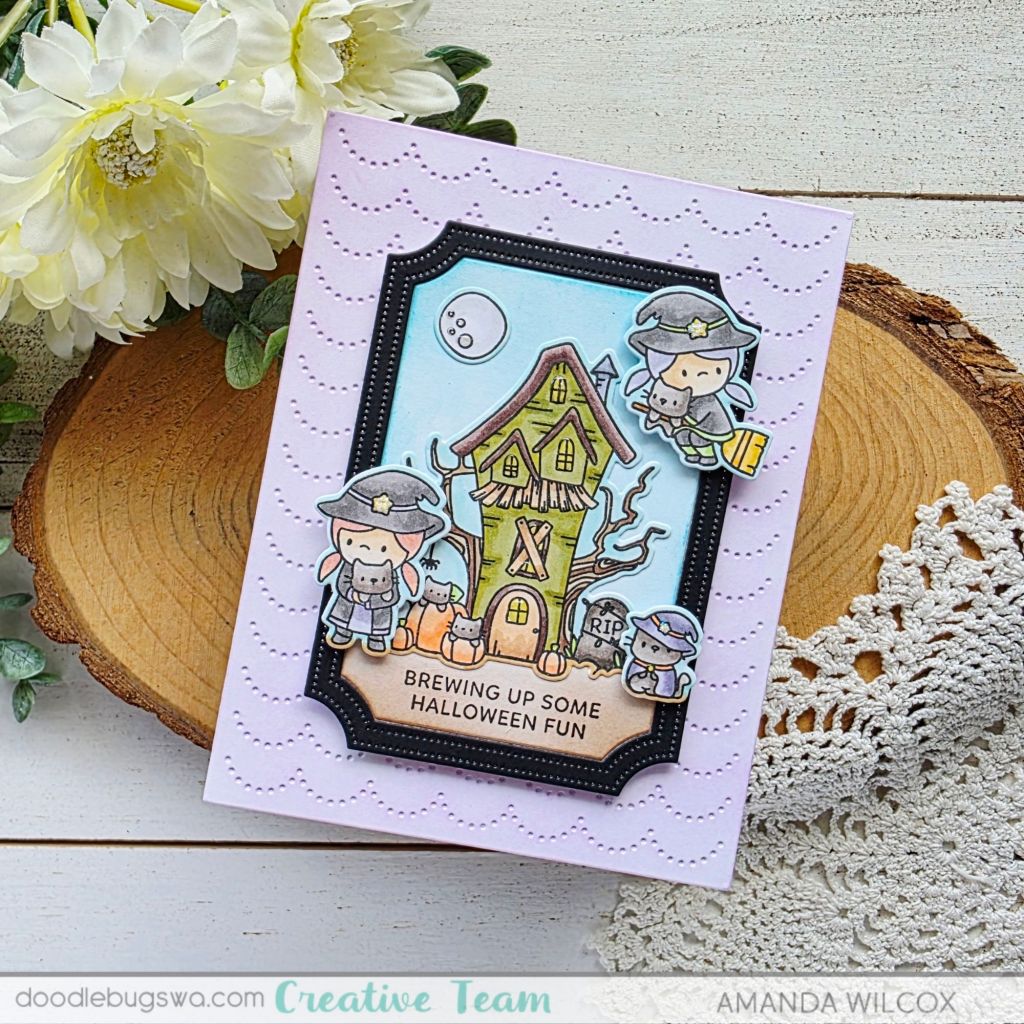
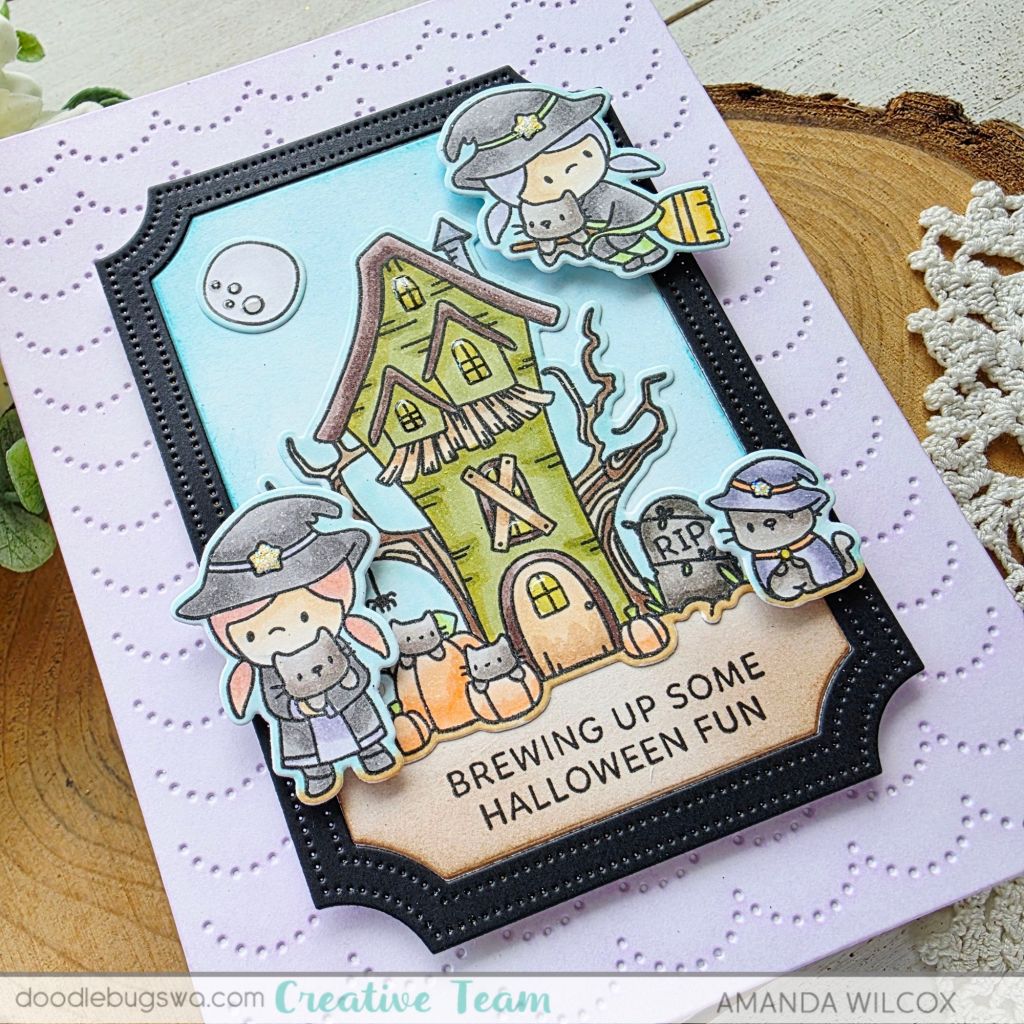
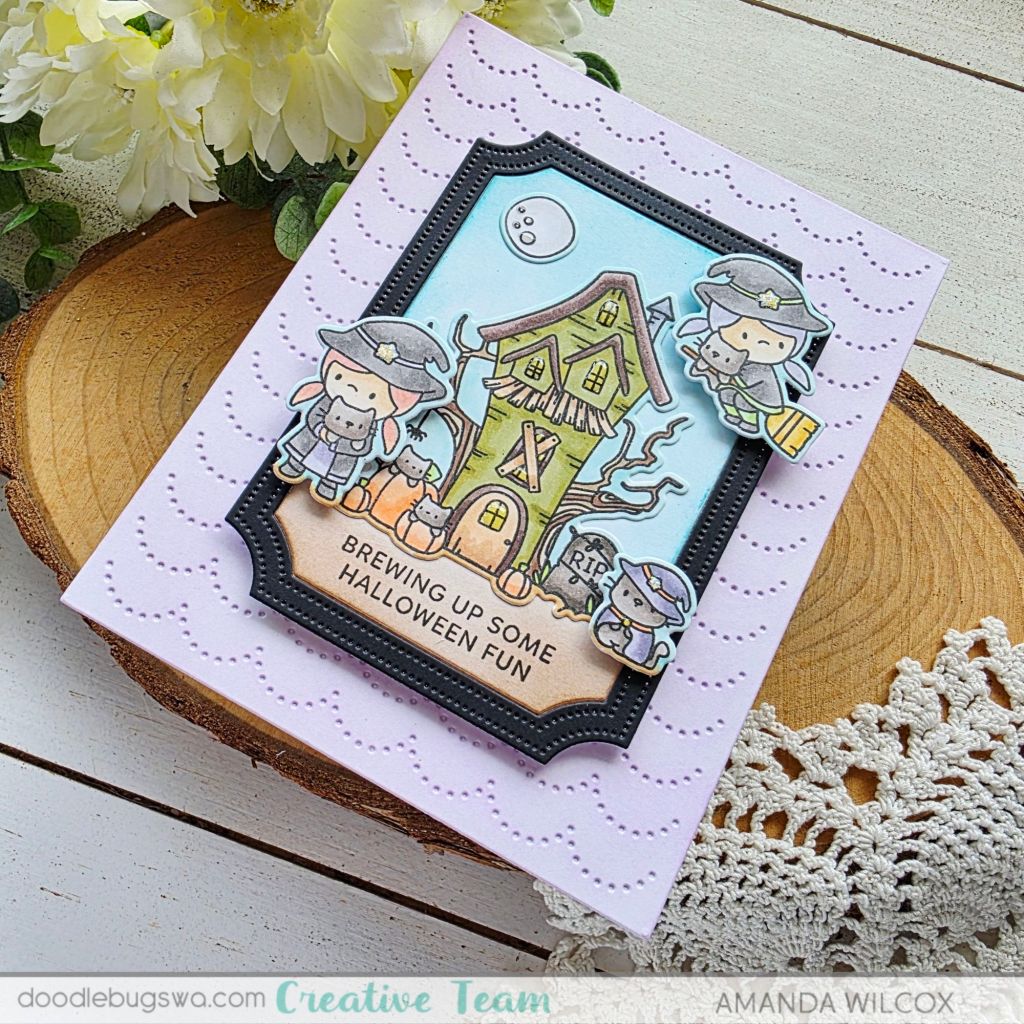
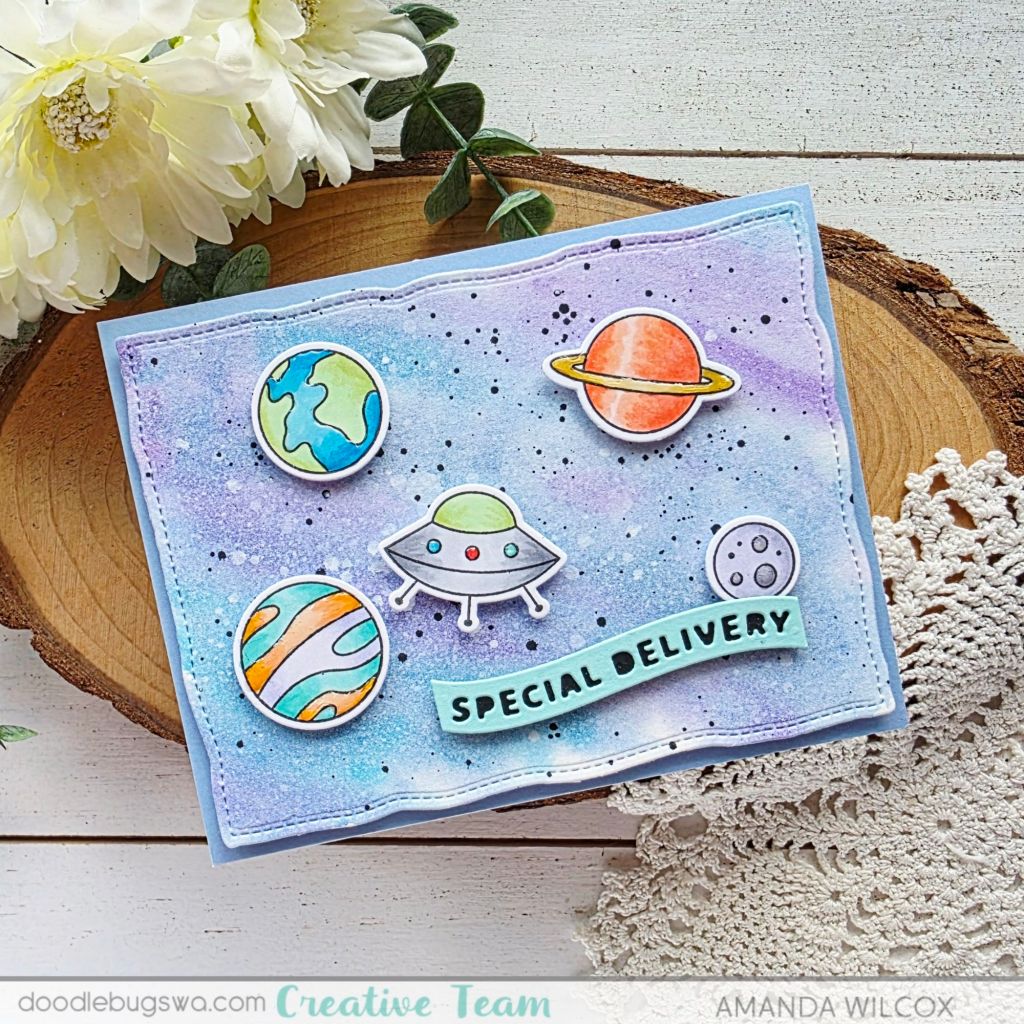
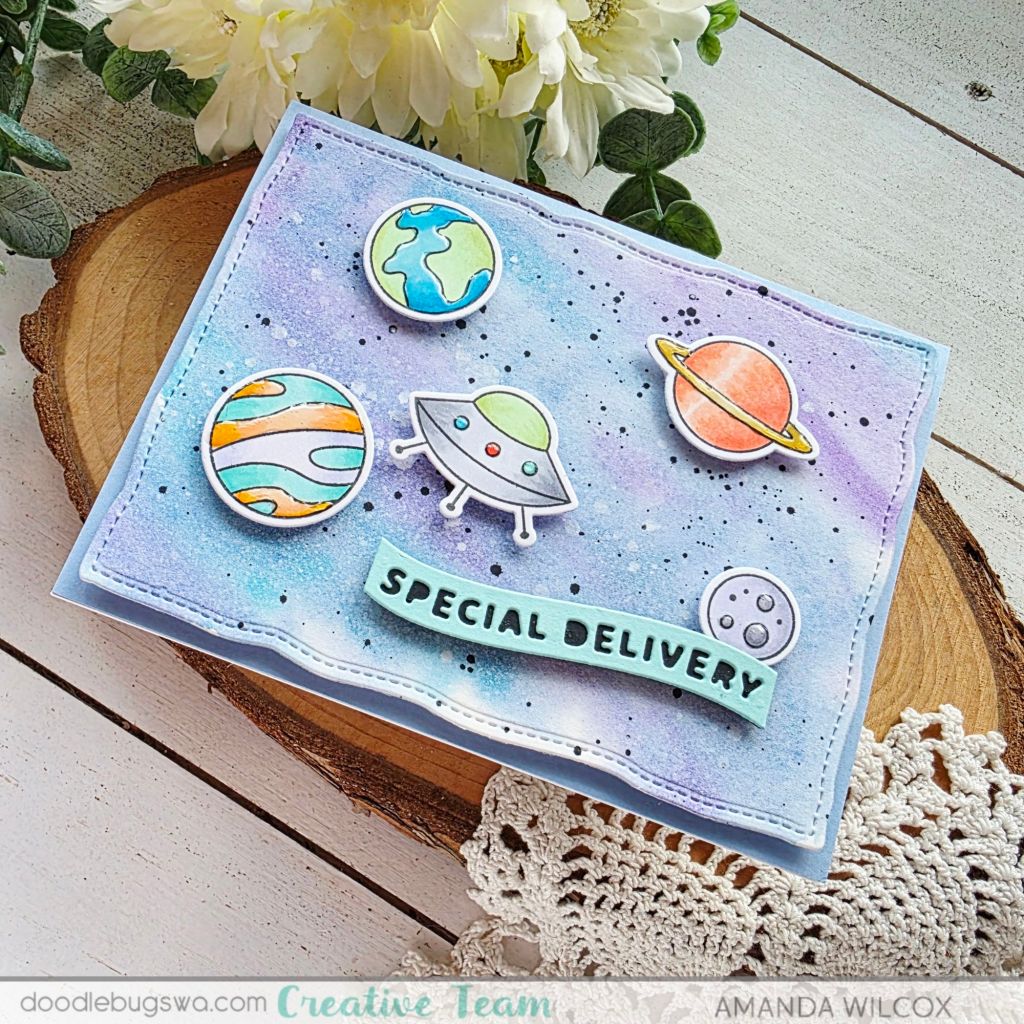
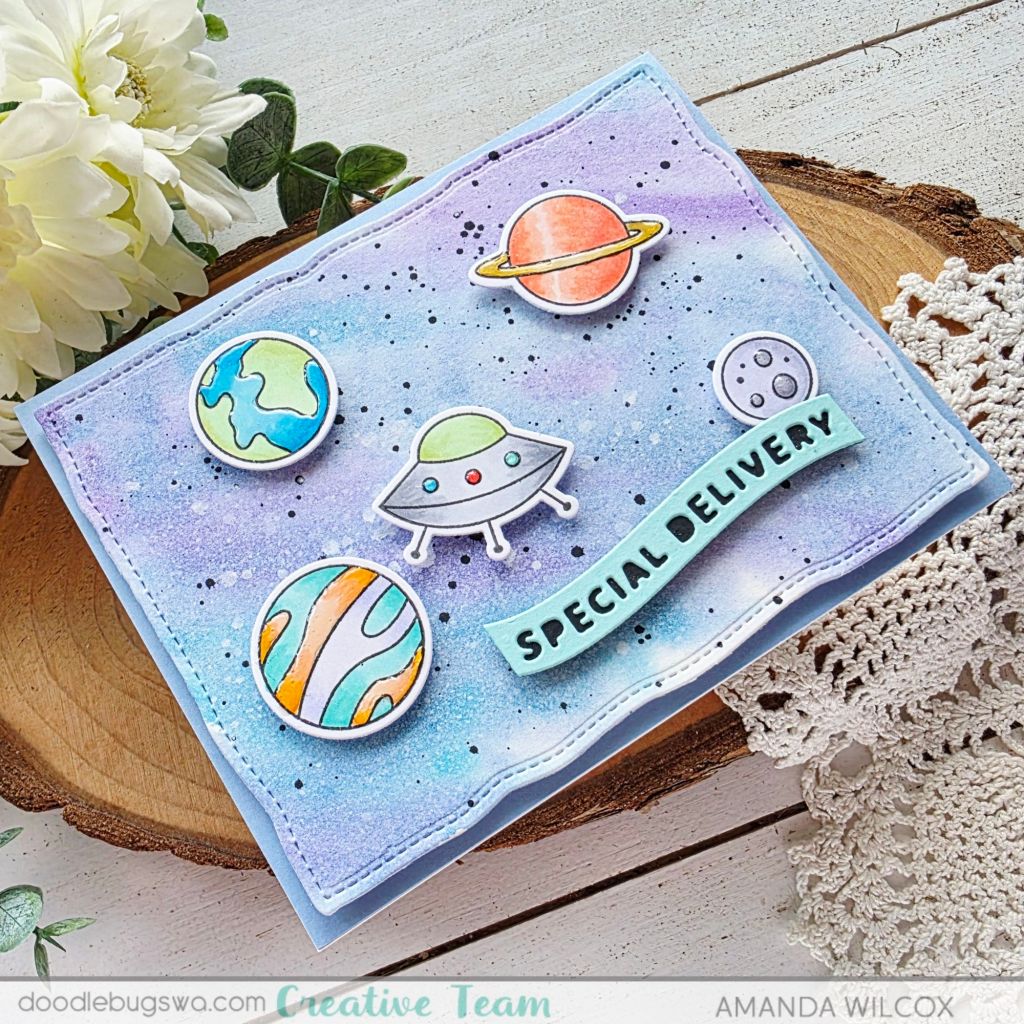
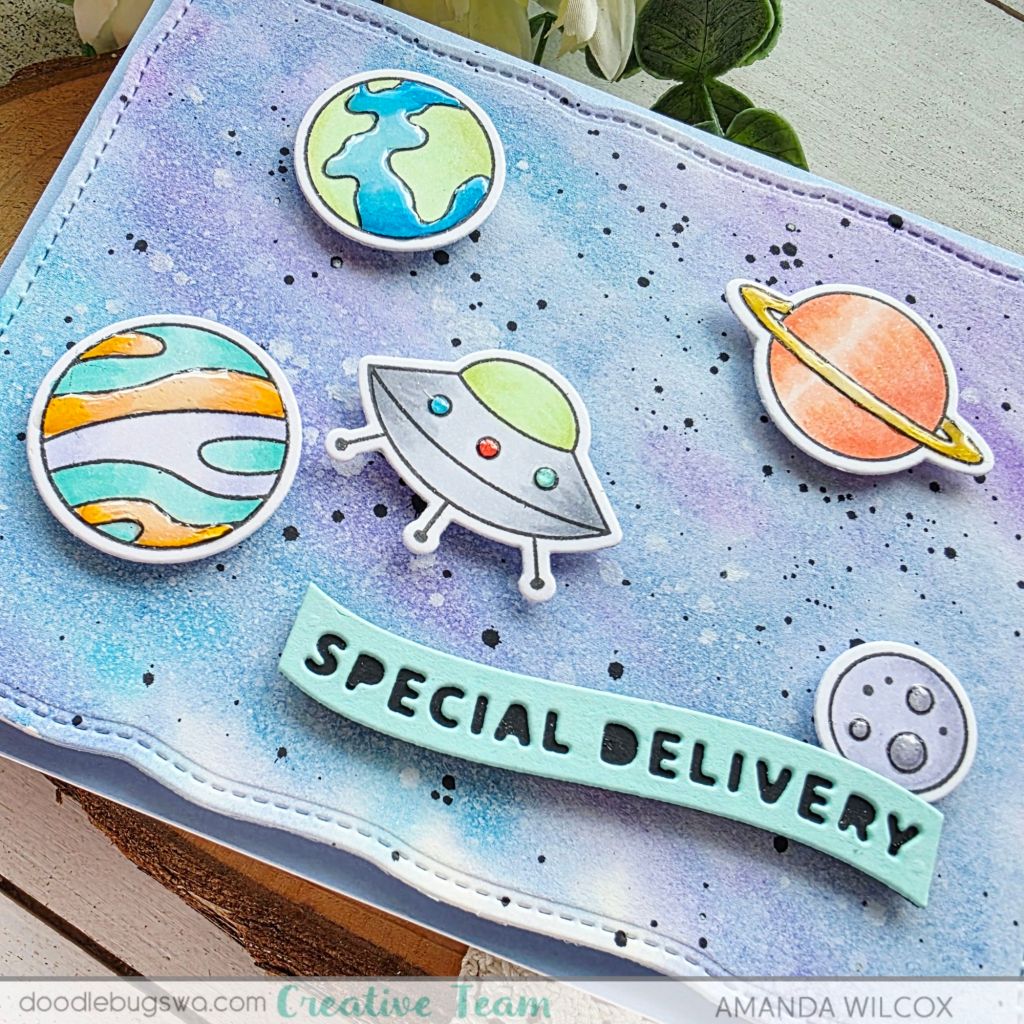
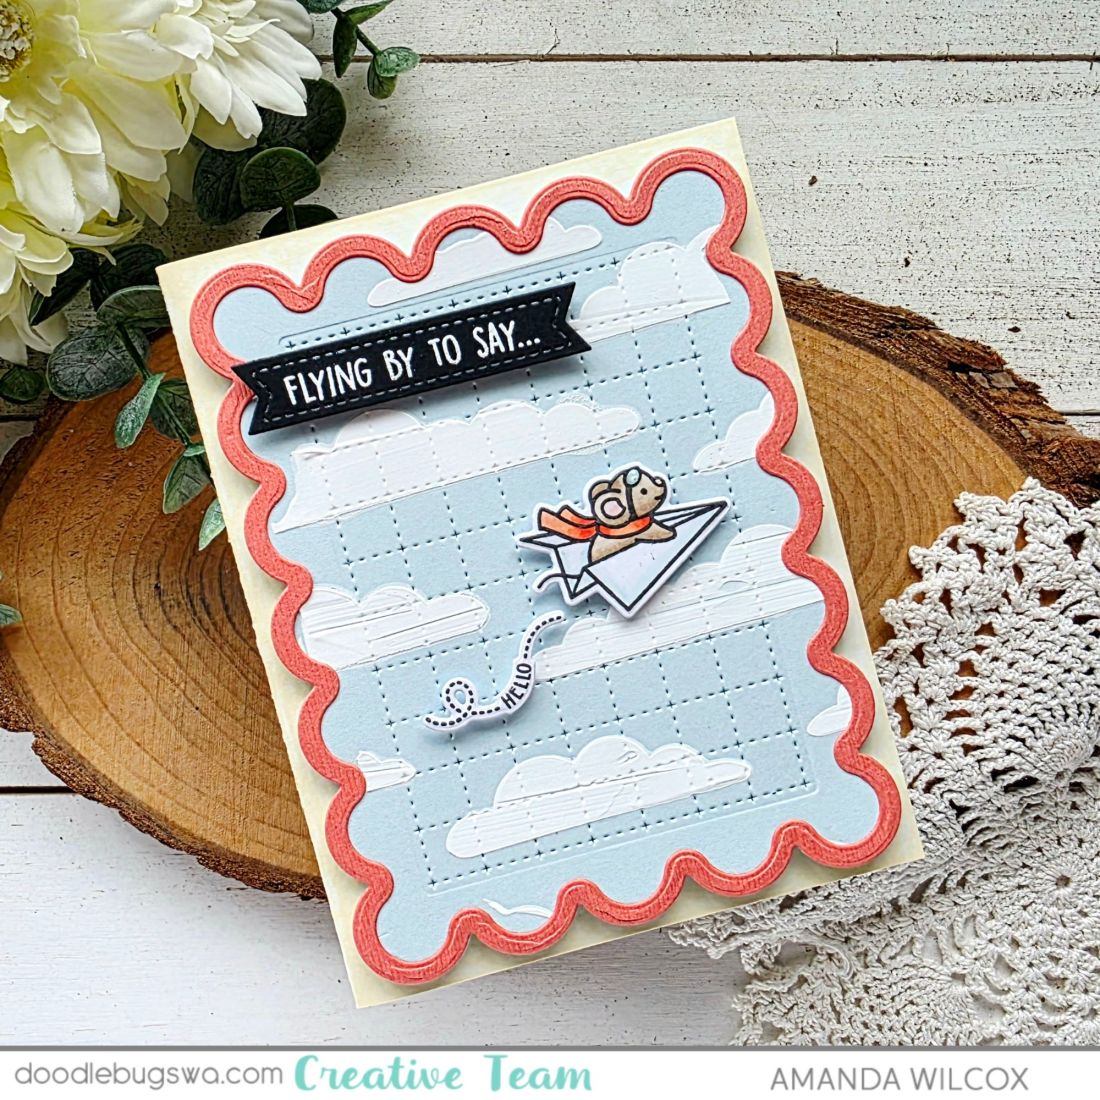
To create this card, I stamped and colored the images from the Lawn Fawn Have a Mice Flight stamp set, then used the coordinating dies to cut them out. Switching gears to my background, I die cut the Mama Elephant Curly Screen Frame from blue cardstock and the frame from melon cardstock.
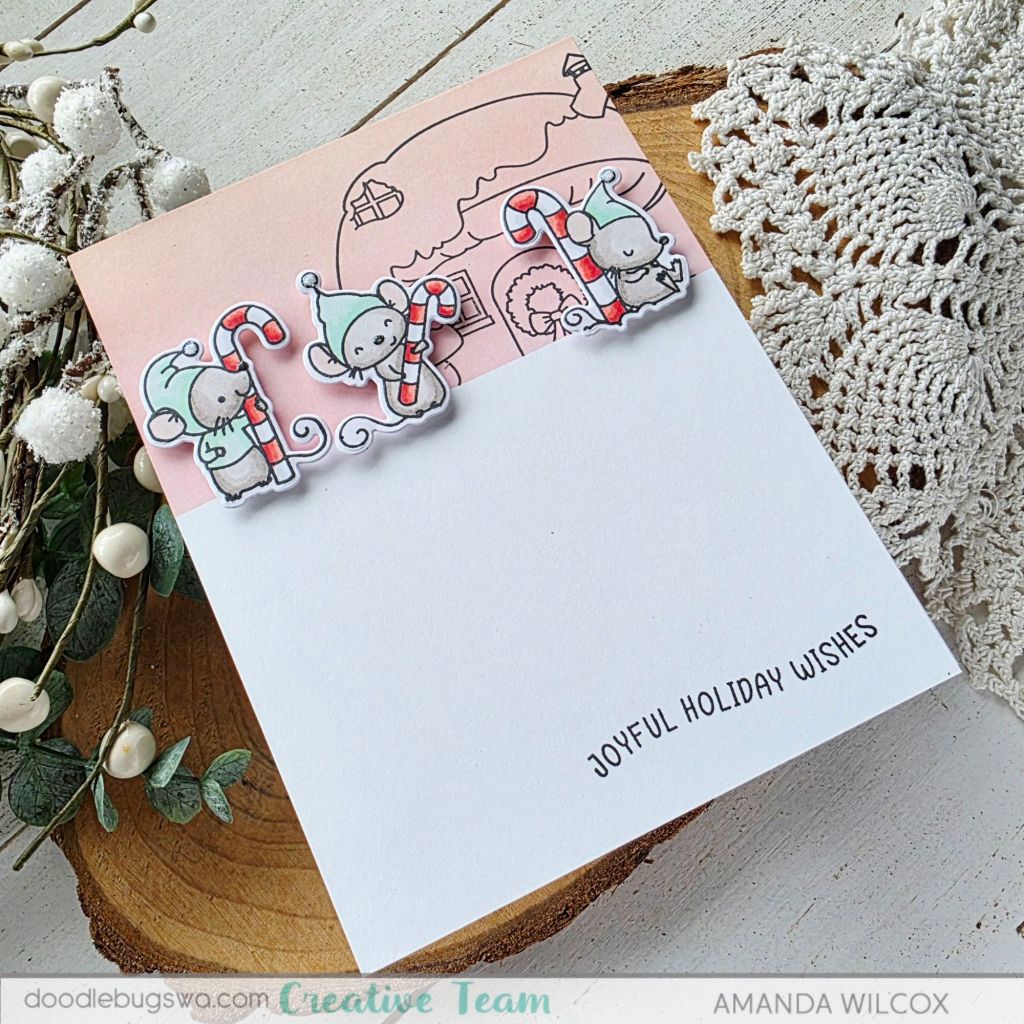
I paired my blue panel with the Lawn Fawn Stratus Cloud stencil, spreading white lie Stellar Paste through it for some great textured glossy clouds. Once that panel was dry, I glued the frame over the top and popped up my images in the center.
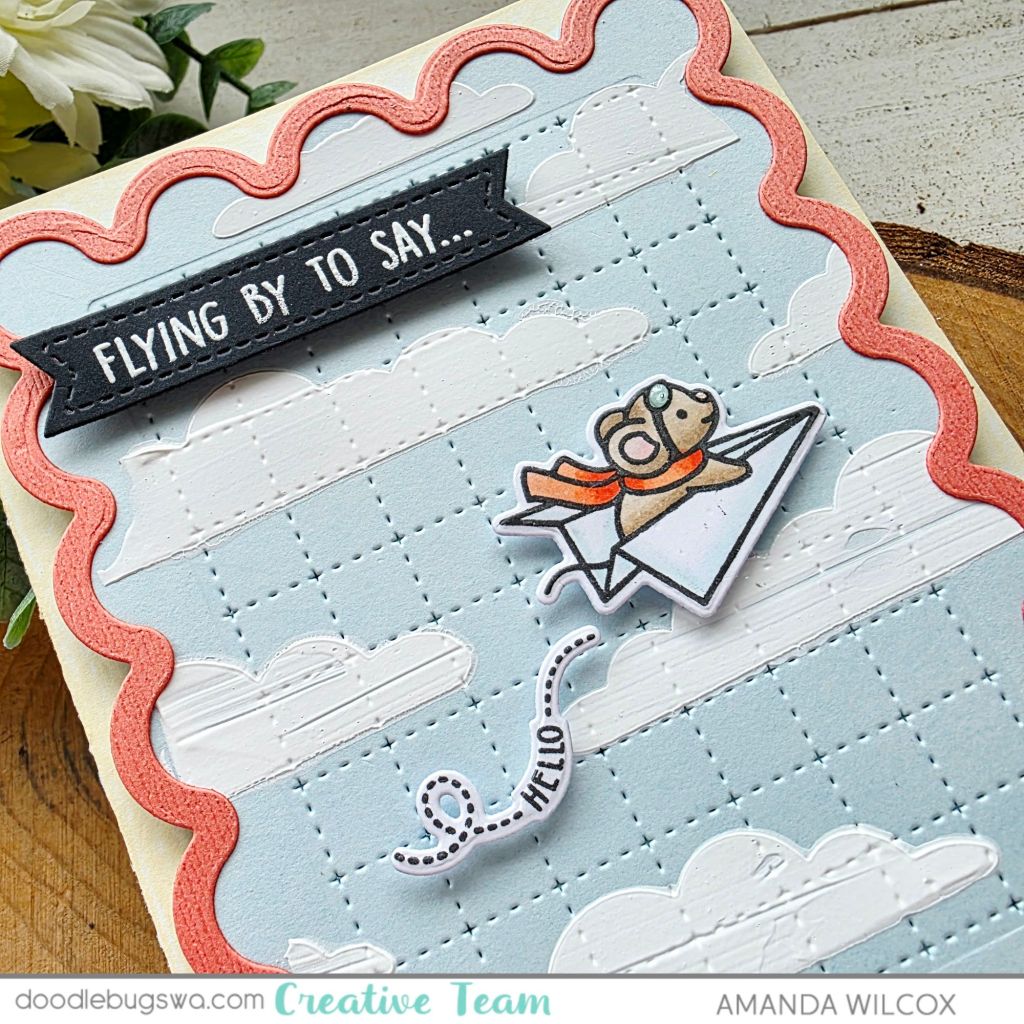
Next, I stamped and heat embossed my sentiment, cutting it out with a Pretty Pink Posh sentiment strip die. I popped this up with foam strips and then added foam tape to the back of the curly screen panel to adhere it to a light yellow card base.
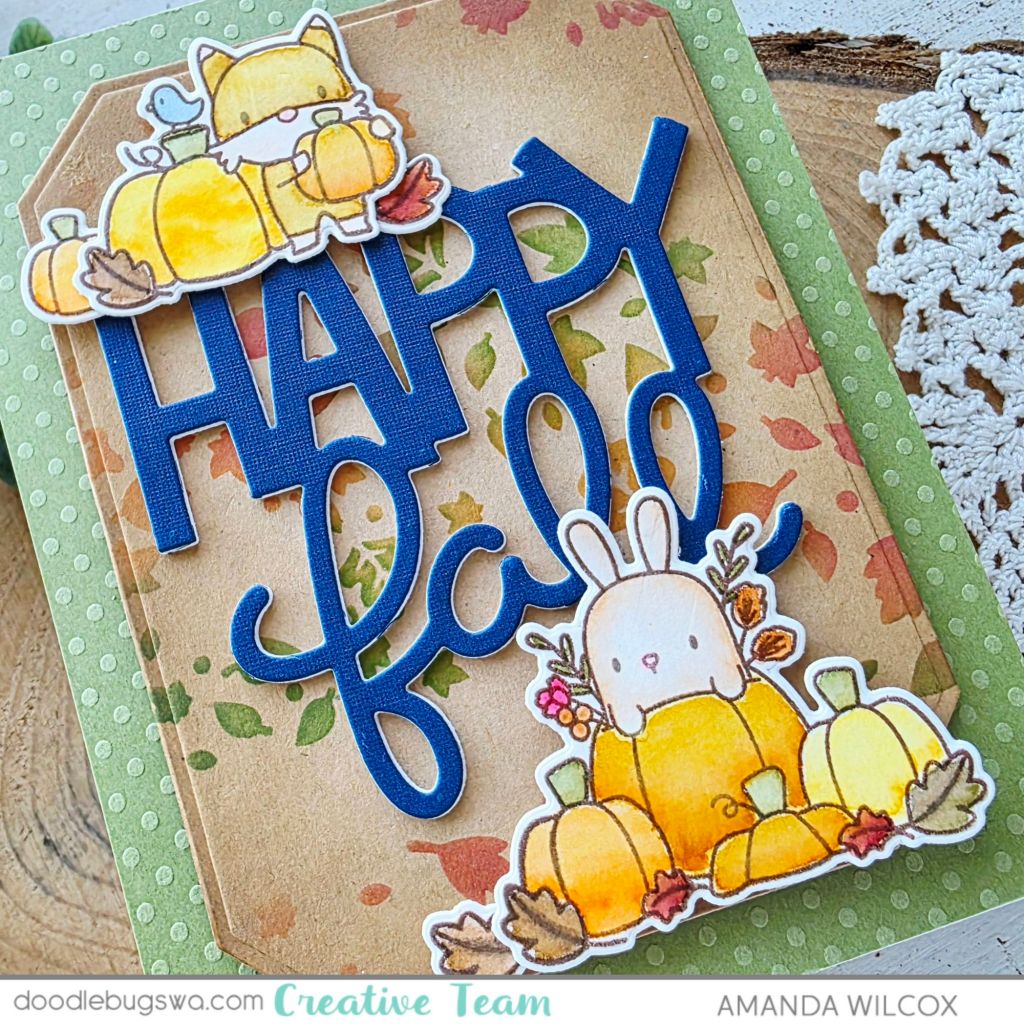
For finishing touches I added glossy accents to the mouse’s goggles and nose. Isn’t it so sweet?!?
Now, on to the part you scrolled down to find out…the winner of the Mama Elephant Curly Screen Frame die set donated by Doodlebugs!
Congratulations BO GILMORE!!! You are the winner! Please email me at twiddlersnook@gmail.com to claim your prize.
Products from today’s card are:
Mama Elephant Curly Screen Frame dies
Pretty Pink Posh Sentiment Strips dies
Lawn Fawn Have a Mice Flight stamps and dies
Lawn Fawn Stratus Clouds stencil
Stellar Paste – white lie
Glossy accents
Foam tape, strips and squares
Liquid glue
I appreciate you sharing your time with me. Have a fabulous day!