Doodlebugs – Potions Lessons

Hello again! I’m back with another Mix-it-up Monday for Doodlebugs and, of course, I’m back to my Halloween antics. This time we’ve got potions class. So grab your text books and turn to page 394 please.

I started this card by wanting to play with the Pretty Pink Posh Potions Shaker dies so I cut out all the bits and blending brushes to add shading and dimension. After that I splattered them with unicorn watercolor and let them dry.

While those were drying, I chose a couple of images from Mama Elephant Bewitched to stamp, color and cut out. Then I assembled my potion bottles, and decided on arrangement. I adhered them together with liquid glue and added foam squares to my images.

My gray background panel was too drab so I pulled out the Pretty Pink Posh Crackle Background stencil and inked it up. Then splattered the panel with darker gray ink for more distressing. We’re in the dungeon after all.

Finally, I adhered the panel to a card base, used liquid glue to adhere my potion bottles and popped my images on with their foam squares. I placed the whole card in my MISTI and stamped the sentiment in the upper right corner and finished the design off with just a bit of glossy accents on my witch and ladel.

Products used:
Pretty Pink Posh Potions Shaker dies
Pretty Pink Posh Crackle Background stencil
Mama Elephant Bewitched stamps and dies
Blending brushes
Lawn Fawn narwhal and manatee inks
Glossy accents
Liquid glue
Foam squares

I appreciate you sharing your time with me. Have a fabulous day!
Doodlebugs – Brewing Up Some Halloween Fun

Happy Mix it up Monday everyone! I’m creating for the Doodlebugs shop as usual, but the shop blog is no longer being used so I thought it would be important to keep things going here in case anyone has questions on the creation process.

Today I’m playing with Mama Elephant spooky goodness and adding some Pretty Pink Posh and Waffle Flower dies to round things out.

I started by choosing images from Mama Elephant Bewitched to stamp, color and die cut out. The Mummified set came out in the same release and would be a lot of fun to mix with this or substitute if you have that one but like this layout.

Next, I cut the Waffle Flower Nested Piercing Ticket Frame from black and white cardstock. I kept the white insert and ink blended it for my scene with teal and brown inks, adhering the insert to the black frame with washi tape on the back side. I glued the house and moon directly to the panel and quickly thought it would be cool to color the edges of the images to match, so I did. Then I placed the scene in my MISTI and stamped the sentiment from Pretty Pink Posh Sentiment Strips | Fall on the bottom.

Next, I popped the witches and kitty up with foam squares on my scene panel. To add more interest to the background, I cut a piece of white cardstock with the Pretty Pink Posh Pierced Scallops cover plate and ink blended it with purple ink to coordinate the reoccurring color in my images.

I glued the scallop panel to a card base and popped the scene panel up with foam tape. Then I finished the design off with glossy accents and stardust Stickles on bits of the images – windows, moon, stars, etc.

Products used today:
Mama Elephant Bewitched stamps and dies
Pretty Pink Posh Sentiment Strips | Fall stamps
Pretty Pink Posh Pierced Scallops cover plate
Waffle Flower Nested Piercing Ticket Frames dies
Blending brushes
Lawn Fawn dye inks
Foam tape
Liquid glue
Stickles – stardust
Glossy accents

I appreciate you sharing your time with me. Have a fabulous day!
Doodlebugs – Special Delivery from Out of this World

Happy Mix it up Monday friends! I’m here with a lighter and brighter take on outer space than I typically choose. It’s been hot so I’ve had watercolors out to play with and had the urge to try some lighter galaxy vibes. I had fun and the outcome is really pretty!

To create my card, I played with watercoloring the background one evening and then chose some images from the Pretty Pink Posh Outer Space set to stamp. The next morning, I splattered the watercolor panel with white and black paint and colored my images with copic markers before it heated up.

That evening I die cut the background panel with one of the Mama Elephant Mod Heart dies. Then I used coordinating dies to cut the images out as well. For my sentiment I chose a Banner Greeting from Mama Elephant. I added foam to the back of everything because you know I love my dimension!

Before assembling it all I chose a light periwinkle blue cardstock to adhere to my card base, then I removed the release paper and adhered things one layer at a time. Then for finishing touches I added glossy accents to bits of each image.

Isn’t this a fun card!?! The sentiment is generic enough that it could be used for any number of occasions from new baby boy to just sending love. These kind of cards are my favorite to make and have on hand because that right occasion is just around the corner every single time.

Products used:
Pretty Pink Posh Outer Space stamps and dies
Mama Elephant Mod Heart dies
Mama Elephant Banner Greetings dies
Foam squares, strips and tape
Glossy accents
Liquid glue
Reverse tweezers

I appreciate you sharing your time with me. Have a fabulous day!
Doodlebugs – Spec-taco-lar Birthday

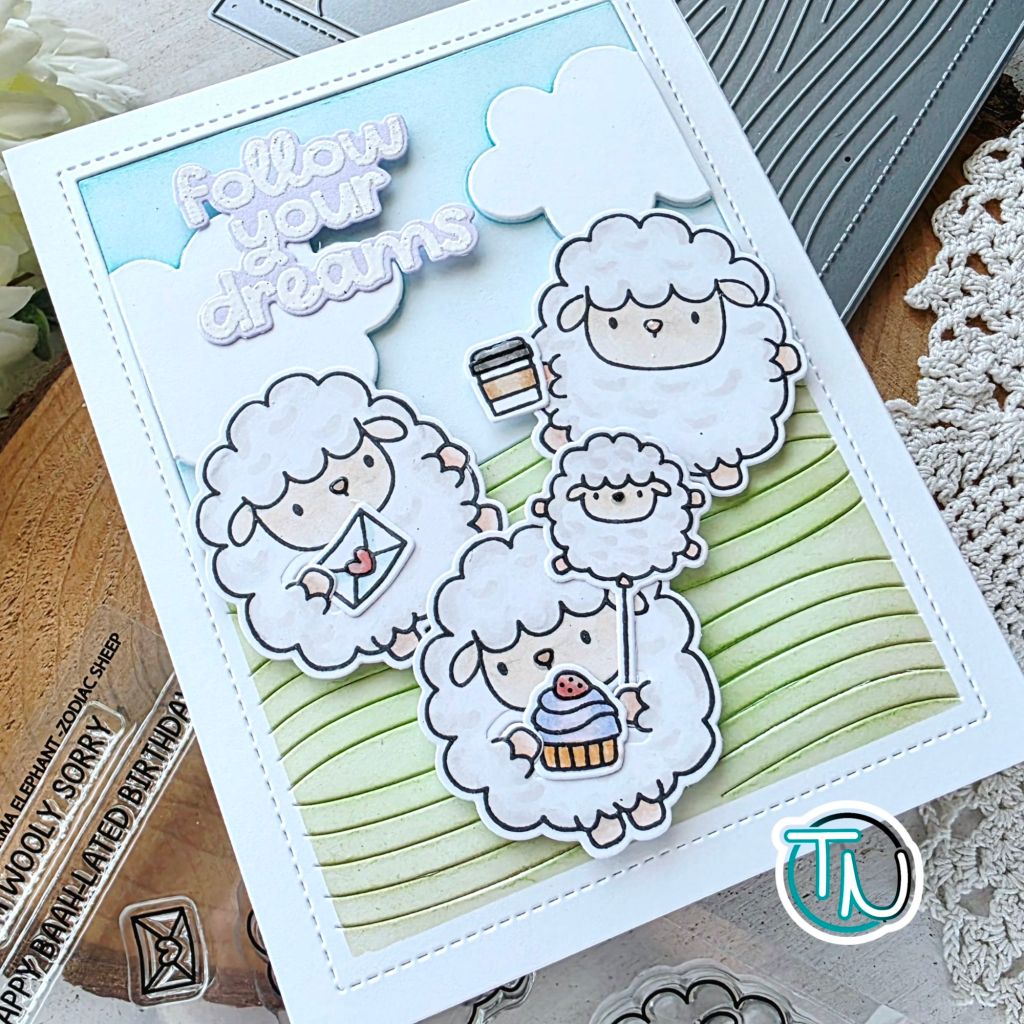
Hi there! It’s Mix it up Monday on the Doodlebugs blog and today we’re celebrating my favorite way…TACOS!!! I love the new taco cart add on to the Lawn Fawn Treat Cart series. It’s so fun and makes me giggle because mexican food is my favorite!

So today, I chose a few images from the Treat Cart original set and the Taco Cart add on set, stamped and colored them. Then I used coordinating ides to cut it all out and a little liquid glue to assemble the pieces together.

Then I snagged the Mama Elephant Scallop Circles dies and cut the stitched circle from white with the two back layers from orange and green. Such a festive color combo! I used liquid glue to adhere the layers together and ink blended a little yellow in the center of the circle to take off the harsh white background.

Next, I took a piece of white cardstock measuring 4×5.25 inches and spritzed it with Distress Oxide spray and Distress Spritz for color and shimmer. Then I took my Lawn Fawn jalapeno ink pad direct to the edges of my card base for texture and color. While that was drying I stamped and heat embossed my sentiment and cut it up into sentiment strips.

For assembly, I popped the orange panel up with foam tape, then popped the circle up on that. The taco stand is glued directly to the circle and the critters are popped up with foam squares. Last, I added the sentiment strips with foam strips filling in some of the white spaces. For finishing touches today I just added white gel pen highlights to the images.

What’s your favorite type of food? The one that makes you happy dance in your seat…

Products used:
Lawn Fawn Treat Cart stamps and dies
Lawn Fawn Taco Cart Add On stamps and dies
Lawn Fawn Taco Cart Sentiments stamps
Mama Elephant Scalloped Circles dies
Distress Oxide Spray – spiced marmalade
Distress Spritz Spray – squeezed lemonade
Lawn Fawn ink – jalapeno
Liquid glue
Foam tape, squares and strips
Sakura jelly roll pen – white
Embossing and watermark ink
Embossing powder – white
Anti-static bag

I appreciate you sharing your time with me. Have a fabulous day!
Doodlebugs – Spooky Wishes

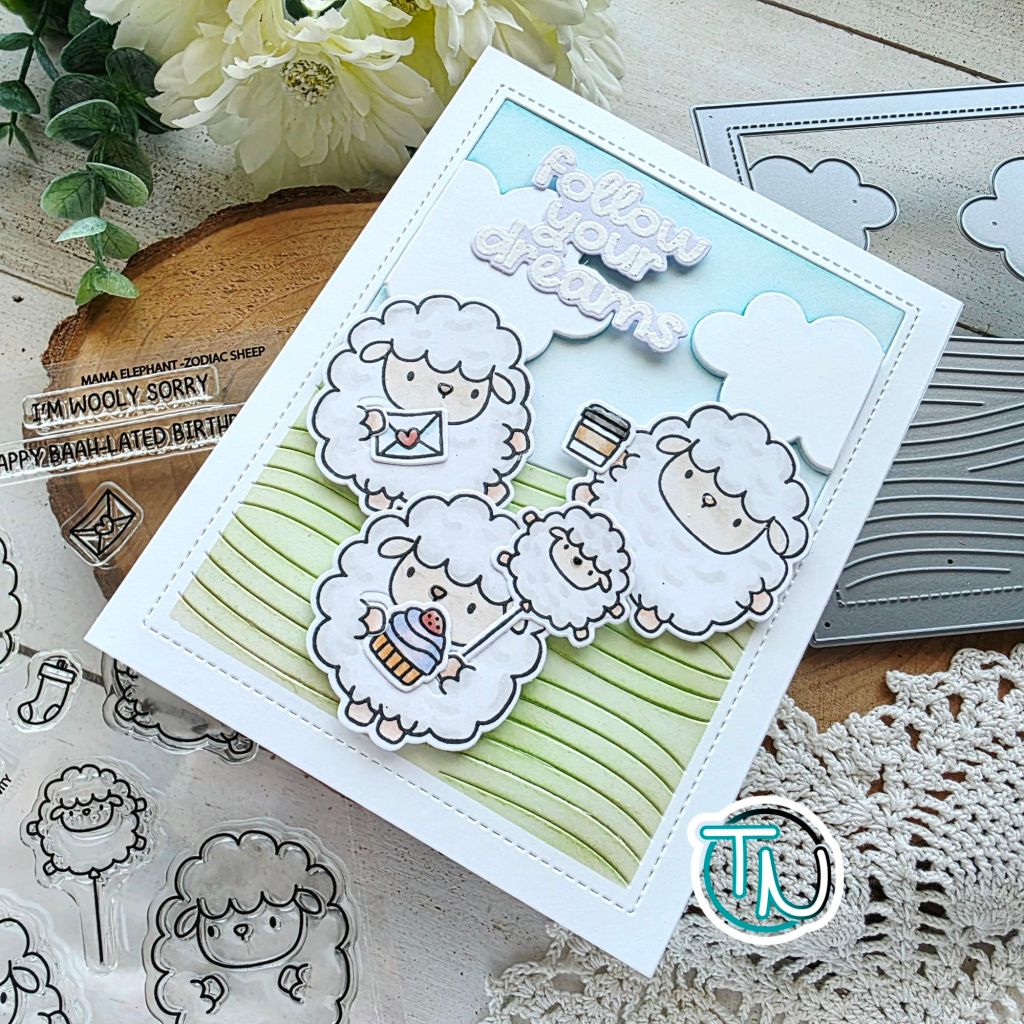
Hey friends! I interrupt your regularly scheduled summer fun for some spooky wishes featuring the Mama Elephant Halloween awesomeness that recently released! If you’ve been here for just a minute, you know Halloween is my favorite and any excuse to create for it has me ALL IN!

I had a general idea that I wanted to create a big sentiment with the adorable mummies and witches around and in the letters somehow. So I started with my background to set the tone and choose my color palette…perfect summerween colors! I used the Pretty Pink Posh Layered Stars stencil set on pink cardstock to start off with. I used Lawn Fawn carrot and jet black inks.

Next, I adhered white cardstock to craft foam and covered the back with adhesive sheet. Then I die cut my sentiment using the Lawn Fawn Henry’s ABCs die set. This gave instant dimension with less work than cutting each letter 4 times and gluing them together. After arranging my letters together I chose a Spellbinders Emerald Cut Label die to cut from vellum as a backdrop.

Now that I had a general placement and size of open space, I chose a couple of mummies and a witch from the new Mama Elephant sets – Mummified and Bewitched. I stamped, colored and die cut them, then adhered each mummy with foam squares and the witch with liquid glue.

Hiding adhesive behind the letters and images, I adhered the vellum panel with tape runner to the stenciled background. Next, I used liquid glue to adhere the whole thing to a card base.

For finishing touches I added orange glitter brush pen to the sentiment and white gel pen highlights to the images.

On a scale from 1 to spooky, how much do you love crafting for Halloween?

Products used:
Mama Elephant Mummified stamps and dies
Mama Elephant Bewitched stamps and dies
Pretty Pink Posh Layered Stars stencils
Spellbinders Emerald Cut Labels dies
Blending brushes
Lawn Fawn inks – carrot and jet black
Liquid glue
Adhesive sheets
Craft foam
Foam squares
Tape runner

I appreciate you sharing your time with me. Have a fabulous day!
Pretty Pink Posh – Using Shaped Dies for Tags

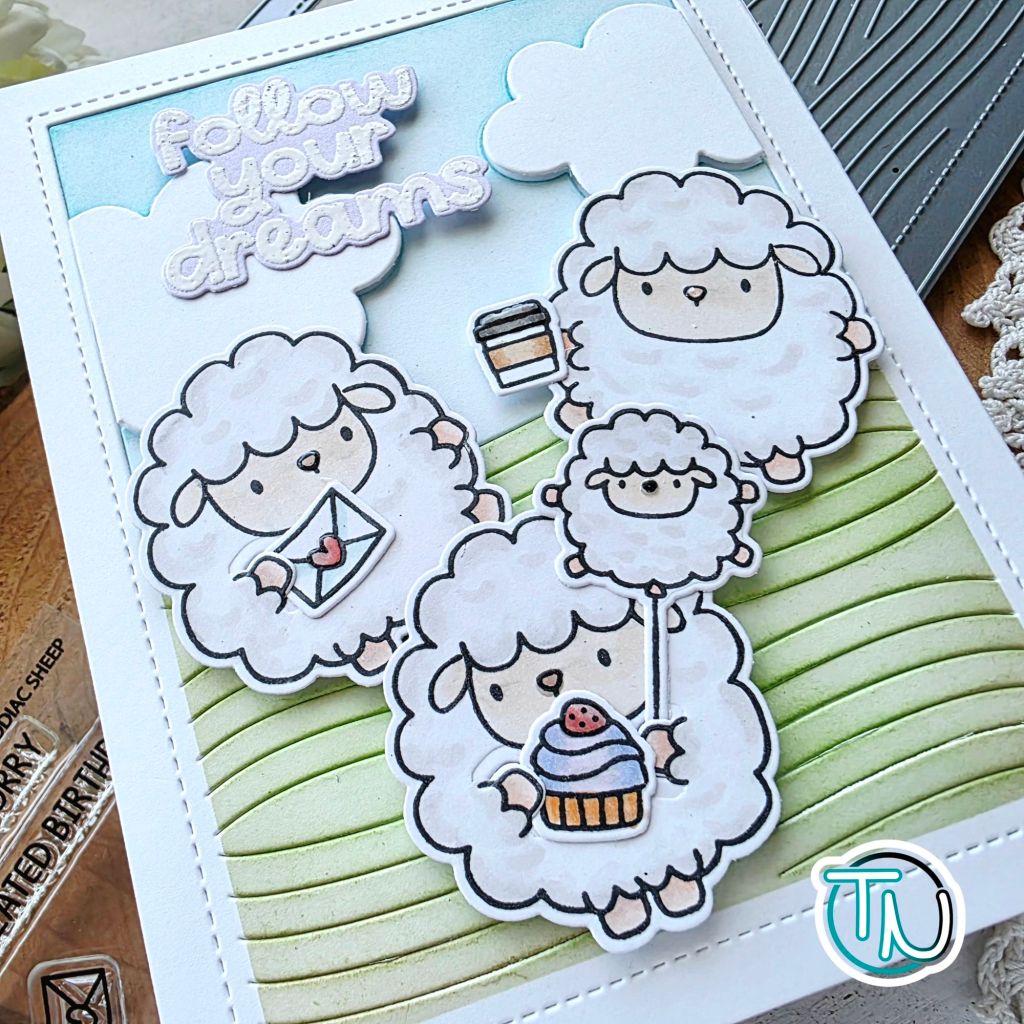
Hello everyone! So, I needed a set of gift tags and thought mixing and matching dies to create them would be fun and different. Traditional tag shapes are cute and all but how fun is it to get a butterfly shaped tag attached to your package!?!

I even coordinated the colors of the butterflies with the gifts inside the bags since they are clear cellophane bags. It’s going to be adorable! To start these off I cut two different butterflies from the Pretty Pink Posh Stitched Butterflies die set. Then chose a mid-sized body to go with them. I placed the butterflies in my splatter box and sprayed them with distress spritz spray and solar spray for fun shimmer and sparkle in the light. Once they were dry I used liquid glue and reverse tweezers to adhere the layers together.

Next, I cut the smallest die in the Mama Elephant B2B Arches die set from teal cardstock. Then I stamped a sentiment from the Mama Elephant Essential Tag Sayings stamp set. It seemed boring so I pulled the sketch heart from Mama Elephant’s Write with Me set and stamped in with Lawn Fawn mermaid ink above the sentiment.

Last, I punched holes in the butterfly wings and threaded them together with the sentiment tag using pink jute twine. I think they’re super cute and can’t wait to hand these gifts out.

Products used:
Pretty Pink Posh Stitched Butterflies dies
Mama Elephant B2B Arches dies
Mama Elephant Essential Tag Sayings stamps
Mama Elephant Write with Me stamps

Lawn Fawn mermaid ink
Solar Spray – royal flush
Distress Spritz – tattered rose
Liquid glue
Reverse tweezers

I appreciate you sharing your time with me. Have a fabulous day!

Doodlebugs – Sunshine Thank You Tags

Hello again everyone! I’m on the Doodlebugs blog with a bundle of thank you tags I created for the end of the school year. The design is really versatile, easy to do it batches and cuter than cute!

To create these cards I did them in a few different sessions. First, I ink smooshed some watercolor paper with dark yellow and orange inks. Then I took yellow cardstock and spritzed it with Distress Oxide ink so it had some texture. Then I let all of that dry. Next, I die cut the yellow with a 2″ circle and the ink smooshed panels with the Lawn Fawn Stitched Sun Frame. I used liquid glue to adhere them together and an acrylic block to hold them flat while they dried.

Next session, I stamped and colored the same cute Mama Elephant Little Agenda Hedgehog and used the coordinating die to cut him out. I also die cut a banner from the Mama Elephant Banner Greetings die set and glued the layers together.

In my last session, I added the banners and hedgehogs to the sunshines with foam strips and squares. I finished each one off with some blue twine to tie on the gift bags I have set aside and stardust Stickles on the little flower he is holding.

I don’t want to ruin any surprises but these are going on gift packages with a “don’t grow up, enjoy summer” vibe and I’m really excited about them!

Products used today:
Mama Elephant Banner Greetings dies
Mama Elephant Little Agenda Hedgehogs stamps and dies
Lawn Fawn Stitched Sun Frame dies
Waffle Flower Nesting Circles dies
Foam squares and strips
Liquid glue
Lawn Fawn sunflower and carrot inks (ink smooshing)
Distress Oxide Spray – mustard seed
Stickles – stardust

I appreciate you sharing your time with me. Have a fabulous day!

Doodlebugs – Faux Notebook Paper and a Congrats Card

Hi friends! Today’s card came about in a funny way. I had a scrap of copic paper left over months ago. Randomly I stamped 2 Mama Elephant critters on it because they fit perfectly. Then that piece of paper has moved all around my craft desk and the clipboard I use to color on since then. Randomly, I came across them again while looking for fresh copic paper to stamp on and today’s idea just hit me! So I switched gears and went to work…

After coloring and die cutting the first two critters, I realized that I needed a third. So I remedied that and set them aside to work on my fun background idea…faux notebook paper with the Lawn Fawn Simple Stripes Portrait die! I cut the backdrop from white cardstock and glued it to a card base. Then I used a ruler to keep my lines straight and BG11 and R20 copic markers to add the notebook lines.

Next, I added foam squares to the back of my critters and set them in place while I stamped some of the fun designs from the Mama Elephant Write With Me stamp set. I used colored ink for some a black ink for the text. After those were stamped I felt good about the critter placement and actually removed the release paper from the foam squares and stuck them down.

Next I pulled sentiments from the Mama Elephant Way To Go stamp set and added them around the critters. For finishing touches I added glossy accents to critter noses, glasses and parts of the pens.

It’s end of school year/graduation time so I thought this card would be perfect to share now! It could go to a kiddo or a teacher celebrating the end of the year.

Products used:
Lawn Fawn Simple Striped Portrait die
Mama Elephant Way to Go stamps
Mama Elephant Write With Me stamps and dies
Foam squares
Liquid glue
Glossy accents
Lawn Fawn ink – apricot, no. 2 pencil, juice box, jet black

I appreciate you sharing your time with me. Have a fabulous day!

Doodlebugs – Bookmark Tag

Welcome everyone! I’m on the Doodlebugs blog for Mix-it-up Monday. There have been a number of companies coming out with fun, book themed goodies and I’m here for it! Today I created a bookmark tag mixing Mama Elephant and Lawn Fawn goodies together.

Using the Lawn Fawn Stitched Bookmark dies as a guide, I placed my adorable Mama Elephant Book Worm stamps in each opening to decide what would fit and which ones to stamp. Then I stamped and colored everything with copic markers, using the coordinating dies to cut them all out.

Then I cut a solid stitched bookmark from teal cardstock and inked the bottom of each window section with peacock ink. I splattered it with water and blotted it dry. Then I cut the stitched bookmark again from Lawn Fawn patterned paper, also cutting the windows from this panel. I used liquid glue to adhere them together and also all of my critters in their spaces.

Finally, I stamped and heat embossed a sentiment from Lawn Fawn Little Woodland Library and cut it out with a banner die. I glued this in place before adding ribbon and twine through the hole in the top. For finishing touches I added white gel pen highlights and glossy accents to critter glasses.

This is an adorable bookmark but I think it would be even more fun as a gift tag that can be a bookmark for the recipient after they open the gift!

Products used:
Lawn Fawn Stitched Bookmark dies
Lawn Fawn Little Woodland Library stamps
banner die
Lawn Fawn Bitty Blooms (substitute for what I used)
Lawn Fawn Peacock ink
Liquid glue
Glossy accents
Sakura gelly roll pen

I appreciate you sharing your time with me. Have a fabulous day!

Doodlebugs – Ink Blending and Die Cutting

Happy Mix it up Monday everyone! Today we are creating a fun card using nothing but ink blending and die cutting techniques. It was really fun to pull this card together and when I was finished I realized that I didn’t stamp or color a single thing. It was a woah moment.
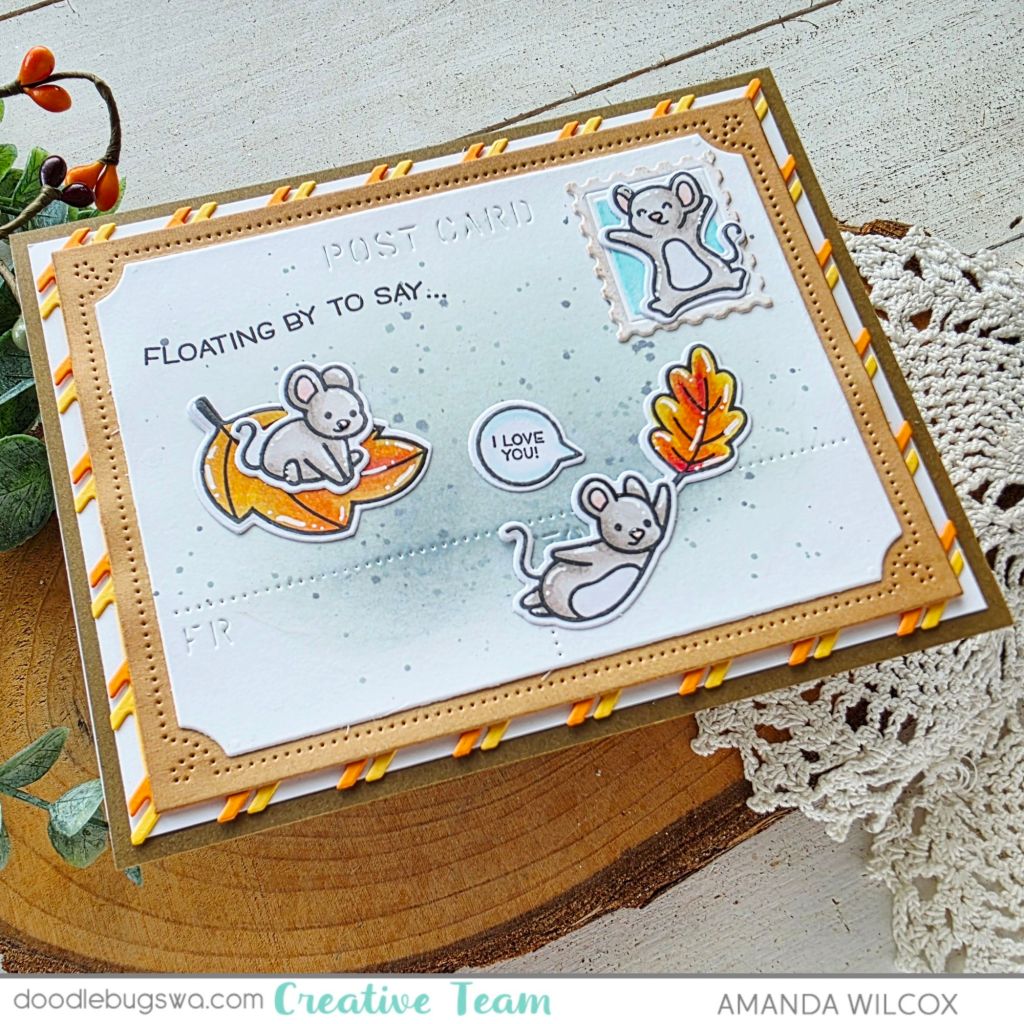
First off, I recently ordered a couple of die and stencil sets from Waffle Flower which is what started this whole journey…just playing with new goodies, having no plan in mind. That’s how I ended up with my sentiment and those beautiful little butterflies – Waffle Flower’s Multiple Butterflies Combo and Overlapping Birthday Combo.

This is kind of funny but in that same order was the Mama Elephant Classic Card Quads. I immediately thought it would be a perfect background for the fun stenciling I had just done. So I chose 1 style and cut it 4 times from white cardstock. Then I layered the Pretty Pink Posh Deco Leaves stencil over the top of 2 at a time. I inked one blue and one green to go with my sentiment since the butterflies were already pink.

After removing the stencil, I didn’t like how white the panels still were so I added a light layer of the same color over top and thought it flowed much better. Then I added foam tape and squares to the back of everything.

After adding everything to a white card base, I came in with some Wink of Stella glitter brush pen on the butterfly wings for just a little sparkle.

Products used today:
Waffle Flower Multiple Butterflied Combo – stencil and dies
Waffle Flower Overlapped Birthday Combo – stencil and die
Mama Elephant Classic Card Quads dies
Pretty Pink Posh Deco Leaves stencil
Blending brushes
Lawn Fawn dye inks – ballet slippers, mermaid, jalapeno
Foam squares and tape
Liquid glue
Reverse tweezers
Wink of Stella glitter brush pen – clear

I appreciate you sharing your time with me. Have a fabulous day!