Doodlebugs – Strawberry Shaped Cards for Spring

Happy Mix it up Monday everyone! This week I have a couple of sweet little strawberry shaped cards using Lawn Fawn and Mama Elephant goodies together. This is a fun way to use your larger shape dies in a different way so be sure to dig through your stash and see what you’ve got!

The base of my cards are created with the Lawn Fawn Outside In Stitched Strawberry and a couple of accents from the Stitched Strawberry Frame die set too. Although you absolutely could create this without the frame die set. The only thing I borrowed from it was another layer on my topper leaves and the extra leaf attached to the stem.

I cut the layers from yellow, pink and green cardstocks and then did some ink blending on all of them to add deeper color before using liquid glue to adhere them together. Then I cut another full strawberry from pink cardstock, scored it about 3/8″ from the top and glued that flap to the back of my strawberry to create my card.

Next, I went digging for a fun critter to add and a sentiment of some sort. At first I was going the punny route but didn’t find anything that spoke to me, so I landed on sweet Mama Elephant Little Agenda bunnies and Spring Banner Greetings. I also had commitment issues on my sentiment banner color so I did one of each for fun. I still don’t know which I like better.

After the bunny and sentiment banner were added with foam squares and strips, I finished things off with black glaze pen on the bunnies’ eyes and glossy accents on their strawberry and the center of the flower on the big strawberry too.

I have no plans for these at the moment but I think pulling out my envelope punch board to make a custom sized envelope would be super cute or tying them to the handle of a gift bag would be adorable as well. Maybe even lunchbox notes!

Products used:
Lawn Fawn Outside In Stitched Strawberry dies
Lawn Fawn Stitched Strawberry Frame dies
Mama Elephant Little Agenda Bunny stamps and dies
Mama Elephant Spring Banner Greetings dies
Blending brushes
Lawn Fawn ink – guava and jalapeno
Liquid glue
Reverse tweezers
Foam squares and strips
Glossy accents
Sakura gelly roll glaze pen – black

I appreciate you sharing your time with me. Have a fabulous day!
Doodlebugs – Playing with Colors and Stencils

Welcome friends! It’s Mix it up Monday and today I’m playing with the Concord & 9th Sweet Stems stencil set I picked up a while ago. It’s laid out perfectly that you don’t need to mask anything to get the perfect color layering and is really fun to create with in any color palette. To prove that, I sat and created 3 cards with what felt like no effort at all.

With a stencil set like this my first attempt is always just to play with it and see how the layers fit together. Sometimes I’m done after that but with this set I kept coming up with color combos I wanted to try out and see how they looked together.

I used distress oxide inks for this first card – salvaged patina, twisted citron, dried marigold, spiced marmalade. Then I used dried marigold for my sentiment color as well. I splattered the panels with water and then with pearl watercolor for sparkle.

For this card I switched to Lawn Fawn dye inks – no. 2 pencil, jalapeno, ballet slippers and guava. I splattered it the same and used guava for my sentiment.

This final combo is also Lawn Fawn dye inks – jalapeno with artichoke on some darker spots, ballet slippers, fresh lavender and juice box. I used fresh lavender for the sentiment.

After inking all of the panels I trimmed them down to fit just behind the Mama Elephant postage frame and used liquid glue to adhere the layers together. The sentiments all came from the Mama Elephant Way to Go stamp and die set.

I popped the sentiments up with foam strips and then popped the postage frames up on gray card bases with foam tape as well. I oriented them all differently so you could see the variations. Then trimmed any excess off the edges with a paper trimmer.

I hope this gives you some inspiration to take a moment and get inky. It’s fun and well worth the time!

Products used:
Concord & 9th Sweet Stems stencil set
Mama Elephant Way to Go stamps and dies
Mama Elephant Postage Frame dies
Distress Oxide inks
Lawn Fawn inks
Blending brushes
Foam tape
Liquid glue
Distress sprayer
Pearl watercolor

I appreciate you sharing your time with me. Have a fabulous day!
Doodlebugs – Spring Philosophy

Happy Mix it up Monday everyone! I had a lull between new, fun orders being delivered so I gave some of my older spring products a little love. It started with a little relaxed coloring and quickly became a card design in my head.

All of these adorable images are from the Mama Elephant Rainy Days stamp set. I colored them with copic markers and used the coordinating dies to cut them all out.

Next, I cut a smaller Pretty Pink Posh Eyelet Rectangle from light gray cardstock and stamped my sentiment in the middle. As soon as I read this sentiment, I knew I had to use it today! It’s probably the #1 best philosophy for spring.

I wanted a little texture on my card base without distracting from the colors of my images so I inked up the Pretty Pink Posh Trellis stencil with gray ink before popping my sentiment panel up in the center with foam tape.

Last, I added all the images with a combination of foam squares and liquid glue. For finishing touches I added glossy accents to critter noses (including umbrellas) and all the raindrops too.

What are your thoughts on spring? It’s my least favorite season and I can’t wait for summer to take over. That’s where this sentiment comes in handy and keeps me positive.

Products used:
Mama Elephant Rainy Days stamps and dies
Pretty Pink Posh Eyelet Rectangles dies
Pretty Pink Posh Trellis stencil
Blending brush
Lawn Fawn Narwhal ink
Foam tape and squares
Glossy accents
Liquid glue

I appreciate you sharing your time with me. Have a fabulous day!
Doodlebugs – Monstrous Birthday Wishes

Happy Mix it up Monday everyone! I’m on the Doodlebugs blog with some seriously monstrous birthday wishes! These new Mama Elephant monsters are adorable and are going to be so fun to color in all the different colorways over time. I’m absolutely smitten!

After stamping and coloring these cuties, I used the coordinating dies to cut them out. Then I switched to my background because it was going to need time to dry.

For that I used the Pretty Pink Posh Layered Candles stencil set. I inked them up at a gradient angle for the base candle shape, then added the flames, then for the detail layer, I inked up the same colors again but after that I wiped the stencil off and added a layer of glossy gel over the top for some dimension that kept the color underneath. Once the glossy gel was dry, I added a little copic marker to the flames for some extra dimension there too.

For my sentiment, I cut the Pretty Pink Posh Wish Big dies from white cardstock 3 times and used liquid glue to adhere the layers together. Then I stamped and heat embossed a sentiment from the Mama Elephant Monster Hugs set my images came from and cut it out with a Pretty Pink Posh Sentiment Strip die.

Next I just adhered all my layers together. The stenciled panel went on a card base with liquid glue, then my wish big sentiment the same way. Then I added the images and embossed sentiment strip with foam squares and strips.

For finishing touches I just added black glaze pen to the monster eyes and a little white gel pen highlight to the balloon.

Products used:
Mama Elephant Monster Hugs stamps and dies
Pretty Pink Posh Layered Candles stencils
Pretty Pink Posh Sentiment Strips dies
Pretty Pink Posh Wish Big dies
Blending brushes
Lawn Fawn inks – sunflower, mermaid, fish tank, juice box
Liquid glue
Foam squares
Anti-static bag
Embossing ink
Embossing powder – white

I appreciate you sharing your time with me. Have a fabulous day!
Doodlebugs – Mixing Four-Legged Cuteness

Hi friends! I have a fairly simple card to share with you today that I’m just smitten with! I love my critters, you all know that! So to be able to mix and match things along that theme together makes me extra happy! Today we’ve got a fun background and some adorable puppies to celebrate with!

I was digging around in my stash and came across this fabulous layered stencil set from Waffle Flower called Paw Print Duo. It’s a two layer stencil and gives these awesome paw prints for your background. Today I inked them up with peacock and mermaid inks from Lawn Fawn and then splattered the panel with white paint for a little interest and texture.

While that was drying, I stamped the puppy image from the Mama Elephant Little Line Agenda stamp set and colored them with my copic markers. I used the coordinating die to cut it out and added foam squares to the back.

From the same stamp set, I stamped and heat embossed my sentiment on black cardstock. Then I used a banner die to cut it out and also added foam strips to the back of this.

With the background dry, I glued it to a card base and simply removed the release paper on my image and sentiment strip, popping them in the upper center. Then, for finishing touches I added a dab of glossy accents to all the puppy noses and about half of the labels on the boxes. No rhyme or reason, just some glossy bits here and there.

Aren’t they the cutest thing you’ve ever seen!?! I can’t say it enough, I love the Mama Elephant Little Agenda line. They’re the perfect size to play with and too cute for words!

Products used:
Mama Elephant Little Line Agenda stamps and dies
Waffle Flower Paw Print Duo stencil
Lawn Fawn Extra Sentiment Banners dies
Blending brush
Lawn Fawn ink – peacock and mermaid
VersaFine ink
Anti-static bag
Embossing powder – white
Glossy accents
Liquid glue
Waffle Flower Grip Mat (4×6)
Foam strips and squares

I appreciate you sharing your time with me. Have a fabulous day!
Doodlebugs – Gift Card Holder in Your Scene

Happy Mix it up Monday everyone! I’m so excited to get a chance to play with the Mama Elephant Cake Gift Card Holder die set. It’s so fun and a fabulous way to make your card interactive!

I started by cutting the various parts of the gift card holder from colored cardstock and then used blending brushes and dye inks to add depth and dimension to them before assembling it all with liquid glue.

I pulled out the Lawn Fawn Heart Pandas to adorn the bottom of the cake, including the butterfly and trail. They are attached with foam squares.

My background panel is embossed with the Spellbinders Tiny Dots embossing folder and ink blended for depth to bring out the fun dots. I also stamped and heat embossed a sentiment from the Mama Elephant Way to Go stamp set, using the coordinating die to cut it out.

I popped the embossed panel up with foam tape on a white card base and splattered it with gold watercolor. Next, I glued the gift card holder to that with liquid glue. Then I popped up the sentiment above the candles.

For finishing touches I added stardust Stickles to the inside of the flames and butterfly wings. Then I went over the rest of the flames with glossy accents letting them mix together a bit.

Products used:
Mama Elephant Way to Go stamps and dies
Mama Elephant Cake Gift Card Holder dies
Spellbinders Tiny Dots embossing folder
Lawn Fawn Heart Pandas stamps and dies
Glossy accents
Stickles – stardust
Blending brushes
Lawn Fawn dye inks – walnut, mermaid, ballet slippers, sunflower
Foam squares

I appreciate you sharing your time with me. Have a fabulous day!
Doodlebugs – You Got This with a Flower Bouquet

Hi friends! I’m officially out of the holiday crafting for a little bit. But sometimes we didn’t get to play with our holiday goodies enough and it’s fun to find ways to use them all year long. Today I’m showing an idea to use that sweet Pretty Pink Posh fox past Valentine’s Day!

I cut all the pieces for the fox and ink blended them for a little depth and dimension, then used liquid glue to adhere it all together. Next, I pulled out the Spellbinders Little Blooms set and started cutting out flowers and leaves.

I used liquid glue to assemble the flowers and then also to add them into the fox’s paws. Then I set the fox aside and used the Pretty Pink Posh Happy Days Stencil on a piece of pink cardstock. After inking it up, I trimmed 1/2″ off the bottom and popped it up on a white card base with foam tape. Next I added a strip of yellow cardstock to the bottom.

I cut a Spellbinders Make a Wish Arch from vellum and started assembling the rest together with foam squares and tape runner. I like to use dry adhesive whenever possible with vellum because liquid glue makes it warp. It doesn’t like the moisture.

Last I stamped and heat embossed a sentiment from Mama Elephant Way to Go, the used the coordinating die to cut it out before popping it up with foam strips.

For finishing touches today, I added little eyelashes to my fox’s eyes and glossy accents to her nose and eyes.

Products used:
Pretty Pink Posh Fox Holder dies
Pretty Pink Posh Happy Days stencils
Spellbinders Little Blooms dies
Spellbinders Make a Wish Arches dies
Mama Elephant Way to Go stamps and dies
Embossing and watermark ink
Anti-static brush
Embossing powder – white
Liquid glue
Foam tape and squares
Blending brushes
Lawn Fawn inks – sunflower, forget me not, juice box, ballet slippers, guava
Glossy accents

I appreciate you sharing your time with me. Have a fabulous day!
Doodlebugs – Be Mine Bears

Hey friends! Happy to be here with another Mix-it-Up Monday for the Doodlebugs blog. I’m squeezing in one more bit of Valentine inspiration before the big day is here. I really love Valentine crafting of all sorts so it’s hard for me to be done right up until the day.

Today I played with the Pretty Pink Posh fringe heart dies. I started with white and graduated up to red on my layers. After gluing them today, I fluffed the fringe a bit and splattered the heart with gold watercolor.

Then I stamped and colored some Mama Elephant cuties from the set My Favorite Person. After die cutting them I stamped and heat embossed mini sentiments on each from the set in gold. Next, I ink blended the Pretty Pink Posh Deco Leaves stencil in red on a pink cardstock panel.

It seemed very stark so I went around the edges with the same blending brush after removing the stencil and also splattered it would a little water. I used liquid glue to adhere this panel and the fringe heart to a card base. Then I added the bears with foam squares.

Last I stamped and heat embossed a sentiment from Pretty Pink Posh Valentine Greetings and used the coordinating die to cut it out. I popped it up on the fringe heart with foam strips. For finishing touches I did add tiny glossy accents dots to the bear noses.

Products used:
Pretty Pink Posh Fringe Heart dies
Pretty Pink Posh Deco Leaves stencil
Pretty Pink Posh Valentine Greetings stamps and dies
Mama Elephant My Favorite Person stamps and dies
Lawn Fawn lobster ink
Blending brush
Liquid glue
Foam squares and strips
Gold watercolor
Glossy accents
Embossing and watermark ink
Embossing powder – gold
Anti-static bag
Distress sprayer

I appreciate you sharing your time with me. Have a fabulous day!
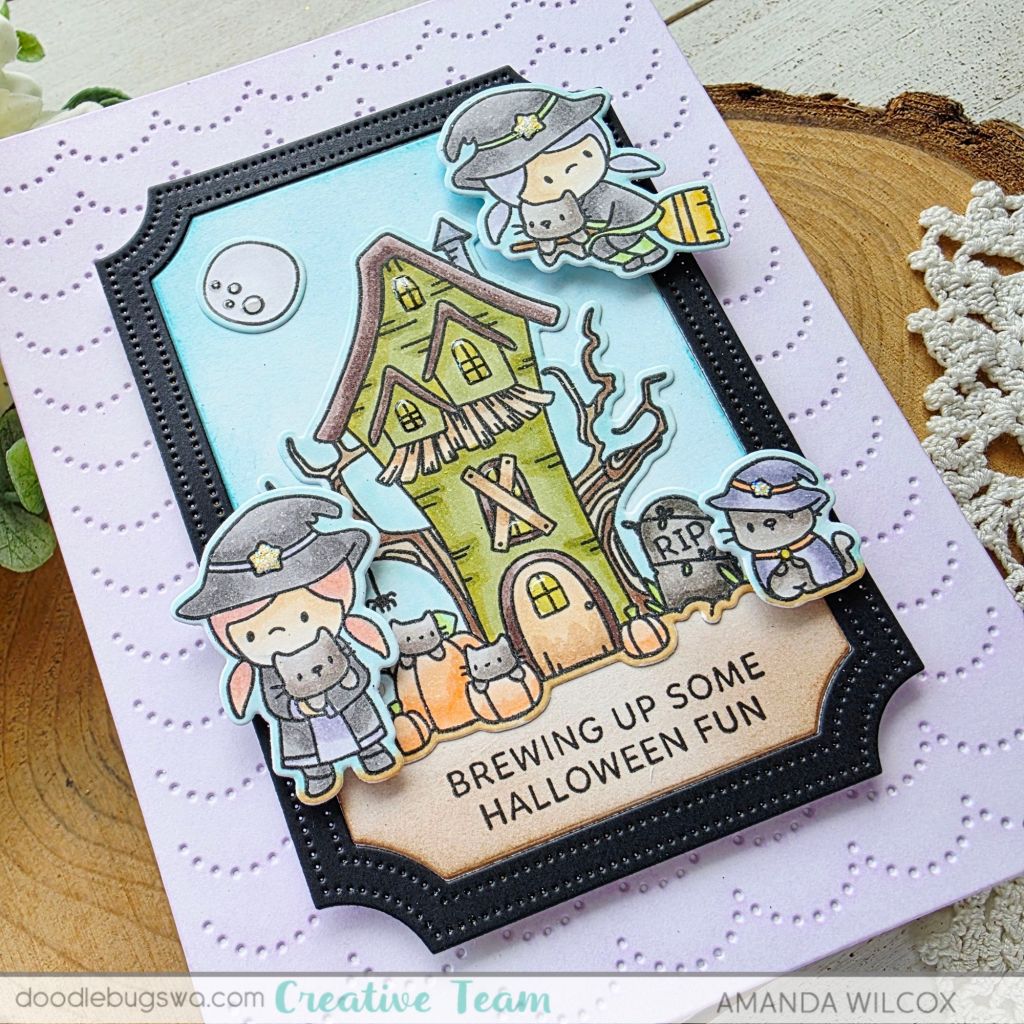
Doodlebugs – XOXO Two-for-One Valentine Cards

Hi friends! It’s Mix it up Monday on the Doodlebugs blog and today I’m sharing a fun duo of Valloween cards using Mama Elephant dies and Pretty Pink Posh stamps and dies. I started by stamping all of the ghosts from Pretty Pink Posh Ghost Friends just to color and relax with no plan in place. Then as I was crafting, I created the first card and the second just followed.

After coloring all the cute ghosts, I used the coordinating dies to cut them all out and just started playing around. Originally I thought I would use most all of them on one card but my first layout came together using just three and I love it!

I cut the Mama Elephant XOXO Grid Cover plate from red cardstock and inlaid white letters in each from leftovers I had saved while creating another card. I started to inlay the red centers to the Os but didn’t like it so I cut the cover plate from teal cardstock, saving all the pieces for another time but inserting the O centers to this cover and I love it!

With the pieces to the cover glued to a card front, I popped my ghosts up with foam squares. Then stamped and heat embossed sentiments from Pretty Pink Posh Sentiment Strips | Valentine and cut them out with sentiment strip dies. I popped them up with foam squares and finished the design off with glossy accents and stardust stickles.

However, now I have a bunch of XOs, extra ghosts and nothing to do with them. Except I wasn’t done playing so I pulled them together and started playing with an arrangement.

Once I decided I liked the ghosts and XOXO the way they were, I used liquid glue to adhere it all together wherever it overlapped. I lined the back with foam squares and strips and set it aside to create a background.

To do that, I cut the second largest die in the Mama Elephant Mod Heart die set from pink cardstock and inked it up with the Pretty Pink Posh Layered Hearts stencils and Starburst stencil.

I added the background panel to a white card base with foam tape and then removed the release paper from my images and popped those up in the center of the card front. Last, I stamped and heat embossed another sentiment from the same set on the previous card, cut it out and popped it up too.

For finishing touches on this card I also came in with glossy accents and stardust stickles on all of the ghosts.

Are these cards not the cutest ever? I’m over the moon with how they turned out! So fun and perfect for Valentine’s Day that’s coming up quick!

Products used:
Pretty Pink Posh Ghost Friends stamps and dies
Pretty Pink Posh Layered Hearts stencils
Pretty Pink Posh Starburst stencil
Pretty Pink Posh Sentiment Strips | Valentine stamps
Pretty Pink Posh Sentiment Strips dies
Mama Elephant XOXO Grid cover die
Mama Elephant Mod Heart dies
Foam squares and strips
Glossy accents
Stickles – stardust
Blending brush
Lawn Fawn ballet slippers ink
Liquid glue
Embossing and watermark ink
Embossing powder
Anti-static bag

I appreciate you sharing your time with me. Have a fabulous day!
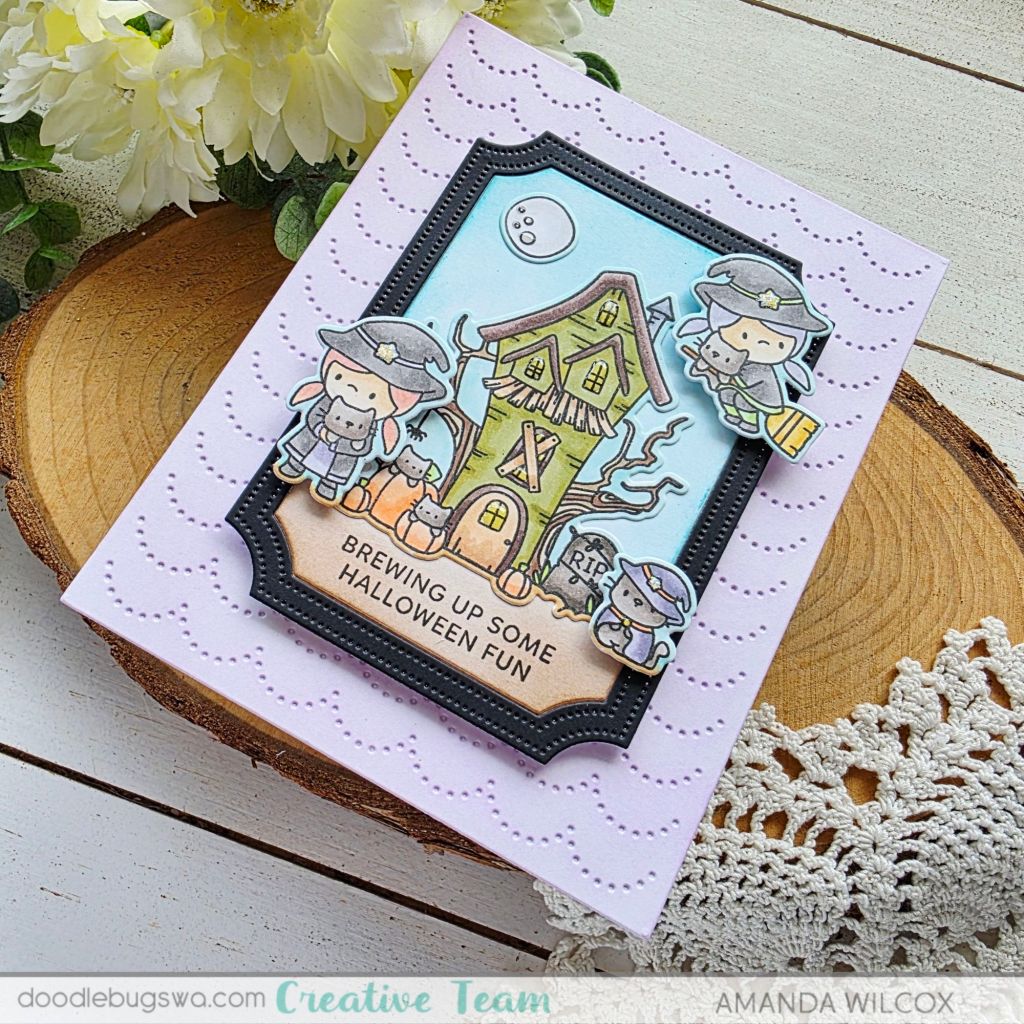
Doodlebugs – Mini Note Cards

Hi friends! It’s Mix it up Monday and today I have a couple of mini note cards to share with you. I love these for lunch boxes, leaving in mailboxes at work or attaching to gifts like a tag. They’re small and pretty quick to create but also really fun to make and give!

I started with the Pretty Pink Posh Mini Scallop Card dies. I cut two card bases and four stitched squares so I had a layer for the front and a clean slate for the inside to write on. On the white panels for the front I inked them up with the Pretty Pink Posh Starburst stencil using Lawn Fawn no. 2 pencil and deep sea inks.

For both cards, I used Mama Elephant Banner Greetings dies for the sentiments and the Write With Me stamp and die set. I chose the penguin for this card and used the scribble star from the set for the background. In my mind he’s painting the stars.

After adhering the layers together with liquid glue and foam squares, I added glossy accents to bits of the penguin and his brush. Lastly, I added white gel pen highlights all over the image.

For my second card, I chose the adorable piggy image. I love how the pink pig stands out off the yellow and blue scheme of the rest of the design. I stamped these stars with gray ink envisioning him scribbling them all over with his pencil.

Same for with this card, after assembling the layers with liquid glue and foam squares, I added glossy accents to parts of the pencil and white gel pen highlights all over.

To really make these fun, I used my envelope punch board and some patterned paper from my stash to create coordinating envelopes for each one.

Products used:
Pretty Pink Posh Mini Scallop Card dies
Pretty Pink Posh Starburst stencil
Mama Elephant Write With Me stamps and dies
Mama Elephant Banner Greetings dies
Liquid glue
Foam squares
Lawn Fawn ink – narwhal, no. 2 pencil and deep sea
Blending brushes
Glossy accents

I appreciate you sharing your time with me. Have a fabulous day!