Hey friends! I’m happy to be on the Newton’s Nook blog today sharing another twist on last week’s release goodies! I love this release more than words can really express and was excited for an excuse to play with it once more right away.
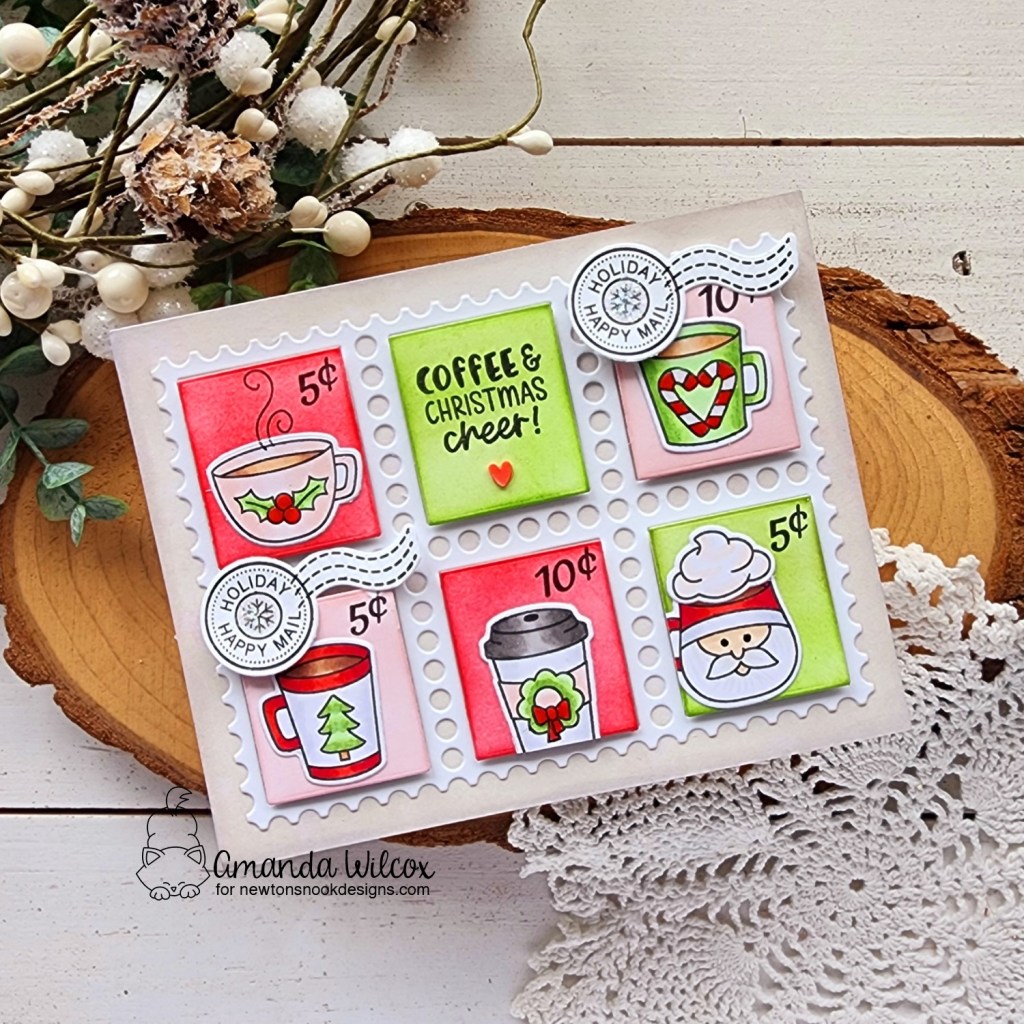
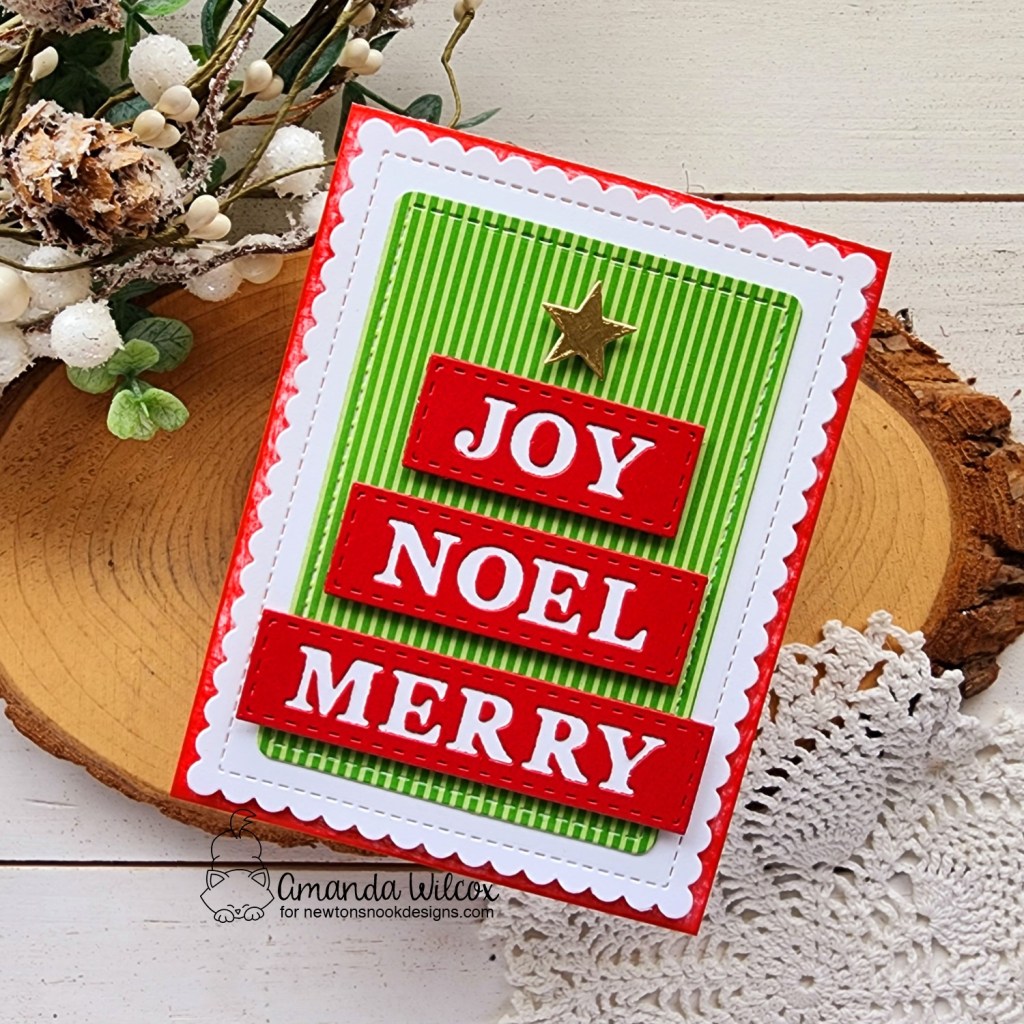
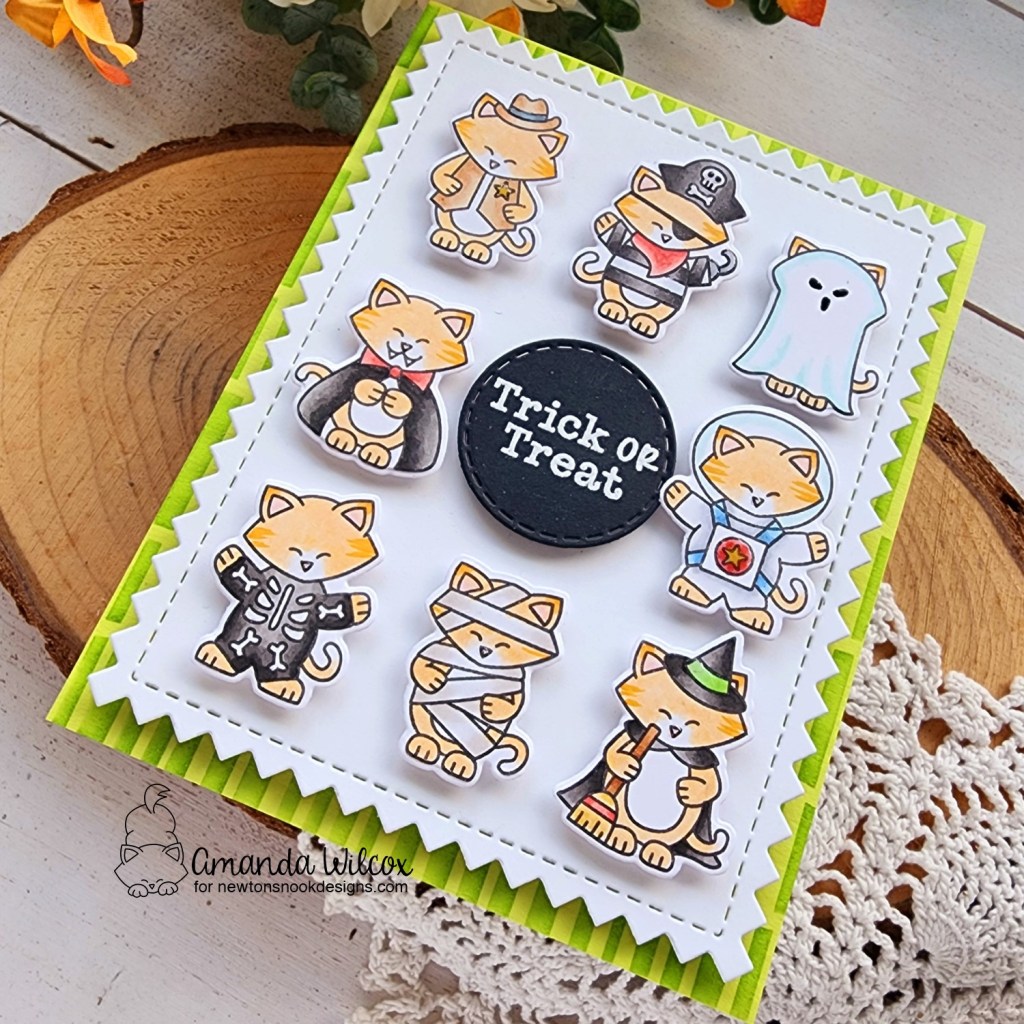
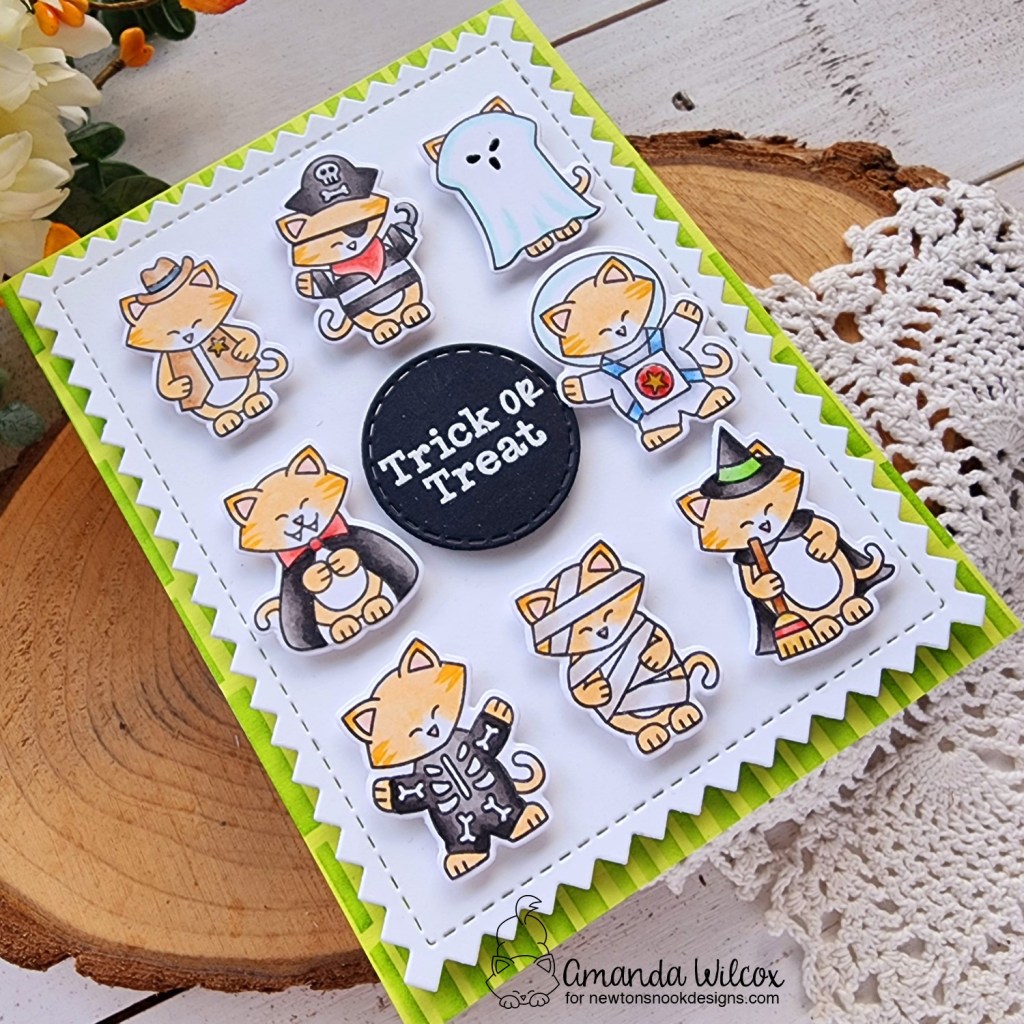
I loved that the new Christmas Coffees images were perfect to fit in the new Postage Stamp Layout die cut! So I grabbed a few images, stamped and started coloring. I didn’t have a plan per se but my brain sure had a color scheme in mind.
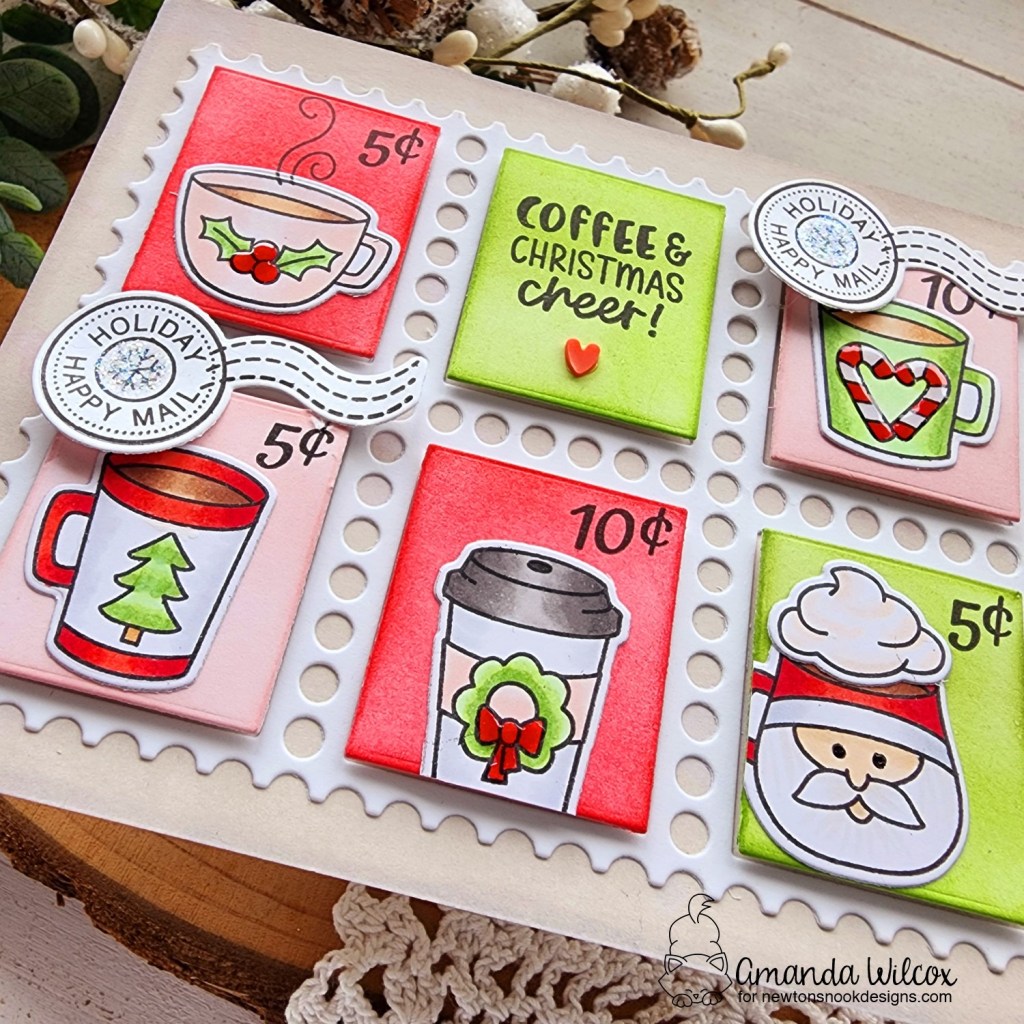
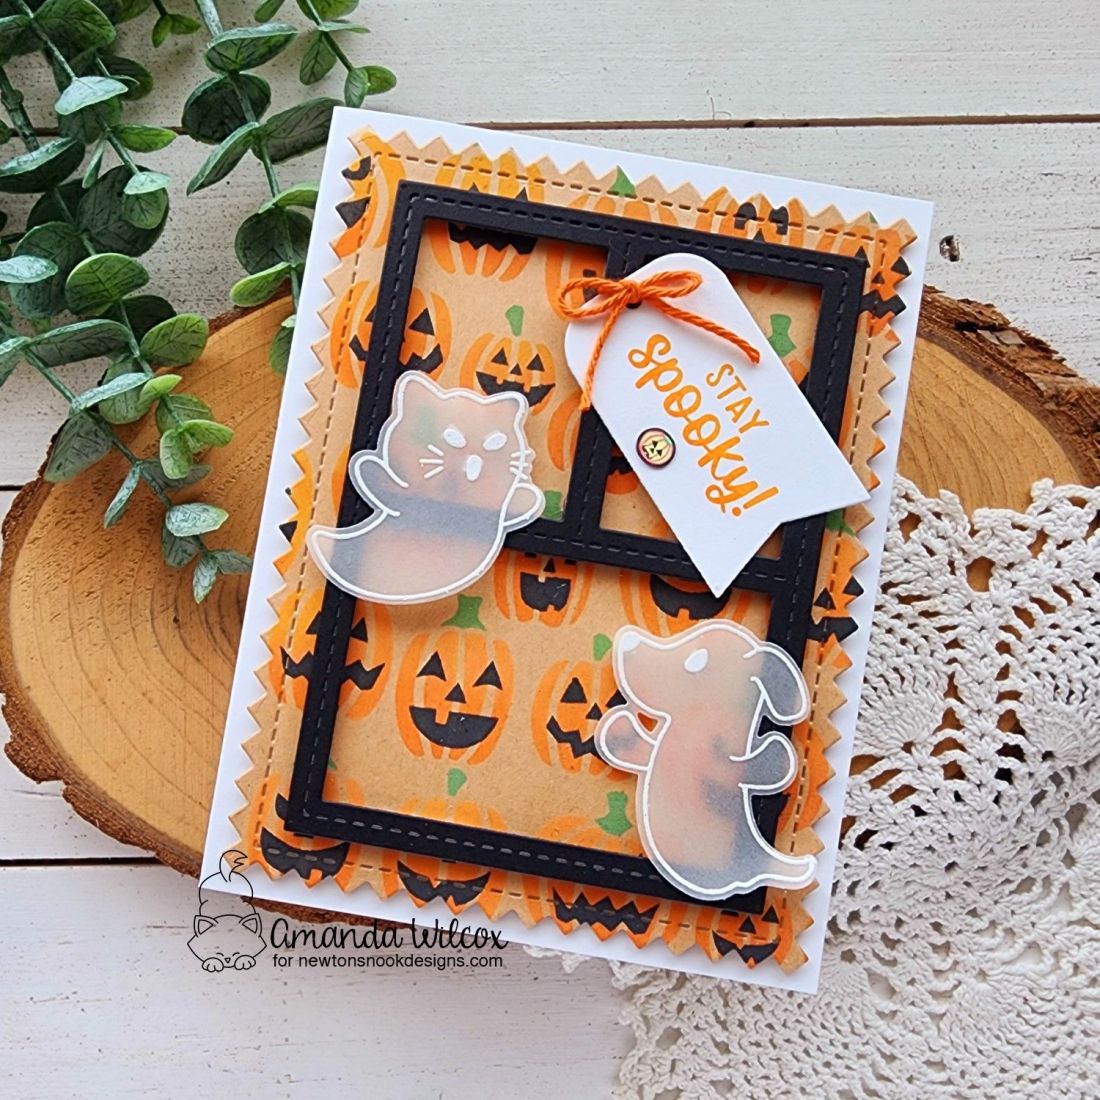
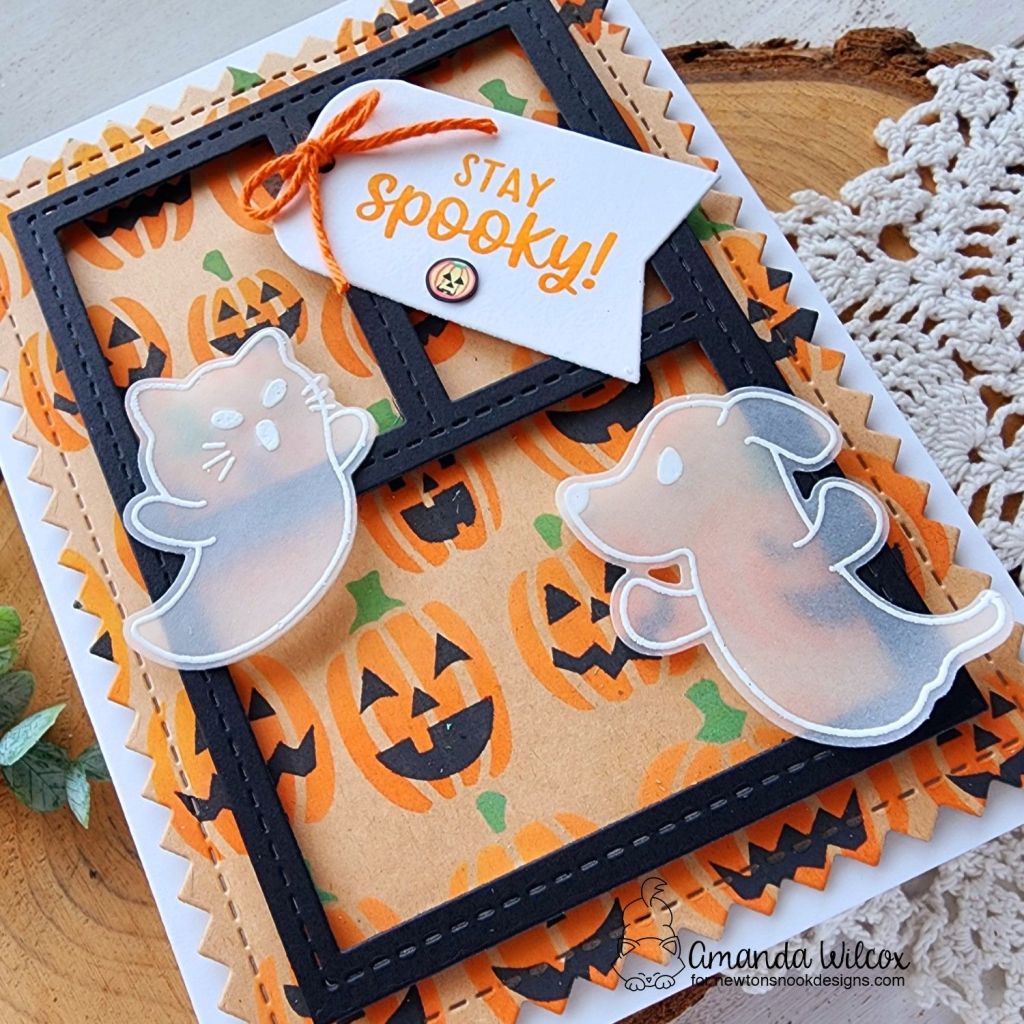
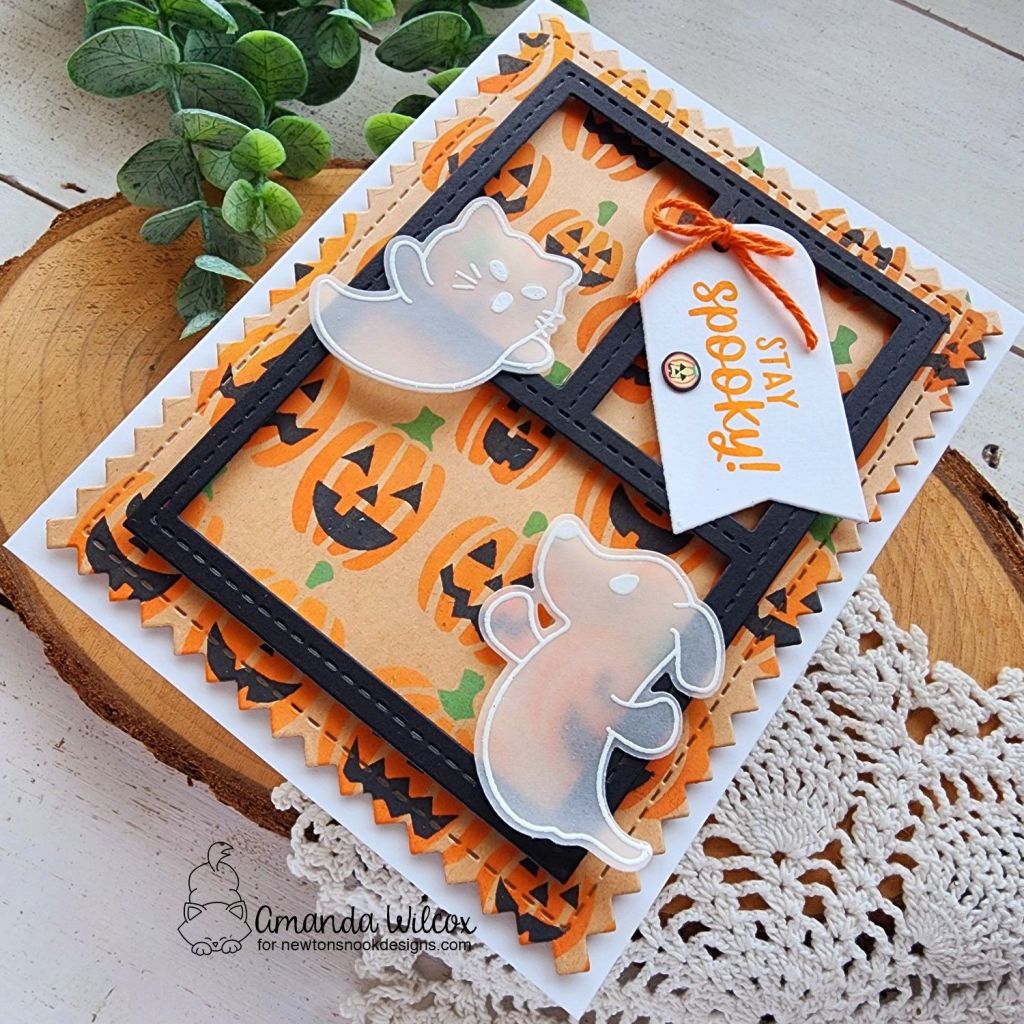
Seeing that clearly, I inked up the postage stamps and then glued my images down, trimming off the excess hanging off the edge of some. Then I grabbed the Holiday Postage Sampler for the special images to add to my stamps. I inked up a background panel with pumice stone Distress Oxide Ink and glued my postage frame to it with liquid glue. Then I popped all the inserts up in the frame with foam squares.
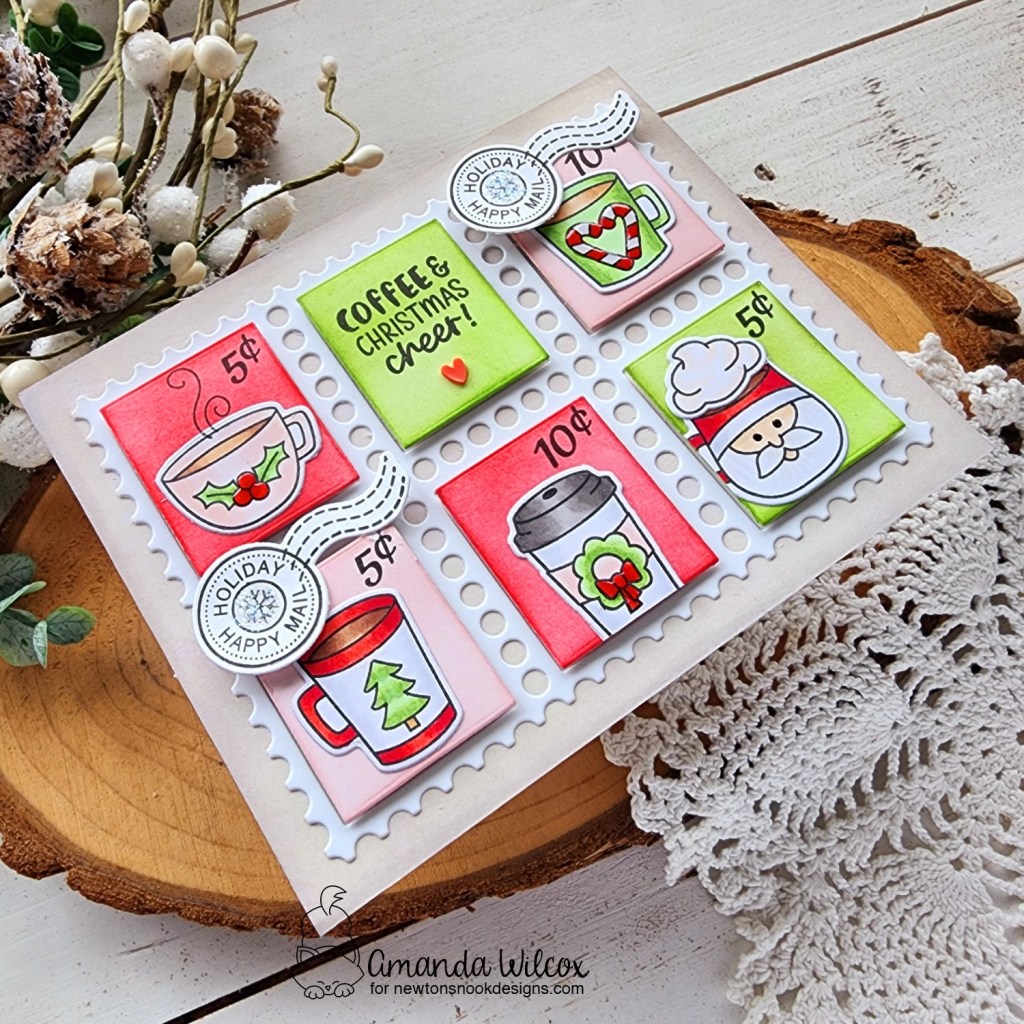
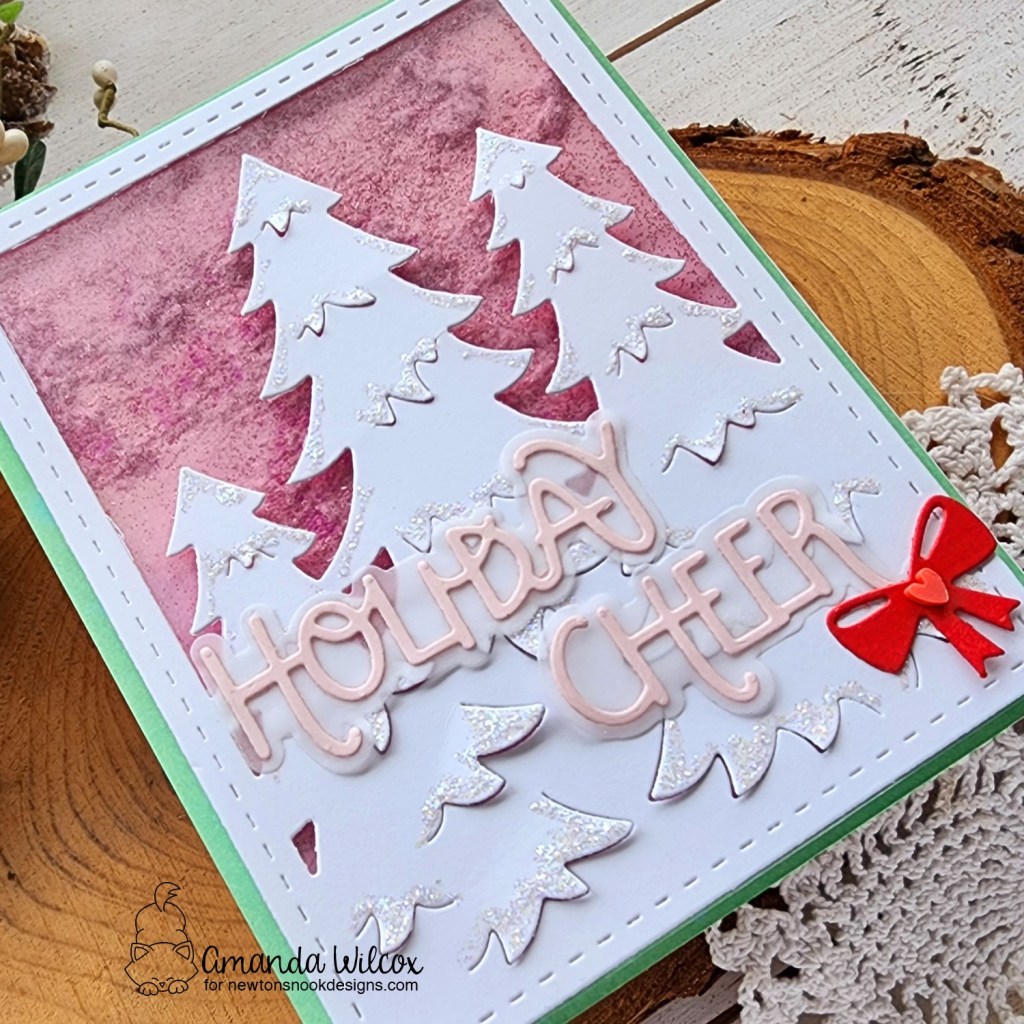
I felt like something was missing so I stamped and die cut a few of the Holiday Happy Mail images and added those to my design with foam squares and liquid glue. For some finishing touches I added glossy accents to the holly berries, wreath bow and candy canes. Then stardust Stickles to the center of the postmark images too.
What kind of postage stamps are you going to create? I have a few themes in mind!
Products used:
Postage Stamp Layout die
Holiday Postage Sampler stamps and dies
Christmas Coffees stamps and dies
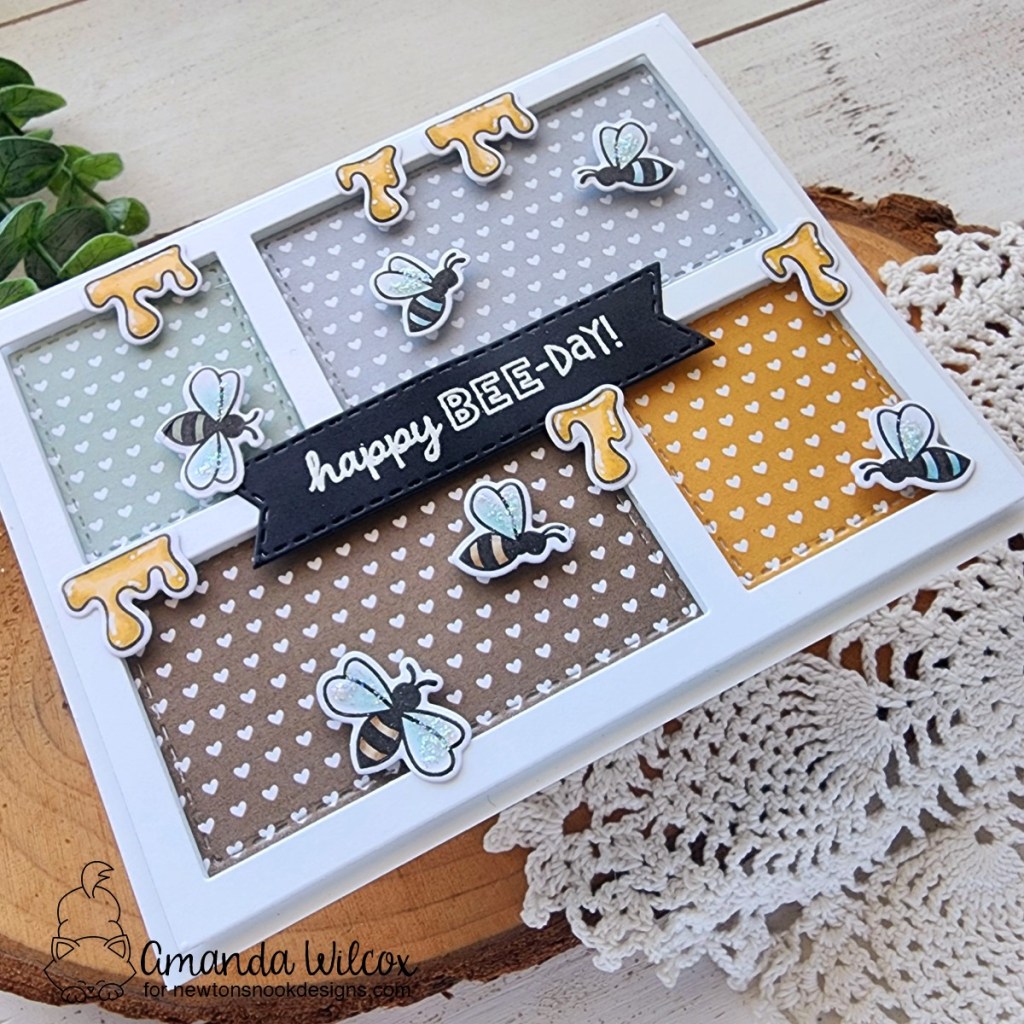
Twiddler’s Nook sweetheart clay embellishments
Twiddler’s Nook blending brushes
Lawn Fawn – ballet slippers, lobster and jalapeno inks
Distress Oxide Ink – pumice stone
Liquid glue
Foam squares
Glossy accents
Stickles – stardust
I appreciate you sharing your time with me. Have a fabulous day!