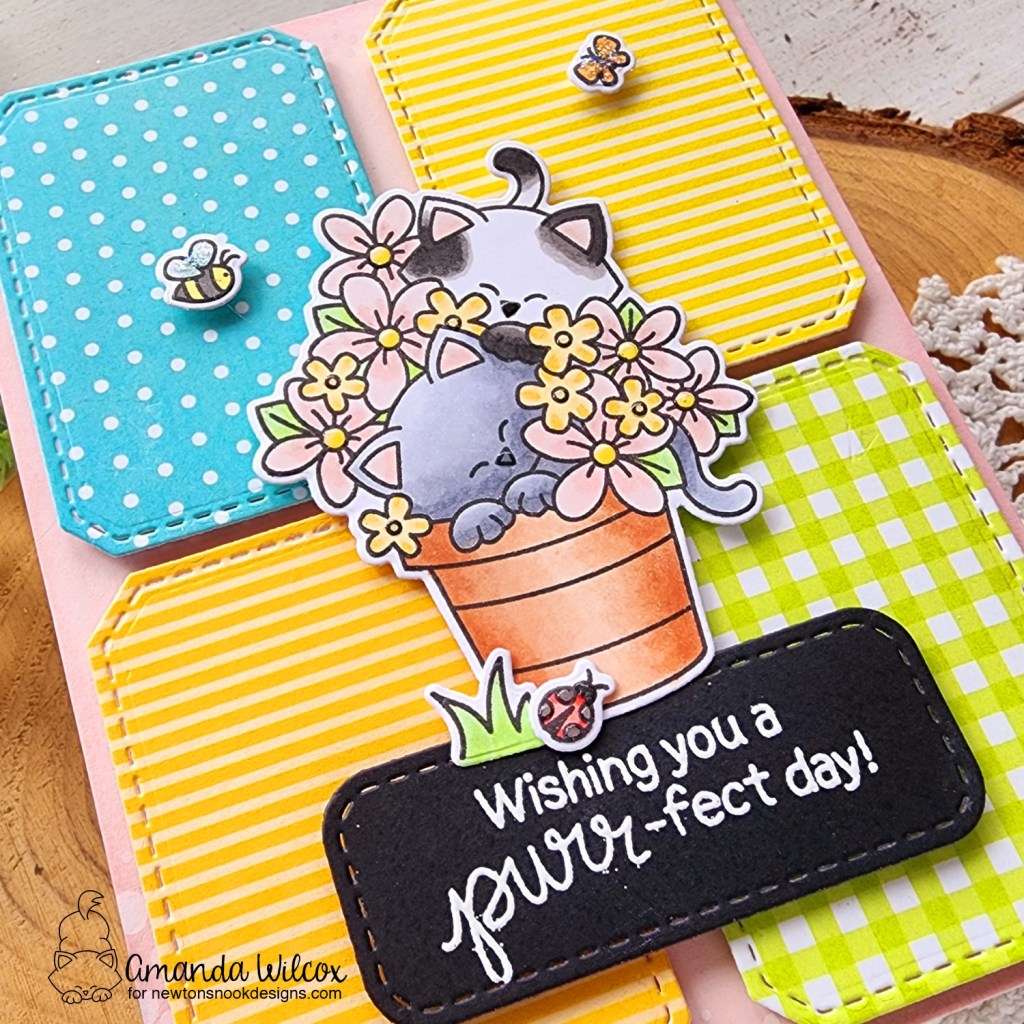
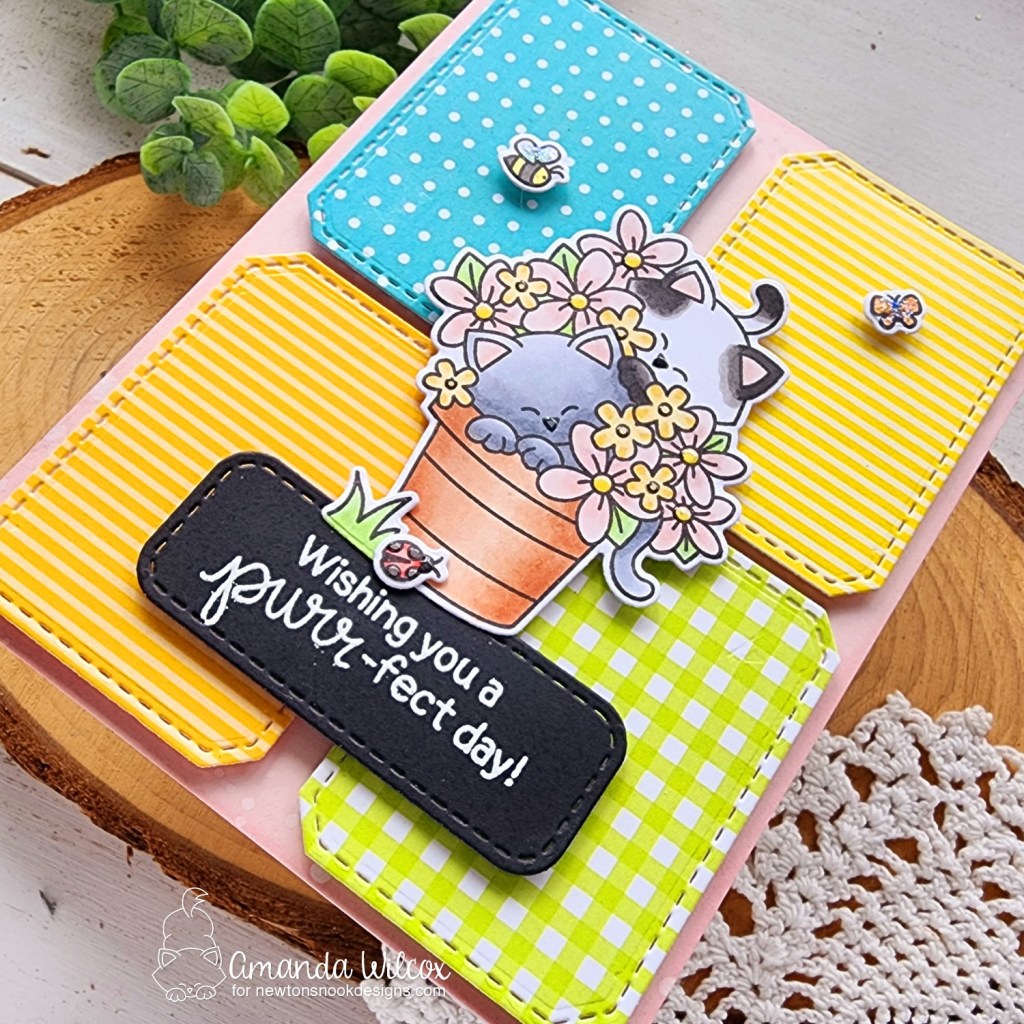
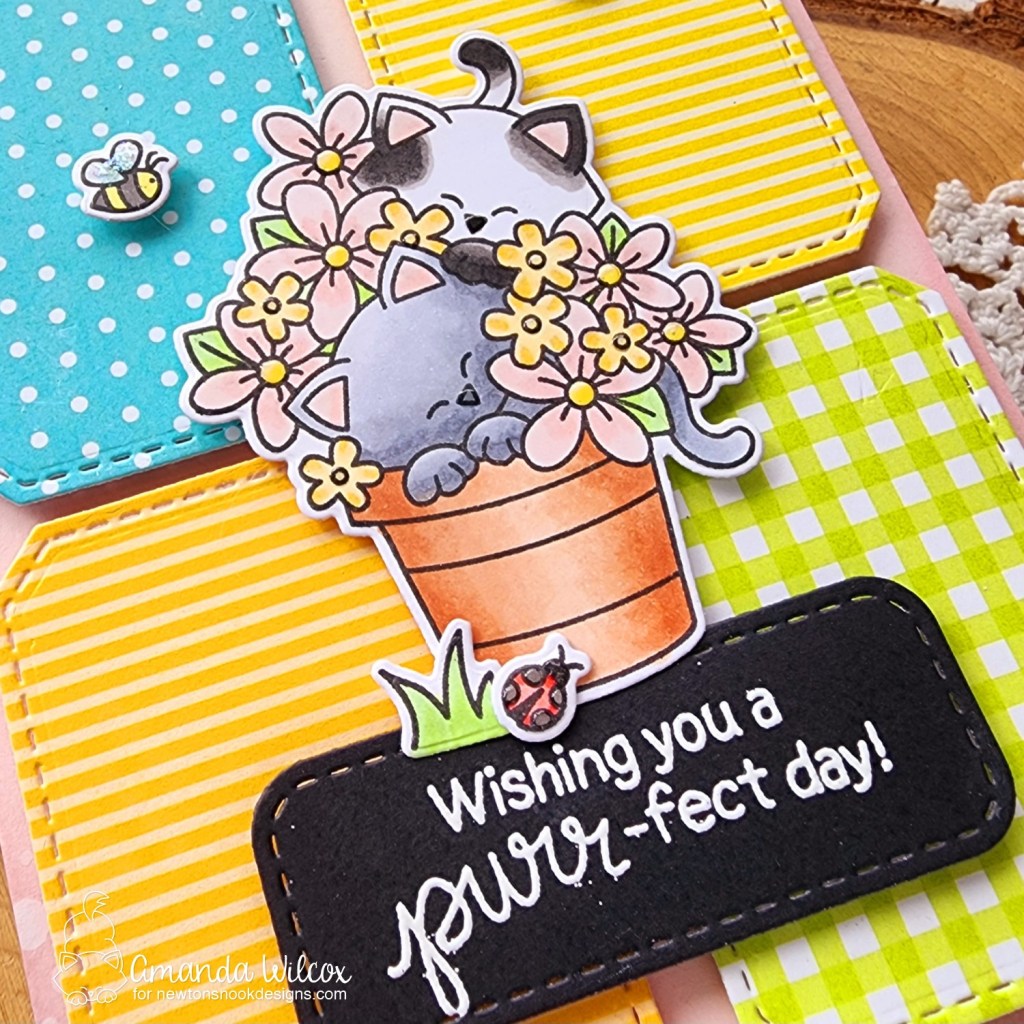
Hey friends! I’m happy to be on the Newton’s Nook blog today. I love the new release and was very excited to mix and match the new dies with the old. They are sized perfectly just for that so it expands their use by at least a billion times! It’s so great.
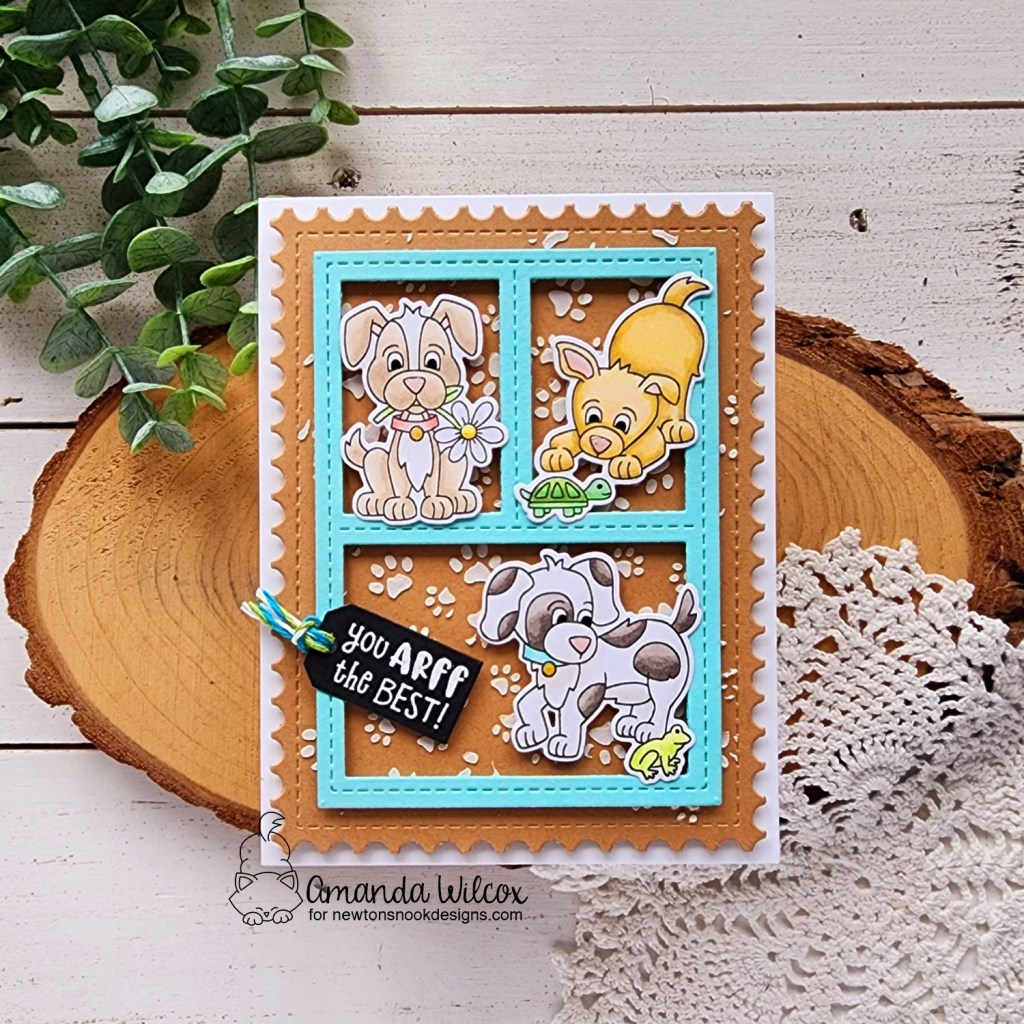
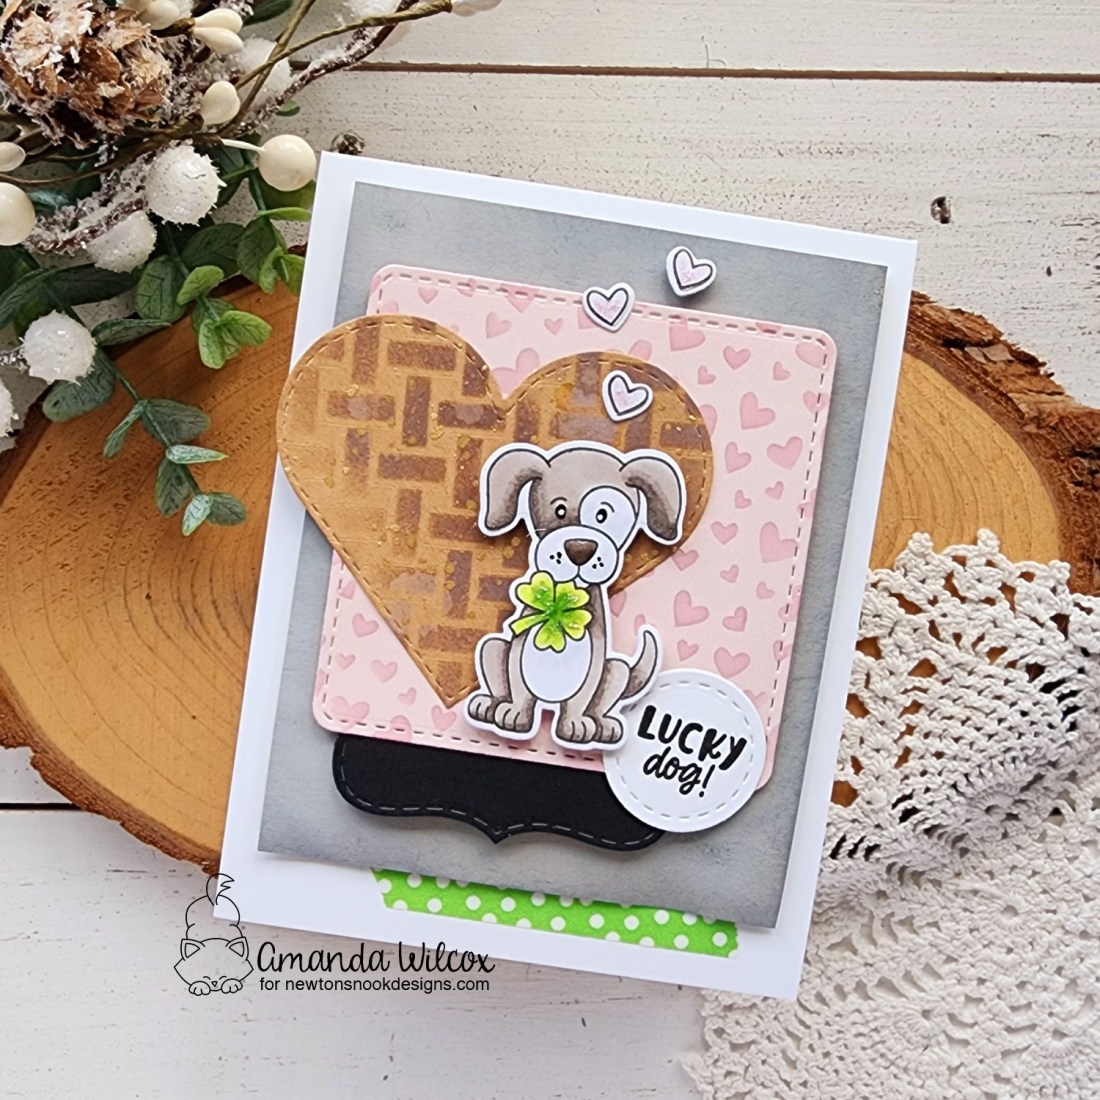
I was feeling springy so I pulled out the sweet Puppy Friends stamps and chose a few to stamp and color for my card. After using the coordinating dies to cut them out, I set them aside to make my messy background.

I cut the largest Framework die from kraft cardstock and taped off the stitched edging with Thermoweb Pixie Tape. I placed the Petite Paws stencil and spread Ranger Texture Paste through it. While that was drying I cut one of the small tags from Frames & Tags from black cardstock and heat embossed my sentiment on it.

Next, I popped the kraft panel up with foam tape on a white card base. Then I added a teal frame with foam strips, along with the images and sentiment tag. Then I added Sakura Gelly Roll Glaze pen to the puppies eyes. This makes them raised and shiny. Last, I added glossy accents to the noses, turtle shell, flower center and collar tags.
I love creating cards with grid frames like these. This new Frames & Tags set might be my favorite of all! It’s going to be so fun!
Products used:
Puppy Friends stamps and dies
Frames & Tags dies
Framework dies
Petite Paws stencil
Foam tape, squares and strips
Texture paste
Stencil pal
Sakura Gelly Roll Glaze Pen – black
Touch of gloss
Embossing & Watermark ink
Magic Anti-static brush
Embossing powder – frosting
I appreciate you sharing your time with me. Have a fabulous day!