Designer’s Nook Sneak Peek

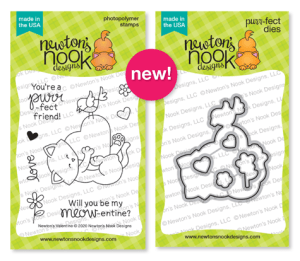
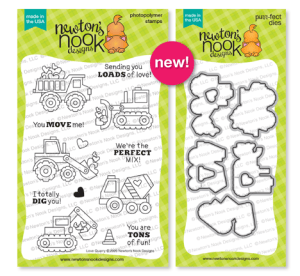
Hello everyone. Last month I learned that there is a special newsletter that Newton’s Nook sends out to subscribers only every Tuesday. It’s got special projects from the design team and the only way to see them is to subscribe! This is so cool and I wanted to share it with you because tomorrow is my first time joining in on the Designer’s Nook fun for Newton’s Nook!

Click HERE to subscribe today so that you don’t miss out on my awesome project tomorrow! Be sure to check the box for Designer’s Nook when you subscribe.
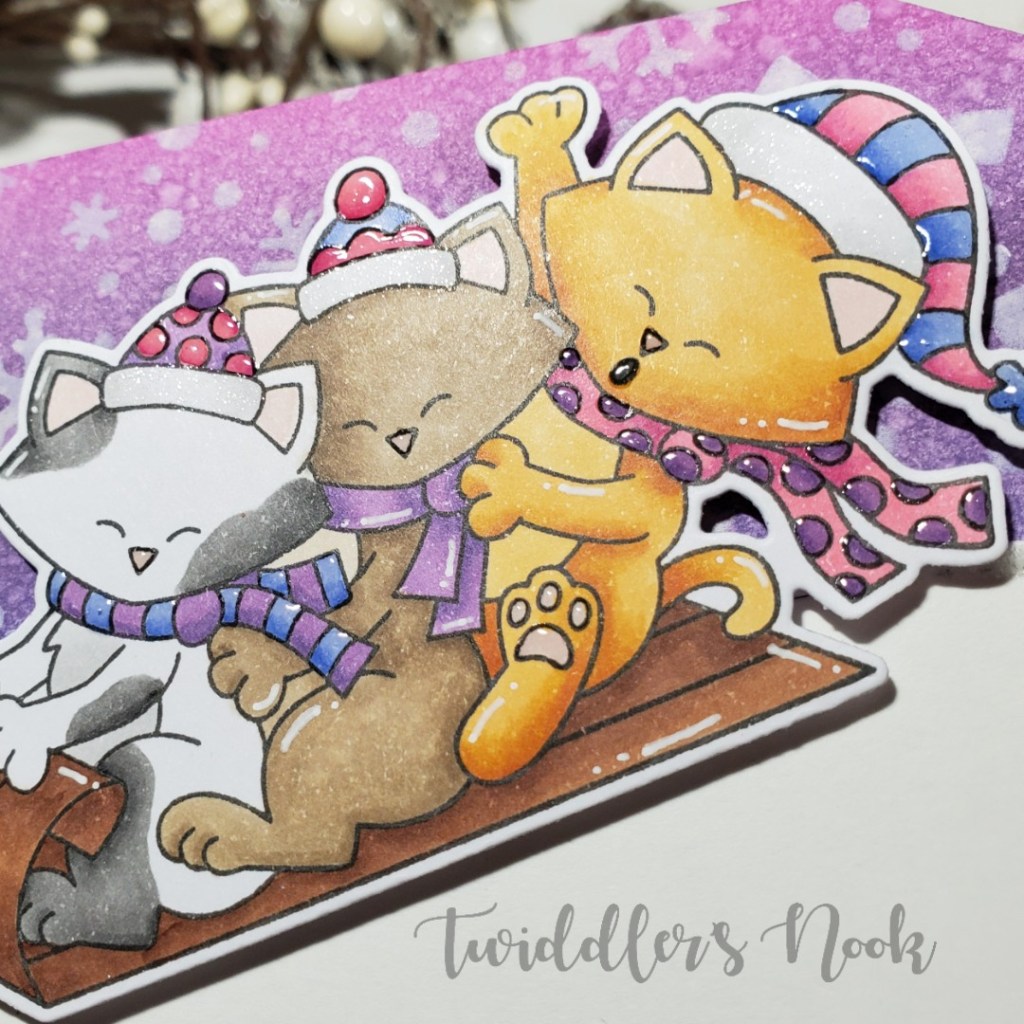
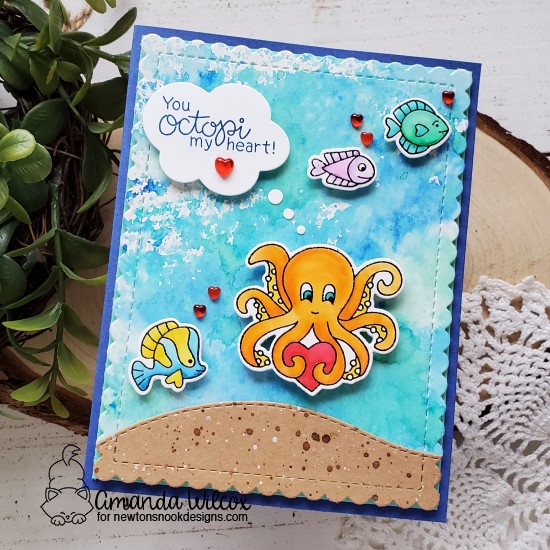
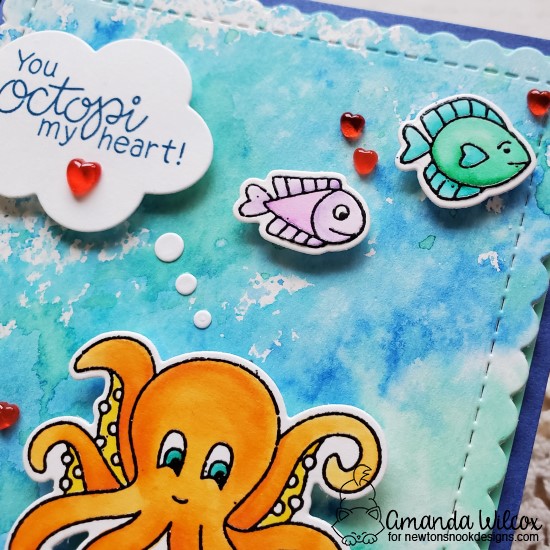
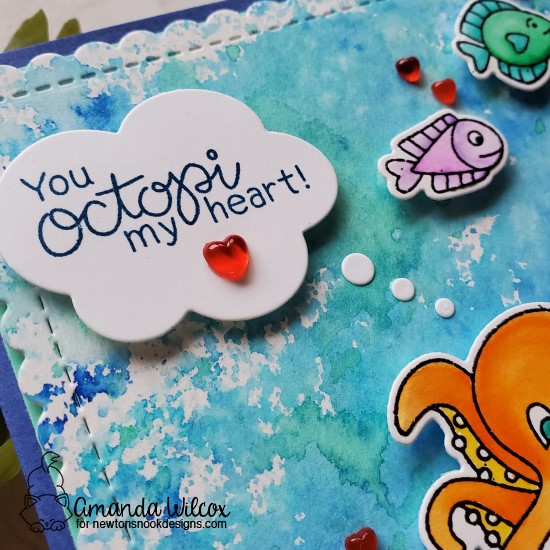
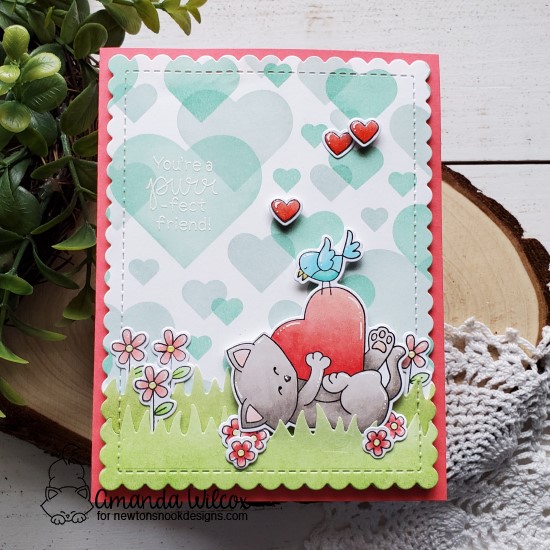
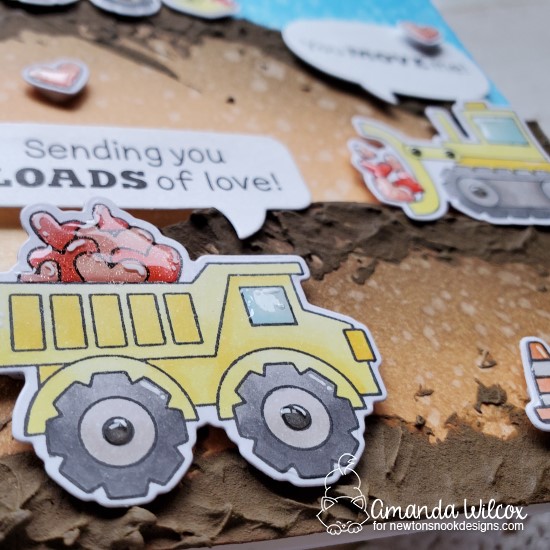
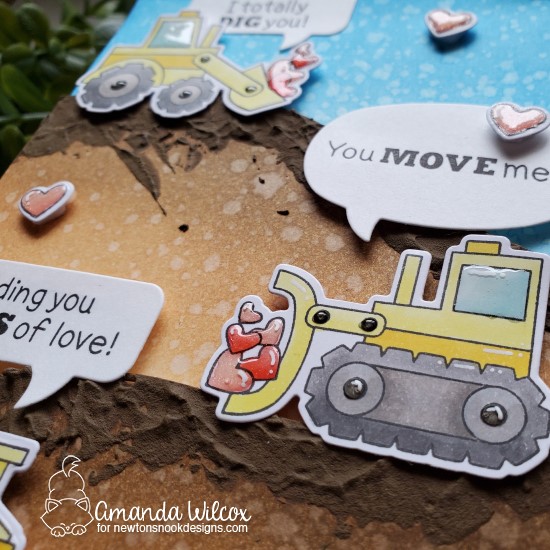
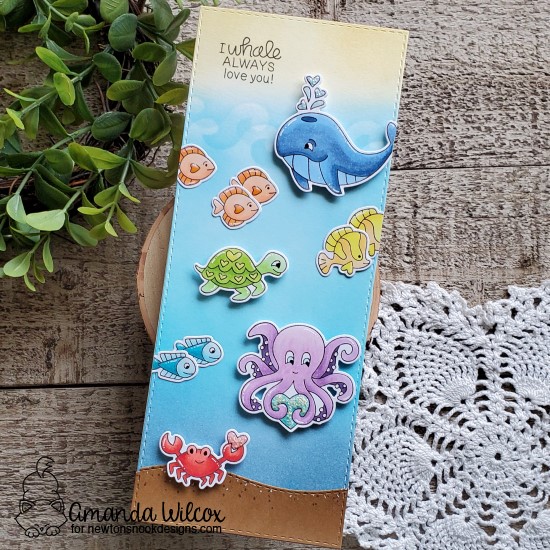
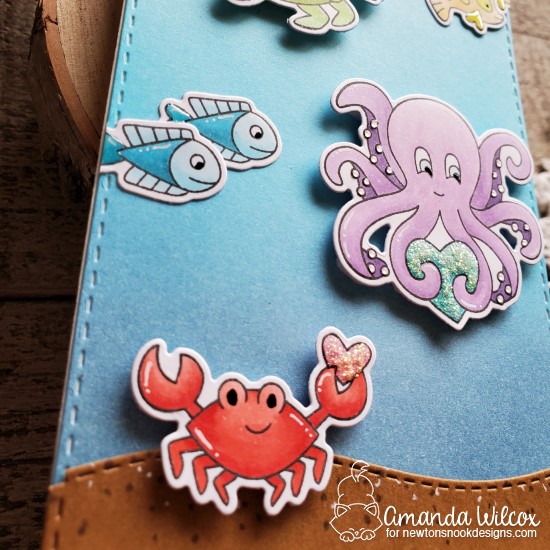
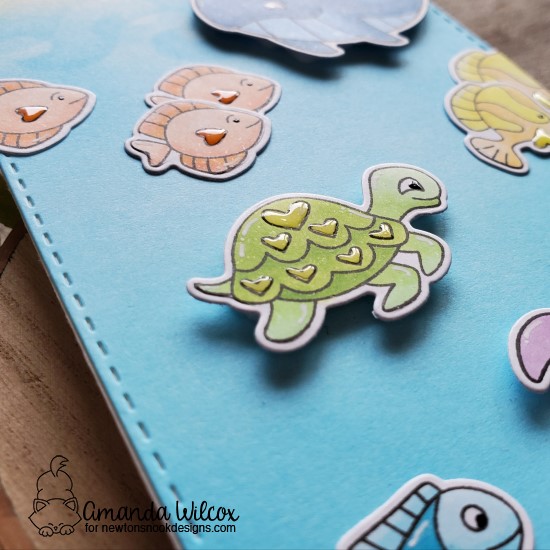
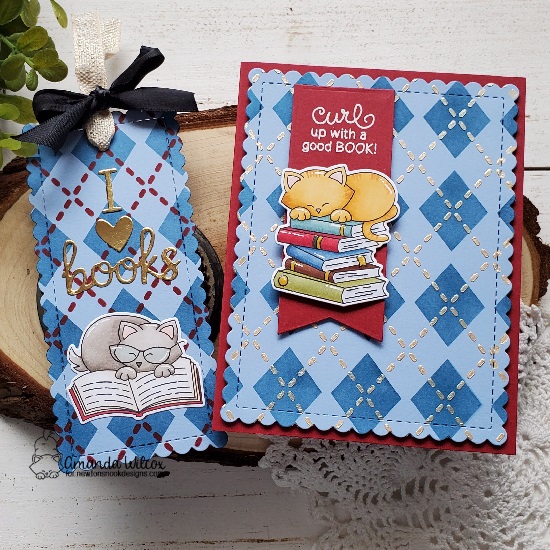
Here’s a sneak peek of tomorrow’s project for you…

I hope you’ll head over and subscribe. I wouldn’t want you to miss out on the fun!

As always, thanks for stopping by. Have a fabulous day!

Newton’s Nook Penguin Pile Tag

Happy Christmas Eve everyone! I’m so excited for Christmas this year! It’s going to be so much fun! Do you have traditions or plans for Christmas Eve? I’d love to hear them in the comments! We are always struggling to keep busy until bedtime.

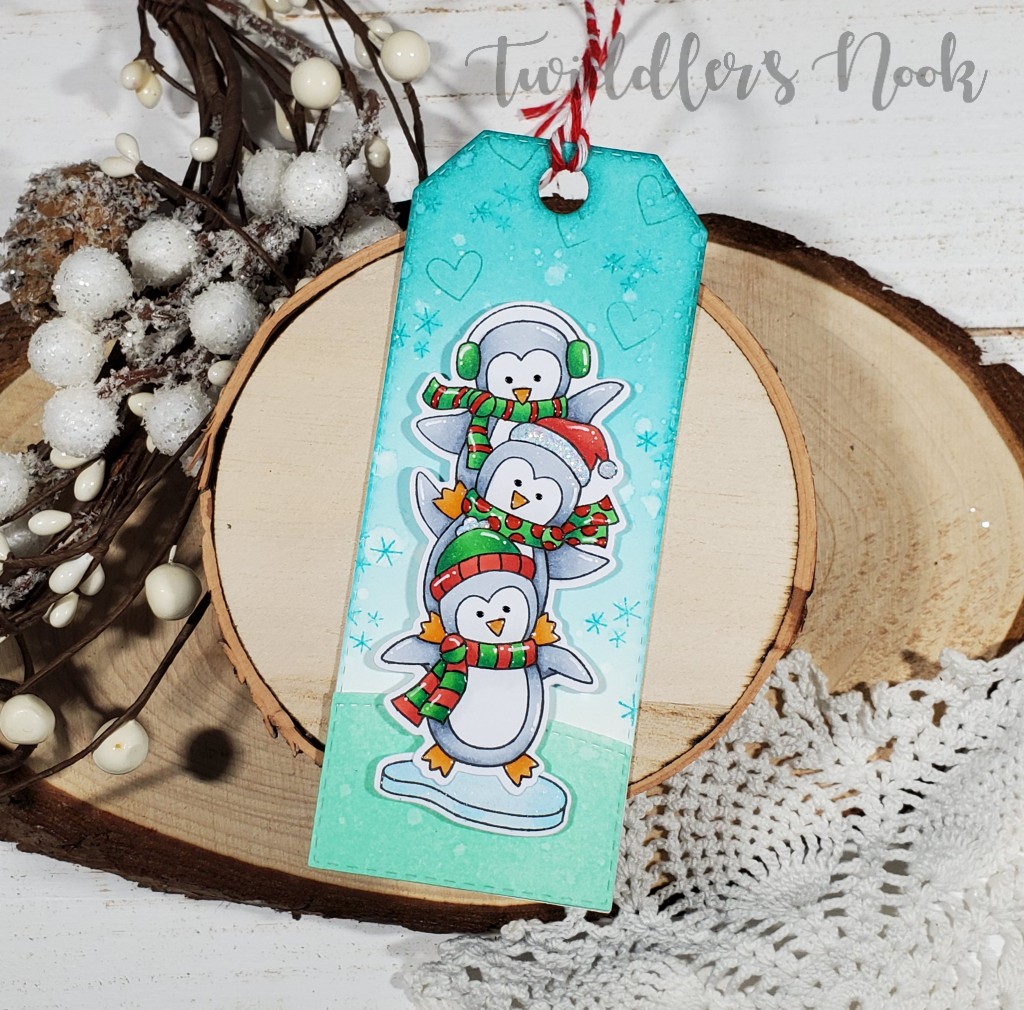
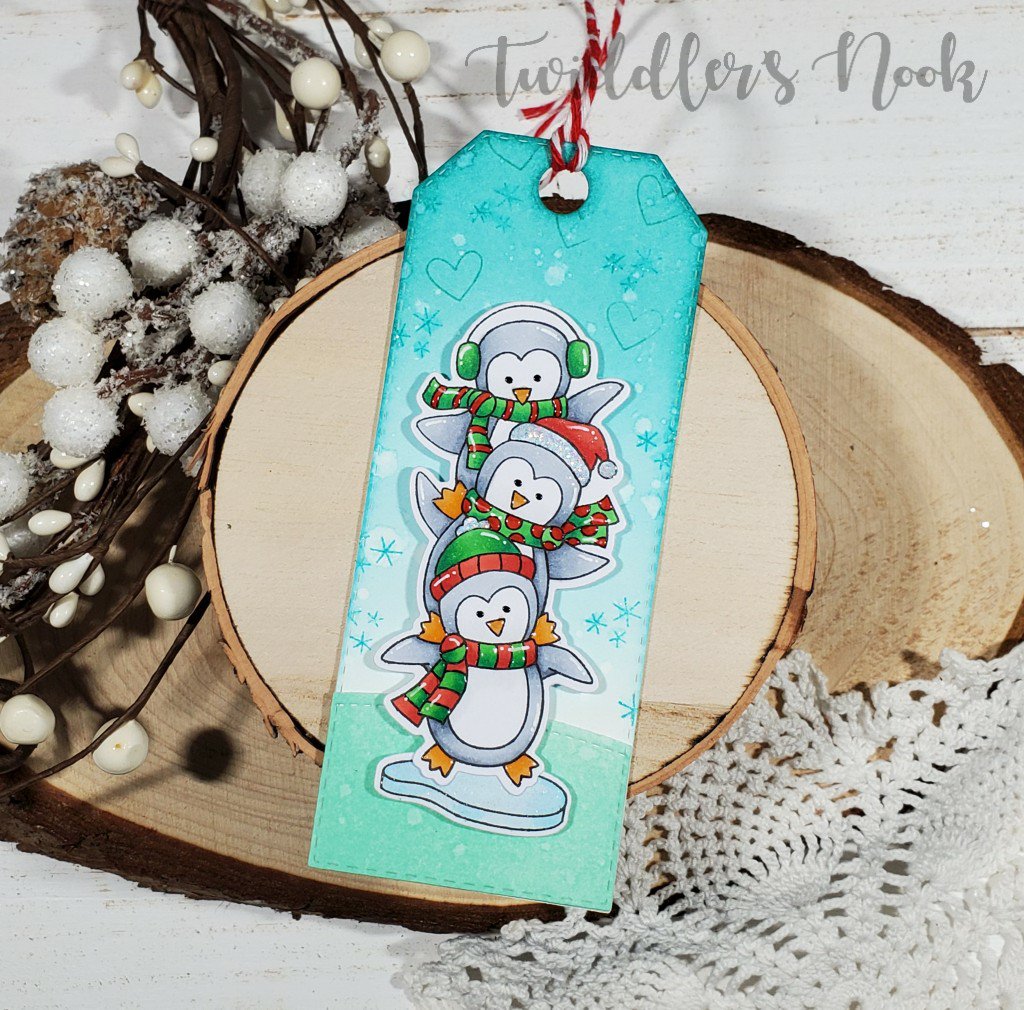
Anyway, I have one last tag to share with you today. All of these personalized tags will be under my tree for the special people in my life. It’s the first year I’ve made tags and it was so much fun!

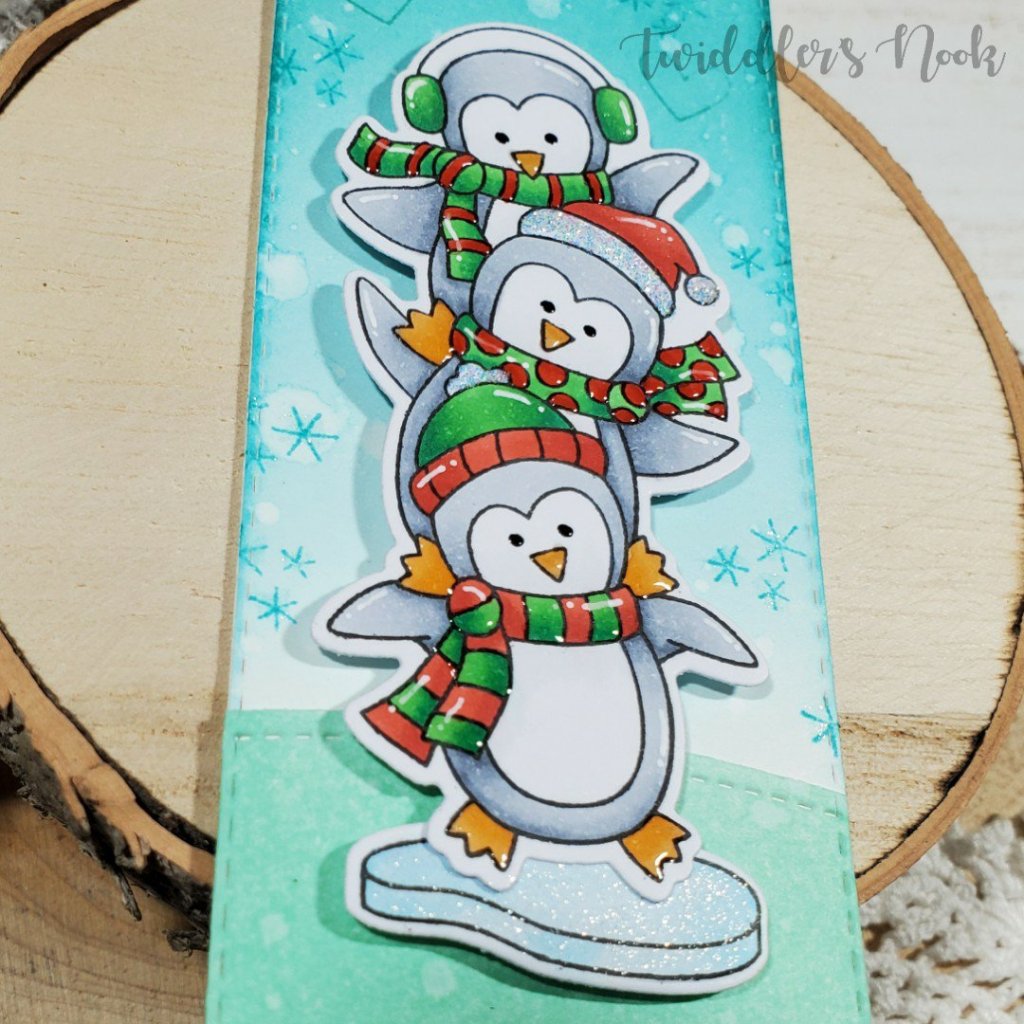
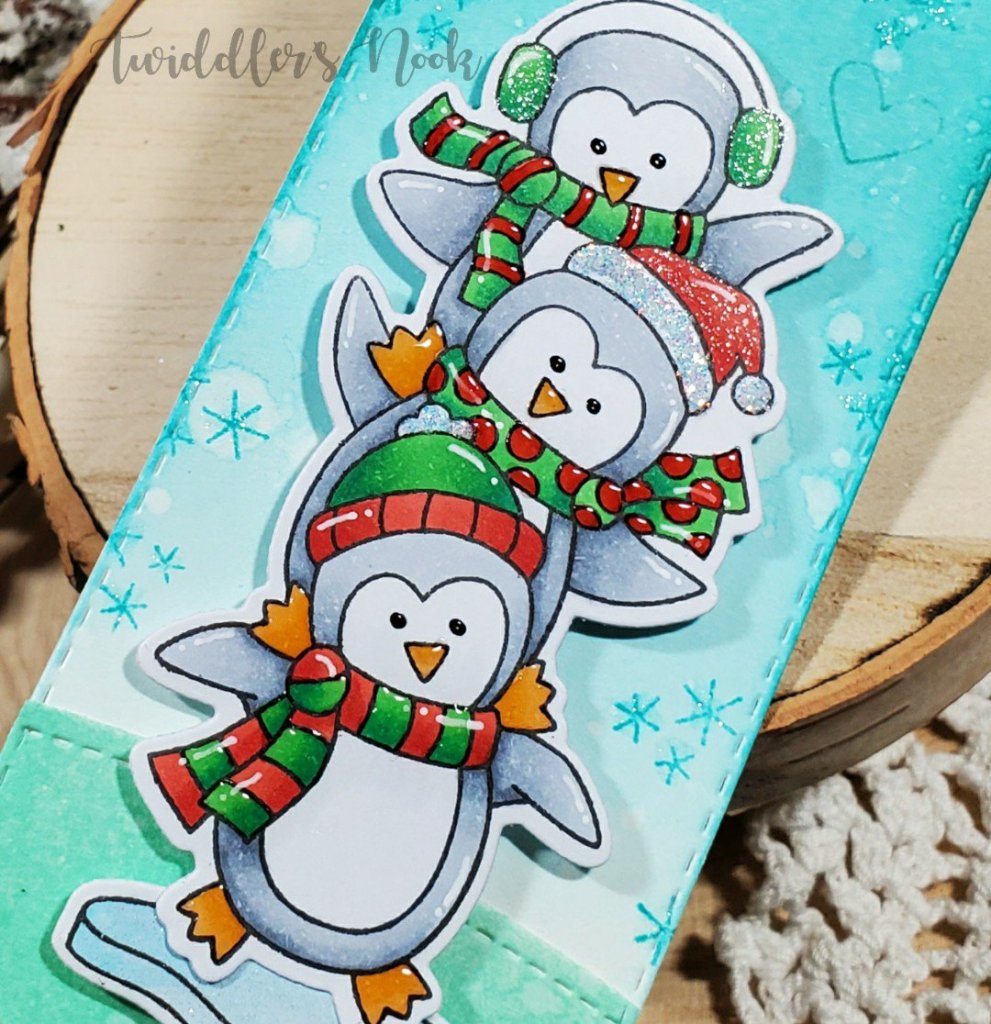
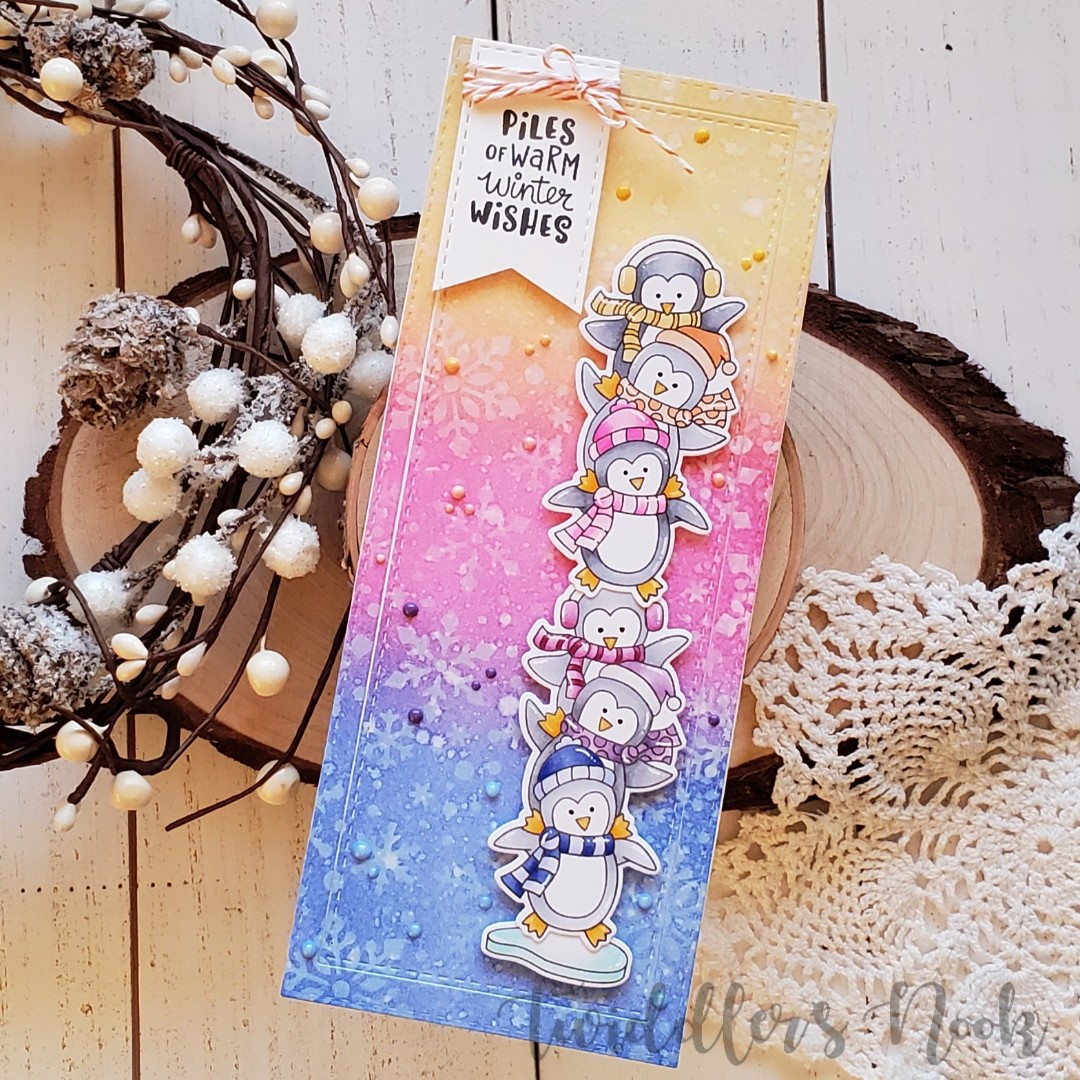
I love this penguin set from Newton’s Nook so much and this was my first time coloring it with actual Christmas colors! The tag is from Trinity Stamps narrow card and bookmark die set.

I die cut my tag from white cardstock and ink blended it. Then cut the bottom again and ink blended it as well. I adhered these together and splattered water. Then I stamped, colored and die cut my images. I popped them up with foam squares and decided to snag the snowflakes from Newton’s Nook Toboggan Together set and the heart from Cup of Cocoa to stamp in the background.

I added white gel pen accents throughout and black glaze pen to the eyes. Then I added glossy accents to the stripes, polka dots, beaks and feet and Wink of Stella glitter brush pen to the hats and earmuffs. Last I added Stickles to the white parts of the hats.

I did die cut another tag in white and glued the recipient’s name to that one. Once everything was dry I adhered them together and added baker’s twine to the top.

This one is all ready and now everyone in my family has one gift with a special handmade tag on it. I hope they all like them!

Thank you for sharing your time with me during this busy time of year! I hope you have a fabulous day! Merry Christmas!

Newton’s Nook – Hot Chocolate Day

Hello everyone! Happy Friday! I hope you’ve had a wonderful week and have enjoyed the last 12 days of Christmas tags. I am leaving commenting open until this evening for those posts. I will choose winners and post them on here and Instagram in the morning. Be sure to check back and see if you’re the luck winner.

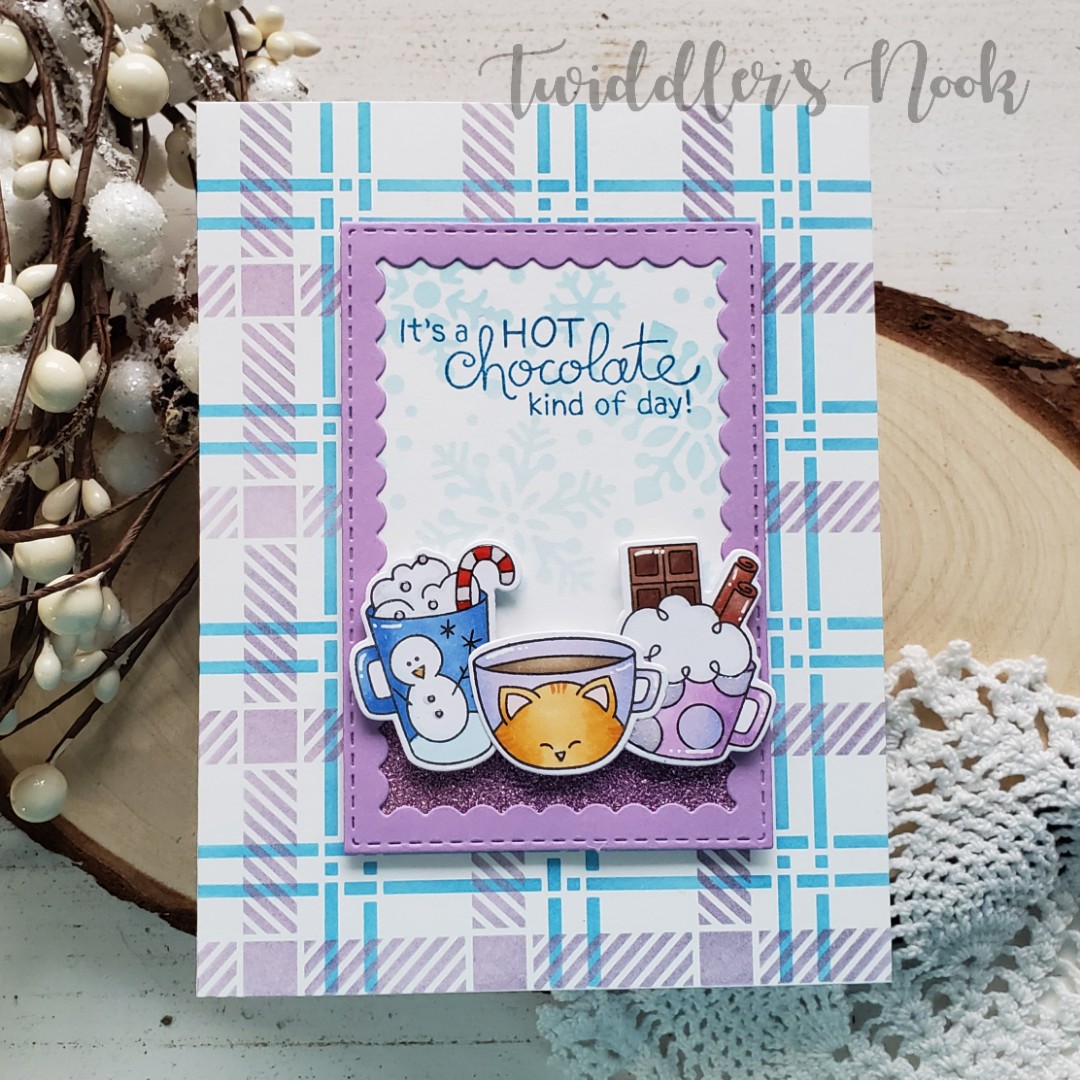
And on to today’s fun card. I’m playing along with the Newton’s Nook Inky Paws Challenge – Snow Day! Everyone needs hot chocolate on a snow day, right?!? My daughter and I always go play until we’re too cold, come in and warm up with a cup full and then do it all over again.

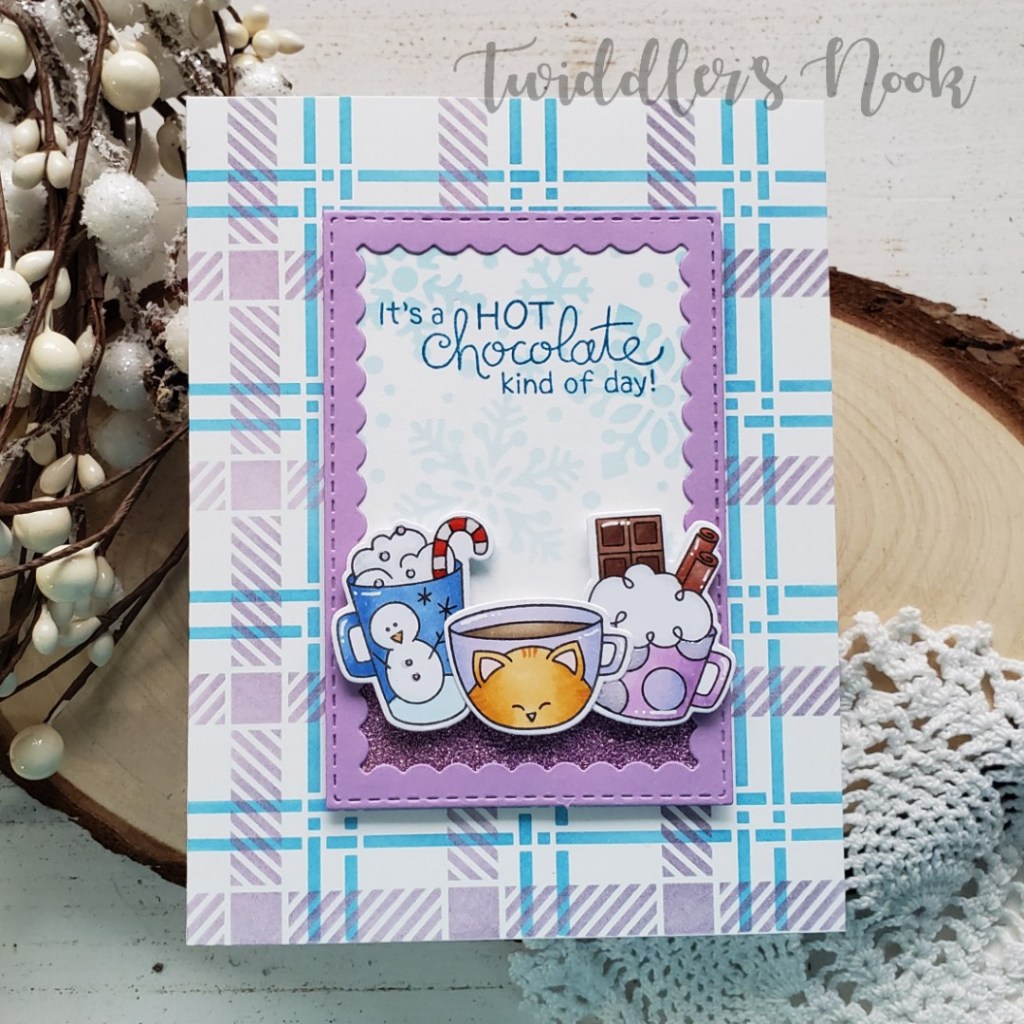
I’m so in love with the end result of this card even though I wasn’t sure when I started with the color palette. It’s just so sweet! I started out with the layering plaid stencil and moved on to color and die cut my images from the Cup of Cocoa.

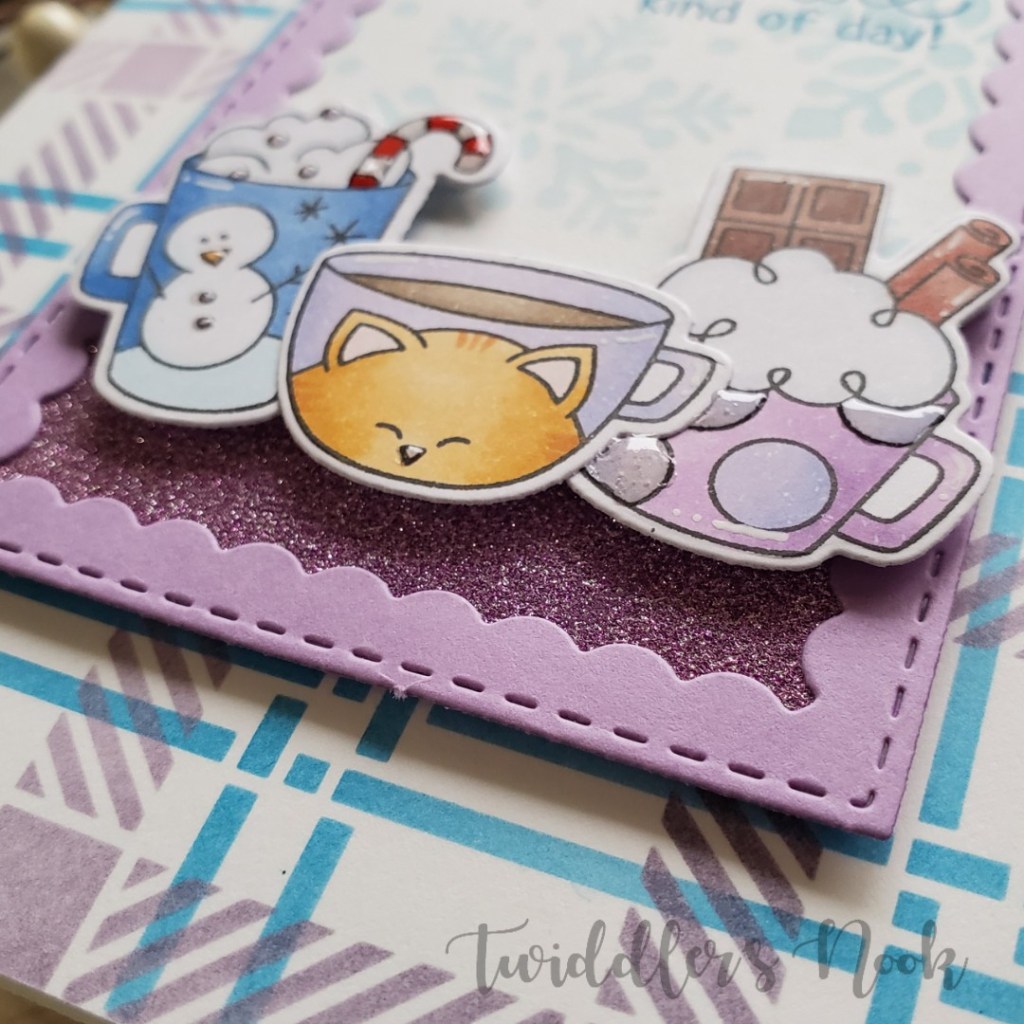
I cut a piece of cardstock and stenciled it with the snowfall stencil and added a piece of purple glitter washi tape to the bottom to ground my images. Then I cut a frame from the Framework set and adhered it. This little panel is popped up on the plaid background with foam tape. Finally, I added my images with foam squares to give them a little dimension.

Last I stamped my sentiment and started on finishing touches. I put glossy accents on the snowman nose and buttons, candycane, Newton’s nose and the dots on the mug. I also added white gel pen accents on all of the mugs.

I’m so pleased with the outcome of this card and can’t wait to share it with someone. I think I’ll tuck a packet of hot cocoa inside for fun!

I appreciate you sharing your time with me. Have a fabulous day!

12 Days of Christmas Tags – Day 9

Oh my goodness, we’re already three quarters of the way through our series! This has been so fun and has stretched my creative thinking in new ways. I love it! I hope you’re enjoying it too!

Today I’m sharing a different take on Christmas tags…the opposite of mass production. ❤

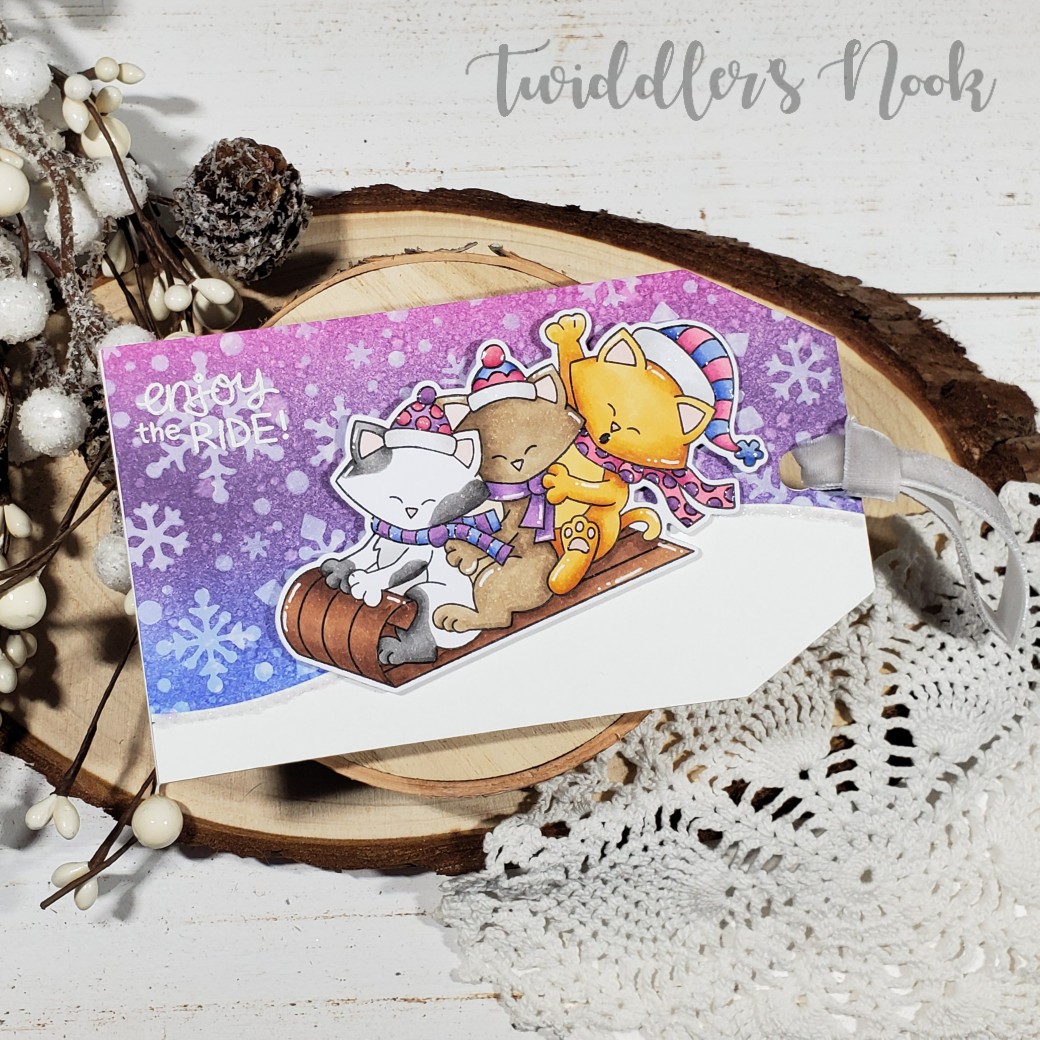
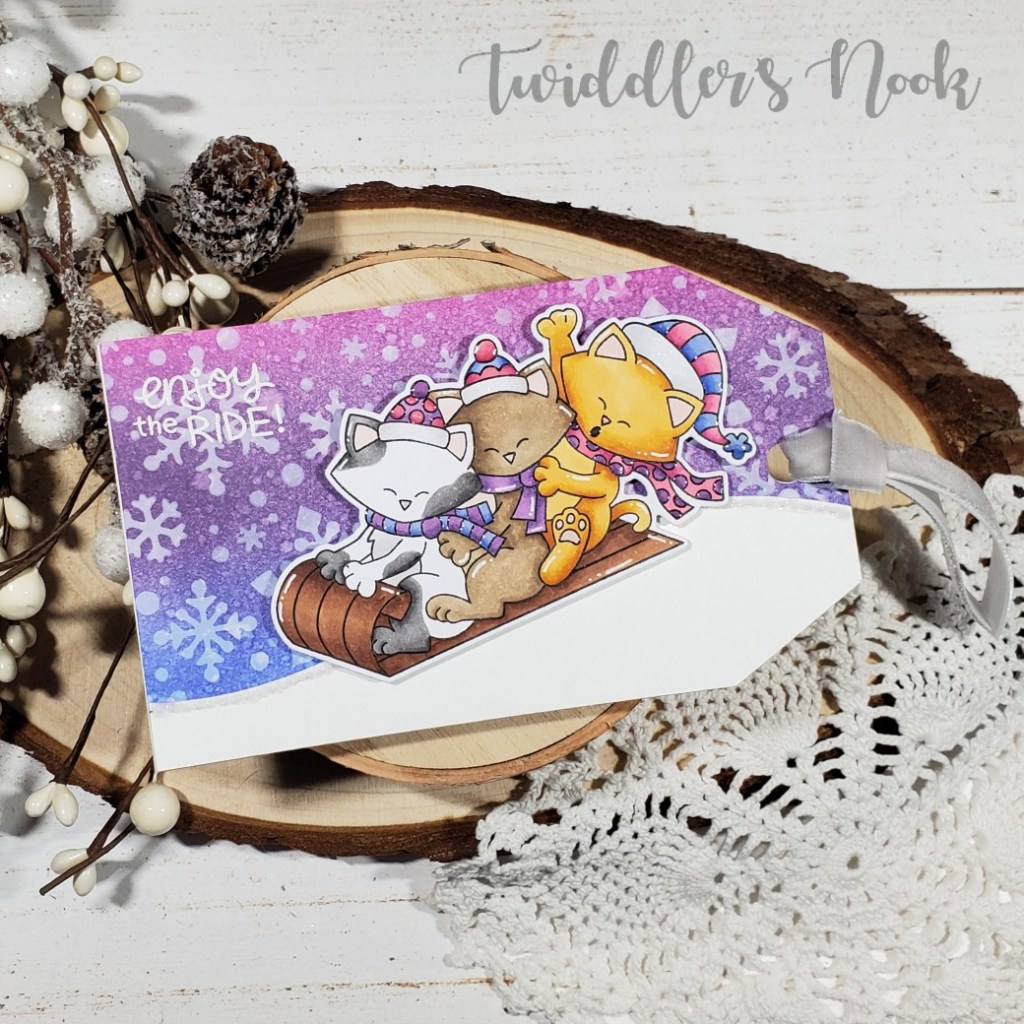
I really wanted to make a special tag for a special gift we’re giving this Christmas so I treated it like a smaller card front. I used the Newton’s Nook – Newton’s Tobbogan stamps and dies paired with the snowfall stencil for this one.

I blended distress ink on a panel and went over it with white and my stencil. Then I used my Cricut to cut it into a tag, plus 2 white tags of the same size. Then I used a stitched hills die to cut a snow hill and adhered it. I took my image and popped it up with foam squares and then stamped and heat embossed my sentiment. Finally I added this really fun velvet ribbon to the tag whole and moved on to finishing touches.

For those, I added white gel pen accents throughout and wink of stella glitter brush pen to the hats. Then I took glossy accents and put them on kitty noses, mouth and toe beans; plus the scarves and hats all have shiny accents too.

The very last thing I did was die cut the recipient’s name from the same pink, blue and purple colors as the tag’s color palette and glued it to the back. That part is a secret though. 🙂

Don’t forget there are prizes to be won. Comment each day on here, on my Instagram post for the day and then head to Caffeinated Craftiness and do the same for her. Four comments per day gives you a shot at any one of four prizes!

I appreciate you sharing your time with me. Have a fabulous day!

Newton’s Nook – Purr-fect Present

Thanks for stopping by today. I have had this idea in my head for a while and I was really happy to have a chance to make it a reality AND it came out just as I hoped!

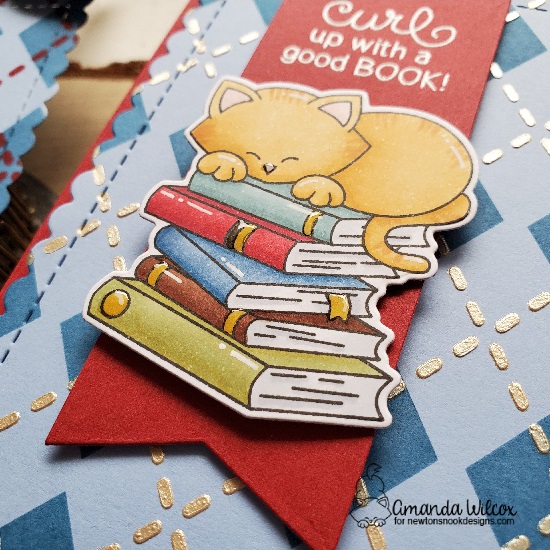
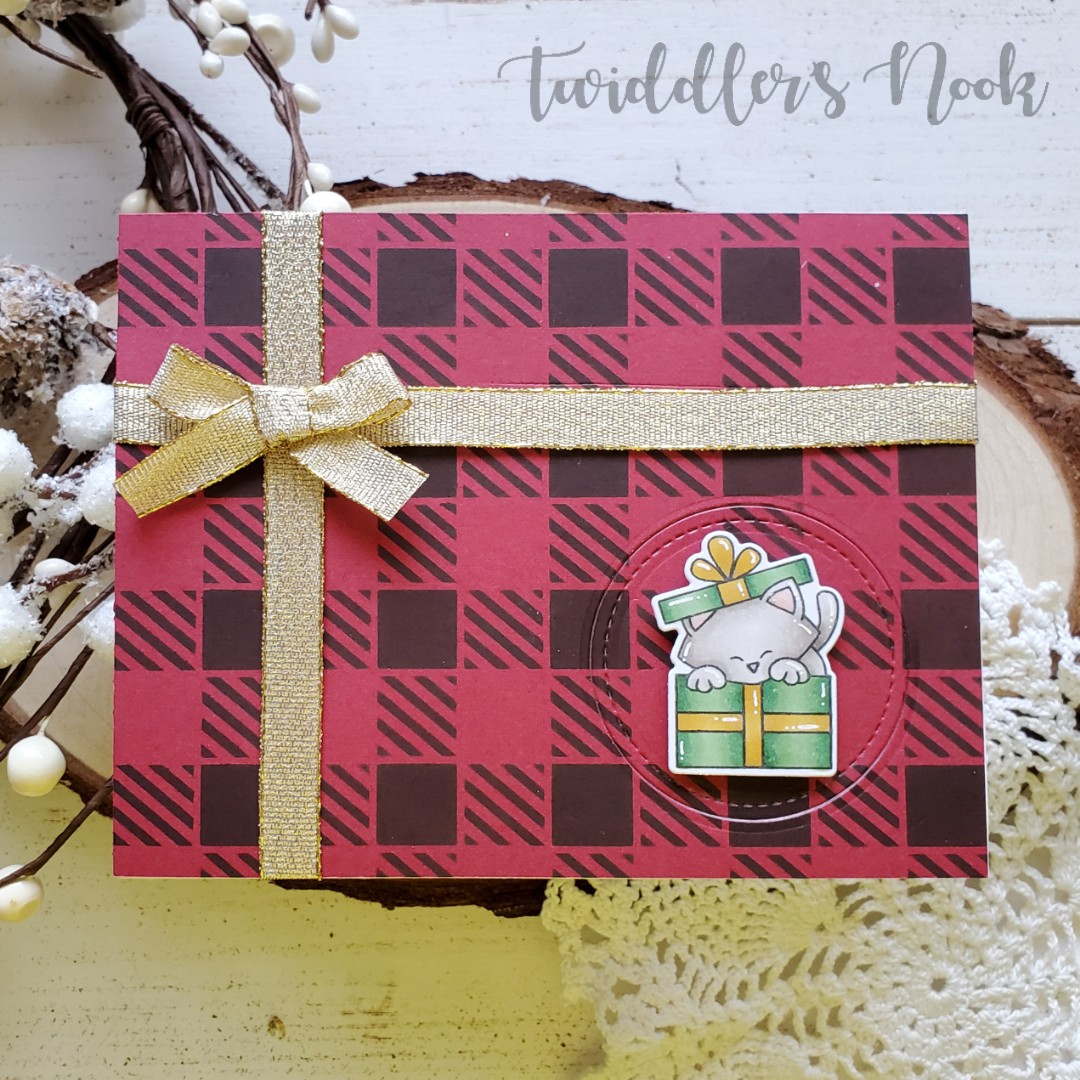
Using the Gingham stencil, I inked black over red cardstock, added gold ribbon to make it look like a package and then glued it to a card front. Next, I die cut a circle from the card front and glued the circle to the inside card panel.

I stamped my Newton in a present from Purr-fect Present and die cut him out. Then popped him up on the circle with foam squares. Next I stamped the sentiment off to the left and couldn’t resist coloring in the holly at the bottom of it.

For finishing touches I added white gel pen accents, glossy accents to Newton’s ears and nose and Wink of Stella glitter brush pen to the package’s ribbon and bow.

This image is just adorable and I love how this sweet card turned out. It gives the recipient a little surprise when they open it up. So much fun!

I appreciate you sharing your time with me. Have a fabulous day!

Newton’s Nook – Guest Designer

This is my last post as a guest designer with Newton’s Nook and I want to extend a HUGE thank you and so much love for the opportunity to join everyone this month! It’s been so fun creating things to share with everyone and I hope you’ve enjoyed it as well.

Here’s a fun peek at my card share. Please head over to the Newton’s Nook blog for the full picture and info on how I made it. Trust me, you want to see this!

I appreciate you sharing your time with me. Have a fabulous day!

Newton’s Nook – Holiday Wishes

Hello everyone! I’m back today with another entry into the current Inky Paws Challenge with Newton’s Nook. In case you missed my previous post, here is the sketch that we are challenged to mimic this time.

I think the sketch challenges are my favorite. Using whatever stamps suit me, trying to think of different ways to use them to fit the given format. It’s great!

Today I chose one of the Festive Fawns images – colored and die cut the image and set it aside to build my pieces like the sketch showed. I used one of the Framework dies for the red plaid panel and then trimmed down the other pieces with my paper trimmer. This time I used a corner rounder to make the edges a little softer which I thought fit well with the scalloped rectangle and the sweet fawn image I chose.

I glued the white patterned paper to a card base, then popped up the red rectangle. The banner is glued directly down and then the small white square and the fawn image are popped up with foam squares.

For finishing touches on this card I added glossy accents to the fawn’s nose, spots and hooves, black glaze pen to the eyes, white gel pen accents, Wink of Stella glitter brush pen to the wreath bow and Crystal Nuvo Drops to the wreath berries. Very last I added a two cinnamon red hots jelly drop hearts from Trinity Stamps. I love the impact this gives the card.

After all that was dry I stamped my sentiment on the inside of the card. I chose “Holiday wishes to deer friends” from the Festive Fawns set. I love that it’s sweet and punny at the same time.

I appreciate you sharing your time with me. Have a fabulous day.

Newton’s Nook Guest Designer – Main Street

This is a serious Happy Birthday to me!!! I’m so excited to be guest designing with Newton’s Nook for the month of November and today is my first post, on my birthday! This couldn’t have come at a more perfect time than to be able to dive into their brand new Christmas release and start creating!

When I saw all of these great images, there was no way I could choose, I wanted it all. This whole release is out of this world! Today I’m sharing a beautiful card using the Main Street stamps and dies and the Snowfall stencil.

Here’s a sneak peek of the card I made. Be sure to head over to the Newton’s Nook Blog for the full scoop and lots of great pictures! Do me a birthday favor and leave me a comment over there too! I would really appreciate it! And stay tuned throughout the month for more Newton’s Nook awesomeness.

I appreciate you sharing your time with me. Have a fabulous day!

Newton’s Nook Thanks a Latte

I know it’s been super busy on here lately but I hope you’re enjoying all of the fun projects and inspiration. Today I’m sharing one of my entries into the current Newton’s Nook Inky Paws Challenge.

After doing a number of these challenges now, I’m admitting that the color ones are the hardest for me. I guess I don’t like being dictated what color things will be. LOL! However, with that being said, I’m so excited about this card today and I hope you like it too!

Here’s how I did it:

  • Stamped, colored and die cut my Pumpkin Latte images and set them aside.
  • Using a wreath builder tool I took the 3 smaller images from the set and stamped them in orange, green and brown inks. Then added a shadow of antique linen distress ink to the center, getting lighter as I went out.
  • I glued the leaves down creating a ground for my girl and popped her and the pumpkin up with foam squares. At this point I added my sentiment to the bottom corner as well.
  • Then cut a 4.5×4.5 piece of green and stamped a gingham background stamp on it. I wrapped a piece of braided jute twine around it and popped it up with foam tape on a brown card base. Then I popped the stamped panel up with foam tape as well.
  • For finishing touches I added some gems scattered around and white gel pen accents.

Using the wreath builder was so fun and went much quicker than I expected. This card came together so easily and I just love it! Don’t you?

I appreciate you sharing your time with me. Have a fabulous day!