Happy Friday everyone! It’s release day for Newton’s Nook and we’re having an Instagram Hop to celebrate full of inspiration to get you going! Next week we’ll do highlights of the new products for more ideas and fun too!
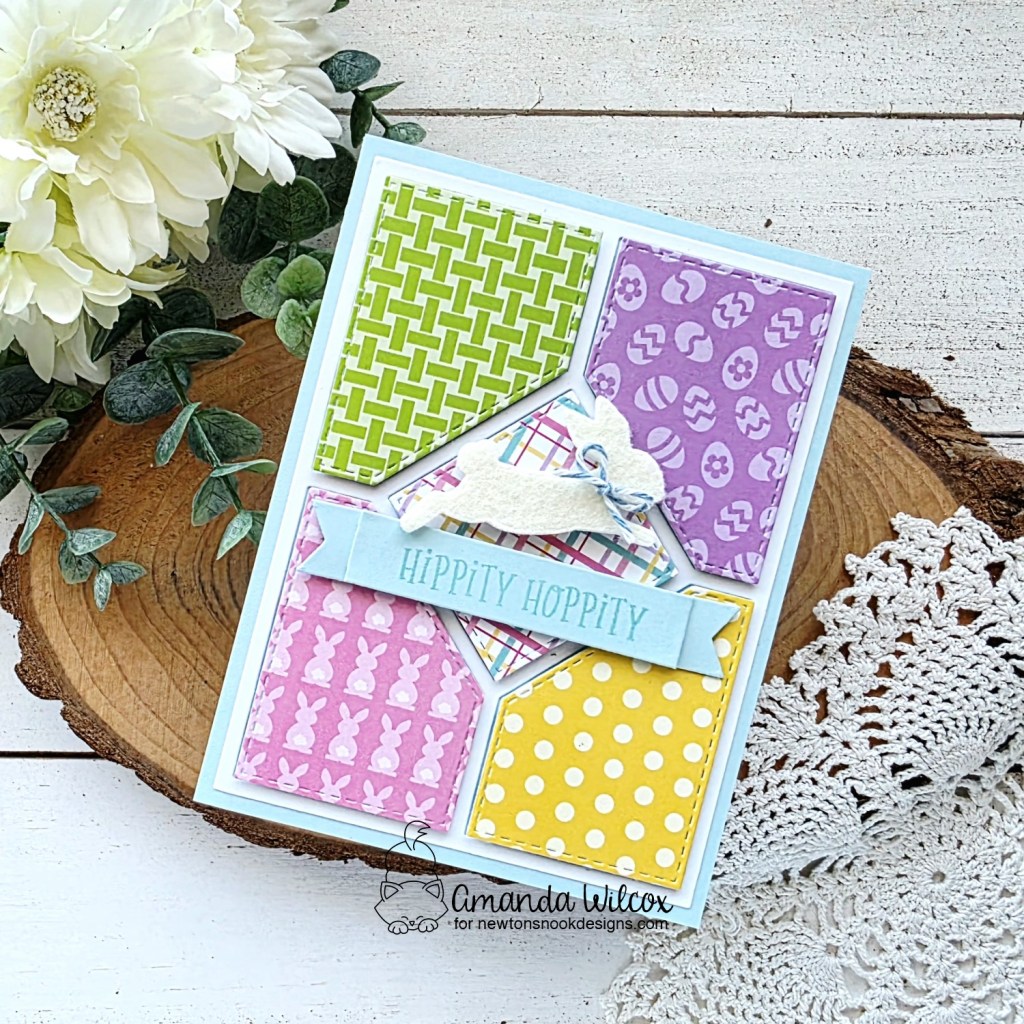
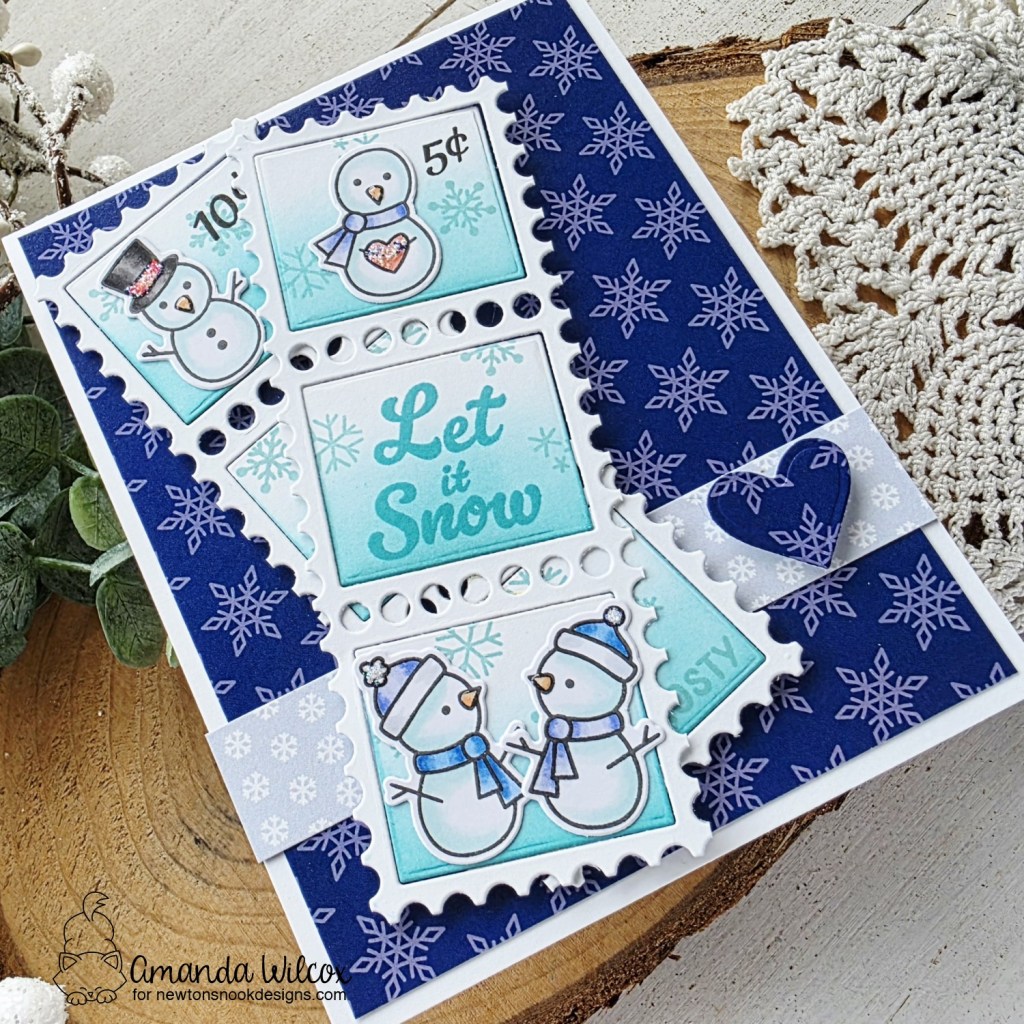
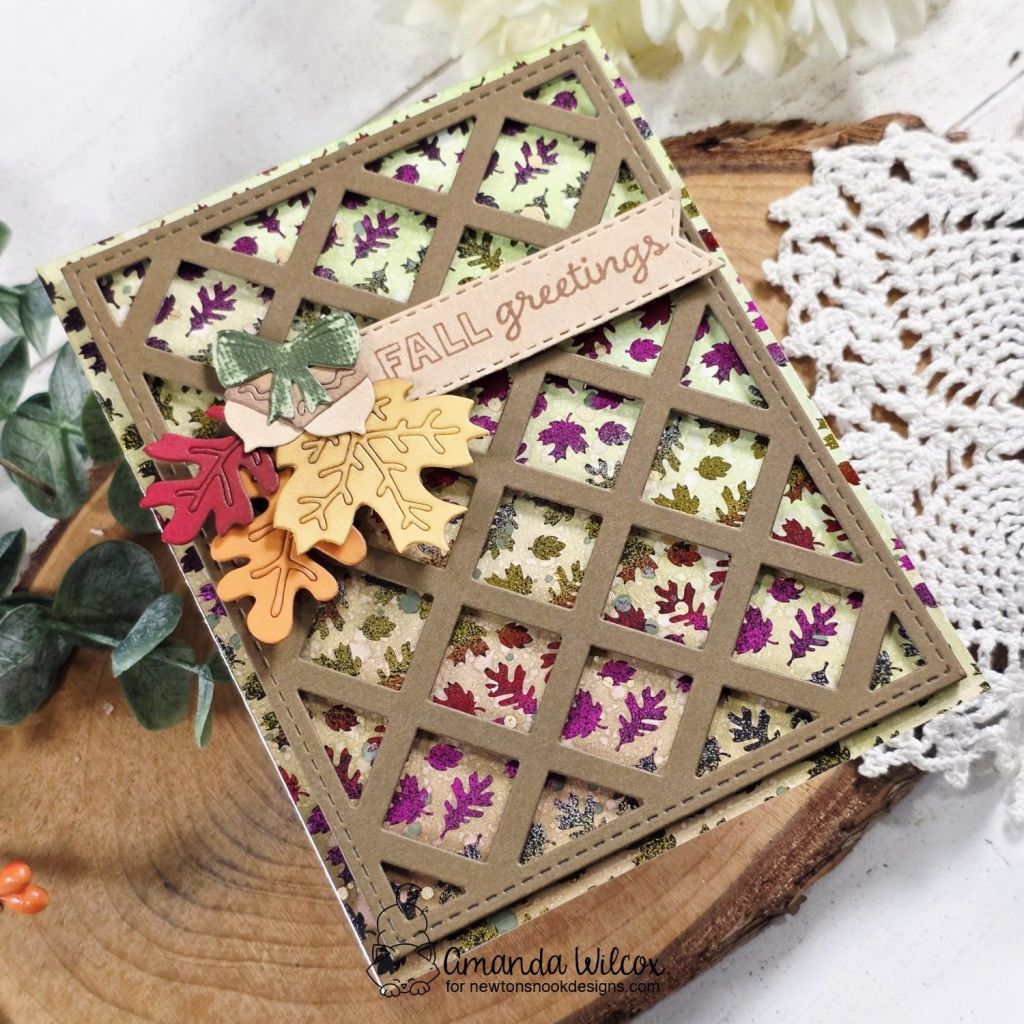
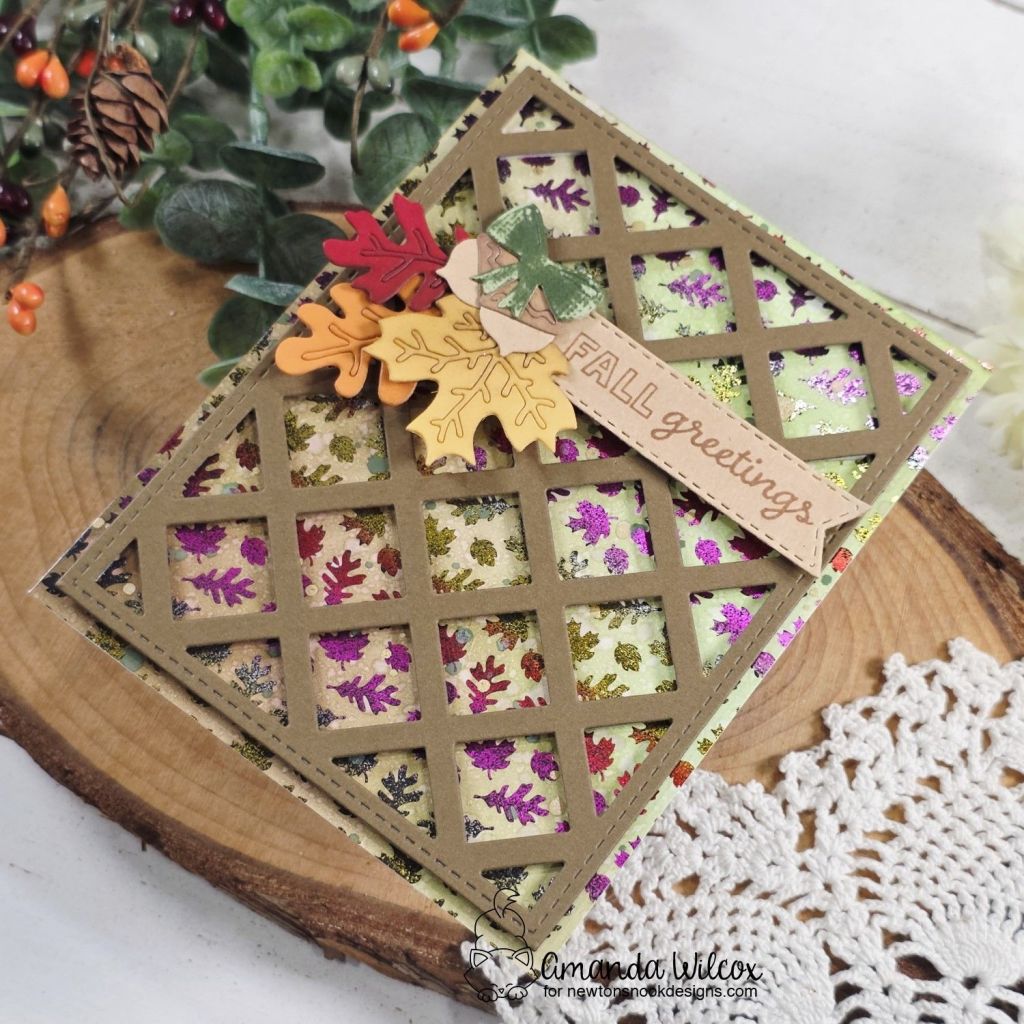
My card today features the new Happy Easter paper pad paired with the new Card Layout 6 die which is becoming a fast favorite for me. I cut the whole thing from white cardstock, saved the inserts and just used the frame for this card. Then I trimmed some rectangles from the paper pad and cut the 5 sections from those.
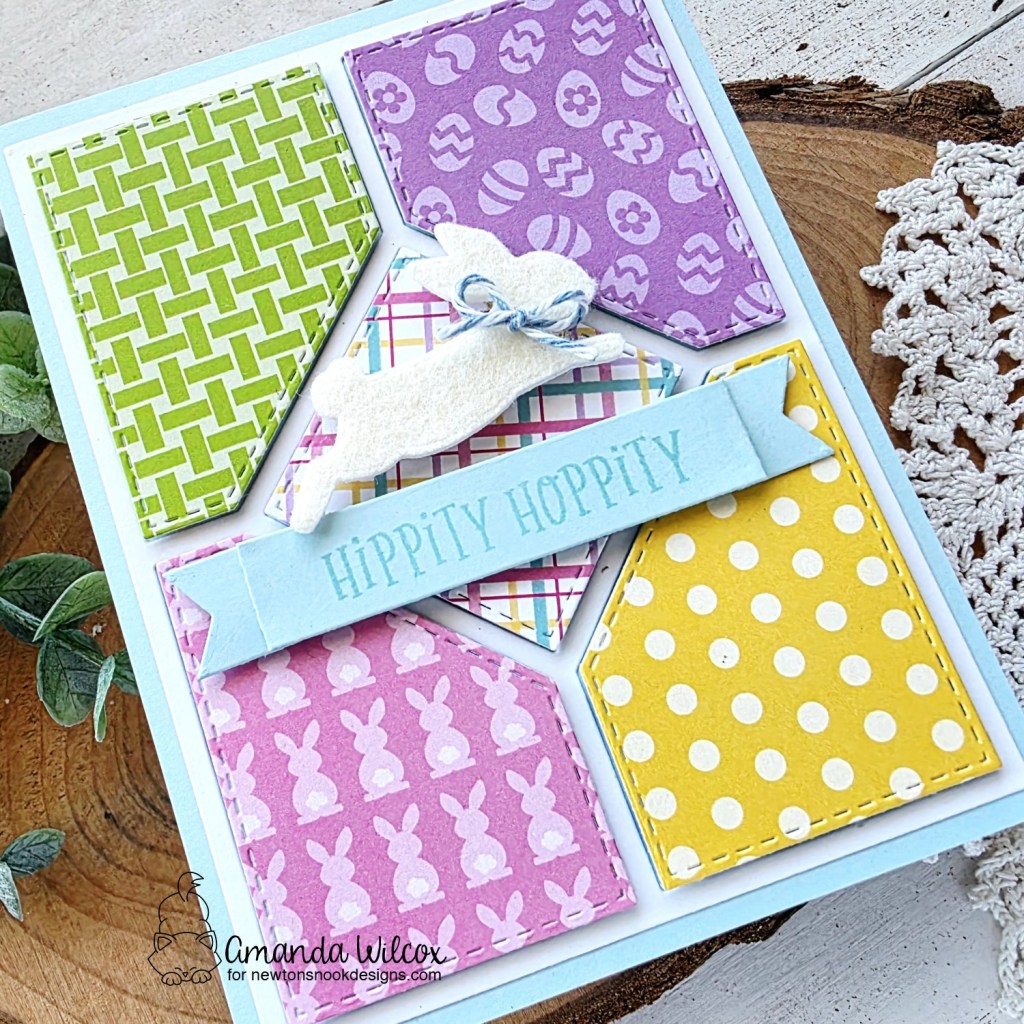
I glued the frame to an A2 piece of blue cardstock and popped the inserts up with foam tape. Then I cut one of the new Silhouette Bunnies from cardstock and felt, glued them together and popped them up with foam squares. The cardstock backing gives the felt a little more stability and makes it easier to add the foam squares too.
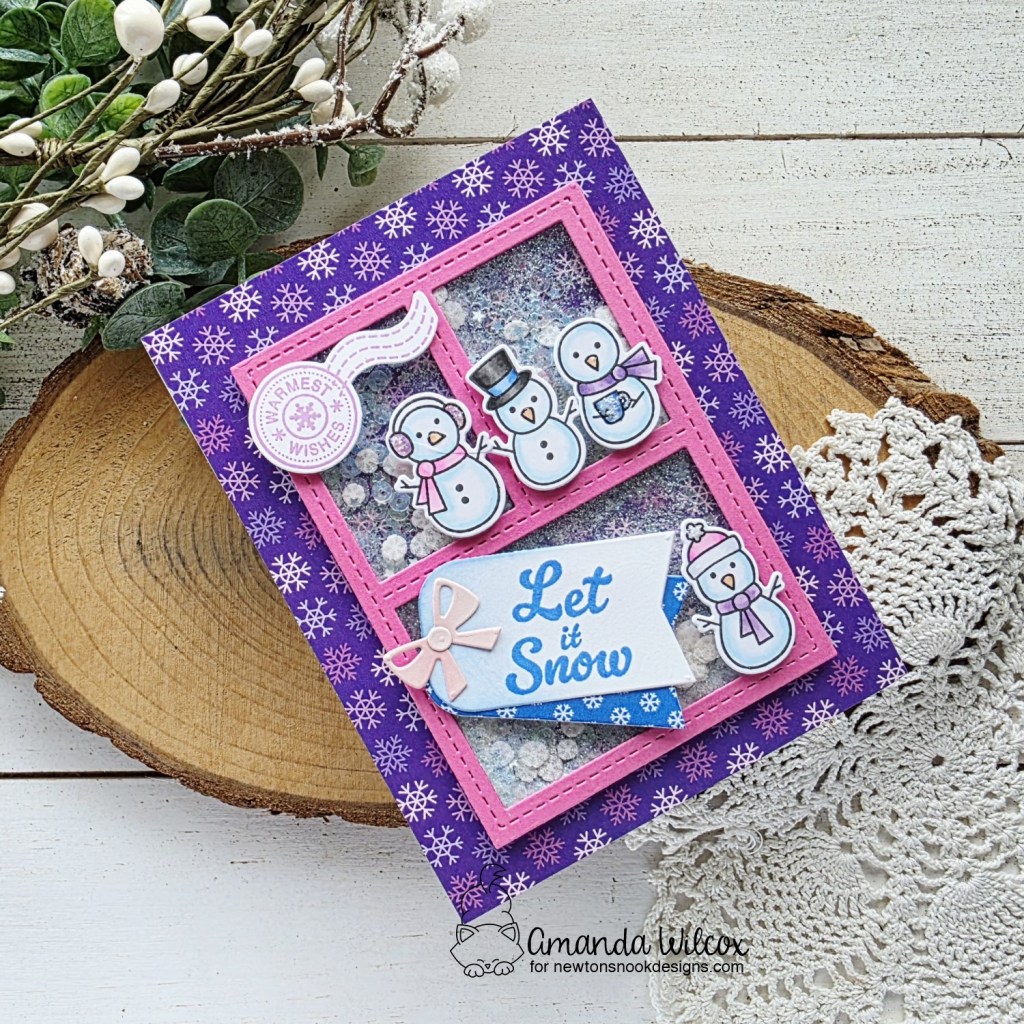
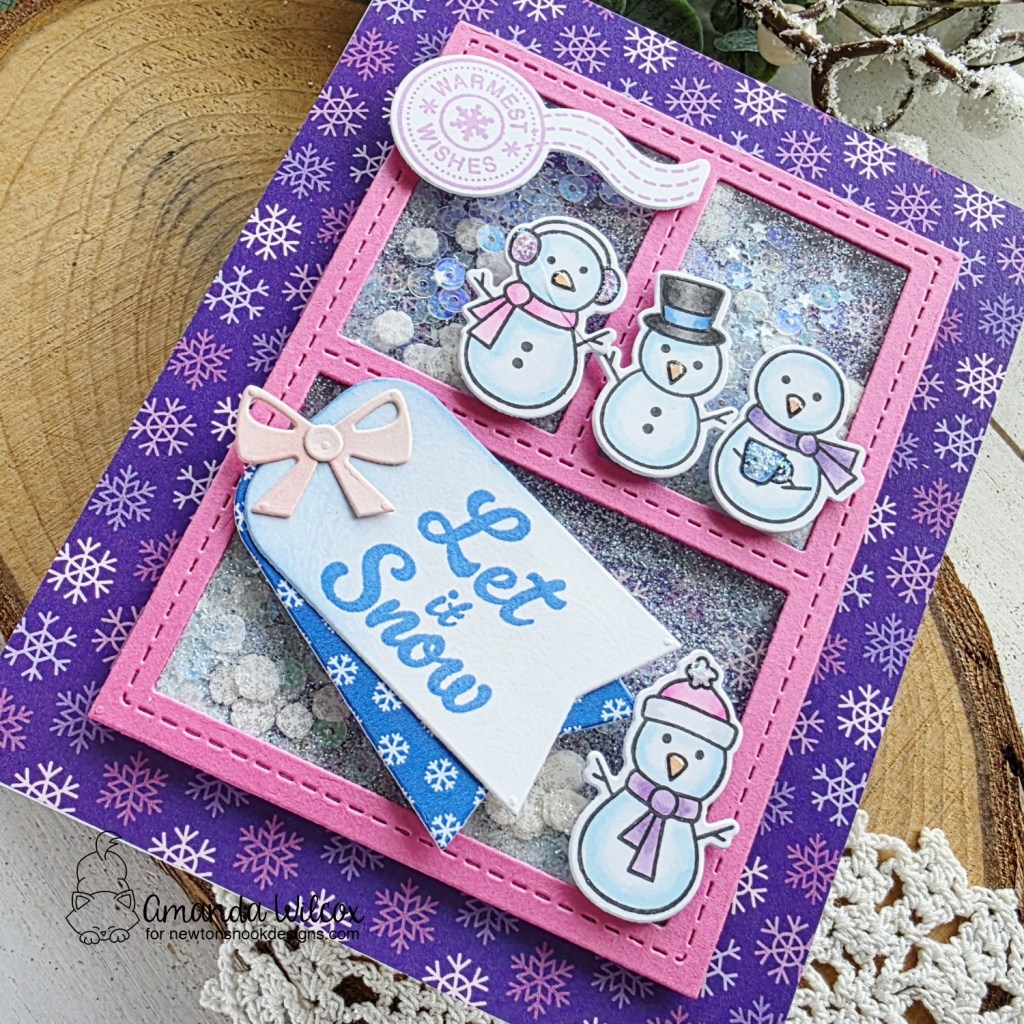
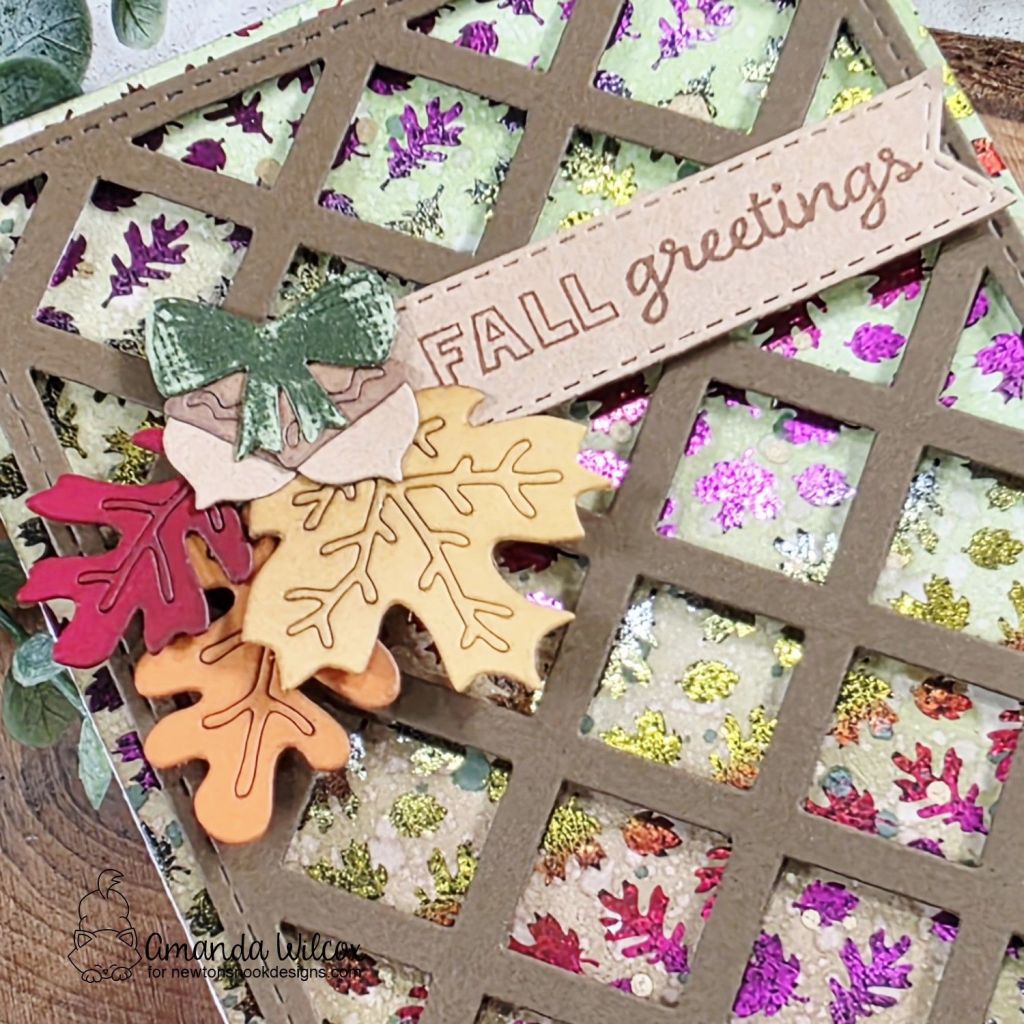
Next, I pulled out an old favorite from my stash – Springtime Roundabout and chose a sentiment to use from there. These sentiments coordinate with the Banner Trio dies perfectly. Just remember to cut your banner first because this die set is sold and hard (translate to impossible) to line up. I popped my banner up with foam squares as well.
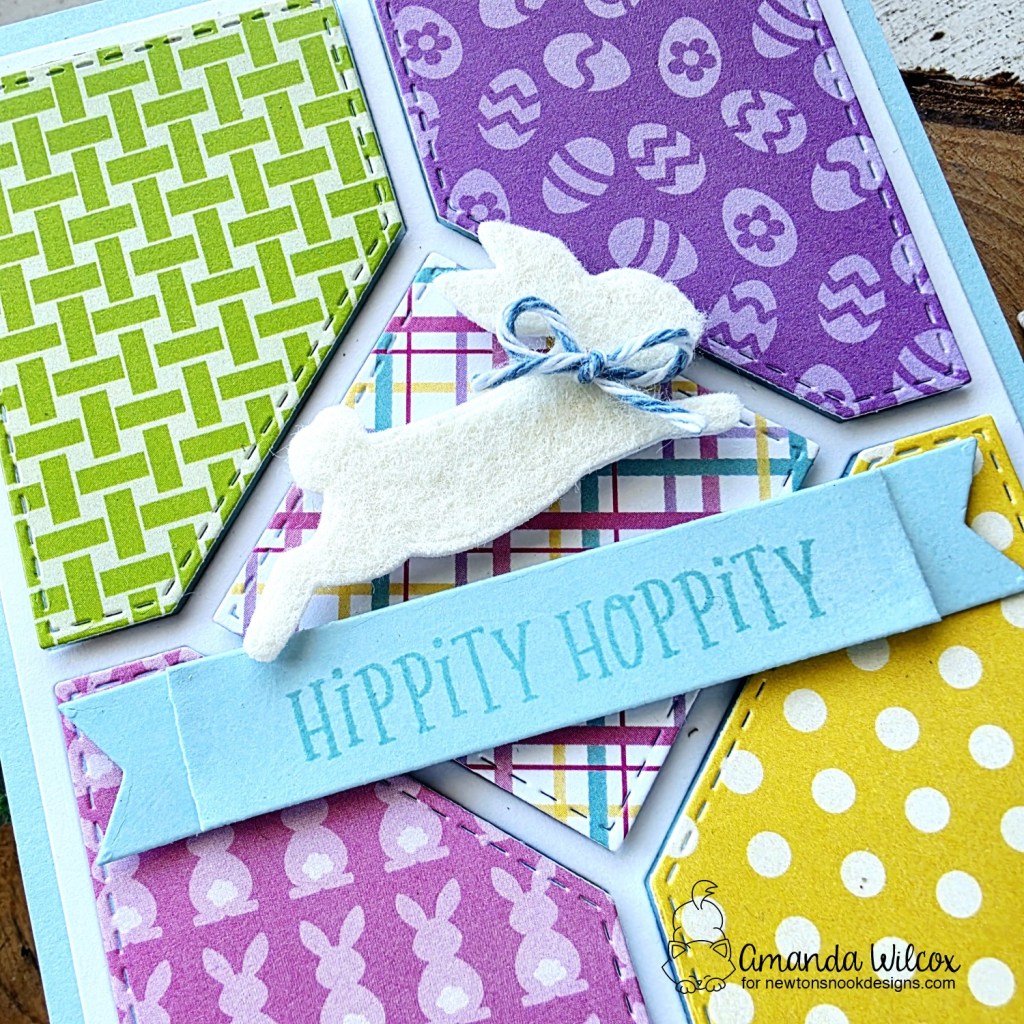
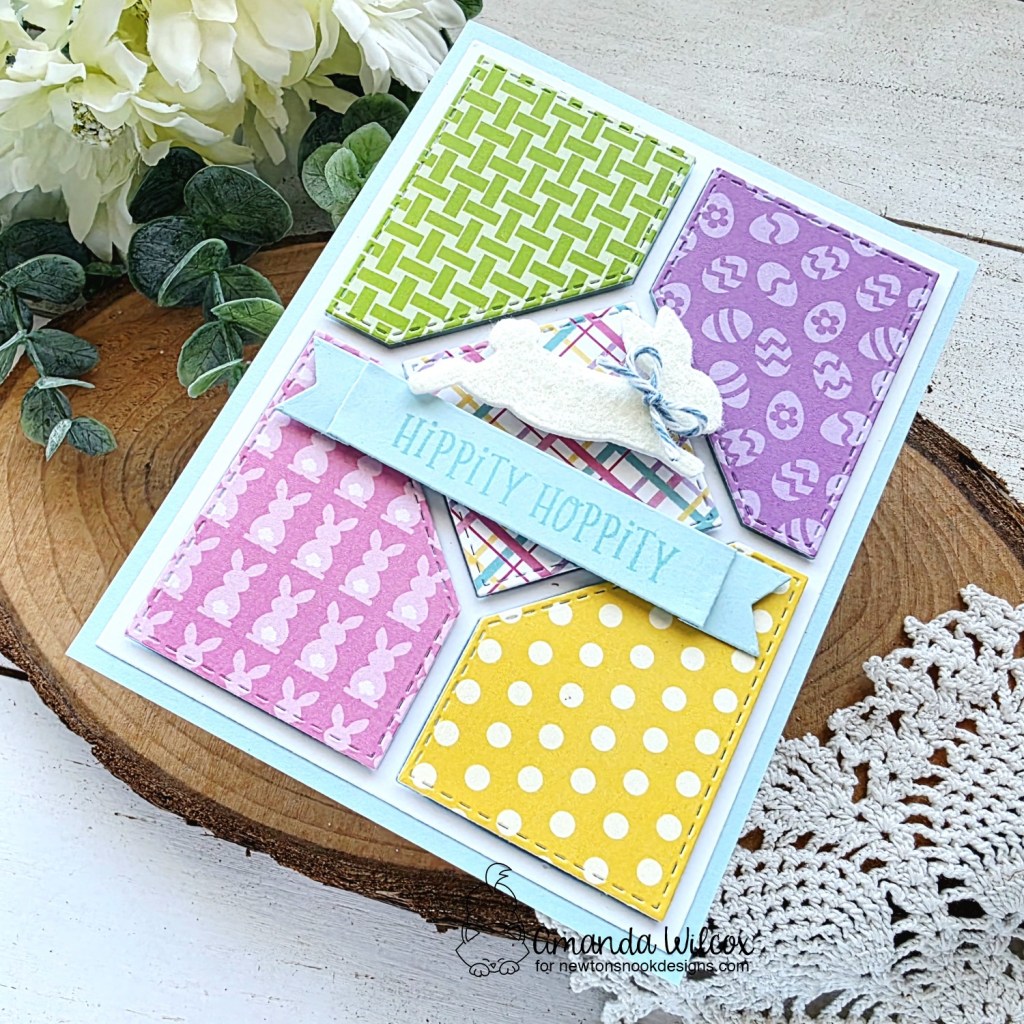
Finally I glued the whole panel to a white card base. Then decided to finish the design off with a sweet baker’s twine bow around the bunny’s neck. Isn’t that the cutest touch?!? I didn’t realize how much I would love it until it was there.
Remember, head to Instagram and hop with us for inspiration, comment while you’re there for chances to win!
Products used:
Bunny Silhouette dies
Happy Easter paper pad
Card Layout 6 die
Banner Trio dies
Springtime Roundabout stamps
Foam squares and tape
Liquid glue
Benzie felt
I appreciate your sharing your time with me. Have a fabulous day!