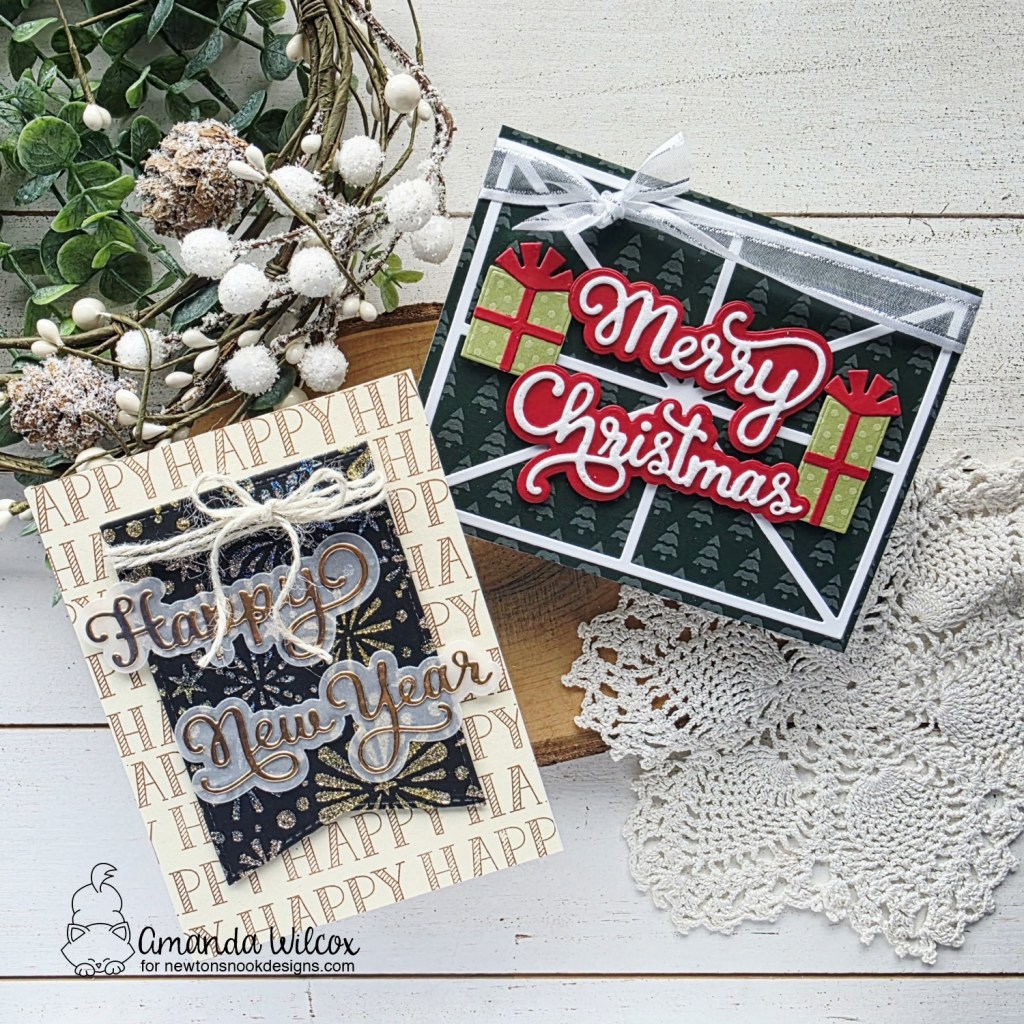
Hi everyone! We’re here with a reveals for the Newton’s Nook November mini release! It’s perfectly winter to balance your Christmas goodies and carry you right into the new year! Let’s look at today’s surprises!
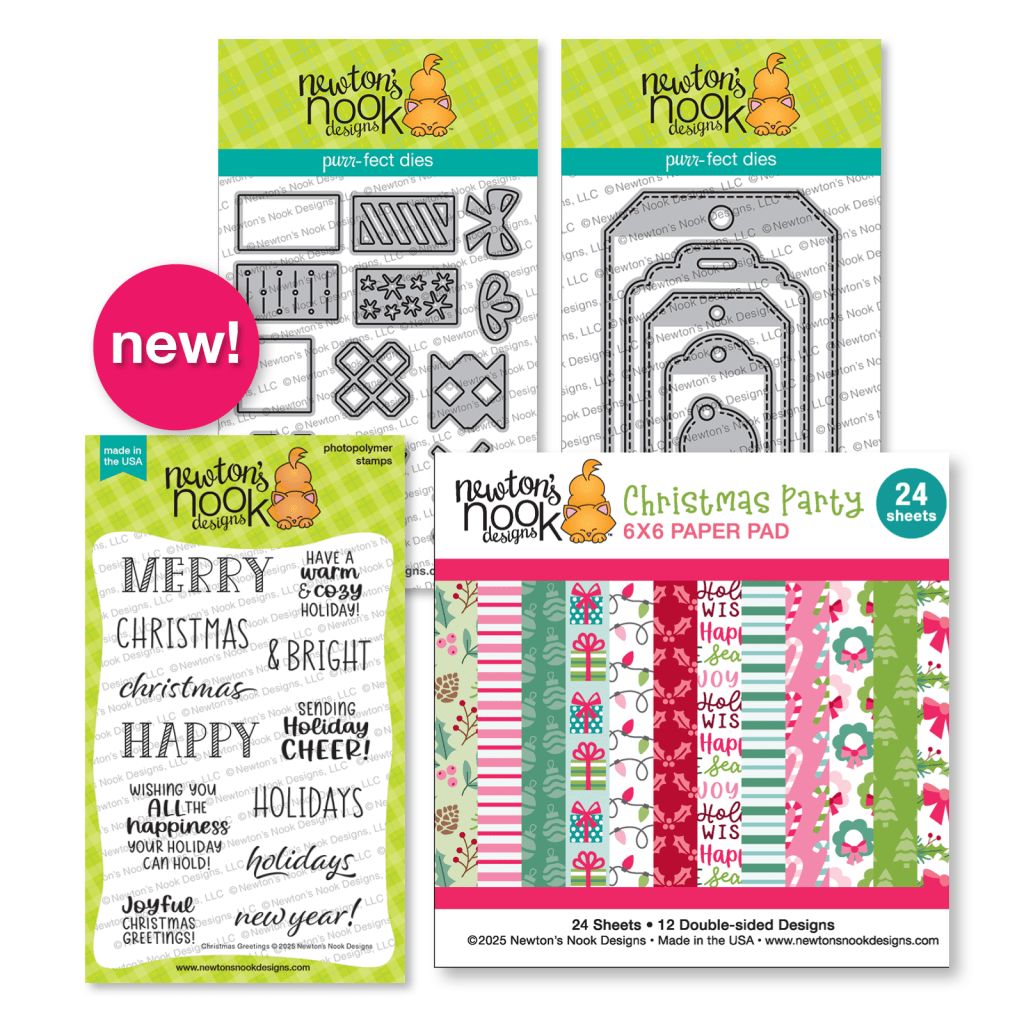
Snowman Postage Sampler stamps and dies AND Snow Flurries paper pad
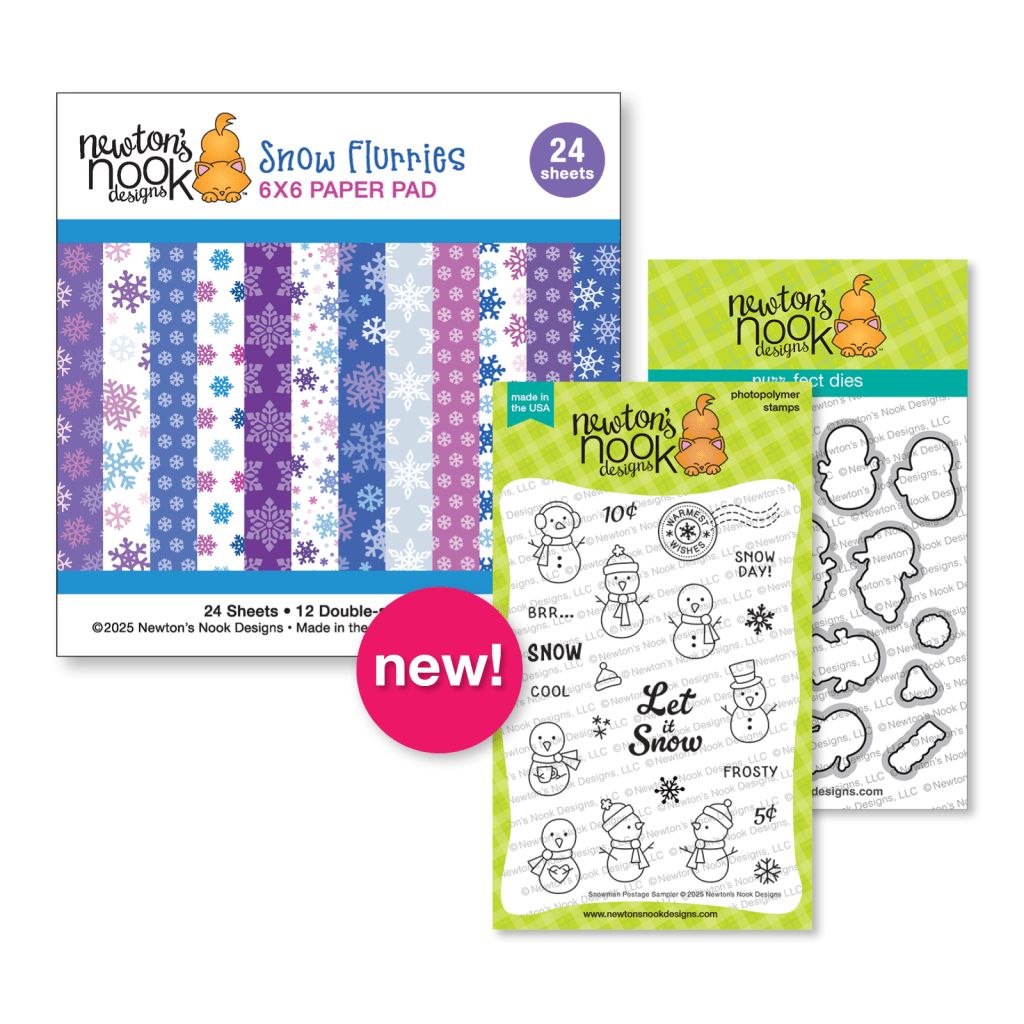
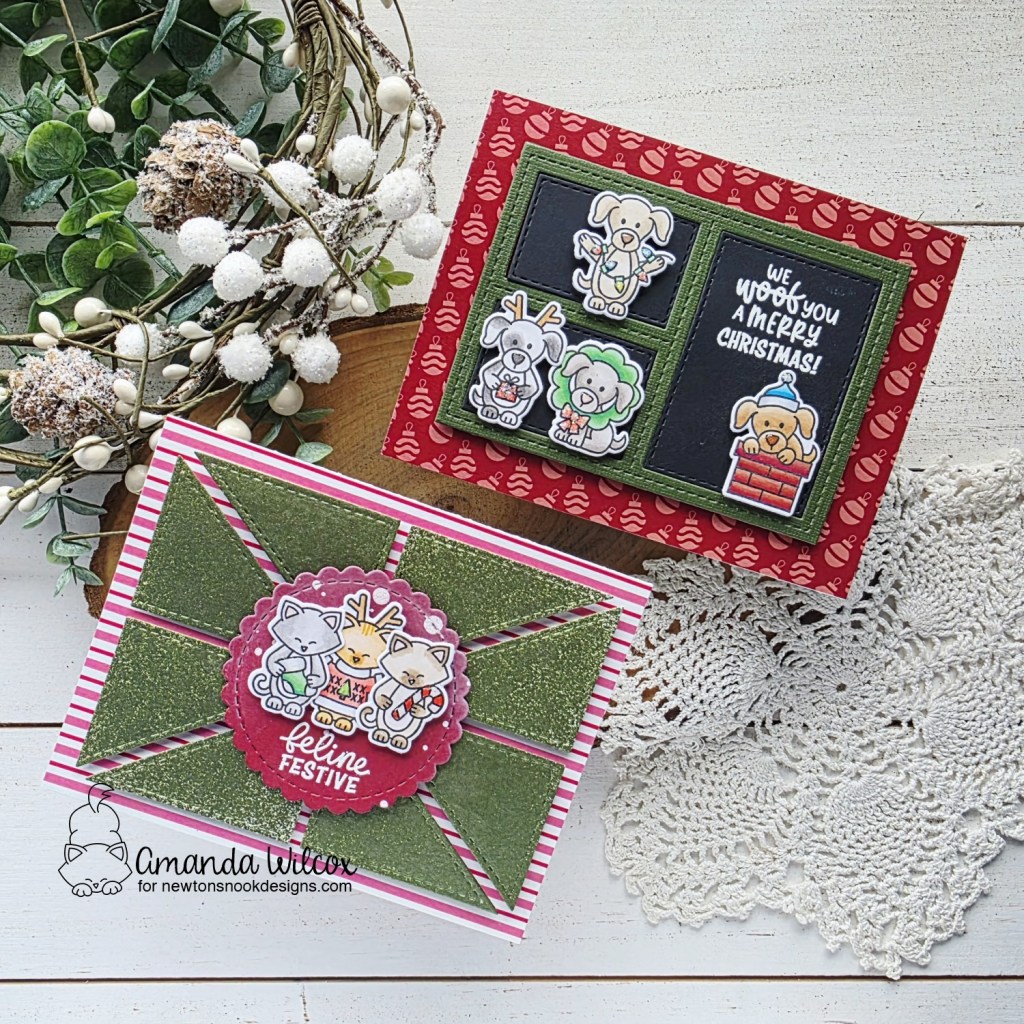
I am smitten with these adorable snowmen and just love the color palette of the new paper pad too! Mix them together?!? Crafting fun for days!

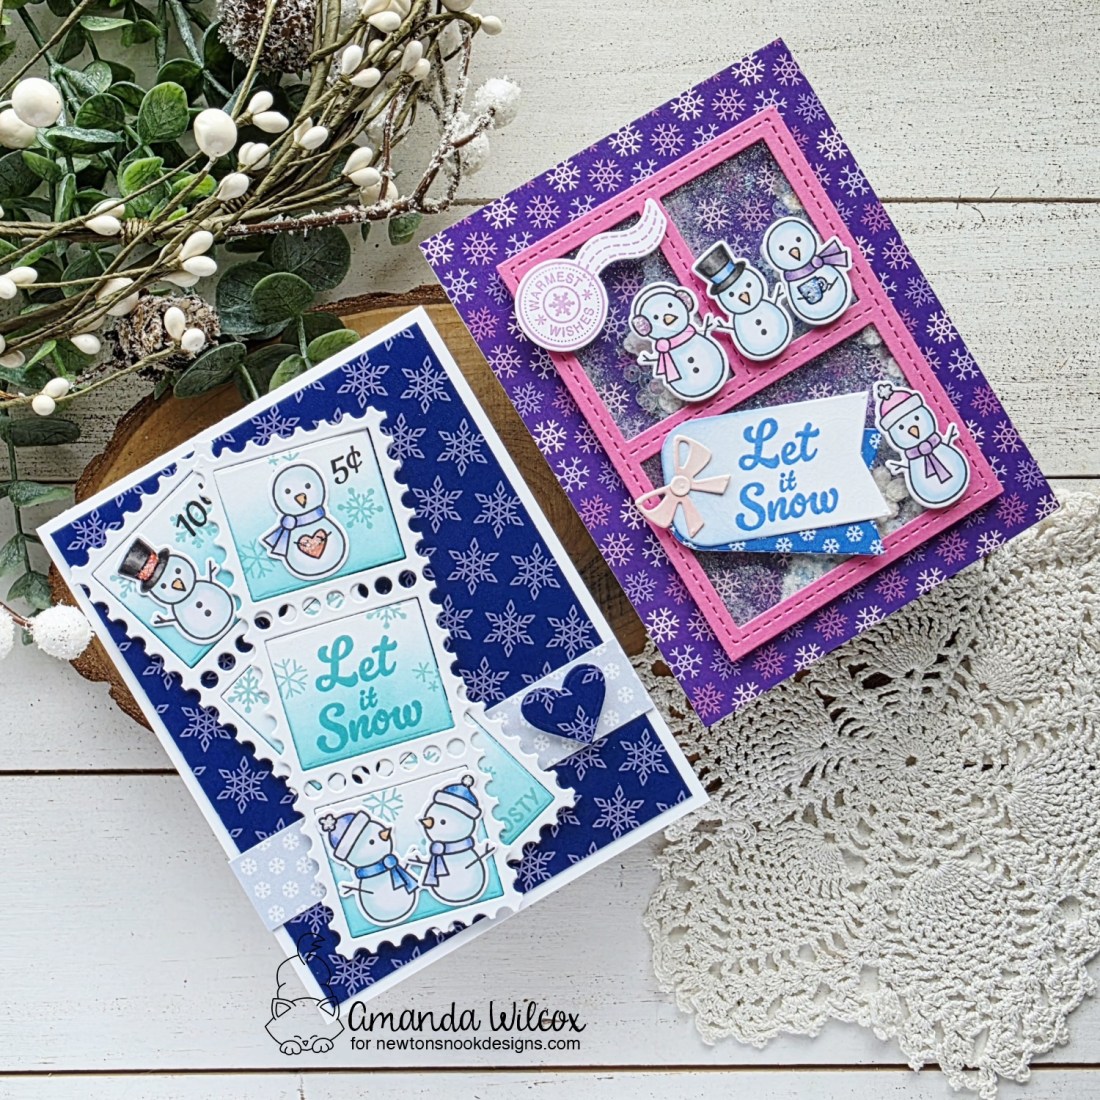
I have 2 cards to share with you today using both of these new goodies together in totally different ways.
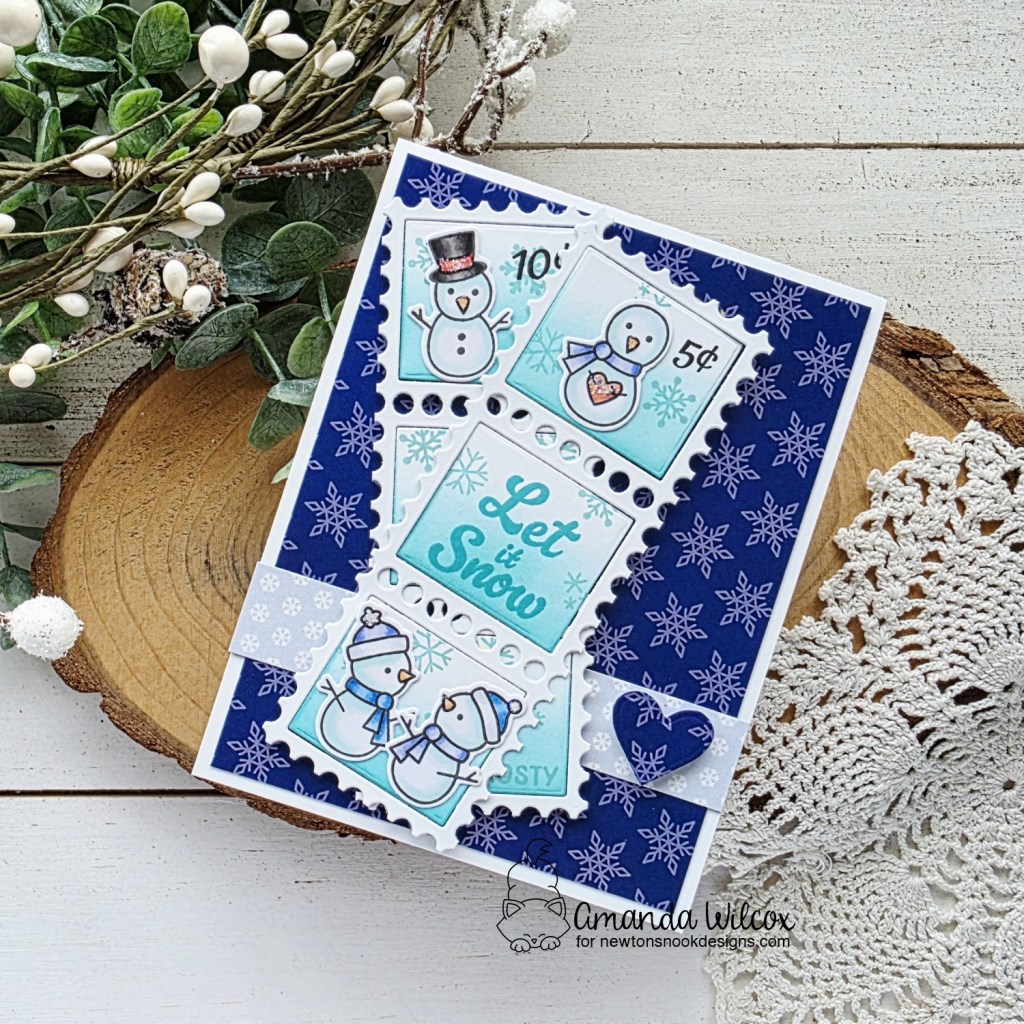
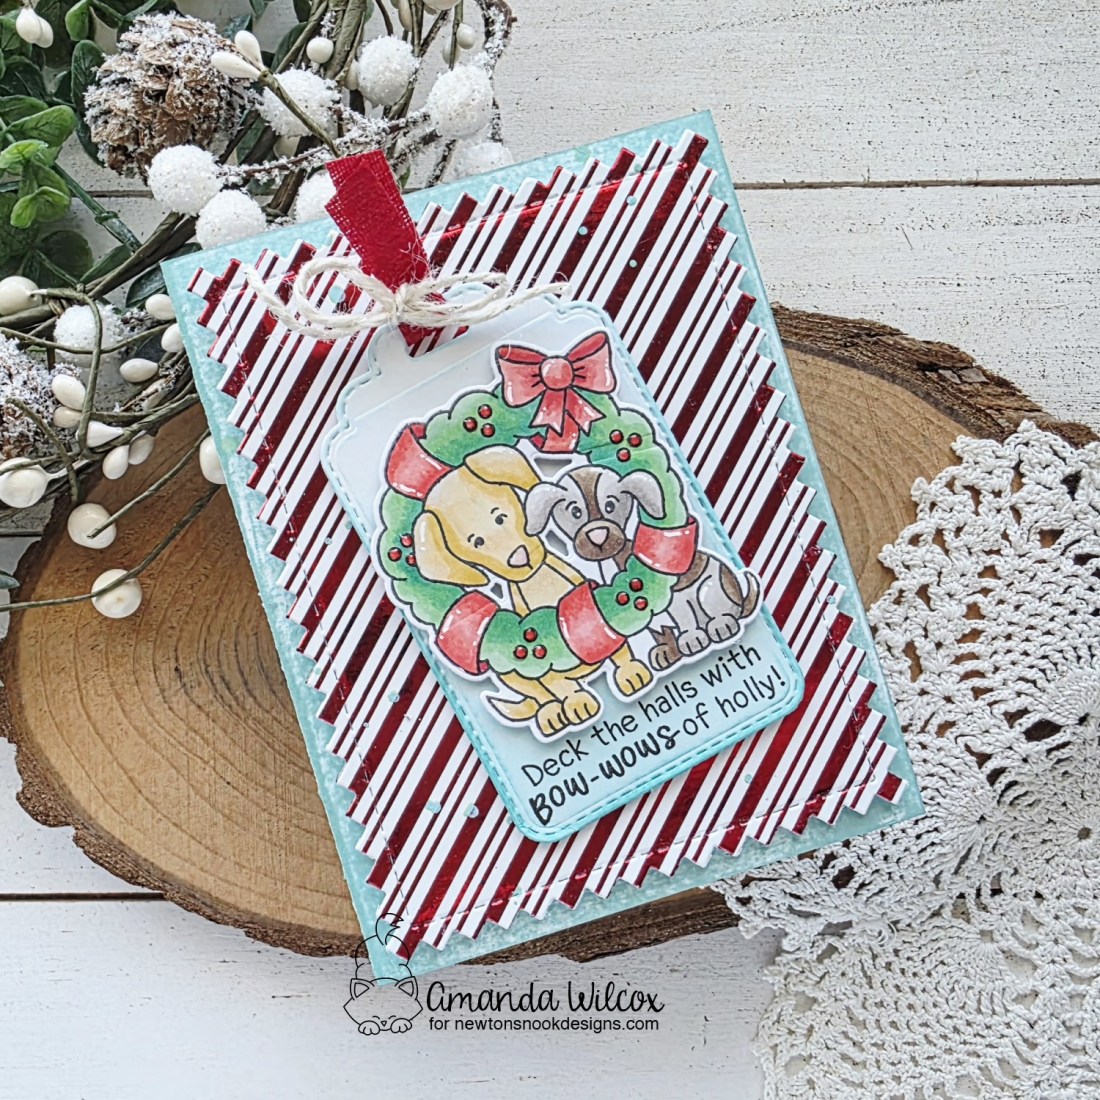
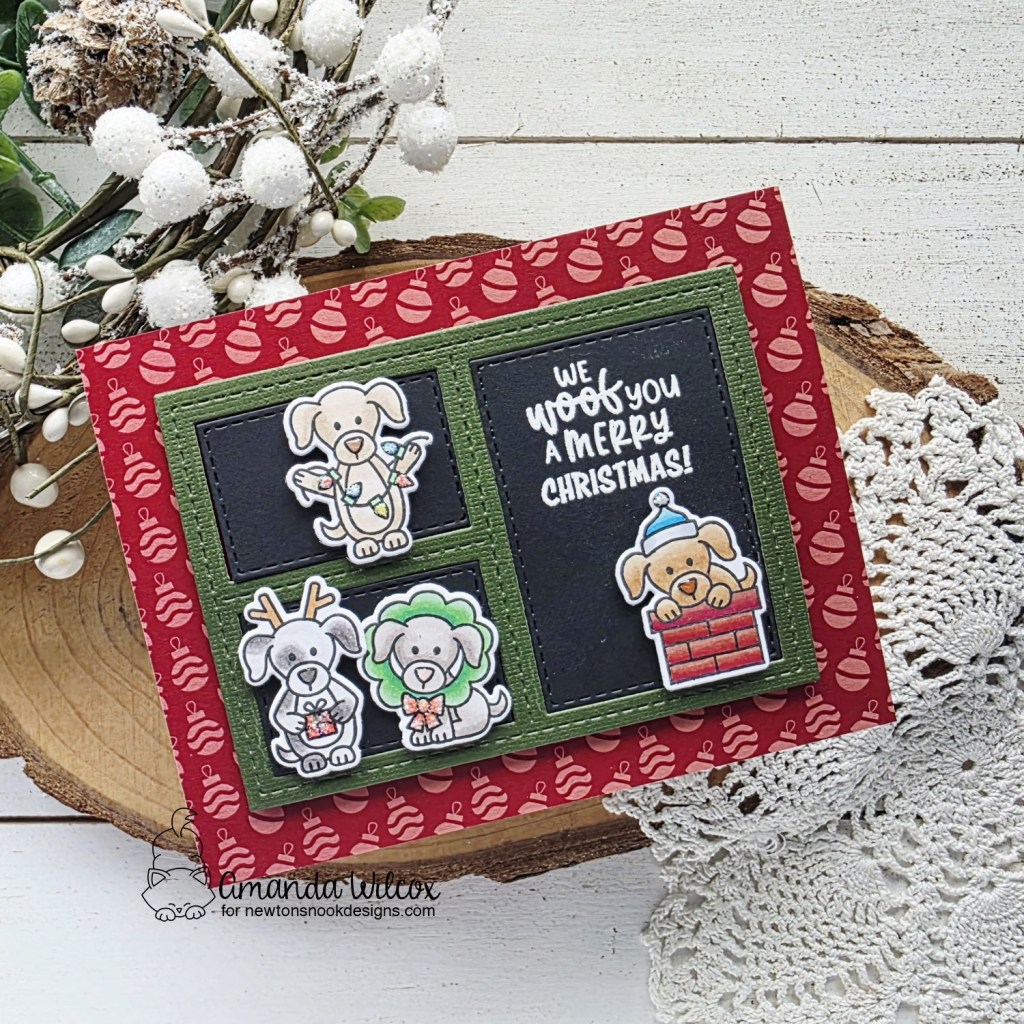
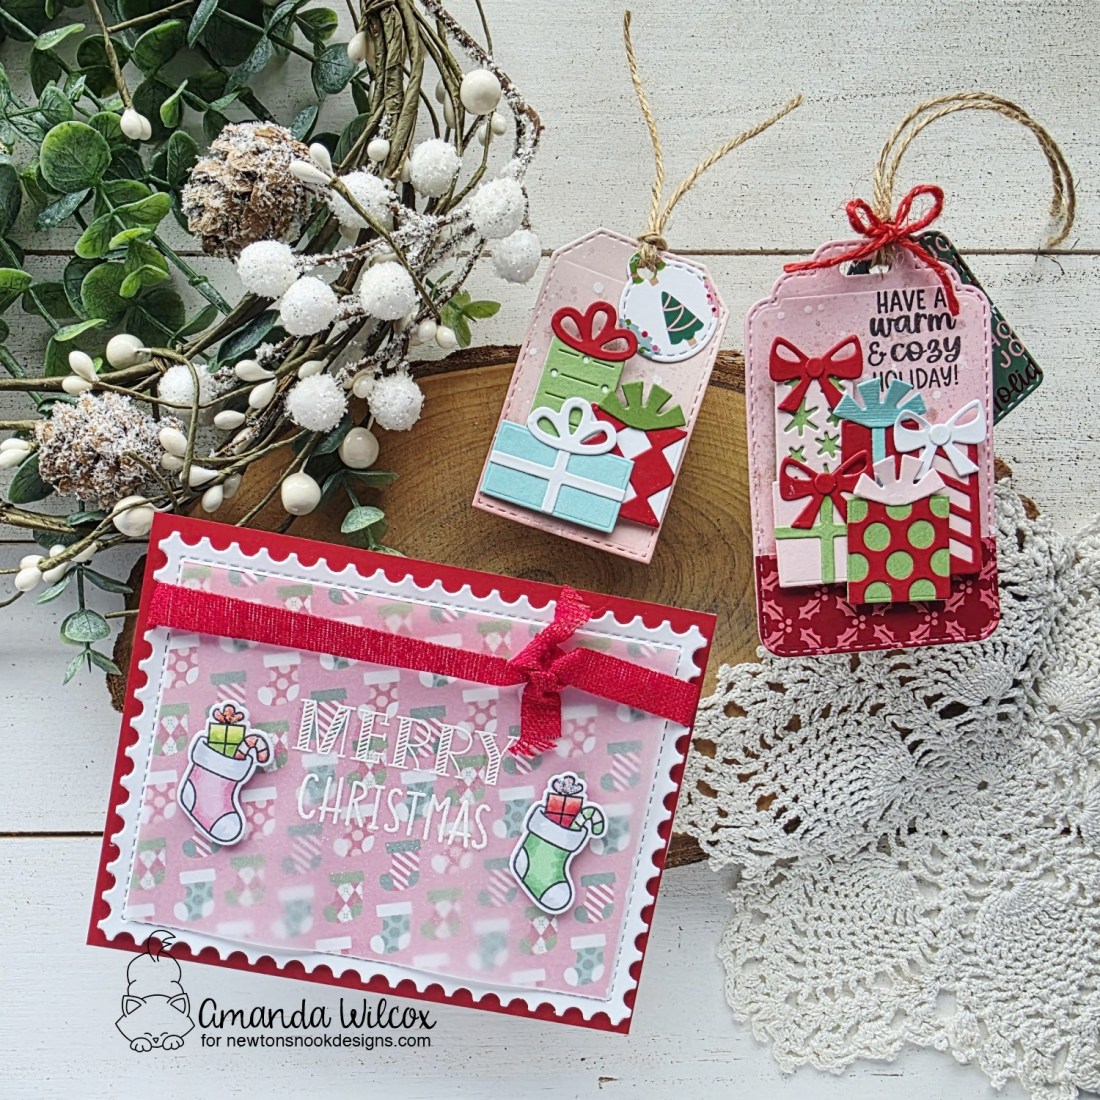
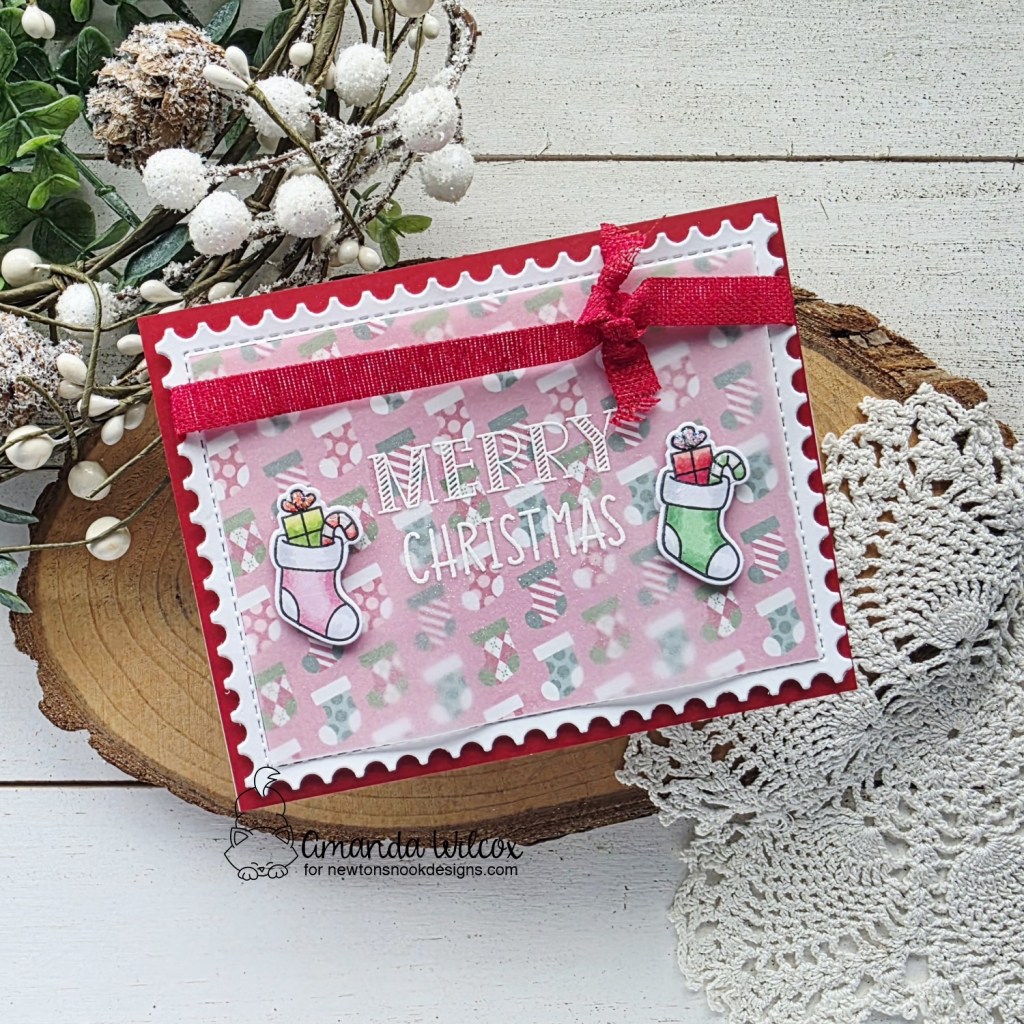
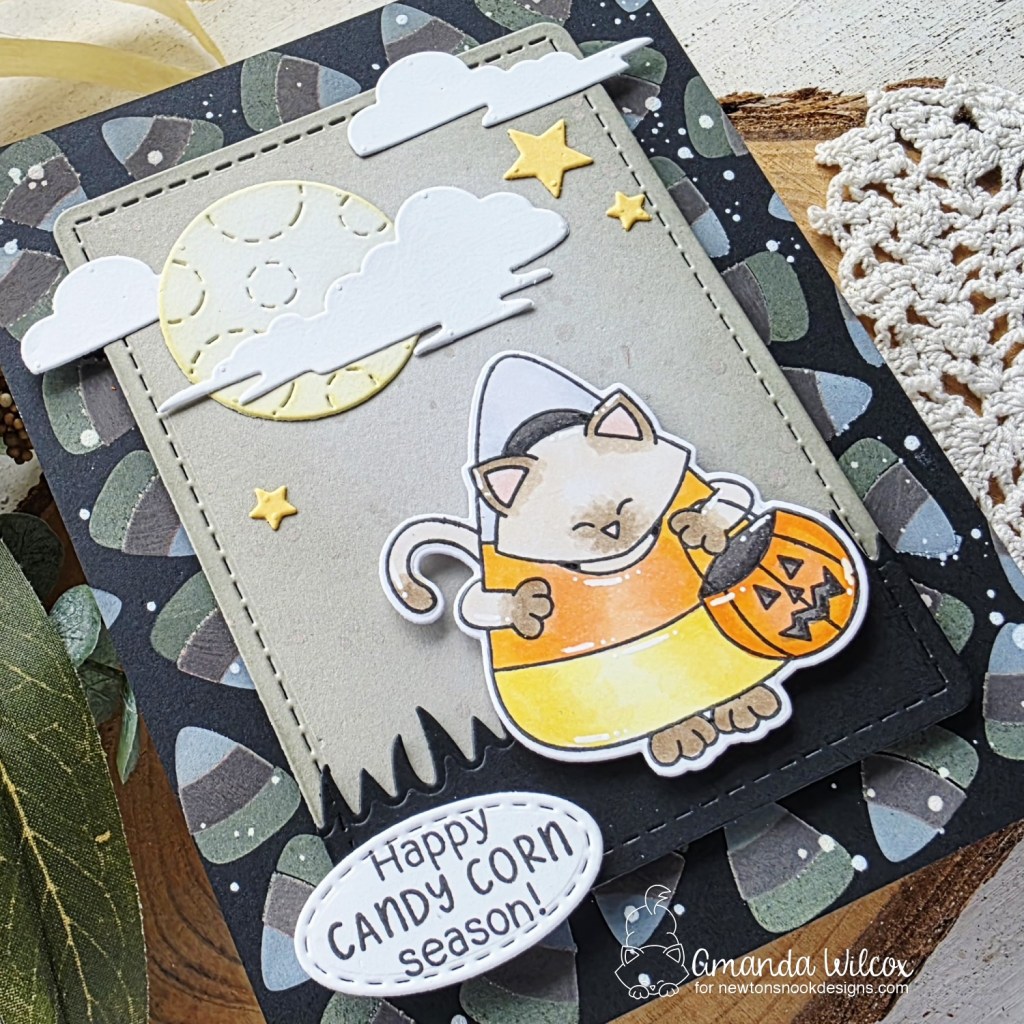
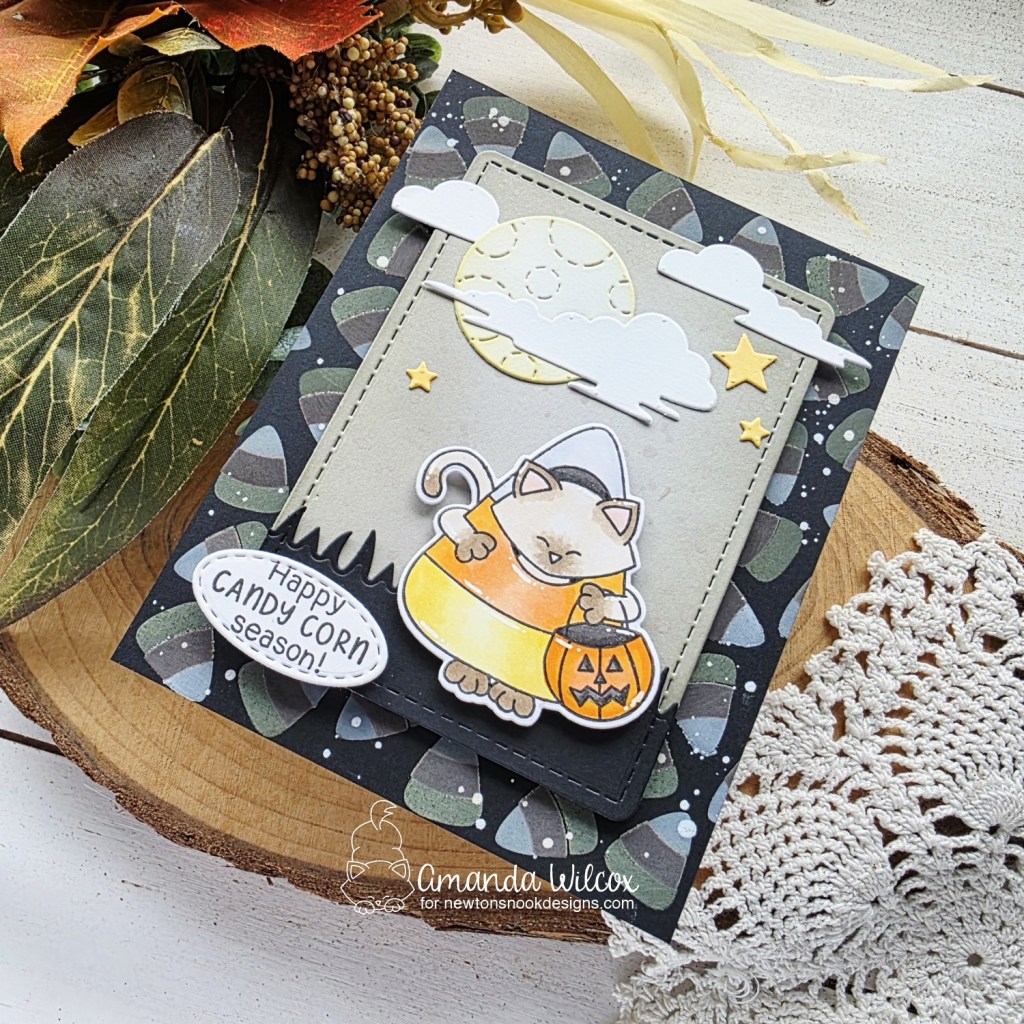
For this first card, I pulled out the Postage Frame dies and cut them apart into strips. I inked the inserts with teal ink and stamped some smaller images, plus a sentiment. Then I added my snowmen and glued the strips together.
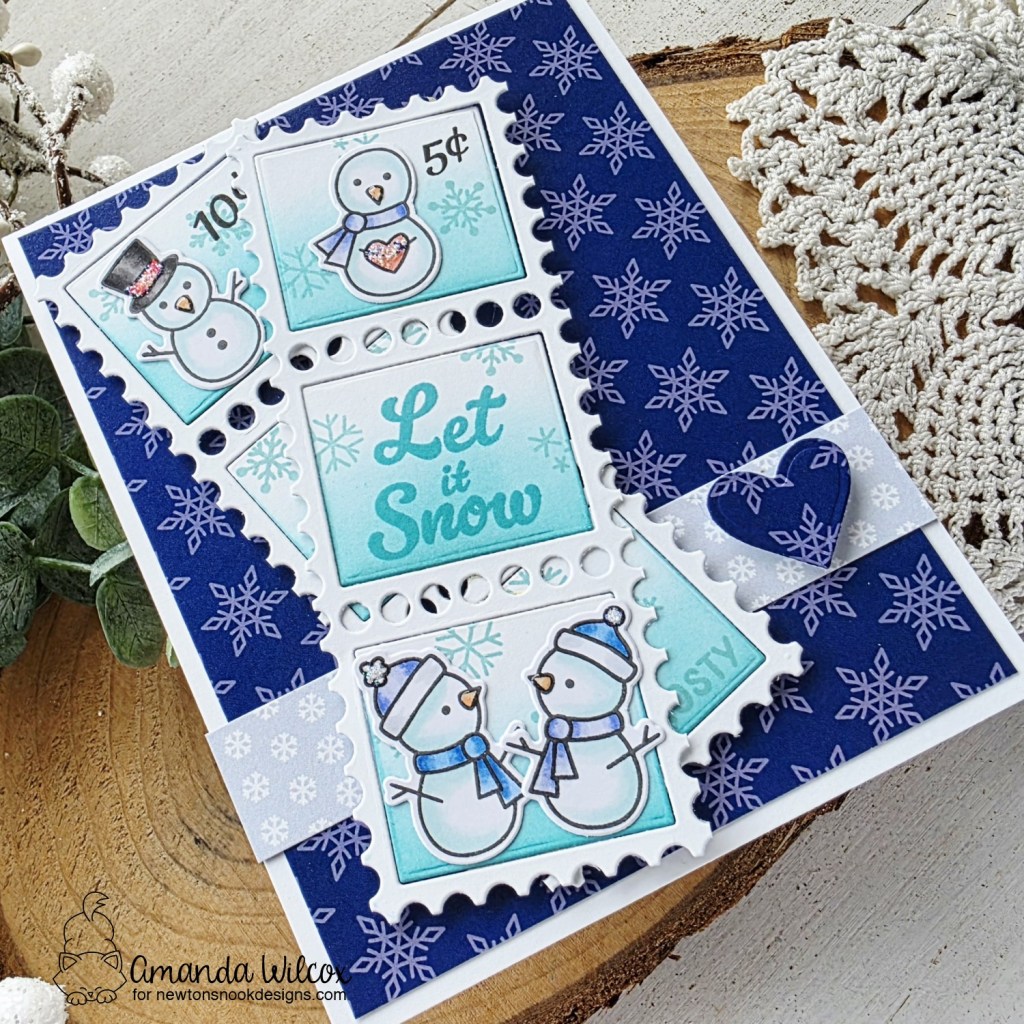
I chose 2 patterns of paper from the pad and trimmed one to 5.25 x 4 inches and glued it to a white card base. Then I cut another strip about 1 x 4.25 inches and glued that down. Then I added my stamp strips with foam tape on the left. I cut the heart in the center of the Circle Frames die set from the background paper and popped it up next to those. This card was finished off with stardust Stickles on parts of the images and glossy accents on all carrot noses!
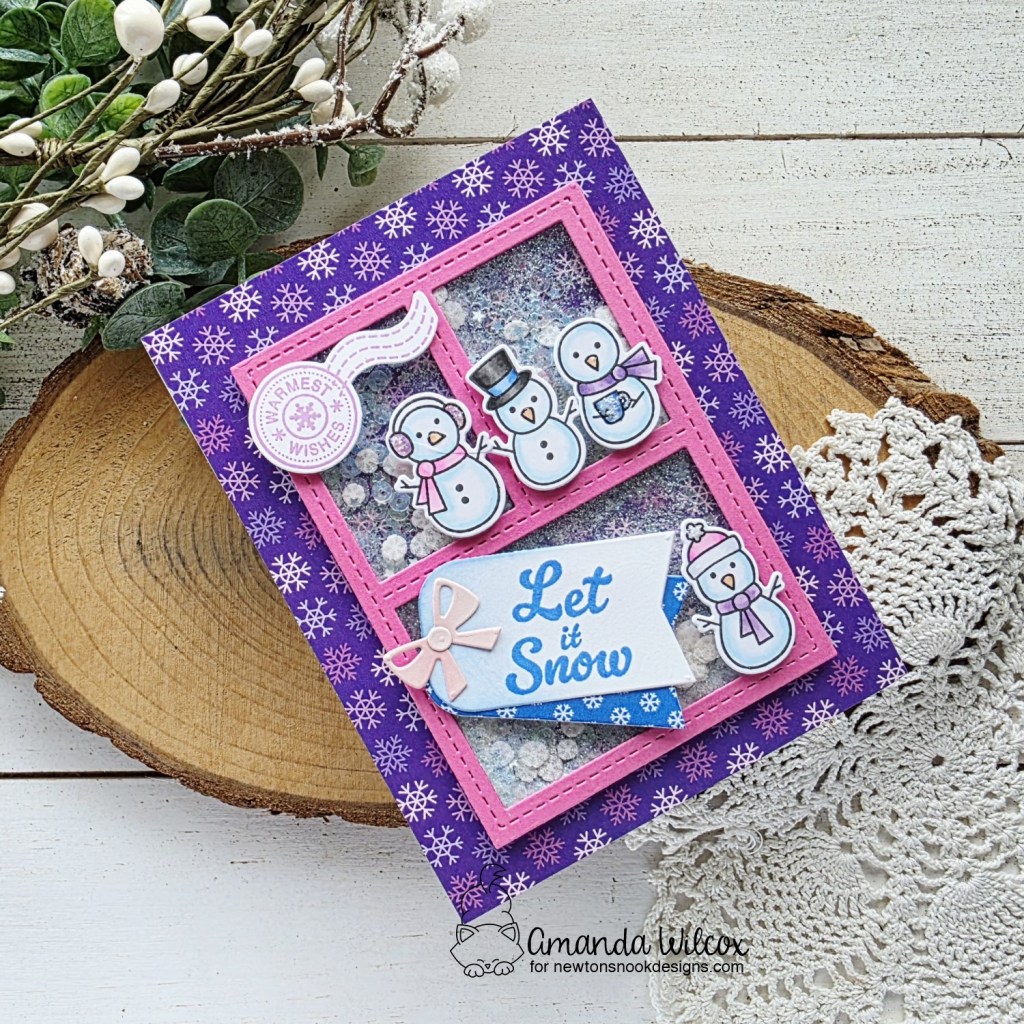
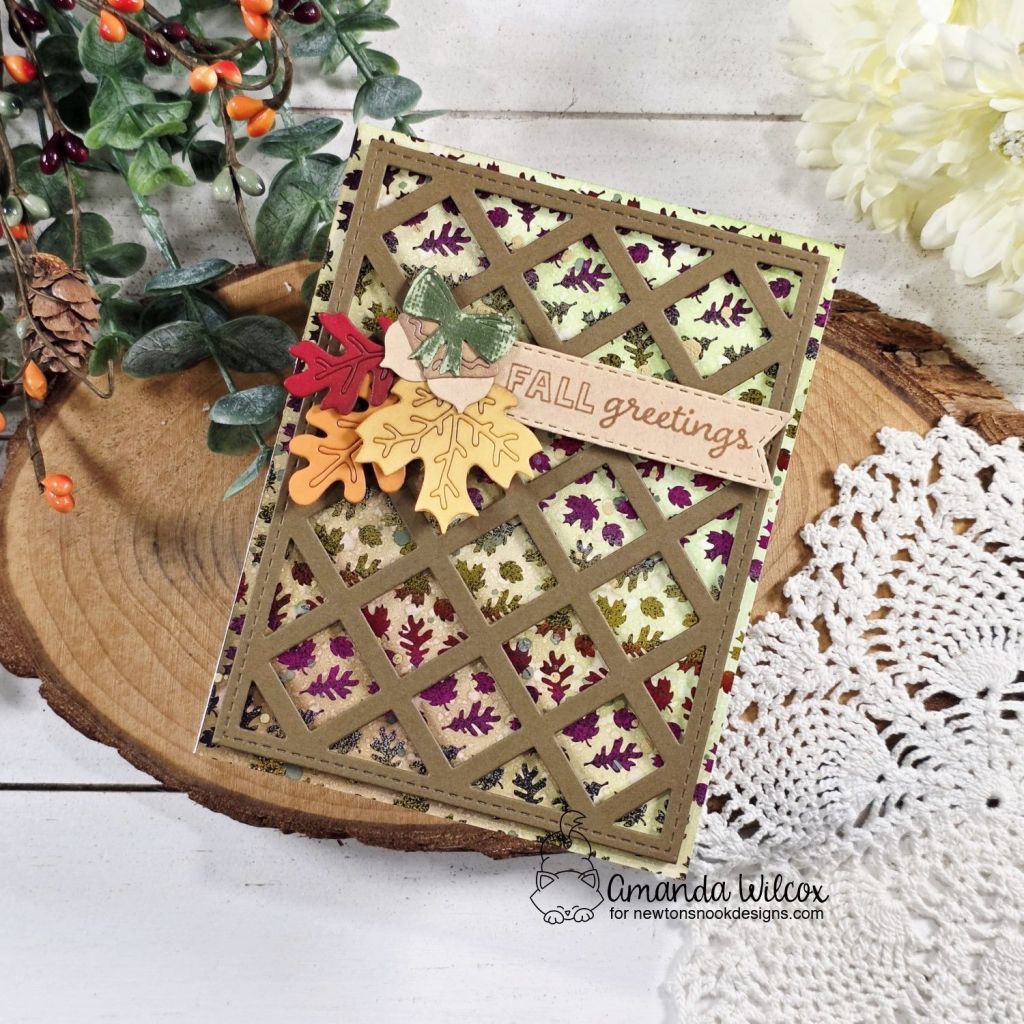
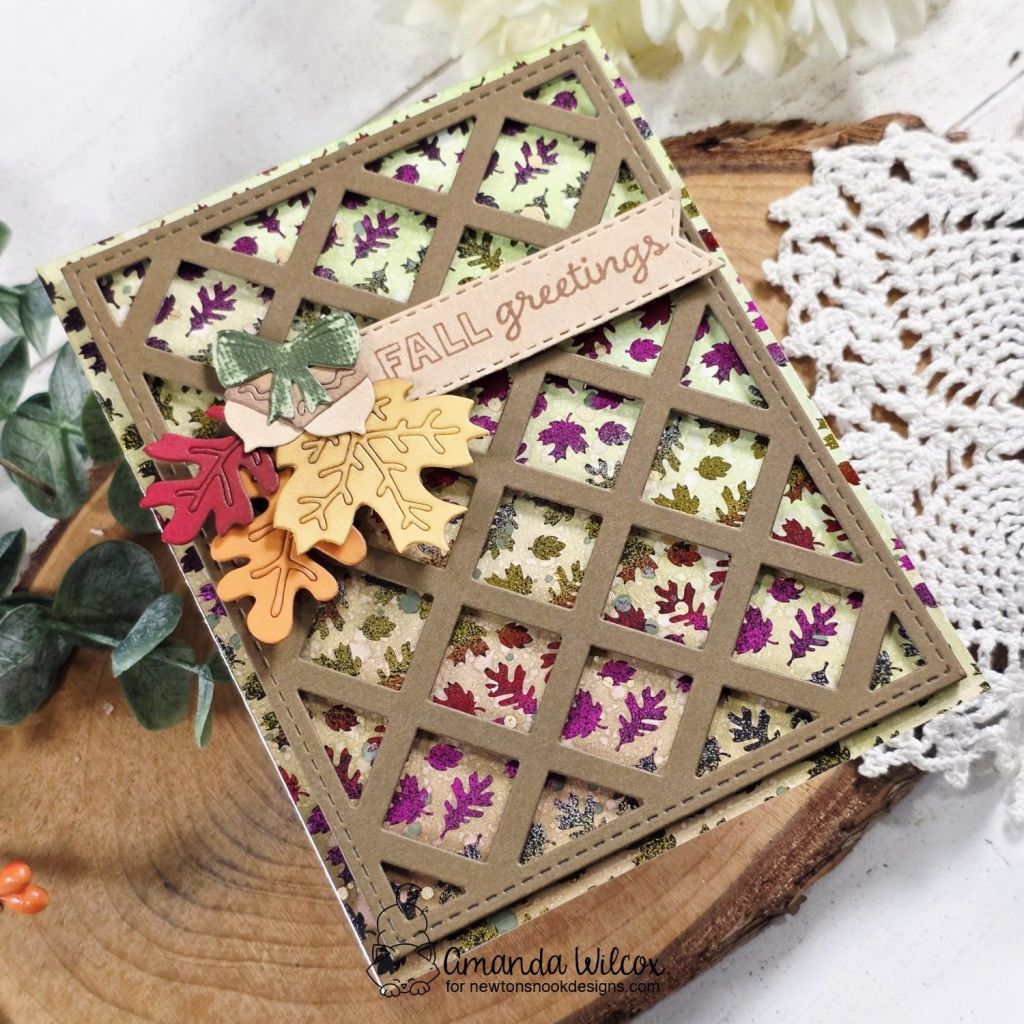
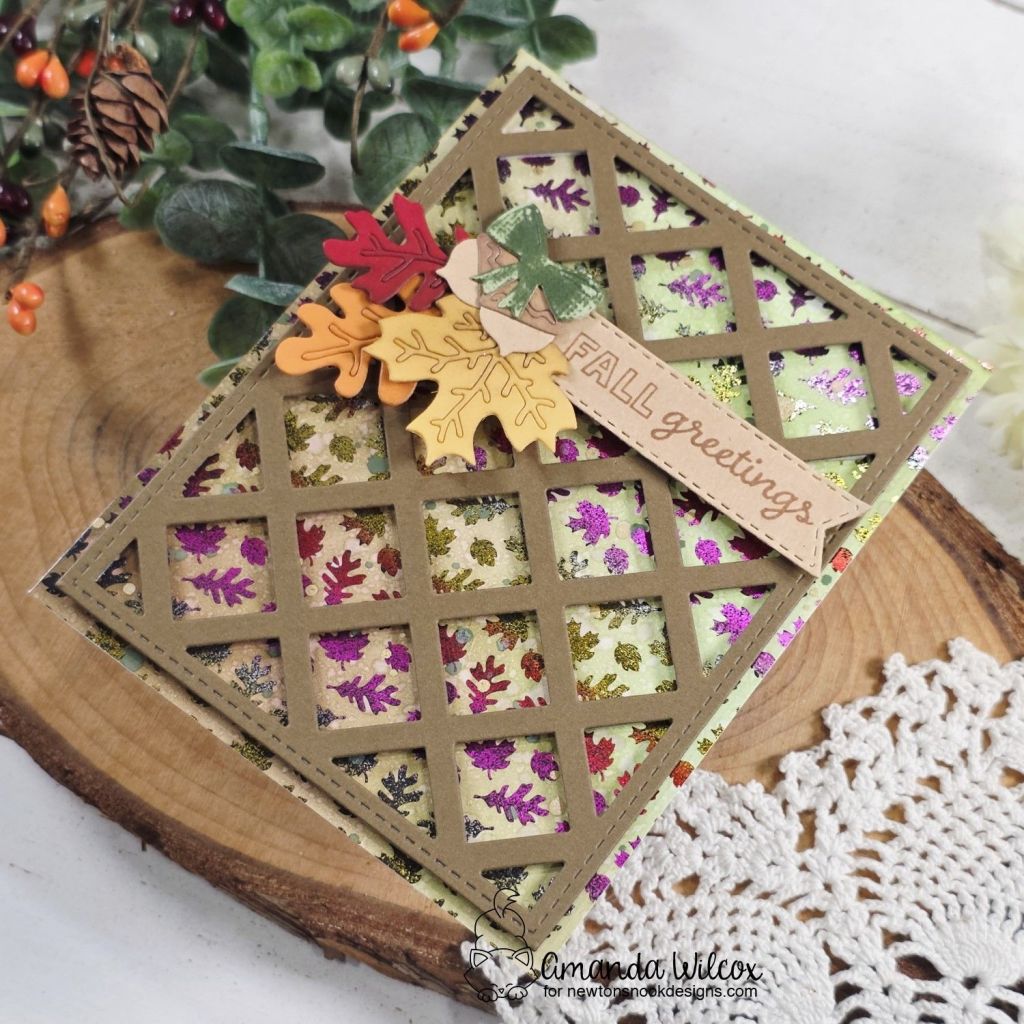
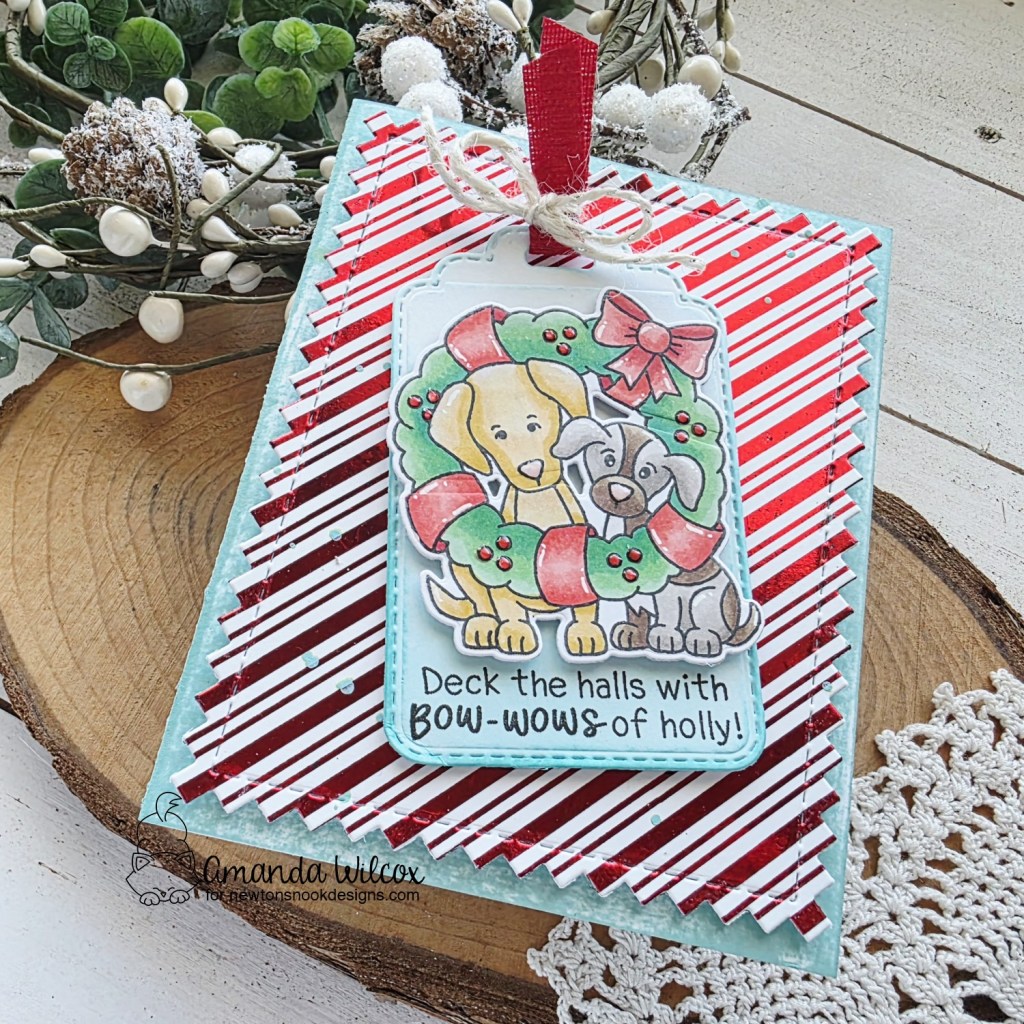
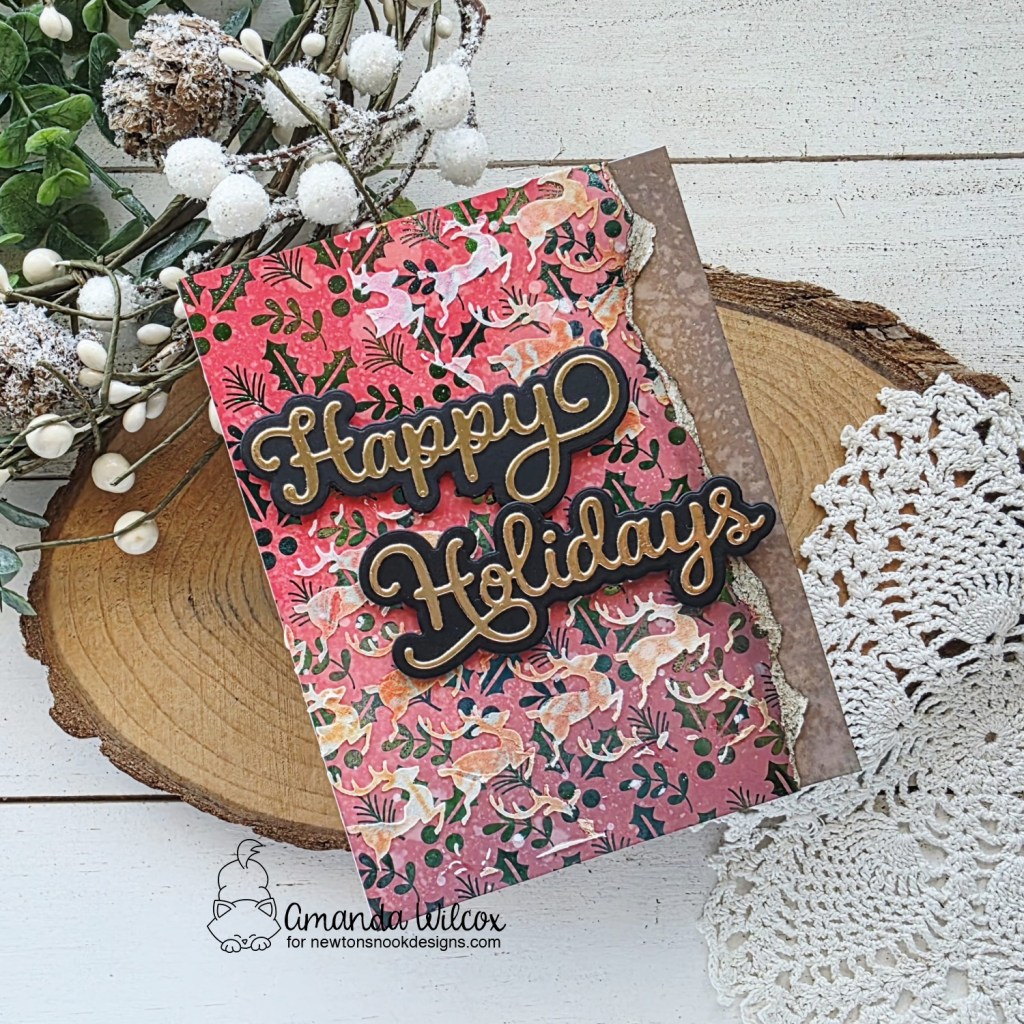
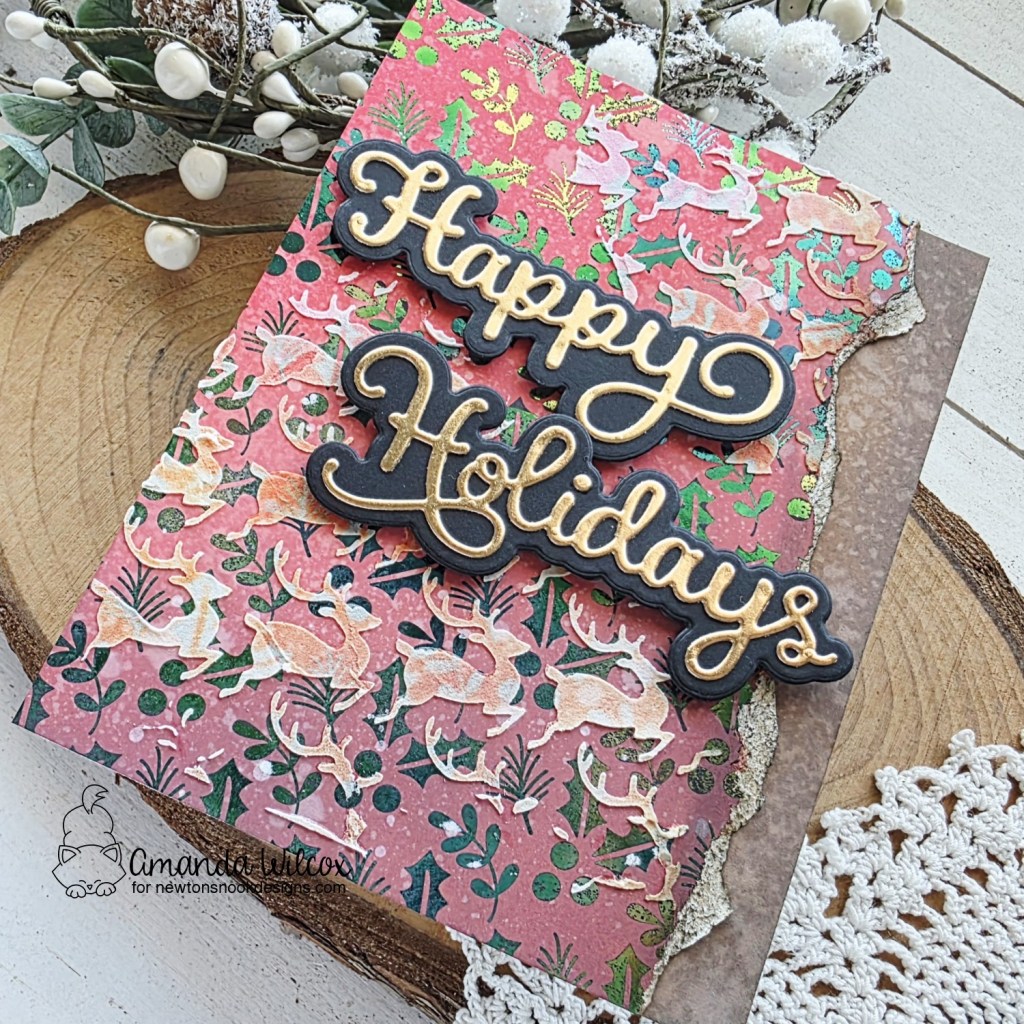
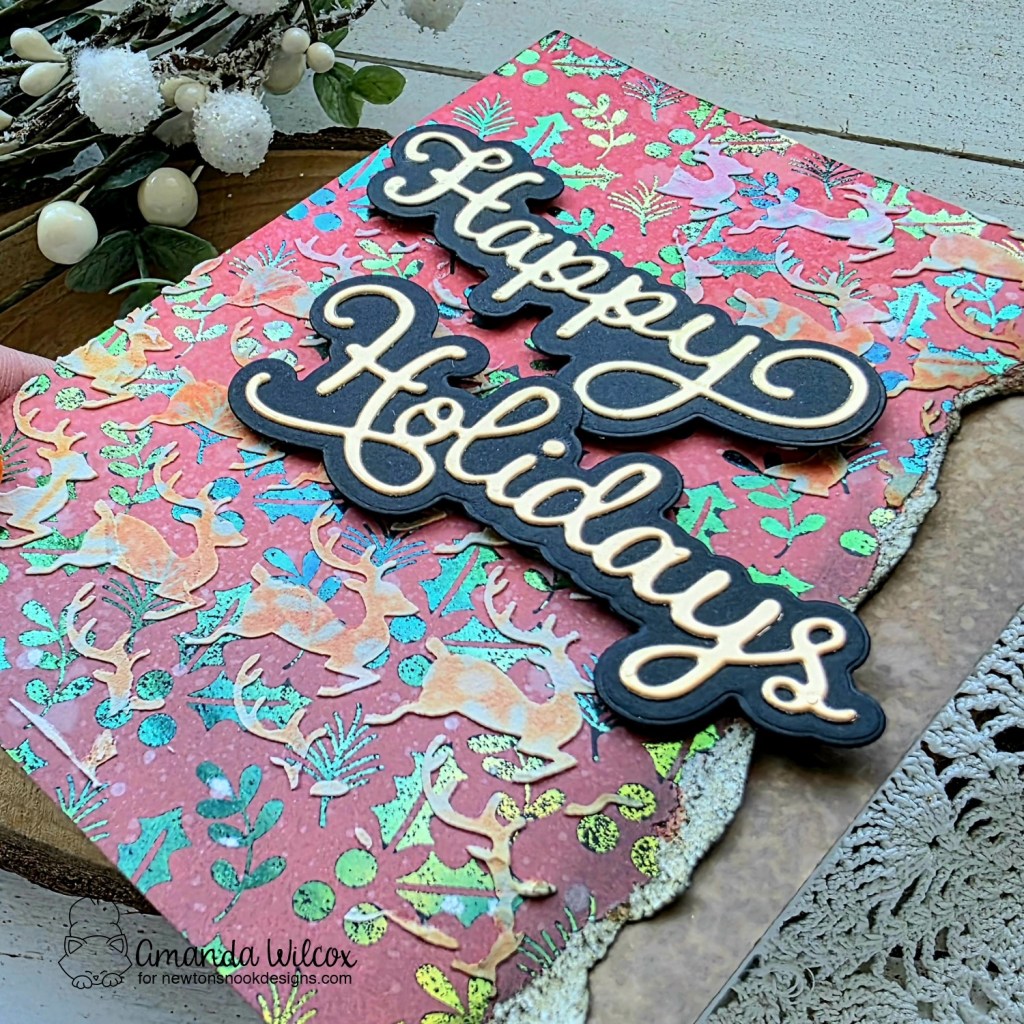
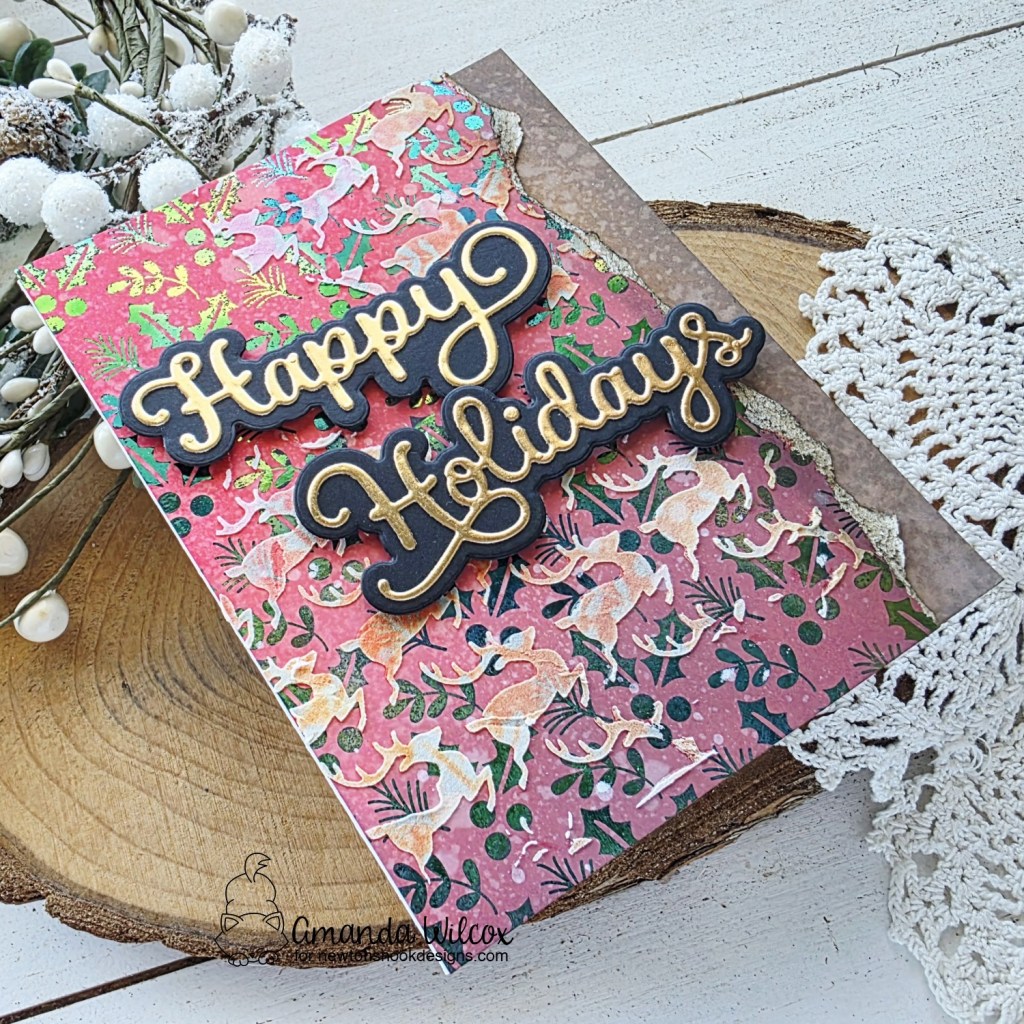
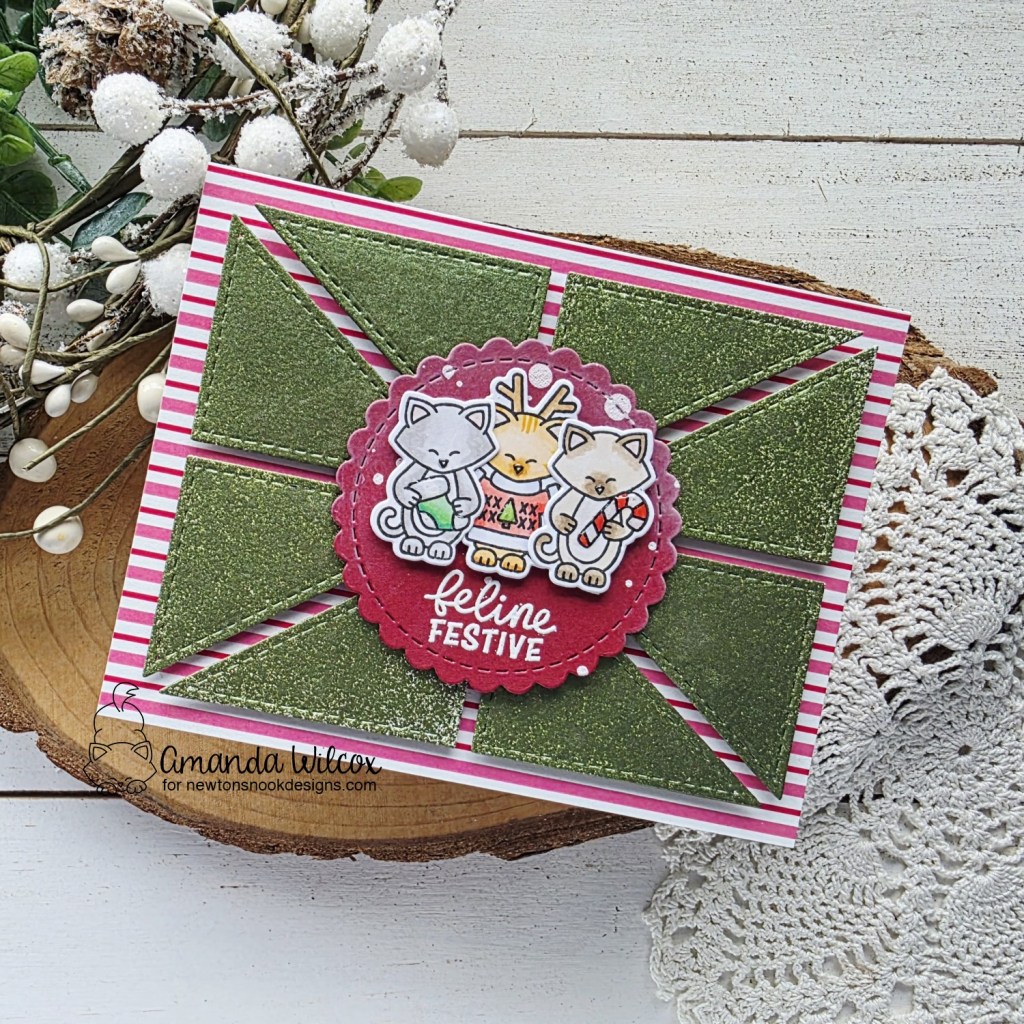
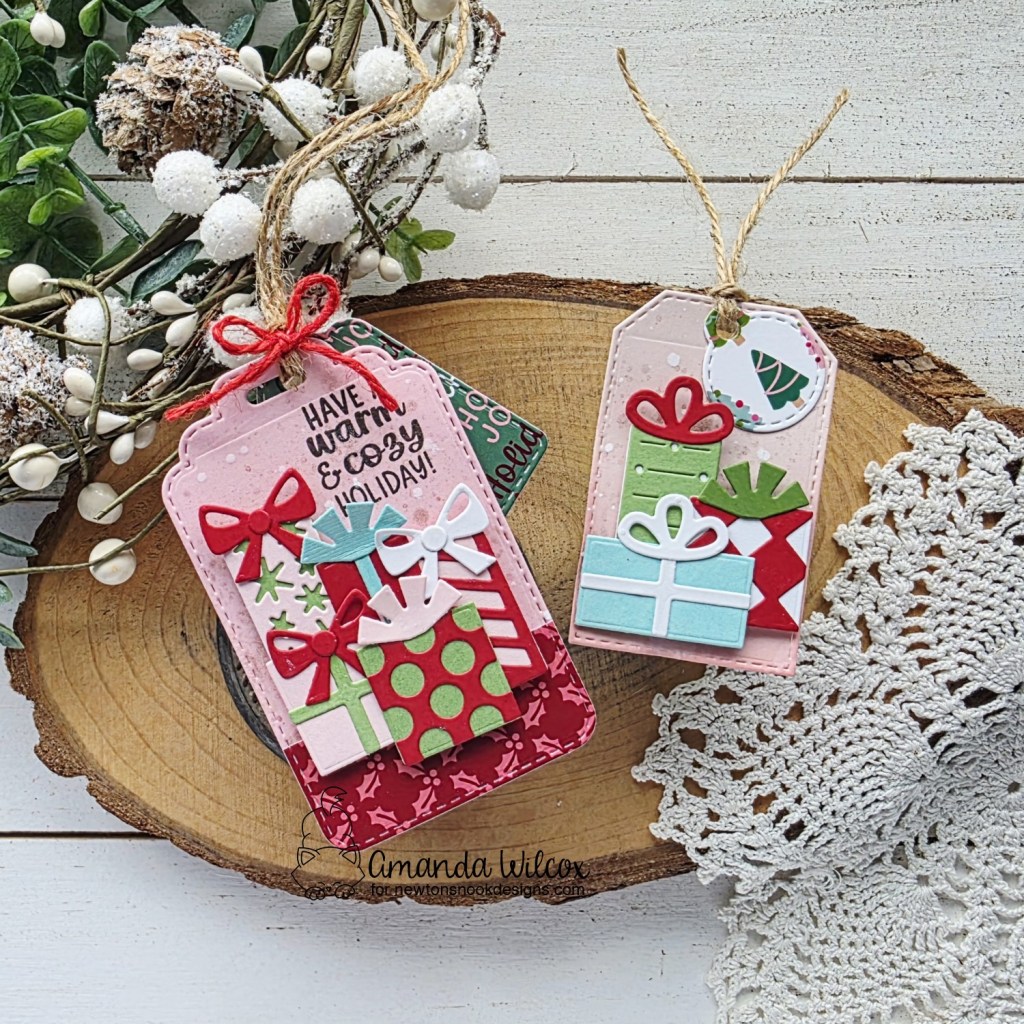
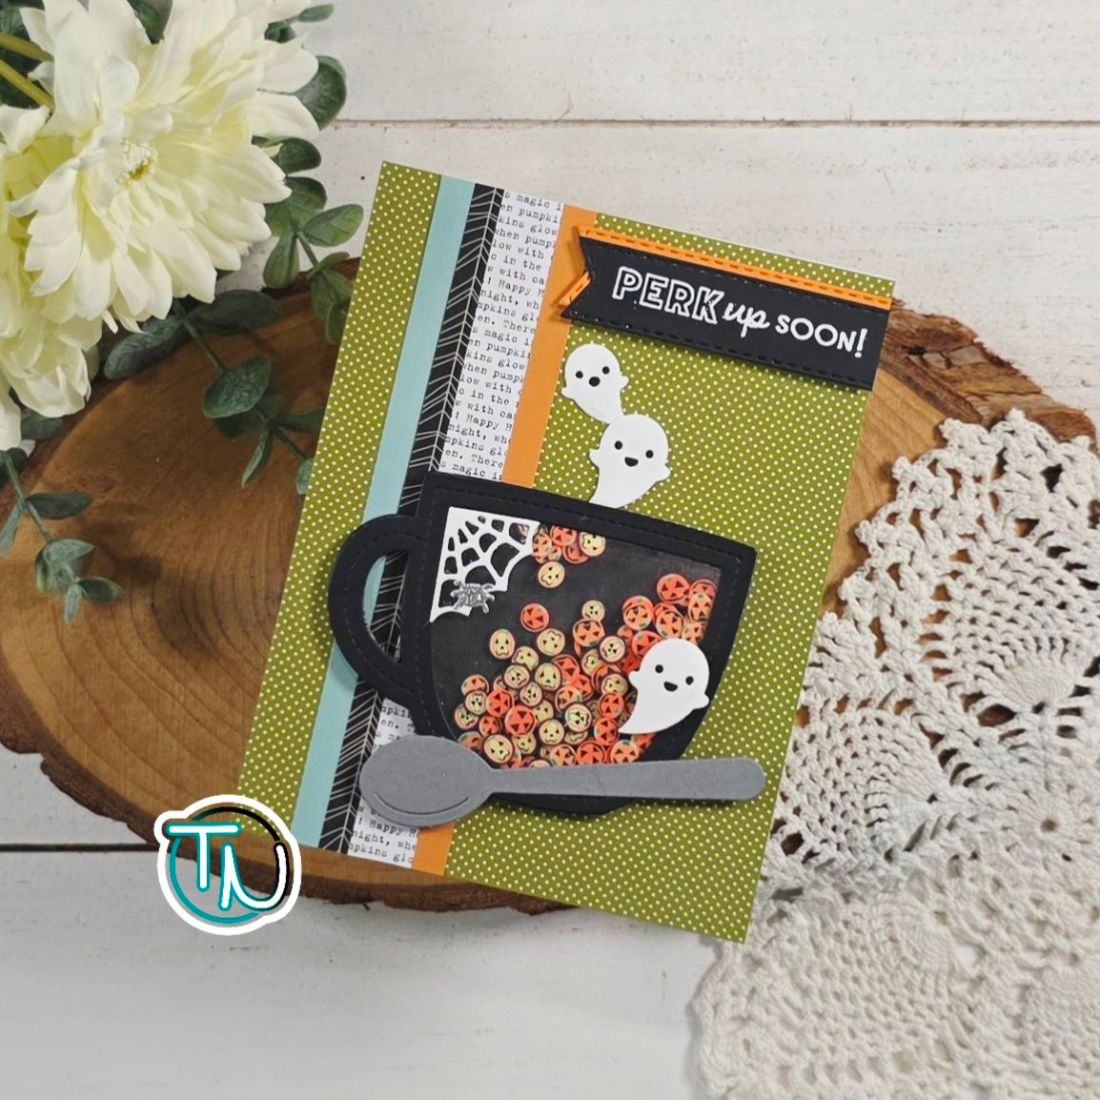
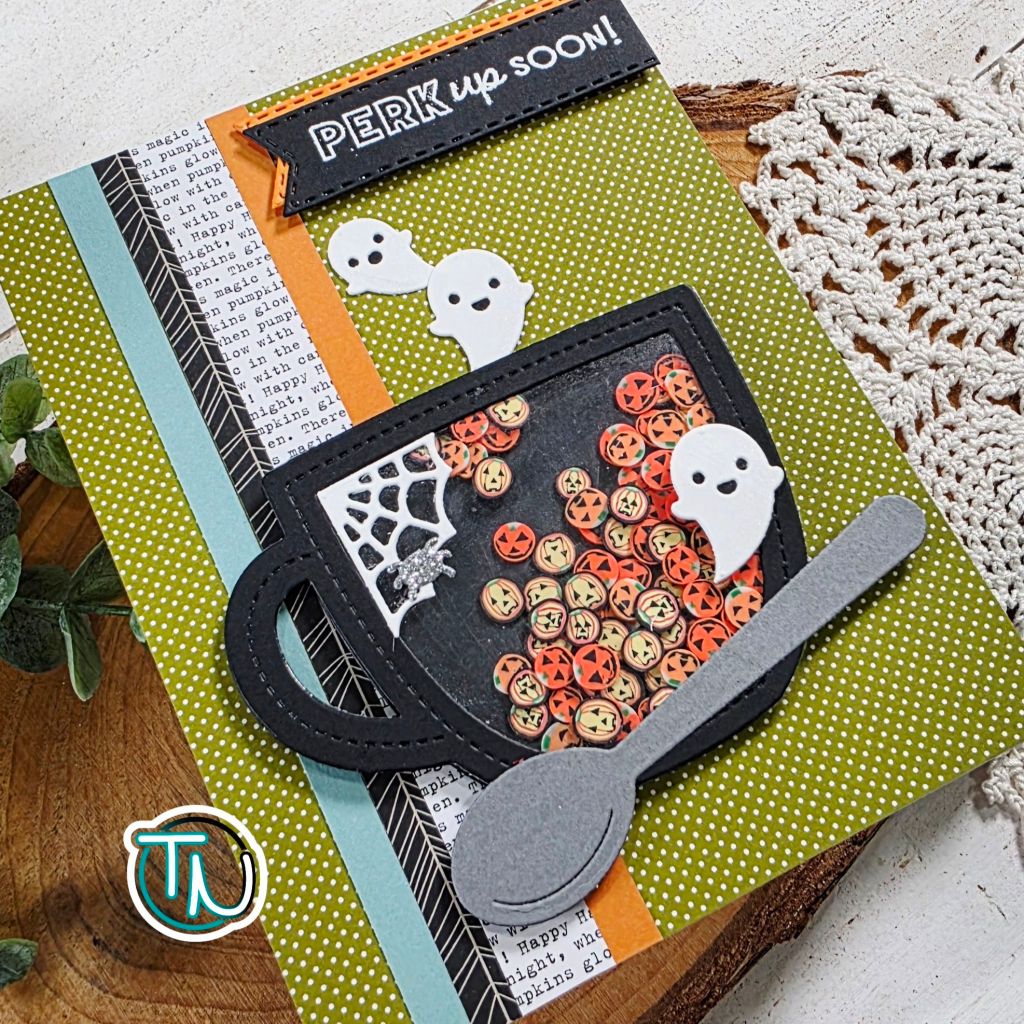
For my second card, I decided to create a fun shaker using one of the card layout dies. These are so perfect for this style of card! They make it fun and easy. I cut the frame from pink cardstock, plus trimmed acetate to the same size, adhering them together with double-sided tape. I added foam tape to the back of that and set it aside.
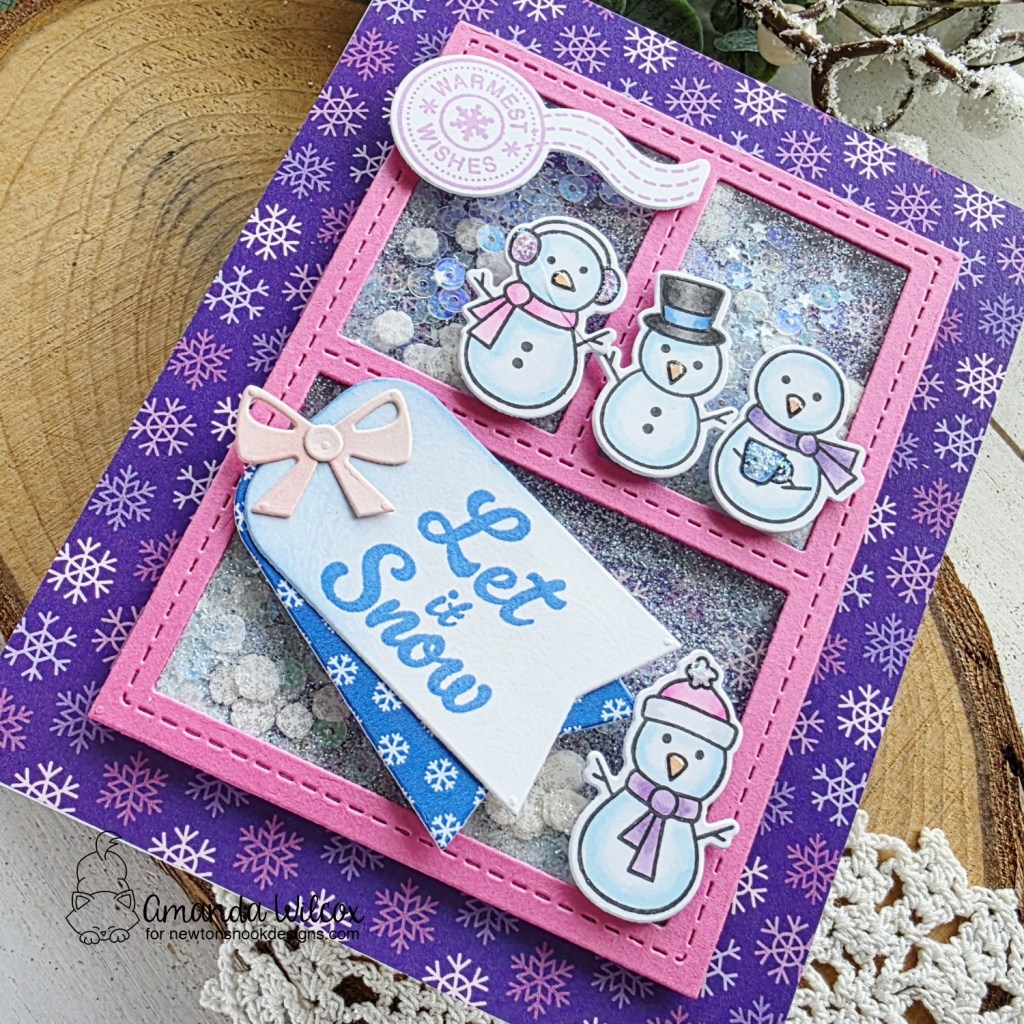
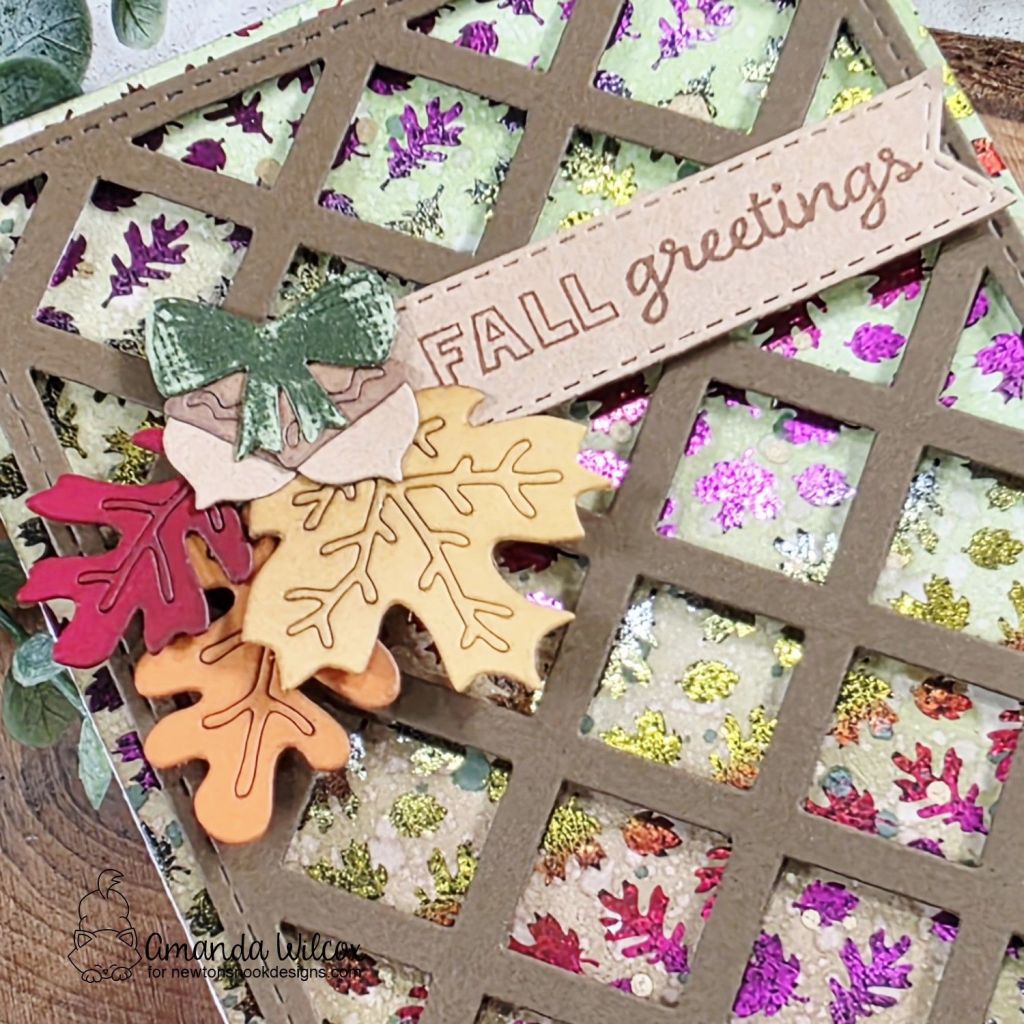
Next I trimmed a snowflake pattern to A2 size and glued it to a card base. I sprinkled some shaker bits onto the center, and adhered my shaker frame to that. Then I chose my snowmen to stamp and color – coordinating to the paper I chose. Last, I used one of the tag dies in the Card Layout die set to hold my sentiment.
This card is finished off the same as the first with stardust Stickles and glossy accents for all the snowmen images.
Enter to Win a $25 Prize!
One lucky winner will receive a $25 prize to spend at Newton’s Nook Designs online shop! The winner will be chosen at random from the collective blog posts featuring our new products this week. For a chance to win, leave comments on the Design Team Member Blog Posts (see list below) from Wednesday November 12 through Thursday November 13th. You will not know which blog has been chosen so the more you comment on the better your chances are of winning! You have until Thursday, November 13th at 9 pm ET to comment — winners will be announced on the NND blog on Friday, November 14th.
Want another chance to win? We will be having an instagram hop on Friday with a second prize! Please join me on Instagram on Friday, November 14th for details!
Check out all the awesome Design Team Blogs below to enter:
Newton’s Nook Designs
Larissa Heskett
Donna Idlet
Samantha Mann
Diane Morales
Farhana Sarker
Amanda Wilcox
Zsofia Molnar