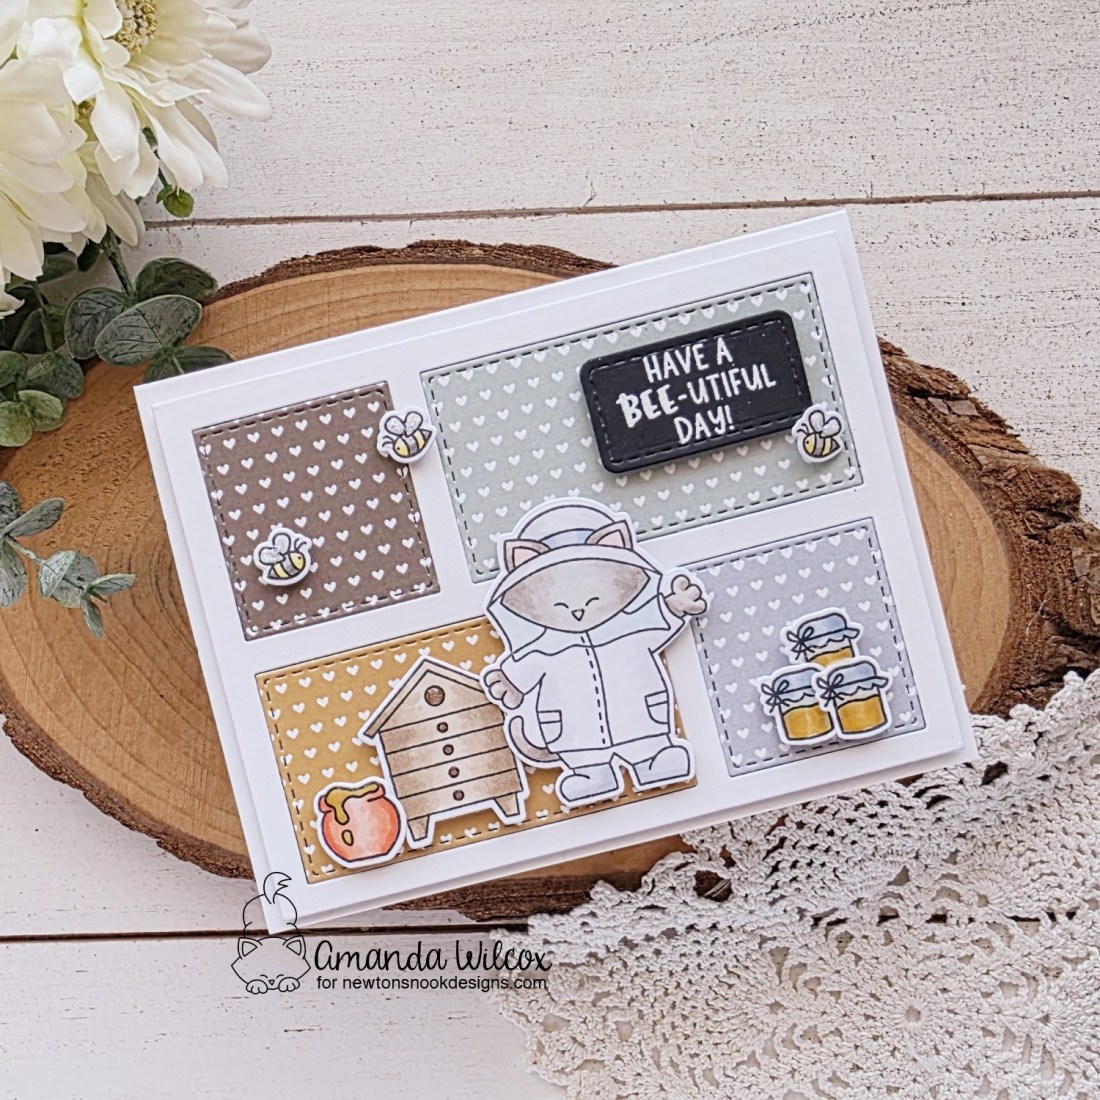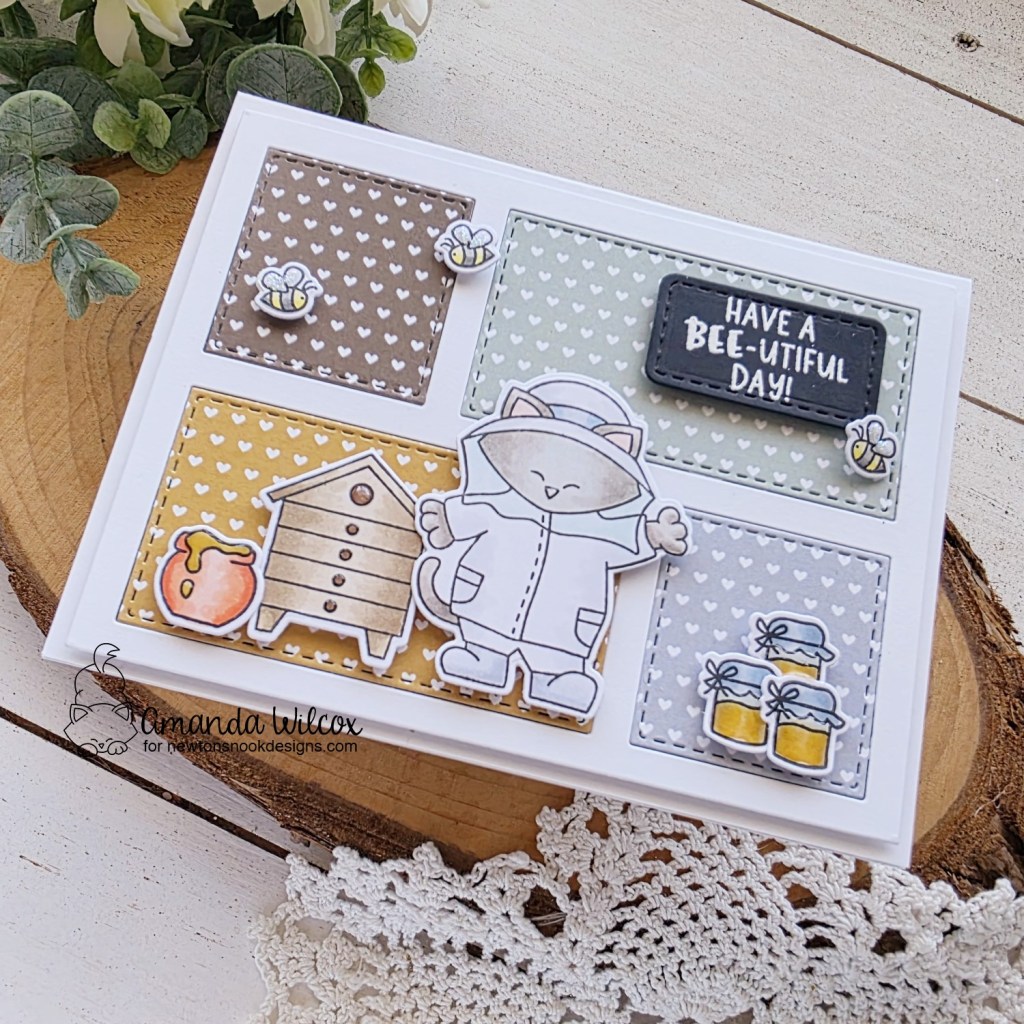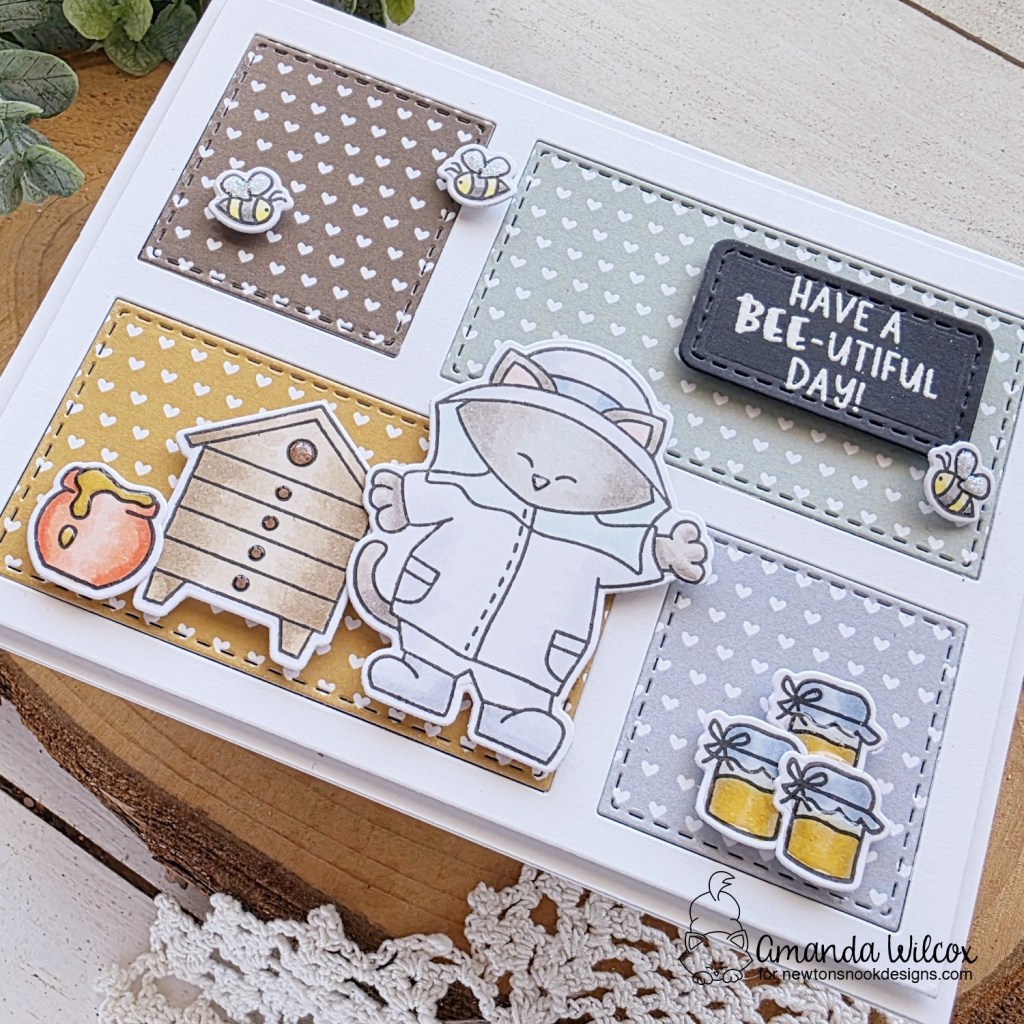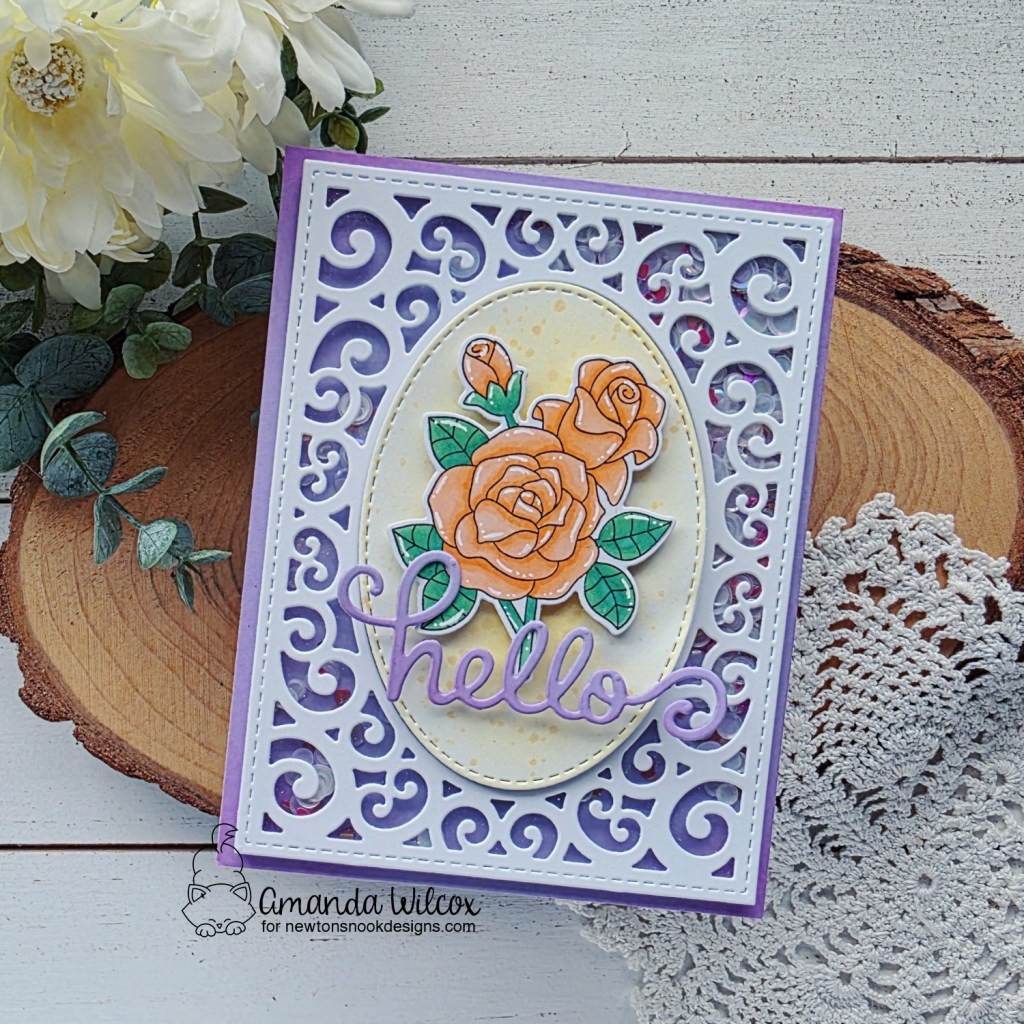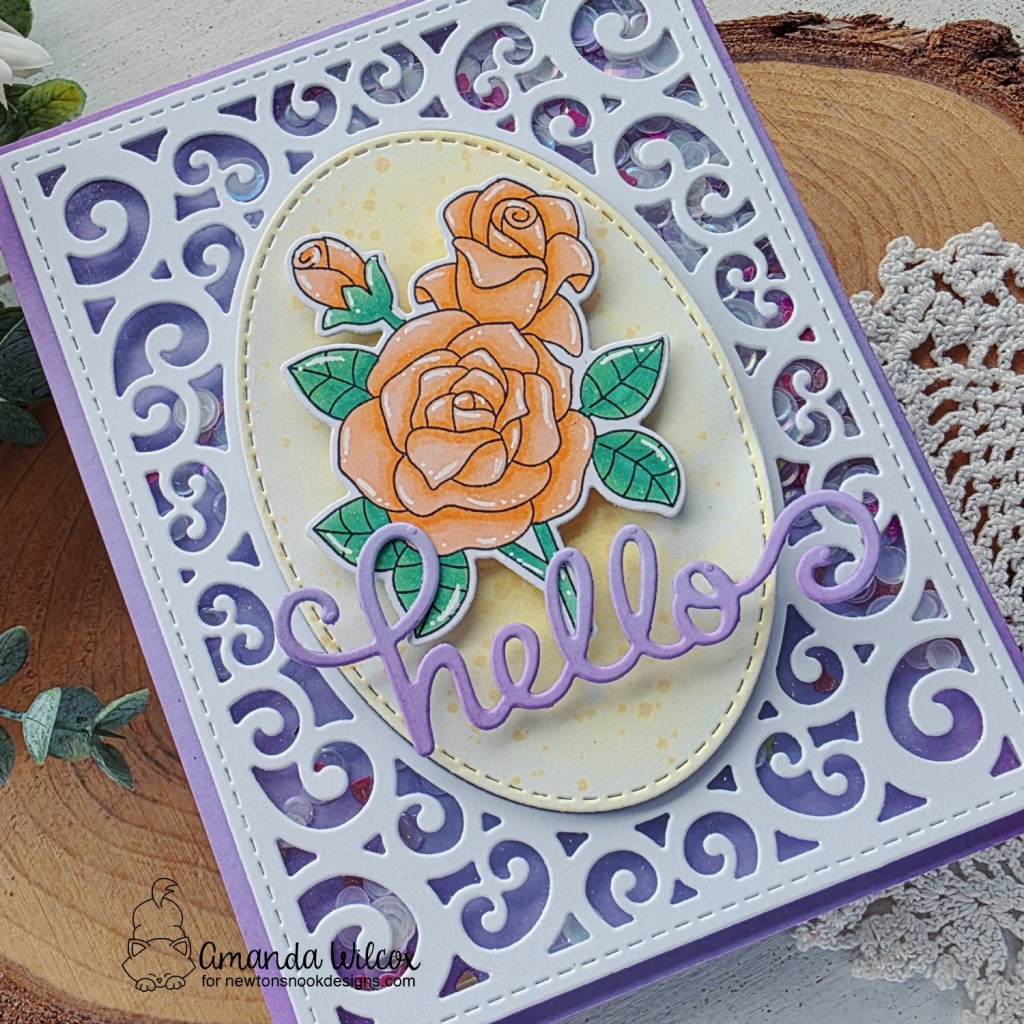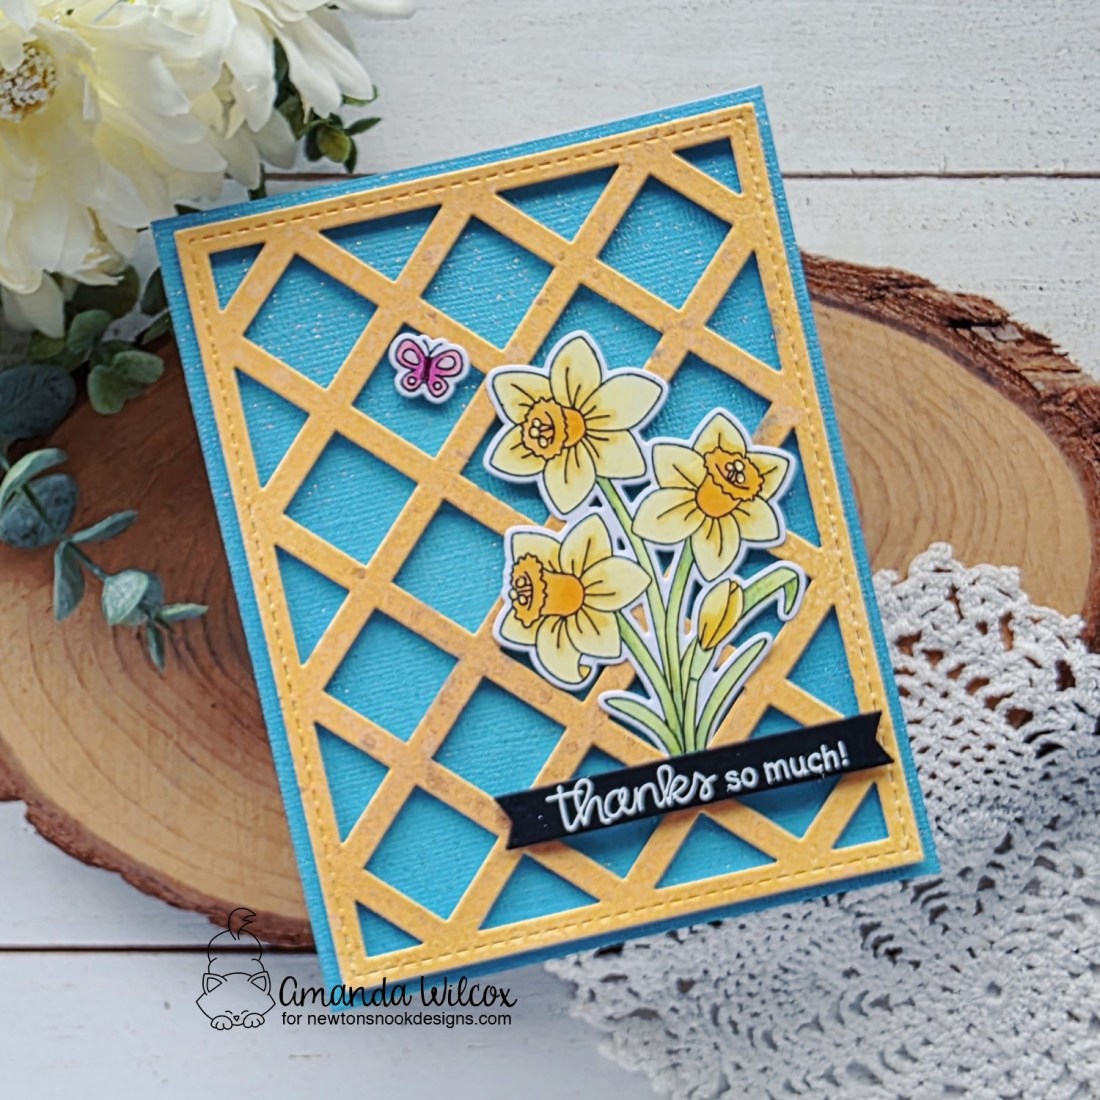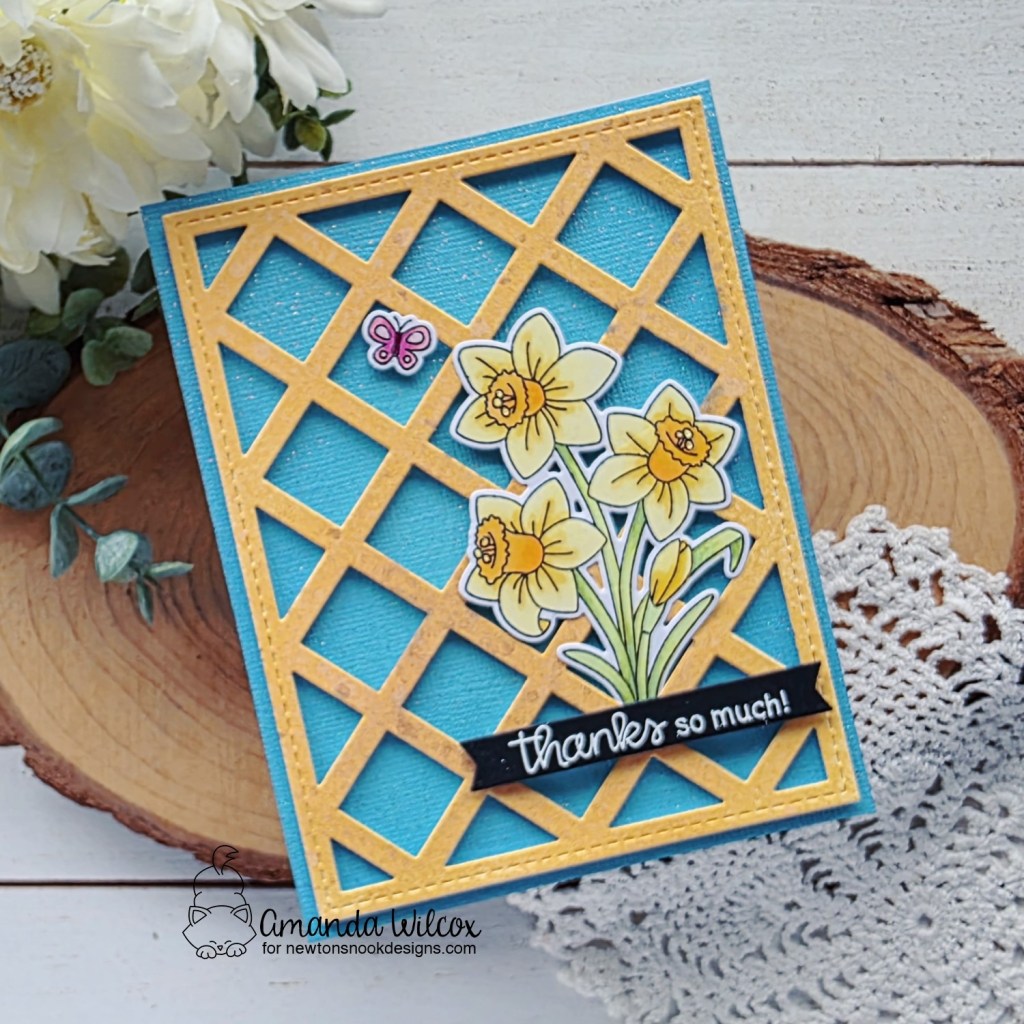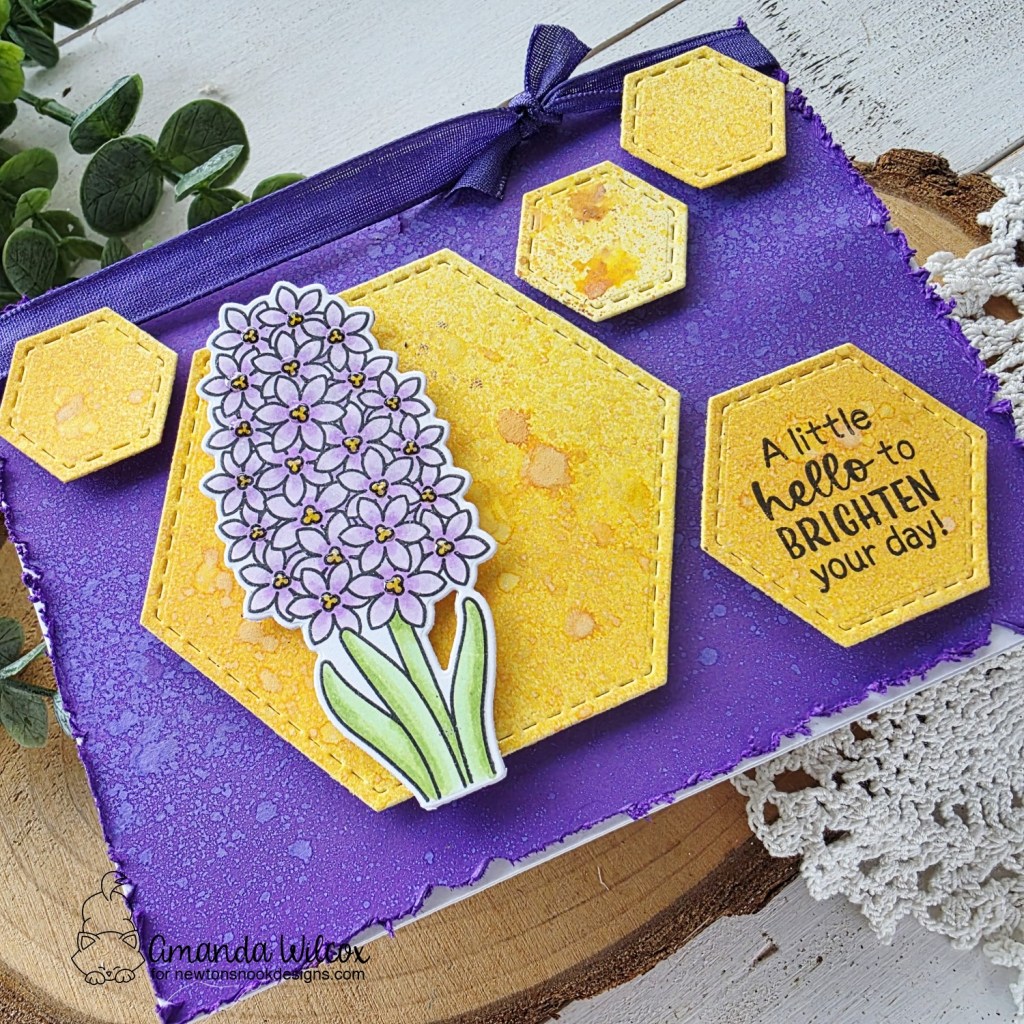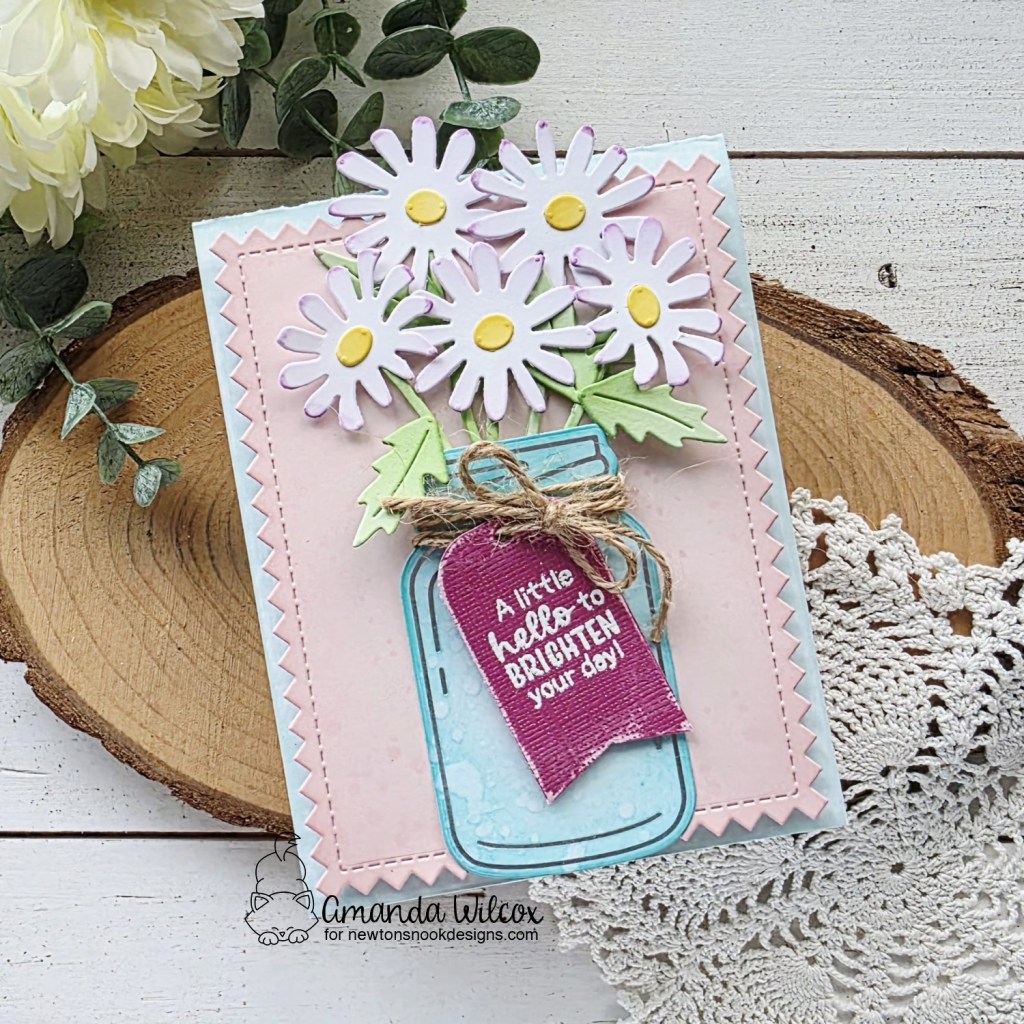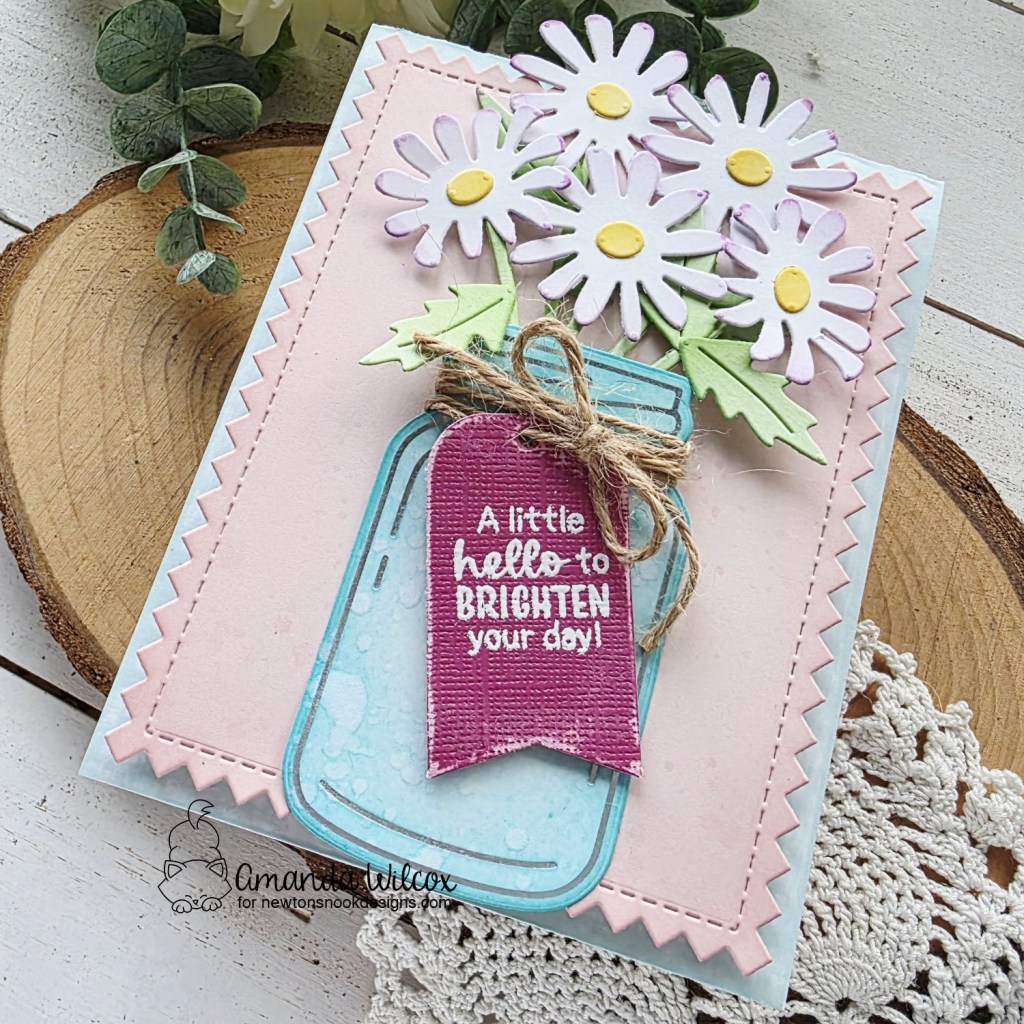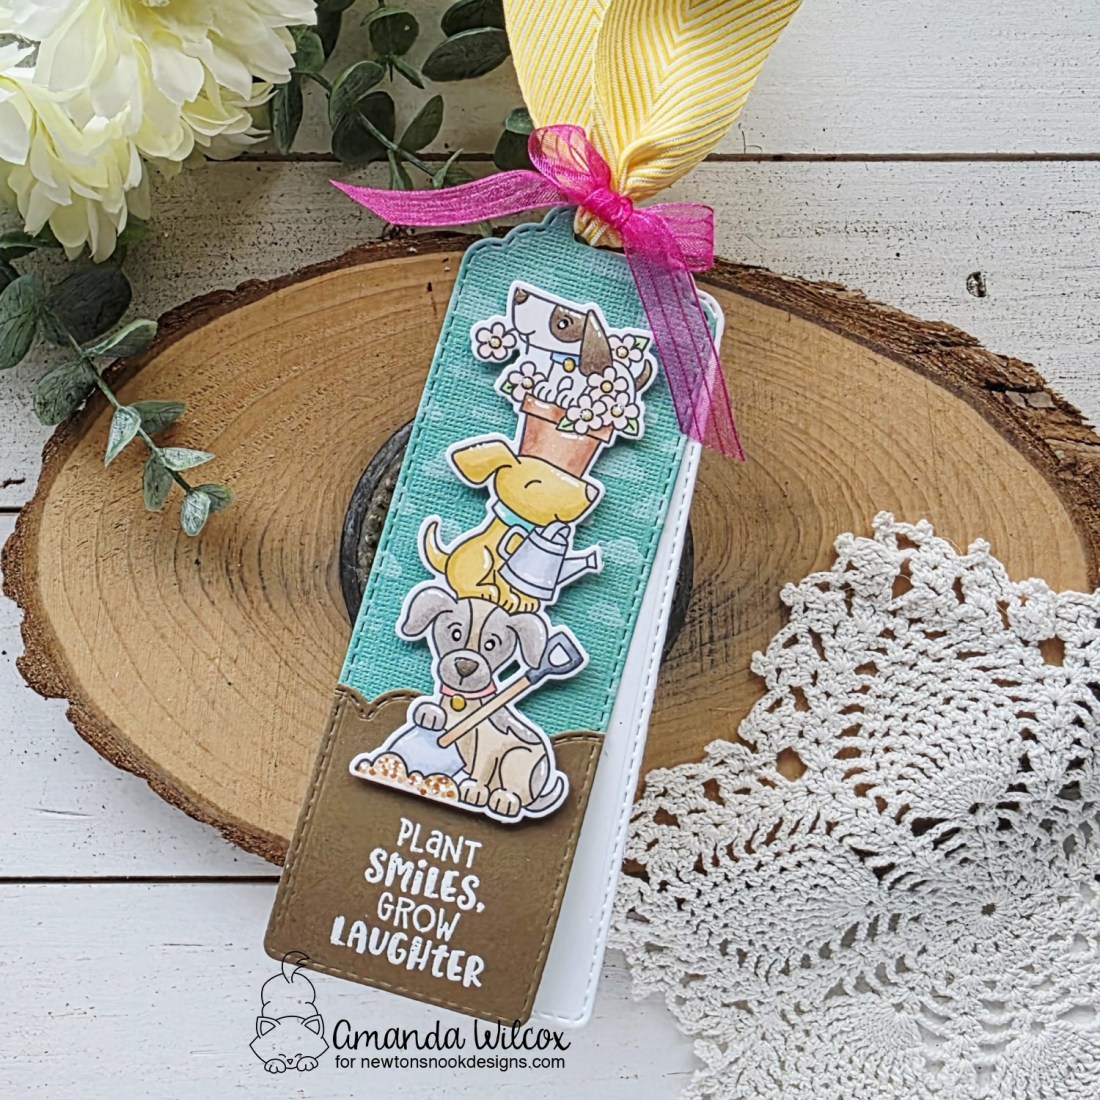
Yippee!!! It’s release day everyone! Head over to the Newton’s Nook shop and pick up your new heart-filled goodies today! Also, head to Instagram and hop along with us for more inspiration and another chance to win!
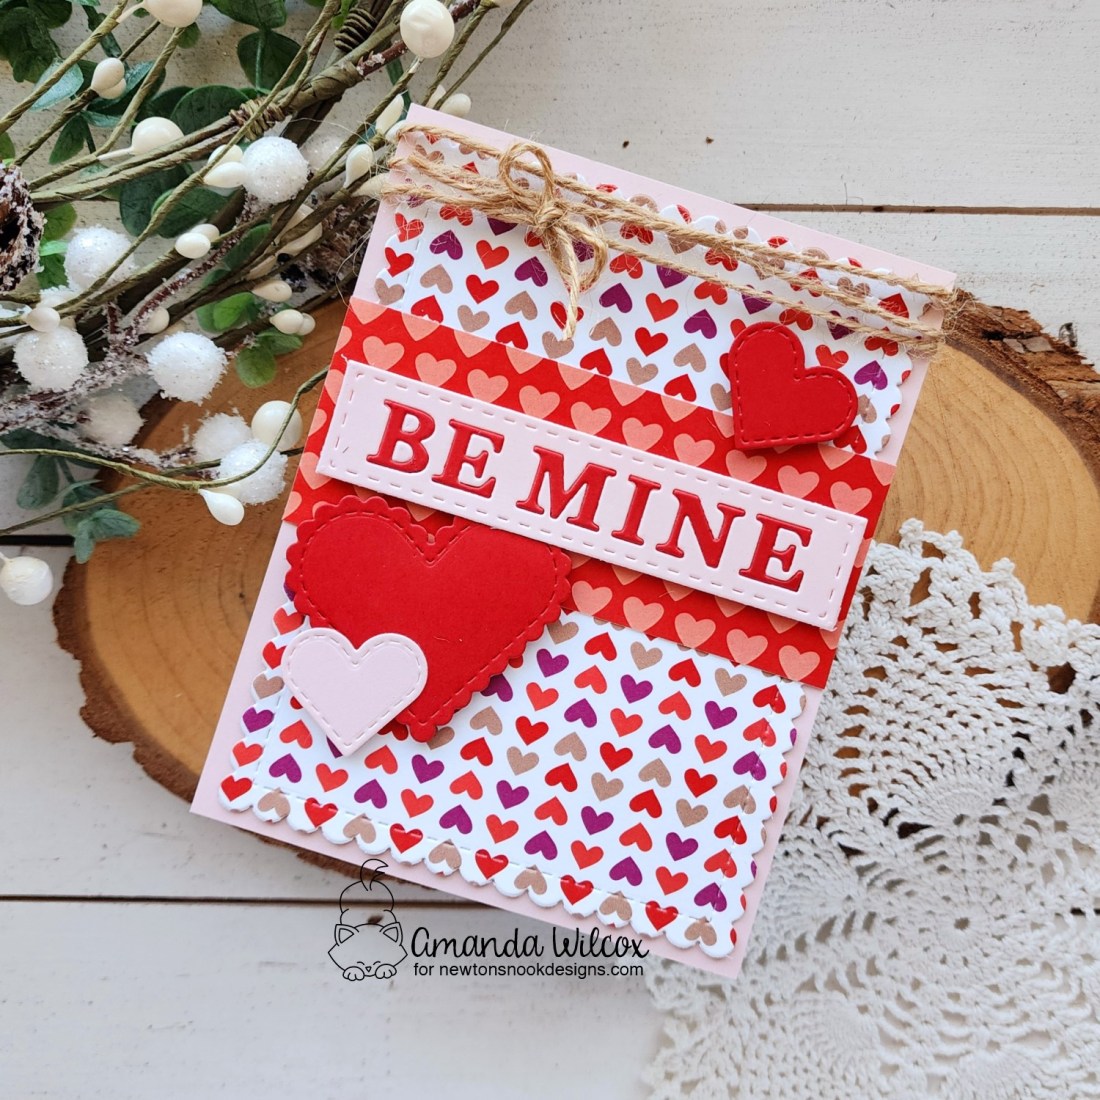
For my hop card, I pulled out the new paper pad and word trio dies, plus some oldie but goodie shape dies to go with it.
The background panel is cut with the largest Frames & Flags die and all the hearts came from the Heart Frames die set. If you look, the sentiment is the opposite “extra” sentiment I ended up with when creating my card from Tuesday! It didn’t get to sit around for long. I love how it works on this design.
And of course, I finished things off with a little jute twine for that rustic vibe. It really just makes my heart happy.
Now, head to Instagram and hop along, commenting as you go, for another chance at a $25 gift code to the Newton’s Nook shop.
I appreciate you sharing your time with me. Have a fabulous day!
Woohoo!!! It’s the final day of release reveals and tomorrow you all get to shop the new release! I’m so excited for the two cuties we have to introduce today!
Newton’s Cookie Jar and Puppy’s Cookie Jar stamps and dies
Are you in love? I totally am! These are more of the amazing sets where the sentiments can be stamped inside the cookie jar if you want too! I love these! Also, I can’t wait to paper piece the cookie jars and make them cool patterns from the paper pads!
Today I kept it simple and stamped and colored all the images from both sets with copic markers. Then I stamped sentiments on each jar and used the coordinating dies to cut everything out.
I used liquid glue to adhere the cookies to the front of each cookie jar, then die cut a second jar image. I lined them up and punched a hole in both layers, threaded twine through both, creating two gift tags. Can you just picture these cuties attached to a package of homemade cookies?!? I can’t wait to use these!
Enter to Win a $25 Prize!
One lucky winner will receive a $25 store credit to spend at Newton’s Nook Designs online shop! The winner will be chosen at random from the collective blog posts featuring our new products this week. For a chance to win, leave comments on the Design Team Member Blog Posts (see list below) from Tuesday December 10th through Thursday December 12th. You will not know which blog has been chosen so the more you comment on the better your chances are of winning! You have until Thursday, December 12th at 9 pm ET to comment — winners will be announced on the NND blog on Friday, December 13th.
Check out all the awesome Design Team Blogs below to enter:
Welcome back everyone! Today we have a new reveal to share with you and a fun shaker card too!
Charming Hearts Frame dies
I love the pile of hearts inside the frame and the fact that this set also has an optional “Love” word die to use too!
For my card today, I chose a couple patterns from the Lovely Hearts paper pad – one for the frame and another for the background. I also cut the frame from red cardstock for my actual hearts.
I pulled out a previous Valentine set – Love Bots – to add more cuteness to my card. I stamped and colored the image with copic markers and heat embossed the sentiment on a banner in the A7 Frames die set.
My shaker bits are a mix of flower confetti, glitter and white clay hearts. I love mixing and matching different shaker bits to create my own mix to fix the design of the card.
For finishing touches I added white gel pen highlights all over and some stardust Stickles to the robot.
Enter to Win a $25 Prize!
One lucky winner will receive a $25 store credit to spend at Newton’s Nook Designs online shop! The winner will be chosen at random from the collective blog posts featuring our new products this week. For a chance to win, leave comments on the Design Team Member Blog Posts (see list below) from Tuesday December 10th through Thursday December 12th. You will not know which blog has been chosen so the more you comment on the better your chances are of winning! You have until Thursday, December 12th at 9 pm ET to comment — winners will be announced on the NND blog on Friday, December 13th.
Check out all the awesome Design Team Blogs below to enter:
Hi friends! I’m so happy that Newton’s Nook is having a heart-filled December release! We can get a jump on Valentine crafting over the holiday break and I’m so excited for it! Today we have a few release reveals to share and I’ve got a project for you too!
Reveals today include Valentine Postage Sampler stamps and dies, Valentine Word Trio dies and Lovely Hearts paper pad. Isn’t is all just beautiful!?! I love it!
I happened to use all three of today’s reveals on my project together. My background is from the new paper pad and my sentiment is one of those fabulous bold bars from the Valentine Word Trio. I got two-for-one by cutting it twice and swapping the letters out. Then I just saved the other one for later.
For my postage stamps, I chose to stamp and color the images, plus use the coordinating dies to cut them out. This way I could cut the Postage Stamp Layout from white cardstock and add ink to the inserts without masking the images off. After the color was added I used liquid glue to adhere the images and stamped a few of the postal images on random spots.
For finishing touches on this card I added stardust Stickles to various small areas on the postage stamp images. Loving that sparkle!
Enter to Win a $25 Prize!
One lucky winner will receive a $25 store credit to spend at Newton’s Nook Designs online shop! The winner will be chosen at random from the collective blog posts featuring our new products this week. For a chance to win, leave comments on the Design Team Member Blog Posts (see list below) from Tuesday December 10th through Thursday December 12th. You will not know which blog has been chosen so the more you comment on the better your chances are of winning! You have until Thursday, December 12th at 9 pm ET to comment — winners will be announced on the NND blog on Friday, December 13th.
Check out all the awesome Design Team Blogs below to enter:
YIPPEE!!! It’s release day for Newton’s Nook! We’re hopping on Instagram for added inspiration and another chance to win too!
I pulled out the Coffee Delights stamps again for my card today and of course used more of that amazing paper pad too!
I cut one-inch strips and glued them to a card base. Then cut three circles from another pattern. I stamped three coffee mugs and colored them in coordinating colors and used the coordinating die to cut them all out.
I popped the circles and mugs up with foam squares and added glossy accents to the hearts on the mugs.
Then I stamped my sentiment in the bottom right corner. It fits just perfect!
Remember to head to Instagram and comment on the hop for a chance to win!
Alright friends, it’s the final day of release reveals before you get to add all of these amazing goodies to your stash! This time we have a couple of new, fun word dies with shadows to share with you!
Hug in a Mug and Thanks a Latte dies
Today I have a card to share featuring the Hug in a Mug word dies. These two sentiments are my very favorite caffeinated sayings and I’m so happy to have them in such a perfect die! I also love that they are both one piece with the shadow so you don’t have to try and piece letters together.
For this card I cut the shadow from black and letters from white, gluing them together with liquid glue. Then I pulled out the Coffee Silhouette dies and cut them from a rainbow of cardstocks. I added a few steams, whipped creams and hearts from the set to decorate them as I went along.
I cut a piece of black cardstock and adhered it to a card base, then cut another piece of paper from the new paper pad with the largest Framework die and popped it up with foam tape. I adhered the layers to the various mugs and prepped everything with foam squares.
After popping everything in place, I finished the hearts off with glossy accents and the whipped creams with stardust Stickles.
I hope you loved the release reveals this week! Which was your favorite?
Enter to Win a $25 Prize!
One lucky winner will receive a $25 store credit to spend at Newton’s Nook Designs online shop! The winner will be chosen at random from the collective blog posts featuring our new products this week. For a chance to win, leave comments on the Design Team Member Blog Posts (see list below) from Tuesday November 12th through Thursday November 14th. You will not know which blog has been chosen so the more you comment on the better your chances are of winning! You have until Thursday, November 14th at 9 pm ET to comment — winners will be announced on the NND blog on Friday, November 15th.
Check out all the awesome Design Team Blogs below to enter:
Continuing with the amazingly fun caffeinated theme, we have a new background die to share today and I’m obsessed! It’s so fun!!!
Coffee Frame die
Do you love it? I totally do and had so much fun playing with it! I didn’t make my card a shaker today but this frame die is just begging for it!
I cut the frame from white cardstock and masked off the mugs to ink blend them. I cut the coffee portion of the mugs and coffee beans from dark brown cardstock and glued them in place next. I added foam to the back of it all and set it aside.
Next I cut the steam from white cardstock and vellum. I ink blended the edge of the white slightly with teal ink and glued the layers together but offset. Then I cut the sentiment from kraft and white cardstock doing the same with those layers.
Finally I chose a piece of paper from the Coffee Shop paper pad we saw yesterday, trimmed it to size and glued it to a card base. I added my frame first, then positioned the steam and sentiment accordingly. The steam is popped up but the sentiment is glued directly to the card front.
For finishing touches I added white gel pen highlights to everything. Isn’t this so much fun!?!
Enter to Win a $25 Prize!
One lucky winner will receive a $25 store credit to spend at Newton’s Nook Designs online shop! The winner will be chosen at random from the collective blog posts featuring our new products this week. For a chance to win, leave comments on the Design Team Member Blog Posts (see list below) from Tuesday November 12th through Thursday November 14th. You will not know which blog has been chosen so the more you comment on the better your chances are of winning! You have until Thursday, November 14th at 9 pm ET to comment — winners will be announced on the NND blog on Friday, November 15th.
Check out all the awesome Design Team Blogs below to enter:
Welcome everyone! Today I’m stopping by to share a couple different treat holders I created for Halloween. The ideas are basic and since Halloween is tomorrow, you could always make them for Thanksgiving or Christmas by changing out the paper and images. Keep that in mind if you’re into this sort of thing. It’s definitely my favorite!
Let’s start with these fun ghost friends! I created the base with a strip of orange cardstock measuring 1.5″x6″. I scored each strip at 2 1/2″ and 3 1/2″ and then used the Spellbinders tag punch to cut each end. I splattered the strips with black metallic watercolor and set them aside to dry.
While those were drying I cut the cute ghost from the Lawn Fawn Scallop Treat Box Haunted House Add On and the actual haunted house from the Lawn Fawn Shadow Box Halloween Add On. I used liquid glue to adhere everything together and then one foam square on the bottom of the house.
These were sized perfectly for Hershey’s Nuggets so when the watercolor splatter was dry I stacked my chocolate inside and threaded ribbon through the holes to keep it all together. Then I removed the foam square release paper and popped those on the front.
The fit is perfectly snug so I didn’t have to use adhesive on the chocolate but they stayed in place. I made enough of these for my whole office in one evening. They came together really quick and turned out so cute!
This next box I just made one of but it would be fun to make lots of these too. I chose a piece of Newton’s Nook Halloween Party paper and followed this tutorial to create my box. It perfectly fits three Hershey’s Nuggets so I slid those inside and tied it closed with black embroidery floss.
I stamped and colored two of the Trick or Treat Newton images like our kitties at home and used the coordinating dies to cut them out. Then I hot foiled a sentiment using the Newton’s Nook Spooky Sentiments hot foil plates and coordinating Banner Duo die to cut it out. I popped the kitties and sentiment banner up with foam squares.
Here’s a side look at the box. It’s the perfect little something to add to a certain someone’s lunch box before they head to school.
Yaaaayyyy!!! It’s finally release day everyone! I’m super excited to share one more project with you and then direct you over to Instagram for a hop full of inspiration and more chances to win too!
Today I get to share the other three postage stamps I create while making my card for Tuesday. Aren’t they fun!?! This time I chose the Holiday Cheer sentiment dies to change things up too.
Using a couple more pieces of the Christmas Basics paper pad, I created my background with the Frames & Tags dies. And just like always, everything is added with foam tape and squares for that great dimension.
Finishing touches on this card are glossy accents and stardust Stickles on the stamp images. The sparkle and shine adds a lot.
Remember to head to Instagram and comment on the hop so you can have another chance to win store credit to the Newton’s Nook shop.
I appreciate you sharing your time with me. Have a fabulous day!
Happy Friday everyone! As always, I’m happy to sponsor the Build Your Stash Holiday Cardmakers hops. They’re so fun and a great excuse to use your holiday stash all year long! Today I have a fun card to share with you featuring Twiddler’s Nook products, perfectly paired with Newton’s Nook!
I had a little fun with the Christmas Tree Line stencil – inking the layers up with Twiddler’s Nook blending brushes, plus a layer of Lunar Paste for some shine. Then I glued a scattering of Twiddler’s Nook gold snowflake confetti embellishments for sparkle among the trees as well.
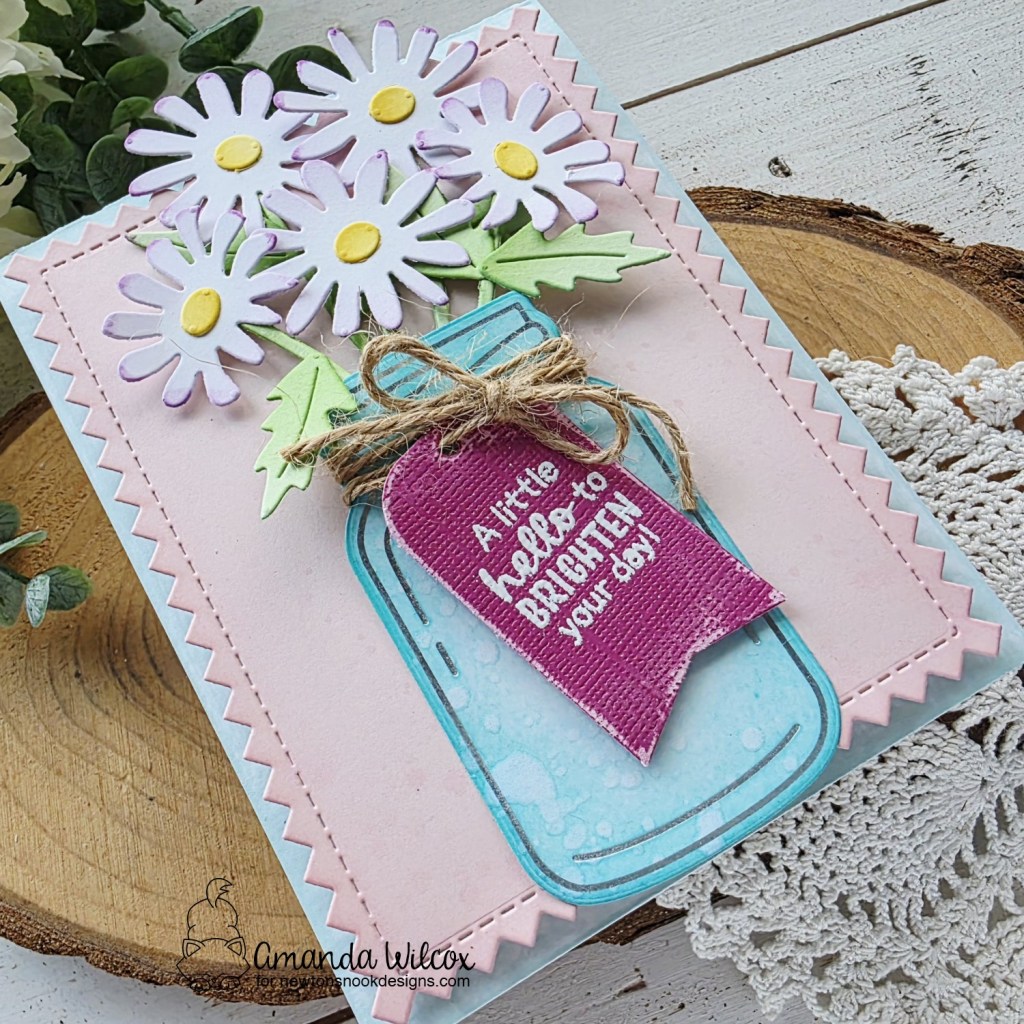
I pulled out the Newton’s Nook Christmastime paper pad and cut a few strips to pop up with foam tape above and below my stenciling. The top is 1/2″ and the bottom is 1 1/2″ with a 1/4″ extra strip to match the top.
Last, I used a Holiday Greetings hot foil plate and one of the Banner Duo dies to cut my sentiment out. I popped that up with foam squares and my card is all finished.
Surprise, we’re running a little sale for the opening weekend of the hop too! Stock up now and get holiday crafting!
Here’s a start on some awesome products for your craft room:
This little trio works like magic – the brushes magnet to the platform with the caps on the bottom so they don’t fall over but are easy to grab and craft with!