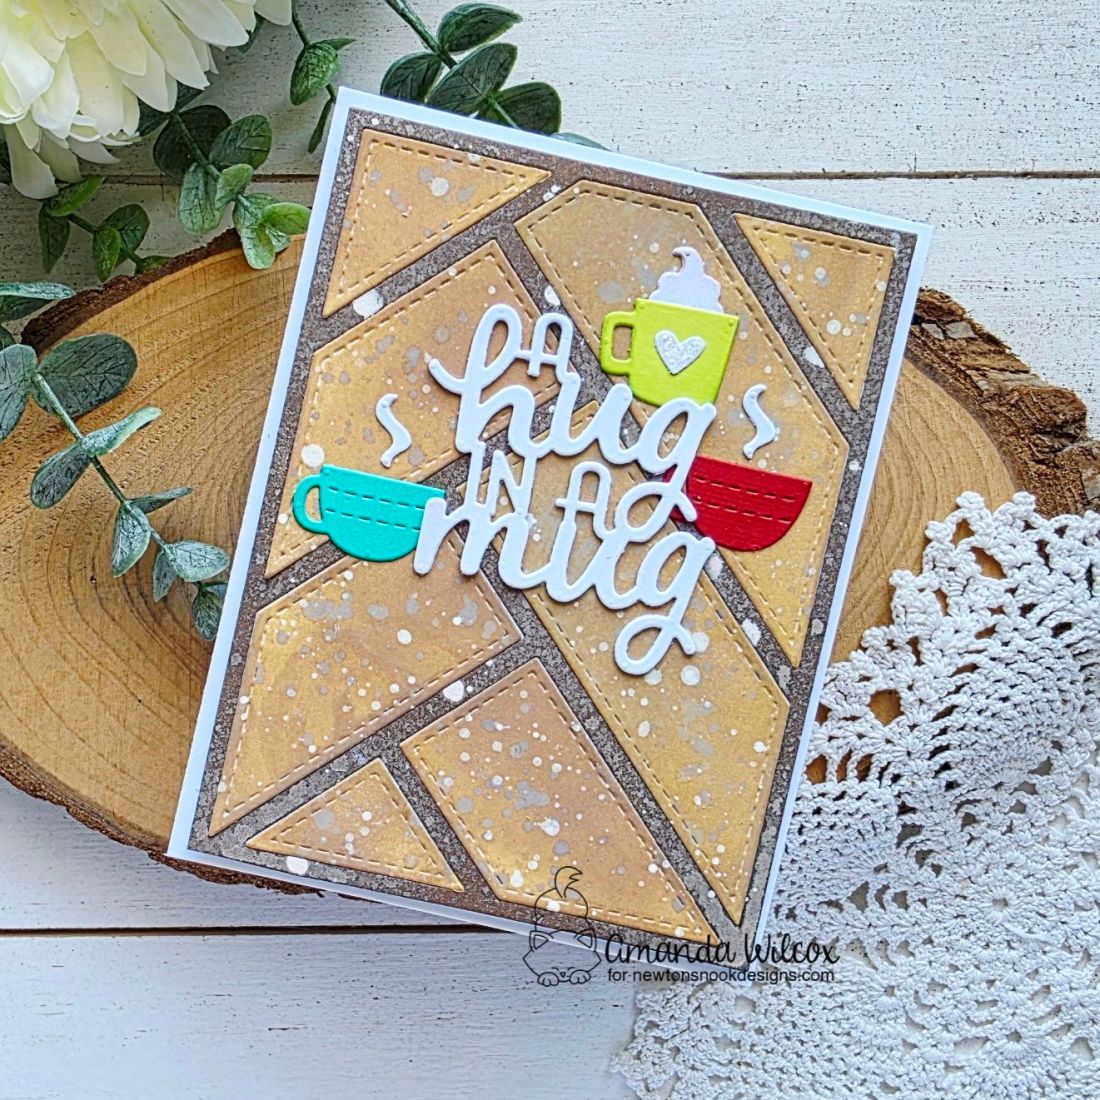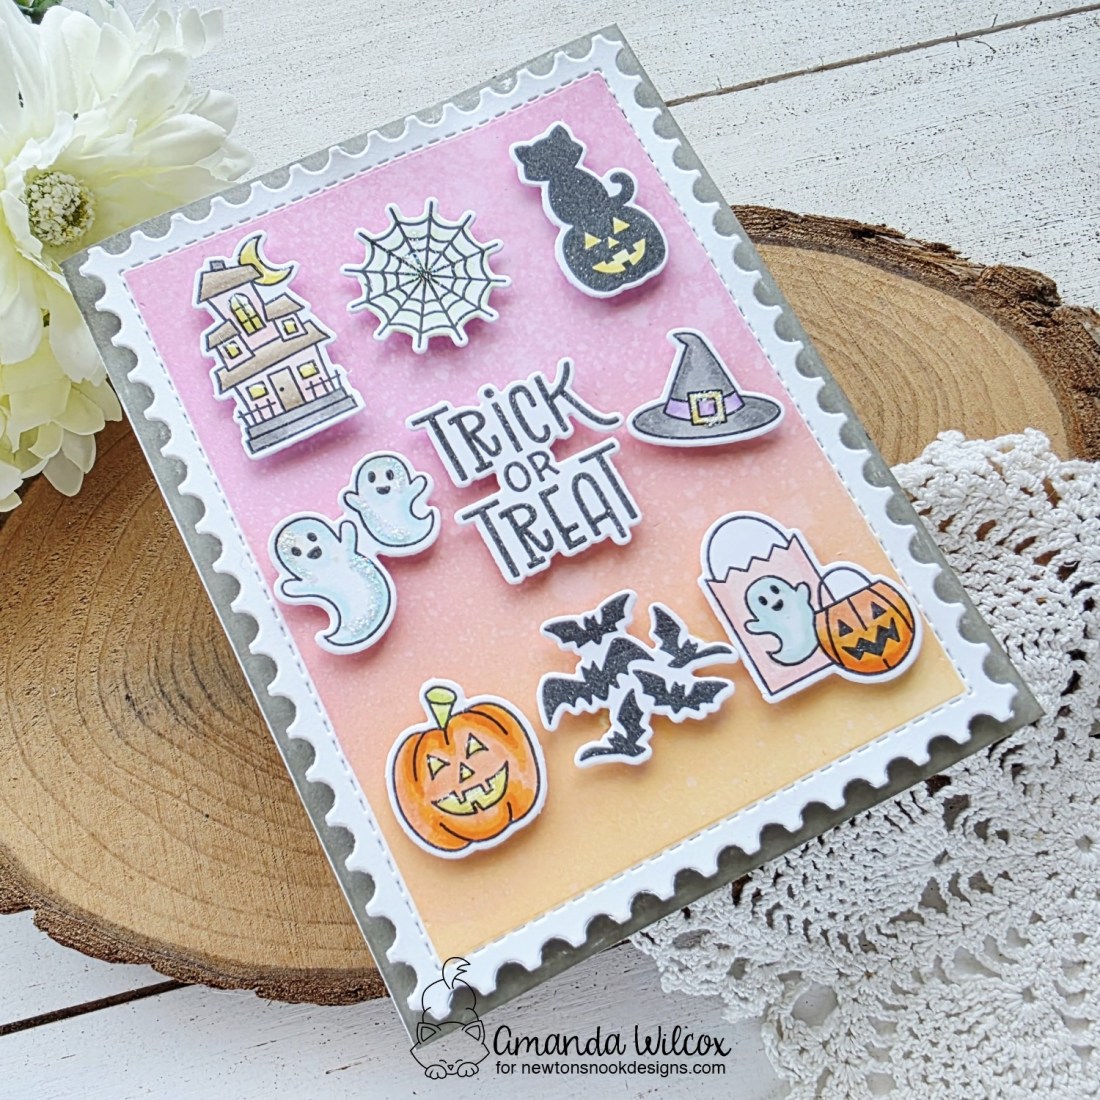
Newton’s Nook – June Release Day Instagram Hop

Welcome back everyone! Super excited to share my card for the Newton’s Nook June Release Day Instagram Hop on here, but remember to head to IG to comment and hop along for chances to win!

I’m still feeling my stencil era so I pulled out a few oldies but goodies to pair with Newton’s Sand Dollar on today’s card. I used the Retro Sun & Palms, paired with the Waves & Splashes stencils to create my background. Then I cut a curvy sand bank using the Land Borders dies, splattering the kraft cardstock with brown and white paint for the sandy look.

I stamped and colored all of the images from Newton’s Sand Dollar and used the coordinating dies to cut them all out. With all the pieces ready, I used liquid glue to adhere them all together. Then I tore the right side of my panel for some awesome texture and added foam tape to the back of the panel.

Before popping it up on my card base, I drug my teal ink pad across the edge for texture and color at the same time.

Then I added my scene panel and popped it up a heat embossed sentiment banner using one of the banners in the A7 Frames die set. I finished things off with glossy accents on all of the images.

Click HERE to head to Instagram and hop along, commenting for a chance to win.

I appreciate you sharing your time with me. Have a fabulous day!

Newton’s Nook – June Release Reveals

Hey friends! Welcome to release reveals for the Newton’s Nook June Mini Seaside Release! I’m smitten with the new stamp set and in love with the color palette of the new paper pad! I want to use it everywhere! Let’s take a look!

Seaside Paper Pad and Newton’s Sand Dollar stamps and dies

I have 2 cards to share with you today using both of these new products. Then I’ll be back tomorrow with another card and a link to the Instagram hop celebrating release day!

I used a few pieces of the new paper pad with the A2 Card Layout die. I cut 2 white frames first and then cut the patterned paper, keeping the inserts to paper piece. One fun thing about these is that I cut the center from the same piece of paper, just used one side on each card.

For this first card, I stamped and colored Newton’s Sand Dollar and used the coordinating die to cut him out. Then I grabbed a circle from the Circle Frames dies for my sentiment. On the card front, I went direct-to-paper with my light brown ink pad for color and texture with no bulk.

With all of that done, I just grabbed my glue and foam squares and started assembling it all together. I finished things off with a clay heart on the sentiment and some glossy accents and stardust stickles on the image.

For this card, I repeated the process, using light teal ink on the card front because the browns didn’t quite match enough for my liking. Then I went and grabbed the Hello die in the Filigree Oval Frame dies for my sentiment and just adorned it with a seashell from the stamp set.

It’s simple but so pretty and perfect for any beach lover! Goodness knows I have enough of those in my life. Then for finishing touches I just added a little stardust stickles on the seashell for sparkle.

Enter to Win a $25 Prize!

One lucky winner will receive a $25 store credit to spend at Newton’s Nook Designs online shop! The winner will be chosen at random from the collective blog posts featuring our new products today. For a chance to win, leave comments on the Design Team Member Blog Posts today (June 12th). You will not know which blog has been chosen so the more you comment on the better your chances are of winning! You have until Sunday, June 15th at 9 pm ET to comment.  Winners will be announced on the NND blog on Monday, June 16th.

Check out all the awesome Design Team Blogs below to enter:

Newton’s Nook Designs
Larissa Heskett
Samantha Mann
Diane Morales
Farhana Sarker
Amanda Wilcox
Zsofia Molnar

Newton’s Nook – Beekeeper Newton

Hey friends! I’m back on the Newton’s Nook blog today with a sweet little card featuring Beekeeper Newton and he’s got honey to share! Also, over on Instagram today I’ve got a coloring reel to share if you’re feeling like zoning out for a few minutes.

After stamping and coloring all of my images, I used the coordinating dies to cut them all out. I snagged the smallest die from the Basic Frames die set to stamp and heat emboss my sentiment on.

My background was premade from a batch I created when the A2 Card Layout 2 die was released. I made 4 backgrounds then and only used 2 so I still had 2 waiting for the proper inspiration to hit. Today was just such a day.

This background uses the A2 Card Layout 2 die for the white frame and the Natural Basics paper pad for the stitched inserts. The whole thing is popped up with foam tape on a white card base.

I used liquid glue to adhere bits together like the honey jars and the honey pot to the apiary. Then added foam squares to the back of everything and popped it all in place.

For finishing touches I added glossy accents to the jars, Newton’s nose, the apiary and honey pot. Then I added stardust Stickles to the bee’s wings for some sparkle too.

Products used today:
Beekeeper Newton stamps and dies
A2 Card Layout 2 die
Basic Frames dies
Natural Basics paper pad

Liquid glue
Foam squares
Embossing & watermark ink
Magic anti-static brush
Embossing powder

Glossy accents
Stickles – stardust

I appreciate you sharing your time with me. Have a fabulous day!
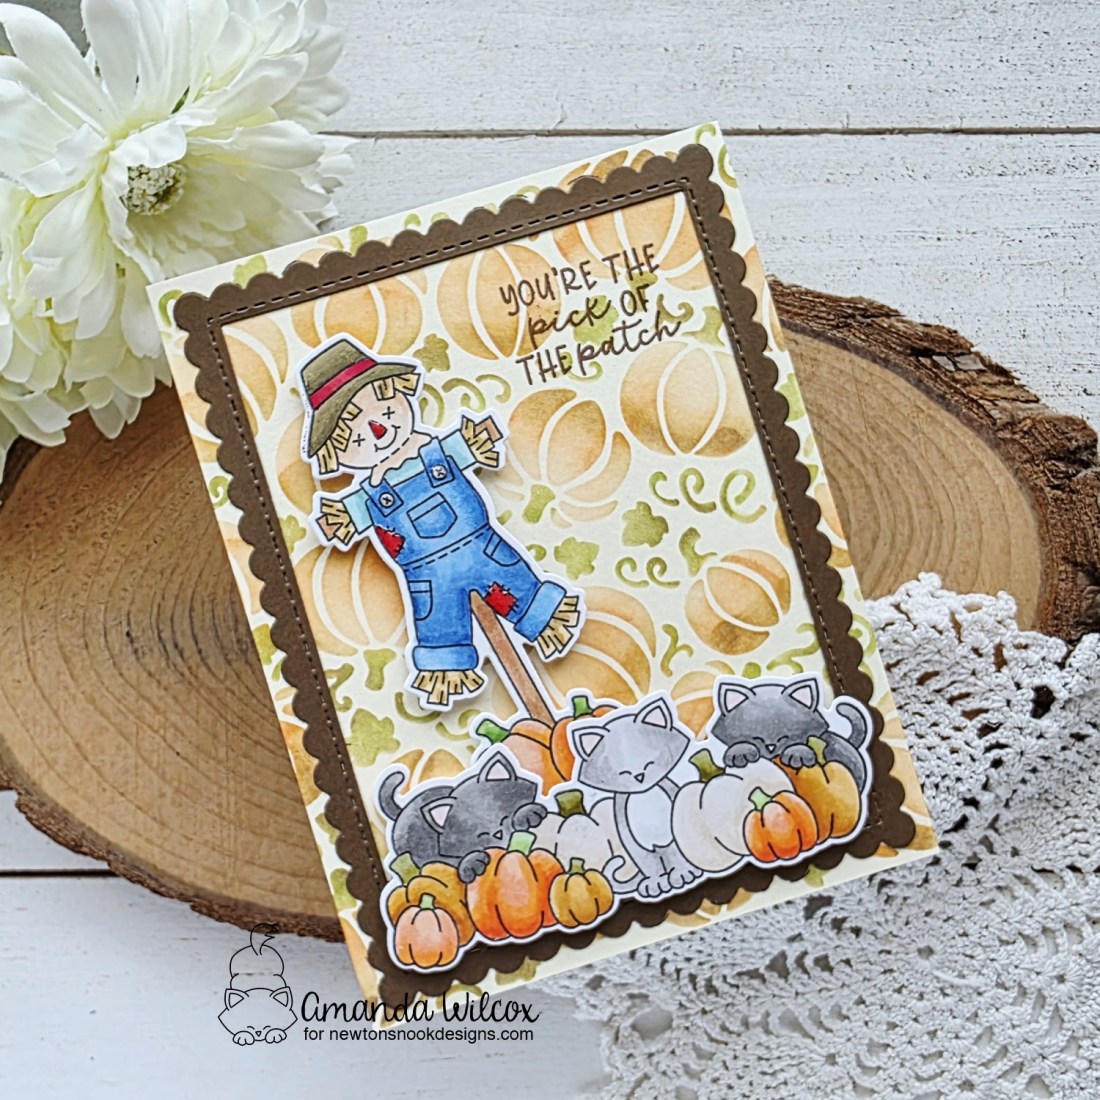
Newtons Nook – April Mini Release Day

Happy Release Day for Newton’s Nook! We’re having an Instagram hop today to celebrate release day and give you a nice boost of inspiration to use these new dies that are available in the Newton’s Nook shop right now!

I have a card to share with you using the Filigree Oval Frame die set again, in a simpler way than a shaker which can be overwhelming for some people.

For this card, I actually cut everything out using a pastel pink cardstock and inked over the top. I started out just playing around with no plan but I wanted to add dimension to the pink so I grabbed blending brushes and some warm colored inks. I inked up the frame in a random bit of color here and there, then went back and blended those together.

Next, I had pulled out the Monarchs stamp set thinking it is a great spring set to play with but I didn’t want black butterflies so I tried stamping them in orange on the pink cardstock and I love it! I used copic markers to add shading to the open spots which also worked well. I stamped the small shadow butterflies in black and used coordinating dies to cut everything out.

Next, I ink blended blue inks on the oval that cut out when I cut the frame and splattered it with some extra watered down iridescent watercolor. When that was dry, I stamped my sentiment in the center. For assembly, I added the frame to a white card base and popped the oval up with foam tape. Then I added the butterflies with foam squares, doubling up in the areas that needed it.

Products used:
Filigree Oval Frame dies
Monarchs stamps and dies

Blending brushes
Lawn Fawn dye inks – ballet slippers, guava, lemonade, fake tan, mermaid
Foam tape and squares
Liquid glue

I appreciate you sharing your time with me. Have a fabulous day!
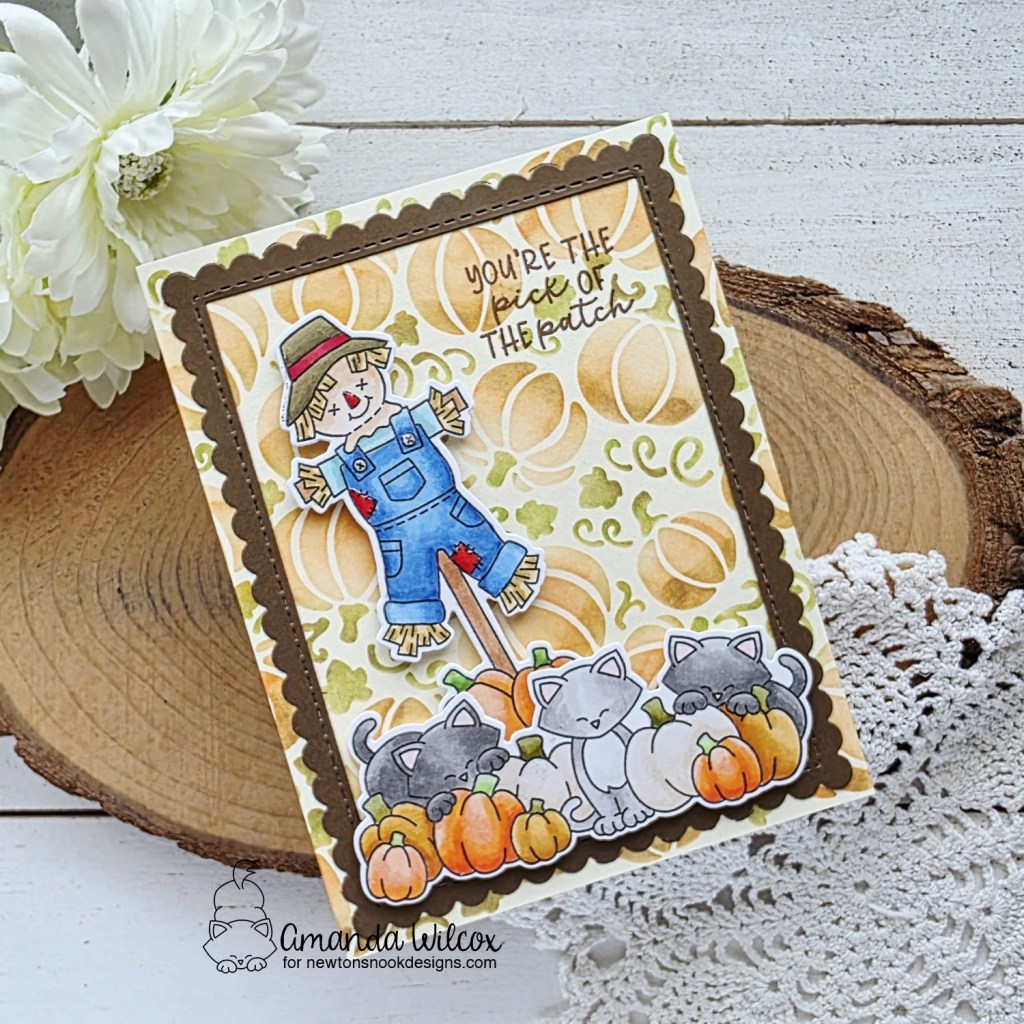
Newtons Nook – April Mini Release Reveals Day 2

Welcome back everyone. For our second fabulous background die on this release, we have the Filigree Oval Frame die that comes with a hello sentiment as well.

Filigree Oval Frame Dies

I love the pattern on this frame and the fact that the oval is cuts out is stitched and totally usable with the frame or on it’s own later too. I have a shaker card to share with you using all of this today.

I cut the Filigree Oval Frame from white cardstock, saving the oval to use with it. Then I stamped and colored the Roses image with copic markers and used the coordinating die to cut it out. After coloring the roses I chose purple for my background color. I inked the edges with a brighter purple ink and carefully die cut the “hello” sentiment from the center of the panel knowing I was going to cover that up with my oval. I inked the bottom of the word the same as the panel so they coordinated.

Next I lined the frame panel with acetate and foam tape around the edges. I glued the purple panel to a card base and sprinkled shaker filler in the center, then adhered the frame over top, sealing the shaker bits inside.

Then, I inked up the oval with yellow ink and splatters and popped it up with foam tape in the opening. I added the rose with foam squares and carefully used liquid glue to adhere the “hello” sentiment where it overlaps the roses.

For finishing touches I added white gel pen highlights all over the image.

Enter to Win a $25 Prize!

One lucky winner will receive a $25 store credit to spend at Newton’s Nook Designs online shop! The winner will be chosen at random from the collective blog posts featuring our new products this week. For a chance to win, leave comments on the Design Team Member Blog Posts (see list below) from Wednesday, April 16 and Thursday April 17th. You will not know which blog has been chosen so the more you comment on the better your chances are of winning! You have until Thursday, April 17th at 9 pm ET to comment — winners will be announced on the NND blog on Friday, April 18th.

Check out all the awesome Design Team Blogs below to enter:

Newton’s Nook Designs
Donna Idlet
Larissa Heskett
Samantha Mann
Diane Morales
Farhana Sarker
Amanda Wilcox

Newtons Nook – April Mini Release Reveals Day 1

Hello friends! Newton’s Nook is having a mini release this month with just 2 new dies…that you’re going to LOVE! We’re revealing one today and the other tomorrow, with an Instagram hop on release day! First up…

Lattice Die

Today I have a springy card to share with you using the Lattice die and the pretty Daffodils stamps and dies. My mother-in-law used to have a lattice fence dividing her yard and I always thought it was pretty with flowers along the bottom so that’s where I got my inspiration for this card.

I cut the lattice die from white cardstock and then used distress oxide sprays and distress spritz spray to add color and shimmer. Her lattice was bright white but I wanted to pull in the yellow for the daffodils.

I colored my images and used the coordinating dies to cut them out. Then I cut a banner from the A7 Frames die set and heat embossed my sentiment on that. I used liquid glue to adhere the stems of the daffodils in the lattice and then lined the back with foam strips and squares. I also added foam to the butterfly and sentiment strip.

Next, I cut a piece of this blue glitter cardstock I found in my stash to A2 size and glued it to a card base. I inked up the edges with a darker blue ink but it didn’t really take to this cardstock because I think it has a coating on it for the glitter. So I removed all the release paper from the back of the lattice panel and popped it in place. Then I added the sentiment strip and butterfly next.

For finishing touches I added glossy accents to the stamen on the daffodils an butterfly wings for a bit of shine with all the shimmer.

Enter to Win a $25 Prize!

One lucky winner will receive a $25 store credit to spend at Newton’s Nook Designs online shop! The winner will be chosen at random from the collective blog posts featuring our new products this week. For a chance to win, leave comments on the Design Team Member Blog Posts (see list below) from Wednesday, April 16 and Thursday April 17th. You will not know which blog has been chosen so the more you comment on the better your chances are of winning! You have until Thursday, April 17th at 9 pm ET to comment — winners will be announced on the NND blog on Friday, April 18th.

Check out all the awesome Design Team Blogs below to enter:

Newton’s Nook Designs
Donna Idlet
Larissa Heskett
Samantha Mann
Diane Morales
Farhana Sarker
Amanda Wilcox

Newton’s Nook – Time to Celebrate

Hey friends! As always, happy to be sharing super fun Newton’s Nook inspiration on their blog and here! Also, still beefing up my birthday card supply so here is another fun one for the stash. This set happens to be part of the Retiring Sale going on now too so snag yours while they’re available!

I started with the cute image from Birthday Mice, stamping and coloring with copic markers. Then used the coordinating die to cut it out. Next, I heat embossed the Birthday Roundabout image on a piece of white cardstock and did a little ink smooshing on top of it. When doing this type of technique remember to dry your panel in between inks so they layer more than mix into mud.

Once that was done and the panel was dry, I tore off one edge and used my teal blending brush (without adding ink) along the torn edge to add some color. Then I took one of the Ocean Borders dies and cut a strip of yellow cardstock to add beneath it. I also stamped and heat embossed a sentiment from the Birthday Roundabout on a Banner Trio die before putting all of that away.

For assembly today, I added foam squares and tape to the back of the inked panel, mice image and sentiment banner. I removed the release paper and adhered the wavy strip to the inked panel first, then adhered all of that to a white card base. Next I added the image and sentiment banner to that. For finishing touches I added twine around the top and a combo of glossy accents and stardust Stickles to parts of the image.

Products used:
Birthday Mice stamps and dies
Birthday Roundabout stamps
Banner Trio dies
Ocean Borders dies

Foam squares
Liquid glue
Embossing and watermark ink
Embossing powder – frosting
Magic anti-static brush
Lawn Fawn inks – peacock, peach fuzz, lemonade

Blending brush

I appreciate you sharing your time with me. Have a fabulous day!
Newton’s Nook – February Release Day Instagram Hop

Happy Friday everyone! We’ve revealed all the wonderful things and it’s all available to purchase in the Newton’s Nook shop now! To add to the release festivities we’re having a hop over on Instagram full of inspiration too!

Here are the details for my card but be sure to comment on Instagram for your chance to win!

I told you on the reveal day that I had to color both of the Spring Heights images right away because I just loved them so much! Well, since I created a tag with the other image I wanted to create a card to share with you for this image.

After coloring and die cutting the image, I cut a piece of white cardstock a couple inches wide and stenciled a mini scene with the clouds stencil and hills & grass stencil. I glued that to a piece of yellow cardstock and popped my images up with foam squares.

Next, I cut a piece of melon cardstock and glued it to a white card base before popping my scene panel up on it with foam tape. I used my MISTI to stamp my sentiment after it was all put together and finished it off with some ribbon tied at the top.

For finishing touches on the images, I added glossy accents to all beaks, noses and toe beans, plus stardust Stickles to wings and flower centers.

Remember to head to Instagram now and comment as you hop along for another chance to win!

I appreciate you sharing your time with me. Have a fabulous day!
Newton’s Nook – February Release Day 3

Welcome back everyone! Today is the final day of release reveals. Tomorrow you can hop with us for extra inspiration on Instagram and also hit the Newton’s Nook shop to grab your favorites too! But first…today’s reveal!

Hyacinth stamps and dies and Daisies dies

These new products are really sweet and fun to create with so I have 2 cards to share with you today! Let’s start with the fun Hyacinth image.
After creating so much pastel for this release it was really fun to go bold with these florals, and my favorite, get inky messy too! I started by stamping and coloring the image, then cut it out with the coordinating die. I already had a design in mind so I pulled out the Hexagon Frames dies and started cutting them from yellow cardstock.
Once the hexagons were cut out and arranged, I cut a piece of dark purple cardstock for my background. Then I spritzed the papers with distress oxide sprays for fun visual texture. I used Wilted Violet and Wild Honey on the respective cardstocks. Once the purple was dry, I distressed the edges before gluing it to a white card base.

I stamped my sentiment on one of the hexagons and then popped them all up with foam squares. Next, I added the hyacinth image the same and finished that off with glossy accents on all the stamen. Last, I wrapped some purple ribbon around the top and tied it in a knot.

Now, we move on to the fun new Daisies die set! I couldn’t just make one either, we needed a whole bouquet!

And with a bouquet, we needed somewhere to keep it. So I used the Jar hot foil plate on white cardstock and then inked it up with light teal ink. I splattered it with water for texture and used washi tape to adhere the daisy stems to the back to hold them in place.

Next, I pulled out the Frames & Tags die set and cut the largest one from pink cardstock. I splattered it with light pink ink and set it aside. Then, I cut one of the tags from the same die set from a purple distress cardstock and heat embossed my sentiment on it from the Hyacinth stamp set. I used a piece of sand paper to distress it a little and attached it to the jar with jute twine.

Before adhering all the layers together, I took my light teal ink pad directly to the white card base, dragging it along each side. It is a quick, fun way to add textured color to your cardstock. Next, I popped the pink panel up with foam tape. Then I glued the jar down with liquid glue and adhered the flowers with a combo of liquid glue or foam squares. Last, I went ahead and adhered the tag in place with a foam square so it wasn’t floating freely.

Enter to Win a $25 Prize!

One lucky winner will receive a $25 store credit to spend at Newton’s Nook Designs online shop! The winner will be chosen at random from the collective blog posts featuring our new products this week. For a chance to win, leave comments on the Design Team Member Blog Posts (see list below) from Tuesday, February 25th through Thursday February 27th. You will not know which blog will be randomly chosen so the more you comment on the better your chances are of winning! You have until Thursday, February 27th at 9 pm ET to comment — winners will be announced on the NND blog on Friday, February 28th.

Want another chance to win? We will be having an instagram hop on Friday with a second prize! Please join us over on Instagram on Friday, February 28th for details! 

Check out all the awesome Design Team Blogs below to enter:

Newton’s Nook Designs
Donna Idlet
Larissa Heskett
Samantha Mann
Diane Morales
Farhana Sarker
Amanda Wilcox

Newton’s Nook – February Release Day 2

Happy Wednesday everyone! We’re back with another sweet spring stamp and die set to share with you today.

Spring Heights stamps and dies

I love these new images and had a blast coloring both of them! The sentiments are really fun and can be used for such a variety of occasions. Today I have a gift tag to share with you using those cute pups!

After coloring the image, I used the coordinating die to cut it out and lined the back with foam squares. Then I cut the Bookmark die from teal and white cardstocks, plus a bottom portion from brown cardstock. I used the Sky Borders die on the brown piece to mimic the bumpy dirt from the image and heat embossed my sentiment at the bottom of that.

Next I used the Petite Clouds stencil on the teal die cut and then glued the dirt at the bottom of that. I popped the image up with foam tape after that. Then I layered the fun tag with the plain white one and threaded ribbon through the hole at the top.

For finishing touches I added black glaze pen to the puppy eyes and then white gel pen highlights to those plus other parts of the images. Last, I added stardust Stickles to the flower centers and glossy accents to the dog tags and noses.

Enter to Win a $25 Prize!

One lucky winner will receive a $25 store credit to spend at Newton’s Nook Designs online shop! The winner will be chosen at random from the collective blog posts featuring our new products this week. For a chance to win, leave comments on the Design Team Member Blog Posts (see list below) from Tuesday, February 25th through Thursday February 27th. You will not know which blog will be randomly chosen so the more you comment on the better your chances are of winning! You have until Thursday, February 27th at 9 pm ET to comment — winners will be announced on the NND blog on Friday, February 28th.

Want another chance to win? We will be having an instagram hop on Friday with a second prize! Please join us over on Instagram on Friday, February 28th for details! 

Check out all the awesome Design Team Blogs below to enter:

Newton’s Nook Designs
Donna Idlet
Larissa Heskett
Samantha Mann
Diane Morales
Farhana Sarker
Amanda Wilcox