Pretty Pink Posh – Happy Haunting

Welcome! I’m so glad you’re here. Today I’m sharing a little more Halloween inspiration using newly release products from Pretty Pink Posh. I seriously can’t get enough of this release and had so much fun creating this card which has a non-traditional color palette and is totally out of my comfort zone.

I stamped and colored one of the main images from Halloween Envelopes with my copic markers. I used the coordinating die to cut it out and also cut a black banner using the die included. I stamped and heat embossed a sentiment on it and popped it up with a foam strip on the envelope.

For the background, I took an A2 panel and one of the Halloween Borders stamps and repeat stamped it in purple, green and orange until it covered the whole section. I placed some post-it tape along the edge and blended distress oxide ink on the top half. I chose salvaged patina, cracked pistachio and a little twisted citron on the top edge. I removed the tape and added the envelope with foam tape.

The top portion looked a little sparse so I went back to the Halloween Envelopes stamps and chose some extra images to stamp, color and die cut. I added all of them with foam squares around the design and I love what they add to it!

For finishing touches I added a line from the envelope to the spider with a fine line black pen, glossy accents to the stars and stardust Stickles to the ghosts.

Isn’t this design so interesting and fun!?! I think so.

Products used today:
Halloween Envelopes stamps and dies
Halloween Borders stamps
Foam squares and tape
Glossy accents
Stickles – stardust
Distress Oxide Ink – salvaged patina, cracked pistachio, twisted citron

I appreciate you sharing your time with me. Have a fabulous day!
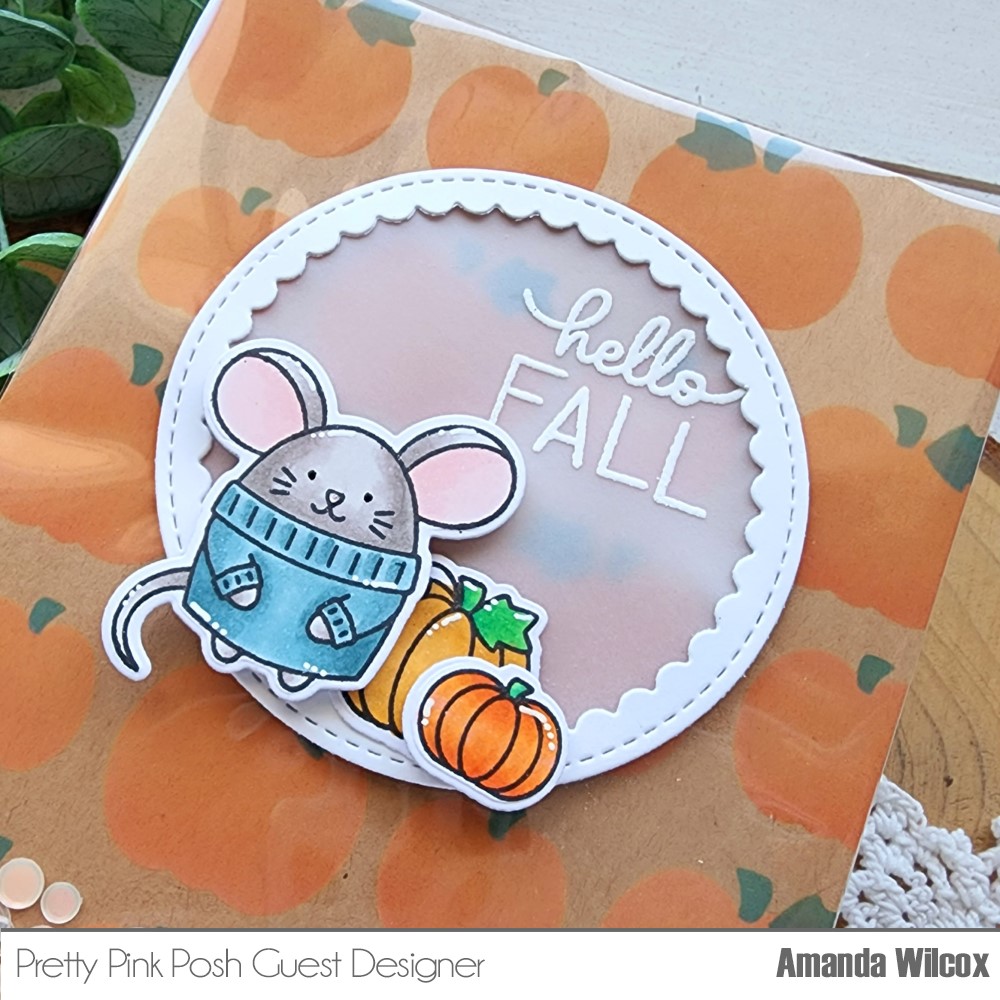
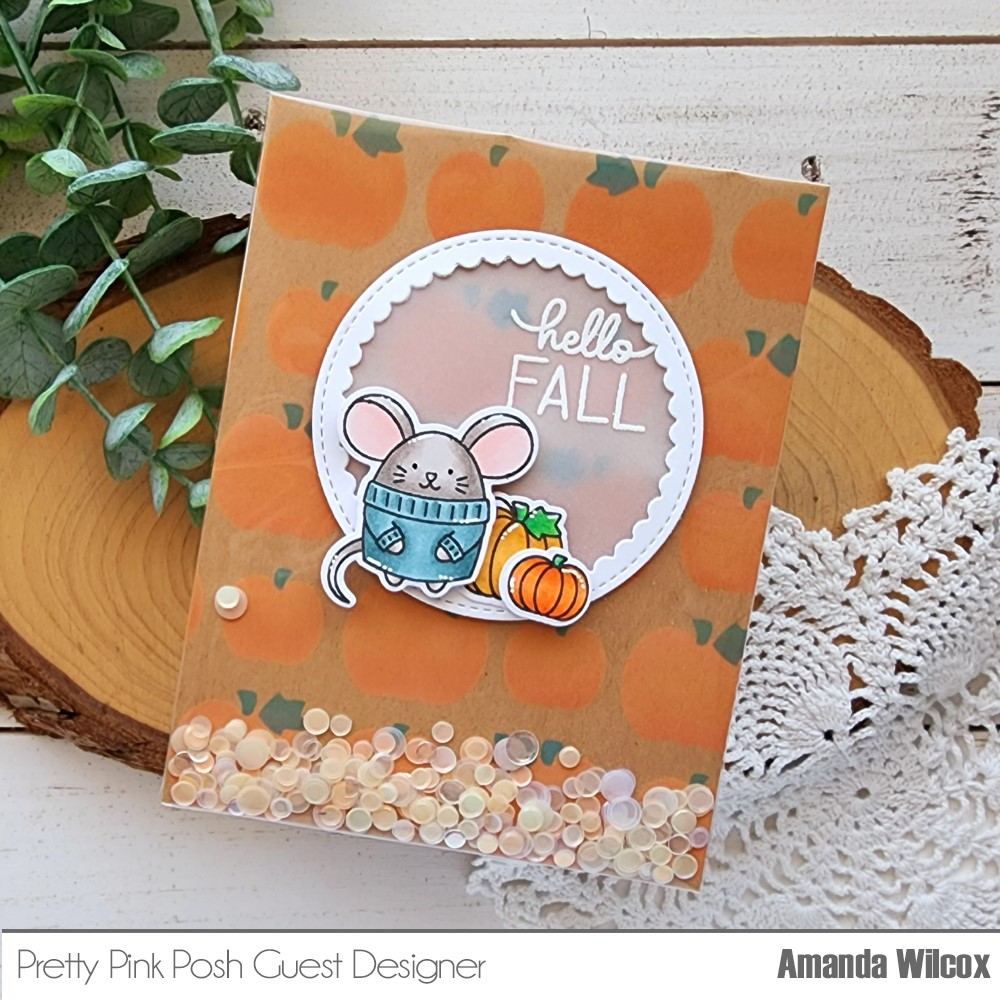
Pretty Pink Posh – Hello Fall Shaker Card

Happy Friday everyone! I have another card to share with you featuring Pretty Pink Posh cuteness today but I’ve turned a Halloween stencil fall and busted out some cute critters from last year’s fall release. Let’s play!

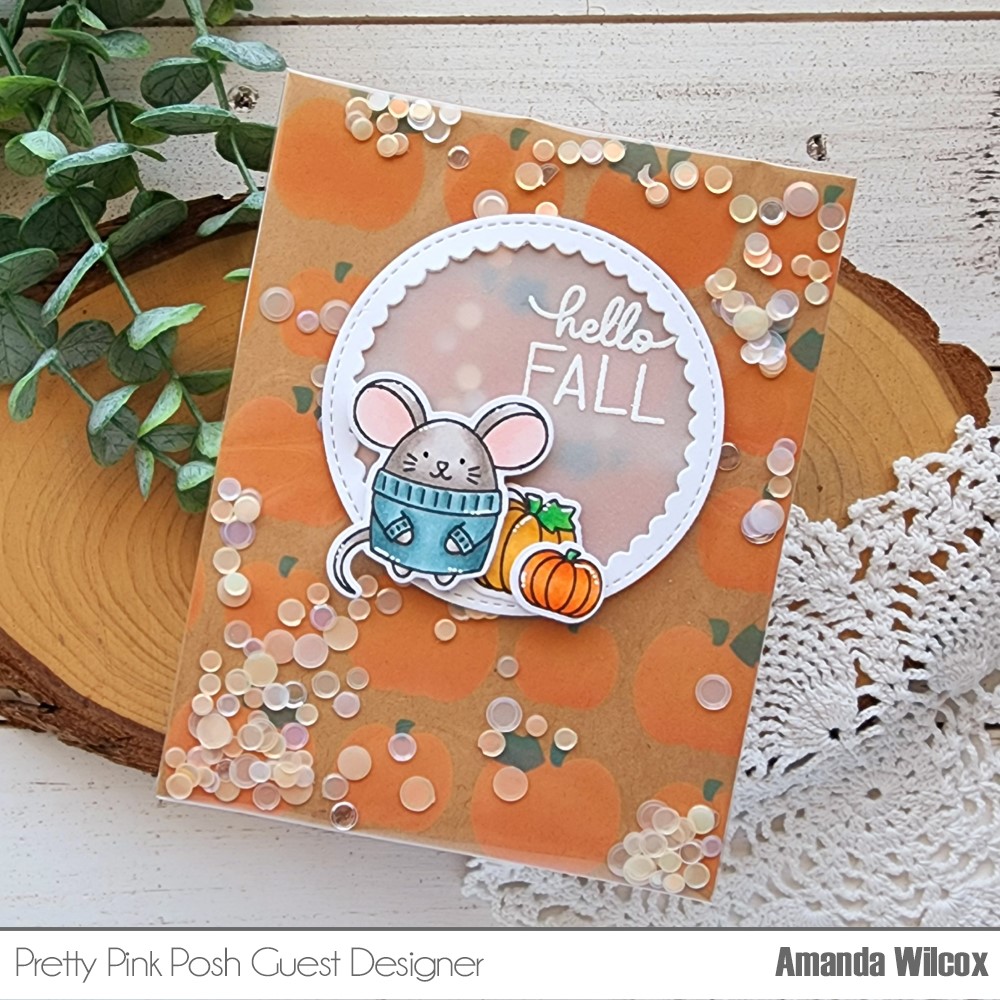
I started this card by inking up the first two layers of the Layered Pumpkin stencil set with distress oxide inks on kraft cardstock. I like the effect of the ink sitting on top of the paper so it shows up chalky looking. It’s really cool. I trimmed the panel down to scant A2 size and wrapped packaging around the edges creating a full card front shaker. I left the top open to pour in some confetti sequins and then sealed it up. I adhered it to a card front and switched to stamping and coloring.

I chose some images from Cozy Fall Critters and Fall Corners, and colored them with my copic markers. I used the coordinating dies to cut them out and started arranging them on the card front. They kind of got lost so I pulled out the Scalloped Circle dies and cut one from white cardstock. I cut another circle from vellum and heat embossed my sentiment on it. I adhered the layers together and then to the card front before adding my mouse and his pumpkins to the bottom of it. One pumpkin is glued directly down and the other with the mouse are popped up on foam squares.

Here’s another look at the card with all the shaker bits at the bottom. Isn’t this just super cute and totally fall-ready! I love it!

Products used today:
Cozy Fall Critters stamps and dies
Fall Corners stamps and dies
Layered Pumpkins stencils
Scalloped Circles dies
Foam squares
Scrappy tape – 1/4″

I appreciate you sharing your time with me. Have a fabulous day!
Pretty Pink Posh – Spooky Wishes

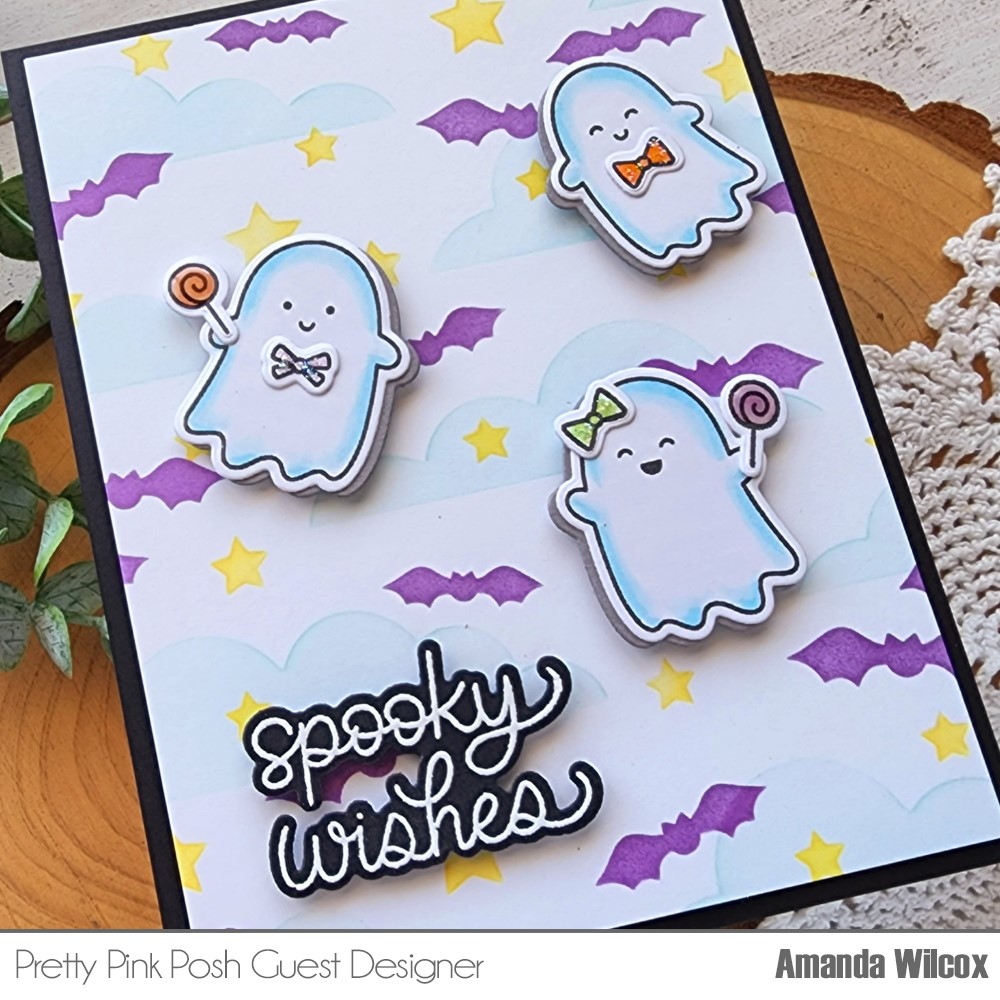
Welcome! Welcome! I’m popping in with a spooky fun card today featuring Pretty Pink Posh Halloween goodies. I partnered this year’s adorable ghosts with a stencil I fell in love with last year.

I started by stamping some cute ghosts and accessories for all of them too! I colored everything with copic markers and used the coordinating dies to cut them out. To give my ghosts a little shadow, I also cut a second one out of dark gray paper and glued them together offset just a bit.

I used the Spooky Sky stencil set to create my background using a light blue for the clouds, purple bats and classic yellow stars. Then I trimmed the panel down to 4×5.25 inches and popped it up on a piece of black cardstock. I added foam squares to my ghosts and popped them in place next.

Last, I stamped and heat embossed a sentiment from Ghost Friends and used the coordinating die to cut it out also. I popped it up with foam squares and mounted the whole panel to a white card base.

For finishing touches I added a little stardust Stickles to the bows on all my ghosts and glossy accents to the lollipops.

Too cute to spooky comes to my mind when I see this card. I just love it! I hope you do too.

Products used today:
Ghost Friends stamps and dies
Spooky Sky stencils
Foam tape and squares
Glossy accents
Stickles – stardust
Bearly Arts liquid glue

I appreciate you sharing your time with me. Have a fabulous day!
Pretty Pink Posh – You Are Spooktacular

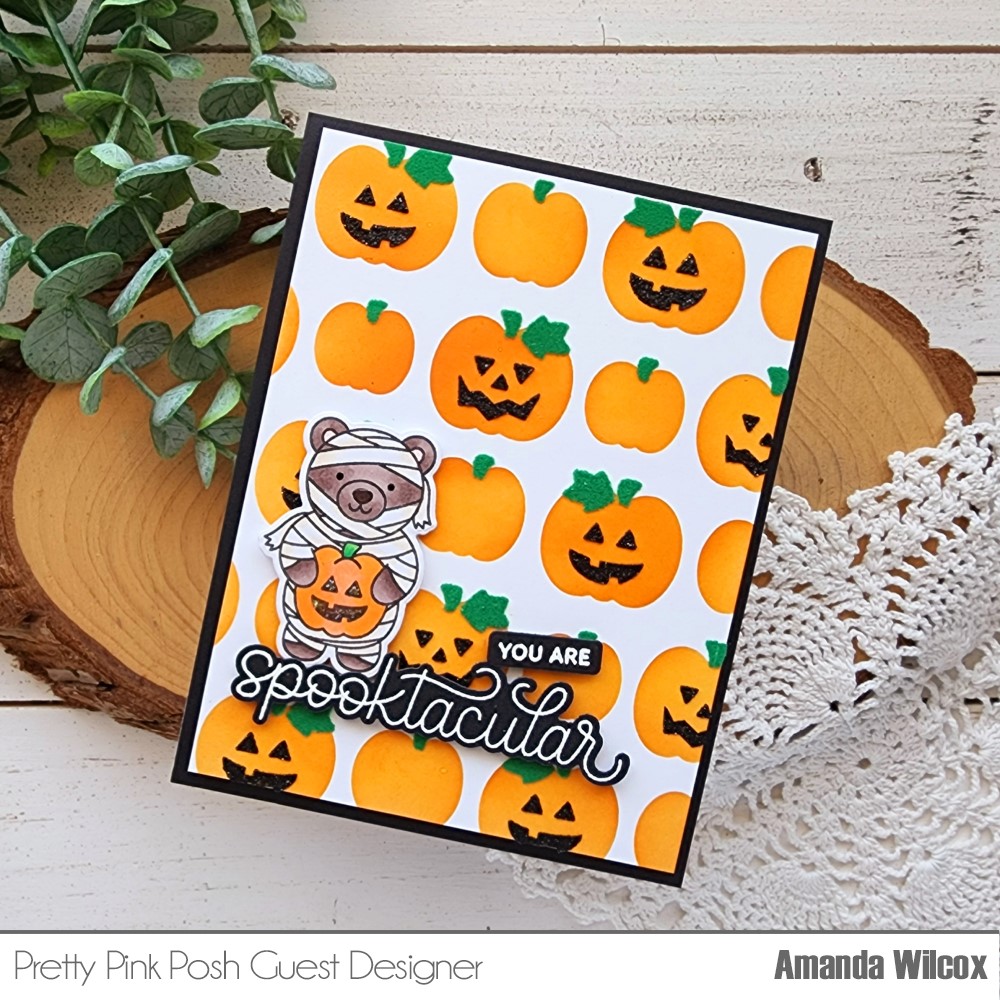
Happy Friday friends! Today I’m back with another adorable and super fun to create card using the August release from Pretty Pink Posh! Another great layering stencil set and too-cute-to-spook critters make for fun in the craft room for sure!

For this card, I stepped up the stenciling a bit by using Thermoweb transfer gel blanco on the leaf layer and adding deco foil flock for some fuzzy leaves. Followed by black glitz glitter gel for the fun faces too!

I chose that adorable mummy bear from Halloween Critters to stamp and color with my copics, then cut out with the coordinating dies. I stamped and heat embossed my sentiment from the same set and used the coordinating die to cut it out too.

A trick I found was that the ruler die from Crafty Critters cuts out the “you are” sentiment in this set perfectly! After all that was done, I added foam squares and strips to the back of everything and started to assembly my card.

I trimmed the stenciled panel to 4×5.25 inches and popped it up on a black A2 panel with foam tape. Then I added the sentiment and mummy bear next. For finishing touches I added black glaze pen to the bear’s eyes and glossy accents to his nose. I also decided to add stardust Stickles to the face of the jack o’ lantern the bear is holding so it looks like the background stenciling too.

Products used today:
Halloween Critters stamps and dies
Crafty Critters dies
Layered Pumpkins stencils
Thermoweb Glitz Glitter Gel – black
Thermoweb Transfer Gel Blanco
Thermoweb Deco Foil Flock – green envy
Foam tape
Glossy accents
Stickles – stardust

I appreciate you sharing your time with me. Have a fabulous day!

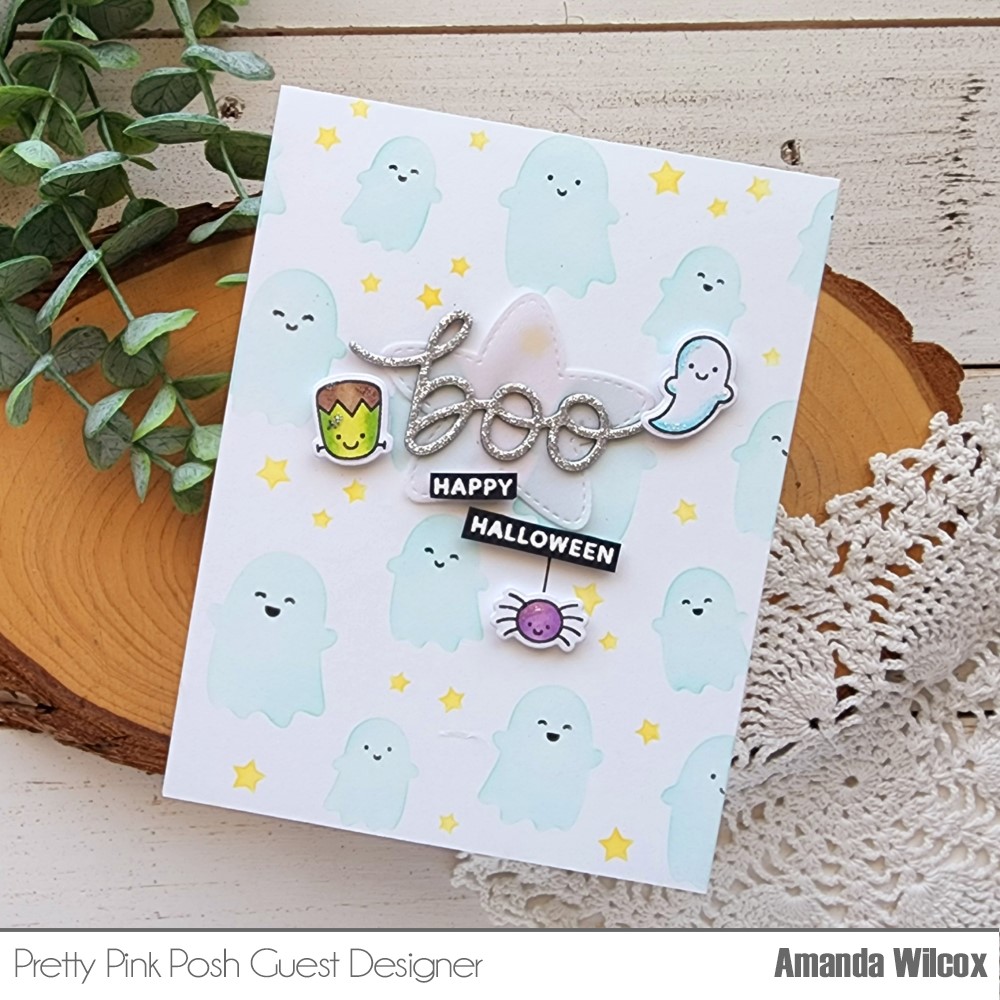
Pretty Pink Posh – Boo

Hello everyone. Thanks for stopping by today. I’m sharing another card featuring some of the August release from Pretty Pink Posh plus some goodies from last year’s Halloween release too!

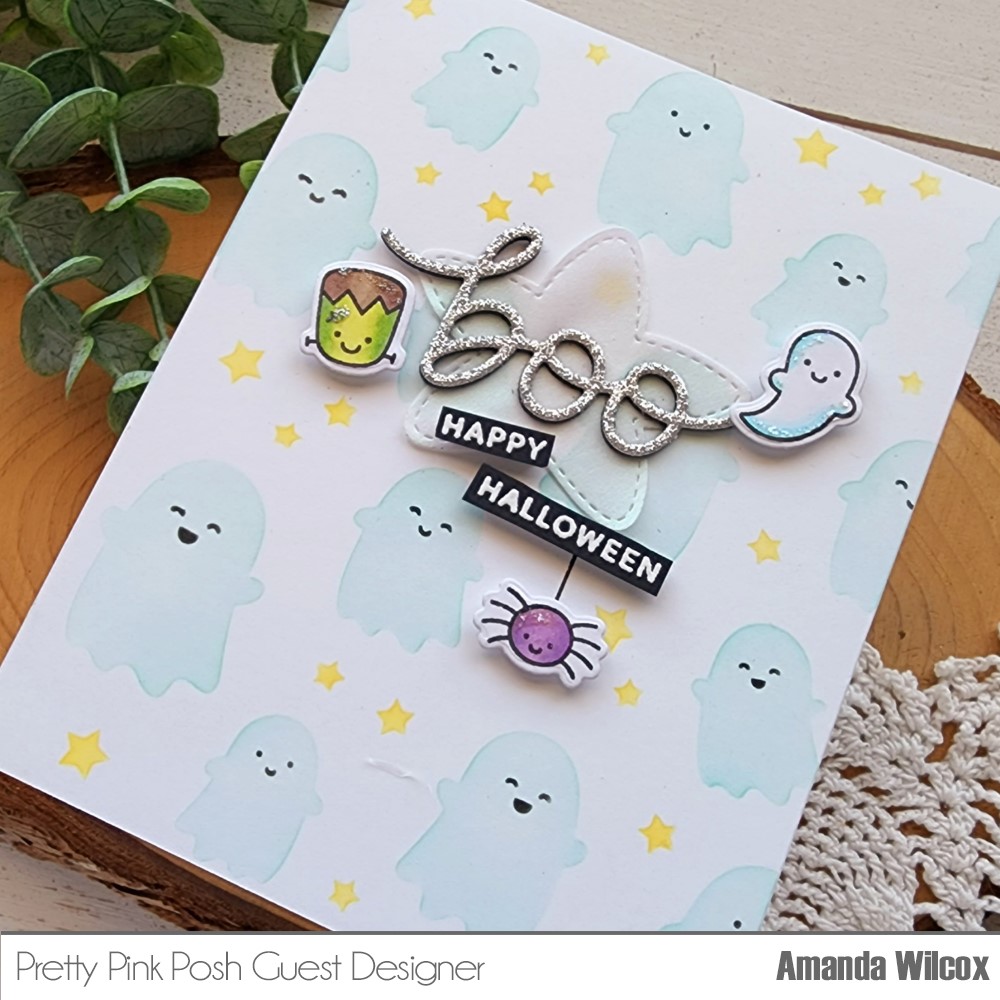
I was having so much fun with the new layering stencils that I just kept making backgrounds and came back later to turn them into cards. This time I used a white A2 piece of cardstock and light teal and yellow inks for my ghosts plus simple black faces so they weren’t totally lost.

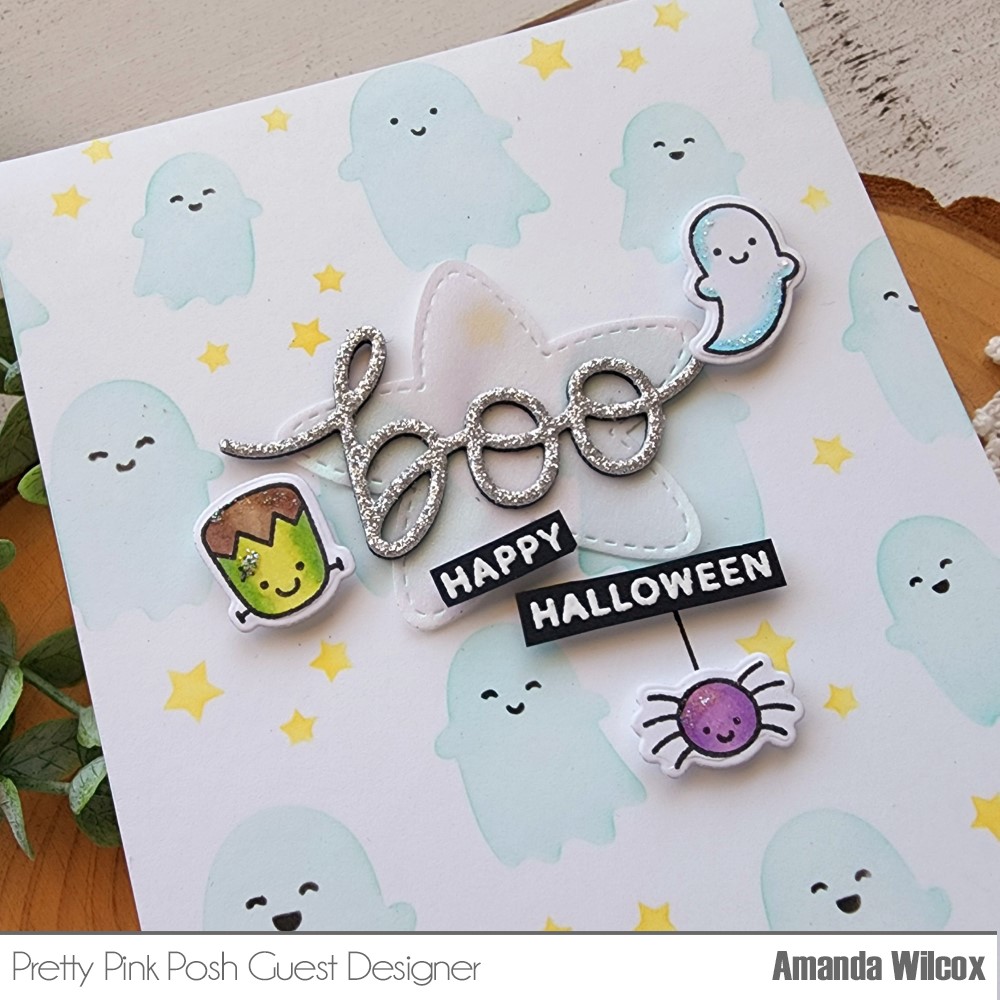
Next, I die cut the new Boo Script die from black and silver glitter cardstocks. I glued 3 layers of black to the silver for dimension. Then I cut the middle Stitched Star from pearlescent vellum and adhered them together, to the stenciled panel.

I thought it looked a little sparse so that’s when I went digging and found these fun smaller images in the Halloween Wreath stamp set. I stamped and colored them with copics and used the coordinating dies to cut everything out.

I also stamped and heat embossed the sentiment in Halloween Wreath on black cardstock and trimmed it into strips. I added foam strips and squares to everything and started adhering them. Before adding the spider, I used a ruler to draw a line coming from under the sentiment strip so it looks like it’s hanging down from its web.

Then for finishing touches, I added stardust Stickles to each of the images for a little sparkle and interest. Last, I glued the whole panel to a white card base and my card is all finished!

Products used today:
Layered Ghosts stencils
Boo Script die
Halloween Wreath stamps and dies
Stitched Stars dies
Foam squares and strips
Stickles – stardust

I appreciate you sharing your time with me. Have a fabulous day!
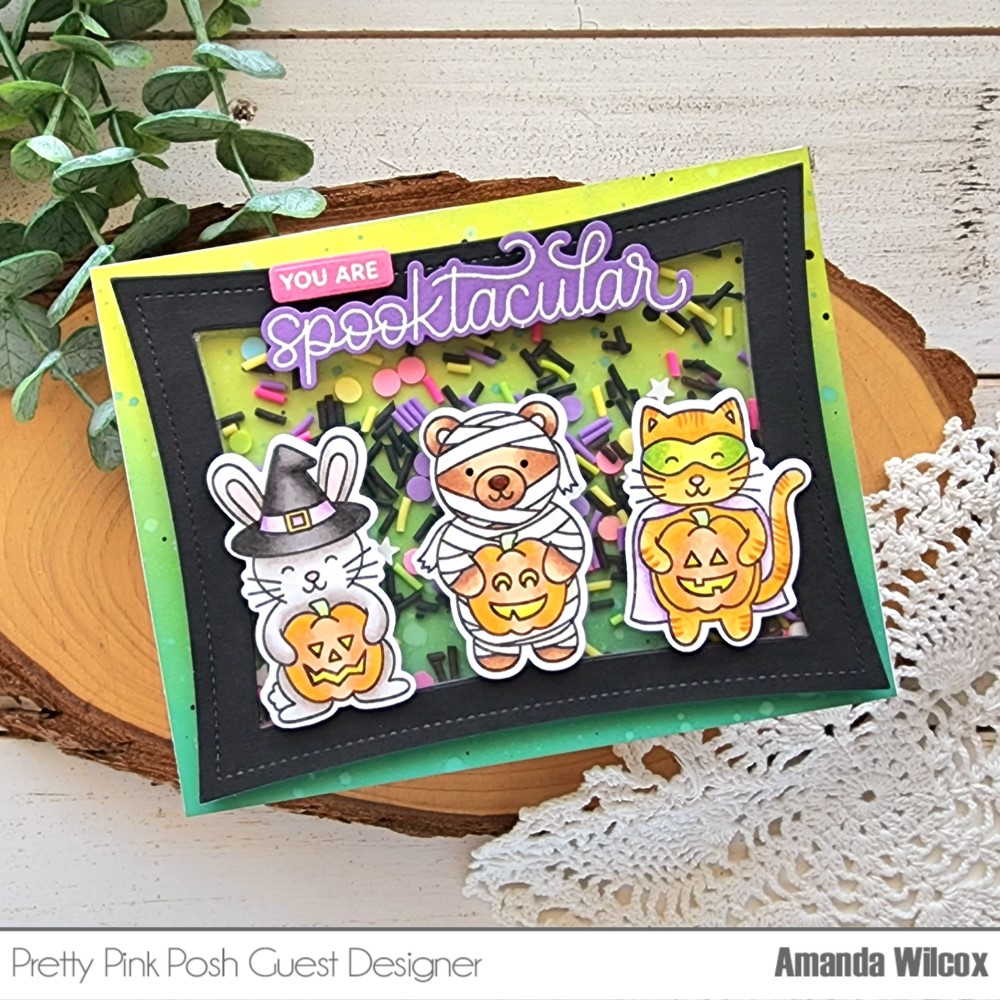
Pretty Pink Posh – August Release Instagram Hop Day 2

Hey crafty friends! Today I’m extra excited to be joining Pretty Pink Posh as a guest designer for their August Release Instagram Hop! Below will be all the details for my fun card but be sure to head to Instagram to comment and hop for chances to win a $30 gift certificate for each day of the hop!

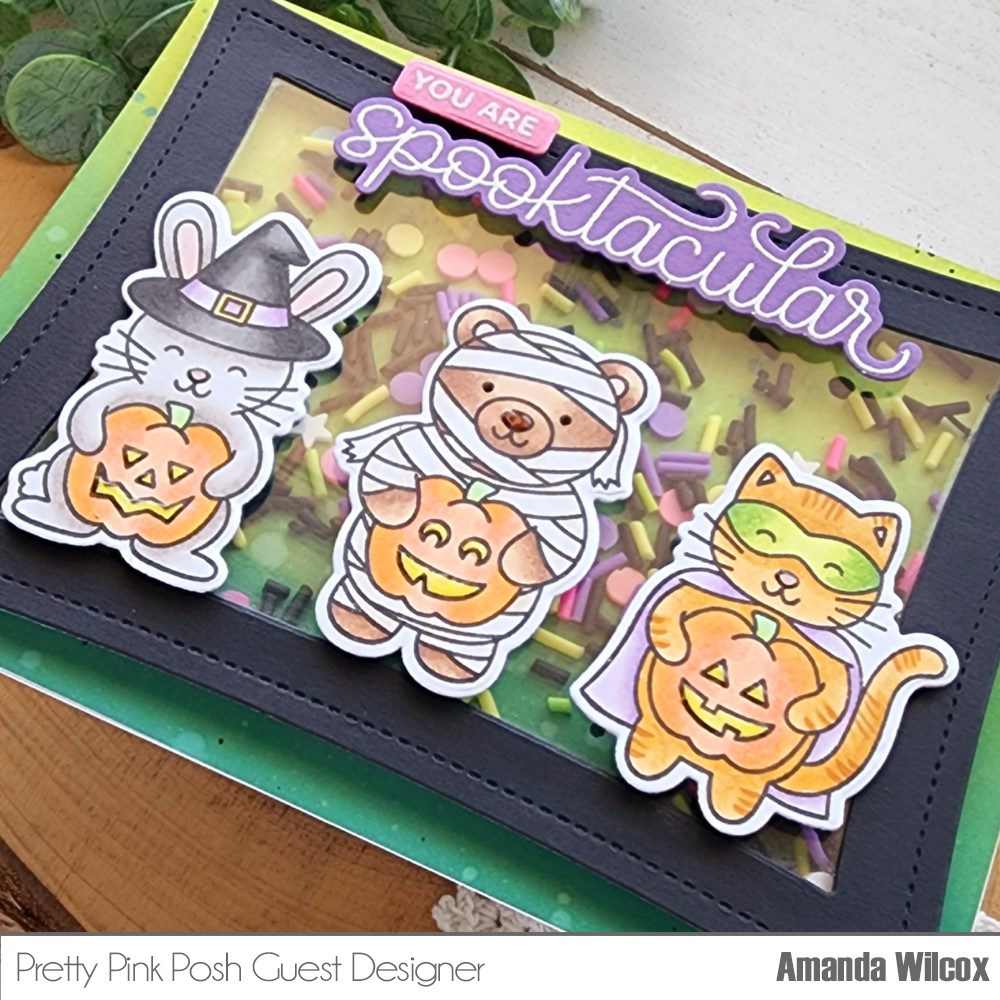
I had so much fun stamping and coloring these adorable Halloween Critters! I used the coordinating dies to cut them out and when I was playing around with placement I thought it would be fun to create a shaker for them.

To create that part, I ink blended distress oxide ink in lucky clover, mowed lawn and twisted citron on an A2 panel and spritzed it with water. I blotted that dry and flicked black paint across the panel. While that was drying, I cut a wonky stitched rectangle from black cardstock and then used the next smallest size to cut from the center of that, creating a frame. I used the largest one again to cut an acetate window and adhered them together. I added foam tape to the back, sprinkled some Spooky Fun embellishment mix to my inked panel before sealing it all up.

I added the critters with foam squares across the arch of the window opening. Then for my sentiment, I pulled in the pink and purple from the embellishment mix by stamping and heat embossing my sentiment on those colors of cardstock. I used the coordinating die to cut out the script word and went digging for something to cut the smaller part. I found that the ruler die from Crafty Critters perfectly cuts out the “you are” sentiment in this set! I totally wrote that on a sticky note and put it in my packaging so I didn’t forget next time!

For finishing touches on my card, I added glossy accents to the pumpkin faces and critter noses. Then, black glaze pen to the bear’s eyes. Isn’t this card so fun and adorable!?! I just love these new critters!

Products used today:
Halloween Critters stamps and dies
Crafty Critters dies
Wonky Stitched Rectangles dies
*** embellishment mix
Foam tape
Glossy accents
Distress Oxide Ink – lucky clover, mowed lawn, twisted citron

I appreciate you sharing your time with me. Have a fabulous day!

Pretty Pink Posh – August Release Blog Hop Day 3

Hey friends! I’m so excited to be guest designing for the Pretty Pink Posh August release! This is day 3 of the release blog hop. So after you hop and comment along today’s designers, be sure to go back and do the same for day 1 and 2 to increase your chances of winning!

Now, on to some spooky fun inspiration for you!

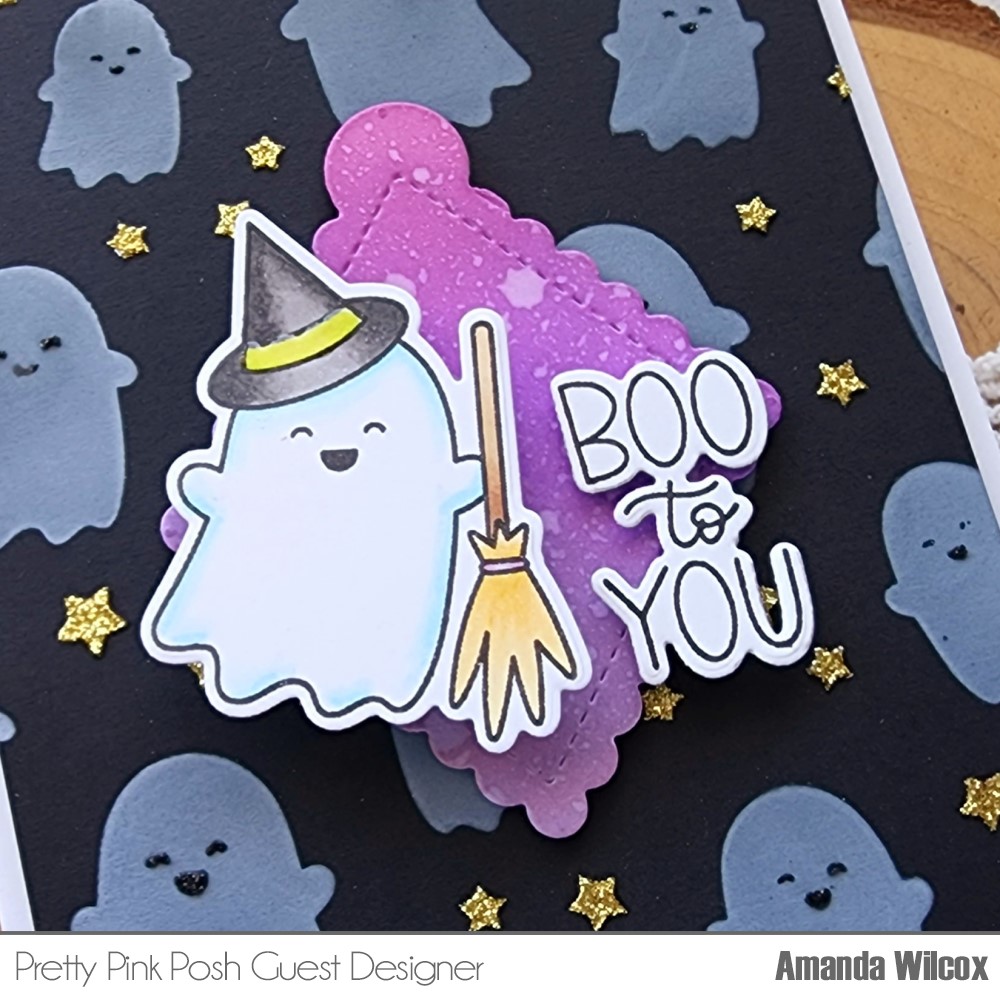
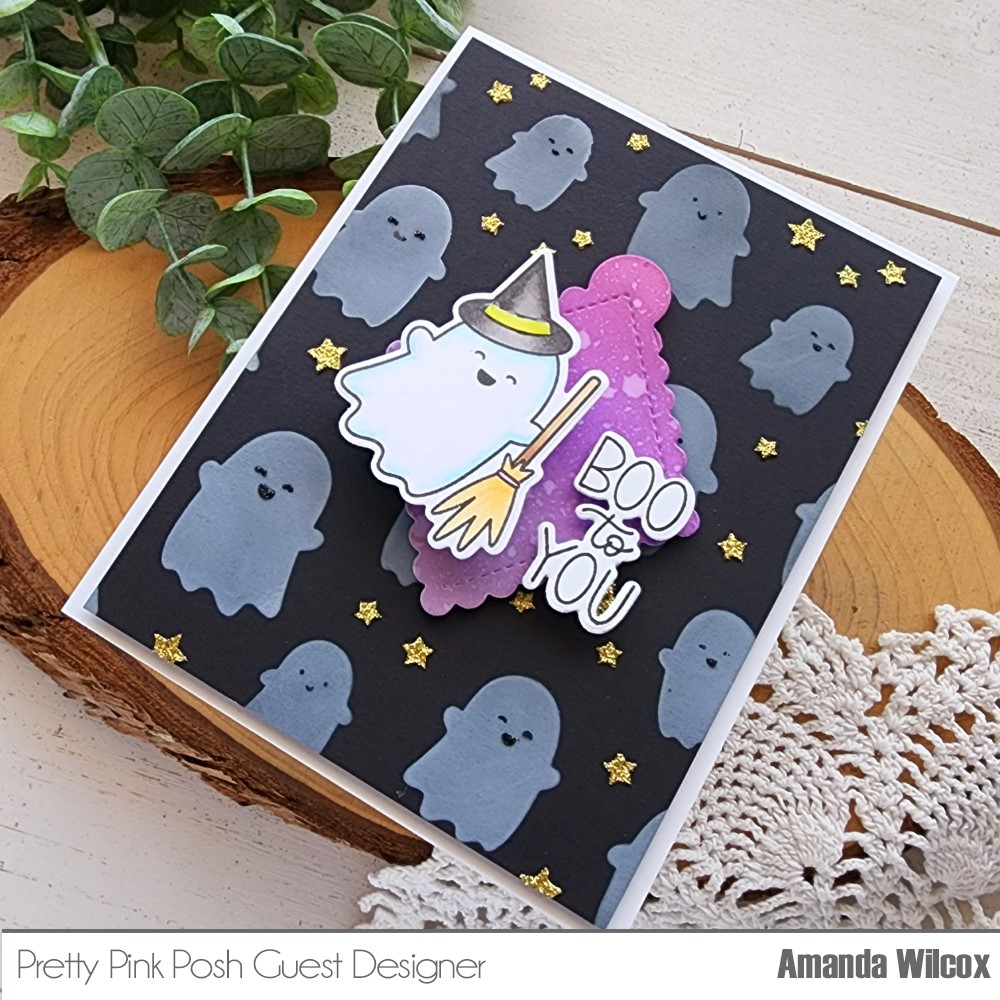
I paired the adorable ghostie images from Ghost Friends with the new Layered Ghosts stencils! They’re all so much fun and definitely too cute to spook! I used white pigment ink with the stencil on black cardstock and then came in with glitz glitter gel for the faces and stars. I love the little bit of sparkle.

Then I stamped and colored the sweet witchy ghost with copic markers, stamped a sentiment in the set and used the coordinating dies to cut all of that out. To create a focal point for my ghost, I ink blended a scrap of white cardstock with distress oxide ink in seedless preserves and dusty concord, then spritzed it with water and blotted it dry. I used the smaller scalloped diamond tag to cut it out and started assembling my card.

First, I trimmed the stenciled panel down to 4×5.25 inches and popped it up on a card base with foam tape. Then I added the diamond with foam squares along with the sentiment. However, to take the fun factor of this card to the next level, I added that sweet ghost with an action wobbler! Sometimes I forget I have these in my stash but I immediately thought a flying ghost needed it!

For finishing touches, I added glossy accents to the witch hat and strip of the broom too.

I hope you enjoyed today’s project. Here is a list of the products I used.

Ghost Friends stamps and dies
Layered Ghosts stencils
Scalloped Diamond Tag dies
Foam tape and squares
Glitz glitter gel – black and gold

Don’t forget to comment for a chance to win 1 of 3 $30 gift certificates to the PPP Shop and then hop along to increase your chances. Winners will be picked randomly along the blog hop. Comments must be left by 11:59 PM PST on 8/17/2022. Winners will be announced on the PPP blog.

Pretty Pink Posh blog
Nichol Spohr
Dana Kirby
Amanda Wilcox
Carly Minner
Yoonsun Hur
Jeanne Jachna

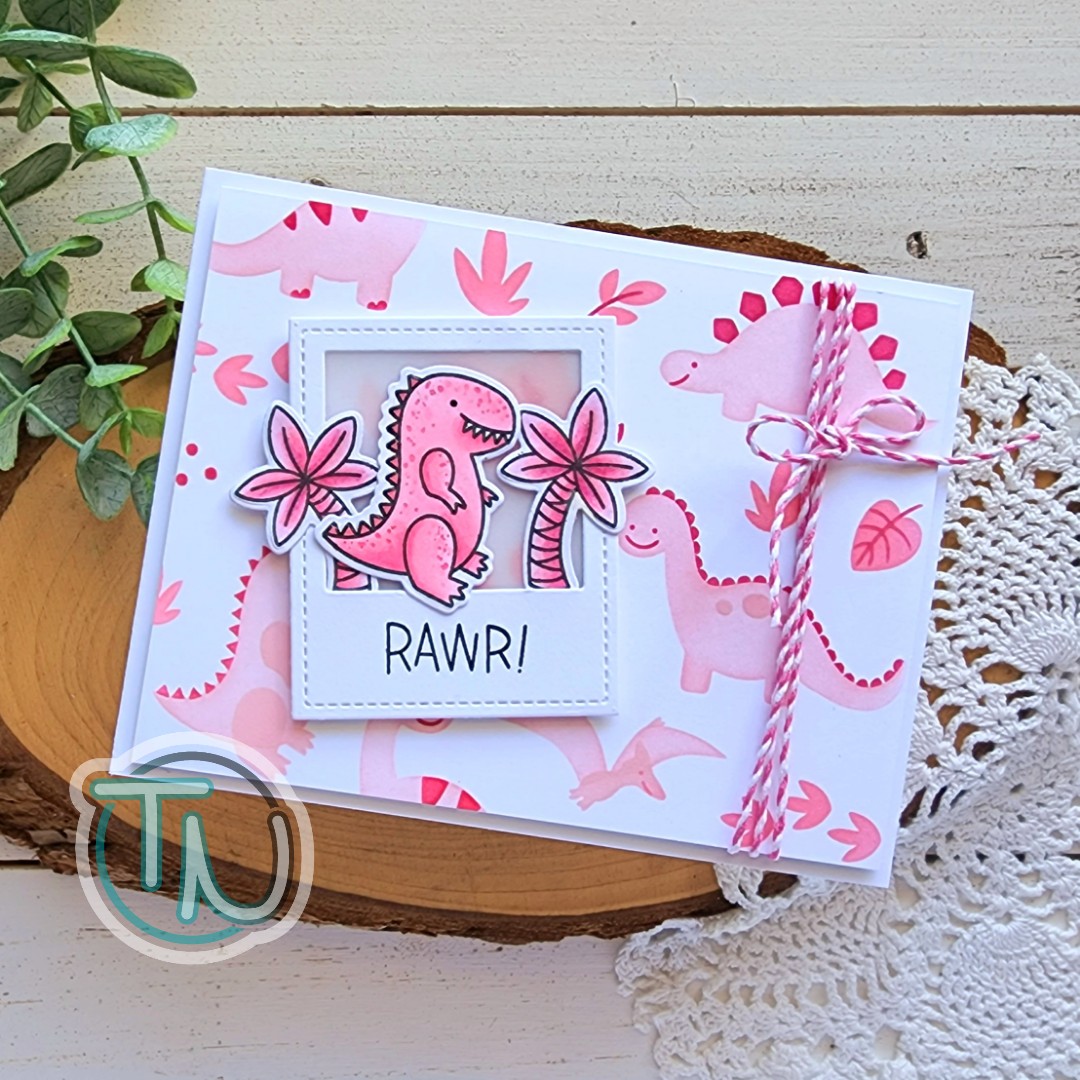
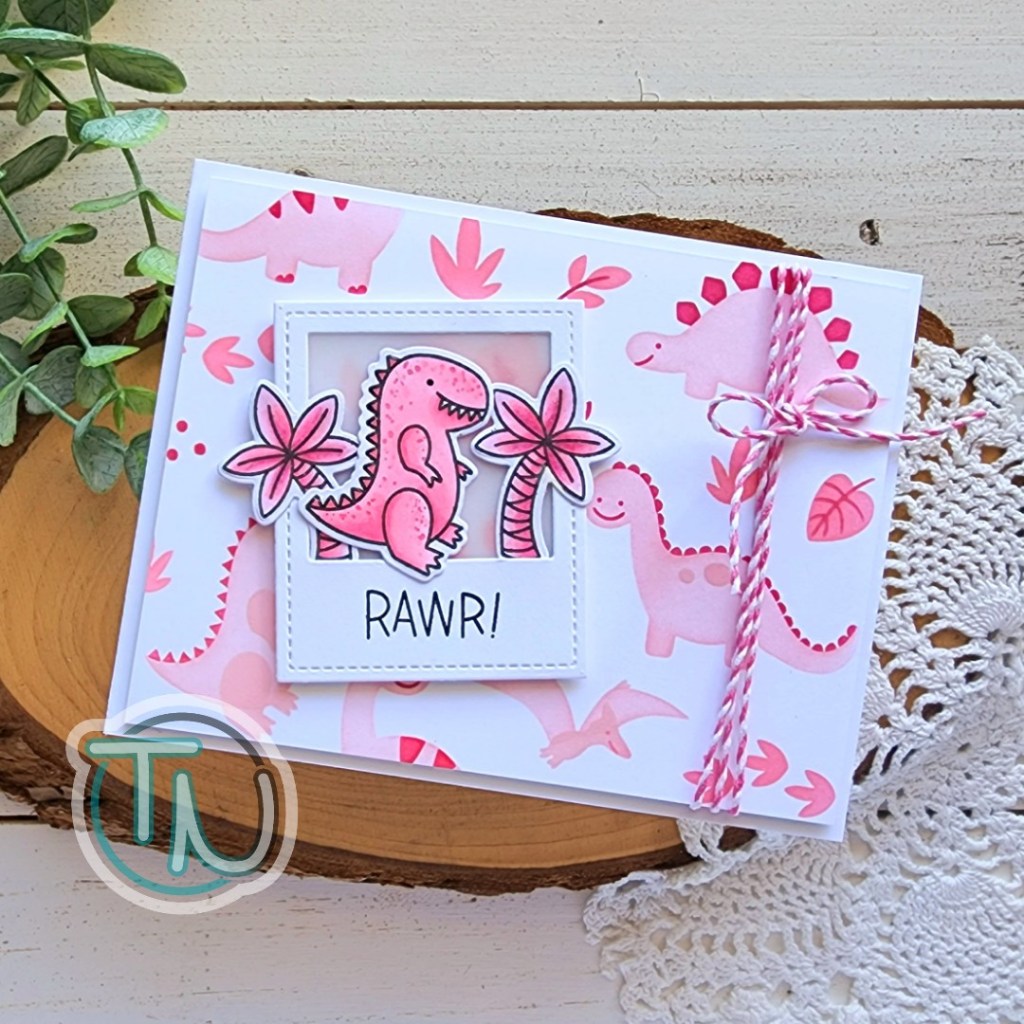
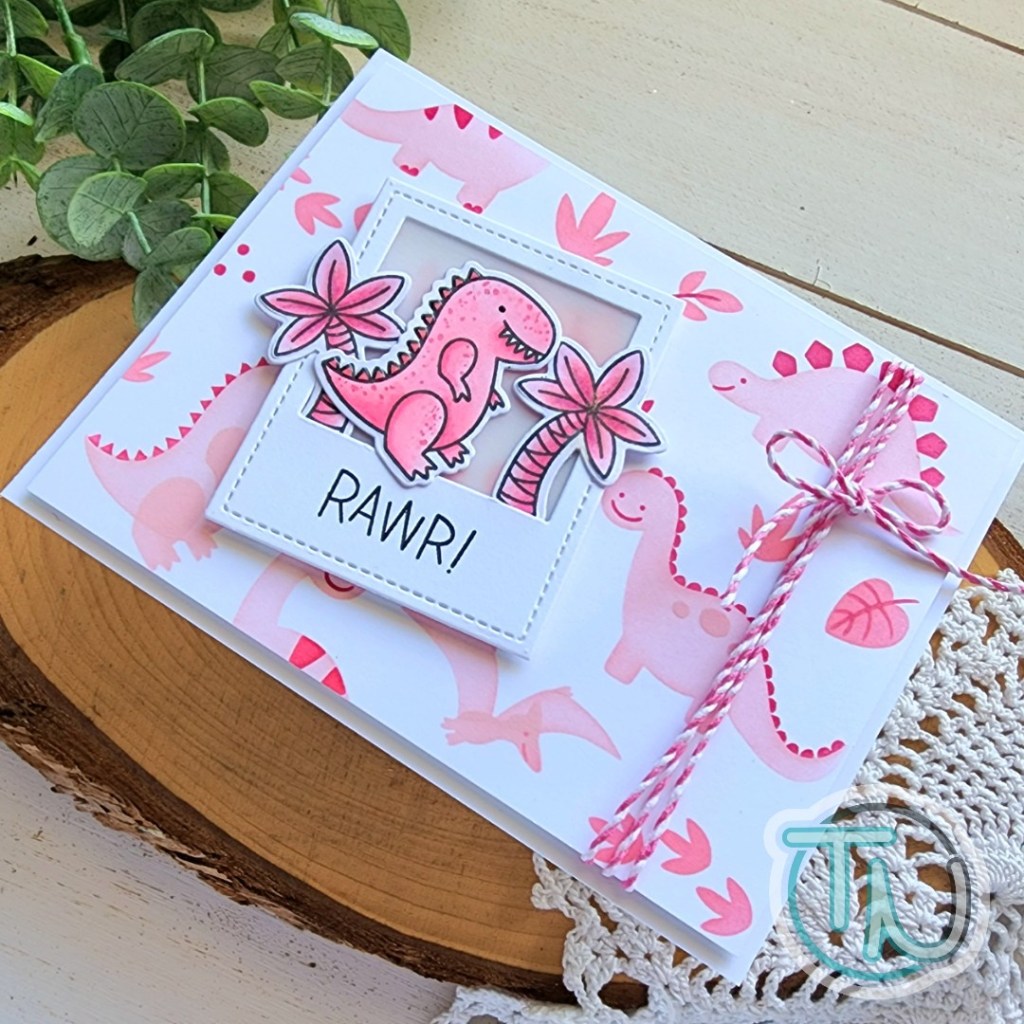
Pretty Pink Posh – Rawr!

Welcome back everyone! Thanks for stopping by. Today I have a really fun card to share with you featuring those great dinosaurs from the most recent Pretty Pink Posh release.

I’m a huge dinosaur lover, plus I have a great inside joke with a friend that includes a dino that looks a ton like the T-Rex from Dinosaur Friends. Her favorite color happens to be pink and I couldn’t resist creating this custom, super fun card for her!

I started with an A2 white panel and three different pink dye inks from my stash. I pulled out the Layered Dinosaurs stencils and inked them up one layer at a time. Once it was finished I trimmed the panel down to 4×5.25 inches and set it aside.

Next, I stamped and colored images from Dinosaur Friends in a variety of pink colors that coordinated with the inks in my background. I used the coordinating dies to cut them out and set them aside while I cut one of the Stitched Photo Frames from white cardstock. I pulled the RAWR! sentiment from Dinosaur Additions and stamped it on the bottom section. Next, I lined the back of the opening with vellum and adhered my images with liquid glue. Then, I added foam strips and squares to the back and adhered it to the left side of my stenciled panel.

Before adding the panel to a card base, I thought it needed something extra so I wrapped pink twine around the right side and tied it in a bow. I added foam tape to the back of the panel and popped it on a card base.

For finishing touches I added glossy accents to the spikes on the dinosaur’s back and black glaze pen to his eye. Then I added a little Wink of Stella glitter brush pen to the palm trees for shimmery fun.

Isn’t this card totally adorable it all it’s unconventional glory?!? I seriously love it and my friend was so excited when she received it.

Products used today:
Dinosaur Friends stamps and dies
Dinosaur Additions stamps and dies
Stitched Photo Frames dies
Layered Dinosaurs stencils
Glossy accents
Wink of Stella glitter brush pen
Foam tape and squares

I appreciate you sharing your time with me. Have a fabulous day!
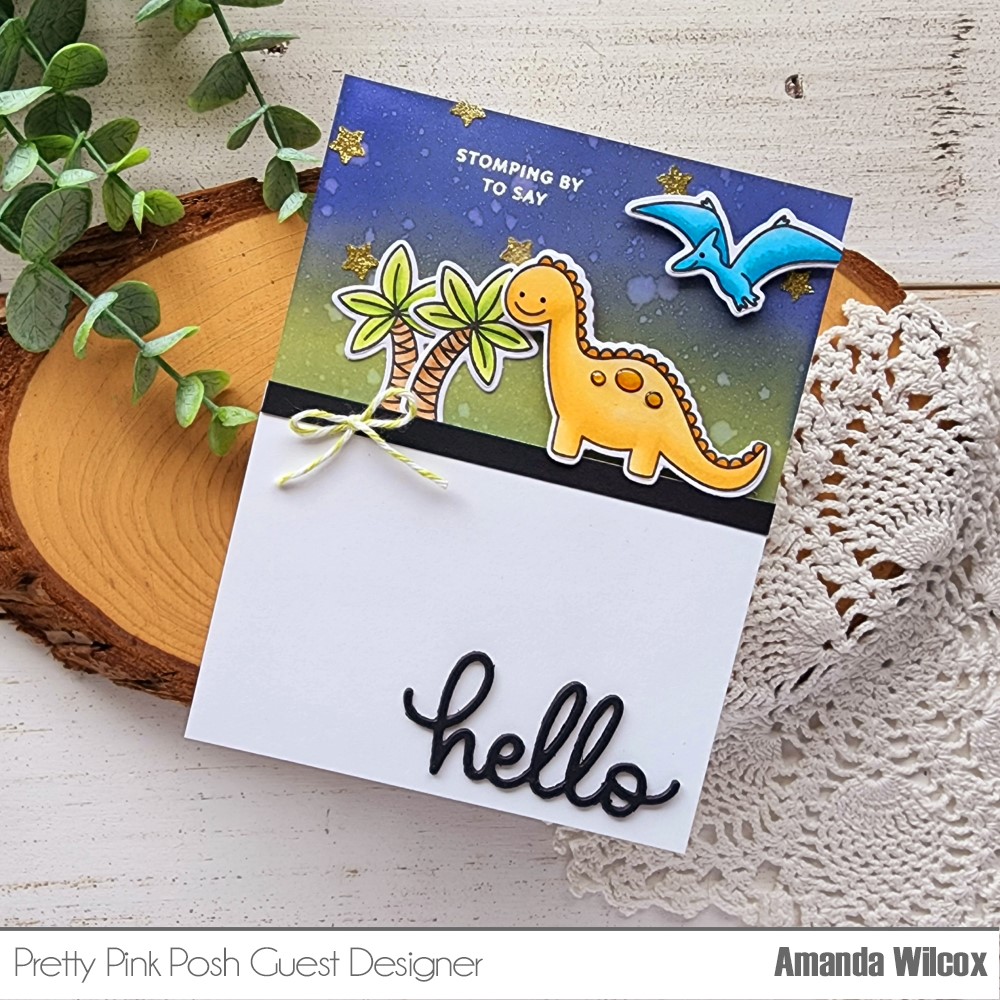
Pretty Pink Posh – Stomping By Card and Tag Combo

Hi again! Today I’m popping in to share a really fun card and tag combo using the super adorable dinosaurs from the Pretty Pink Posh June release. I had so much fun creating these and wanted to share them with you.

I started by stamping and coloring a bundle of images from Dinosaur Friends and Dinosaur Additions and colored them with my copic markers. I had too many for my mini scene so I thought it was a perfect opportunity to create a coordinating tag.

For the card, I ink blended the top third of an A2 size piece of white cardstock with distress oxide ink in blueprint sketch and rustic wilderness. Then I spread gold glitz gel through the stars on the Dino Dig stencil. When that was dry, I added a piece of white cardstock with foam tape and adhered a 1/4 inch strip of black cardstock to the top edge with scrappy tape. I added my images with a combo of foam squares and liquid glue.

This is when I had the idea to split the sentiment between the stamp and the new Script Hello die cut. So I carefully masked and stamped part of the sentiment in the sky and heat embossed it in white, then die cut hello 3 times from black cardstock and adhered it with liquid glue. I think this turned out super cute and fun!

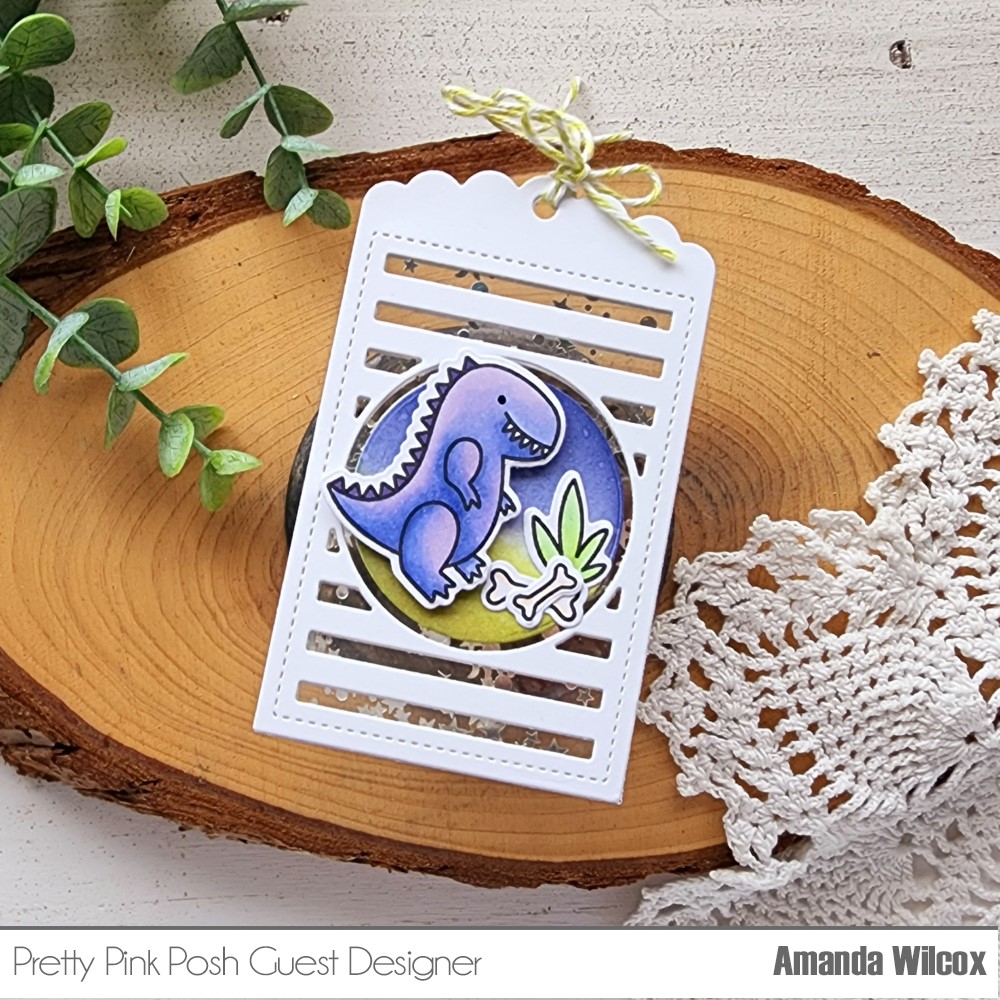
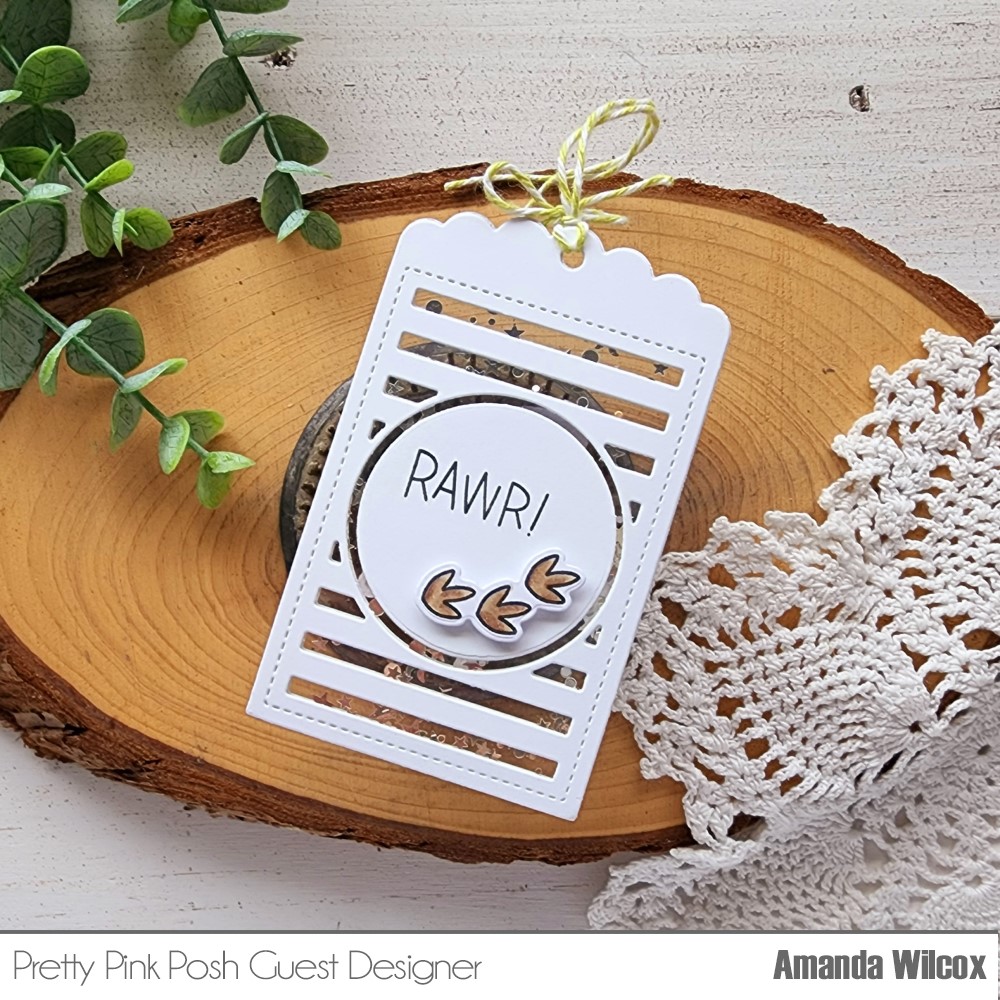
I still had this cute T-Rex and his bones leftover, along with some dino footprints, that just couldn’t go to waste. So I cut the Birthday Circles tag from white cardstock twice, as well as the circle die from the set. I inked one circle up the same as the card front and adhered my images. I lined the back of both tags with acetate, sprinkled some star glitter on one and glued them together with scrappy tape for an instant bond.

I added the dino circle to the front side but didn’t want the back to be ugly so I stamped Rawr! and added the footprints with foam squares. I thought it was a fun little touch.

I hope you enjoyed these little projects using lots of Pretty Pink Posh June release products!

Products used today:
Dinosaur Friends stamps and dies
Dinosaur Additions stamps and dies
Dino Dig stencil
Hello Script die
Birthday Circles dies
Foam squares and tape
Glitz Glitter Gel – gold
Stencil Pal
Glossy accents
Scrappy tape – 1/8″ and 1/4″
Bearly Art liquid glue
Distress Oxide Ink – blueprint sketch, rustic wilderness

I appreciate you sharing your time with me. Have a fabulous day!

Pretty Pink Posh – June Release Instagram Hop

Hello again! I’m super excited to be taking part in the Pretty Pink Posh Instagram Hop for the June release today. I have a really simple but SUPER FUN card to share with you!

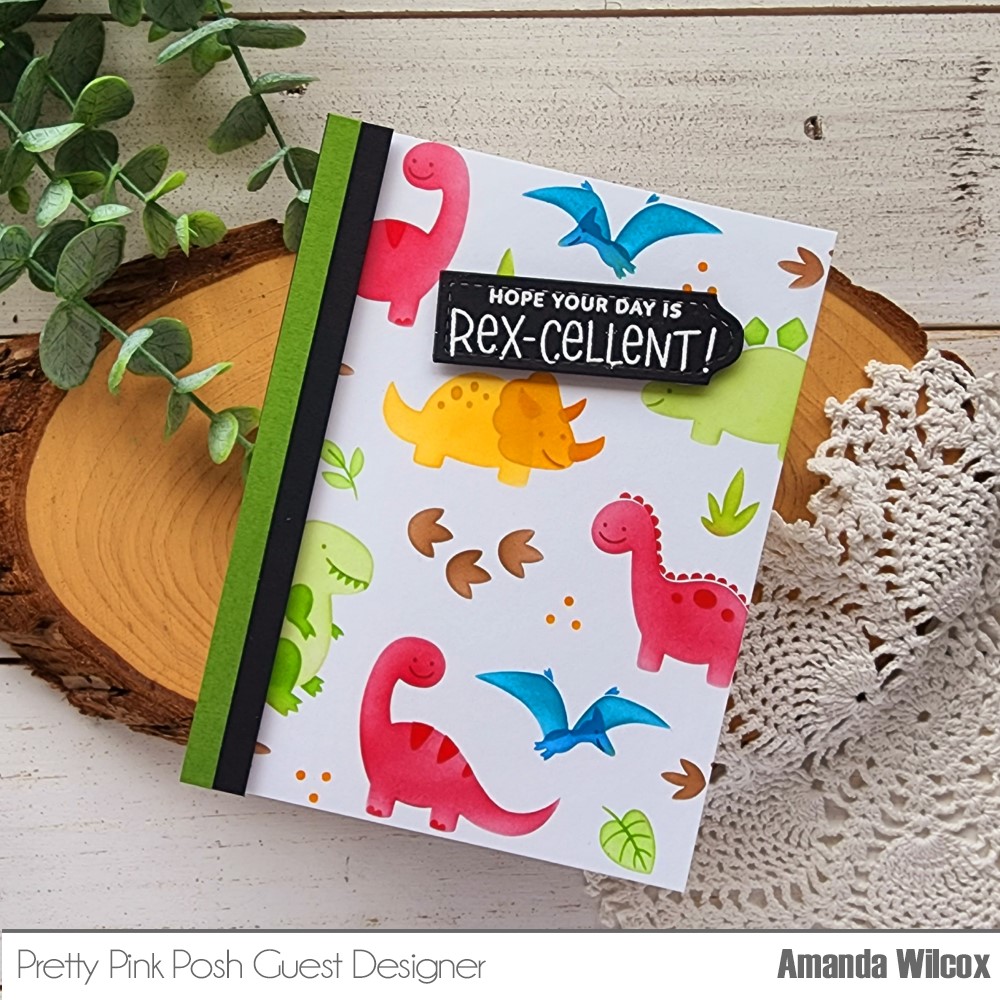
I used the new Layered Dinosaurs stencil set to ink up a panel. These guys are so absolutely adorable and the stencils are layered so perfectly that they are easy to ink in different colors with little to no masking. It’s fabulous! I can’t wait to try different color palettes to change the look.

Once my panel was inked up, I trimmed it to A2 size and adhered it to a white card base. Then I cut a 1/2 inch strip of black cardstock and a 1/4 inch strip of green and adhered them together. I used foam strips to add them to the left edge of my card. Then I stamped and heat embossed a sentiment from Dinosaur Friends on a Stitched Labels die and popped that up with foam squares in the upper middle of my stenciled panel.

Isn’t this card just too fun!?! I love the entire June release from Pretty Pink Posh and can’t wait to create so many different projects with it! Head to Instagram and hop along with us for a chance to win a gift card to the shop.

Products used today:
Dinosaur layering stencils
Dinosaur Friends stamps
Stitched Labels dies
Foam strips and squares

I appreciate you sharing your time with me. Have a fabulous day!