Pretty Pink Posh – Blog Hop Day 3

Hey friends! I’m ridiculous excited to be celebrating with Pretty Pink Posh once again for the June release! It went live a few days ago and this is the final day of the blog hop. I have a super fun slimline card to share with you featuring Across the Miles stamps, Layered Roads stencil set and the Just a Note Script die.
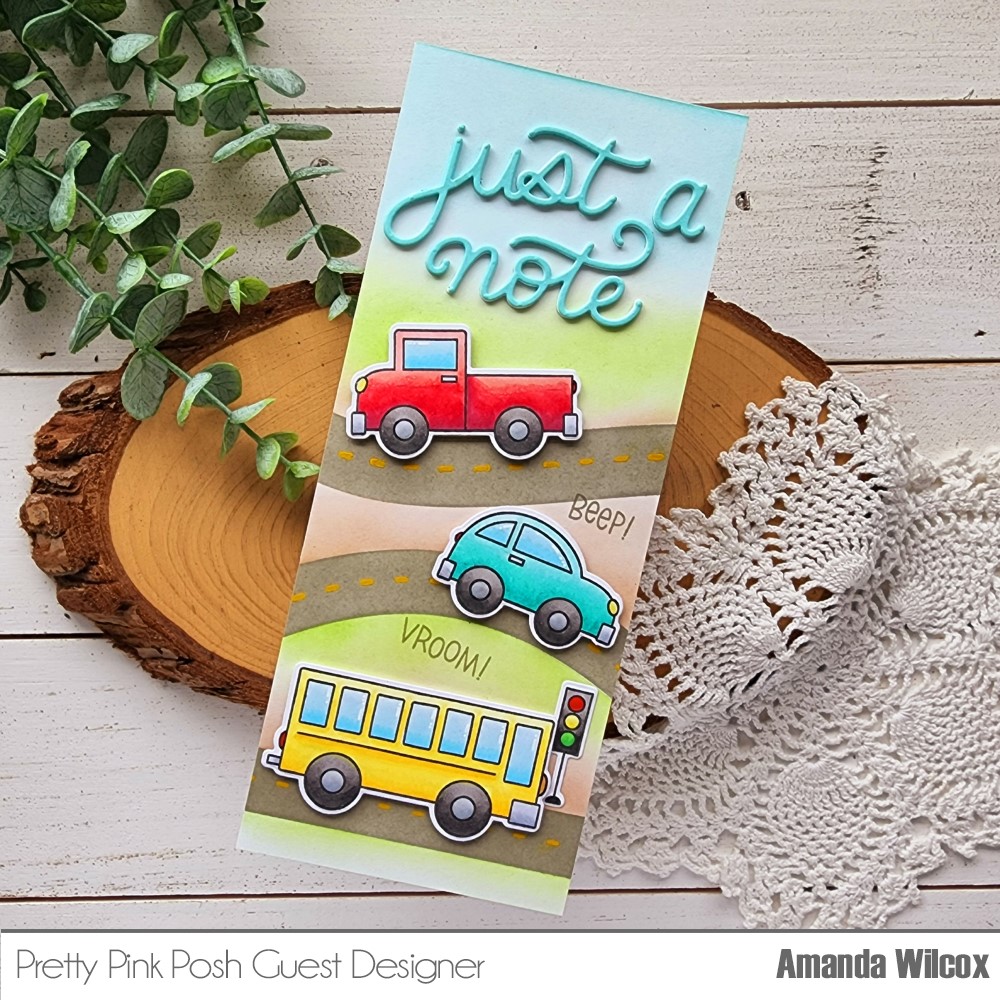
I started by laying out my road stencil on a slimline panel to see how it would fill and then placed my stamps on that to figure out which cars I wanted to use. Once that was decided, I stamped the images and colored everything with copic markers. I used the coordinating dies to cut them out and set them aside to get inky!
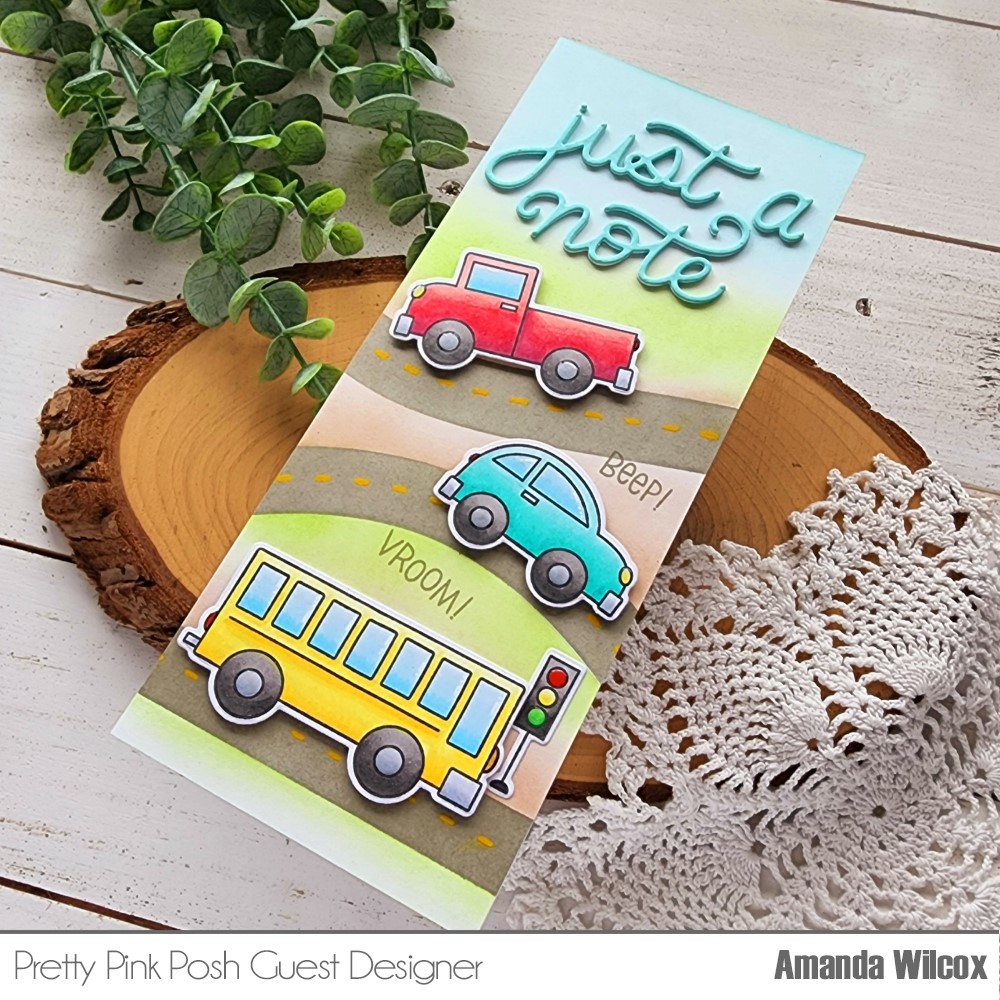
I used blending brushes and dye inks to add grass and dirt with one layer of the stencils and then went back in to add the road and finally used distress oxide to add the road dashes because the pigment ink will sit on top of the dye ink and show up better.
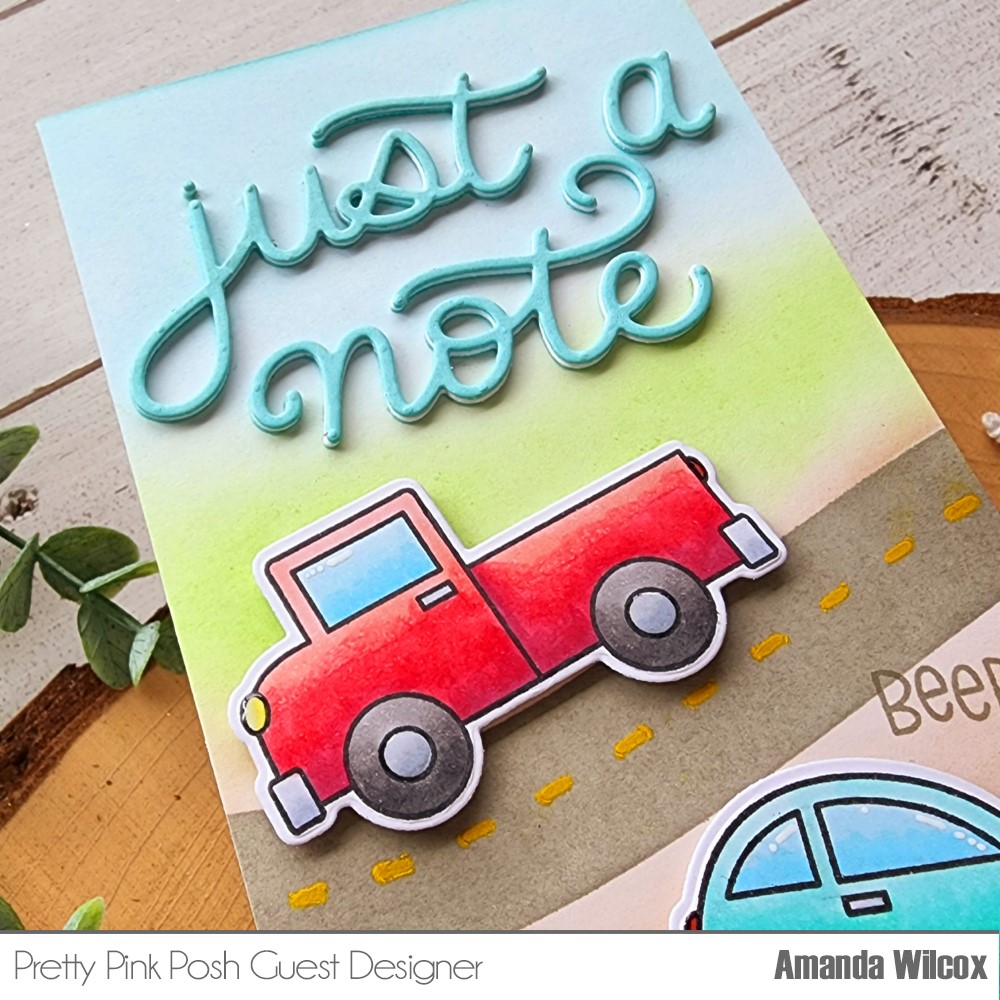
I die cut the Just a Note Script from teal cardstock and glued it up in the sky but it was so flat compared to my popped up cars that I thought it needed more. So I cut it from the same teal again and also white two more times. I used liquid glue to adhere the layers together and it shows up so much better!
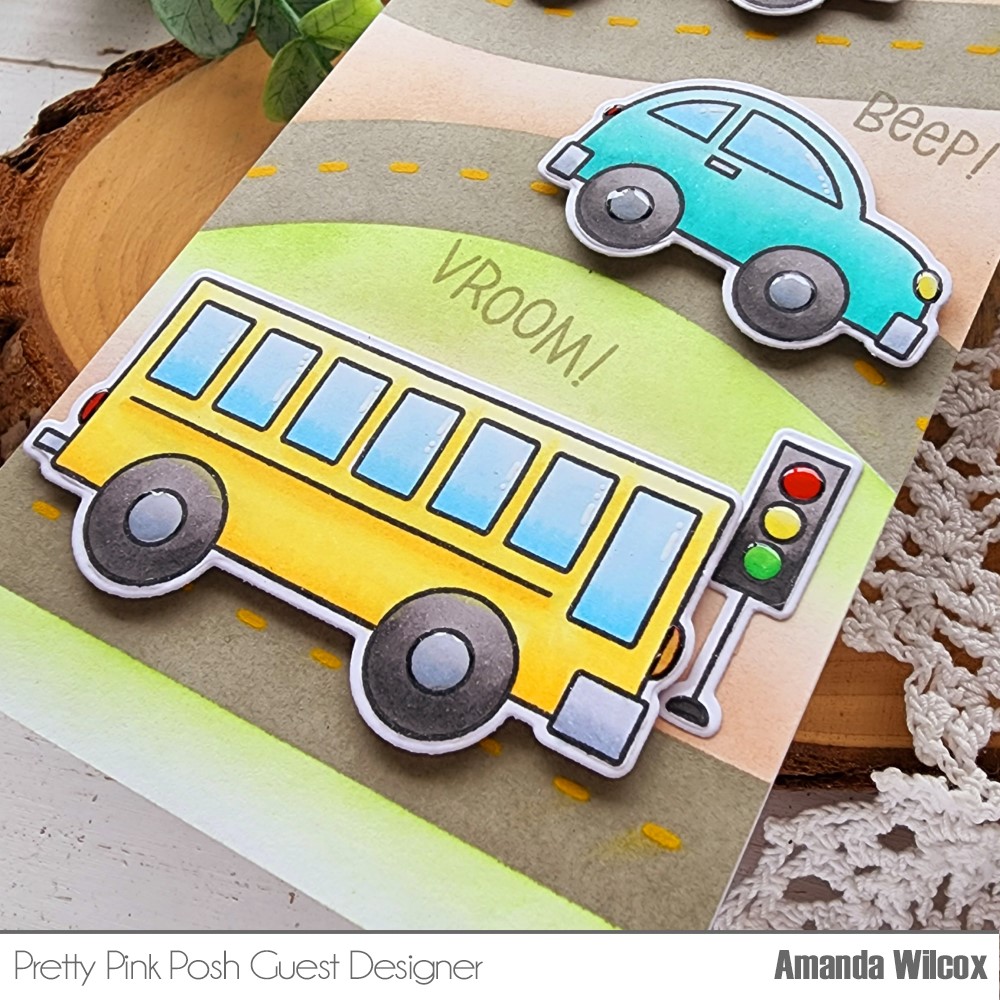
For finishing touches I added glossy accents to the lights everywhere and the hubcaps too. I added white gel pen highlights to all of the windows and finished the design off by stamping the car sounds above the bus and car. I think those are just too cute!
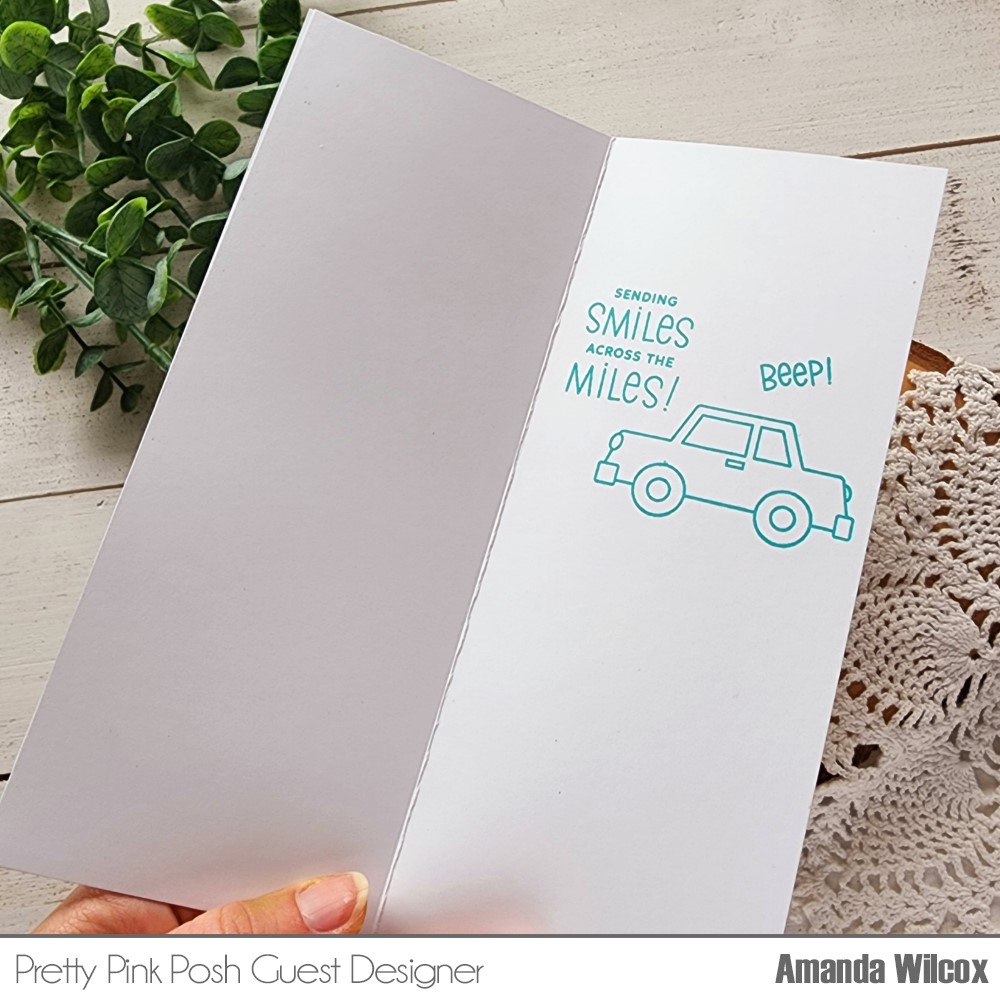
Before gluing my panel to a slimline card base, I stamped a sentiment and image on the inside just for fun. I don’t do this often but I really loved the sentiment and wanted to make sure it was part of my card.

Remember, there are three $30 gift cards to the Pretty Pink Posh shop up for grabs. So be sure to comment and hop along on all three days of the hop to increase your chances of winning!

Here’s the line up so you don’t miss anyone!

Pretty Pink Posh blog
Wanda Guess
Alberto Gava
Raquel Arribas
Dana Kirby
Amanda Wilcox (you are here)
Ashley Ebben
Gemma Campbell

Products used today:
Across the Miles stamps and dies
Layered Roads stencils
Just a Note Script die
Foam squares
Glossy accents
Liquid glue

I appreciate you sharing your time with me. Have a fabulous day!
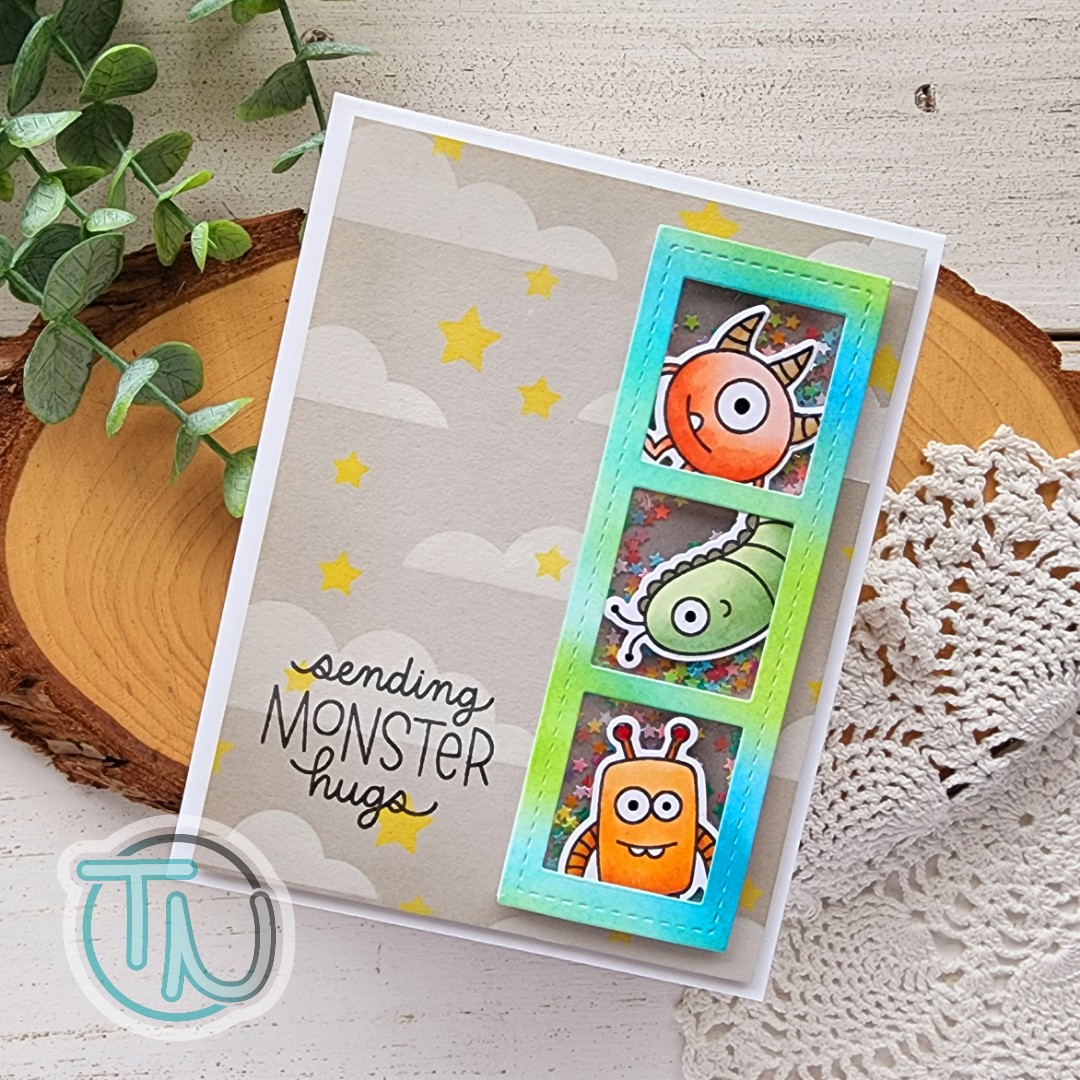
Pretty Pink Posh – Sending Monster Hugs

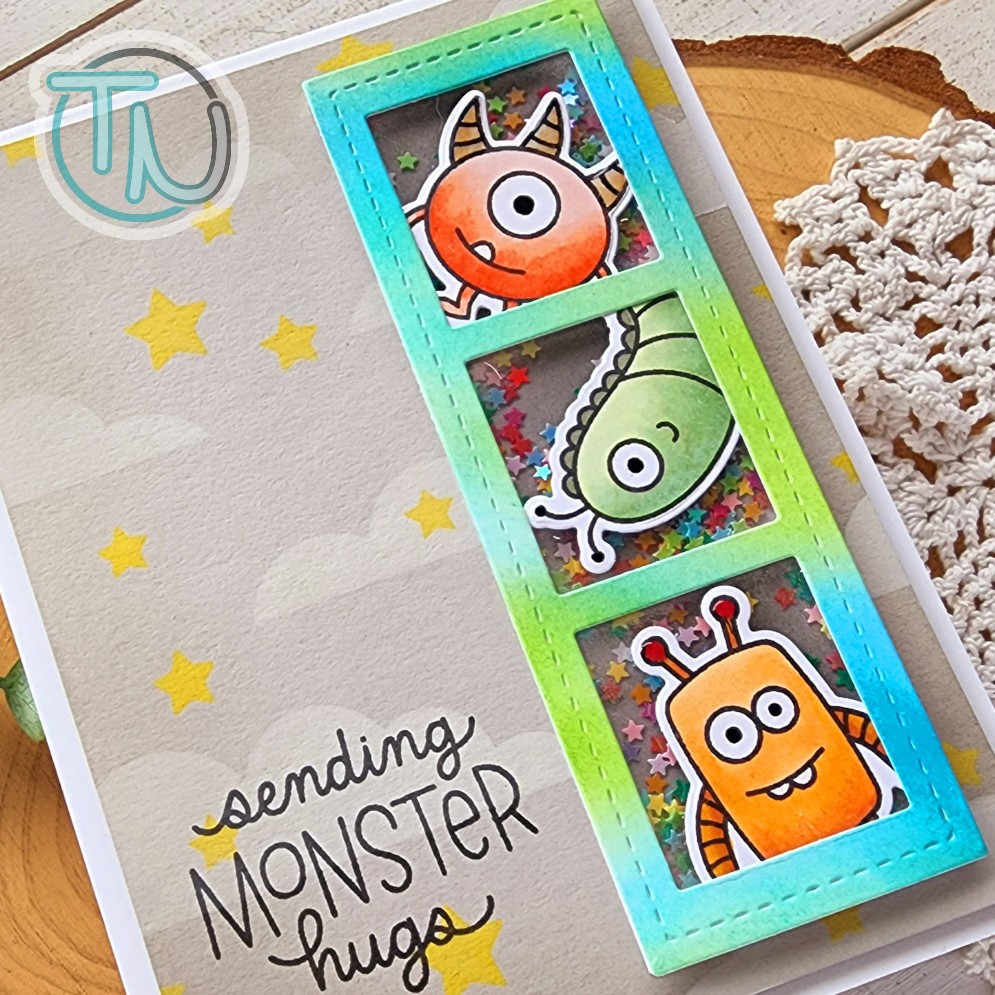
Hey crafty friends! I’m popping in this afternoon with a fun shaker card I create this weekend with my most recent Pretty Pink Posh haul. It wasn’t a huge order but it had somethings I have been wanting for a while and was very excited to play!

I knew I wanted to pair some cute monsters with the stitched film strip die, so that’s where I started. Once I chose my images, I stamped and colored them with copic markers, using the coordinating dies to cut them out. Then, instead of cutting a white film strip frame, I inked up a scrap of cardstock with blue, teal and green inks and cut my frame from that. I love how this part turned out. To keep the background neutral, I inked up a strip of white cardstock lightly with black ink.

To turn the stitched film strip die into a shaker, I adhered the monsters behind the inked frame and then glued a piece of acetate to that. I added foam tape to the film strip frame and filled the wells with Wishing on Rainbow Stars embellishments from Twiddler’s Nook and sealed the panel up with the black ink blended strip I had ready to go.

For a little outer space whimsy, I decided to use two of the three layers from the Spooky Sky stencil set. I started with a 4×5.25 inch panel of gray cardstock and inked the edges with gray ink for a little depth. Then I used white pigment ink on the cloud stencil layer and finished the panel off with yellow ink on the star layer. Using the shaker strip as a guide, I stamped my sentiment in the lower left corner and then added the panel to a card base with foam tape.

I used liquid glue to add the shaker strip to the card from and finished the whole design off with black blaze pen on the eyes and glossy accents on the antennae and horns of the monsters.

I think secretly I’m ready for Halloween or something. I keep being really drawn to all of the things I would usually pull out for spooky crafting. This totally makes me giggle. I suppose it’s like those who love Christmas all year long.

Products used today:
PPP Monster Hugs stamps and dies
PPP Spooky Sky stencils
PPP Stitched Film Strip die
Twiddler’s Nook Wishing On Rainbow Stars embellishments
Foam strips
Bearly Arts liquid glue
Glossy accents

I appreciate you sharing your time with me. Have a fabulous day!
Pretty Pink Posh – Happy Mail

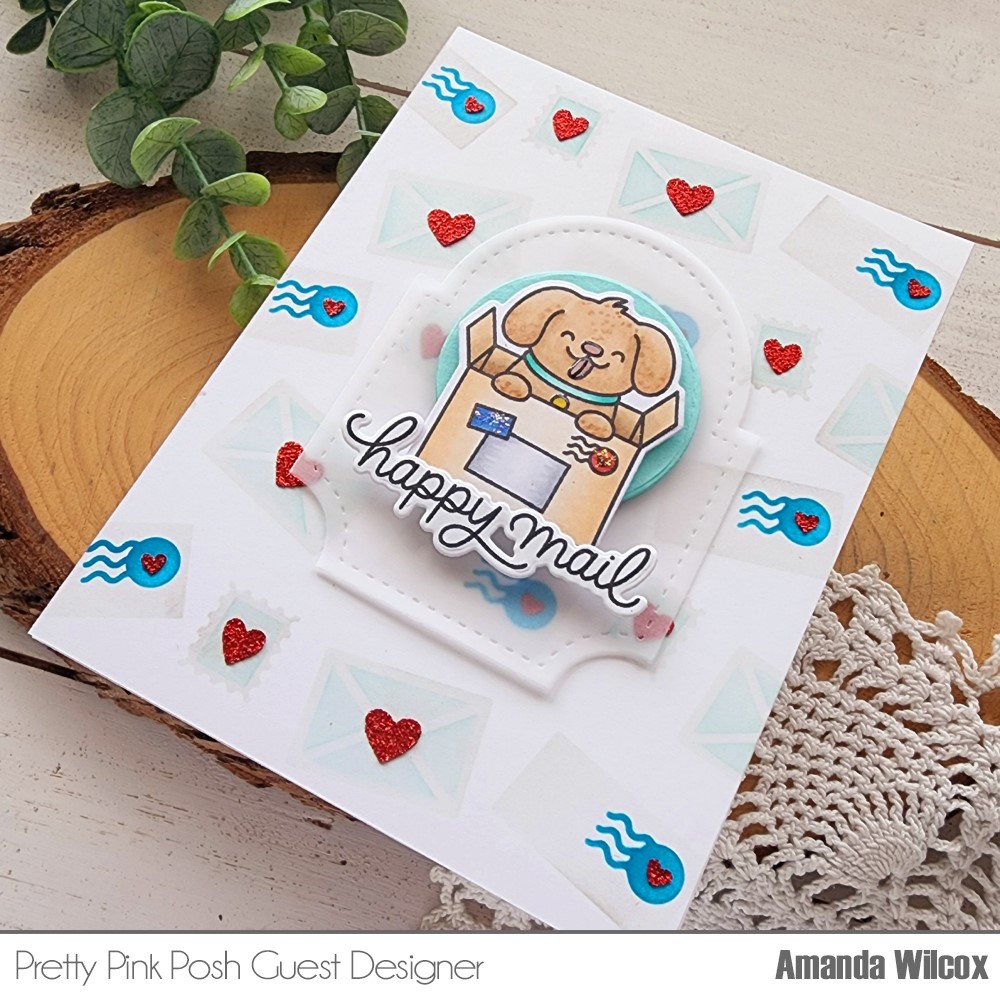
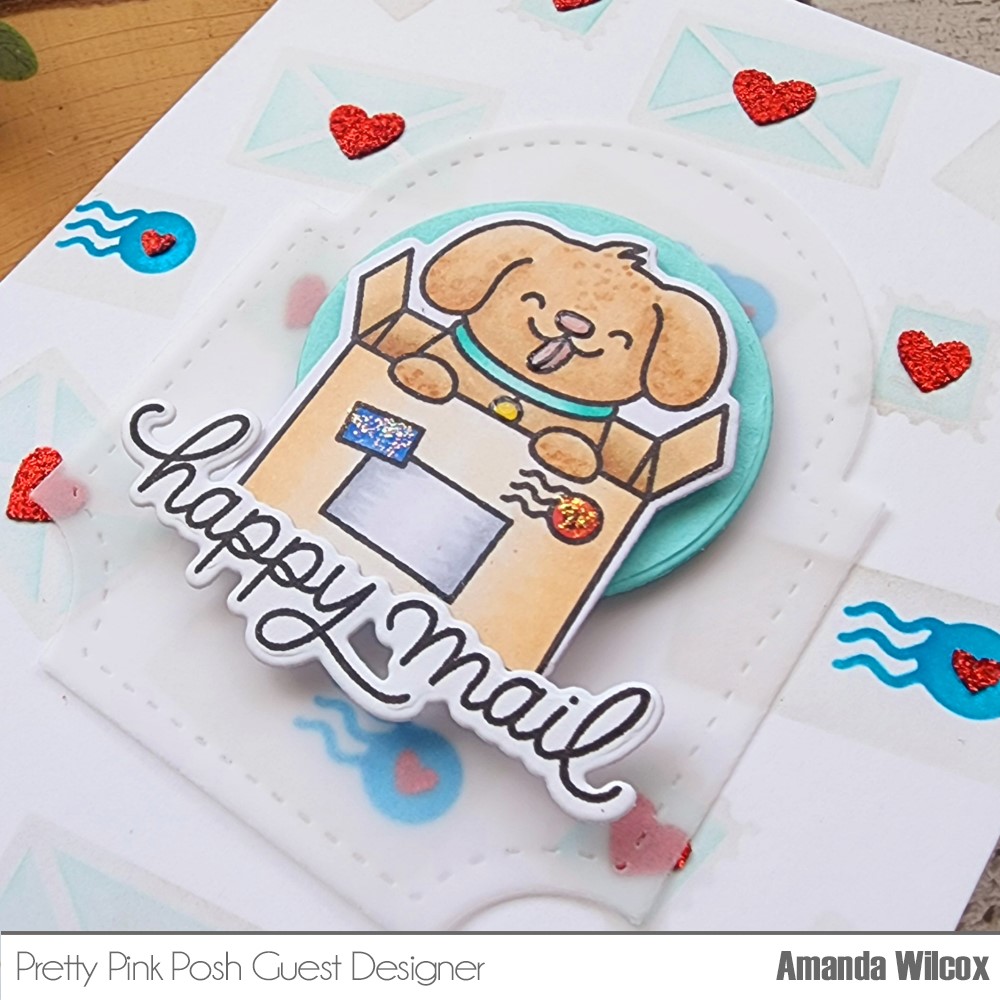
Hello again! I’m so glad you’re here. Today I have an absolutely ADORABLE card featuring a new layering stencil from Pretty Pink Posh and some previously released stamps and dies. I just adore this puppy and was so happy to finally ink him up for this card. He is just the cutest!

I started my card by stamping the image and sentiment from Sending Love and colored it with my copic markers. I used the coordinating dies to cut him out and switched to inking up my background.

I took a white piece of cardstock and inked up the base layer of the stencil with light gray ink. Then I added a light teal ink to the second layer, adding a darker blue for the postage marks. Last, I spread red glitz glitter gel through the final layer for red sparkly hearts all over this fun background.

While the glitz was drying I die cut the Spring Circles tag shape from vellum and the circle from teal cardstock. I popped the puppy up with foam squares on the circle and popped that up on more foam squares on the vellum. Then I added the sentiment to the bottom of the box and used tape runner to adhere the whole thing to the stenciled panel.

I added the panel to a white card base and switched to just a couple of simple finishing touches. I added Stickles to the labels on the box and glossy accents to the puppy’s nose, tongue and collar tag.

I just think this is such a cute card and perfect for literally any occasion! I hope you liked it too!

Products used:
Layered Letters stencils
Sending Love stamps and dies
Spring Circles dies
Glitz Glitter Gel – red
Stencil Pal
Foam squares
Stickles – unicorn
Glossy accents

I appreciate you sharing your time with me. Have a fabulous day!
Pretty Pink Posh – Colorful Word Shaker Card

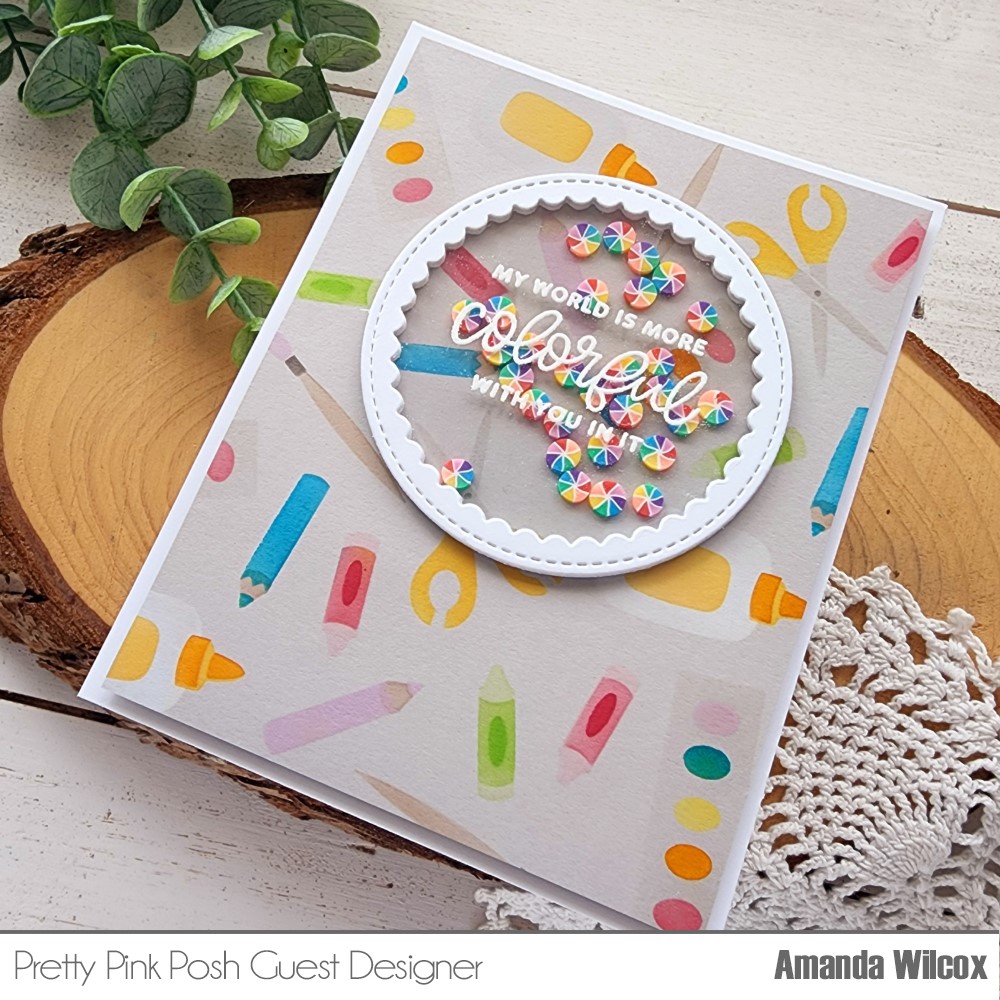
Hello everyone! I’m back with another card featuring the May release from Pretty Pink Posh. Today I created a fantastic background with the new Crafty World layering stencil set and added a shaker element for interactive fun!

This is a three layer stencil set that I inked up with blending brushes and dye inks, with the exception of the white which is a pigment ink and also the layer I started with because of that. These stencils are so wonderfully planned out that I didn’t even mask anything off while inking them up.

Once the stenciling was done, I trimmed the panel down to 4×5.25 inches and added it to a white card base with foam tape. Then I cut the smaller Scallop Circle die from white cardstock 5 times and a regular circle from acetate once. I stamped an heat embossed the sentiment from Craft Sentiments on the acetate and then used liquid glue to adhere all the layers together.

I thought these color wheels were perfect for the crafty theme and the colorful sentiment that I chose. So, I added some to my card front and glued the circle over the top, sealing them in. I placed an acrylic block on top to assure it all dried flat.

Voila! My card is all finished. I thought this would be just perfect to send to a crafty friend.

Products used today:
Crafty Background stencils
Scallop Circles dies
Crafty Sentiments stamps
Blending brushes
Lawn Fawn dye inks
Hero Arts unicorn white pigment ink

I appreciate you sharing your time with me. Have a fabulous day!
Pretty Pink Posh – May Release Instagram Hop

Hello again! The excitement is still going and today I am apart of the Pretty Pink Posh May Release Instagram Hop! I have this really fun card featuring the Crafty Sentiments stamps along with the Crafty Days stamps and dies.

Seriously, how cute is that koala and his little scissors! I just love him! He is colored with copic markers and die cut with the coordinating die. Then I used the scalloped square die in the set to create a yellow mat for him. I love the teal and yellow together! I adhered them together with foam squares.

Next, I took an A2 size panel and one of the border stamps in the set and repeat stamped it down the page. I cut a 1 1/2″ strip of white cardstock and stamped my sentiment on the left side. I adhered a strip of silver glitter paper to the top and popped it up on the stamped panel with foam tape. With a combination of foam tape and liquid glue I adhered the scalloped rectangle next.

For finishing touches today, I added black glaze pen the the koala’s eyes and nose. Then I glued a scattering of metallic silver pearls across the design for a little shine and interest.

I don’t know about you guys but the person getting this card is going to have to be pretty darn special to me. Hahaha!!!

Products used today:
Crafty Days stamps and dies
Crafty Sentiments stamps
Metallic Silver Pearls
Foam tape
Liquid glue

Don’t forget there is an Instagram Hop going on with a chance to win each day! Today is the last day to enter all three days so head over and comment, comment, comment!

I appreciate you sharing your time with me. Have a fabulous day!

Pretty Pink Posh – May Release Blog Hop Day 3

Hey crafty friends! I’m elated to be a part of the Pretty Pink Posh May Release Hop today! This release is so much fun. I hope you’ve been enjoying all of the inspiration and love everything today too! I have a super fun card to share featuring the new Crafty Critters stamps and dies.

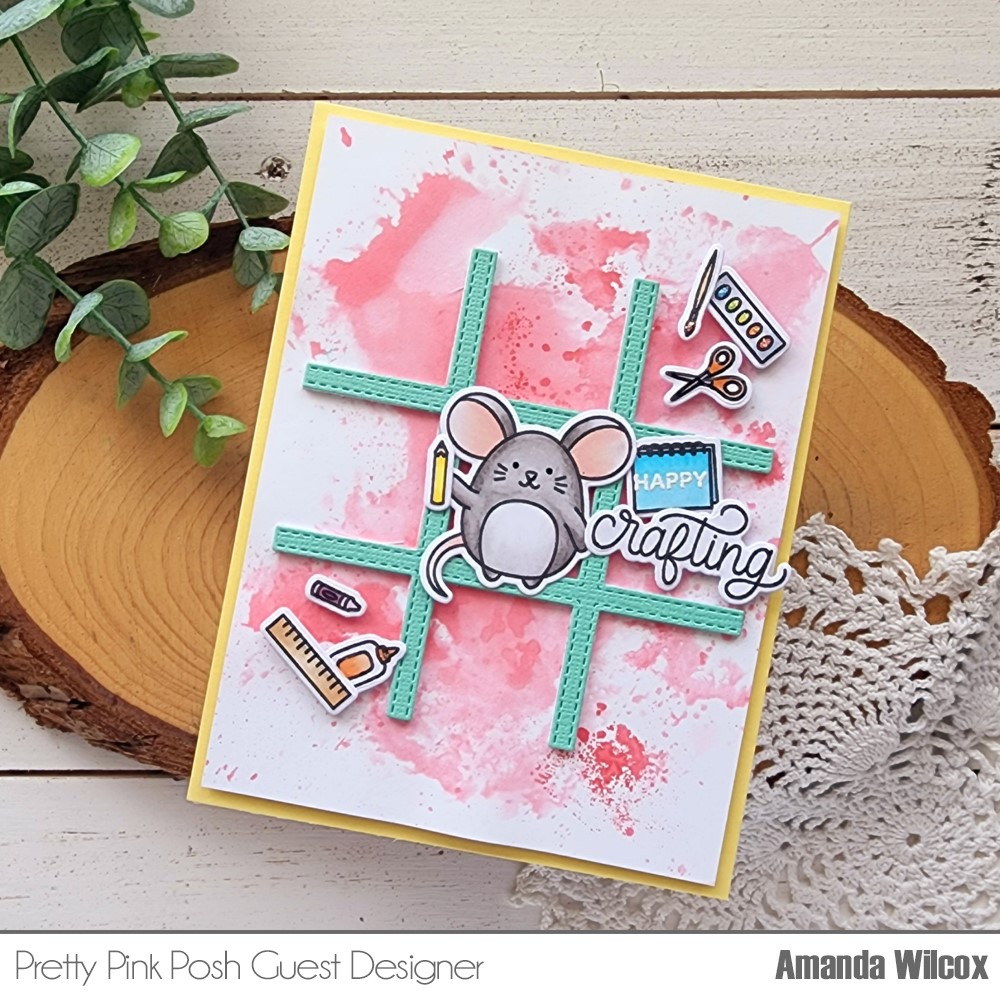
When I saw this set with all of the fun smaller images, I immediately thought of the adorable tic-tac-toe die and wanted to pair them together. Using the die as a guide, I placed my stamps in the various spaces until I decided where I wanted which images. Then I stamped everything and colored them with my copic markers. I used the coordinating dies to cut them out and heat embossed the tiny “happy” on the notebook cover.

I die cut the tic-tac-toe die from white cardstock 4 times and used liquid glue to adhere the layers together. Then I did a little ink smooshing on a piece of white cardstock for my background panel. When I put them together I thought the tic-tac-toe got lost so I cut it again from teal cardstock and added that to the top. That was perfect! I adhered them with liquid glue and added the images with foam squares and liquid glue where needed.

I glued an A2 size panel of yellow cardstock to a white card base and popped my panel up on that with foam tape. Then I moved on to finishing touches. My favorites are black glaze pen to critter eyes, glossy accents to various details like noses and labels and things. Then I went for some glam with Stickles on the paint palette at the top.

Products used today:
Crafty Critters stamps and dies
Tic-Tac-Toe die
Bearly Arts liquid glue
Foam tape and squares

I appreciate you sharing your time with me. Have a fabulous day! Below is the lineup and details for the blog hop. Enjoy!
BLOG HOP LINEUP

Pretty Pink Posh blog
Laura Bassen
Amanda Wilcox
Jeanne Jachna
Dana Kirby
Ashley Ebben

GIVEAWAY

There are 3 $30 gift certificates up for grabs (one winner each day). Winners will be picked randomly along the blog hop. Comments must be left by 11:59 PM PST on 5/22/2022. Winners will be announced on the PPP blog.

Pretty Pink Posh – Release Day | You Inspire Me Card

Hello everyone! Thanks so much for letting me take up your time once again today. It’s release day for Pretty Pink Posh and I’m on the blog with this gorgeous floral card featuring a new stamp and die set plus a new stencil too!

For all the details how I created this card plus a chance to win a gift certificate to the Pretty Pink Posh shop, head to the PPP Blog HERE and be sure to leave a comment.

I’ll be back later this week with more from the new release. Be sure you’re subscribed and follow on social media so you don’t miss any of it!

I appreciate you sharing your time with me. Have a fabulous day!
Pretty Pink Posh – Happy Easter Tag

Hi friends! I’m popping in today to share a quick and adorable tag I made for one of the Easter baskets I’ll be filling this weekend. I don’t normally do this but I had so much fun making tags for my daughter during her dance season that I find myself making excuses to add them to everything now.

I chose a couple of images from the Easter Bunnies stamp set and colored them with my copic markers. I used the coordinating dies to cut them out and set them aside.

Next, I cut the tag shape from the Spring Circles die set 2 1/2 times from white cardstock. For the 1/2 portion, I just cut the bottom so I could create grass after I inked it up. I chose distress oxide inks in peacock feathers and cracked pistachio for the full tag which is my sky and mowed lawn and twisted citron for the 1/2 piece that I cut with a grass border die later on. Then, I spritzed the inked panels with water and let them dry. The third tag is left white and becomes a nice clean backer for my tag that also adds stability so it doesn’t feel flimsy.

I adhered the layers together with liquid glue and also added the carrot to the bunny’s paws. Then I used the images as a guide while I placed and stamped my sentiment. Once that was done I added my images to the tag with foam squares.

I punched a hole in the top and threaded some twine through it, then added a foam square to the bow and placed it over the hole to hide it. I kept finishing touches to a minimum by just adding black glaze pen to the bunny’s eyes and nose and Wink of Stella glitter brush pen to the bow at the top.

Products used today:
Easter Bunnies stamps and dies
Spring Circles dies
Lawn Fawn Grassy Border die
Distress Oxide Ink – mowed lawn, twisted citron, peacock feathers, cracked pistachio
Bearly Arts liquid glue
Foam squares
Wink of Stella glitter brush pen

I appreciate you sharing your time with me. Have a fabulous day!

Pretty Pink Posh – Hugs

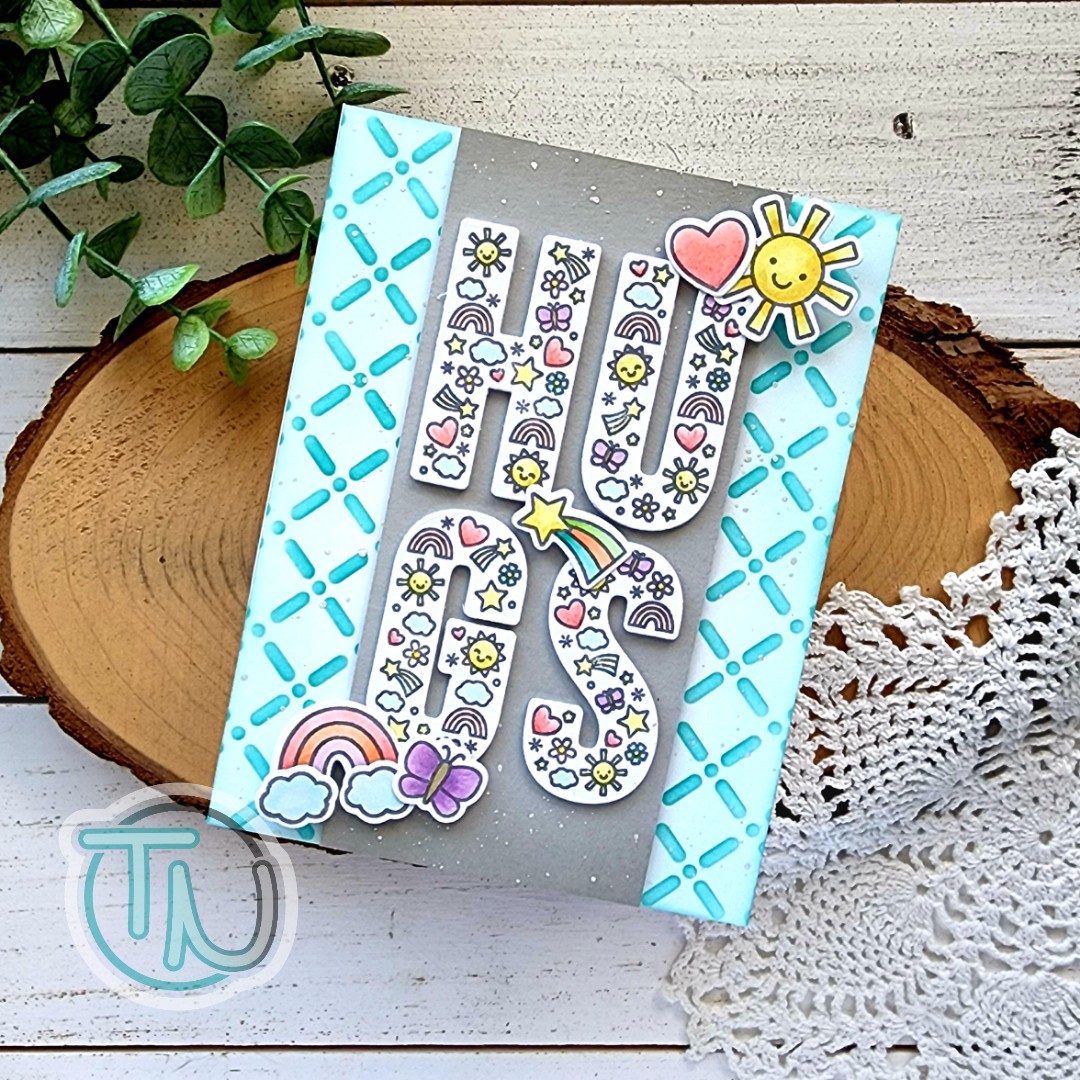
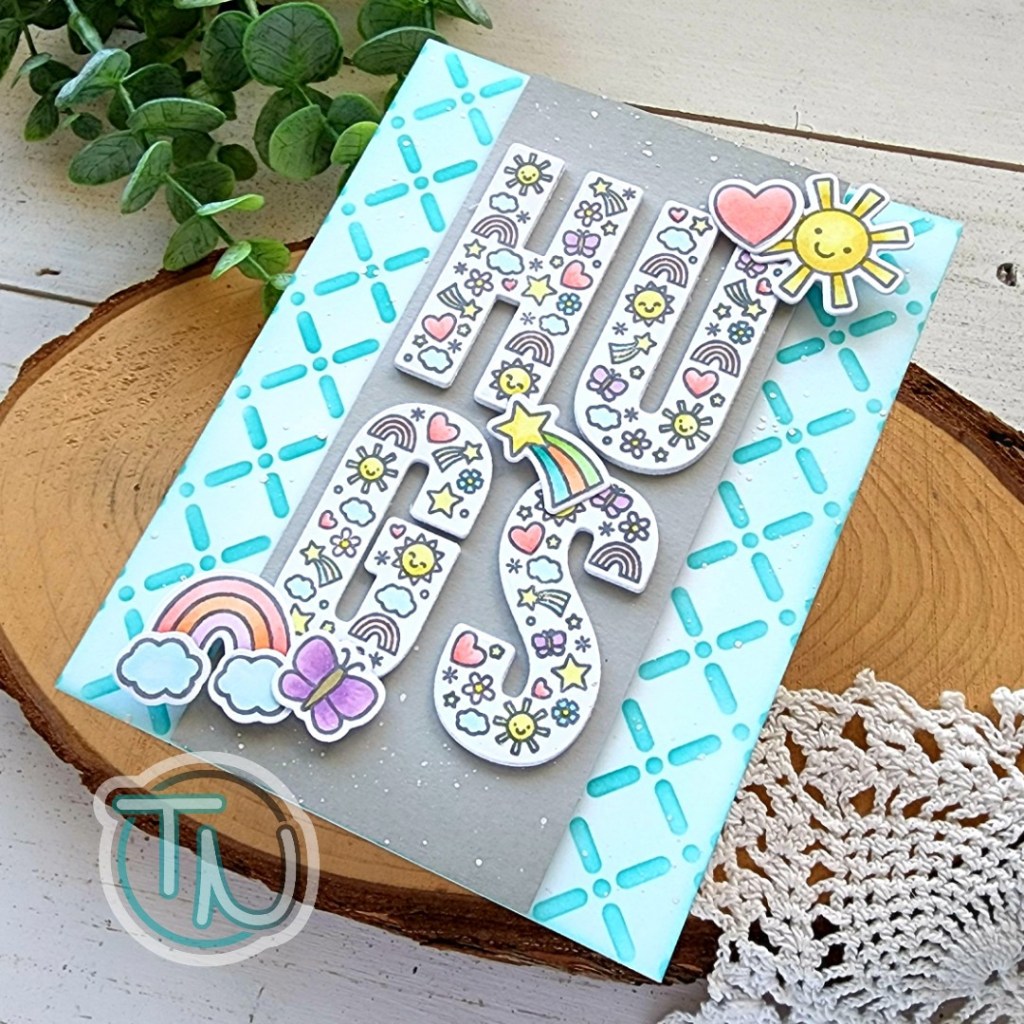
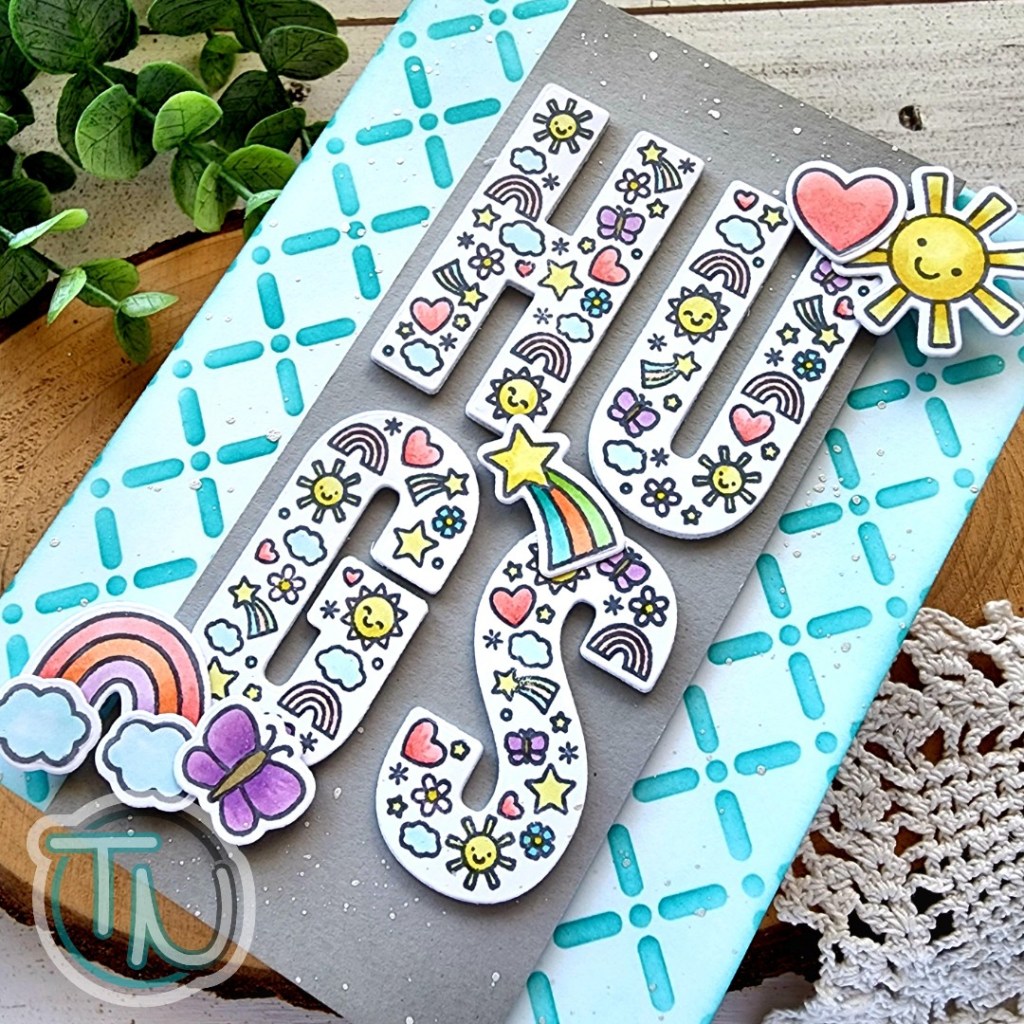
Hello crafty friends! Today I am excited to share a card featuring the Pretty Pink Posh Hugs stamps and dies. I just fell in love with this set from the moment I saw the sneak peek. It’s so fun and happy! It’s also got a million variations of how you can use it.

Today I stamped the main “hugs” sentiment and some supporting images in gray ink for a softer look. I used copic markers to color everything and then the coordinating dies to cut it all out. Then, for fun I played around with the letters and decided to try arranging them in a grid instead of a line. I think this is a fun, different look.

For the background, I took a white panel and inked up the Trellis stencil with teal ink. I removed the stencil and used the leftover ink on my brush to lightly ink the edges of the panel. Then I cut a gray strip 5.5 x 3 inches and inked the edges with gray for a little dimension. I flicked pearl watercolor over the trellis panel and the top and bottom edges of the gray panel before adhering them together with foam tape.

Next, I cut the hugs letters from white cardstock 4 more times and adhered the layers together before adding them to the gray panel. Then I added the extra images with a combination of foam squares and liquid glue.

I am completely smitten with the way this whole design turned out. From the block of letters to the softer gray tones instead of black. There is so many small changes that made a big impact and I just love it!

Products used today:
PPP Hugs stamps and dies
PPP Trellis stencil
Bearly Art liquid glue
Foam squares

I appreciate you sharing your time with me. Have a fabulous day!
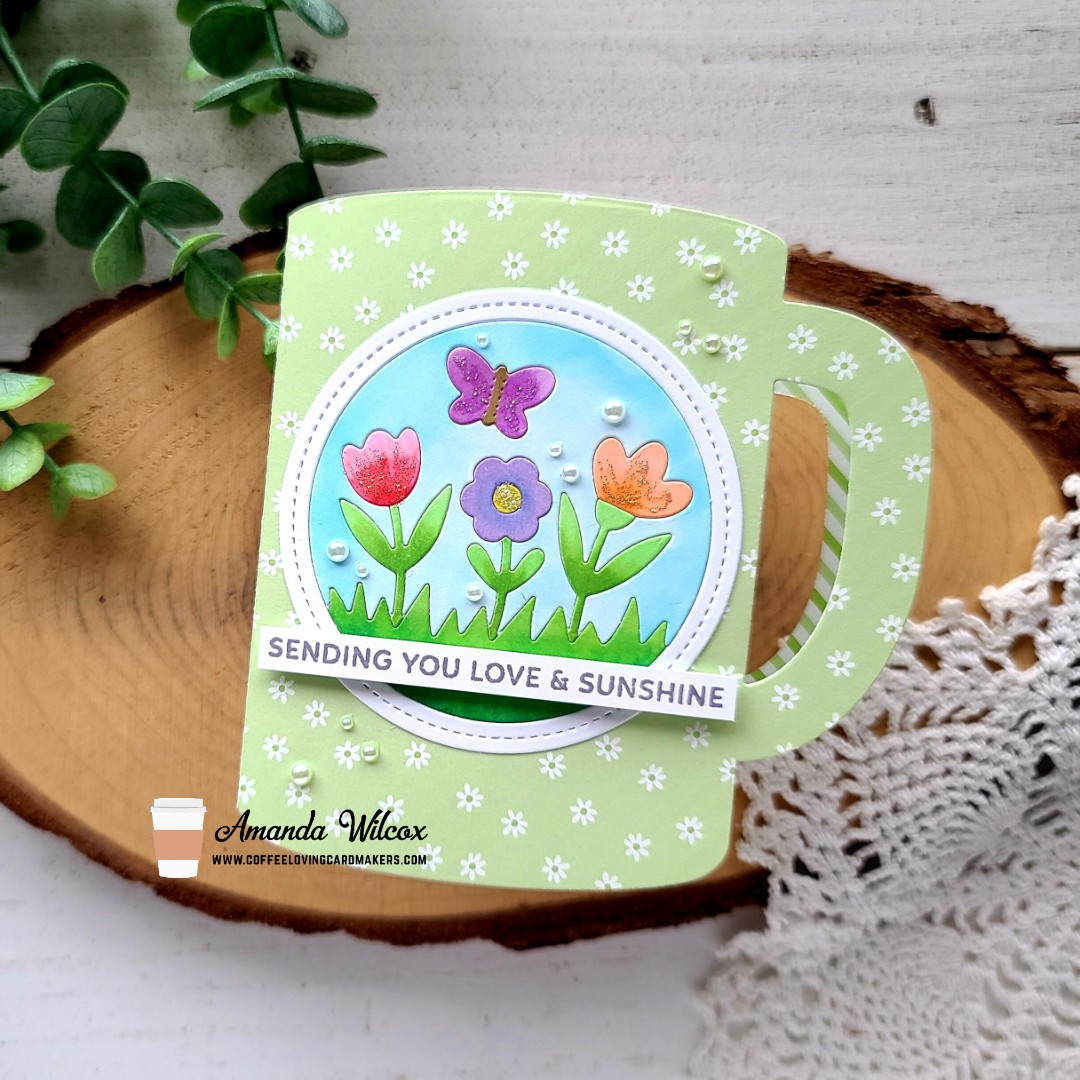
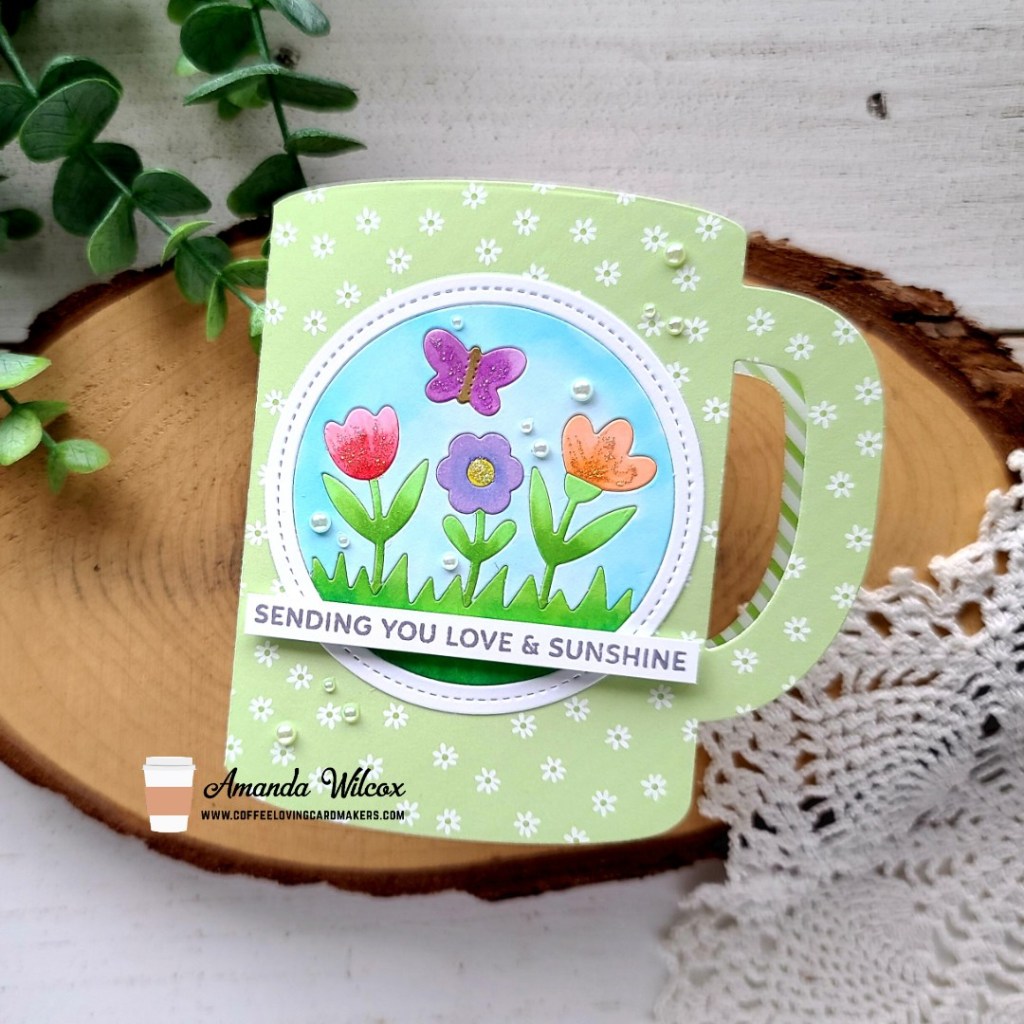
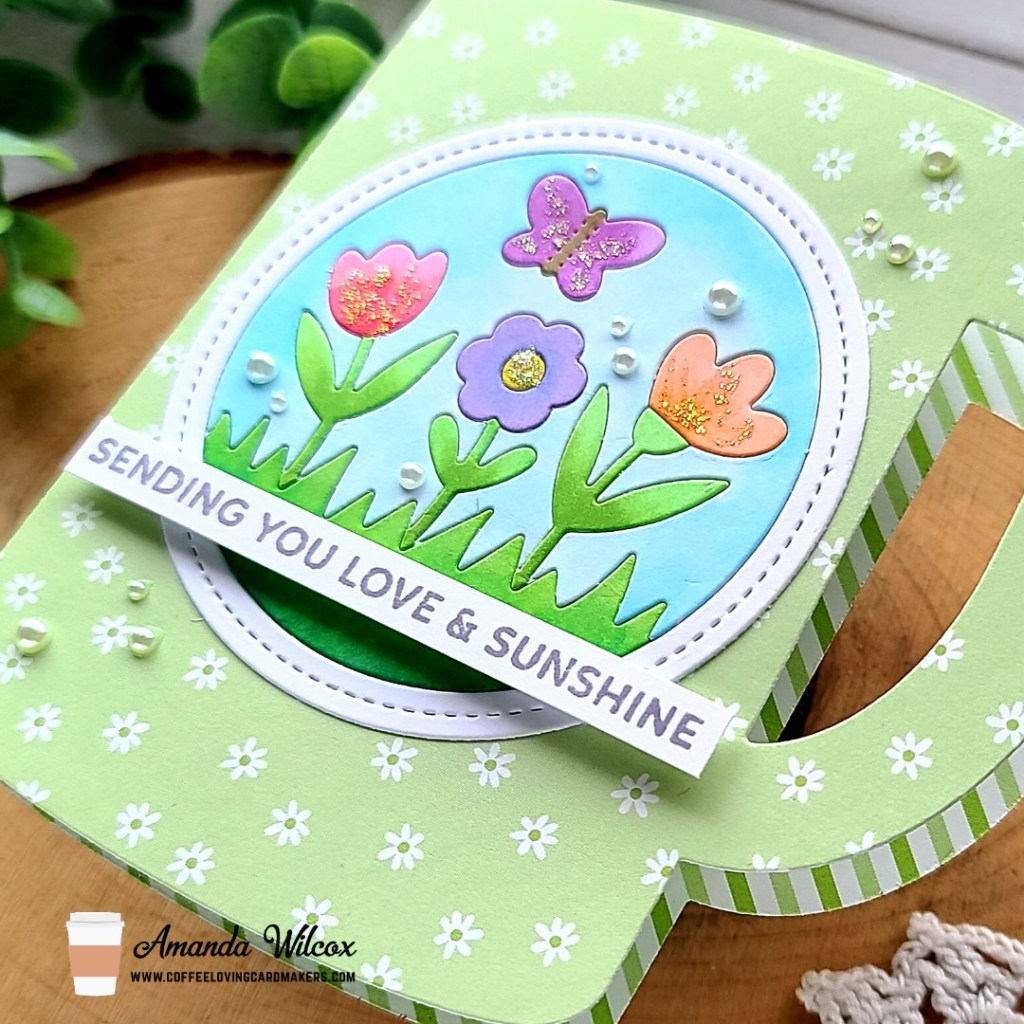
Coffee Loving Cardmakers – Sending Love & Sunshine

Happy Tuesday everyone! Grab a cuppa and head over to the Coffee Loving Cardmakers for Tuesday Tea with Twiddler’s Nook and a how-to on this adorable spring-themed coffee mug card I created!

The stamps and dies are from Pretty Pink Posh with the coffee mug die being an oldie but goodie from Trinity Stamps!

This spring die is just adorable and I’m so happy it fits so well on this coffee mug because I have a summer and winter version, that you can bet your bottom dollar I’m going to be recreating this card with!

Click HERE to head to the Coffee Lovers blog for all the deets and links to products used.

I appreciate you sharing your time with me. Have a fabulous day!