Happy Halloween everyone!!! I’m super excited for our final Spooktacular Hop of the year! I created a fun shaker card to share with you but remember to head to Instagram and comment on the hop posts for entries to win a gift code to the Twiddler’s Nook shop!
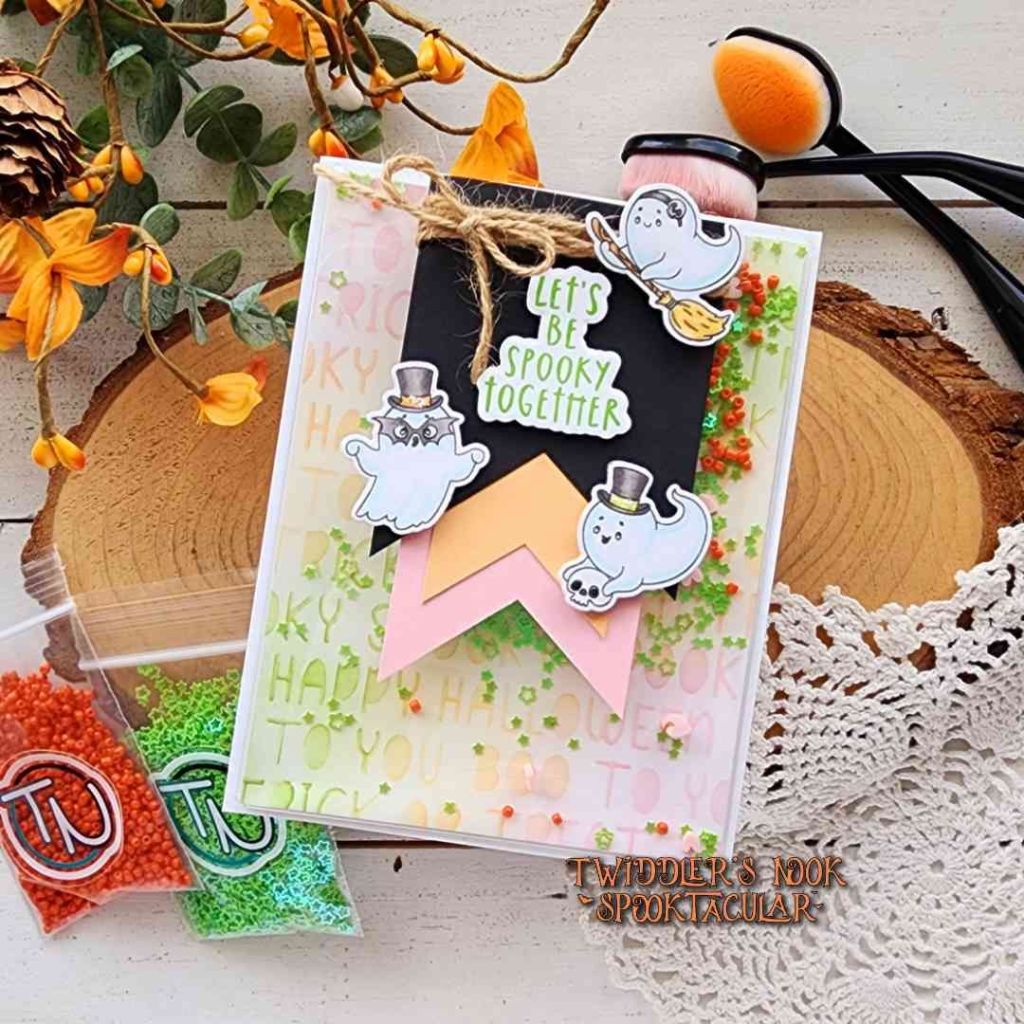
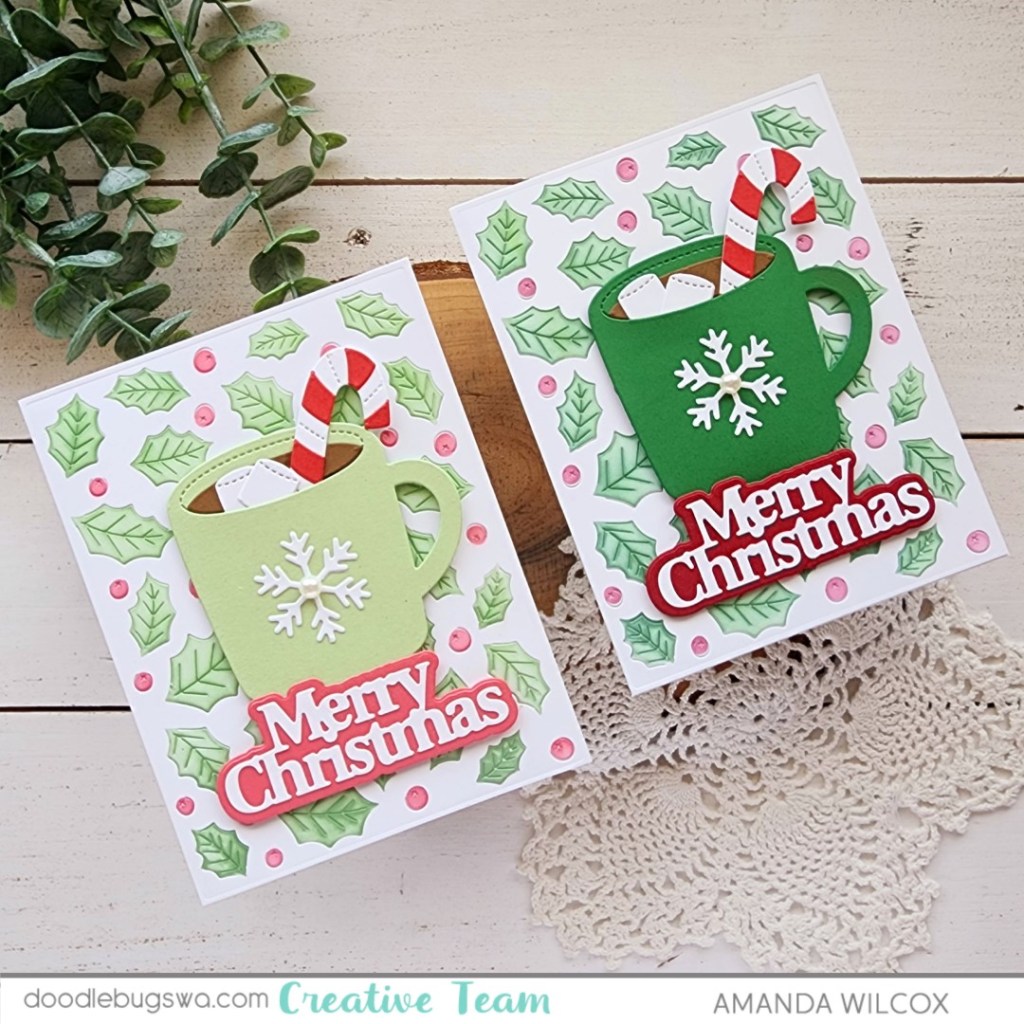
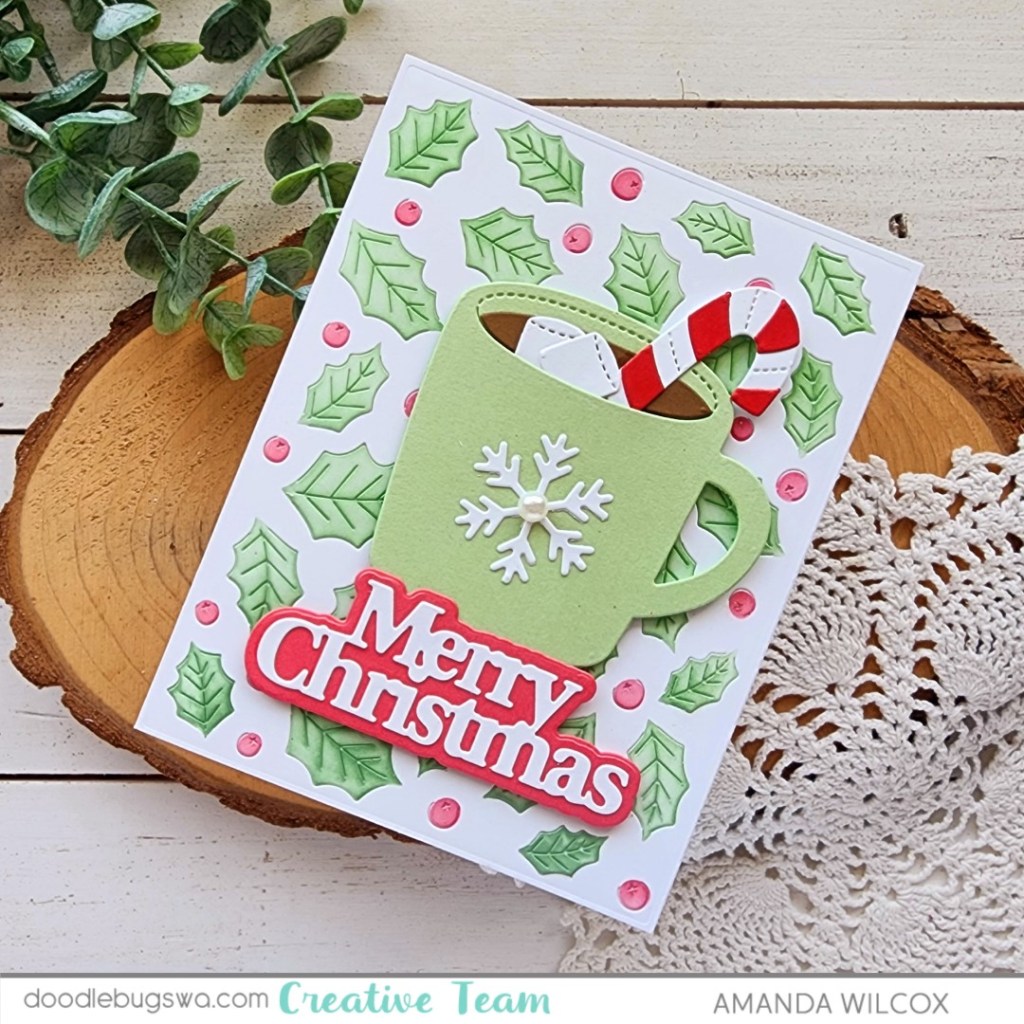
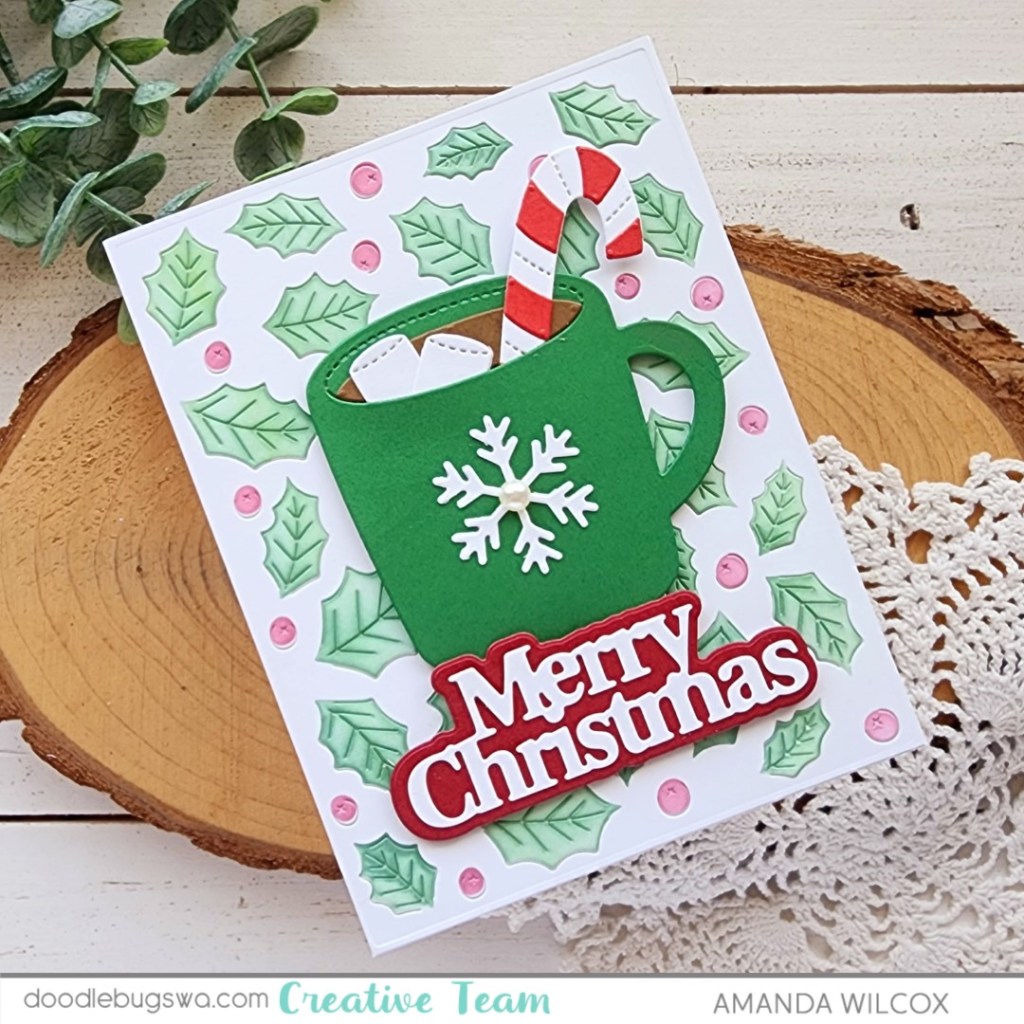
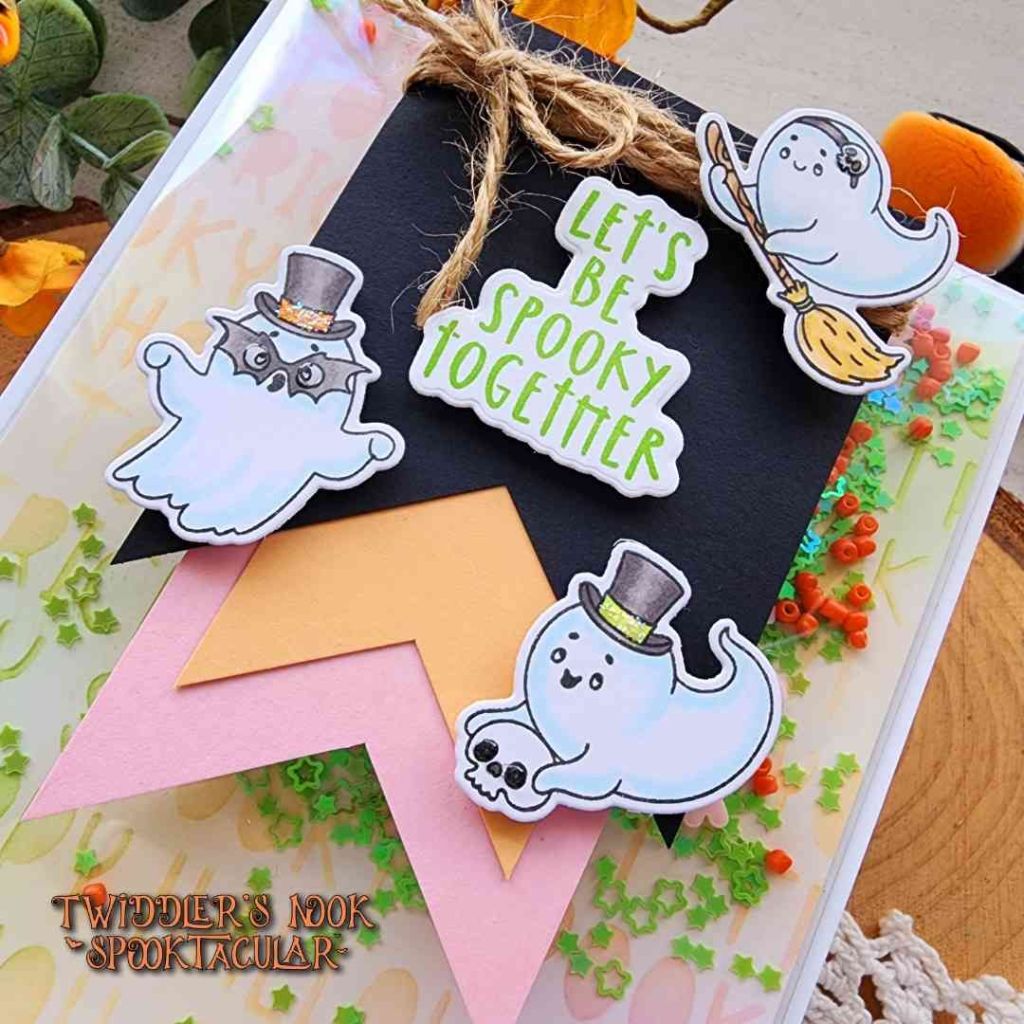
My most amazing crafty friend gifted me these sweet Picket Fence Studio ghosts and I just had to include them in our final hop. So I chose a few to stamp and color, then also stamped a sentiment before die cutting it all.
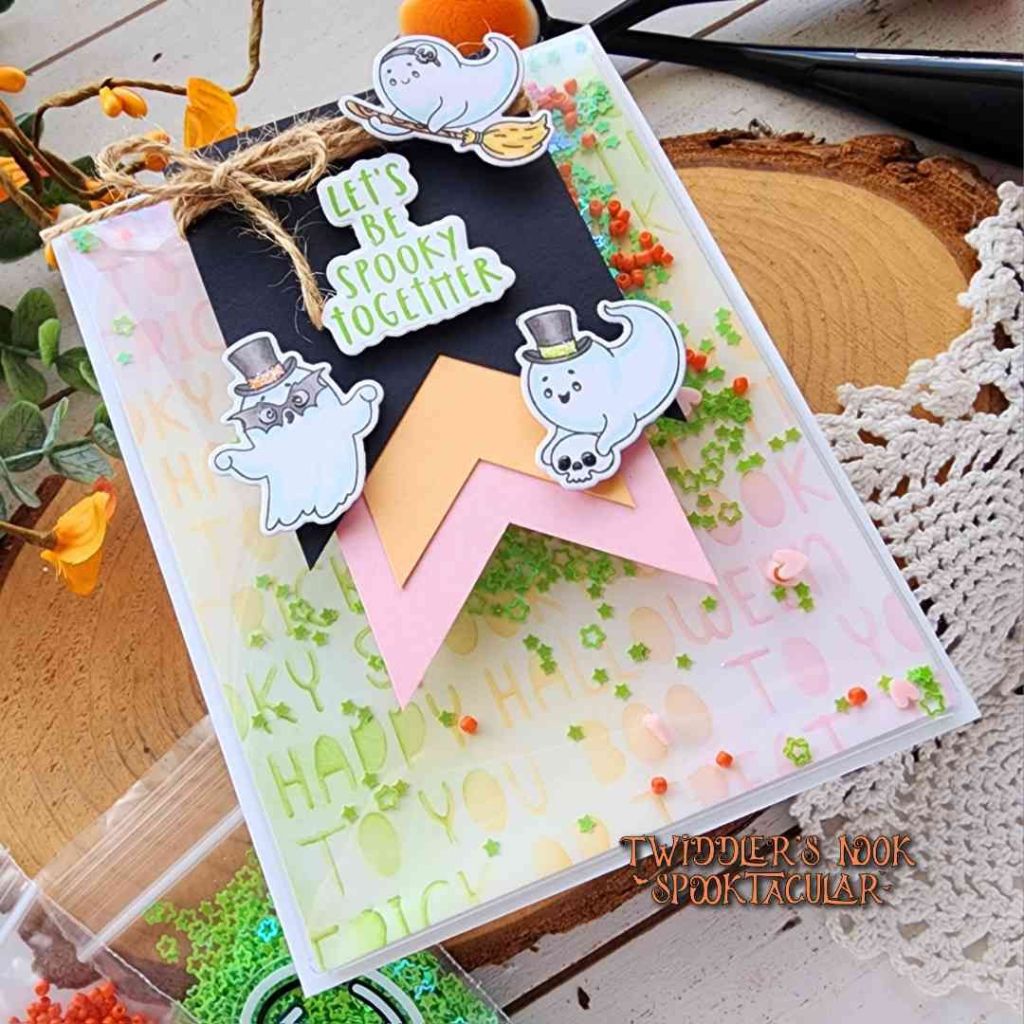
I used the Spellbinders banner punch to create a trio of banners, glued them together and wrapped the top with twine. Then I added my sentiment and images with foam squares and set that aside to create my shaker panel.
For that I ink blended over the Pretty Pink Posh Halloween Words stencil using Lawn Fawn inks – jalapeno, ballet slippers and carrot. I removed the stencil and lightly went over the panel with the same colors. After trimming it down to 4×5.25 inches I added it to a Waffle Flower shaker pouch.
I used a few different embellishments for my shaker bits today to create the perfect color combo mix – hearts from Spring Fling, Luscious Lime stars and orange Seed Beads. The variety of materials really helps them all move around when you shake it and the seed beads make an extra cool sound too.
After everything was adhered together on a white card base I added glossy accents and stardust Stickles to my ghosts for the finishing touches.
Products used:
Picket Fence Studios Be My Boo stamps and dies
Spellbinders Banner Punch
Pretty Pink Posh Halloween Words stencil
Twiddler’s Nook blending brushes
Twiddler’s Nook Luscious Lime Stars embellishments
Twiddler’s Nook Seed Beads – orange
Twiddler’s Nook Spring Fling clay embellishments (pink hearts)
Lawn Fawn inks – ballet slippers, carrot, jalapeno
Waffle Flower 5.25×4″ shaker pouch
Foam tape and squares
EZ Tear Tape
Liquid glue
I appreciate you sharing your time with me. Have a fabulous day!