Spellbinders – The Snow Garden Release Day

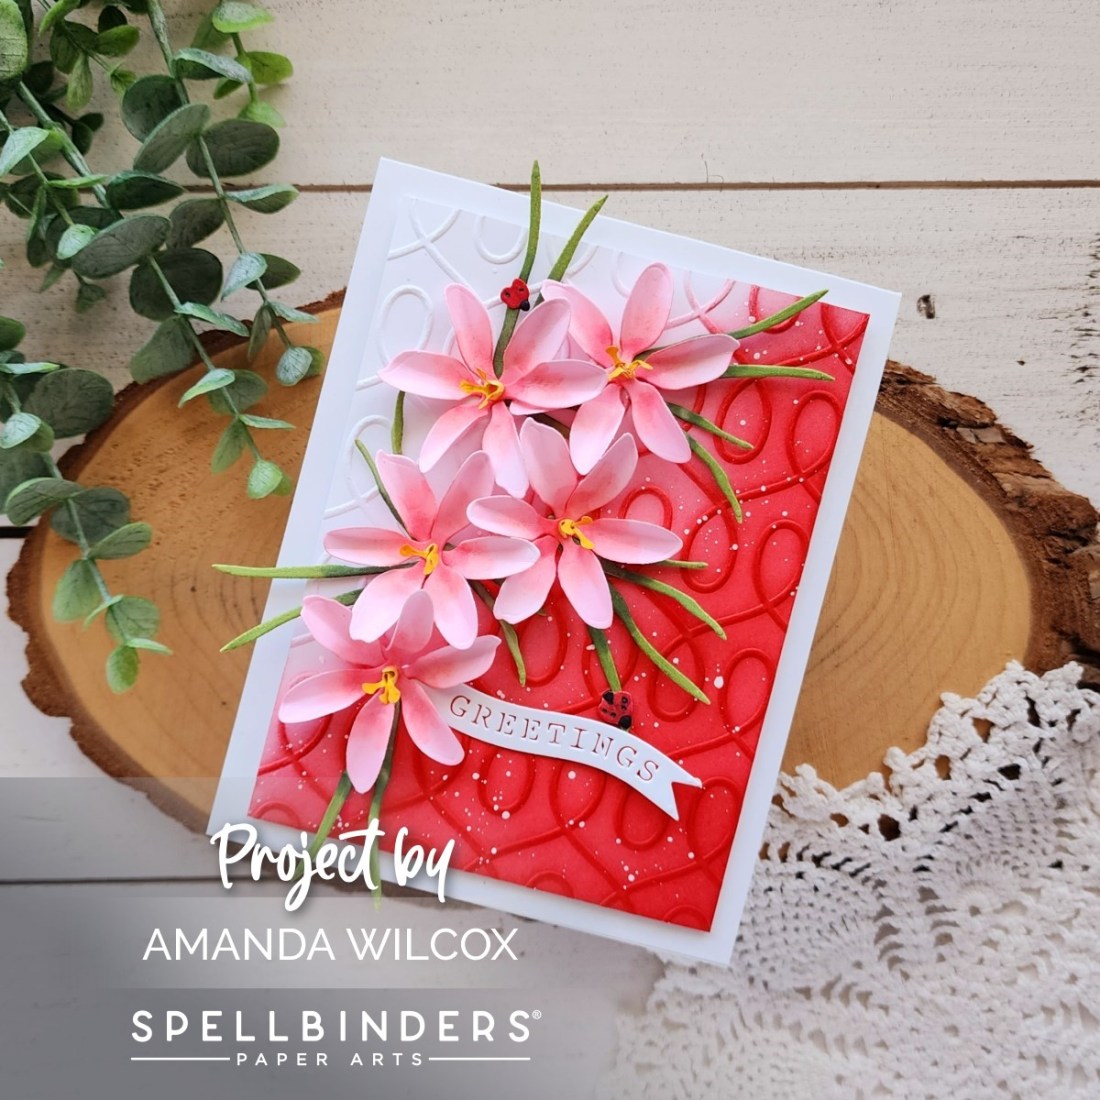
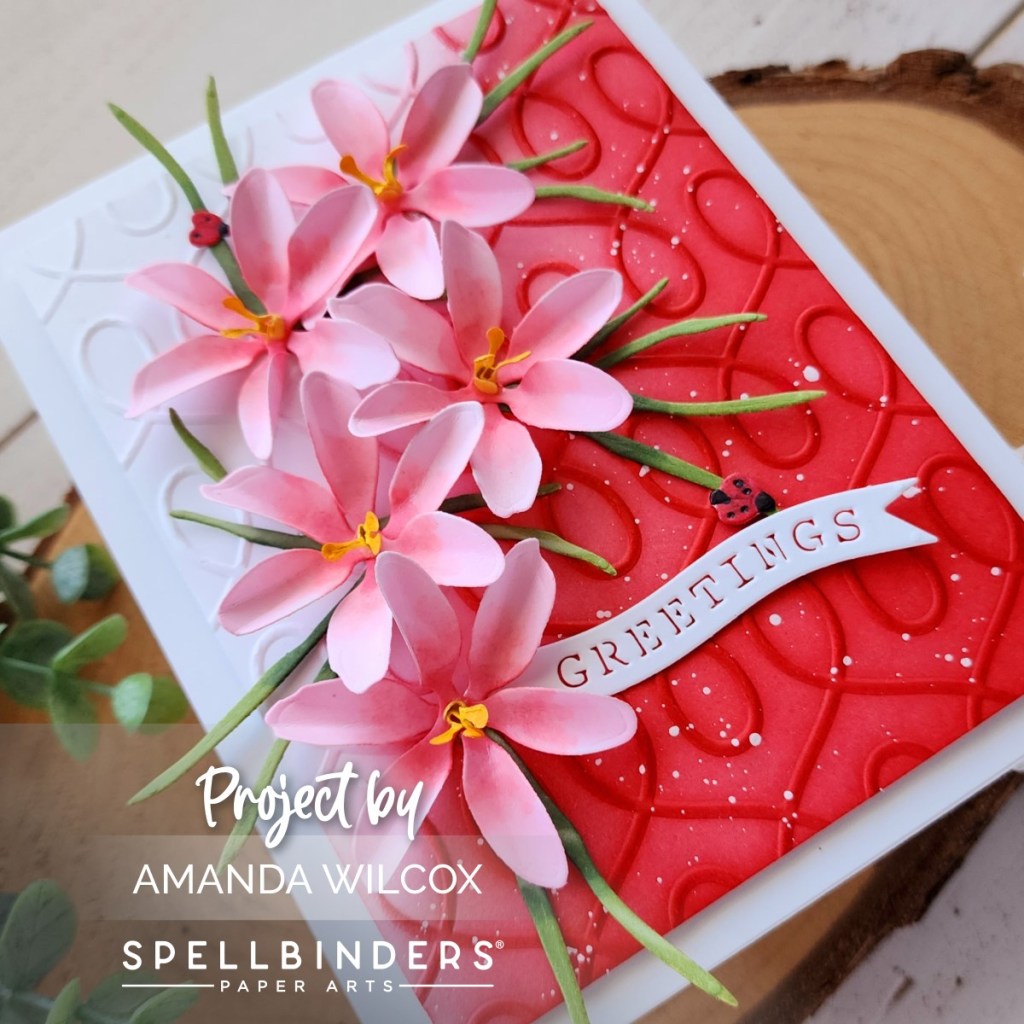
Hey friends! I’m popping in this afternoon to remind you that it’s release day for Spellbinders. I was fortunate enough to get to play with one of the new Susan Tierney Snow Garden dies – Crocus with Ladybugs. It was probably the easiest to create with so far and turned out so pretty.

I chose to die cut all of the crocus elements from white cardstock and used copic markers to add my color. Then I used liquid glue and reverse tweezers to assemble the flowers.

For my background, I embossed a piece of white cardstock with the Loops embossing folder and then trimmed it down to 3.25×5 inches. I ink blended red dye ink from one corner fading to nothing, then splattered it with white paint. I popped the panel up on a white card base with foam tape and used liquid glue to adhere all my flowers across the panel.

I snagged the banner die from the new Pop-up Snowflake die set and tucked it under the edge of the bottom flower.

There are a number of gorgeous blooms available in the new Snow Garden collection so be sure to check them all out.

Products used today:
Crocus and Ladybugs dies
Pop-up Snowflake dies
Loops embossing folder
Foam tape
Blending brush
Lawn Fawn Ink – chili pepper
Liquid glue

I appreciate you sharing your time with me. Have a fabulous day!
Doodlebugs – Mini Note Card Two Ways, Blingy or Simple

Welcome back everyone! I’m so glad you stopped by today. I’m on the Doodlebugs blog with a pair of mini note cards in two variations. Both are super cute but maybe one is more comfortable or to your bling level liking. Enjoy!

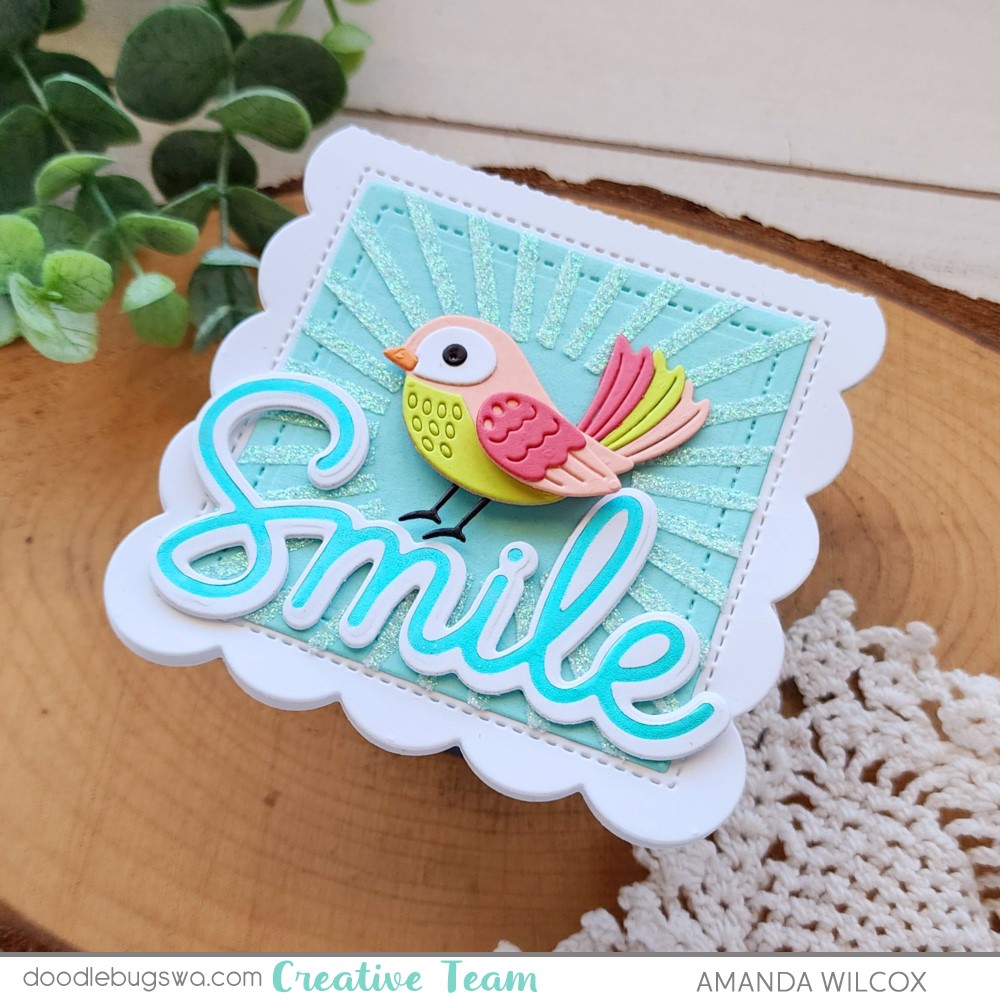
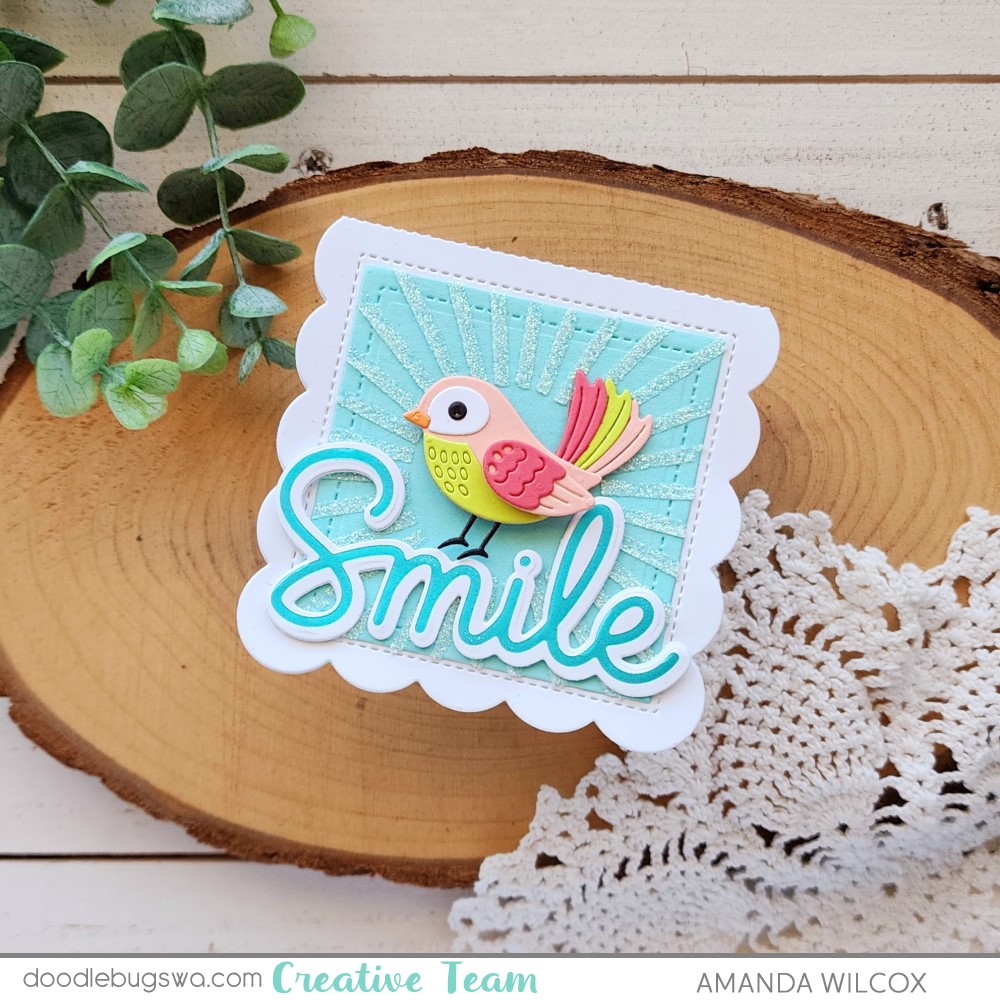
First up, I went all things extra and hot foiled my sentiment, plus glitz gelled my stencil! Shiny and glittery and fabulous! This Pretty Pink Posh mini note die set is super fun and I’m going to be making a ton of these over time. They’re fun for purses, lunch boxes and RAKs at the store too!

I used the adorable Spellbinders Sweet Birdie die to adorn my card front and I love it! I used fun colored cardstock from my stash and liquid glue to assemble him. Then, after hot foiling my Pretty Pink Posh Smile sentiment, I die cut it, gluing and additional two layers to the back so it had a little dimension. The bird is popped up with a foam square so it stands out too.

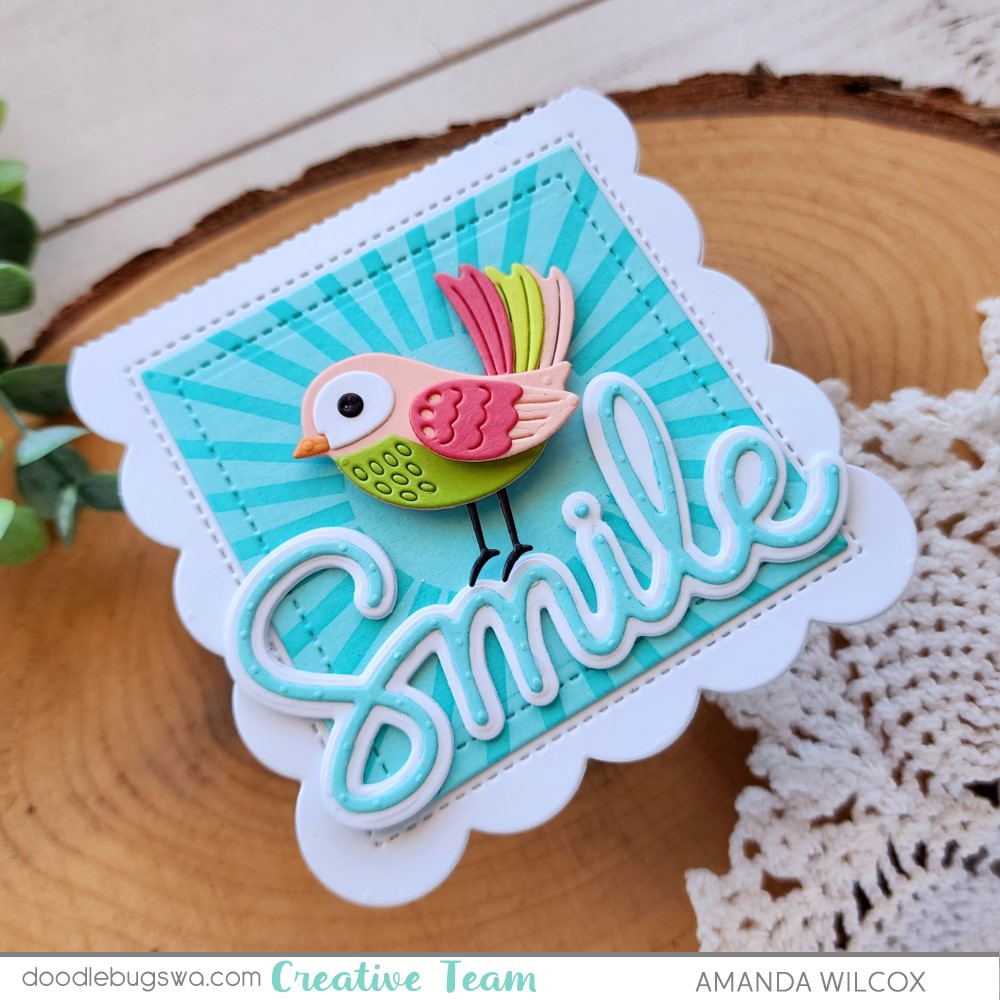
After creating that first card, I thought about people who don’t hot foil or like to get messy like I do and wanted to create and equally adorable, but simpler version of the same card. So here we are! I used a blending brush and darker teal ink for my stenciling this time.

Plus I used the regular die and shadow for my sentiment instead of the hot foil plate and shadow die. I did add two extra layers to the shadow on this sentiment just like the first one and popped my birdie up with a foam square again too.

A little side-by-side action for you to see the differences at the same time. The impact is definitely more in person, with the light hitting the glitz gel and foiling but I really love both cards!

What’s your vote?

Products used today:
Spellbinders Sweet Birdie dies
Spellbinders Hot Foil – moondust
Pretty Pink Posh Mini Scallop Card dies
Pretty Pink Posh Large Smile hot foil plate and dies
Pretty Pink Posh Starburst stencil
Liquid glue
Foam squares
Blending brush
Lawn Fawn ink – mermaid
Thermoweb Glitz Gel – iridescent

I appreciate you sharing your time with me. Have a fabulous day!

Pretty Pink Posh | Spellbinders – Love You Berry Much

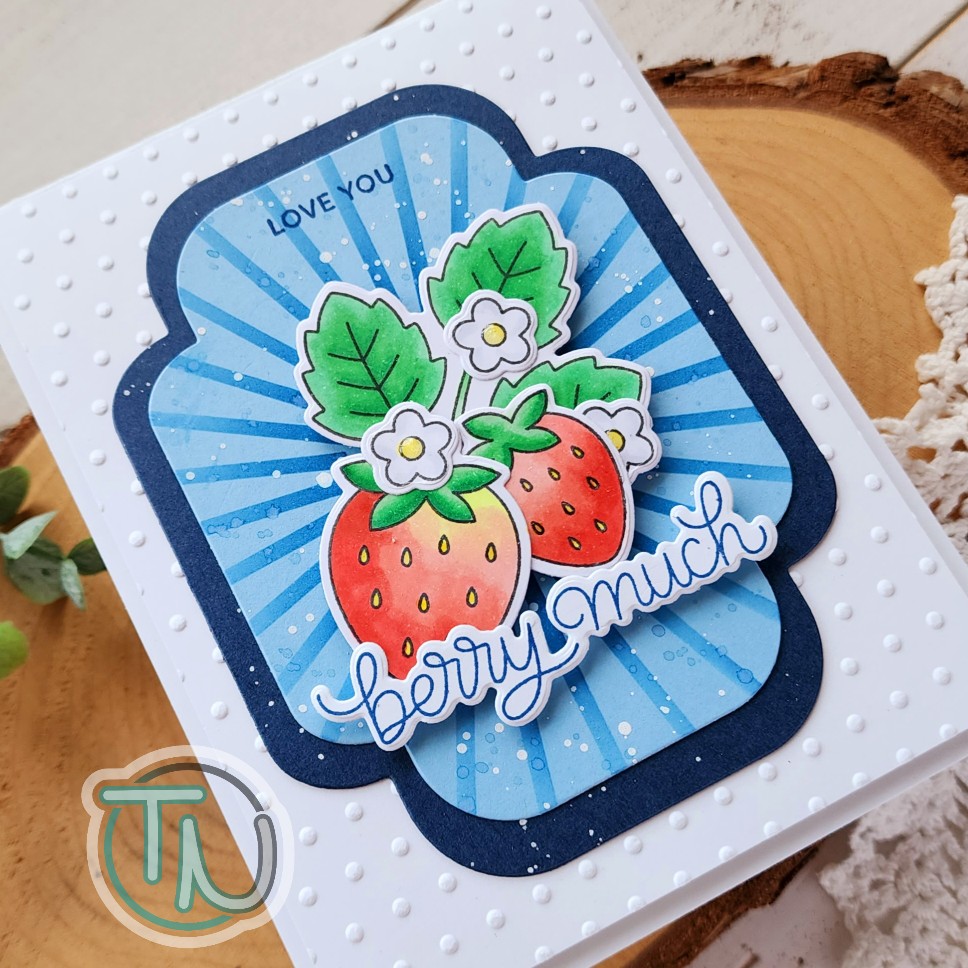
Hi there! I’m popping in late today to share a fun card I created this weekend with Spellbinders dies and embossing folder plus Pretty Pink Posh stamps and stencil! I really had a blast creating this card and I think it’s good to share what really happened behind the scenes…

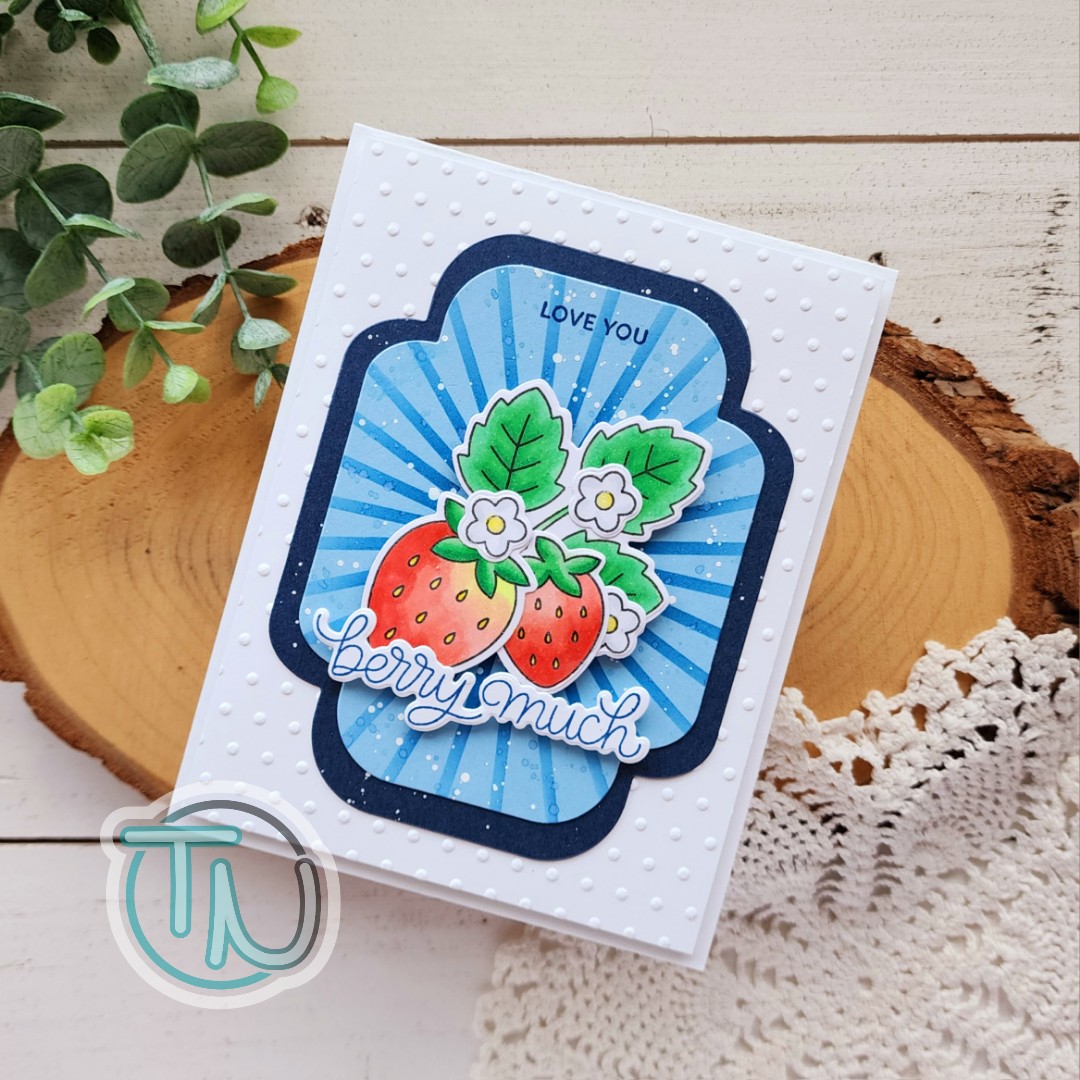
First, here’s my completed project. Completely different than my original vision. First, I stamped and colored my images from Pretty Pink Posh Fresh Berries. Then I used the coordinating dies to cut them out. Next, I pulled out an envelope die because my berries were going to spill out of it. This 100% did not work! I was super frustrated and tried really hard to force it.

After walking away, I came back and started playing with the images in different arrangements. With a fresh mind and a blank slate, erasing all preexisting hopes for my envelope idea, I came up with the final arrangement you see.

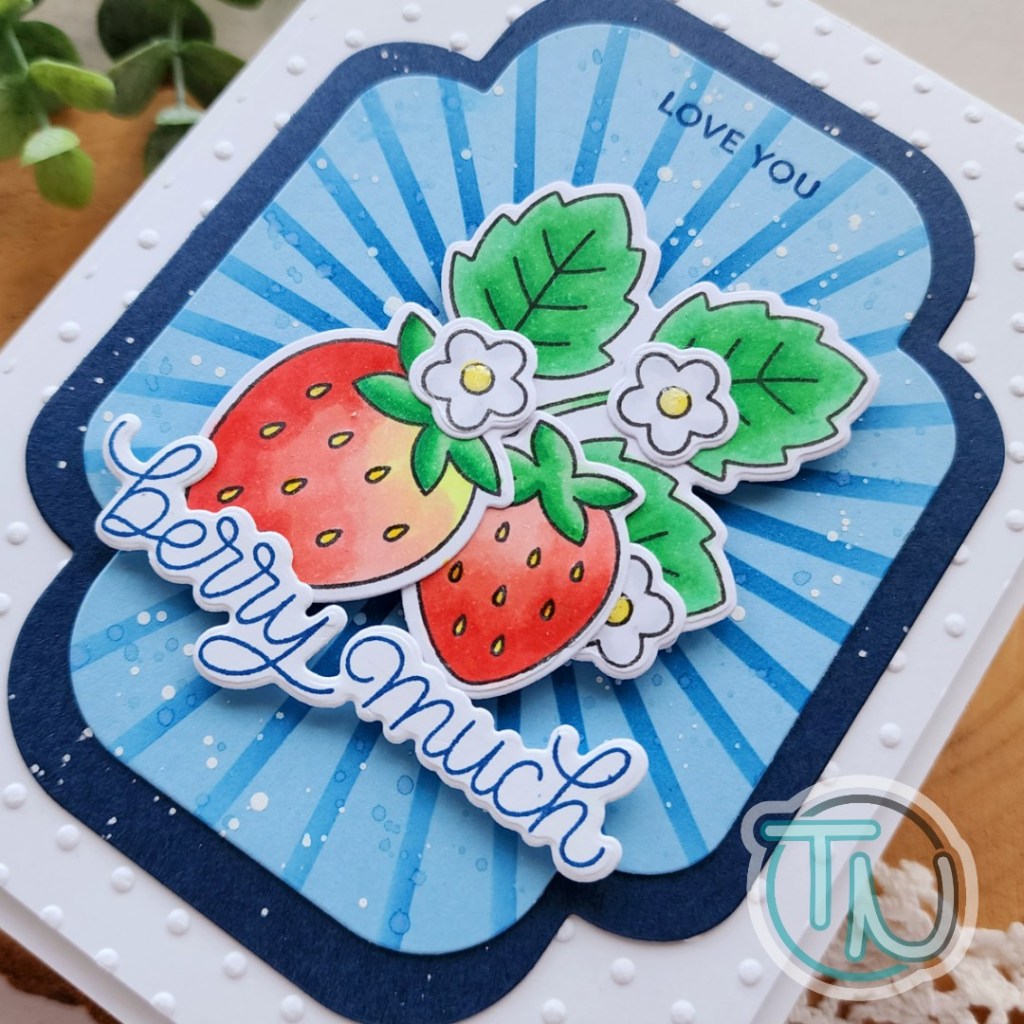
I used the Spellbinders Tiny Dots embossing folder on a 4×5.25 inch white panel and popped it up with foam tape. Then I cut two Spellbinders Four Petal Labels from two different blue cardstocks. I used the Pretty Pink Posh Starburst stencil on the light blue with Lawn Fawn Blue Jay ink. After gluing the labels together I splattered them with water and then white paint for texture.

Using the images as a guide I stamped the first half of my sentiment in Blue Jay ink and then popped the berries and second part of the sentiment up with foam squares. I came in with a little Touch of Gloss on the flower centers and left it at that.

This card was a bit of a journey but I’m so happy with it and thing it’s so adorable!

So, reminder…don’t give up. Sometimes you have to walk away and try again later. Whether it’s a different idea or a new take on the same one, something wonderful will work out!

Products used:
Pretty Pink Posh Fresh Berries stamps and dies
Pretty Pink Posh Starburst stencil

Spellbinders Four Petal Label dies
Spellbinders Tiny Dots embossing folder
Foam tape
Touch of Gloss
Liquid glue
Lawn Fawn blue jay ink
Blending brush

I appreciate you sharing your time with me. Have a fabulous day!

Doodlebugs – Fun Shaped Camping Scene Card with Extras Inside

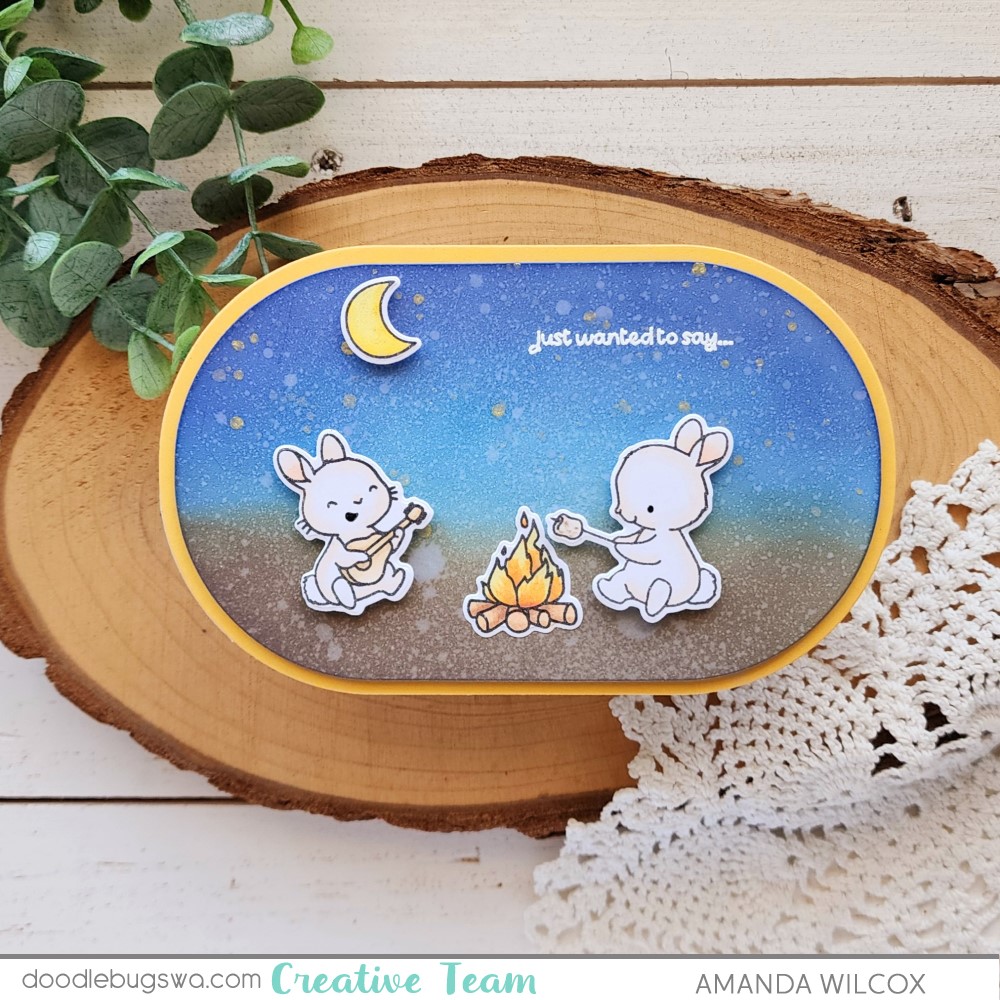
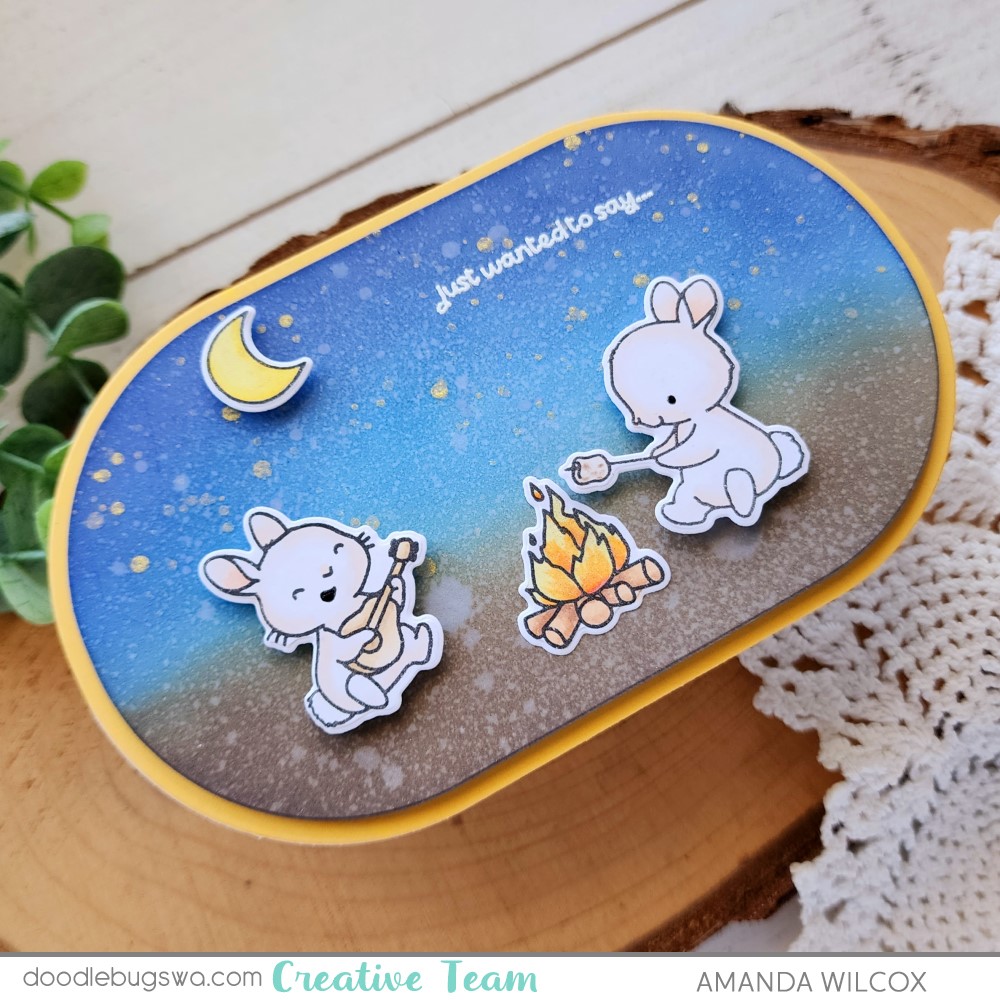
Hello there! I’m happy to be on the Doodlebugs blog today sharing a sweet camping scene card on a fun shaped card. Plus, I’m horrible at this usually, but I extended my sentiment and, sort of, my scene to the inside too. I think it turned out really fun and am excited to hear what you think.

This card is extra fun with its different shape and that’s easy to do with any large shape dies you may have.

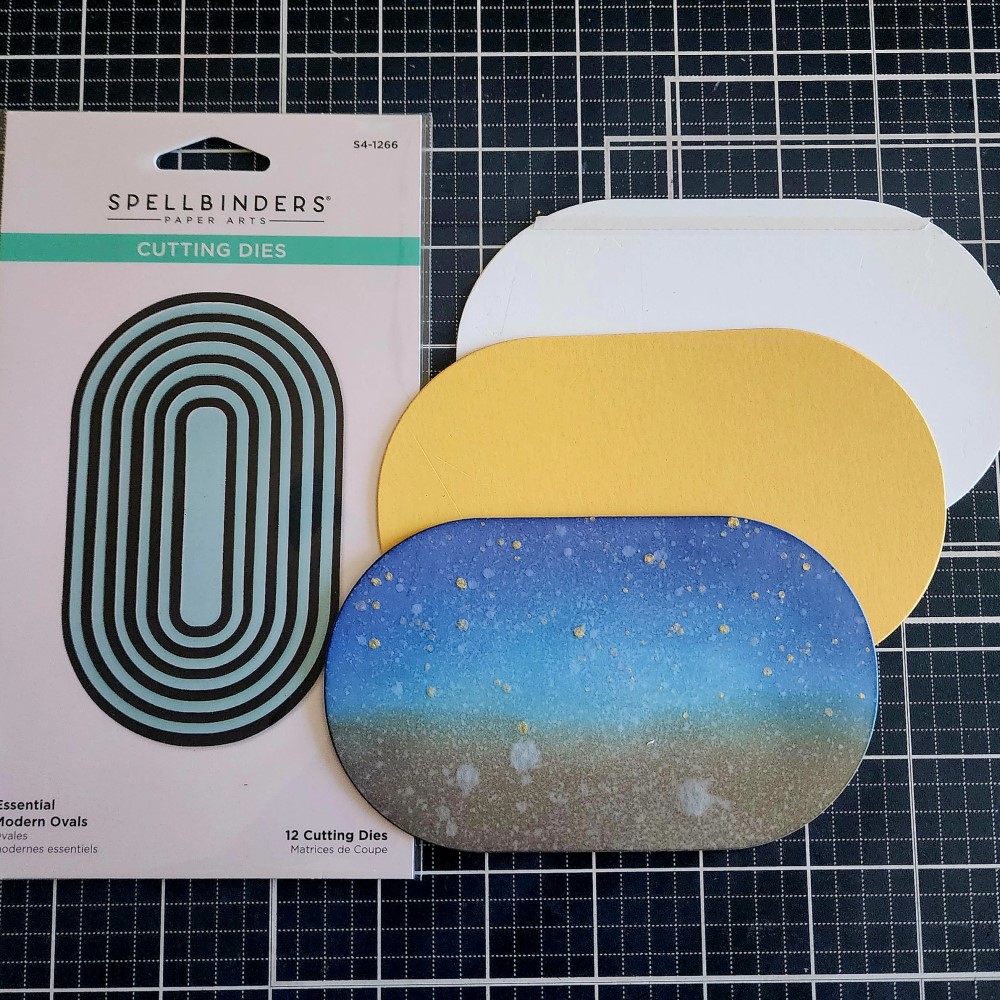
I cut the largest Essential Modern Oval from Spellbinders from white and yellow cardstocks. I placed the white one in my scoring board and scored it about 1/4″ away from the top edge. Then I added tear tape to that flap. This will be the back part of our card and hides the hinge on the back so it doesn’t interrupt your scene on the front.

Then I cut the next smallest oval from blue cardstock and inked the top edge with chipped sapphire distress oxide ink and the bottom part with ground espresso. Then I spritzed it with my distress sprayer and blotted it dry. I also flicked gold watercolor on the top portion for some stars in the sky.

I chose a few sweet images to stamp, color and die cut from Mama Elephant’s Around the Campfire. I love how these images mix and match for different camping scenes. Once these were ready to go, I arranged them on my oval to find the best spot to stamp and heat emboss the first part of my sentiment, which comes from Mama Elephant So Appreciated.

Now we can assemble everything. I popped the scene panel up on the yellow panel with foam tape, then also popped up the moon and bunnies while the campfire is attached with liquid glue. Then, I removed the release paper and attached the back part of my card base. After it was attached I used a bone folder to really burnish the adhesive strip and also reinforce the fold so the card opens nicely.

Next, I placed my open card in my MISTI and stamped the second part of my sentiment on the left side in black ink. After that I chose a couple of images from the front to stamp in light yellow ink. It gives a little something cute but if your writing goes over it, it’s still visible.

There was so much visual texture on the background panel that I just used an iridescent glitter pen on the flames and moon, along with black glaze pen on the bunny’s eye and the other bunny’s open mouth.

Do you stamp on the inside of your cards? Have you ever tried making a shaped card from your large dies? Share in the comments below!

Products used:
Spellbinders Essential Modern Oval dies
Mama Elephant Around the Campfire stamps and dies
Mama Elephant So Appreciated stamps
Distress Oxide Ink – ground espresso, chipped sapphire
Foam tape
Wink of Stella Glitter Brush Pen – clear
Sakura Glaze Pen – black
Bearly Arts liquid glue
Anti-static Pouch
VersaMark ink
Embossing Powder – white
Lawn Fawn ink – jet black, sunflower
MISTI
Scoring board

I appreciate you sharing your time with me. Have a fabulous day!
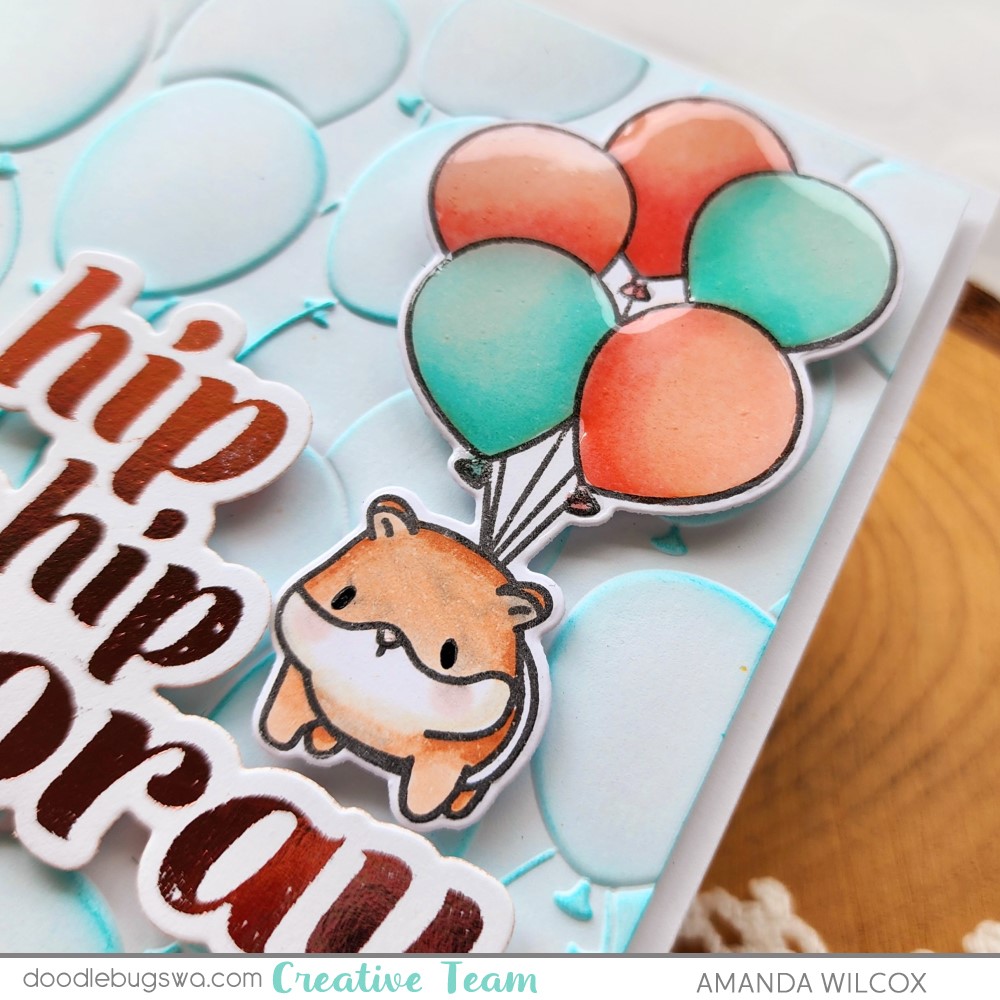
Doodlebugs – Hip Hip Hooray Spellbinders Hot Foiling with Mama Elephant Celebration Hamsters

Welcome, welcome friends! I’m so glad you stopped by today. I’m over on the Doodlebugs blog sharing a fun celebratory card featuring goodies from Spellbinders and Mama Elephant.

Today’s creation could very well be a birthday card but it’s also generic enough to celebrate just about anything you feel like!

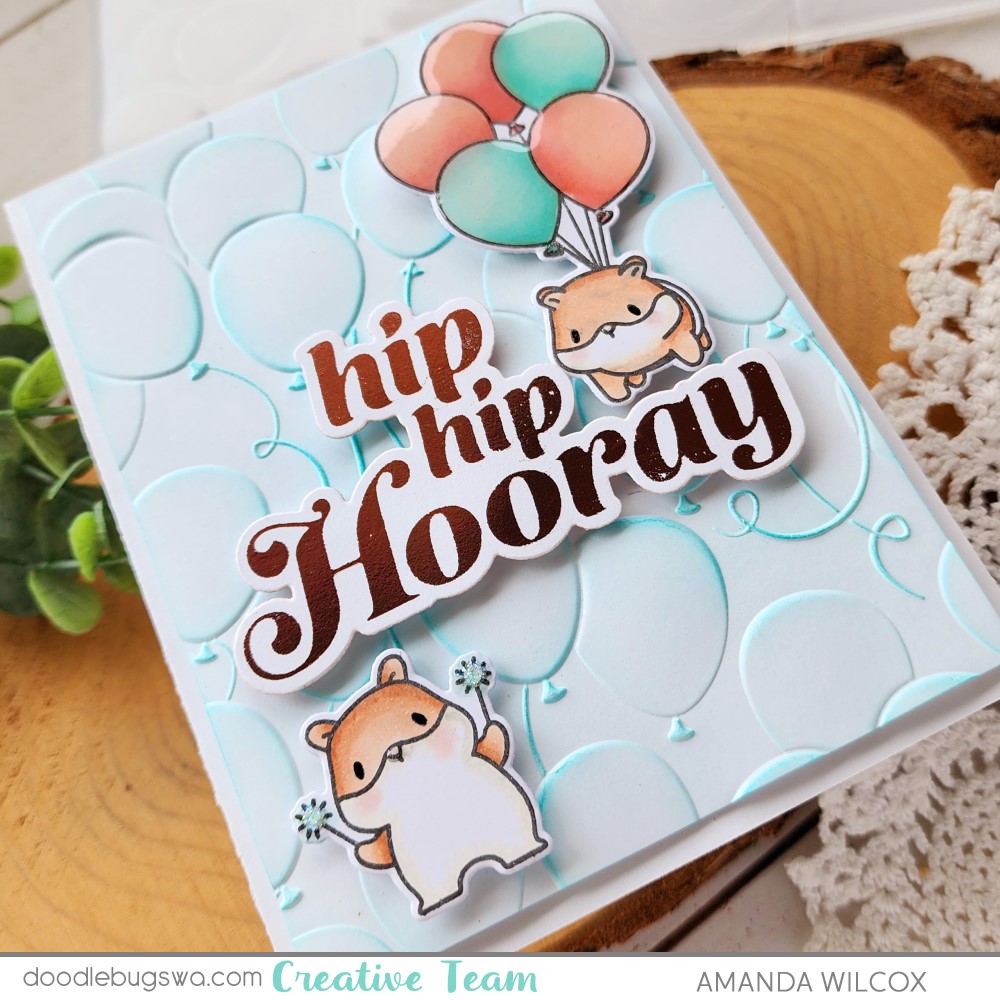
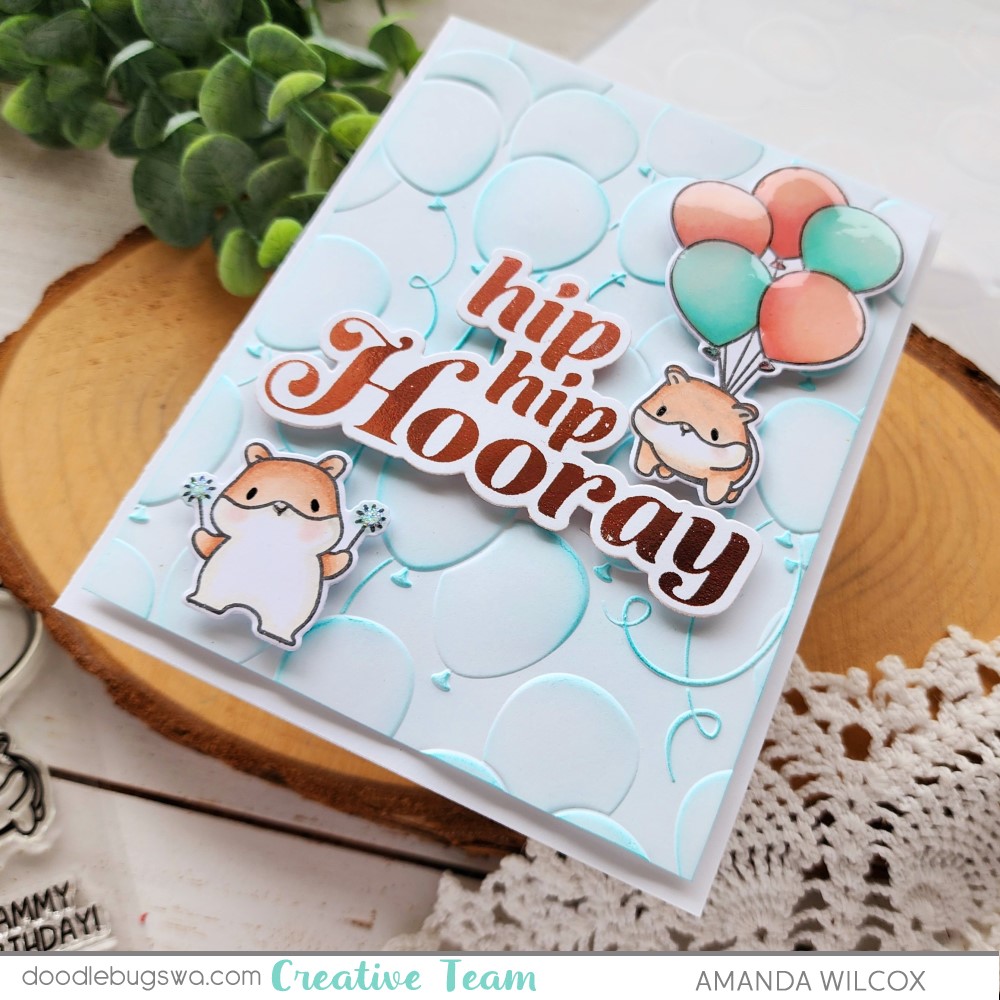
I started my card today by stamping and coloring the two images from Mama Elephant Celebration Hamsters with my copic markers. I used the coordinating dies to cut them out and set them aside.

Next, I heated up my Glimmer Hot Foil System and foiled the Hip Hip Hooray with rose gold hot foil. I thought it went perfectly with the pink in my balloons. I used the coordinating die to cut it out and set it with my images for now.

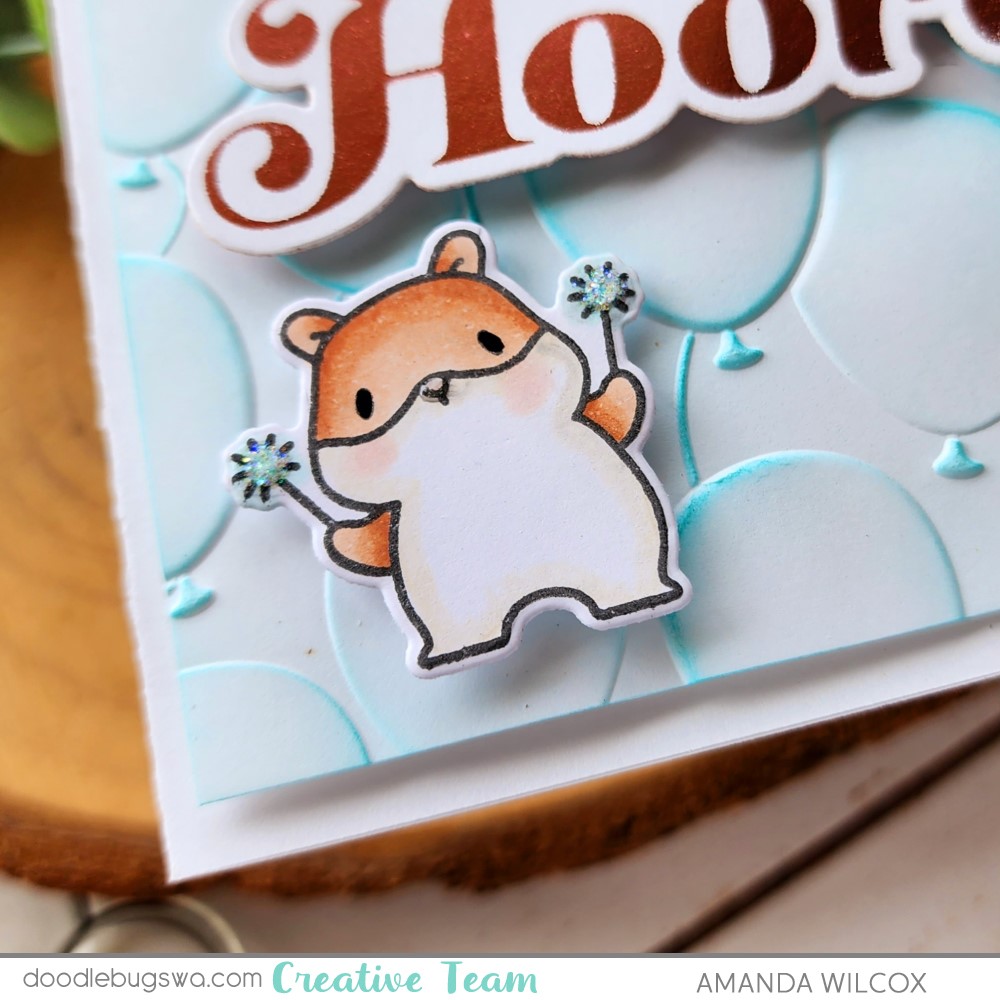
Next, I embossed a 4×5.25 inch piece of white cardstock with the Spellbinders Balloons 3D embossing folder. Then I used a blending brush to add some teal ink to bring them to life. I added foam tape to the back and popped it up on a white card base.

Then I added my sentiment and images with foam squares and started on finishing touches. For this little cutie, I added black glaze pen to his eyes, glossy accents to his nose and a little stardust Stickles to the sparklers.

Last, for this sweetheart floating in the sky I added black glaze pen to his eyes too and glossy accents to his nose and ALL of those balloons. It might be a little extra, but I’m so okay with it! It’s really fun and shines so pretty in the light.

These kind of cards are invaluable in my stash because sometimes you can’t plan the type of celebration you need a card for and it’s not always a birthday! Am I right!?!

Products used:
Mama Elephant Celebration Hamsters stamps and dies
Spellbinders Hot Foil – rose gold
Spellbinders Hip Hip Hooray hot foil dies
Spellbinders Balloons 3D embossing folder

Spellbinders Glimmer Hot Foil System
Foam tape and squares
Blending brush
Lawn Fawn mermaid ink
Glossy accents
Sakura Glaze pen – black
Stickles – stardust

I appreciate you sharing your time with me. Have a fabulous day!

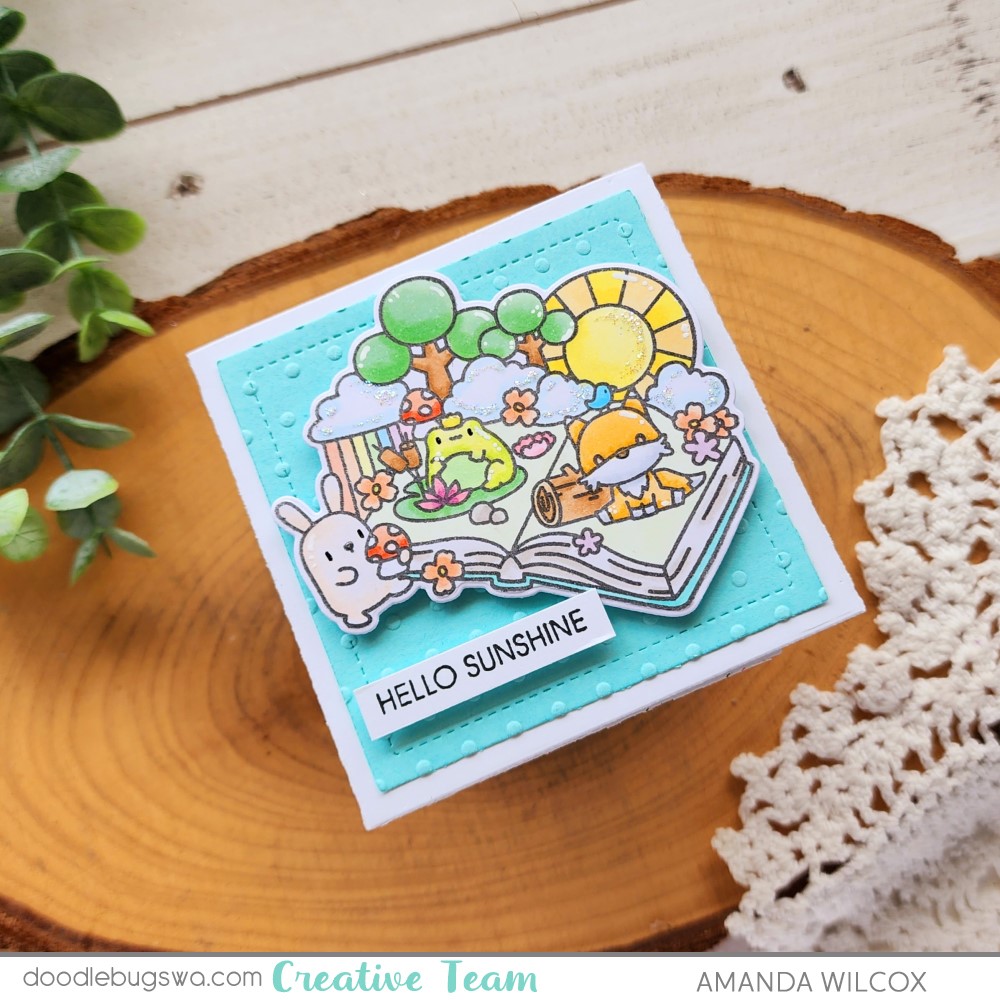
Doodlebugs – Mini Note Card with Pretty Pink Posh, Mama Elephant and Spellbinders

Hi everyone! Today I’m sharing a mini note card featuring dies from Pretty Pink Posh, stamps from Mama Elephant and embossing folder and stamps from Spellbinders. This little card was so fun to create and I think they’re going to be a little addictive. They will be so fun to pop in lunch boxes or leave places for my family.

I really wanted to color this adorable image from Mama Elephant Storytime stamps, so that’s where I started…with no other plan in place. Sometimes this is the most therapeutic craft sessions. No pressure, just do something you want and if it turns into a completed project, cool. If not, you got to relax and color.

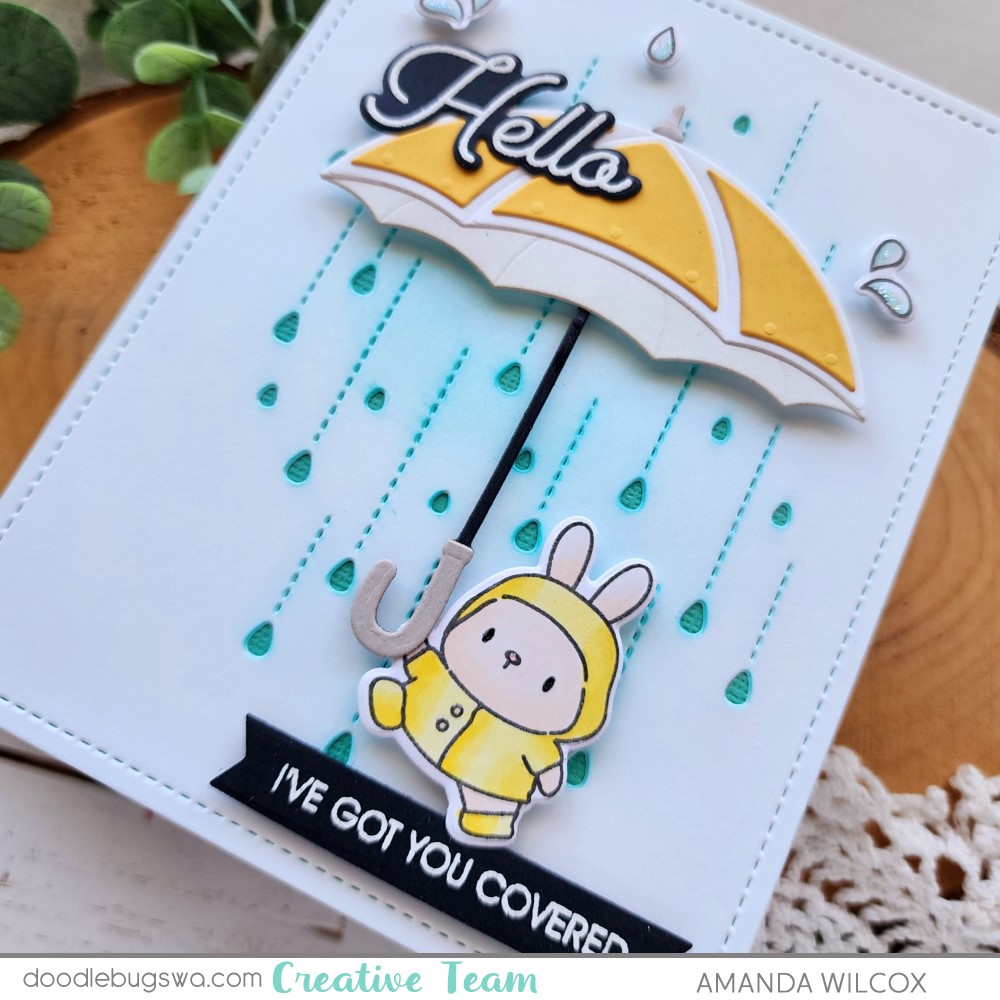
However, after I die cut this adorable image, it struck me that it might fit the Pretty Pink Posh Sweet Note card. And it did, perfectly! So I cut the base from white cardstock and the stitched square from teal. Then I added some texture to the square using the Spellbinders Tiny Dots embossing folder. The embossed panel is glued to the card with liquid glue and the image is popped up with foam squares.

Then I found this perfect sentiment in the Spellbinders I’ve Got You Covered stamp set. After I stamped it, I just trimmed it into a strip and added it with a foam strip. For finishing touches I added some white gel pen highlights, black glaze pen to open eyes and stardust Stickles to the clouds and sun. Last, I did put little dots of glossy accents on noses and the frog’s crown.

Do you give little notes to your family members? I can’t be the only one. Lol!

Products used:
Mama Elephant Storytime stamps and dies
Pretty Pink Posh Sweet Note dies
Spellbinders Tiny Dots embossing folder
Spellbinders I’ve Got You Covered stamps
Liquid glue
Foam squares and strips
Glossy accents
Stickles – stardust
Sakura Glaze pen – black

I appreciate you sharing your time with me. Have a fabulous day!
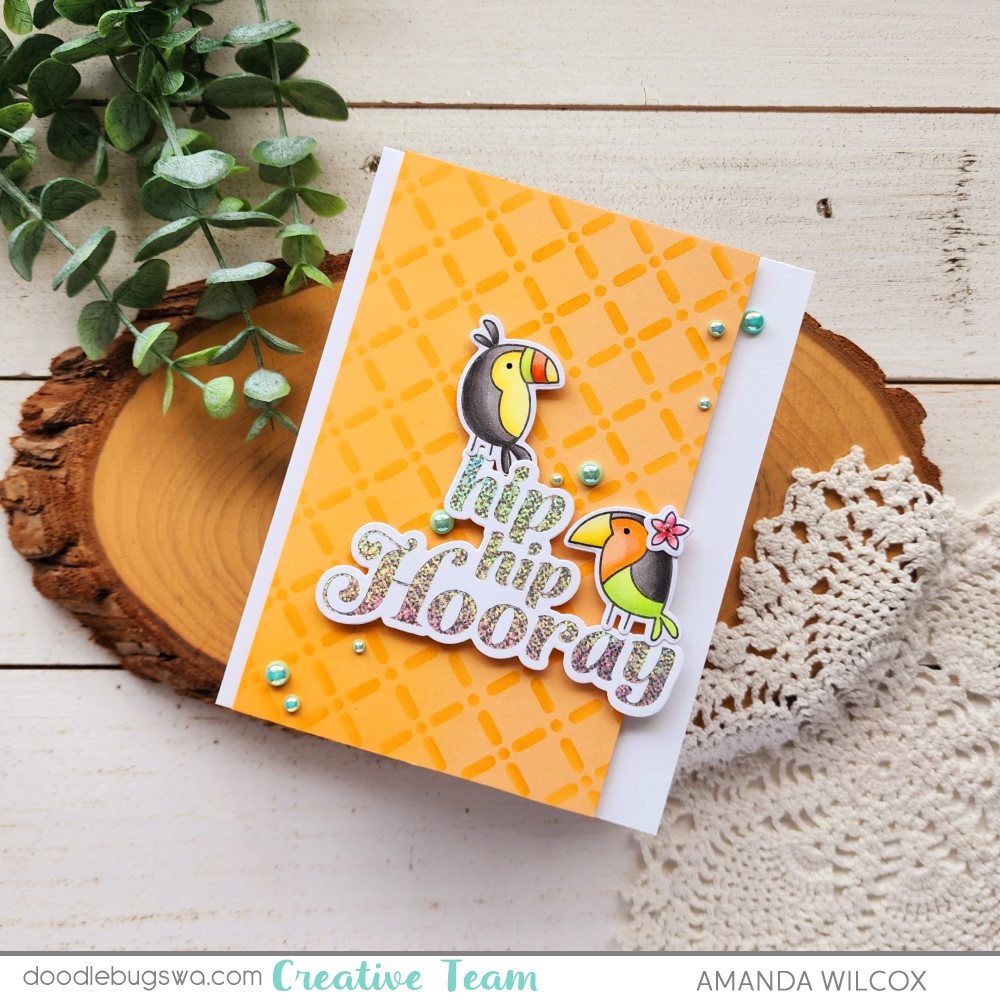
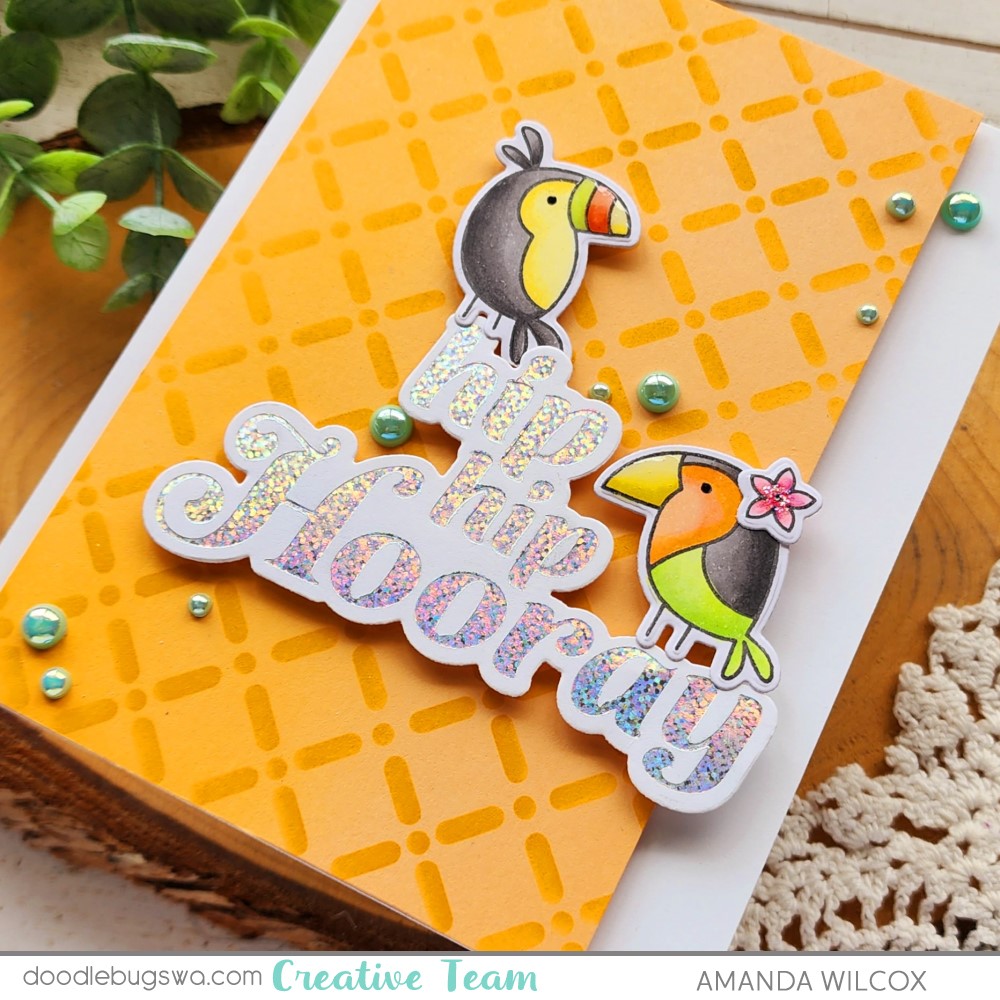
Doodlebugs – Hip Hip Hooray Tropical Bird Hot Foil

Woohoo!!! I’m so happy to be joining the Doodlebugs team! I’ll be bringing you fantastic inspiration with your favorite brands mixed and matched together. Sometimes we get in a rut of using only one brand of products per project but remember that it’s fun to combine your favorites together.

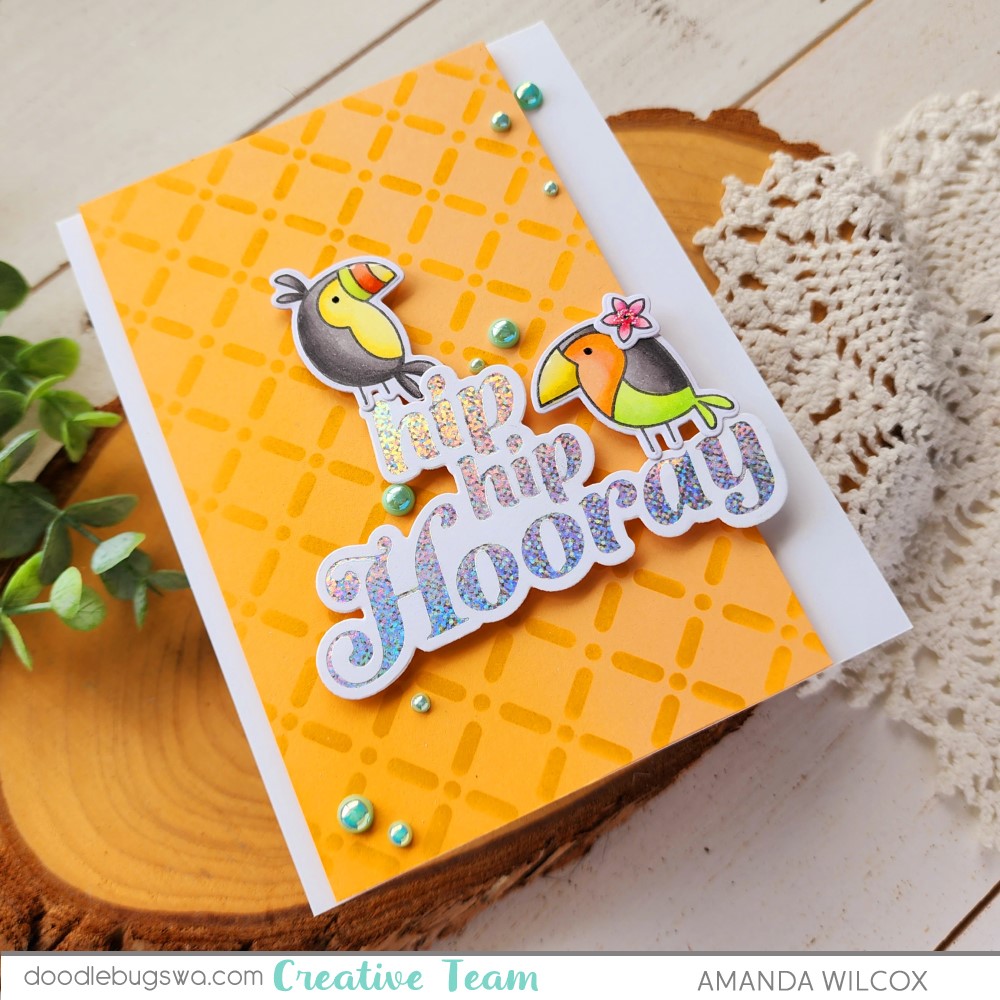
Today I had some fun hot foiling with the new Spellbinders Hooray hot foil and die set. Isn’t that speckled prism hot foil eye catching! I love it! Once that was done, I pulled out the Pretty Pink Posh Tropical Toucans and Trellis stencil to play around.

My orange panel measures 3×5.5 inches and is inked up with Lawn Fawn carrot ink for a tone-on-tone background. I popped the panel up with foam tape before adding my birds and sentiment with foam squares.

For finishing touches I added black glaze pen to the toucan’s eyes and glossy accents to their beaks. Next I put a bit of stardust Stickles on the the flower and finished the design off with a scattering of Pretty Pink Posh sea foam pearls using liquid glue.

I love how fun and happy this bright card is! It’s perfect for a variety of occasions and great to have in your stash.

Products used:
Spellbinders Hooray Hot Foil Plate and Die
Spellbinders Speckled Prism Hot Foil
Pretty Pink Posh Tropical Toucans stamps and dies
Pretty Pink Posh Trellis stencil
Pretty Pink Posh sea foam pearls
Glossy accents
Sakura Glaze Pen – black
Stickles – stardust
Bearly Art liquid glue
Foam tape and squares

I appreciate you sharing your time with me. Have a fabulous day!

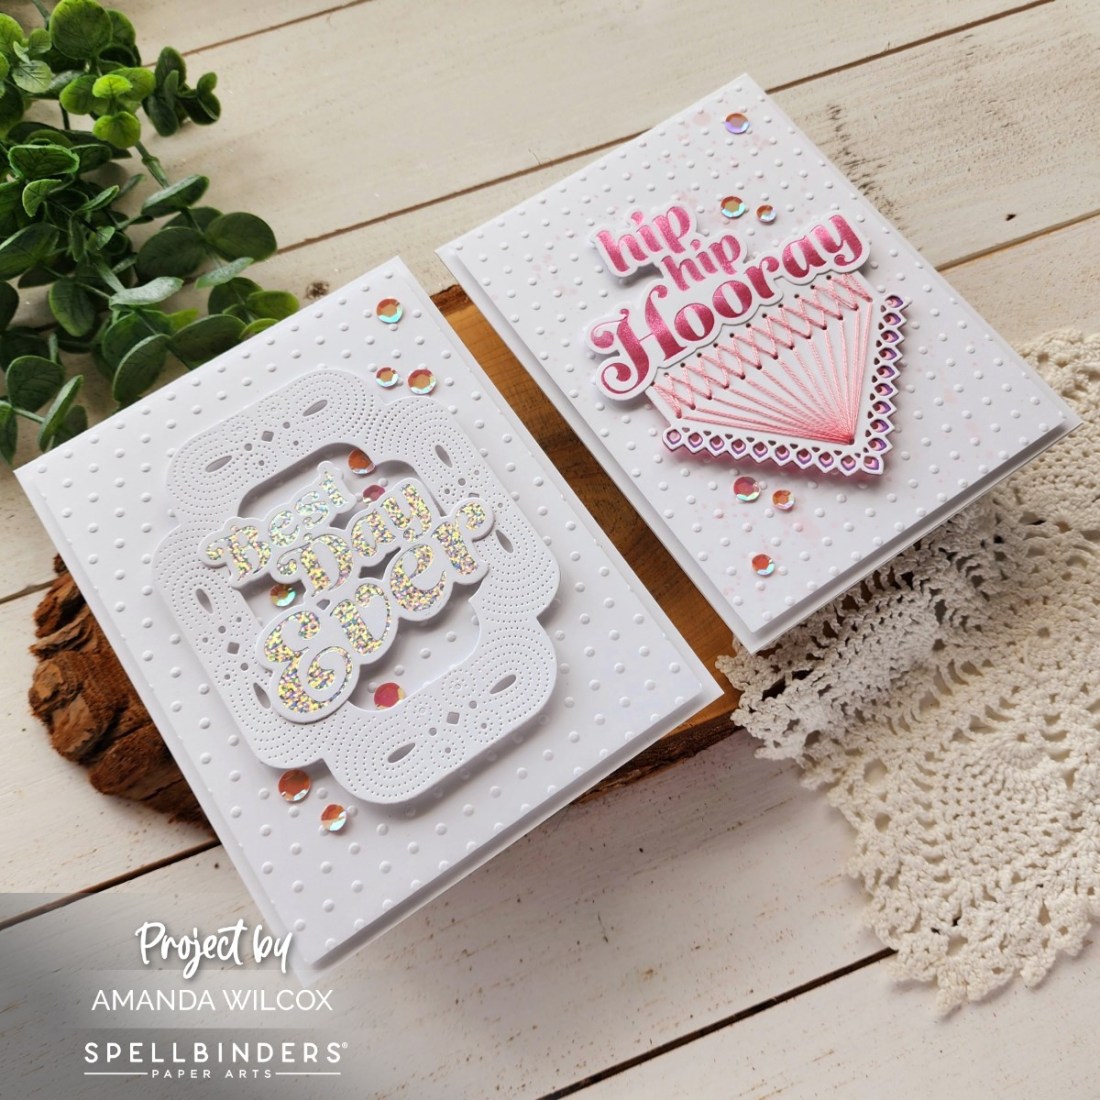
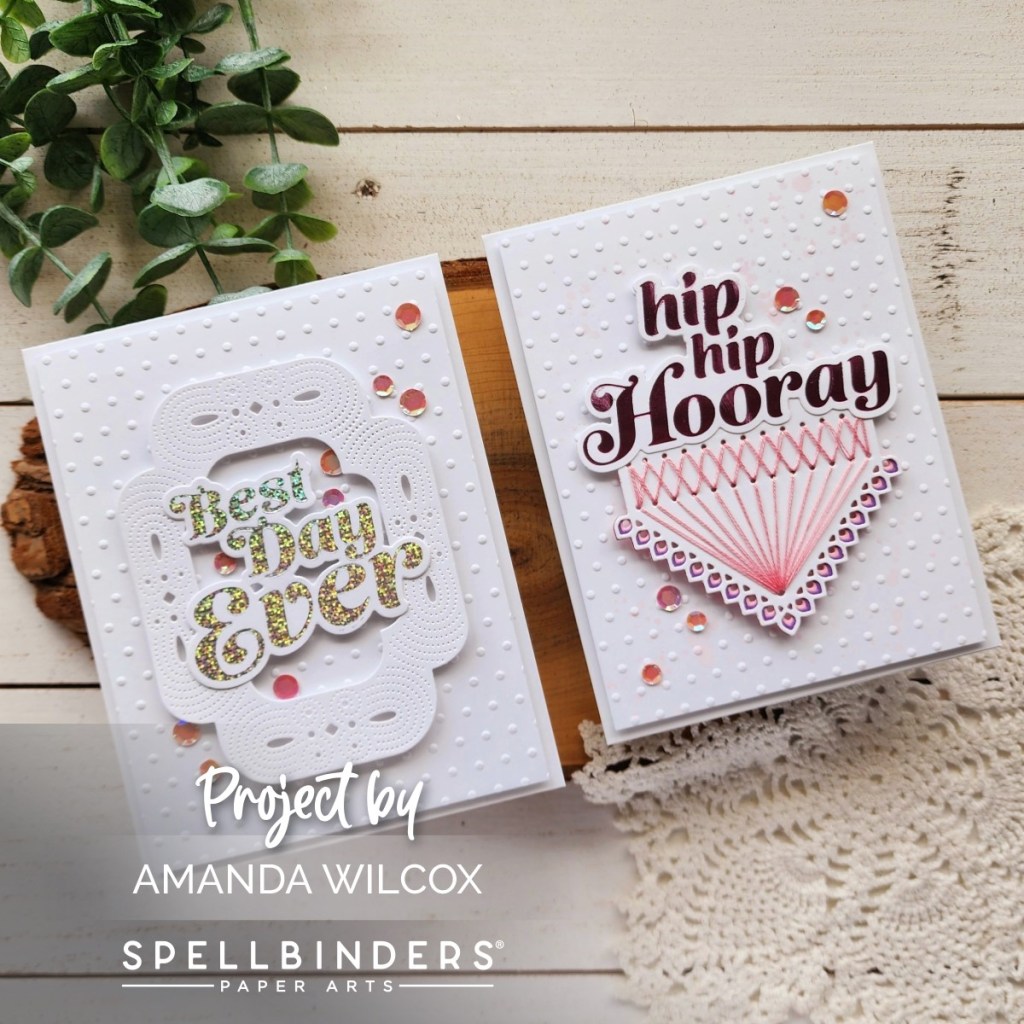
Spellbinders – It’s My Party Too with Hot Foiling

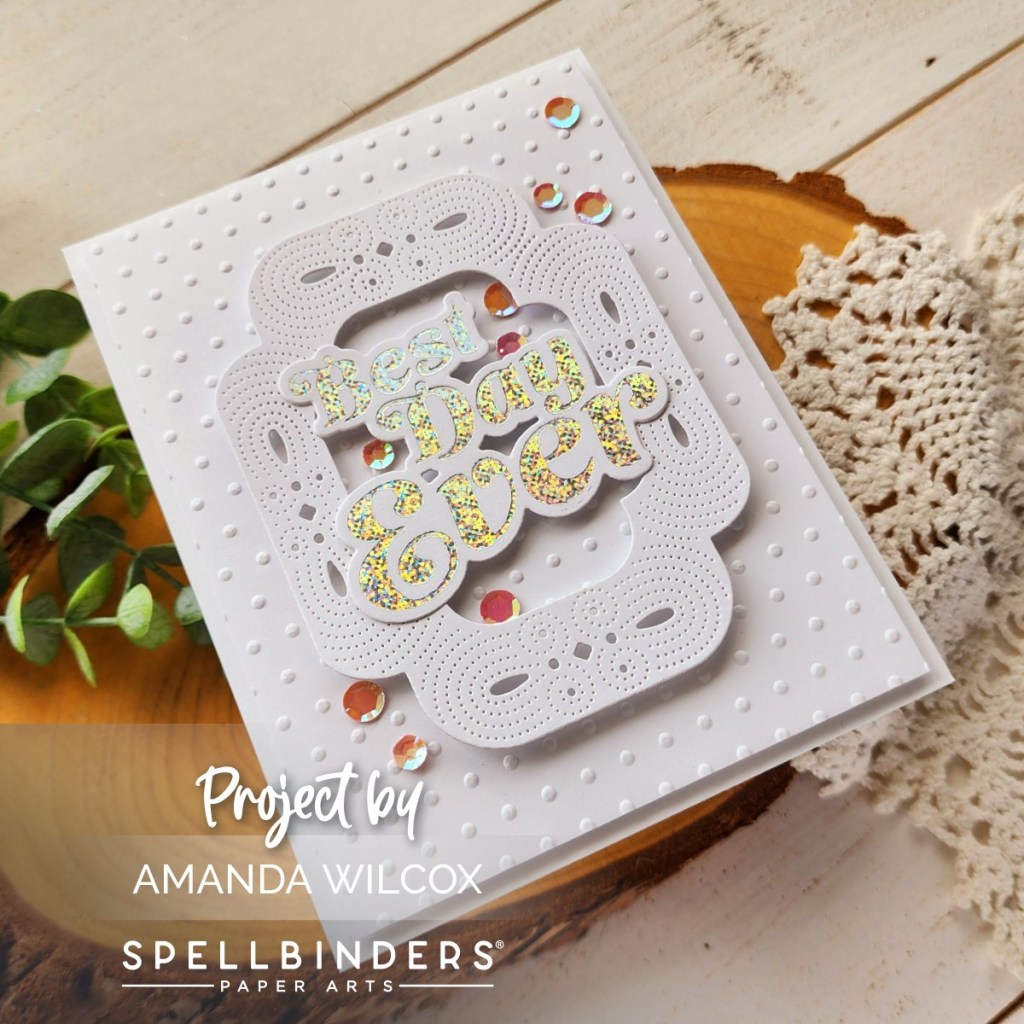
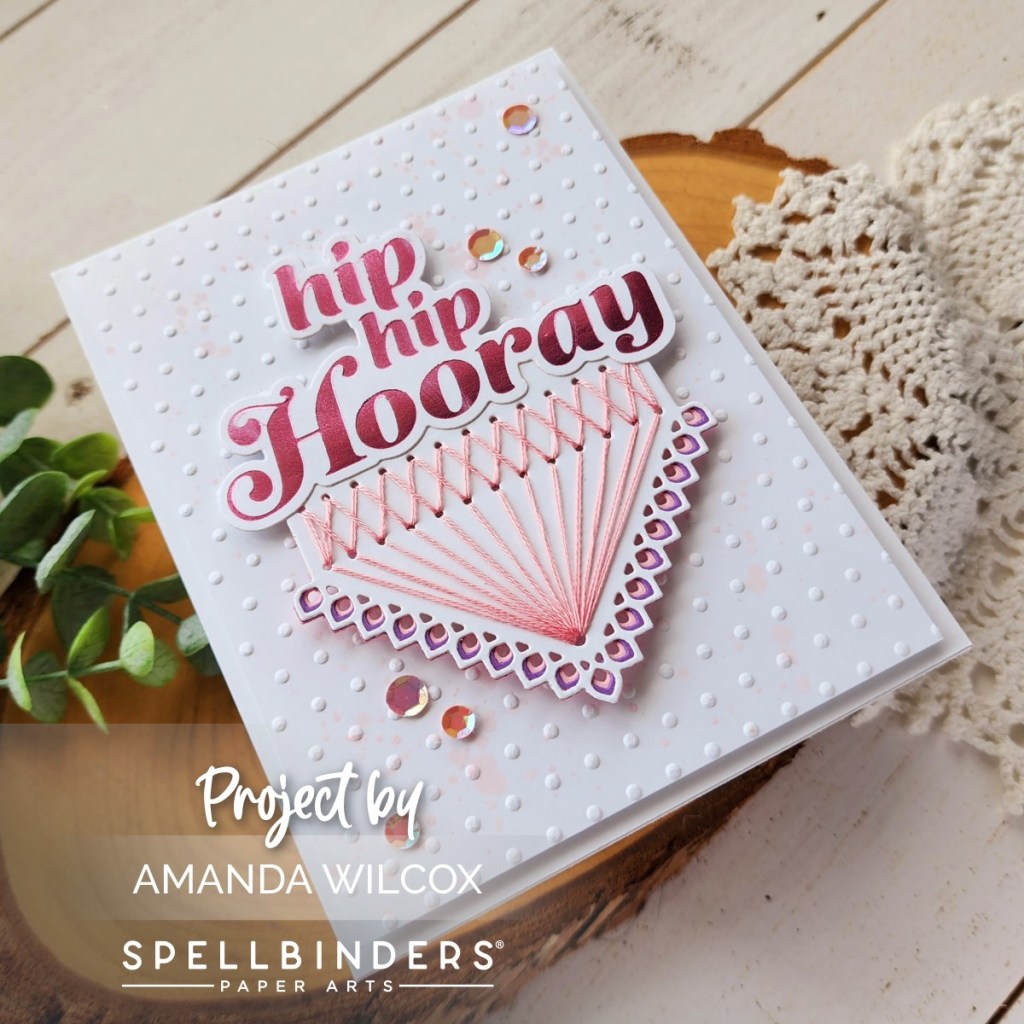
Happy Friday everyone!!! I’m popping in today with a pair of cards featuring the Spellbinders It’s My Party Too collection. It’s a fabulous add on to Carissa Wiley’s It’s My Party so be prepared you’re going to want it all! Super versatile, brilliantly designed and amazing to create with!

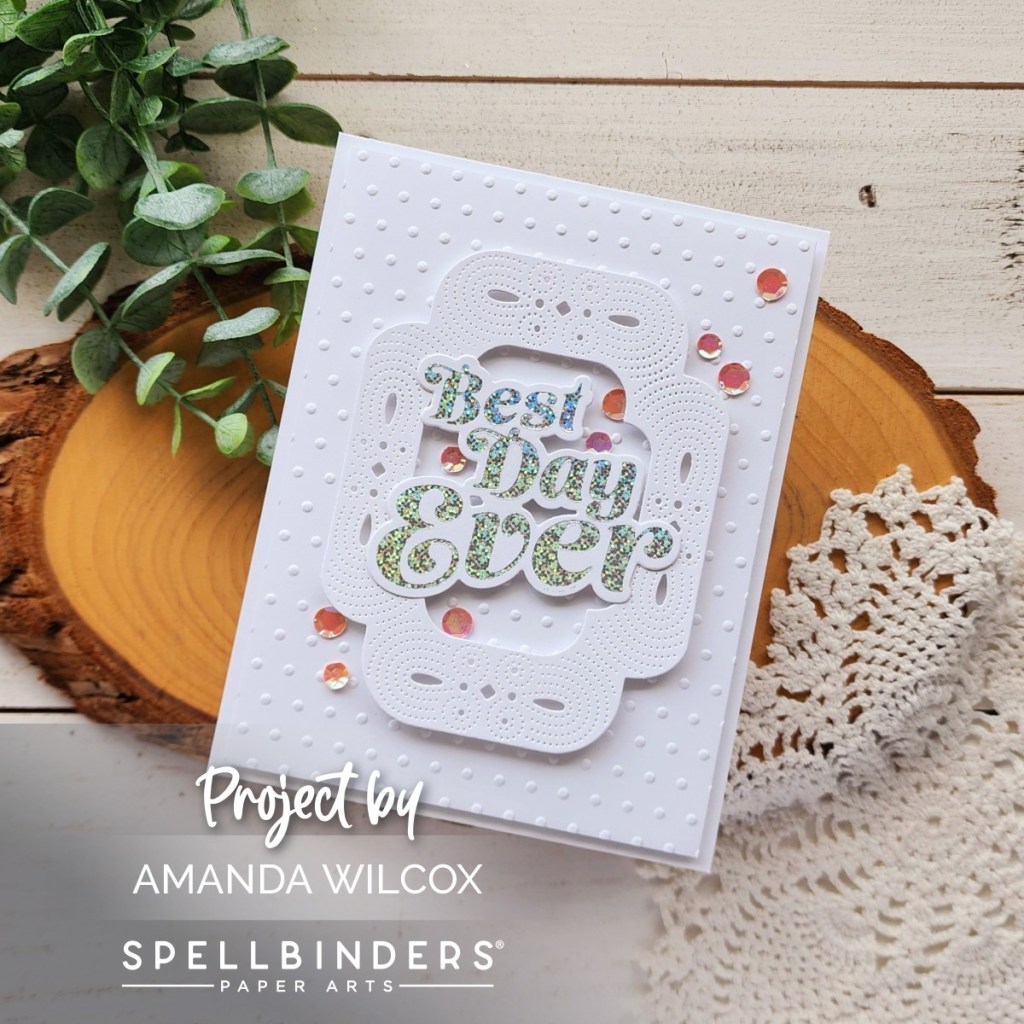
To start off, I just pulled out some hot foil and played with that for a minute so I had extra sentiments when I was done. I used two from the Metallic & Holographic Variety Pack today.

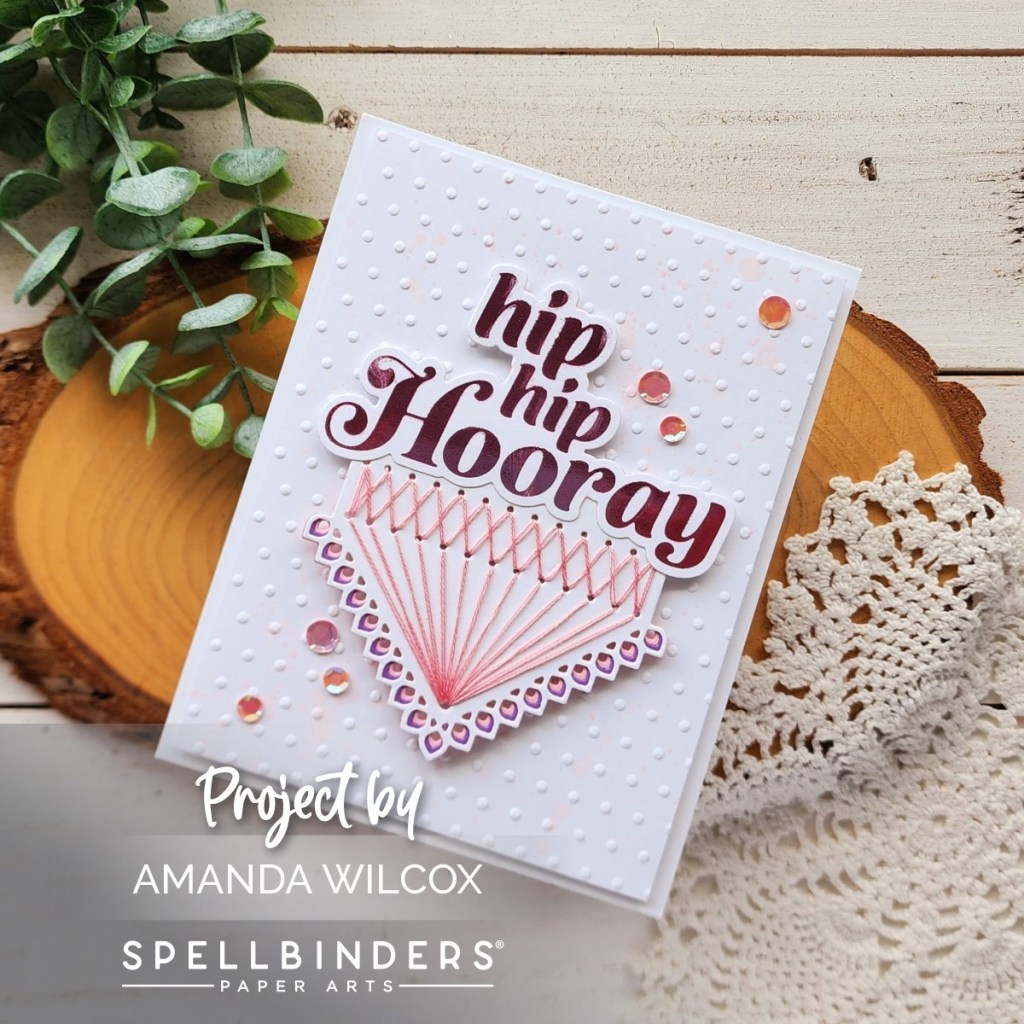
I’m going to start with this Best Day Ever card because I’m a little obsessed with it and how totally cool the holographic foil is on the sentiment! I paired the sentiment with the new Tiny Dots embossing folder and the middle section you get using the Scrolled Punch & Pierce Plate.

You know I love dimension so the embossed panel is trimmed to 4×5.25 inches and popped up with foam tape, then the scroll frame and sentiment are popped up with foam squares too. To finish off the design I added some pink opalescent sequins across the design.

Next, I went a different route and added some stitching fun to my card.

I loved how the Hooray sentiment perfectly covered the length of the Stitched Kaleidoscope Hexi-Gem die cut so I paired them together for a different look. I stitched in pink and added pink and purple layers behind the border. Then glued the hot foiled sentiment to the top edge.

Next, I embossed another 4×5.25 inch panel with the Tiny Dots embossing folder. This time I added a little ink splatter to the embossed panel using watered down spun sugar distress oxide ink too. Everything is popped up with foam tape the same way as the first card and I finished things off with the same scattering of sequins too.

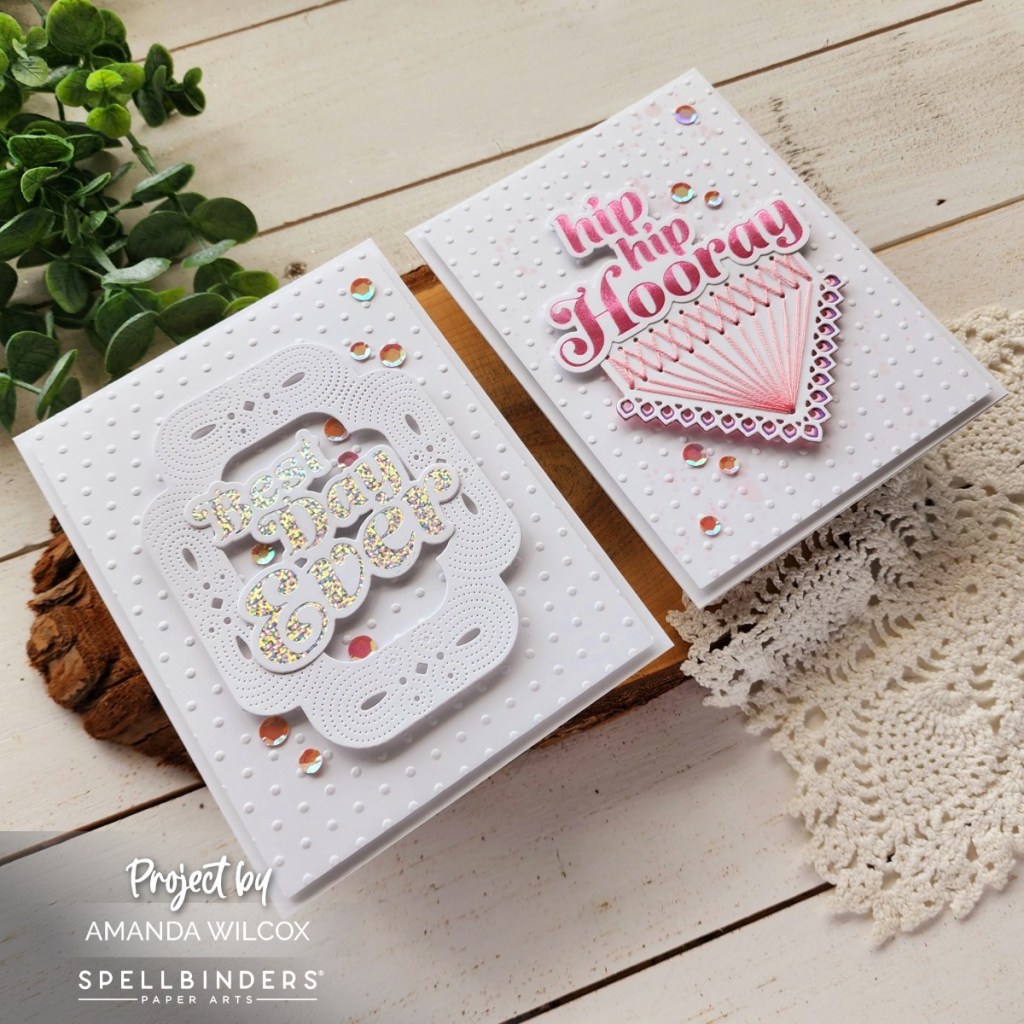
Here’s one more look at the pair of cards together. They’re so shiny and pretty! I’m so happy with how they turned out and seriously love playing with that holographic foil in the light. It’s addicting.

Products used today:
Glimmering Best Day hot foil plate and die
Glimmering Hooray hot foil plate and die
Tiny Dots embossing folder

Scrolled Punch & Pierce Plate die
Stitched Kaleidoscope Hexi-Gem dies
Metallic & Holographic Variety Pack hot foil rolls
Pink Opalescent sequins
Liquid glue
Foam tape and squares
Distress Oxide Ink – spun sugar

I appreciate you sharing your time with me. Have a fabulous day!

Spellbinders – Daisy Mouse Watercolor Card

Welcome to a fresh, new week everyone! Thanks for stopping by today. I’m keeping things very clean and simple to start a very busy week. I have loved House-Mouse Designs for decades and am very happy to see them working with Spellbinders. I have the Daisy Mouse stamp set and chose to have some mellow watercolor time to create with it first.

My version of watercolor is more faux watercolor than anything. I stamped my image and sentiment on a piece of watercolor paper cut to 4×5.25 inches. All of my color is laid down with Zig Clean Color Real Brush Markers and then I use a wet paintbrush to move the color around.

I love the feel of watercolor and how it doesn’t have to be perfect to look gorgeous. Also remember that if you dry your ink between applications, it’s easy and so pretty to layer colors on top of each other for different looks.

When my painting was done but the panel was drying, I created a white card base but wanted to add some color to the edge. I grabbed picked raspberry distress oxide and added a light layer around the edge that would show through but the pink was not working for me. So I went right over the top with ripe persimmon and LOVE the melon color that I ended up with. It’s so pretty!

Once the watercolor panel was dry I just popped it up on the card base with foam tape and my card is all finished.

Products used:
Daisy Mouse stamps
Zig Clean Color Real Brush Markers
Distress Oxide Ink – picked raspberry and ripe persimmon
Foam tape

I appreciate you sharing your time with me. Have a fabulous day!
Spellbinders – Stampendous Bear Hugs Release Day

Hello everyone! I’m popping in today to share a couple of cards featuring some of the new dies release by Spellbinders, the Stampendous Bear Hugs Collection. There are actually a bear, dog and cat to choose from and they are all fluffy cute and fun to play with!
I have the sweet bear and made a couple of cards to share with you today using him and the add on die sets too.

I cut my first bear and all his pieces from white cardstock so that I could ink blend and color with copic markers. It gives a whole different look than cutting from colored cardstock. Both are great, it just depends if you have the color cardstock you want or if you want to add more texture here and there.

After cutting and coloring my pieces, I used liquid glue to assemble the bear and his banner. Then I cut the deckled rectangles from orange cardstock and ink blended the bottom for a gradient depth. I cut a piece of teal cardstock and ink blended the edges of that before splattering it with teal ink as well.

I glued the panel to a card base and added the orange rectangles with liquid glue. Then I popped up my bear and the hearts with foam squares.

For my second card, I cut all the pieces from colored cardstock and used liquid glue to assemble everything. I found reverse tweezers to be my friend when assembling the envelope because it wanted to pop open.

For this background, I cut a piece of white cardstock to 4×5.25 inches and ink blended mustard seed distress oxide fading out toward the right. I splattered the panel with black paint and added the package with liquid glue and the bear with foam squares. After that I added the panel to a white card base with foam tape for added dimension.

Aren’t these just so sweet!?! They’re so cute and happy. Can’t help but smile.

Products used:
Stampendous Bear Hugs dies
Stampendous Hugs Accessories dies
Stampendous Fran’s Frames dies

Foam tape and squares
Distress Oxide Ink – mustard seed, peacock feathers, spiced marmalade
Bearly Art liquid glue

I appreciate you sharing your time with me. Have a fabulous day!