Spellbinders – Junk Journal Envelopes with Flea Market Finds

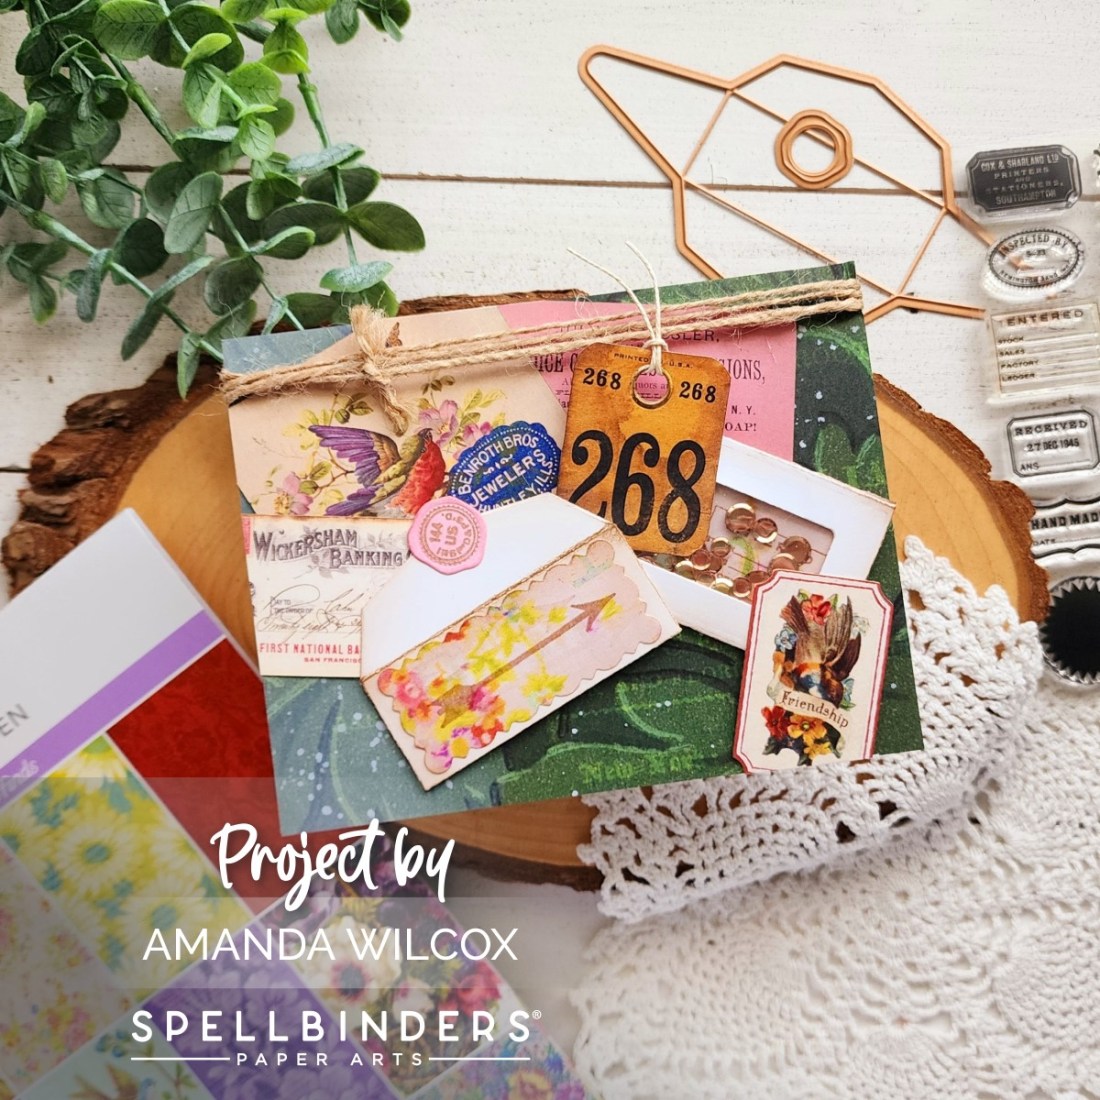
Welcome everyone! I’m so glad you’re here today. I have been playing around with different types of crafts lately, some paper-related and some not. One has been journaling and decorating the pages here and there when I feel like it. I thought it would be fun to play with some of the Spellbinders Flea Market Finds envelopes and things to make additions for future pages.

I created a few envelopes of both sizes from cardstock and folded them up. Then I various additions for each one using the other dies in the Envelopes 2 set – faux wax seals, inserts, stamps – whatever struck me at the time.

Then I started decorating the various pieces with the Reading Matter stamp set for added interest. I pulled one of the fun ephemera pieces from the Miscellany pack for this envelope and added ribbon to the tab on my insert too.

I love the postage stamp and really wanted to use it so I flipped one of the envelopes over and decorated the front instead of the back too. I thought this would give a little something different for the page too. These stamps are so vintage and cool. I love them!

For the last envelope I switched to teal and a white insert while stamping in colored ink for a little extra something. I love how this one turned out. There’s something about the brightness on this round of creations that are making me happy.

Do you have other crafty ventures besides card making? I’d love to hear about them!

Products used today:
Mini Envelope 2 dies
Florals 2 Palette paper pad
Reading Matter stamps
Coat Check Miscellany printed die cuts

White liner tape
Tape runner

I appreciate you sharing your time with me. Have a fabulous day!

Spellbinders – Flea Market Finds Shaker Card

Hello again crafty friends. I’m back today with another card featuring the Spellbinders Flea Market Finds Collection from Cathe Holden. When I pull out these products they just make me want to get inky and messy. The more layers and dimension the more I like what I’m creating with them.

Today I started with plain white envelopes in front of me and just played around grabbing ink, stamps, trying different papers, all the things.

After creating my first envelope on the left, I was looking at the die set and wanted to see what the second envelope was like if I cut the window out of the front. That’s when I immediately thought to make it a shaker with some Spellbinders sequins inside.

Once my envelopes were created and glued together, I started layering fun pieces from the Miscellany Printed Die Cut pack all over. Once I had a general idea of how I wanted it to look, I started gluing the pieces together.
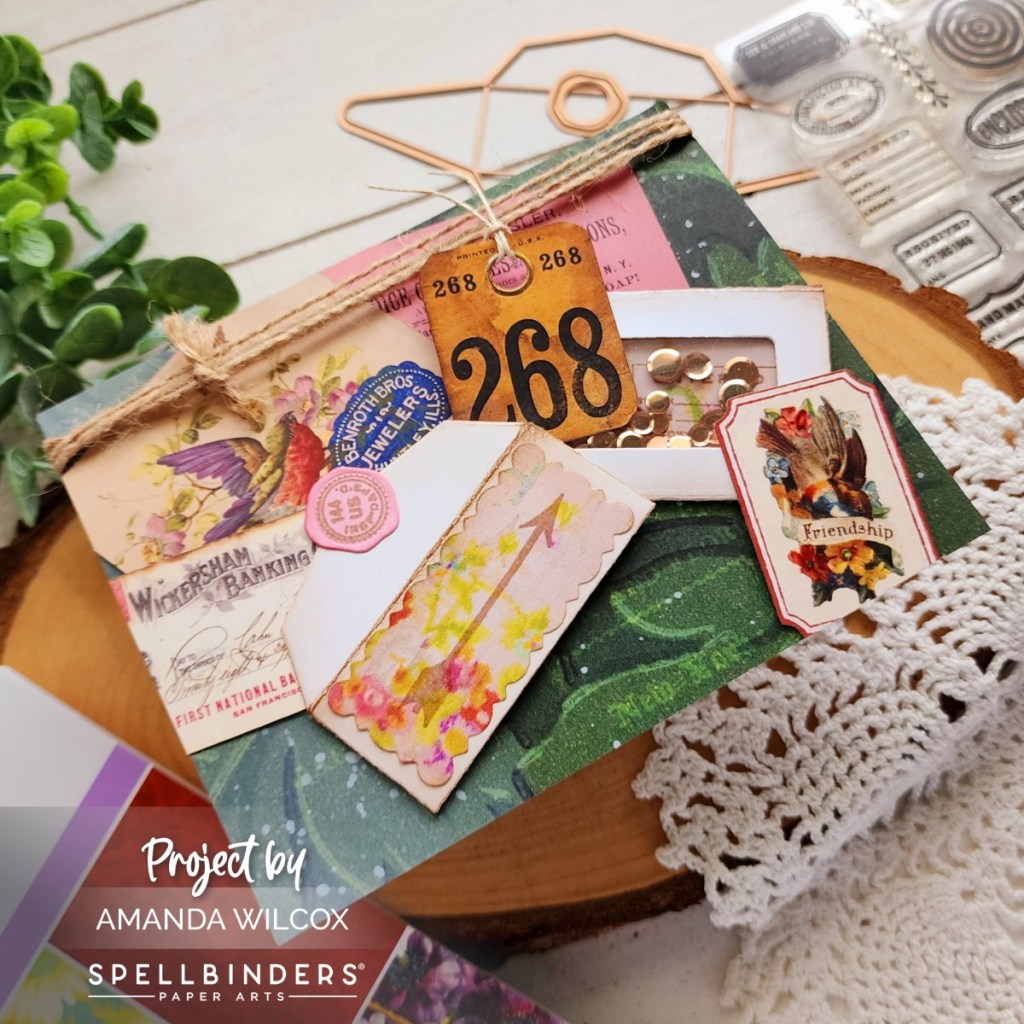
With the my images all adhered together in a big clump, I chose a piece of paper from the Florals 2 Palette paper pad and trimmed it to fit an A2 card front. After adhering that down I wanted some texture so I inked one edge with tattered rose distress oxide ink and then splattered the whole panel with the same ink.

I adhered my images down and trimmed off the excess. Then I tied twine around the top of the card for added texture and interest.

I’m having so much fun creating all of these very different cards that have no sentiment on the front so they can be used for any occasion I choose. It’s great!

Products used:
Spellbinders Mini Envelopes 2 dies
Spellbinders Coat Check Miscellany printed die cuts
Spellbinders Florals 2 Palette paper pad
Spellbinders Reading Matter stamps

Spellbinders Smooth Discs – champagne
Distress Oxide – tattered rose
Bearly Art liquid glue

I appreciate you sharing your time with me. Have a fabulous day!
Spellbinders – Flea Market Finds Card

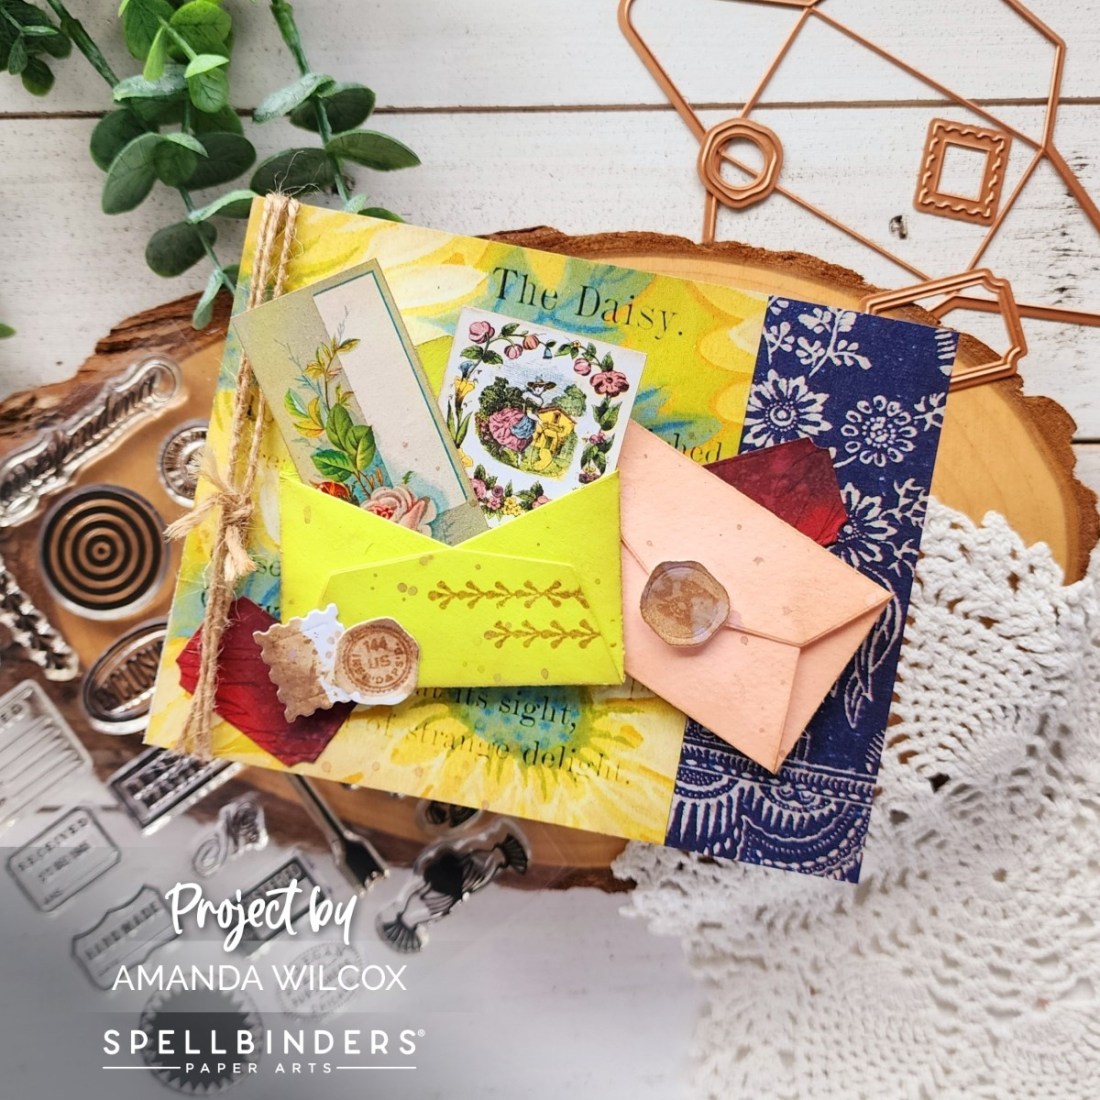
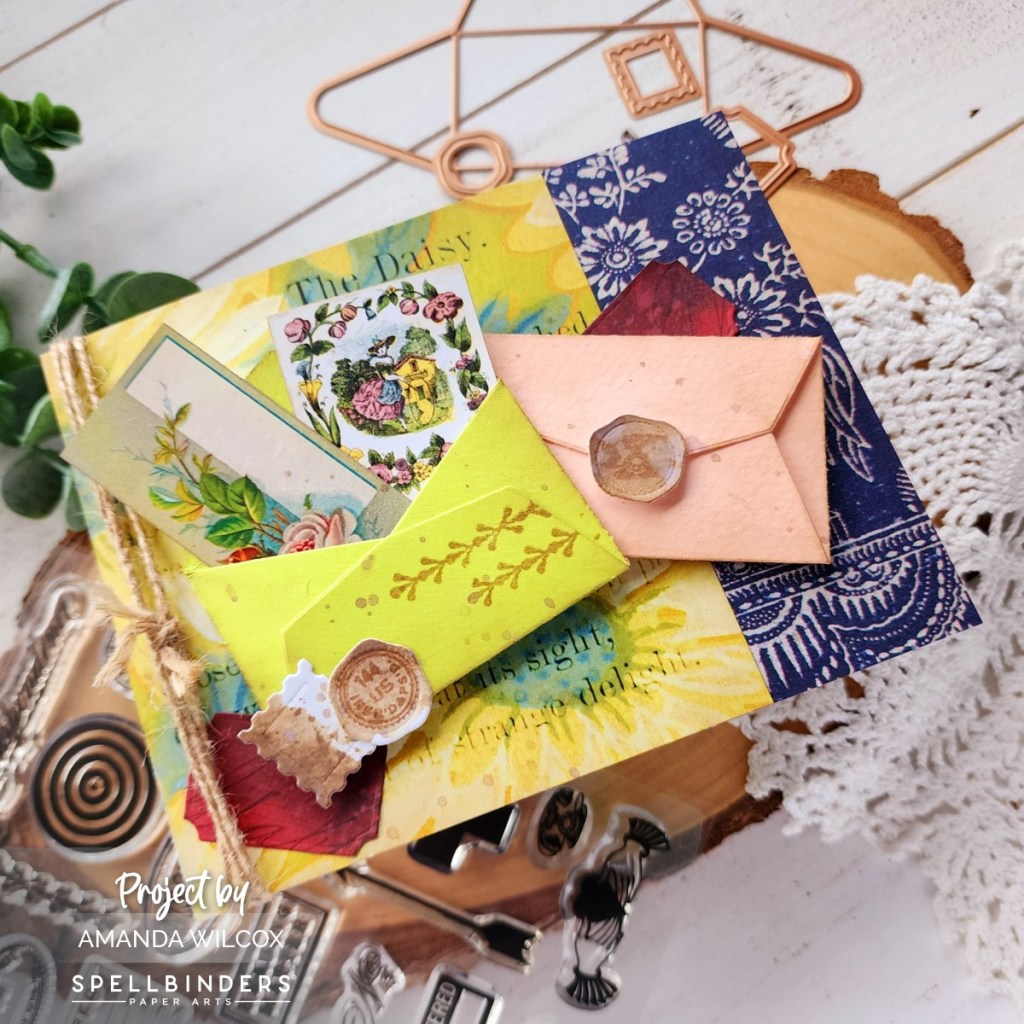
Welcome everyone! I’m so glad you’re here. I’m back with another creation using more of those fun products from the Spellbinders Flea Market Finds Collection. This time I went a little brighter and lighter, channeling the sunshine and spring I wish was happening at home.

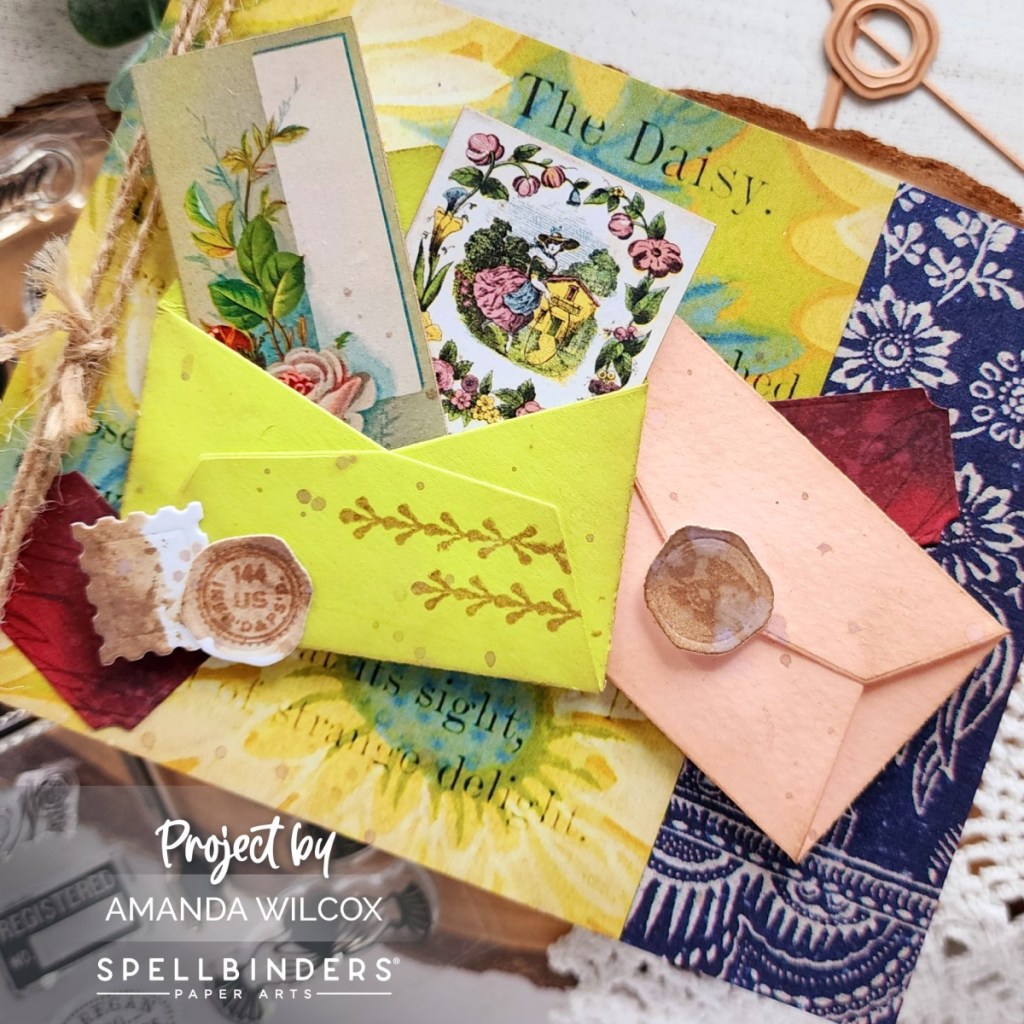
I used more paper from the Floral 2 Palette paper pad for my background. The daisy pattern is 4.25×4.5 inches and the blue is a 2 inch strip so there is a bit of overlap for ease of lining things up. I made sure to use a side folding card base so I could wrap my twine around the left side.

Then I die cut both envelope shapes included in the Mini Envelopes 2 die set. I glued one shut and added a die cut wax seal to the flap and glued one with the top flap open so I could stuff it with more of the fabulous preprinted die cuts in the Coat Check Miscellany pack.

I inked edges and flicked watered down ink across everything for fun texture, then stamped some images on the wax seals and envelope to add interest and texture.

The ticket shape is a die in the envelope die set which I cut from the red paper left over from my last card. Those are glued down with liquid glue and then I popped the envelopes up with foam squares again. I really like the lift and shadow it creates when there is so much going on. I sets them apart just a bit.

Products used:
Mini Envelopes 2 dies
Coat Check Miscellany printed die cuts
Florals 2 Palette paper pad
Reading Matter stamps

Foam squares
Distress Ink – ground espresso
Liquid glue

I appreciate you sharing your time with me. Have a fabulous day!

Spellbinders – Flea Market Finds Release

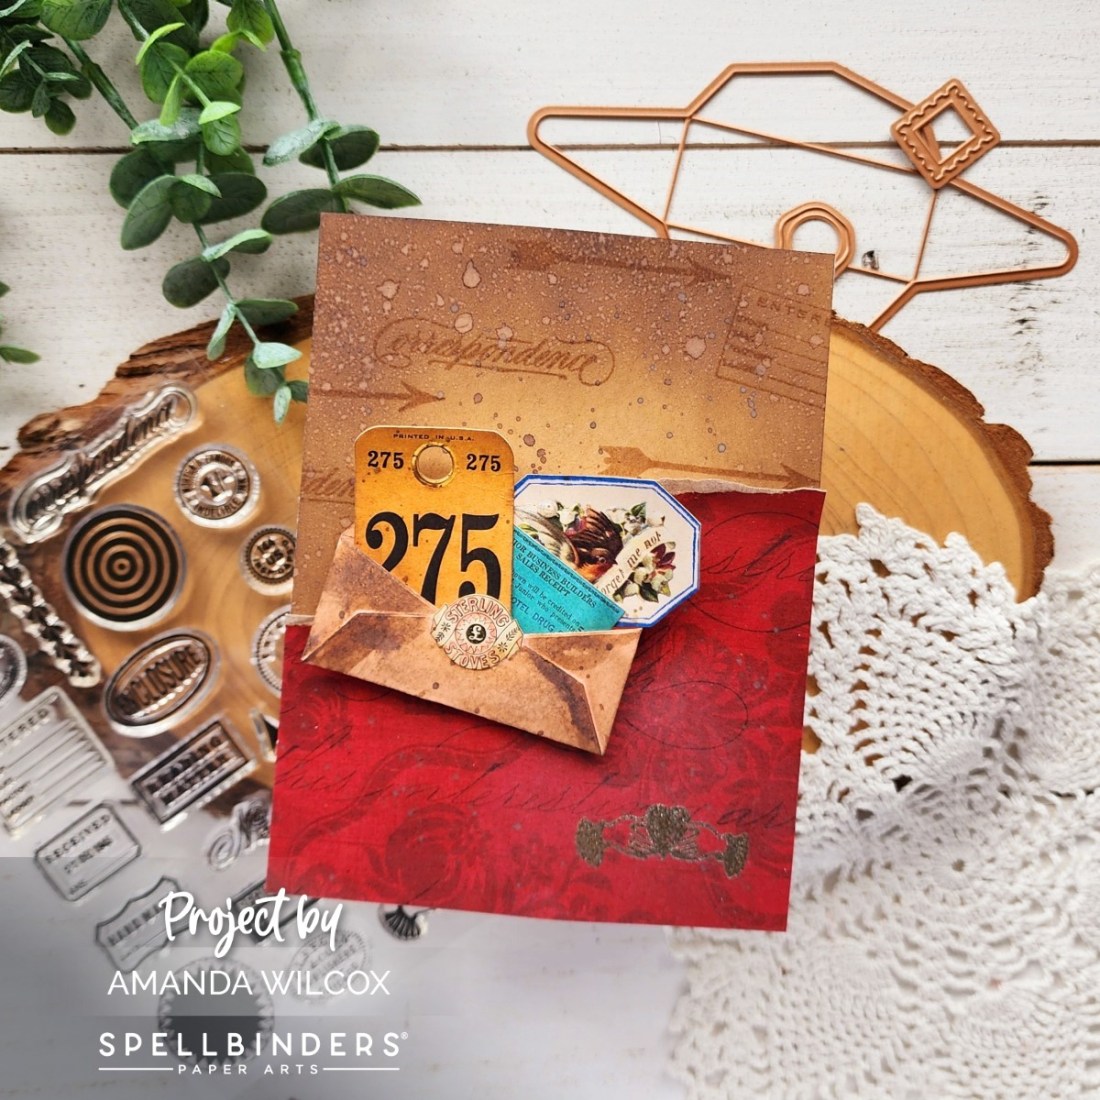
Happy Friday friends! It’s time for another Spellbinders release. This time I’m creating with a very different collection of products for me and it’s been really fun! It’s called Flea Market Finds and was curated by Cathe Holden. These products scream “inky messy” to me so that’s where I started today.

I’ve used the bold red paper from the Floral 2 Palette paper pad, torn in half and inked the edge. Then I needed to distress my base layer to match so I inked it with ground espresso distress oxide ink. I stamped random images on the panel using the Reading Matter stamp set. I sprayed the panel and flicked ground espresso ink on it for more texture. Then I glued the red paper down with tape runner.

I die cut an envelope from the Mini Envelope 2 die set and distressed it with the same ink. I glued it together and stuffed it with fun things from the Coat Check Miscellany printed die cuts. I popped the envelop up with foam squares and rolled the edge of the red paper out a bit for extra texture too.

I thought the red paper was lacking with the texture everywhere else so I stamped an image from the stamp set and heat embossed it with platinum embossing powder. Then I splattered the panel with a few more flicks of watered down ink to finish it all off.

This type of cardmaking is very out of my typical style and it was so fun to just dive in and play. These products are awesome for a variety of crafting styles!

Products used:
Mini Envelopes 2 dies
Coat Check Miscellany printed die cuts
Florals 2 Palette paper pad
Reading Matter stamps

Foam squares
Distress Ink – ground espresso
Liquid glue

I appreciate you sharing your time with me. Have a fabulous day!
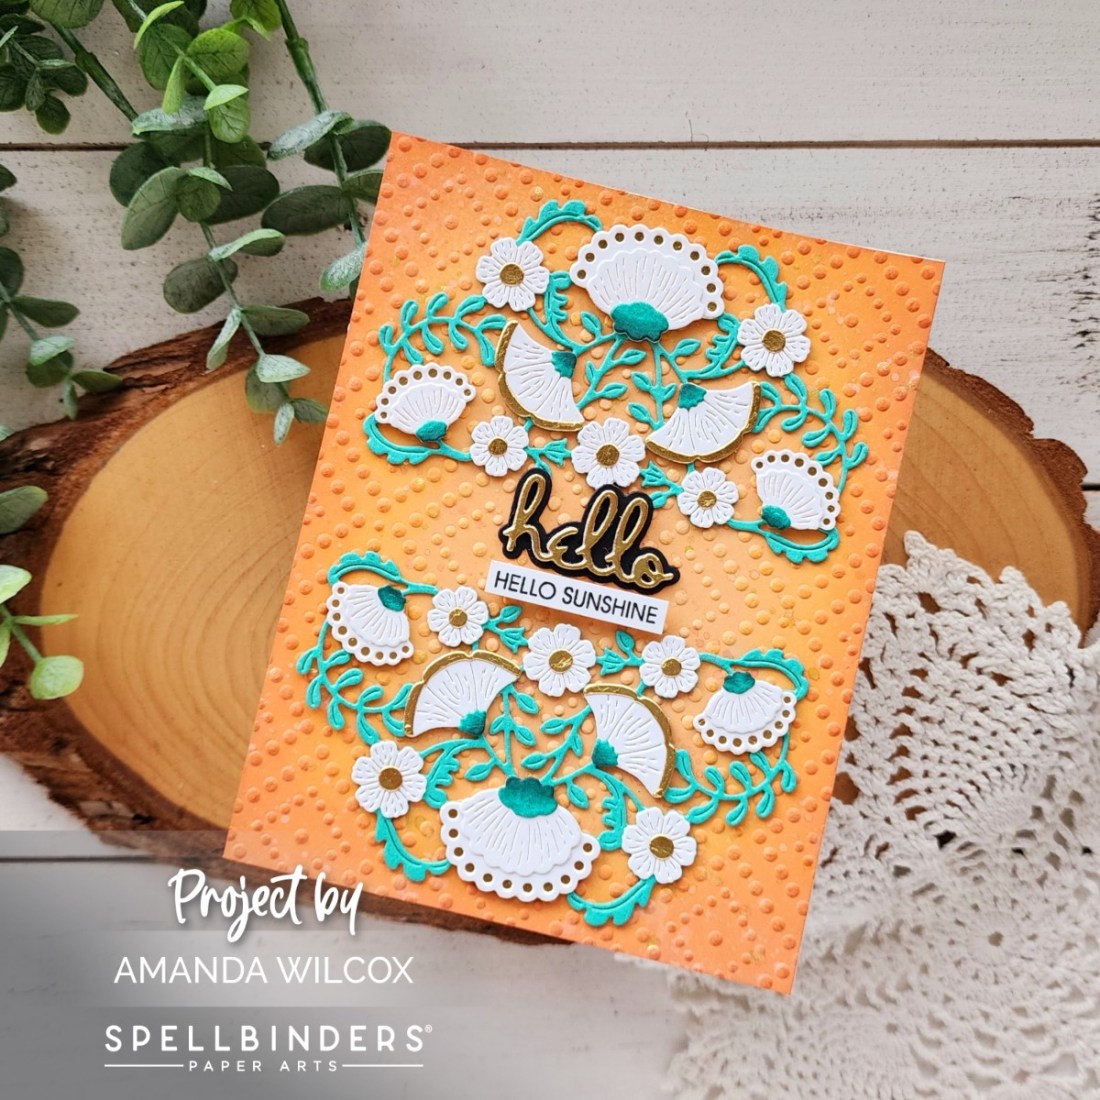
Spellbinders – Hello Sunshine

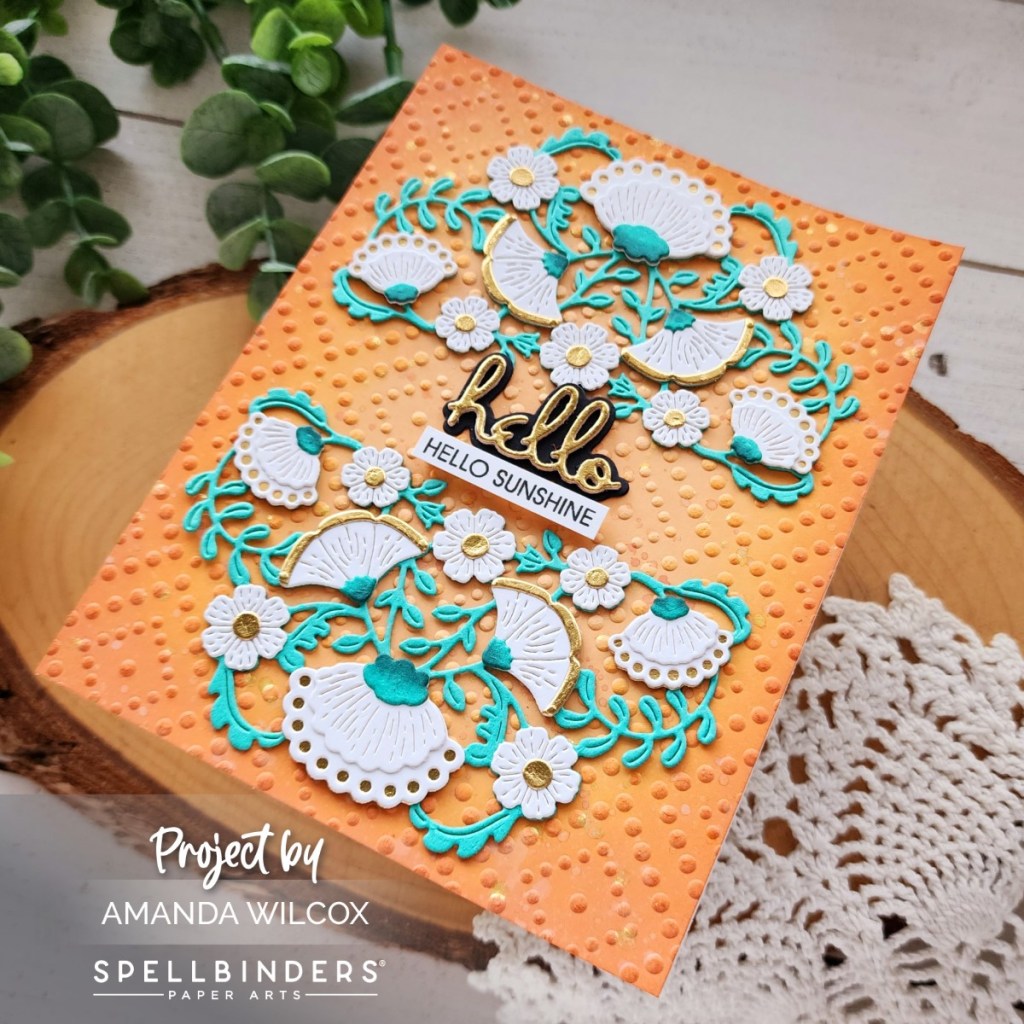
Hi again! I’m back with another card featuring more of the Spellbinders Four Petal Collection. I am in love with these dies. It’s really fun to cut all the different layers from various colors and build your flower displays. They’re so pretty and you can’t mess it up no matter what colors you choose.

For this card, I went simple but elegant. The greenery is more of a teal than green and my accents are all cut from gold foil cardstock for the flowers too. The flower layers are white which I felt gave me license to have a bolder background color.

After cutting and gluing the floral pieces together, I cut and embossed an orange panel with the Dazzling Dots embossing folder. Once that was embossed, I inked the edges with a darker orange distress oxide ink and splattered the panel with gold watercolor. I glued the florals down and placed and acrylic block on top for a while to help keep things flat on the bumpy background.

While that was drying, I cut the “hello” sentiment using the Thanks Enclosed sentiments die set. The shadow is black cardstock and the top layer of hello is matching gold foil with 3 layers of white cardstock underneath it for dimension. I stamped a sub sentiment from I’ve Got You Covered stamp set and cut it into a strip. The die cut sentiment is attached with liquid glue and the stamped one is popped up with foam strips.

Do you have this amazing die set yet? What color combos have you tried or would you like to try? I’d love to know!

Products used:
Four Petal Reflection dies
Thanks Enclosed Sentiments dies
I’ve Got You Covered stamps
Dazzling Dots embossing folder
Bearly Art liquid glue
Foam strips

I appreciate you sharing your time with me. Have a fabulous day!
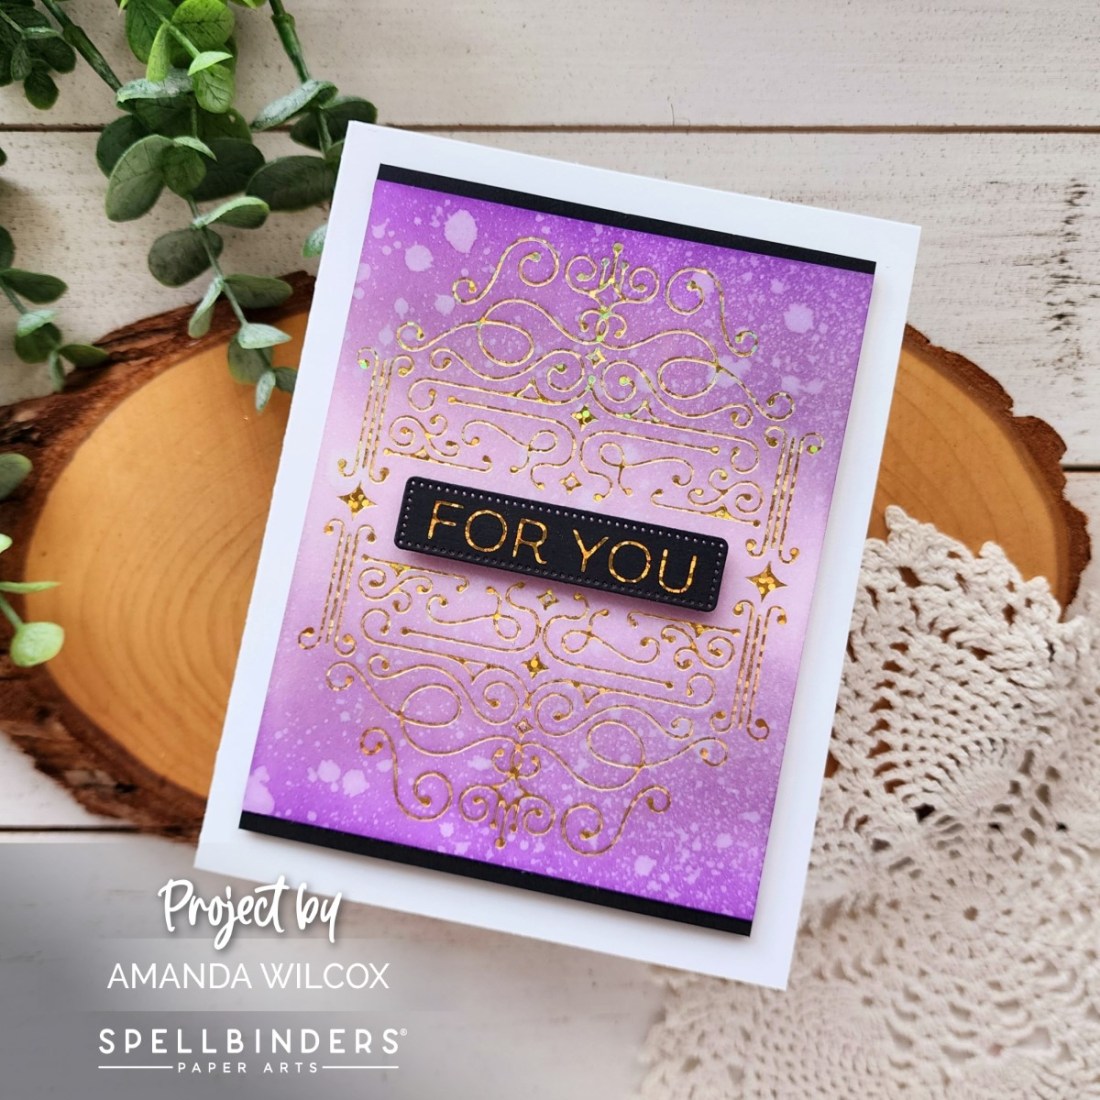
Spellbinders – For You Foiled Four Petal Scroll

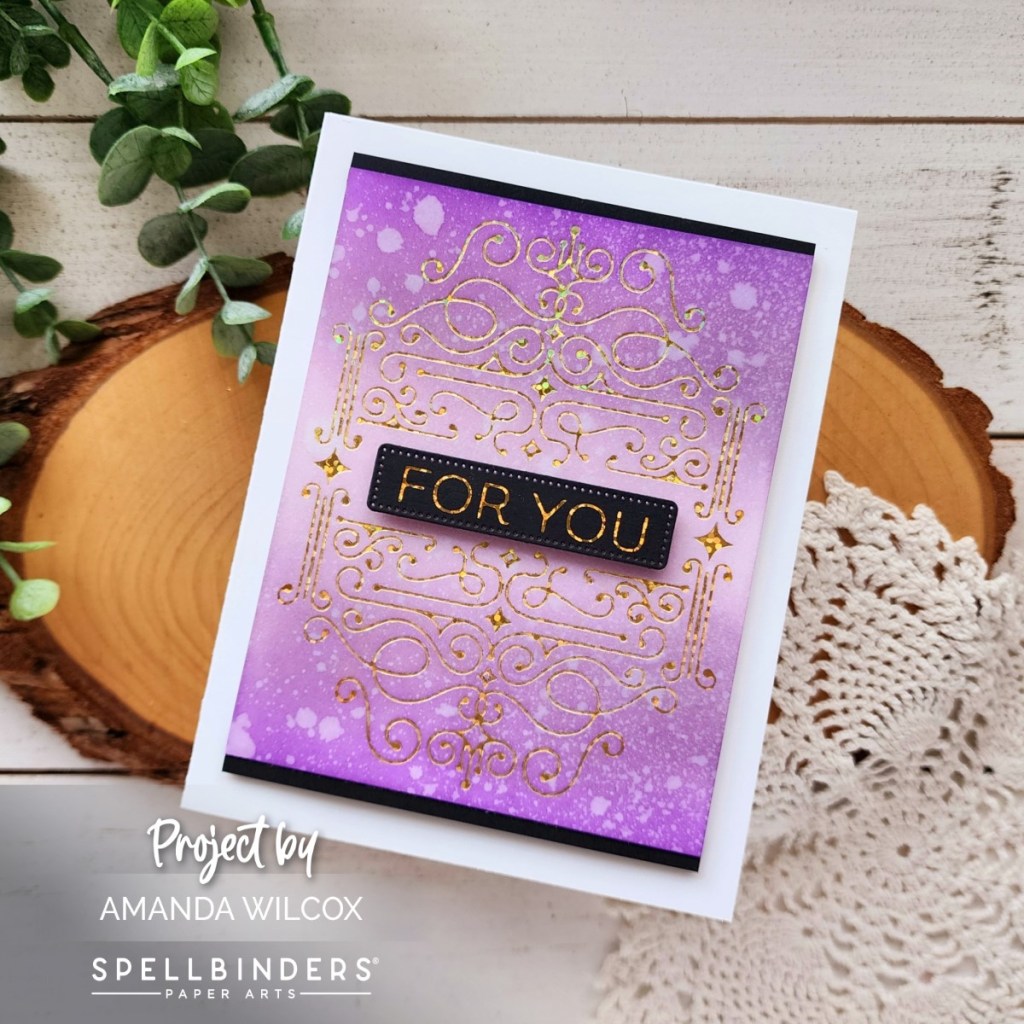
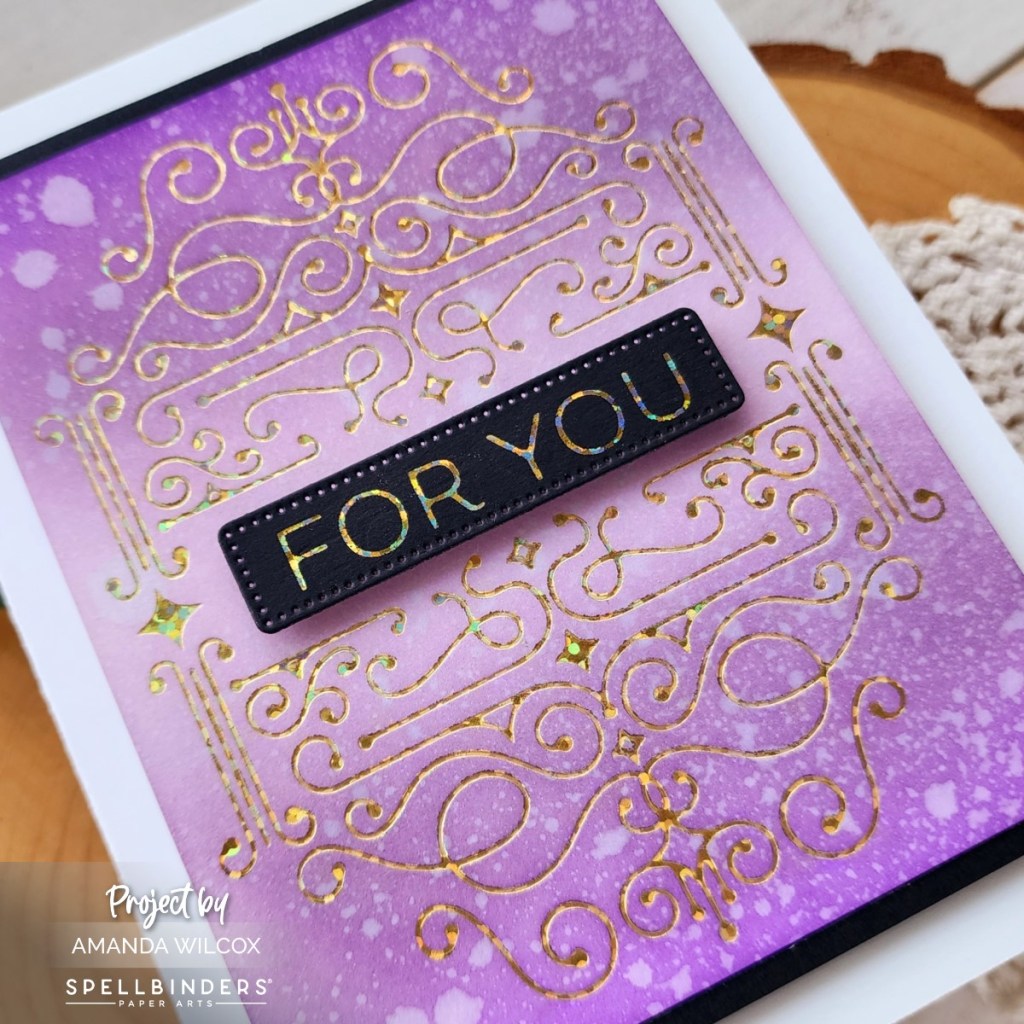
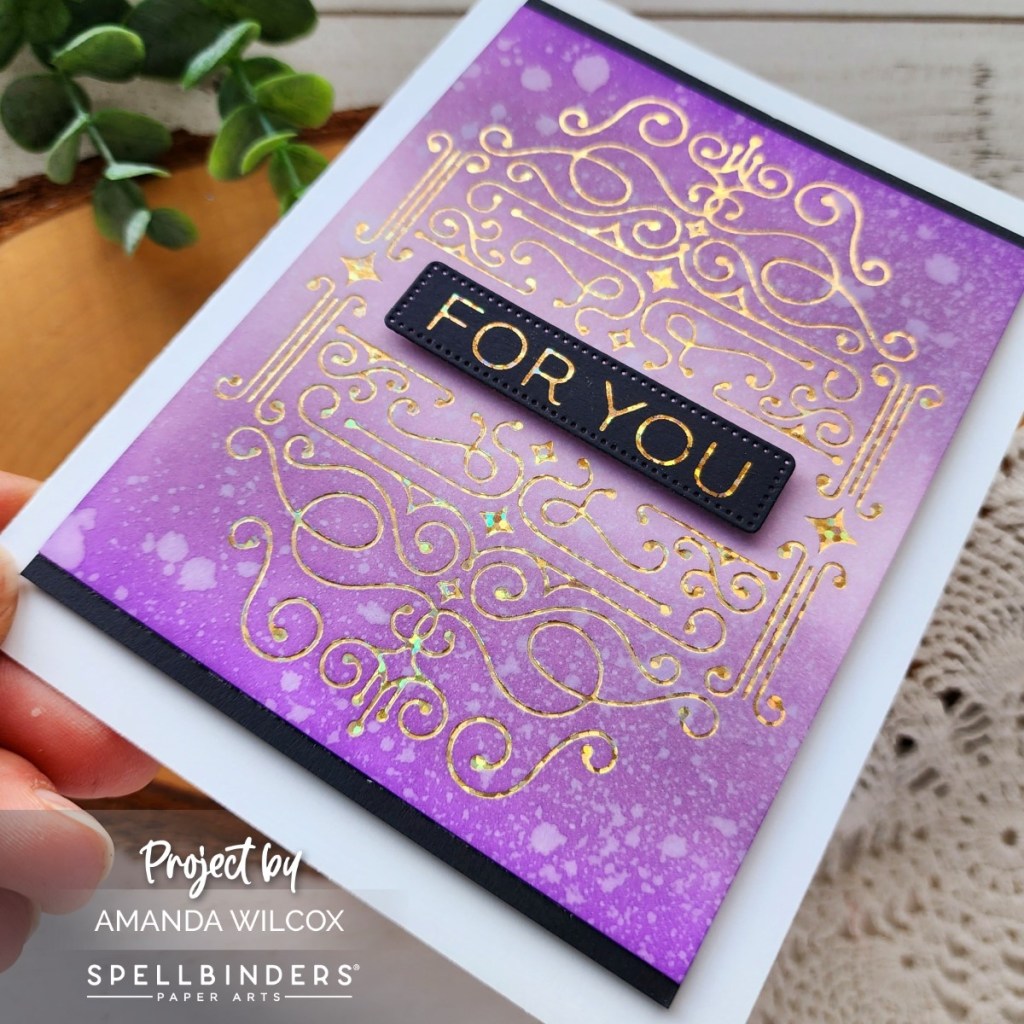
Hello again! I’m stopping by with a quick and eye catching card to share with you featuring Spellbinders Four Petal Scroll hot foil plates. This one simple set makes it incredibly easy to create eye catching cards quick and easy.

With hot foil plates, you can ink your paper before or after you foil, which is awesome and so helpful when you can’t decide what to do. Today I foiled my panel and trimmed it down before using distress oxide inks to blend a purple ombre, fading into the center. Then I foiled the sentiment on black and cut it out with the die that comes in the set.

I popped it up with foam squares and then added black strips to my foiled panel to tie the black in a bit more. I popped the whole panel up on a white card base with foam tape and my card is all finished!

It’s really that easy! Sometimes I can’t believe you can get such stunning results from one set of dies. And changing out the foil you use will give you completely different looks too. It’s wonderful!

Products used today:
Four Petal Scroll glimmer foil plates
Glimmer Foil – spellbound multipack
Distress Oxide Ink – wilted violet, shaded lilac and dusty concord
Foam squares and tape
Liquid glue

I appreciate you sharing your time with me. Have a fabulous day!
Spellbinders – Four Petal Collection Release Day

Happy Friday everyone! This month the 10th falls on a Friday which makes it twice as fun when you pair it with the new Spellbinders release!!! Today I’m sharing a card using some of the new Four Petal Collection. These dies are gorgeous and so fun to create with!

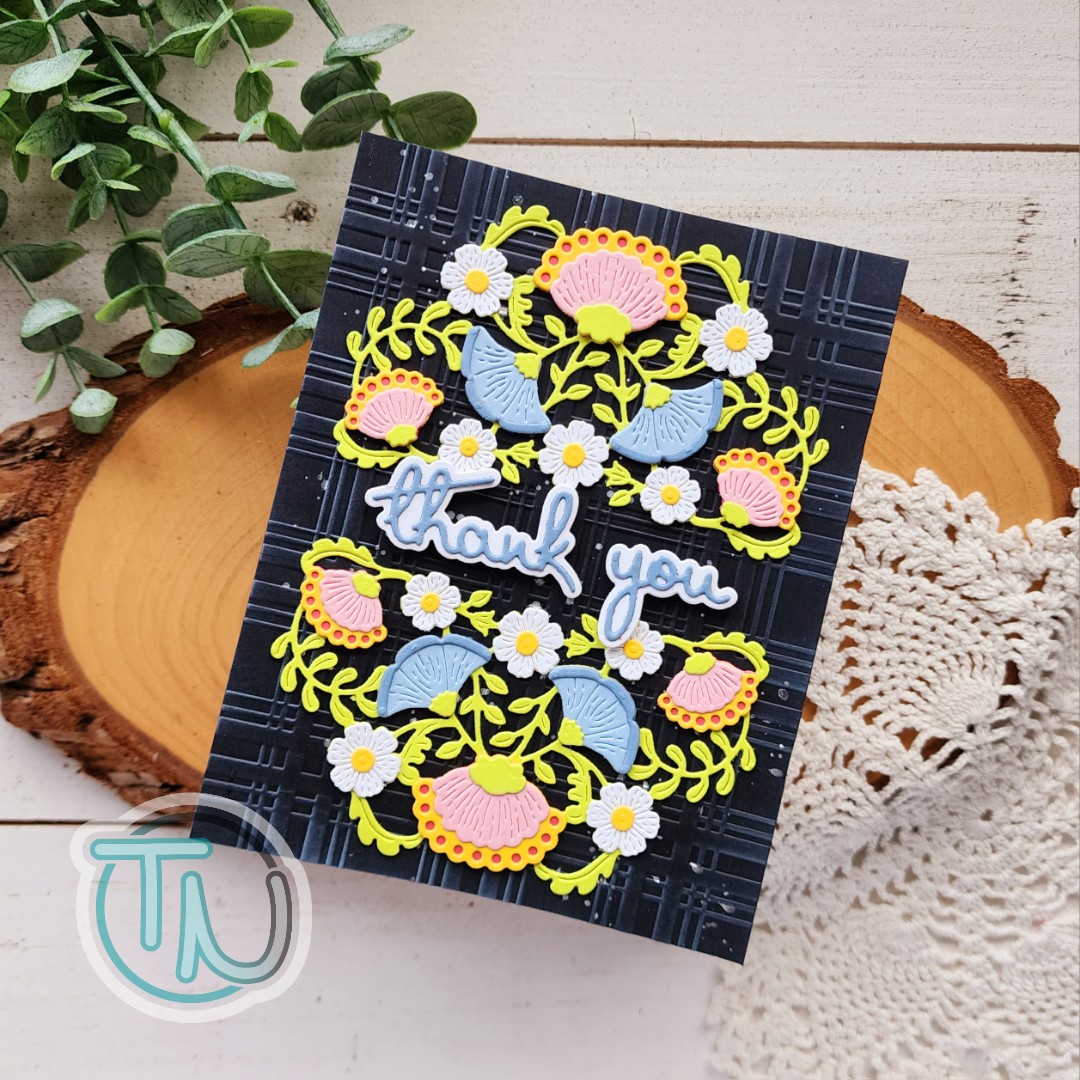
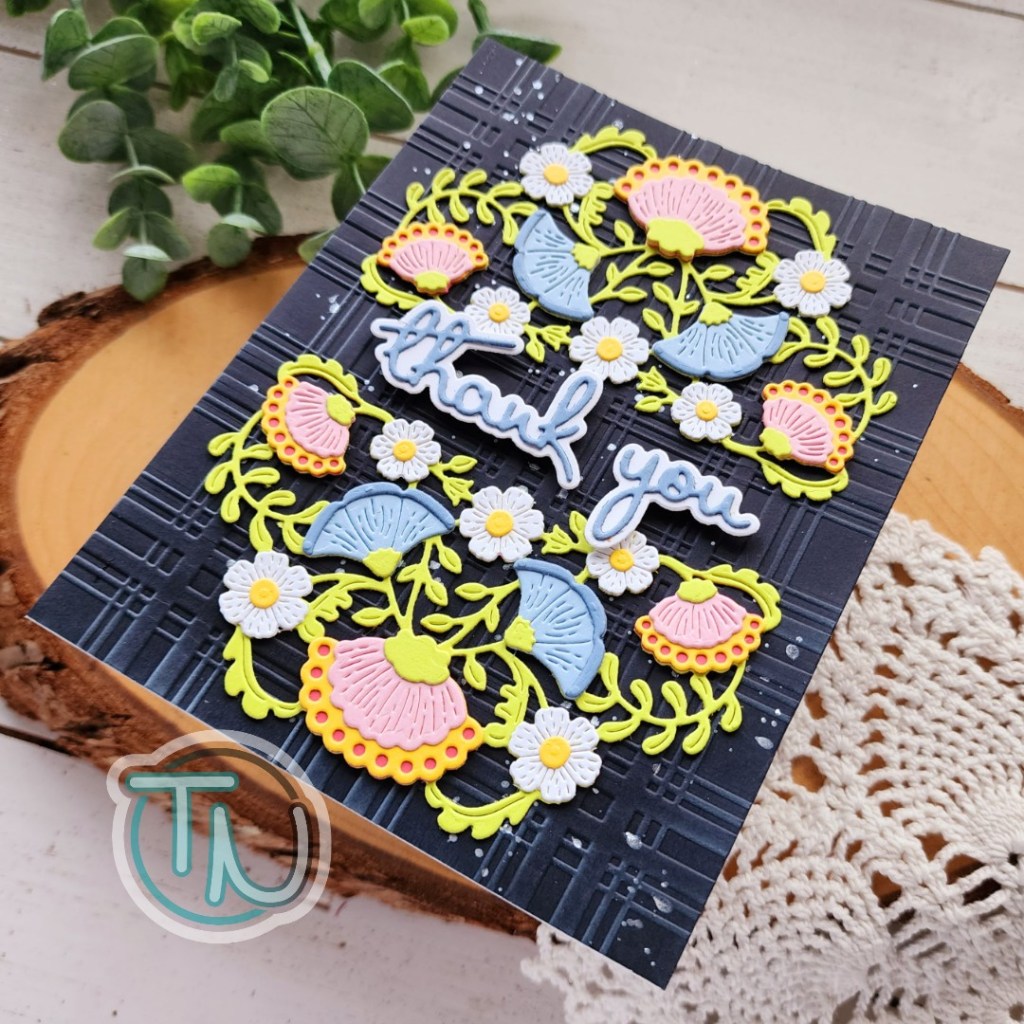
I started with light and bright cardstocks and cut all my pieces out using the Four Petal Bloom Reflection die set. Then I used liquid glue to adhere all the layers together. I love how these florals are different so it’s inviting to create different colored flowers on the same grouping.

I also chose a sentiment from the new Thanks Enclosed Sentiments set and cut from one of the floral colors of cardstock so it coordinated. The new sentiment set is incredible!!! It’s so packed full of all the words!

For the background, I used the Plaid embossing folder on black cardstock. To enhance the dimension I lightly inked the edges with white pigment ink before adhering the panel to a white card base. For a little shimmer I splattered pearl watercolor on the panel too.

I adhered the floral pieces with liquid glue but popped the sentiment up with foam squares so it would overlap the florals nicely.

Products used today:
Four Petal Bloom Reflection dies
Thanks Enclosed Sentiment dies
Plaid Company embossing folder
Bearly Art liquid glue
Foam squares
LH Colors watercolor – pearl

I appreciate you sharing your time with me. Have a fabulous day!

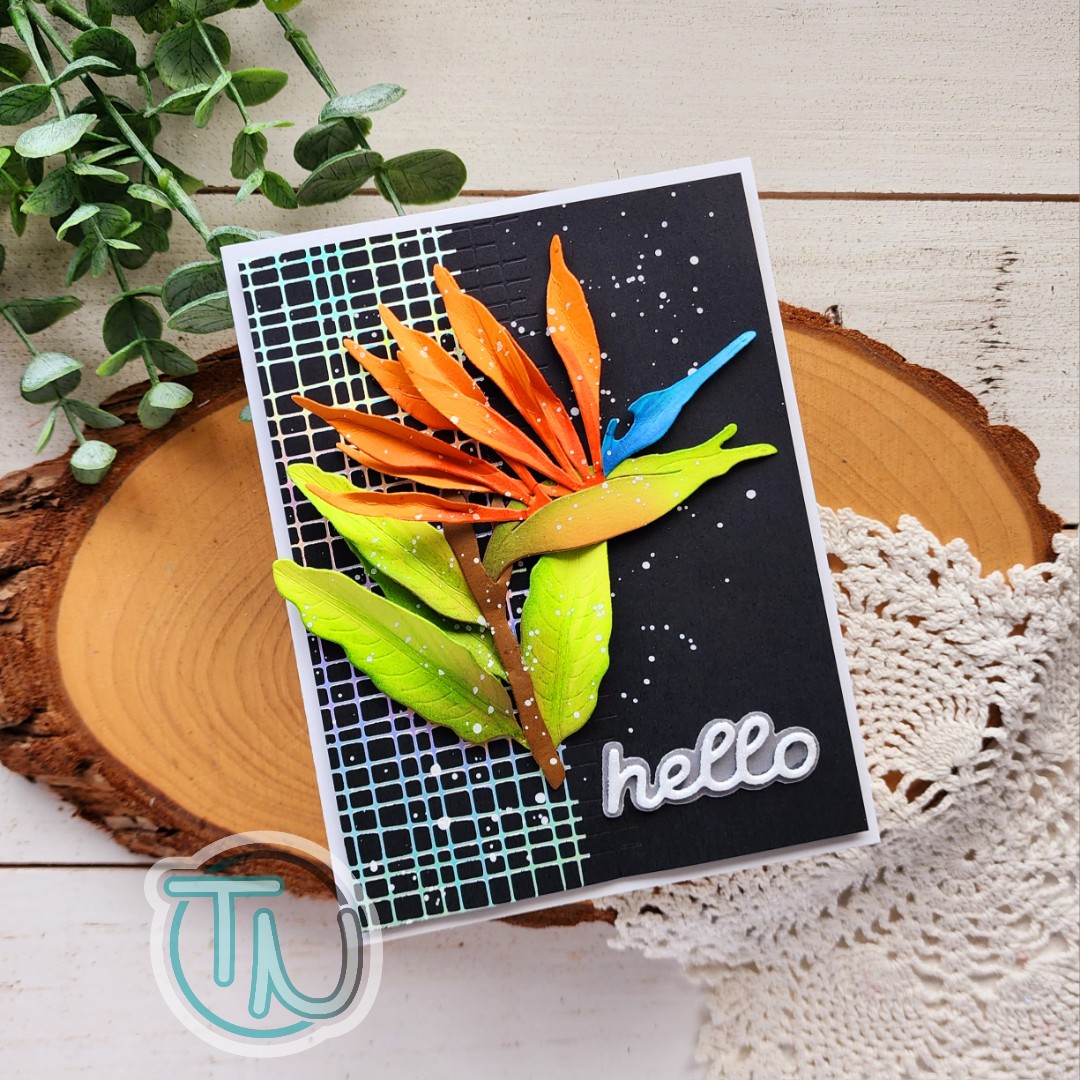
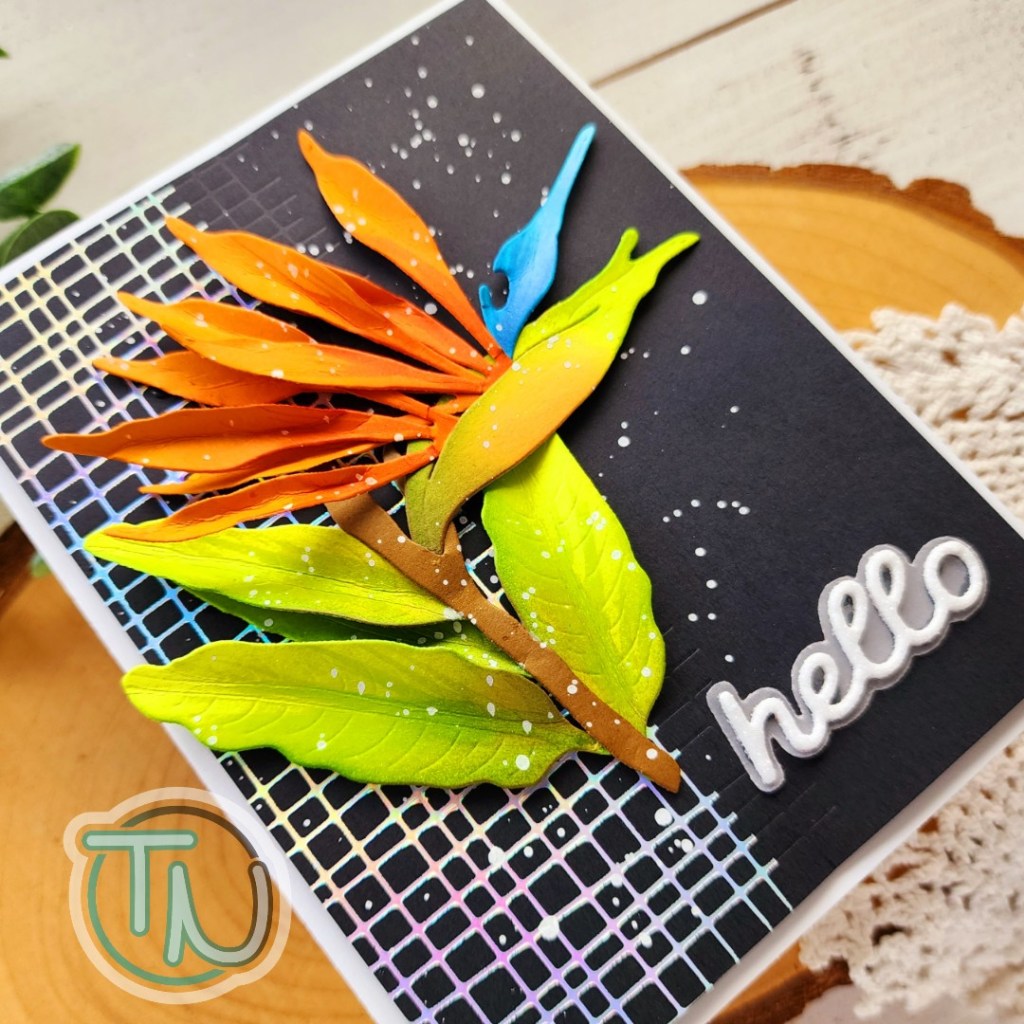
Spellbinders – The Painter’s Garden Bird of Paradise

Thanks for stopping by today. I have another fantastic card using of the Spellbinders The Painter’s Garden die sets. Today I’m creating with the Bird of Paradise dies. These were a dream to create with. So fun and easy to create a gorgeous flower!

Today I started with all colored cardstock and used dye inks to give depth and dimension. Once the blending was done, I curved and shaped all the pieces with my fingers and a bone folder. After the flower was glued together I added some extra depth with copic markers where I felt it needed shading, mostly the orange and blue pieces.

I hot foiled the Woven glimmer plate on black cardstock with iridescent foil for a great textured background. Then for the sentiment I pulled out that fantastic die cutting foam again and made a dimensional glittery hello. These dies came from the Showered with Love collection but I loved the simplicity not taking away from the flower.

After everything was assembled, I thought it needed more texture so I placed the card in my splatter box and flicked white paint on it. This absolutely completes the card for me. I couldn’t love it more!

Products used:
Bird of Paradise dies
Woven glimmer hot foil plate
Hot foil – iridescent
Raining Hearts dies
Die Cutting glitter foam
Bearly Art liquid glue
Foam squares and tape

I appreciate you sharing your time with me. Have a fabulous day!

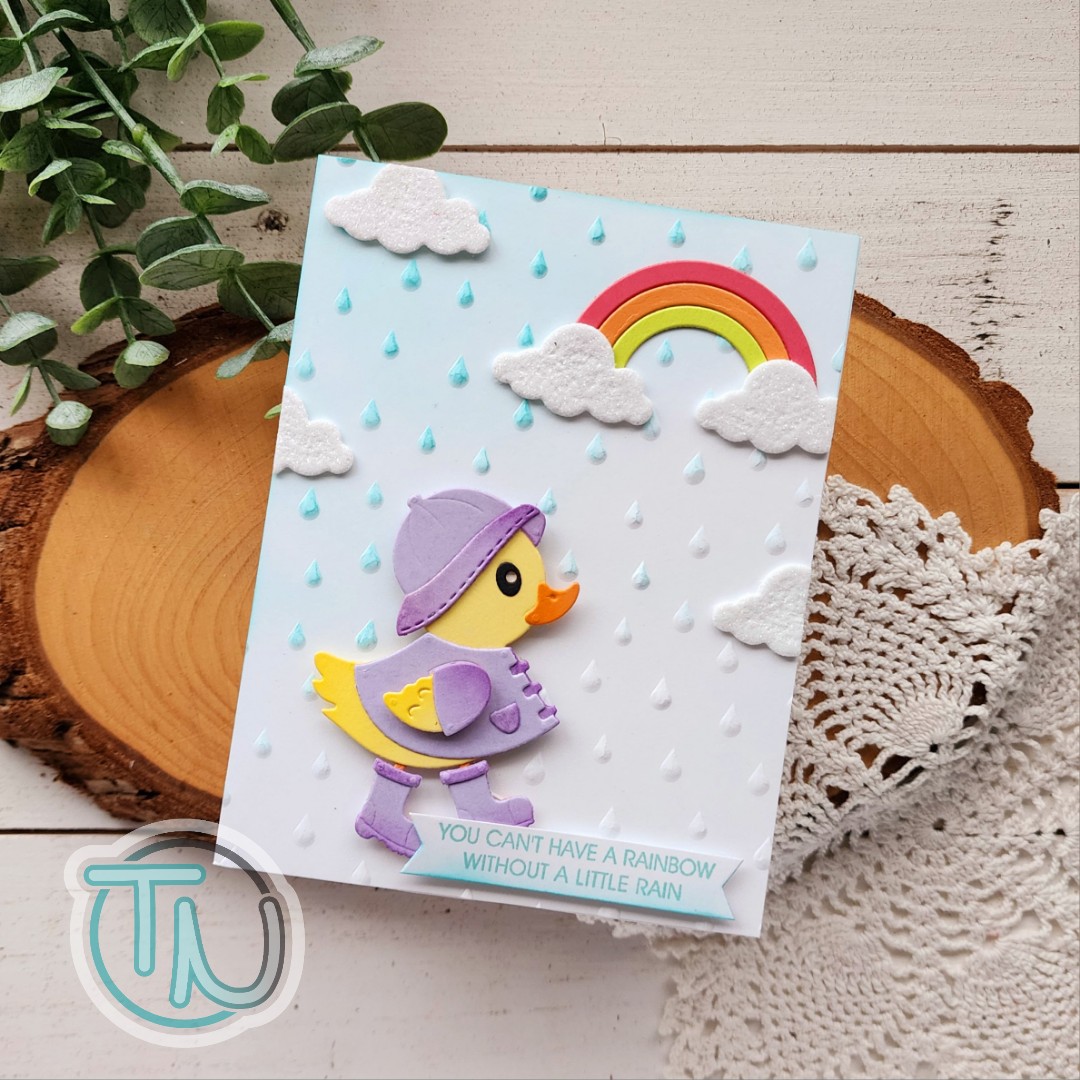
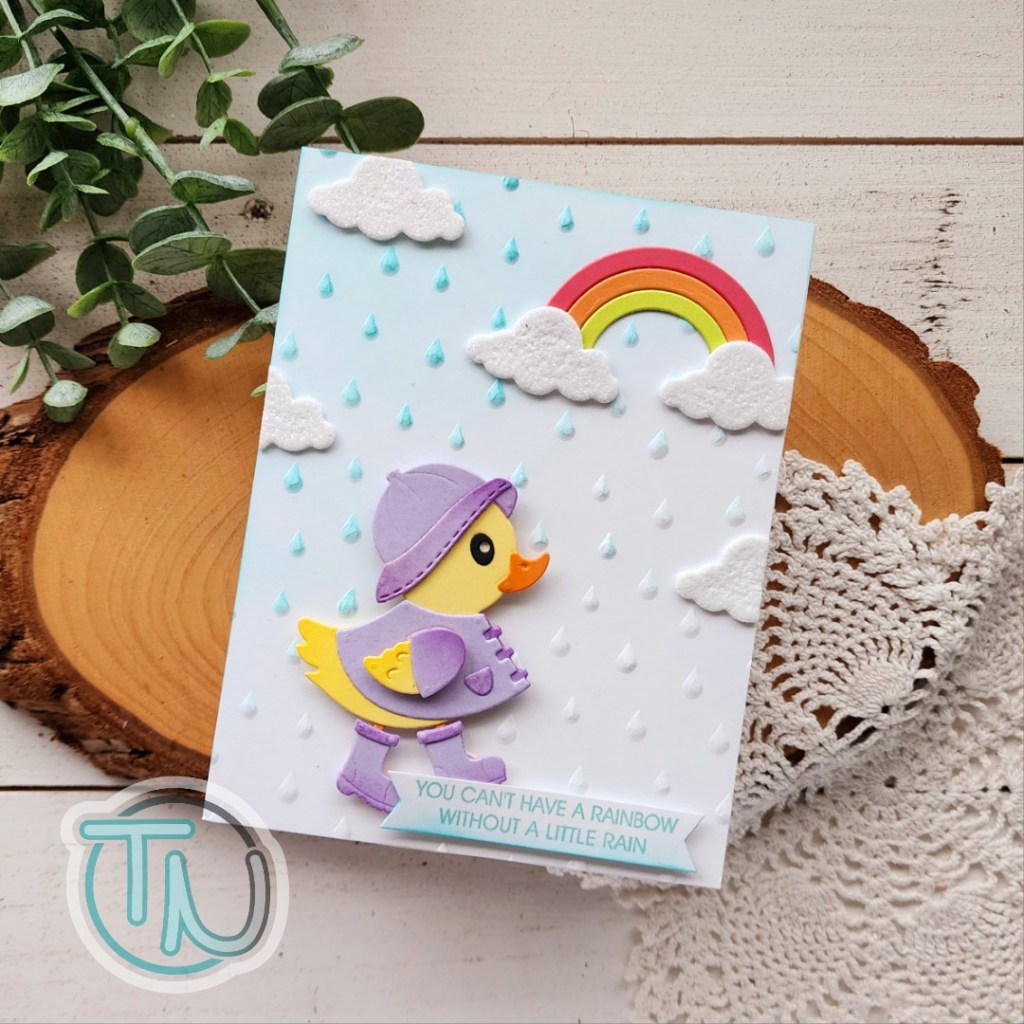
Spellbinders – You Can’t Have a Rainbow…

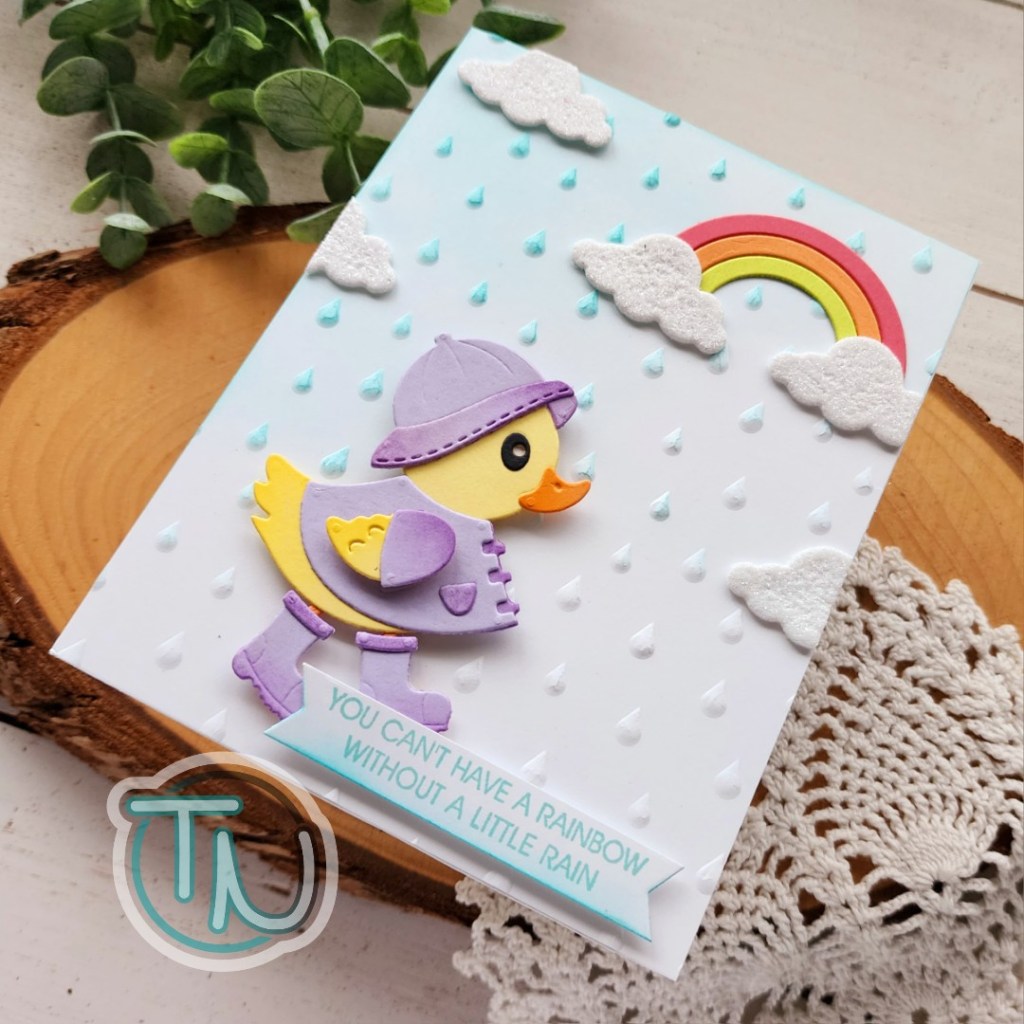
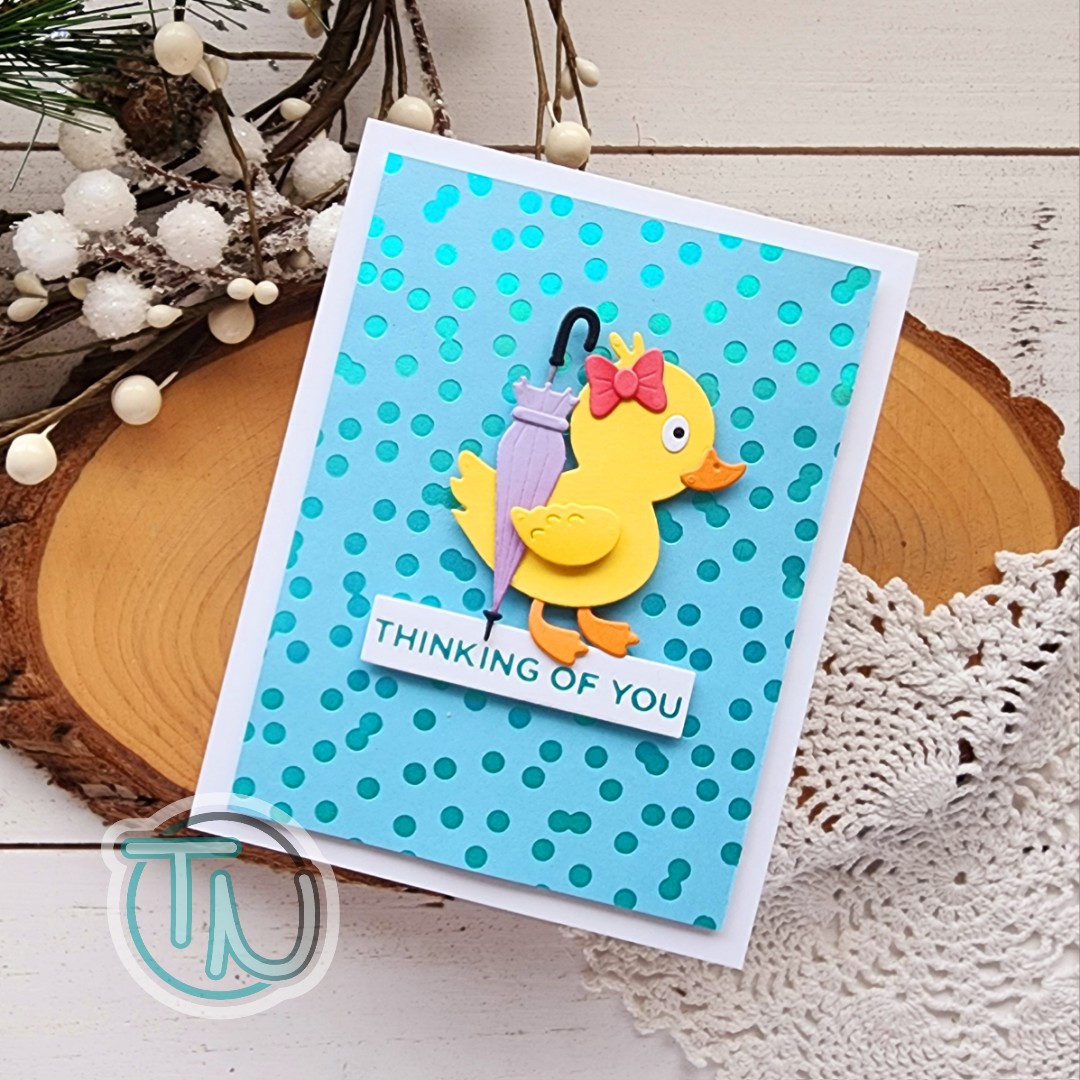
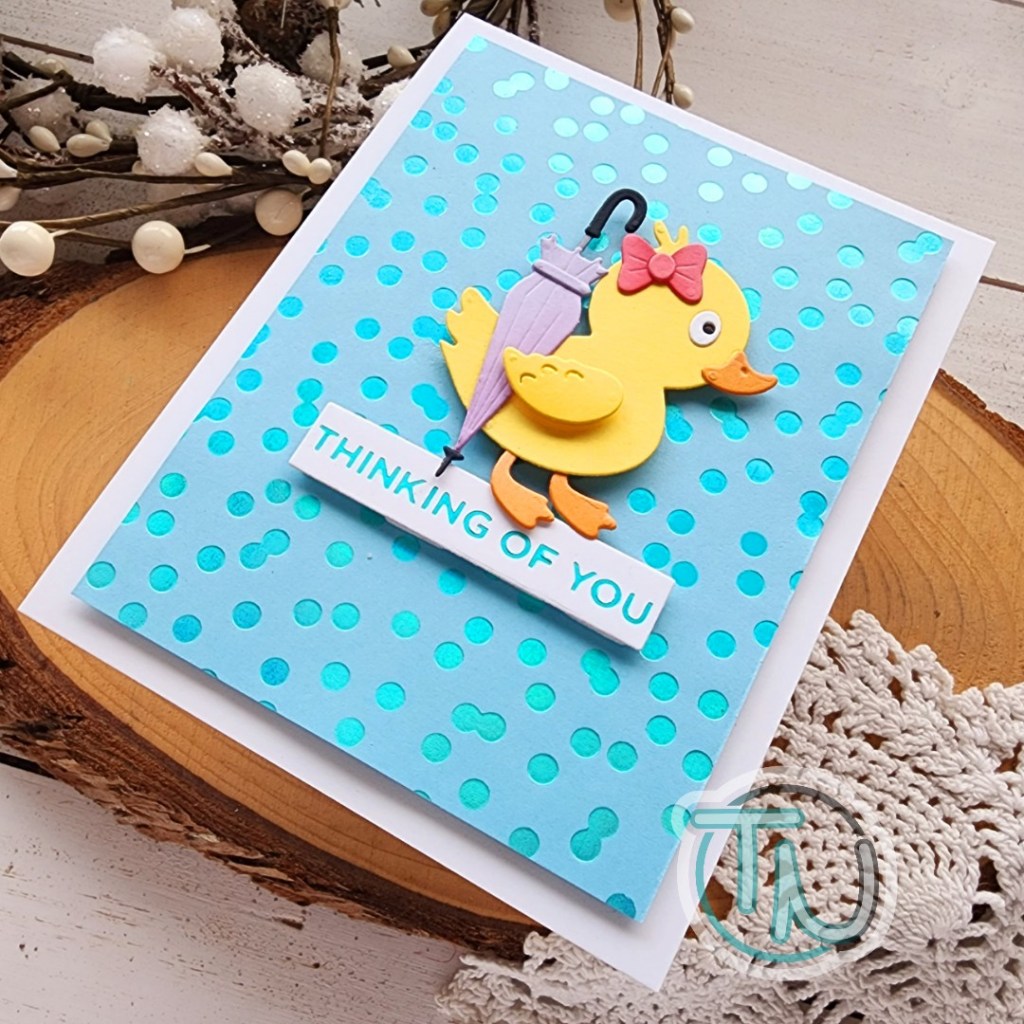
Welcome friends! Today I’m here to share another card featuring a few different sets from the adorable Showered with Love Spellbinders collection. I just adore this whole collection and have been wanted to put the sweet raincoat and boots on the ducky so I finally did it!

I started my card by playing around with the Duck with Umbrella die set to cut and ink blend all my ducky pieces. I used liquid glue to adhere everything and set her aside. Then I used the Raindrops embossing folder on a piece of white cardstock and ink blended from the top left fading to nothing in the bottom right.

Another thing I picked up recently is the new die cutting glitter foam from Spellbinders. I thought this was the perfect time to pull it out and give it a try. It cut like butter! It’s so perfect and pops right up after it comes out of the die. I love it! After I cut the clouds and rainbow from Rain or Shine I started assembling my card.

The clouds and rainbow are adhered with liquid glue and the duck is popped up with foam squares. Then I chose a sentiment from I’ve Got You Covered and cut it out with a banner die from my stash. I didn’t really want a bold black sentiment so I used the same color as the raindrops and then inked up the bottom of the banner before popping it up with foam squares over part of the ducky’s boots.

I love how this fun card turned out! It’s so sweet and totally got me in the mood for all things spring to craft!

Products used:
Duck with Umbrella dies
Rain or Shine dies
I’ve Got You Covered stamps

Pop-Up Die Cutting Glitter Foam sheets
Foam squares

Liquid glue

I appreciate you sharing your time with me. Have a fabulous day!

Spellbinders – The Painter’s Garden

Welcome friends! I’m here today with a card featuring one of the new releases from Spellbinders in The Painter’s Garden release. These dies are stunning and create life-like florals so simply. The design of the dies makes it seamless and simple for you.

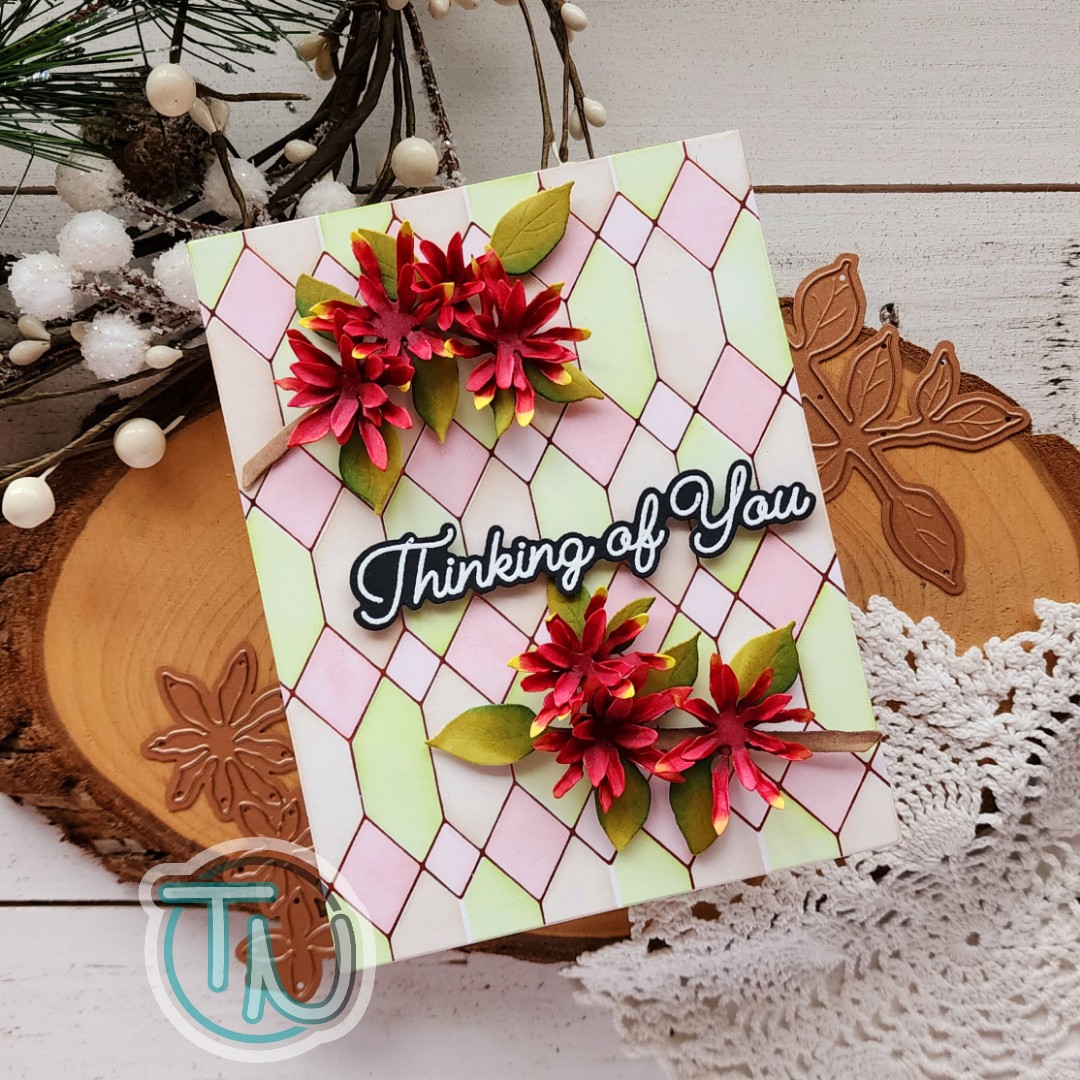
Today I am using the Carolina Allspice dies and can’t believe how these flowers just came to life as I colored and worked with each layer.

There is slight embossing on each die that should be cut more than once with a “x2” or “x3” depending how many you’ll need to accomplish the intended look. For this die set, for each stem it suggests you die cut x2 sets of flowers. So I did that from white cardstock to create two stems and coordinating florals.

I did a simple Google search to find out the general color of these flowers and started playing around with copic colors. For the blooms I landed on R59, R37 and R35 with YG03 for the tips of some. I did color both sides of the cardstock because these are 3D and you do see both sides.

For the foliage I used E77 and E74 for the branch and a very odd combo of YG95 and YG03 for a base with G28 for shadows and blended back out with YG95. After it worked for the first leaf I just kept repeating it for both sets. There could very well be an easier combo to accomplish something similar. However, I do find it therapeutic to color die cuts like these where you have no lines to worry about.

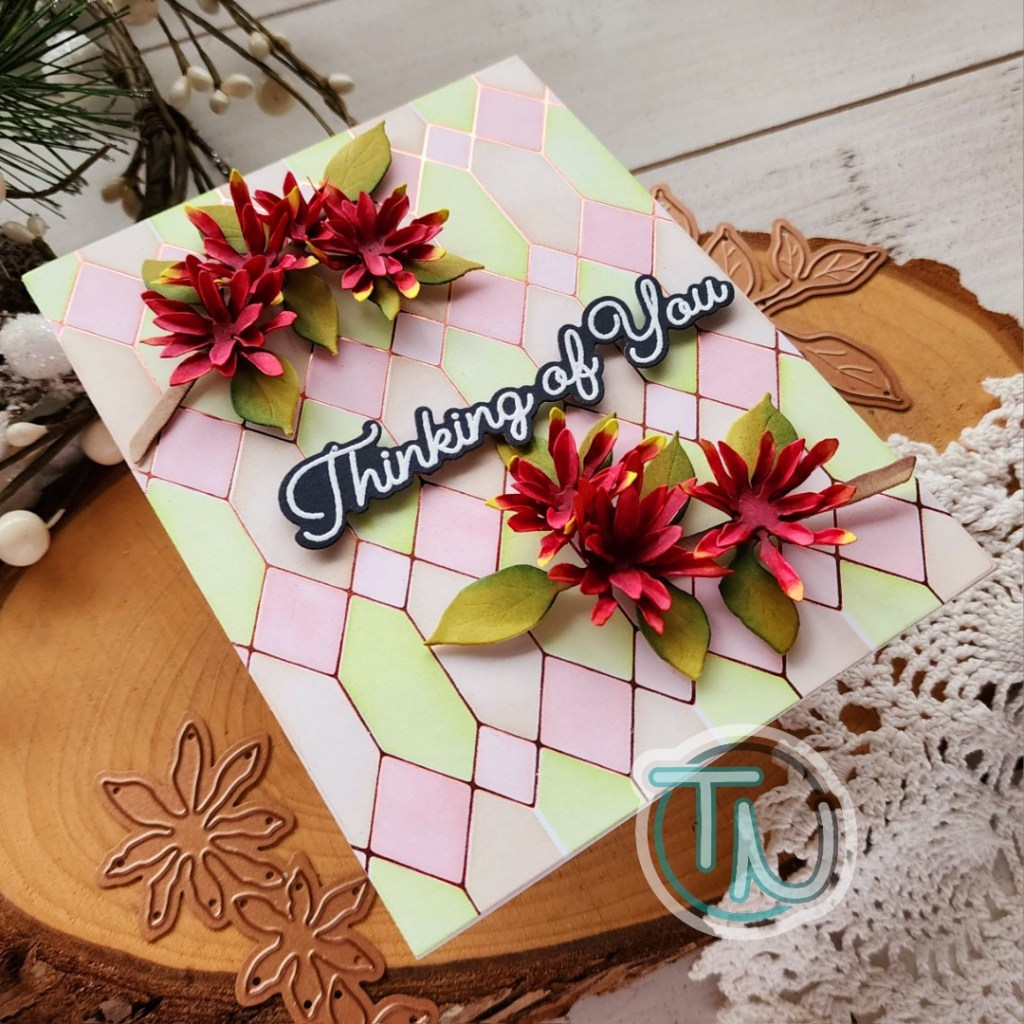
The background panel is hot foiled with rose gold foil and the Geometric Diamond plate, then blended color in using the coordinating stencil set and Lawn Fawn dye inks.

I stamped and heat embossed my sentiment from the I’ve Got You Covered stamp set. Then I used the coordinating die to cut it out.

I adhered the foiled background to a card base and added the Carolina Allspice branches with foam squares. I popped the sentiment up the same way and my card is all finished. Isn’t it just beautiful!?! I love the shiny foiling with the 3D florals together. So much visual texture and interest.

Products used today:
Carolina Allspice dies
Geometric Diamond hot foil plate
Layered Geometric Diamond stencils
I’ve Got You Covered stamps and dies
Hot Foil – rose gold
Foam squares
Liquid glue

I appreciate you sharing your time with me. Have a fabulous day!