Spellbinders – Showered With Love

Hi friends! I’m super excited to share a couple of projects with you featuring today’s Showered With Love release from Spellbinders! This collection is over the top adorable and was so much fun to create with! I have a pair of cards today and will be back with another one later this week.

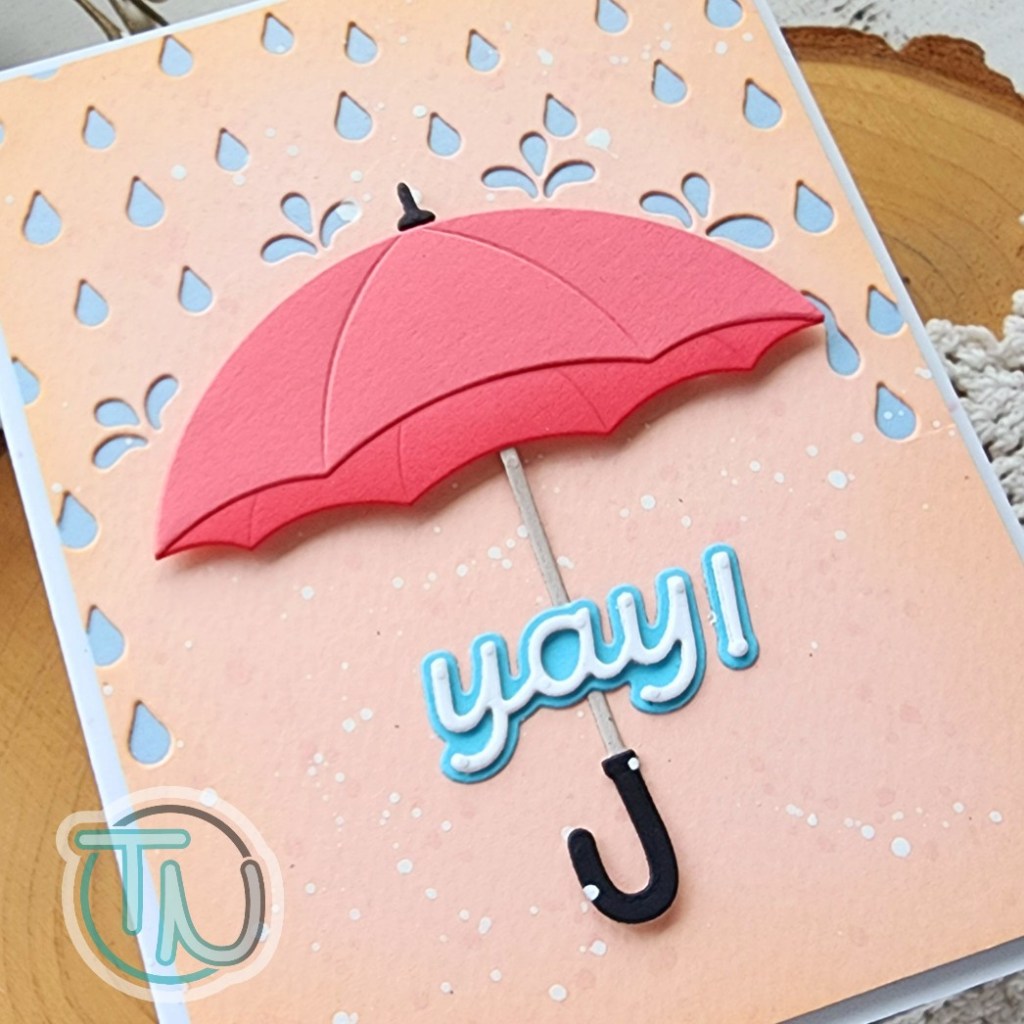
These Raining Hearts dies pair perfectly with the Umbrella Bloom set and give you so many options to create! Today I used the actual raindrops for my background on both cards but there is also a version with heart shaped rain drops that is too cute!

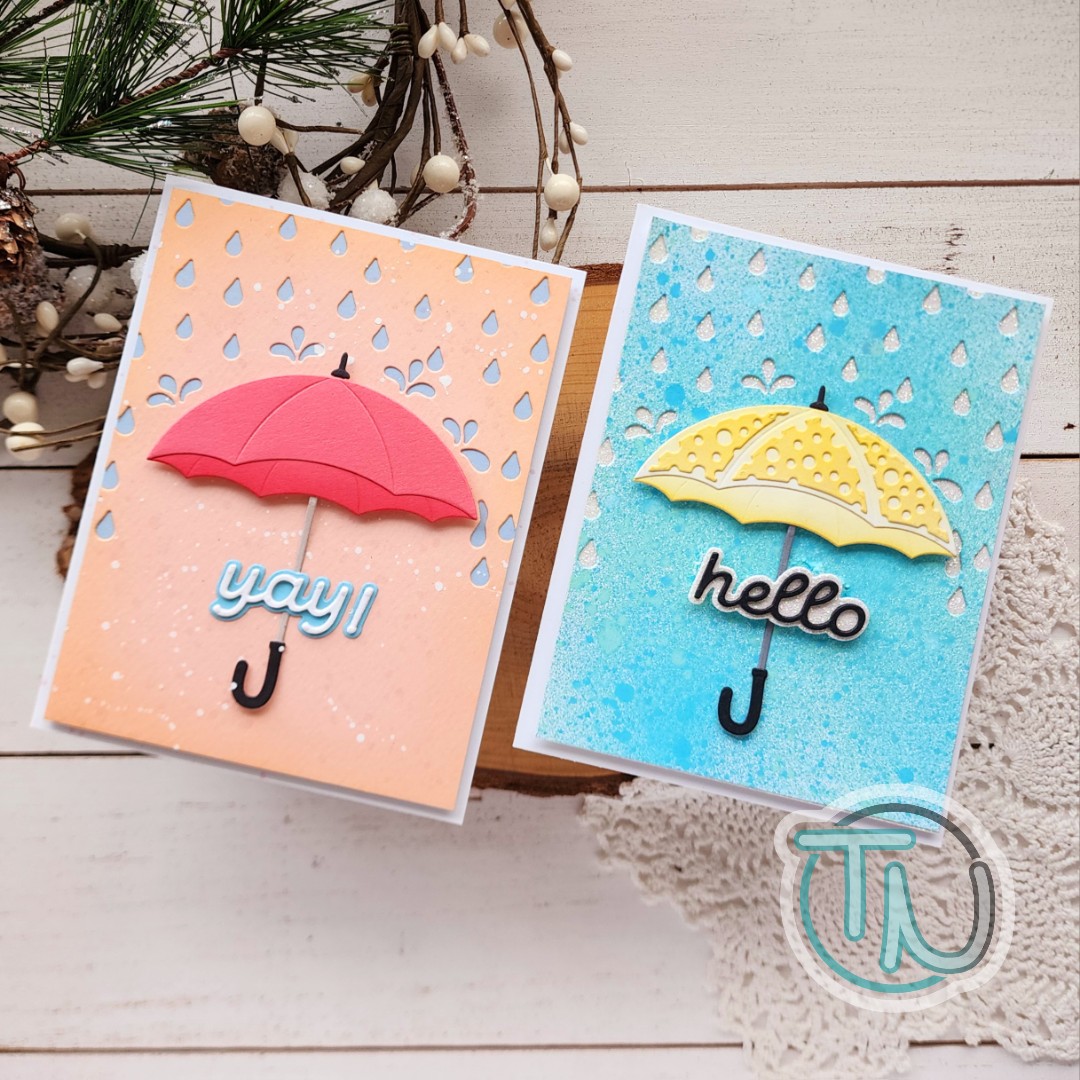
First up, I used some distress oxide sprays to create a textured background. While that was drying I die cut the pieces for an umbrella and inked them all yellow. After inking I used liquid glue to assemble to pieces together.

I chose white glitter paper for the raindrops and tied it back in as the shadow for my sentiment. The background panel is popped up with foam tape and the umbrella is popped up as well. I glued the handle directly to the card front and popped the sentiment up too. This held the handle in place since I didn’t have foam small enough for the skinny handle.

For my second card, I used a peach cardstock, inked the edges with light orange and splattered it with the orange ink and white paint. I chose a melon cardstock for my umbrella and just inked the back layer with a similar color to give it some dimension and shadow.

This time I used blue cardstock for my raindrops and sentiment shadow. Everything is assembled the same except I glued the sentiment directly to the panel this time. I think both ways look nice.

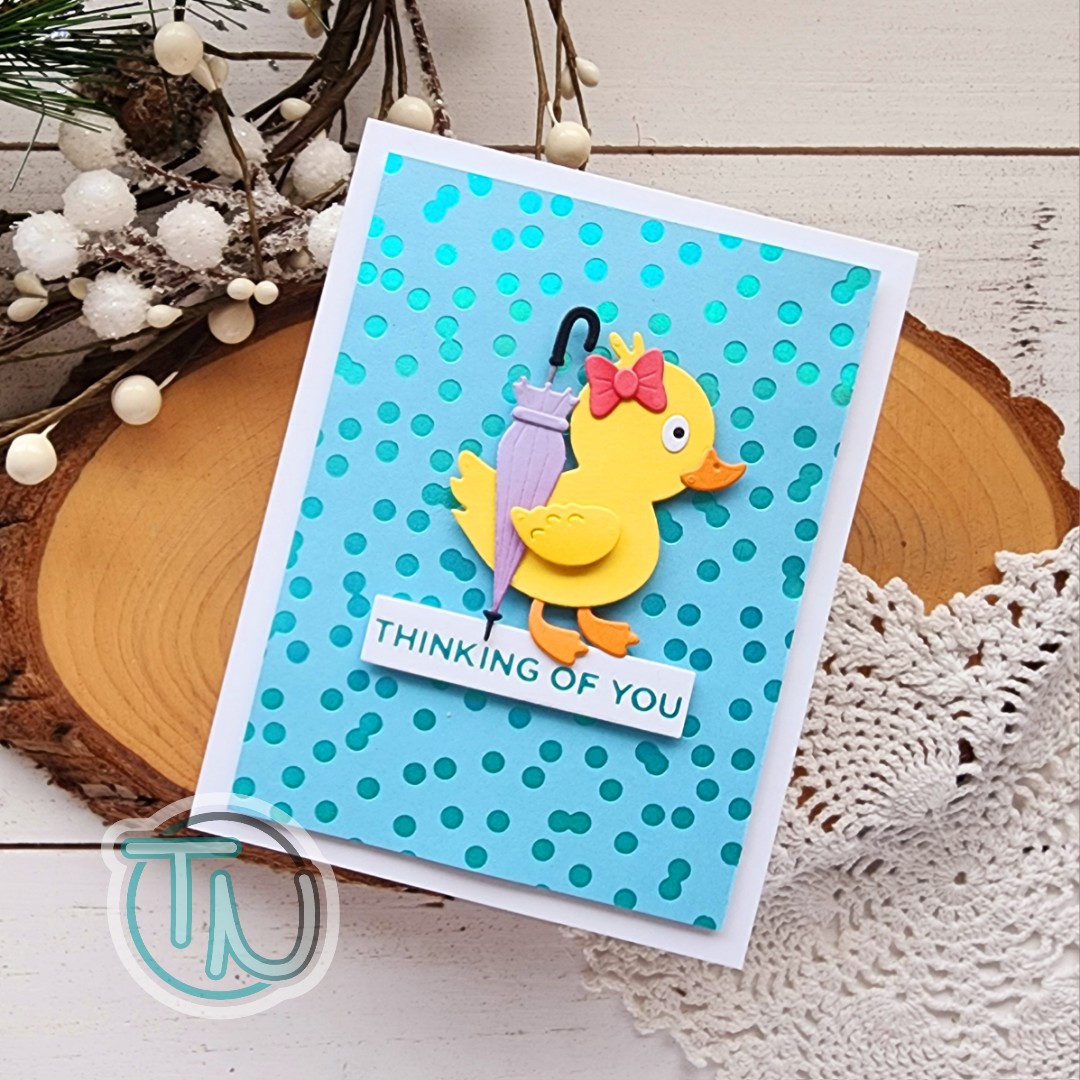
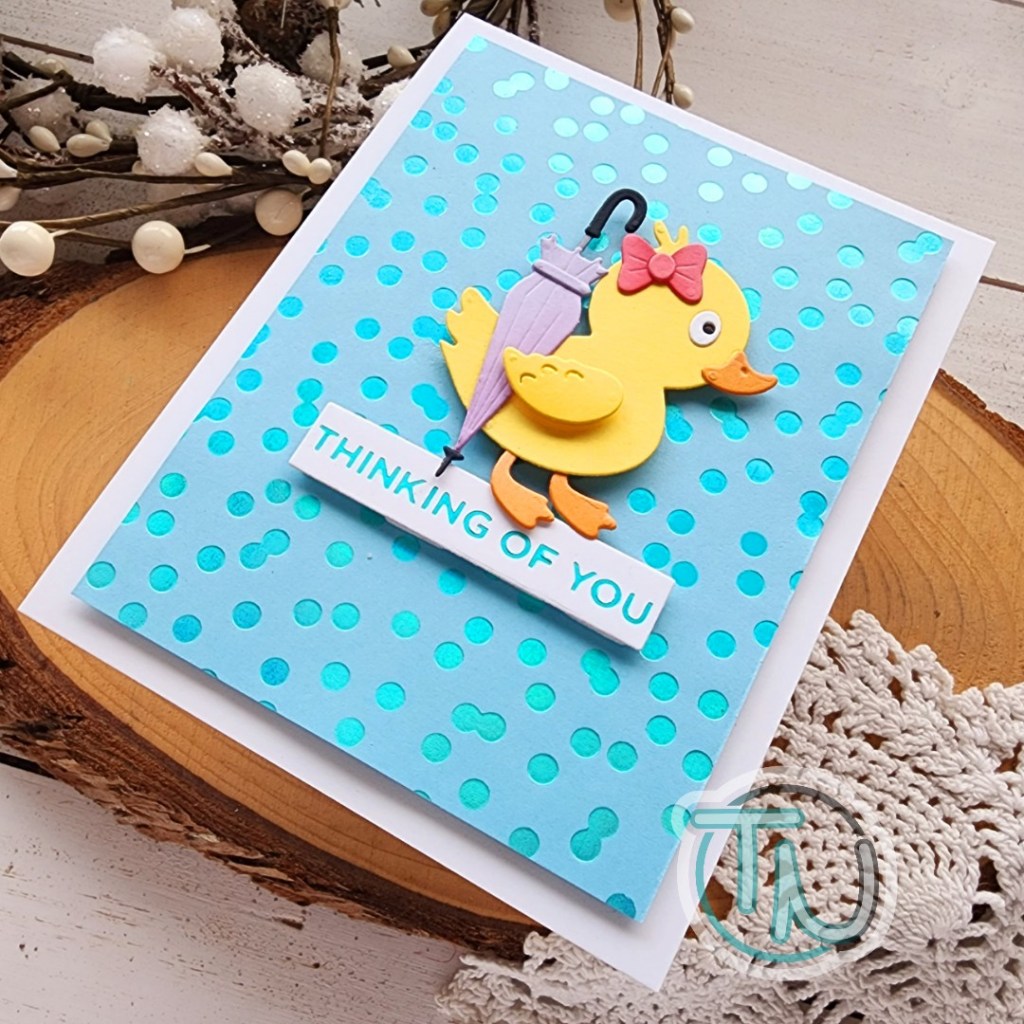
Be sure to head to Spellbinders and check out the release! There is a sweet little ducky and the florals that go with the Umbrella Bloom I used today are stunning! So much versatility and fun to create with!

Products used today:
Umbrella Bloom dies
Raining Hearts dies

Distress Oxide Sprays – mermaid lagoon and cracked pistachio
Foam tape
Liquid glue

I appreciate you sharing your time with me. Have a fabulous day!
Spellbinders – Sealed Collection

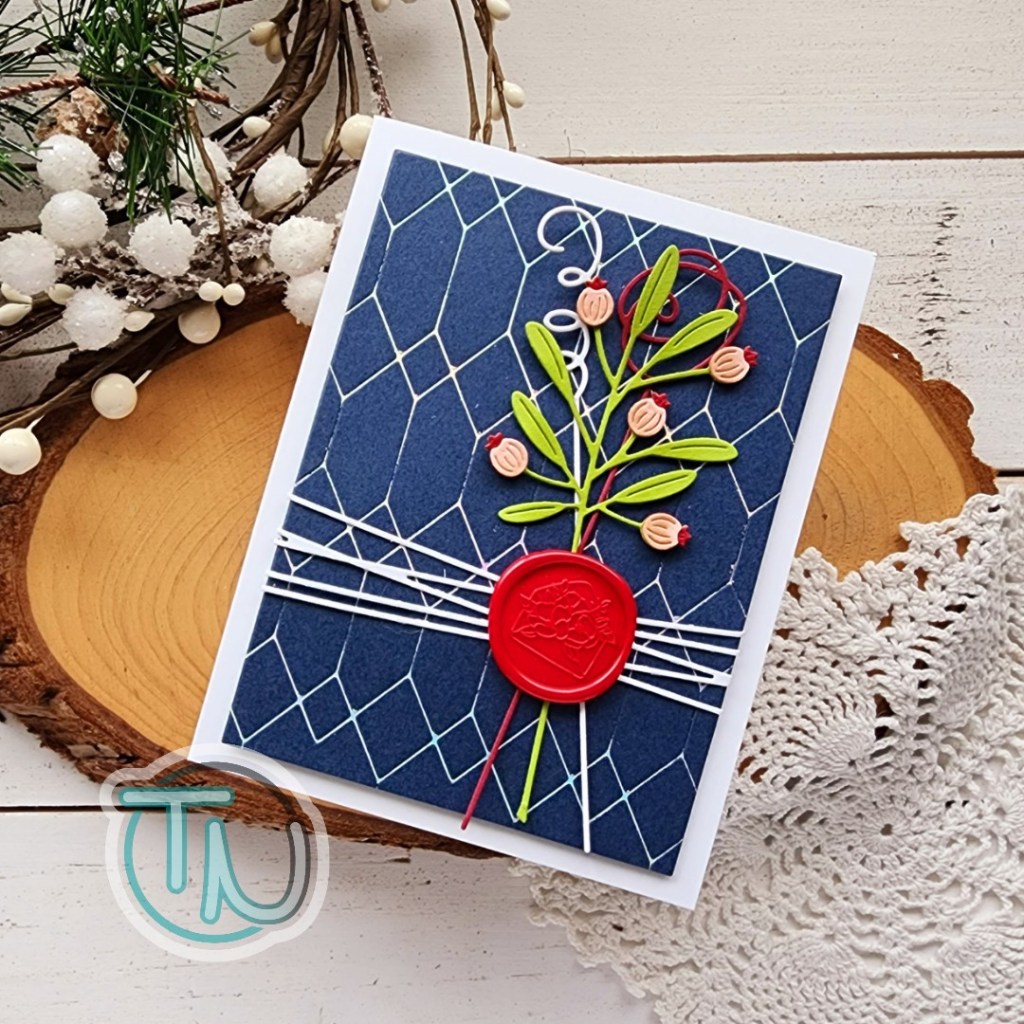
Hey everyone! I’m super excited to be sharing that I’m guest designing for Spellbinders and their amazing Sealed Collection! If you haven’t tried making your own wax seals, I can’t recommend it enough! Every video I’ve watched and blog I’ve read touts how addicting and fun they are to create. Well, I’m here to confirm that is absolutely true! I have been making bunches of them. It’s so fun to try different colors of wax, mixing and matching, all the things!

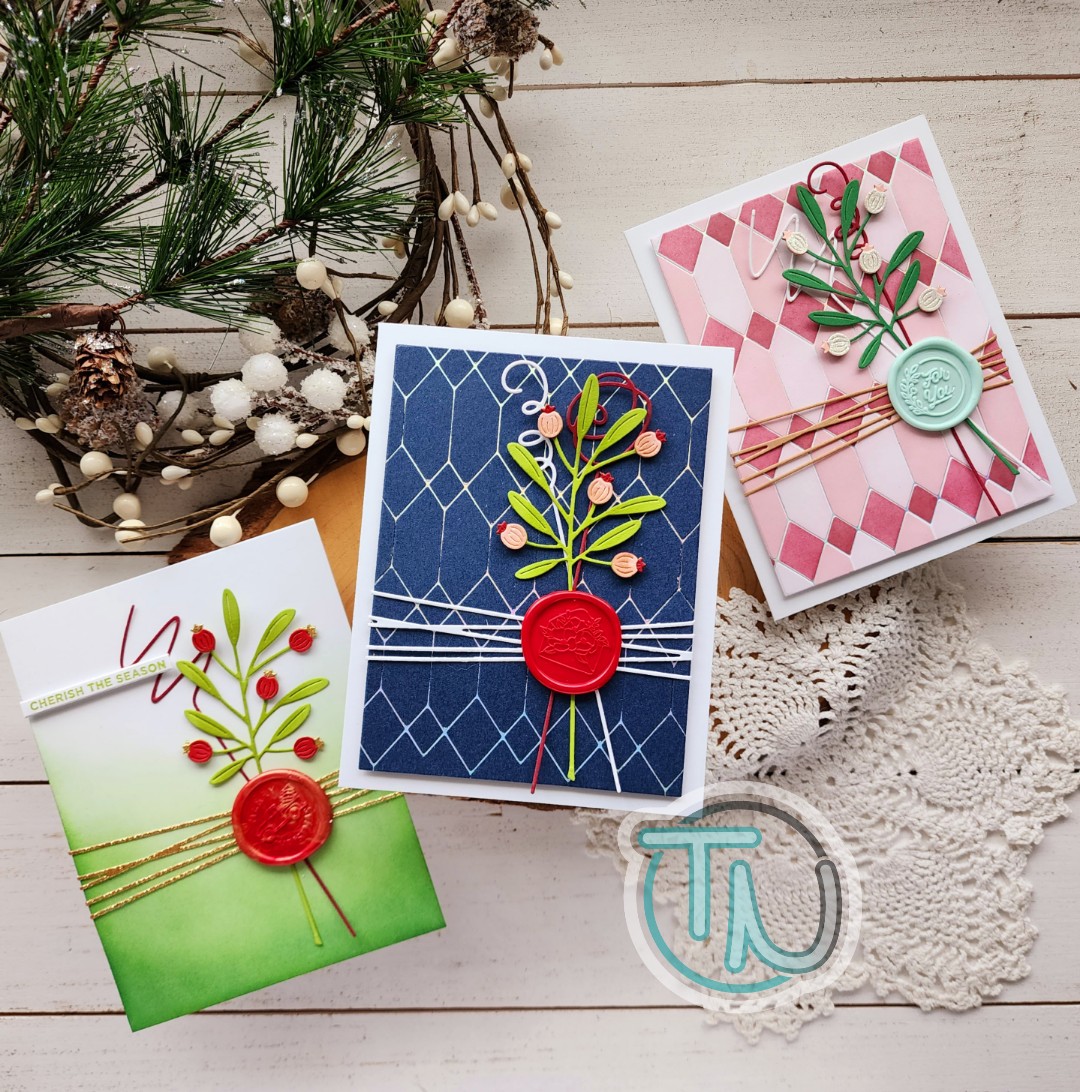
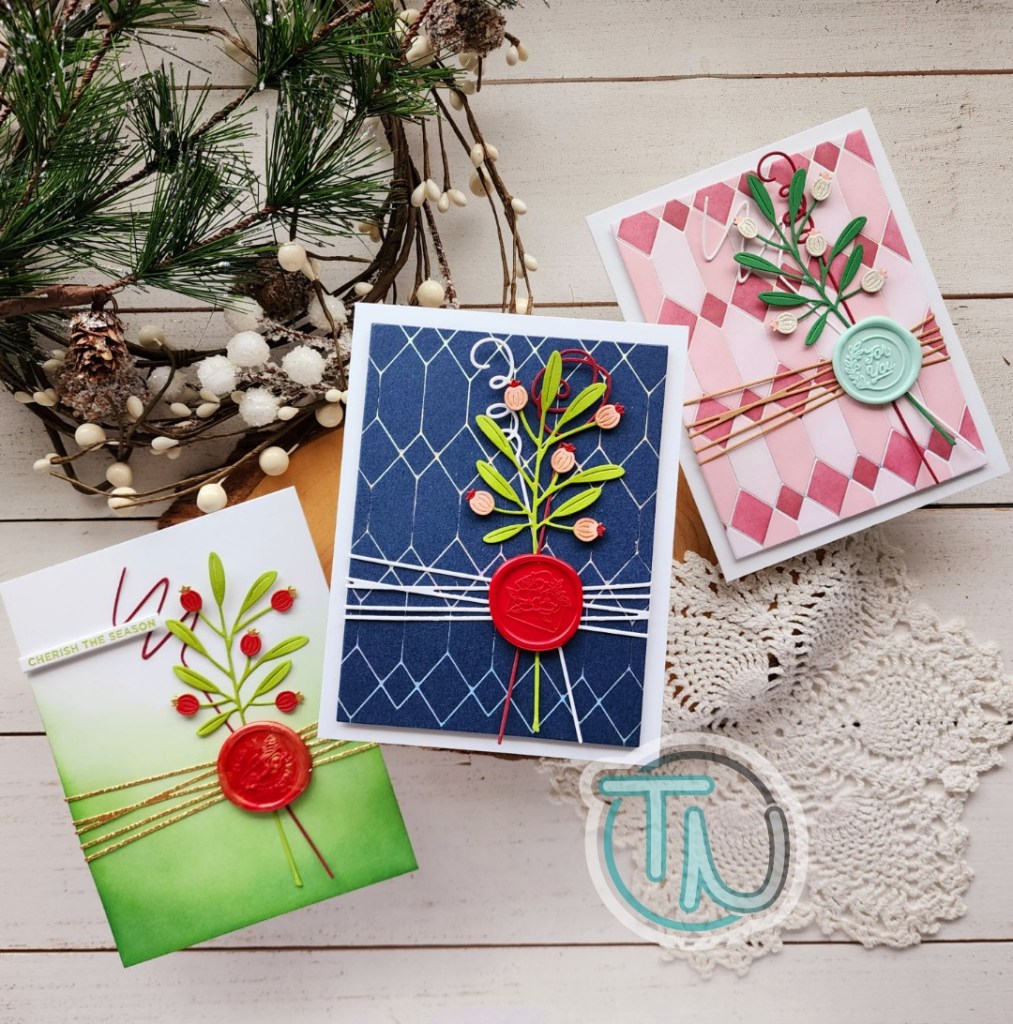
I created a trio of cards today following about the same layout but with different backgrounds and extras. I hope you like them and find some inspiration to give this a try!

I started simple by die cutting a few of the Sealed Squiggles from different colors and the Sealed Sprigs too. I mixed and matched berry colors and adhered everything together. Then I started separating them into groups to create cards. I played off the gold glitter paper in the berries to cut the Sealed Twine from as well.

I kept the background simple with some ink blending in an ombre and used the lighter of the inks to stamp a sentiment using Mini Christmas Greetings stamp and die set. I used liquid glue to adhere everything together and topped the twine off with my favorite Christmas Truck wax seal and a mixture of red and gold wax.

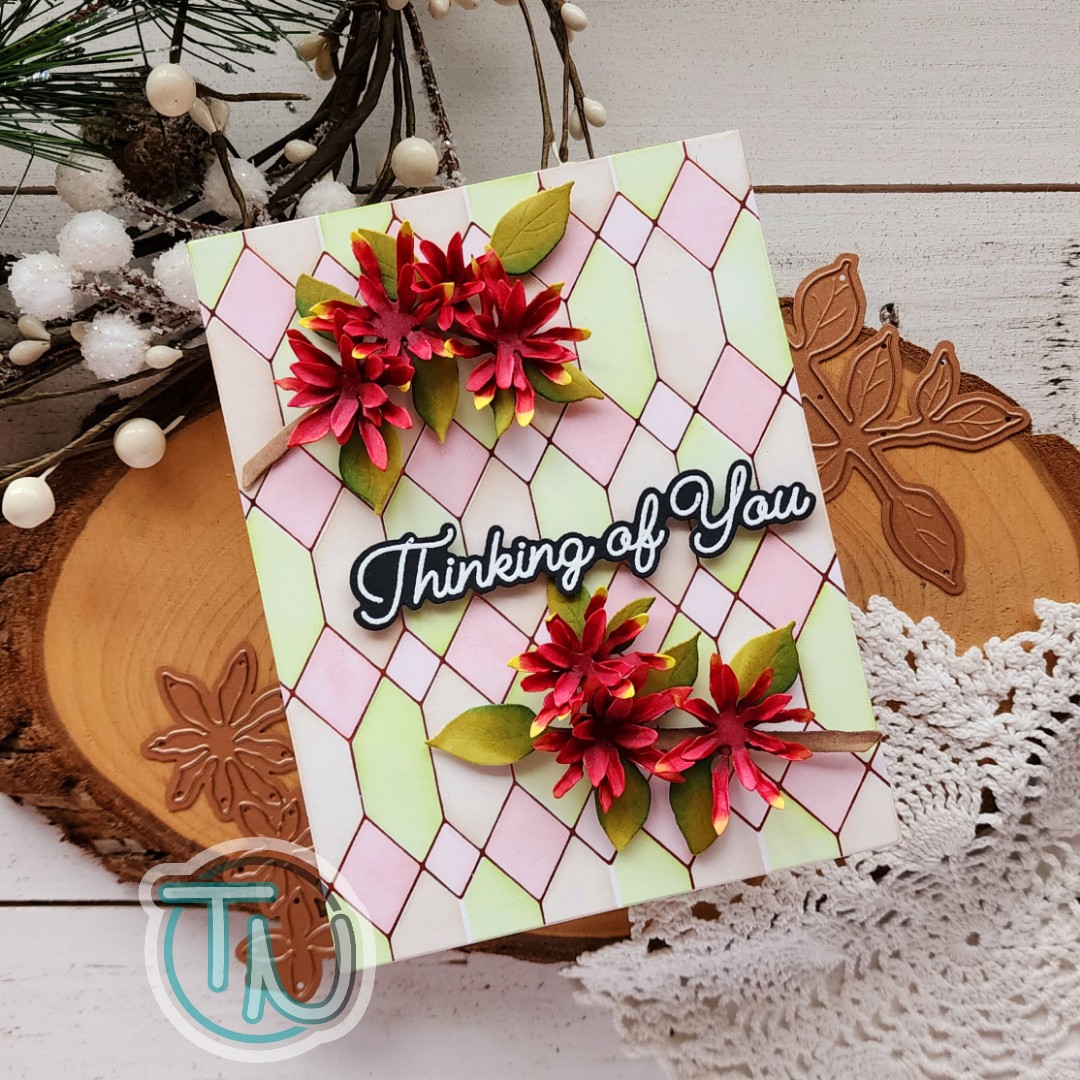
Next, using all the same products, I stepped the background up a little by hot foiling the Layered Geometric Diamond plate on dark blue cardstock using Prism hot foil. I cut the foiled background down with a layered rectangle die, adhered all of my elements and popped the panel up with foam tape on a white card base.

For my last card share today, I hot foiled the same background but this time I did it on white cardstock and used the incredible layering stencil set that coordinates to fill in the openings and create a stunning background, full of interest and texture. This card is assembled the same as the one previous with a little dimension adding to the mix too.

I hope you enjoyed these projects and I would really love to know if you’ve jumped in with both feet on wax seal making as well! It’s so much fun. I’ve also started adding them to the back of envelopes too!

Products used today:
Wax Seal Starter Kit
Sending Flowers wax seal stamp
Christmas Truck was seal stamp
Sealed Berry Sprig dies
Sealed Squiggles dies
Geometric Diamond hot foil plate
Geometric Diamond layering stencils
Sealed Twine die
Wax Beads – red and pastel aqua
Mini Christmas Greetings stamps and dies
Glimmer Hot Foil Variety Pack – Spellbound

I appreciate you sharing your time with me. Have a fabulous day!

Spellbinders – Happy Birthday Lion

Hey friends! Happy New Year! I took a bit of time off for the holidays and only did the crafting that I had to for my teams. It was really nice and we did some fun things. Today I’m back with a birthday card that I made for my dad last week. I didn’t want to share it here until he had opened it.

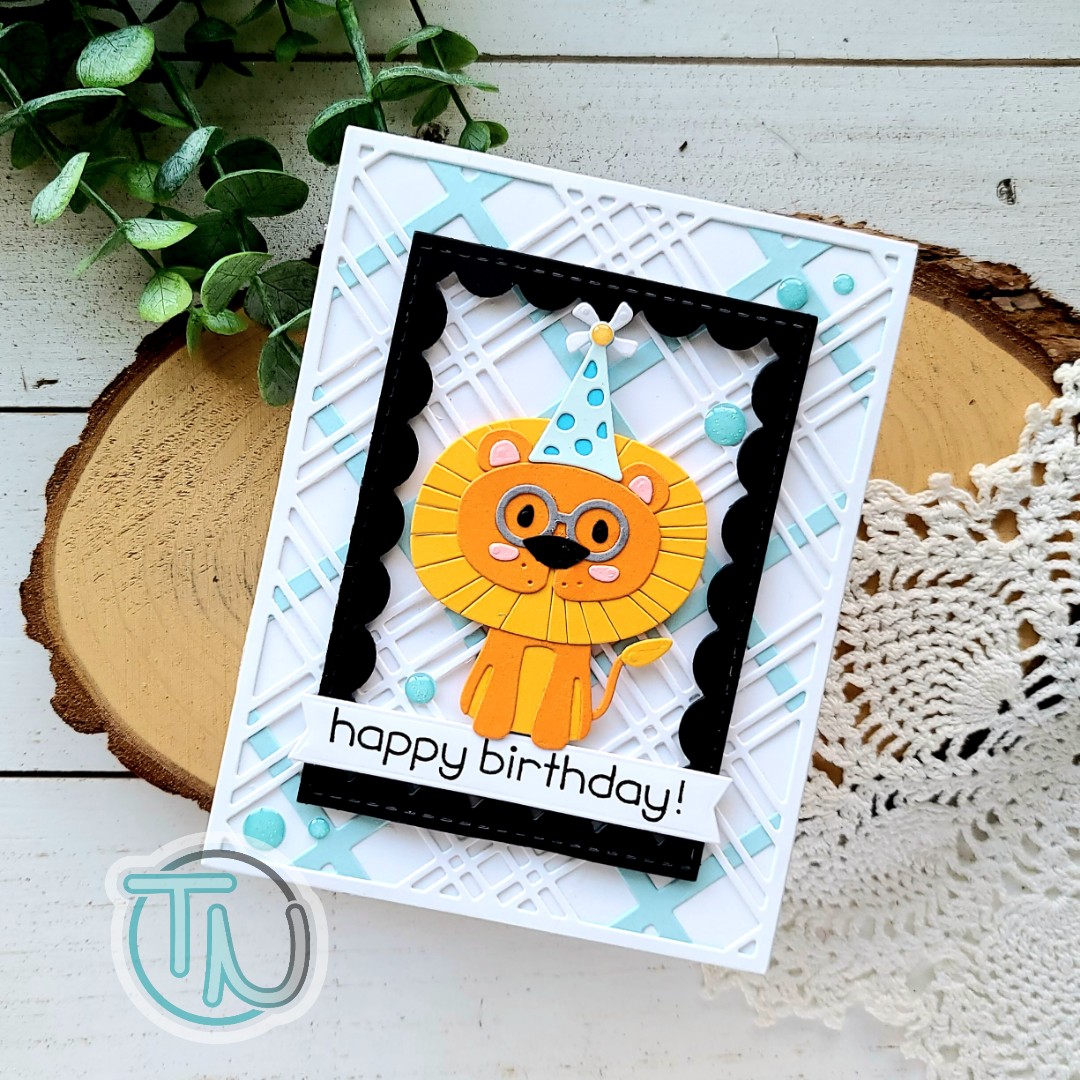
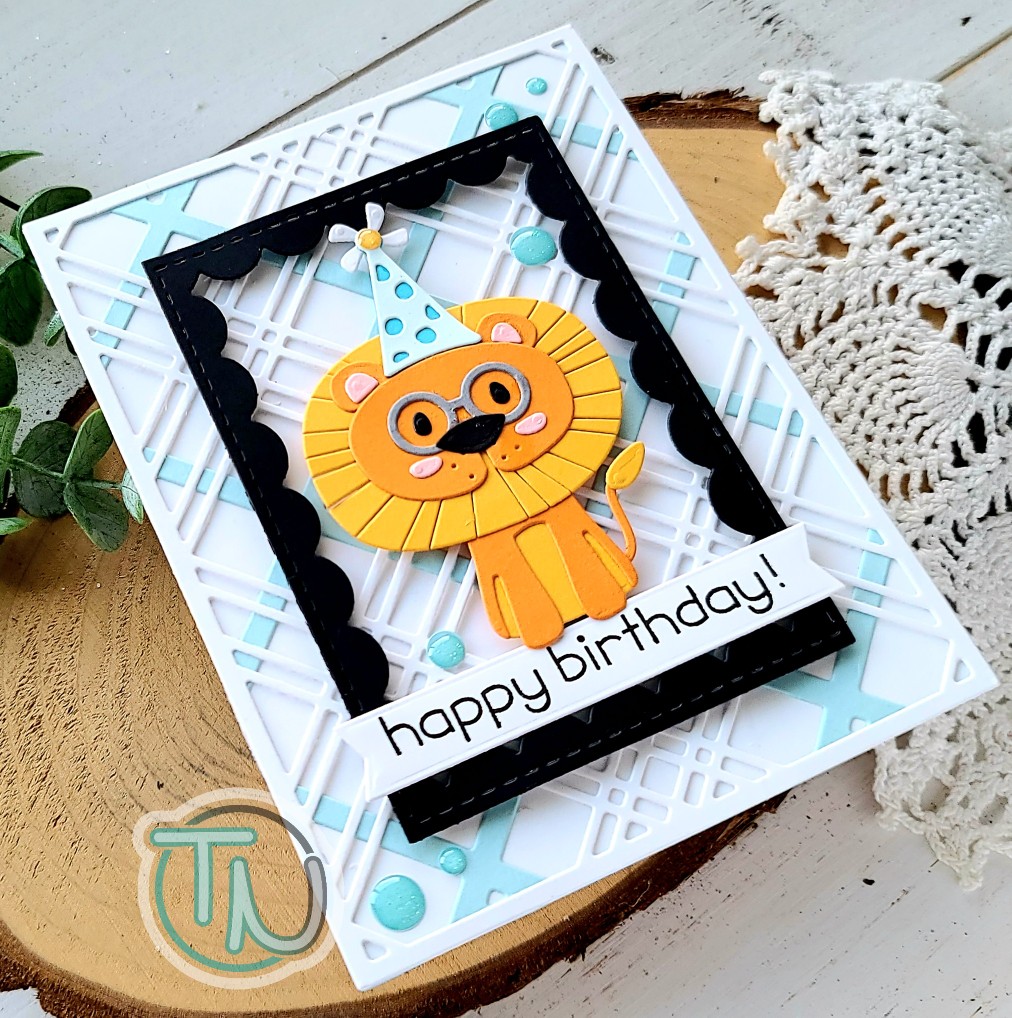
I started by cutting the elements from the Spellbinders Lion, Oh My! set and used liquid glue to adhere them all together. Isn’t he just the most studious party lion ever?!? I love him! Then I pulled out some dies from Pink & Main to create my background.

I cut a white card base and folded it. Then I cut the two layers of the Pink & Main Plaid Cover dies from white and light blue and adhered them together. Next, I cut a Reverse Scallop Frame from Pink & Main out of black cardstock and popped it up with foam strips.

I dug through my stash for a good happy birthday sentiment and ultimately landed on a simple one from Lawn Fawn cut out with a Pink & Main Large Sentiment Strip die. I added foam squares to the banner and lion and popped them in place next. Then I finished everything off with a scattering of glitter enamel dots from Pink & Main.

I am so happy with how this card turned out and my dad liked it too! Success!

Products used:
Spellbinders Lion, Oh My! dies
Pink & Main Plaid Cover dies
Pink & Main Reverse Scallop Rectangles dies
Pink & Main Large Sentiment Strip dies
Pink & Main Glitter Enamel Dots
Foam squares and strips

I appreciate you sharing your time with me. Have a fabulous day!
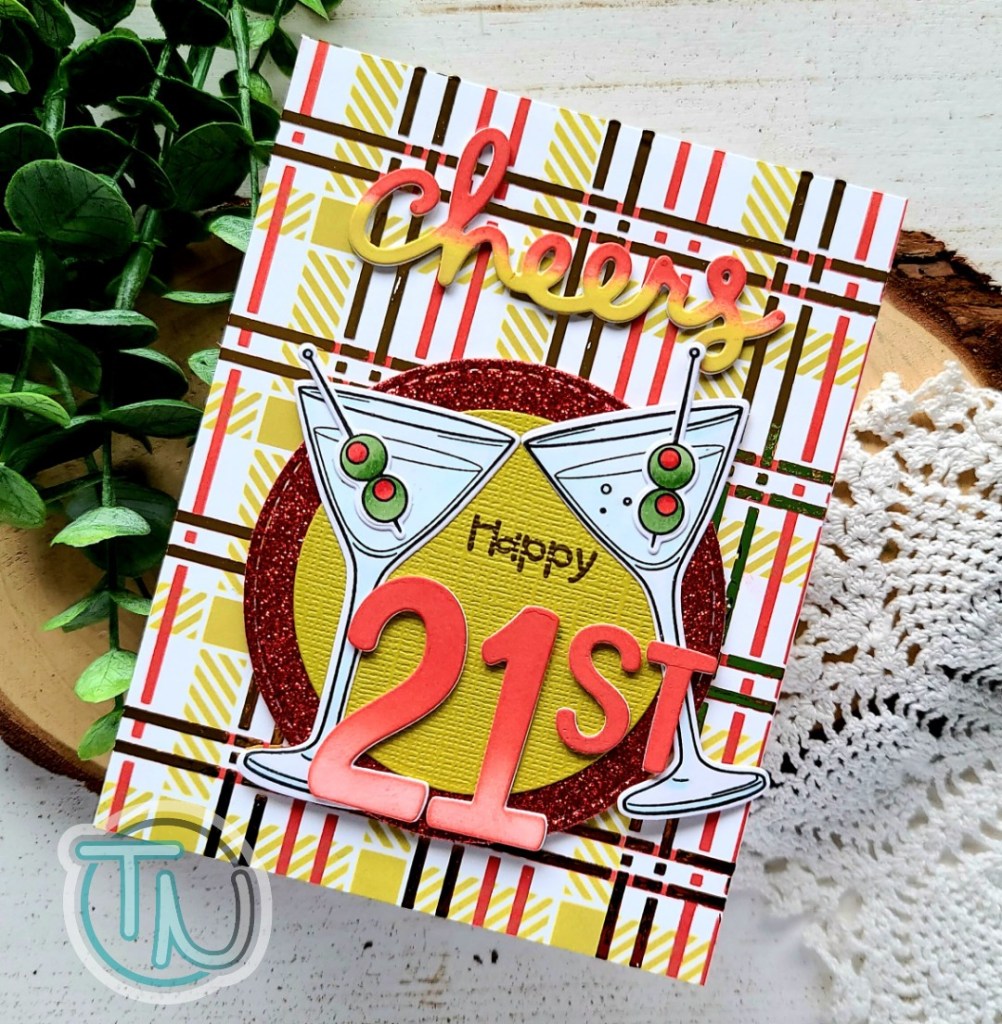
Trinity Stamps, Newton’s Nook and Lawn Fawn – Cheers!

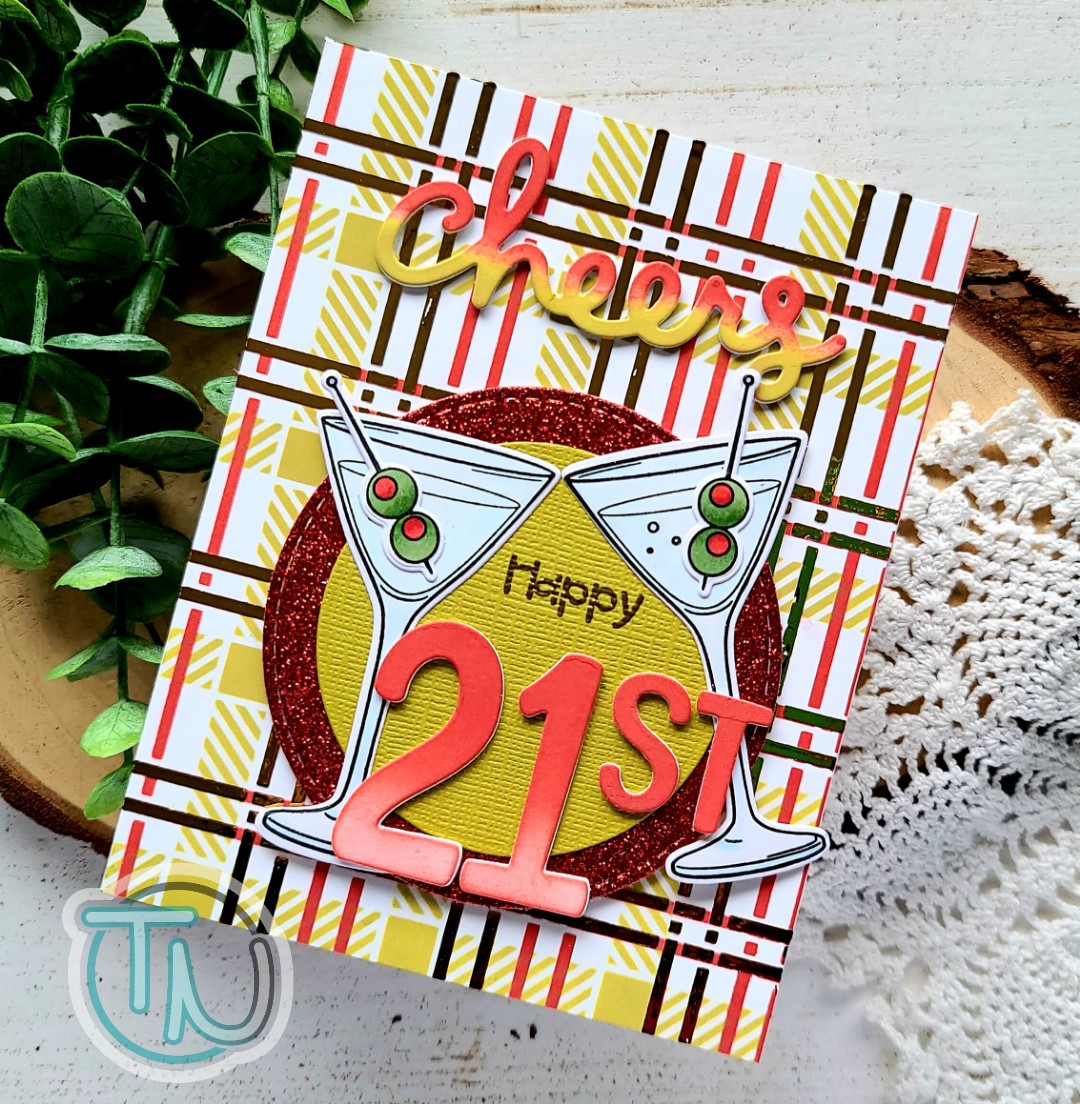
Hey friends! We had a VERY special birthday in our family last week and I wanted to pop in to share one of the birthday cards I made to celebrate. My sister-in-law turned the big 21 and we couldn’t let it fall by the waist side.

I was able to pull from some of my favorite companies and create this super fabulous birthday card/gift certificate for her brother to give her. I started things off by stamping and coloring the Trinity Stamps Happy Hour set that came out last year. I used the coordinating dies to cut the images out. Next I began working on the background with the Newton’s Nook plaid stencil, some olive green and red ink and then I went over it a second time with Thermoweb transfer gel, and then gold decofoil. Pulling from all of those colors, I used the Newton’s Nook circle frames dies to cut a stitched circle from red glitter paper. Then I used a smaller Spellbinders circle die to cut an olive green one to layer.

I heat embossed Happy from Happy Hour on the green circle and die cut 21st from Trinity Stamps Marshmallow Number dies. I used the same ink from the stenciling to go over the top layer of the 21st so it coordinates. At this point I started layering things together and realized that the top of my card was sparse. I dug around and found the scripty cheers die from Lawn Fawn and thought it was the perfect match! I cut it from white cardstock and inked it up with the red and green from the background.

I am so excited about how awesome this card turned out! So much texture and depth with the different cardstocks, layers, heat embossing and decofoil. It’s exactly what I was hoping for.

I appreciate you sharing your time with me. Have a fabulous day!

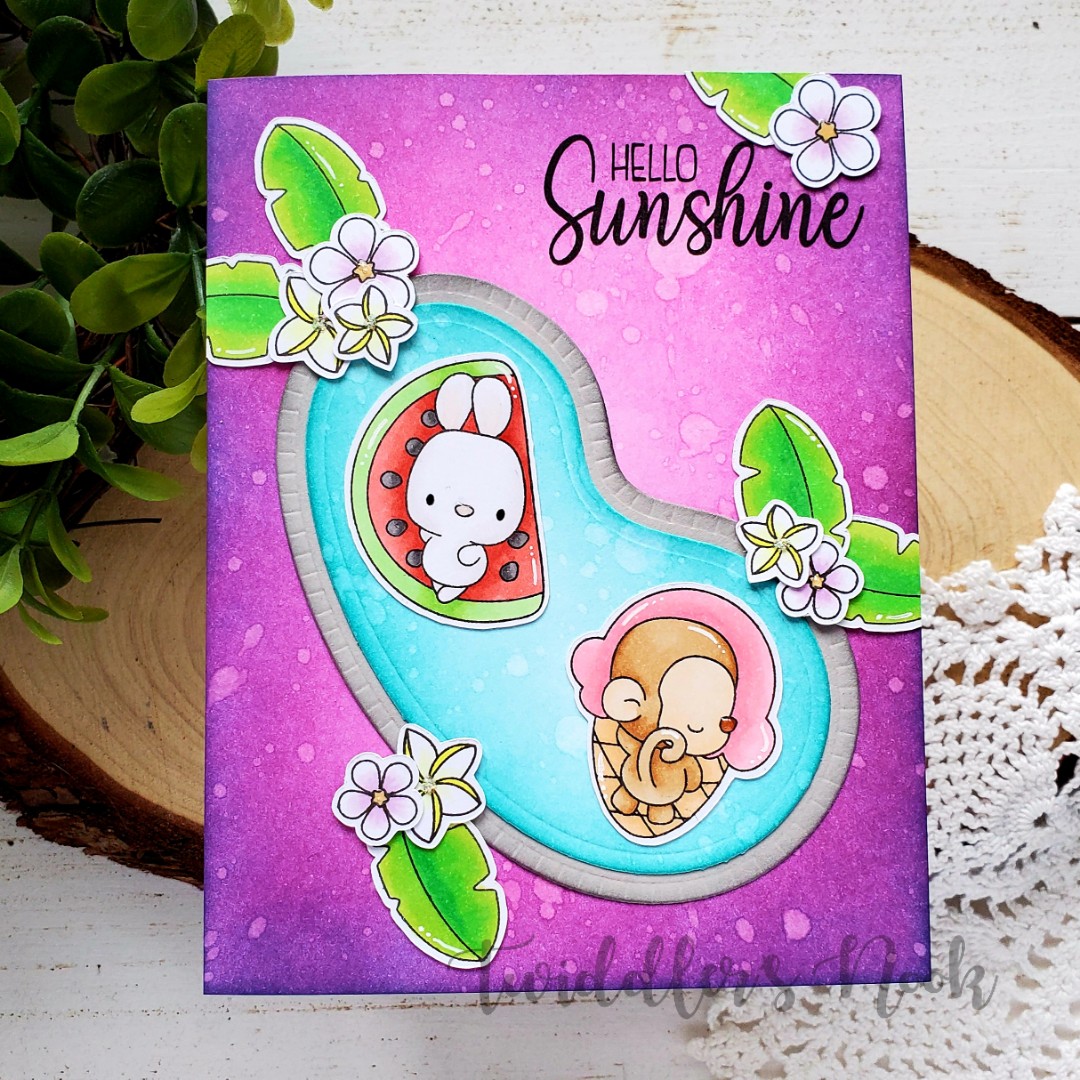
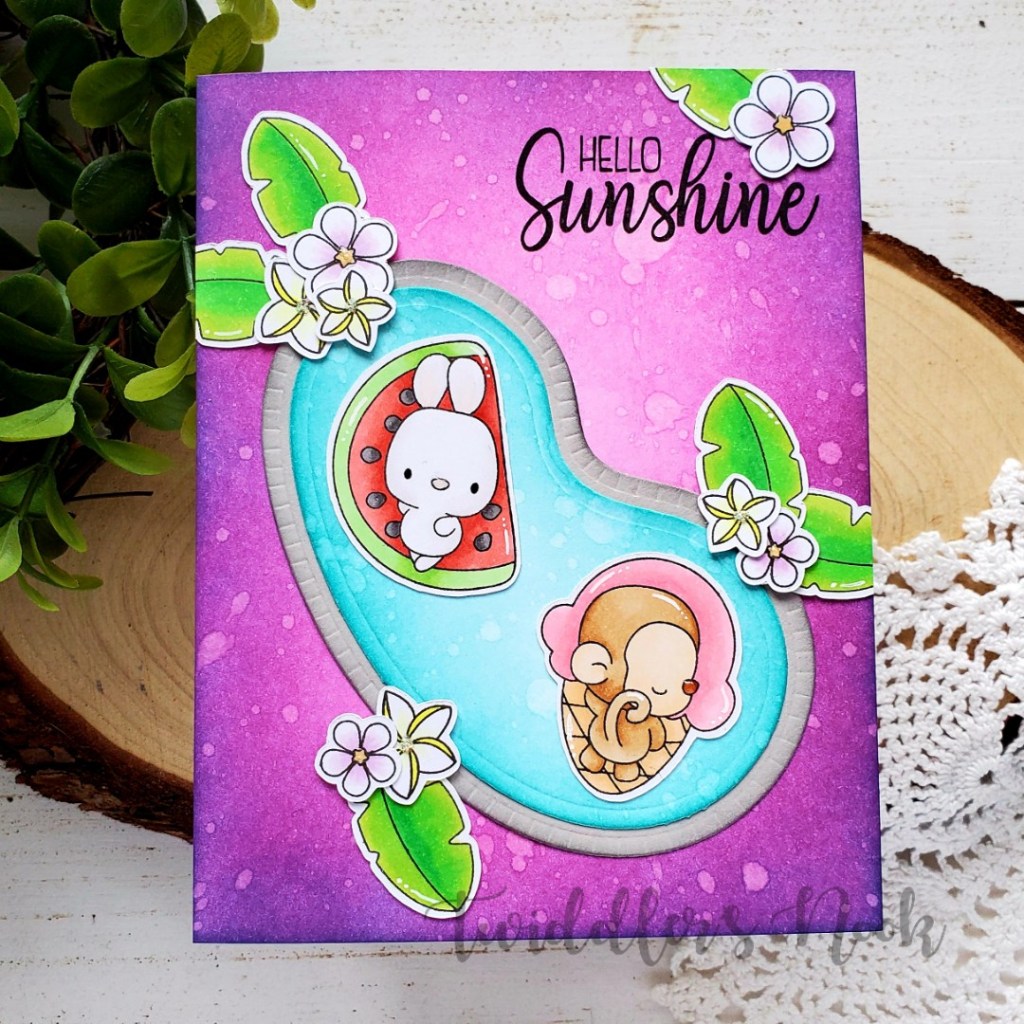
Paperie Ink – Hello Sunshine Poolside

Happy Friday everyone! We made it through another week! Today I have a bright and happy card to share with you featuring a couple of newer release items from Paperie Ink and Spellbinders.

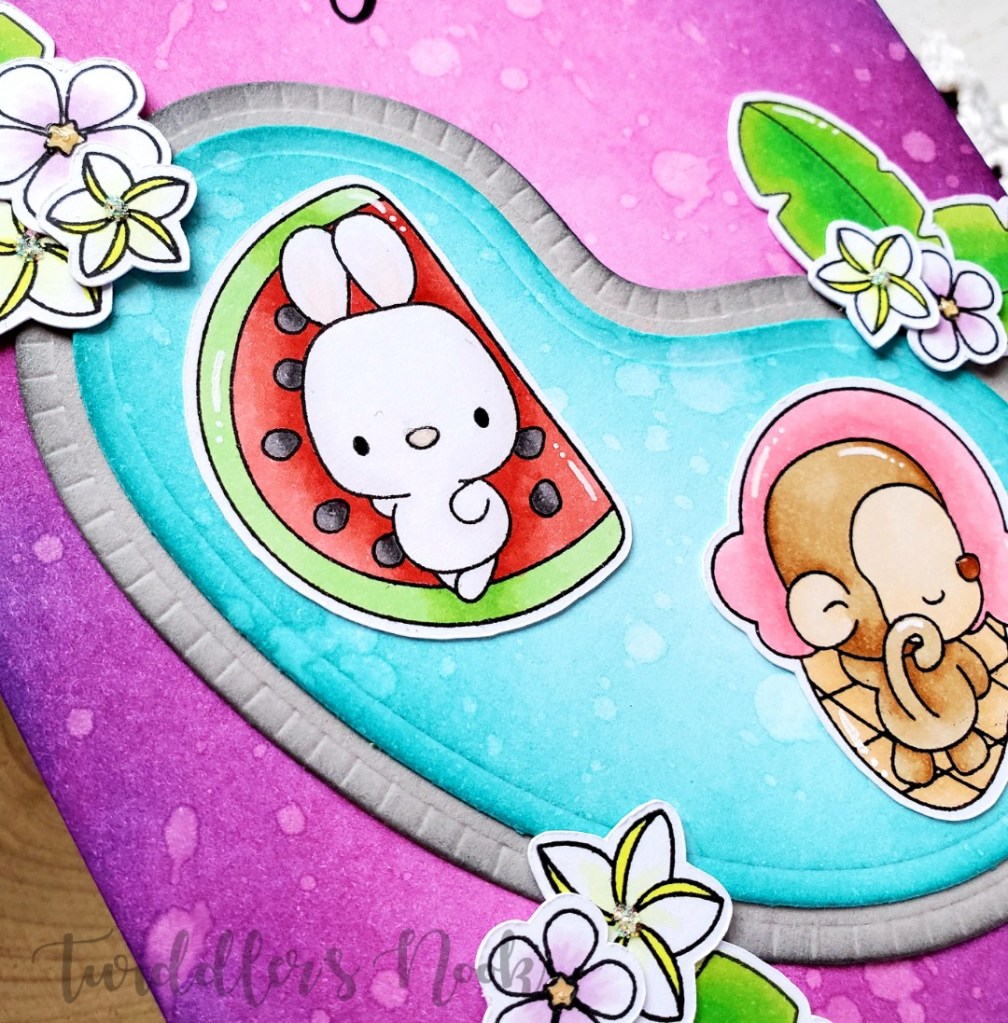
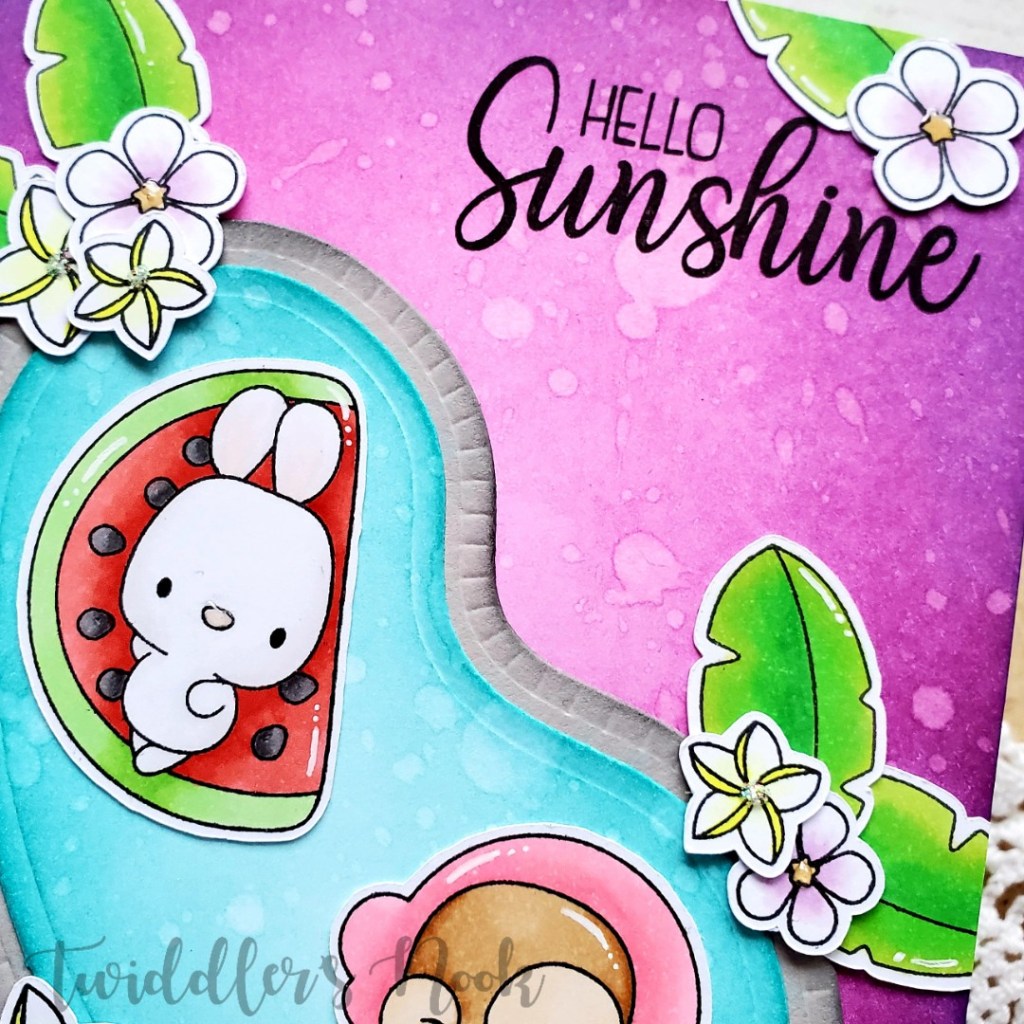
I fell in love with the entire last release Paperie Ink had and splurged on Mother’s Day to pre-order myself 2 of the new sets. This one – Hello Sunshine – had me immediately wanting a pool to put them in. Well, at almost the same time, Spellbinders had a new release and I picked up Pool with a View on my next ScrapbookPal order.

To create this card, I started with the background, inking picked raspberry and mermaid lagoon distress inks on a panel and spritzing it with water. Then I die cut the inner part of the pool and inked it with mermaid lagoon and spritzed it too. I die cut the outer part of the pool from gray cardstock and lightly inked the edge with black soot for a little dimension and moved on to my images.

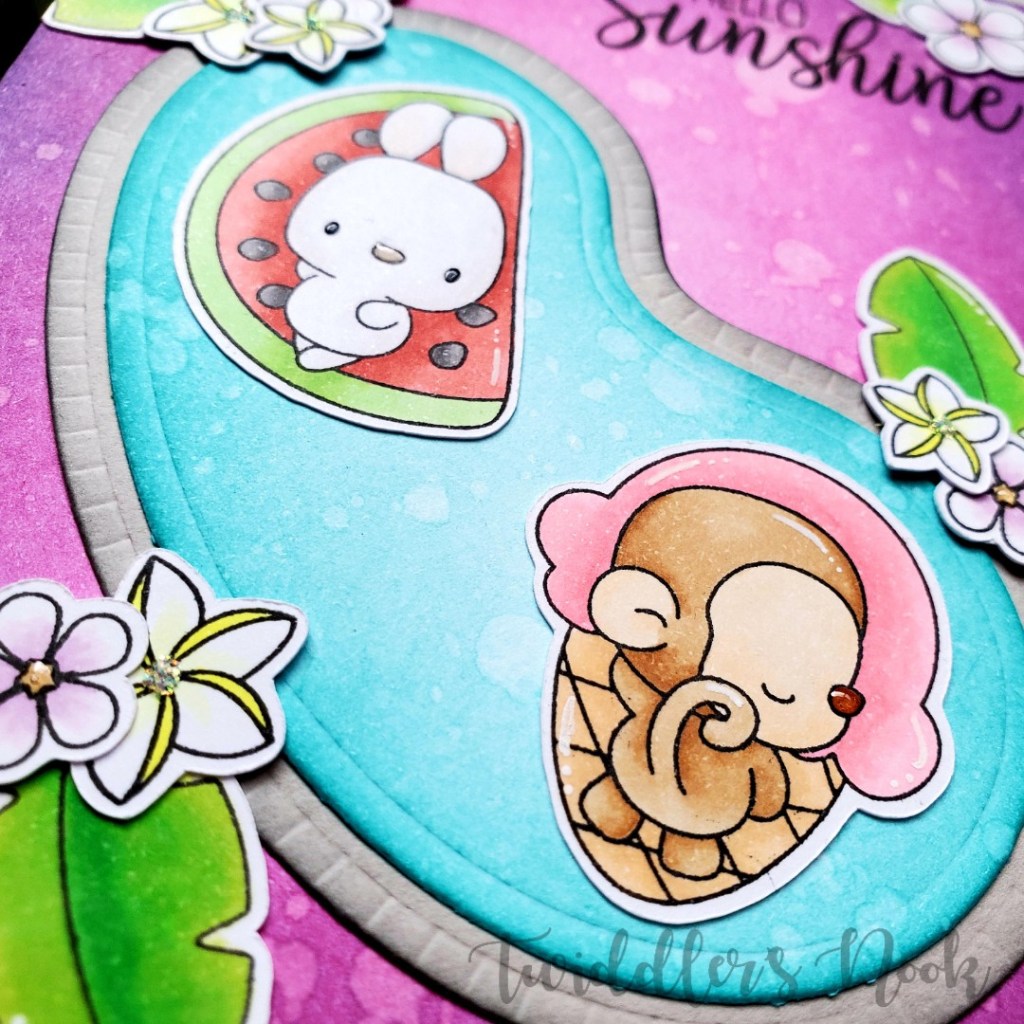
I chose a couple of critters and flowers from Hello Sunshine and paired them with leaves from Toucan Party. I colored these with my copics and used my scan-n-cut to cut them all out. Then I started working on placement.

Once I had an idea, I used my MISTI to stamp the sentiment and started adhering images with liquid glue. I find this works best with panels that have been inked with distress or distress oxides.

Finally, I moved on to finishing touches which were pretty simple. I added white gel pen accents throughout the images, glossy accents to the noses and flower centers and Unicorn Stickles to other flower centers. I also used black glaze pen on the bunny’s eyes to help them shine a little.

This card has me dreaming for summer and a week by a pool with no adulting necessary! Maybe someday. Haha!

I appreciate you sharing your time with me. Have a fabulous day!
Spellbinders – Oh Happy Day

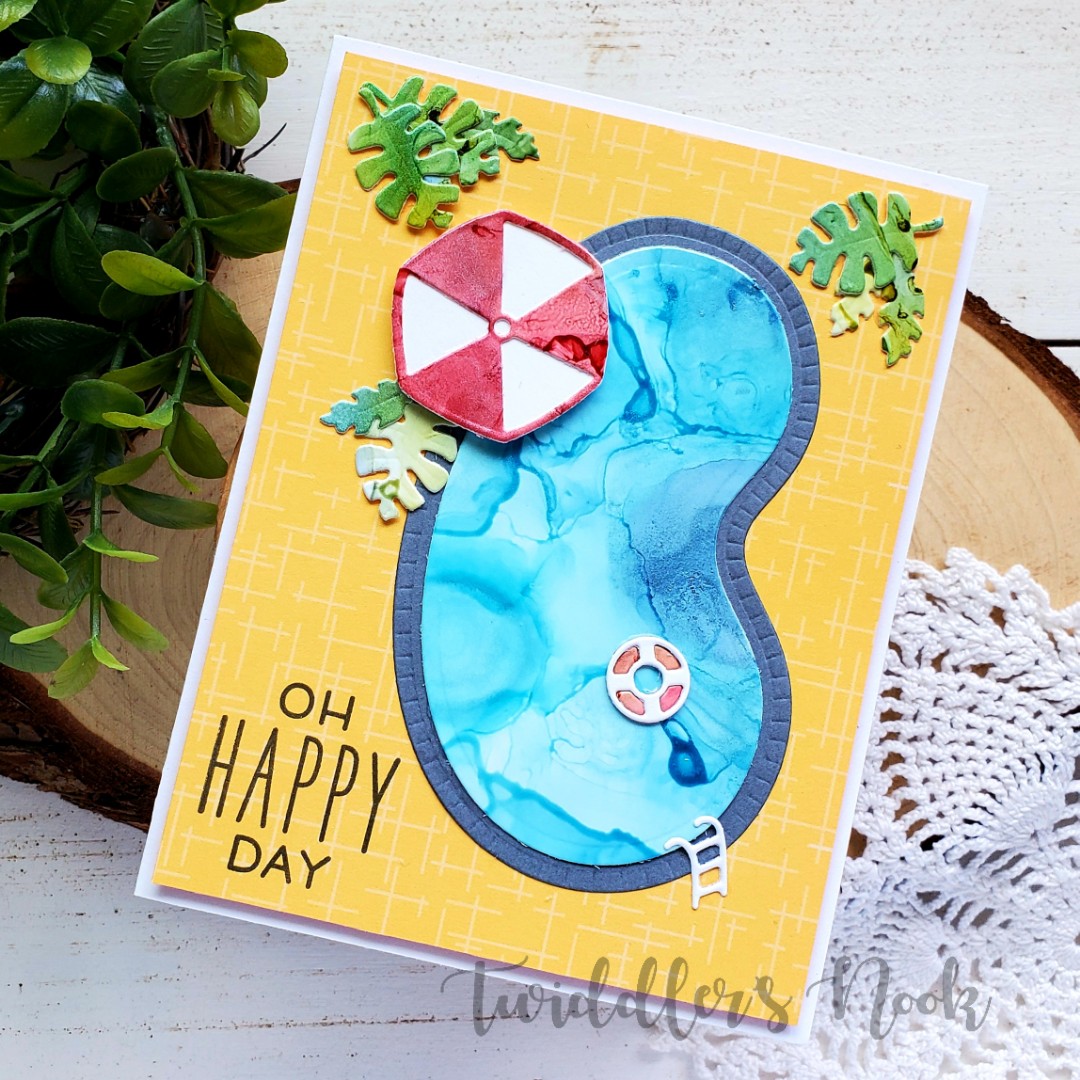
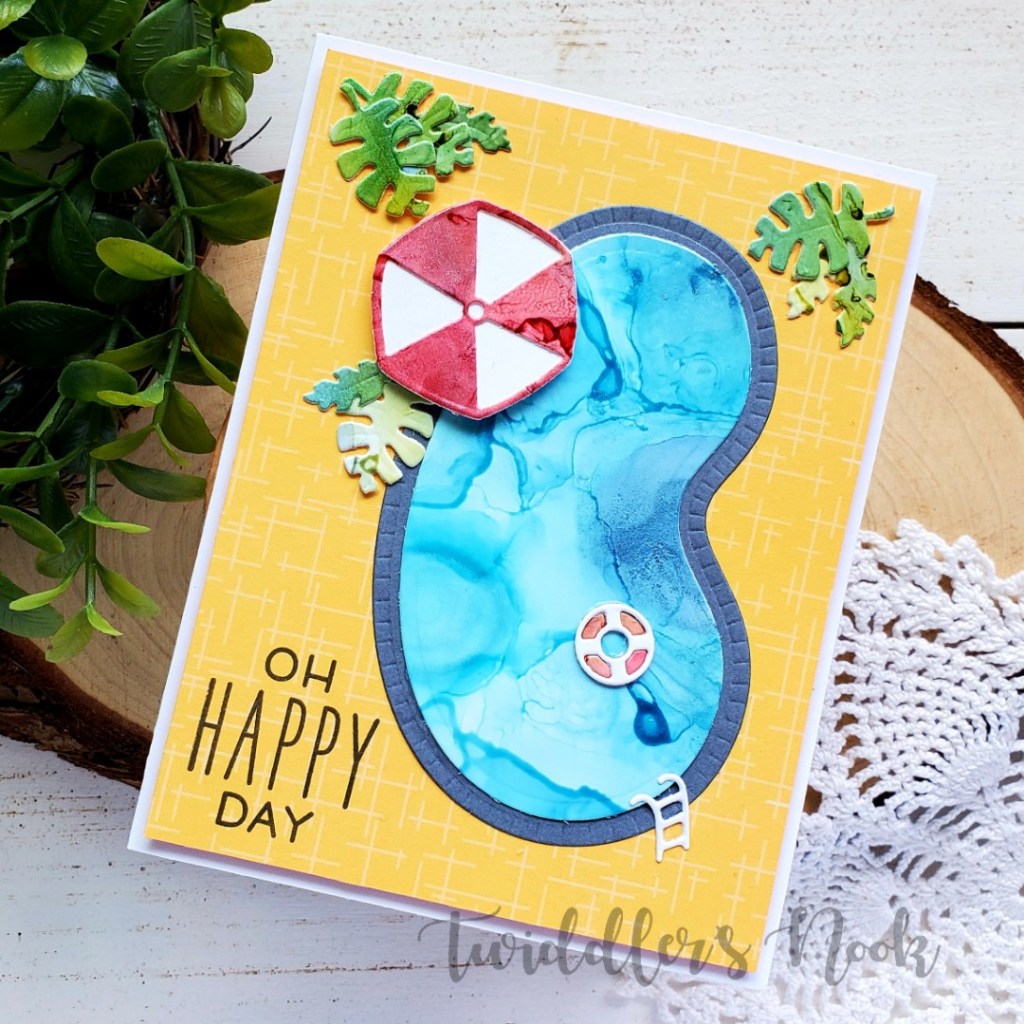
Hello everyone! I recently joined the world of alcohol inks by purchasing a few bottles of the alcohol pearls and couldn’t wait to play! I created a coffee card last week with my first background but who can stop with just one when you’re playing with those inks??? No one, that’s who! So, of course I kept going and then had a fun idea what to do with them…hence today’s card!

I created a few backgrounds with the various colors that I have and then used my new Spellbinders Pool with a View die set to die cut the various pieces. I found this fun yellow Avery Elle patterned paper in my stash and used it for a background for my scene.

The shimmer that the alcohol pearls give is so pretty in the light. I love it! And the different texture they give is so fun too!

I adhered all the pieces together with liquid glue and popped the umbrella up with foam squares for a little dimension. The yellow panel was then popped up with foam tape and put on a white card base.

I pulled out my Hello Sunshine Lawn Fawn set and stamped a sentiment from that on the front as well.

Isn’t this card so happy?!? It has been dreary and rainy at home so this was my bit of sunshine during the storm.

I appreciate you sharing your time with me. Have a fabulous day!
Trinity Stamps – Rainbow Slider

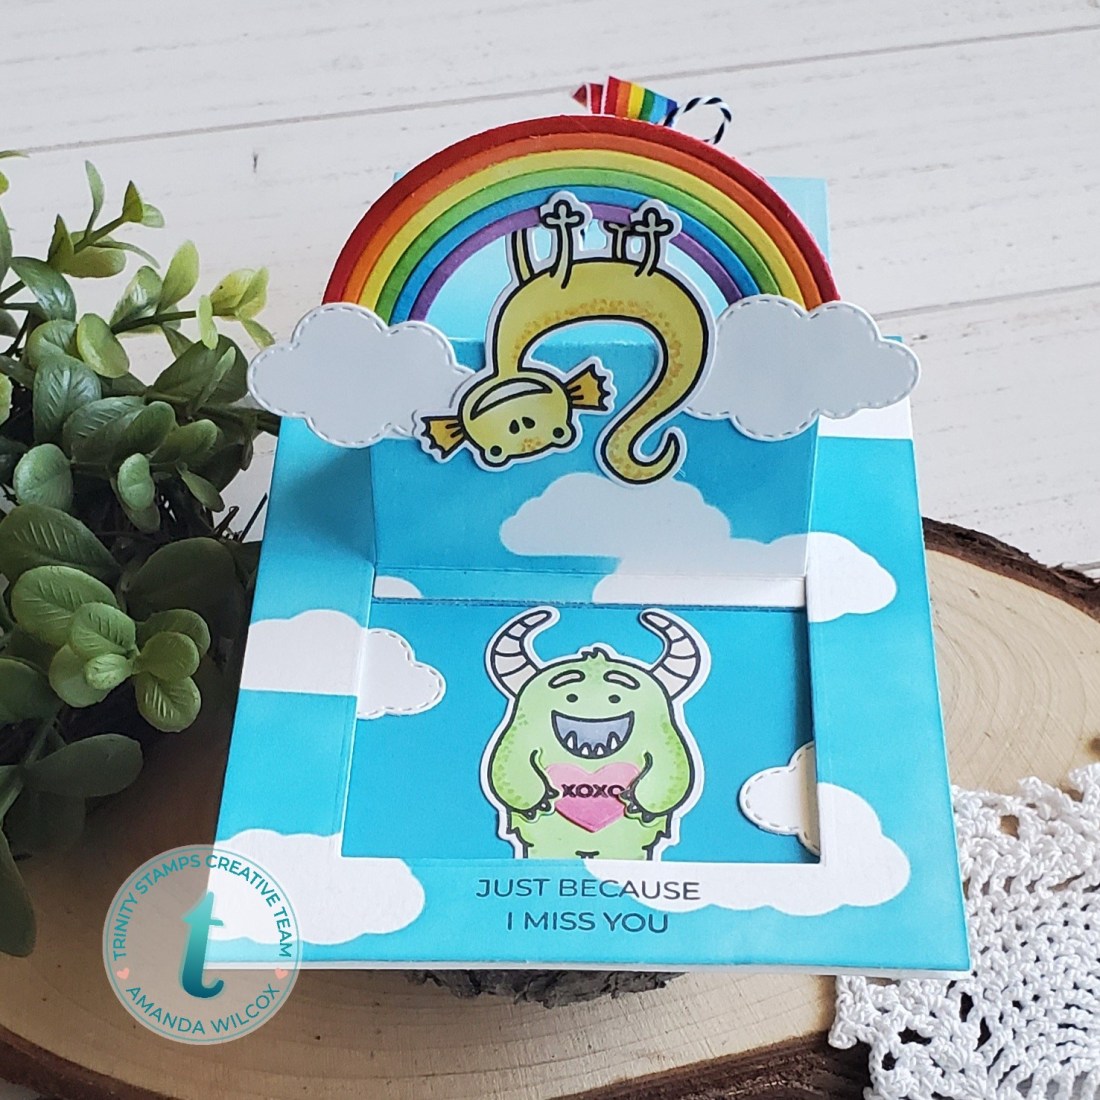
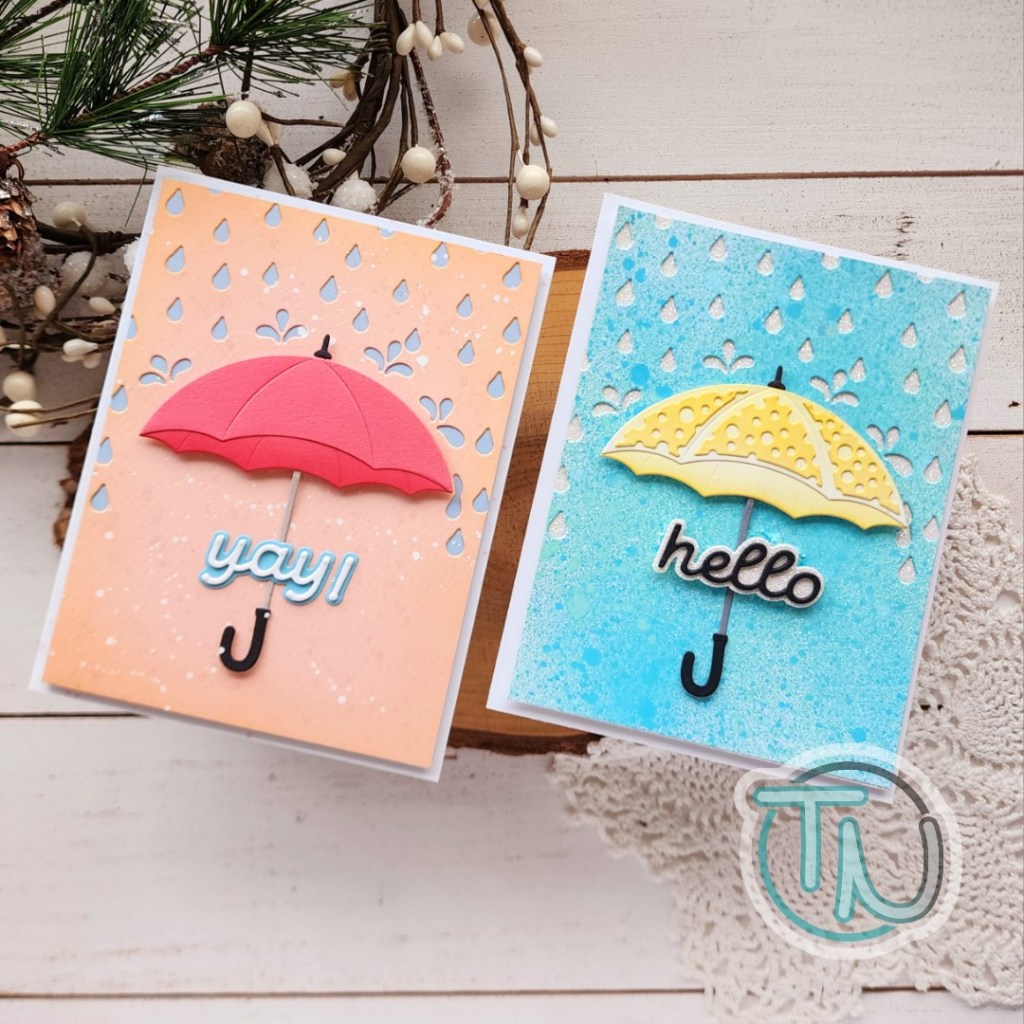
Hey there! I’m up on the Trinity Stamps blog today with this fabulous monster rainbow slider card. I love interactive cards. This one popped in my head and I just had to create it immediately. It’s so happy and fun!

I started this fun card by using the negative of the clouds from the new Layered Lakeside Mountain Stencil to mask white I inked the panel with tumbled glass distress oxide ink. Then I die cut my slider mechanism from it. I cut another A2 size panel and inked the center with the same blue ink. This will be the inside of the slider. The card that attaches to the sliding mechanism was also inked with the same blue so it all goes together.

I moved on to my images at this point. I stamped and colored two monsters from the Monster Love stamp set along with one heart. I colored it all with copics and cut them out with the coordinating dies. I used the rainbow set to die cut a rainbow and a bundle of clouds. I used copics to color the rainbow pieces and adhered it all together.

With all of our pieces ready to go, I moved on to assembly. I adhered the panel which is the pull-tab for your slider to the back of the front panel and then lined it with foam tape. This was adhered to the backing panel we just inked the center of. With all of that put together I could add my images exactly where I wanted them. I used liquid glue for all of these, being careful not to glue parts that should overhang when the card is slid open. I snipped the feet of the monster hanging upside down so he could be holding onto the rainbow. I absolutely love this little detail.

I used my MISTI to stack a couple of sentiments from A Sentiment For (Almost) Everything. I left the back blank for a personal message. Lastly, I added some fun rainbow ribbon through the pull tab and tied it with a bow with some black and white baker’s twine.

I hope you enjoyed today’s fun, interactive card and found some inspiration to make something beautiful.

Also, I don’t want to forget to mention that tomorrow is a Round 2 Spring Release Instagram Hop for Trinity Stamps. Be sure to head over and check out the amazing inspiration the other half of the team has to share with you. Comment for awesome prizes to be won as well!

I appreciate you sharing your time with me. Have a fabulous day!

Paper Smooches – Hey, Hi Slider Card

Hello again and Happy Friday everyone! Not that days of the week have much meaning to most of us anymore. I do appreciate not being tied to a laptop during the weekends though.

I recently took advantage of an amazing sale from Paper Smooches and grabbed a couple of fun things I’d been wanting. Over the next few days I’m going to share some super fun card, all using one stamp set – Happy Hellos. It’s so much fun and has tons of possibilities. I hope you enjoy!

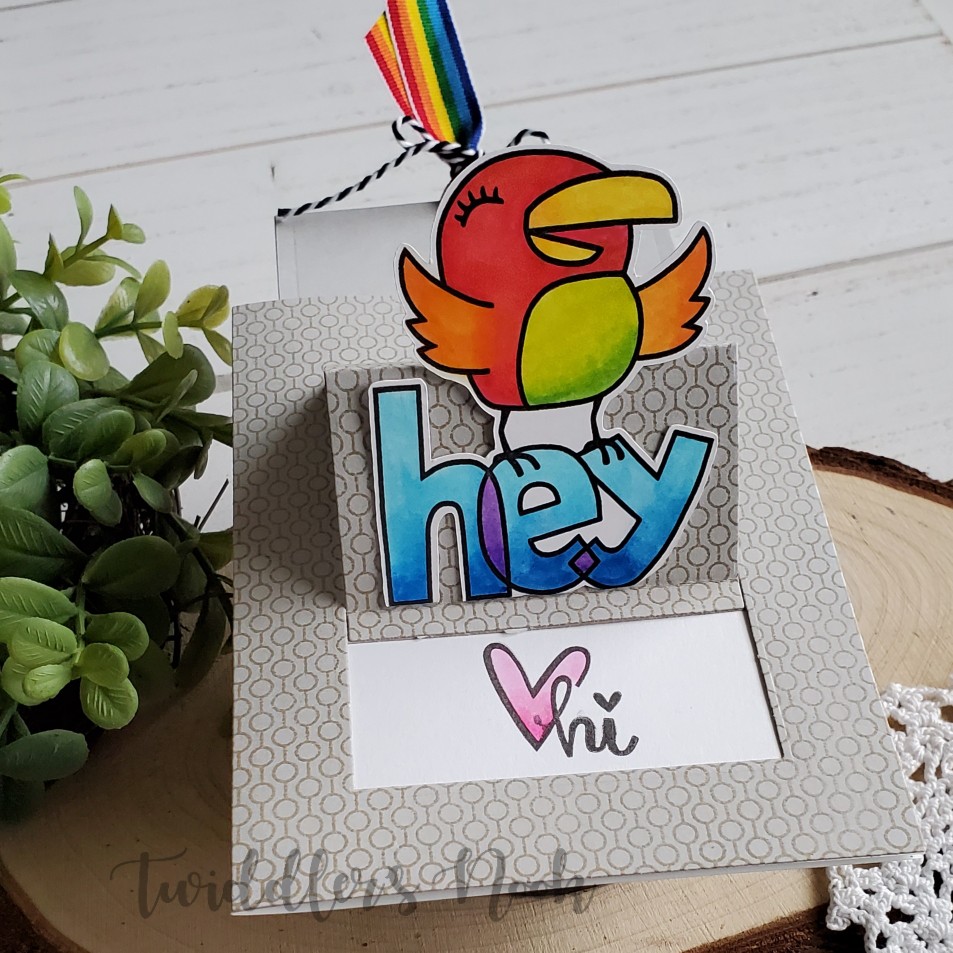
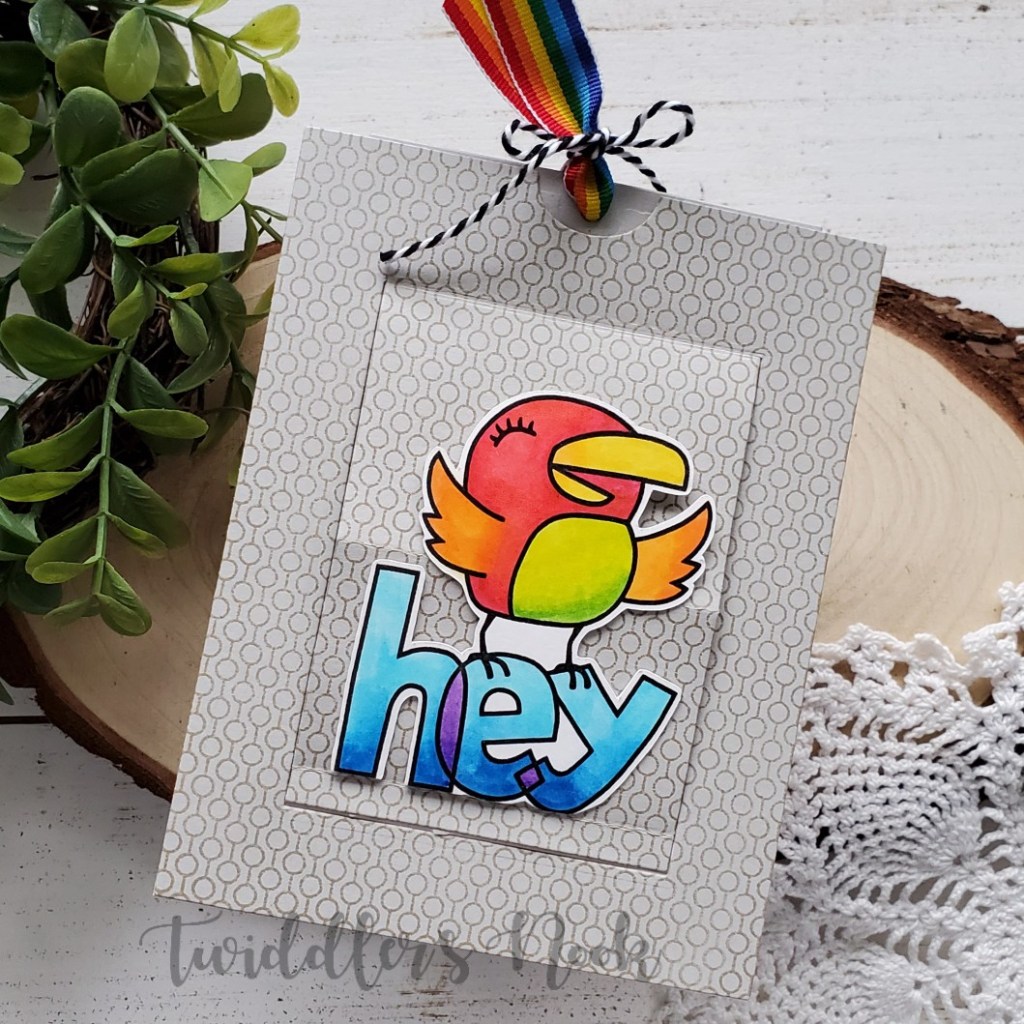
For this fun card, I stamped my image from Happy Hellos on Bristol Smooth Cardstock with VersaFine ink and set to coloring with my Zig Clean Color Real Brush Markers. I love how the bright colors pop on this image. I cut out the image and set it aside to build my card.

I used my Spellbinders slider card and cut the pieces from gray and white cardstock. On the front panel I stamped My Favorite Things Lined Up Dots background stamp in gray ink for a tone-on-tone effect. Using this as a guide, I stamped the “hi” with the heart from the Happy Hellos stamp set on a card front and colored it pink. I adhered the white slider card to the mechanism and adhered this panel to my card front.

I used tape runner to adhere my bird to the slider mechanism and slipped some rainbow ribbon through the hole, tying it with black and white baker’s twine. This just finishes the card of perfectly!

I love that because this is just the front of a regular card, you still have the whole inside of the card to write a really fun message to the recipient!

Paper Smooches has a challenge going on right now with the theme – HAPPY – that I plan to link this awesome card up to!

I appreciate you sharing your time with me. Have a fabulous day!

12 Days of Christmas Tags – Day 6

Thank you so much for stopping by today. We’re half way done with our 12 Days of Christmas Tags series already. I can’t believe it. Today I have an all die cut treat holder tag to share with you.

The tags are cut from an oldie but goodie die from Stampin’ Up called Two Tags. I can’t count how many times I’ve reached for this one over the years. It’s so versatile for so many things.

Today I die cut one of the tags from dark blue cardstock and inked the edges with faded jeans distress ink. Then I splattered it with gold watercolor. Next, I die cut the two smallest snowflakes from the November Spellbinders Small Die of the Month in gold and white cardstock and adhered them to the front. I looped some ribbon through the hole in the top and voila!

I have a hard time with decisions on projects like these so whenever possible I just make half one way and half the other. Above you can see that I did some with white ribbon and others with gold. Then I also flip flopped with snowflakes were white or gold. I love them both and just couldn’t pick a winner.

When you open the flap there is an Andes mint glued inside with removable adhesive that rubs away really easily. That still leaves one whole side for you to write a message on if you’d like.

Treat or no treat, these are beautiful and I’m ecstatic with how they turned out. I’m telling you, gold is my holiday color this year.

Don’t forget there are prizes to be won. Comment each day on here, on my Instagram post for the day and then head to Caffeinated Craftiness and do the same for her. Four comments per day gives you a shot at any one of four prizes!

I appreciate you sharing your time with me. Have a fabulous day!
Newton’s Nook meets Spellbinders – Autumn Mice

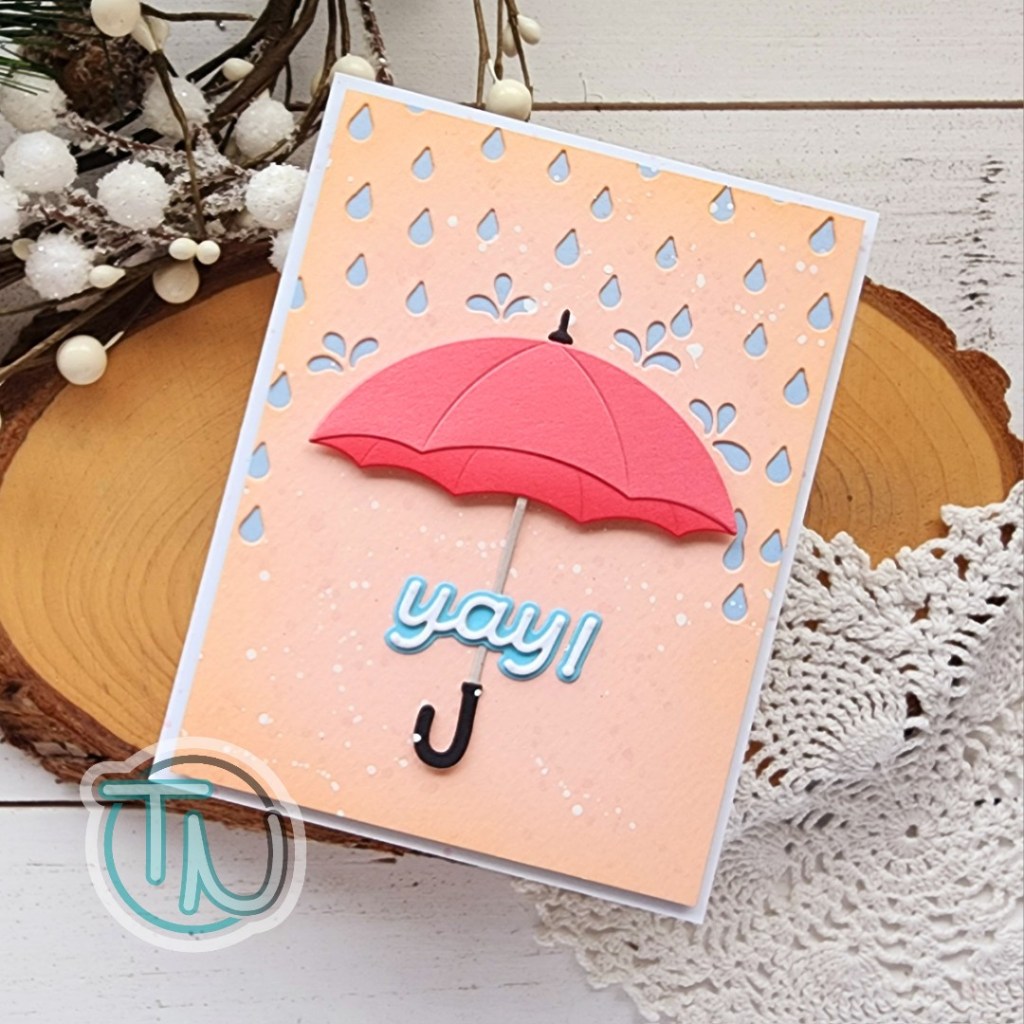
I’m super excited to share today’s interactive card. I recently caved and ordered the festive wreath slider die set from Spellbinders and couldn’t wait to test it out! That paired with the new Inky Paws Challenge, I knew they had to meet.

The theme this challenge is holiday mix-up so we can create any Halloween, Thanksgiving or Christmas card to enter. I’ve been making so many Christmas cards lately that it was a welcome idea to back up and enjoy fall for at least one or two more cards. So, I pulled out my Autumn Mice and started coloring.

Here’s a look at the card closed up like it would be coming out of the envelope. To make it I just die cut the elements from the set and built the interactive part of the card. Then I built my wreath and attached it to the bottom half of the slider so everything still opens like it’s supposed to.

Here you can see that when you pull the tab, the window slides back and reveals this sweet sentiment that I heat embossed in white. I love the pop of deep purple against all the other fall colors in the card.

I did put this sliding mechanism on a regular white card base so that I can also write a message on the inside to the recipient but you totally wouldn’t have to. Also, the slider opening is big enough to hide a gift card inside which I think would be so much fun to give.

I appreciate you sharing your time with me. Have a fabulous day!