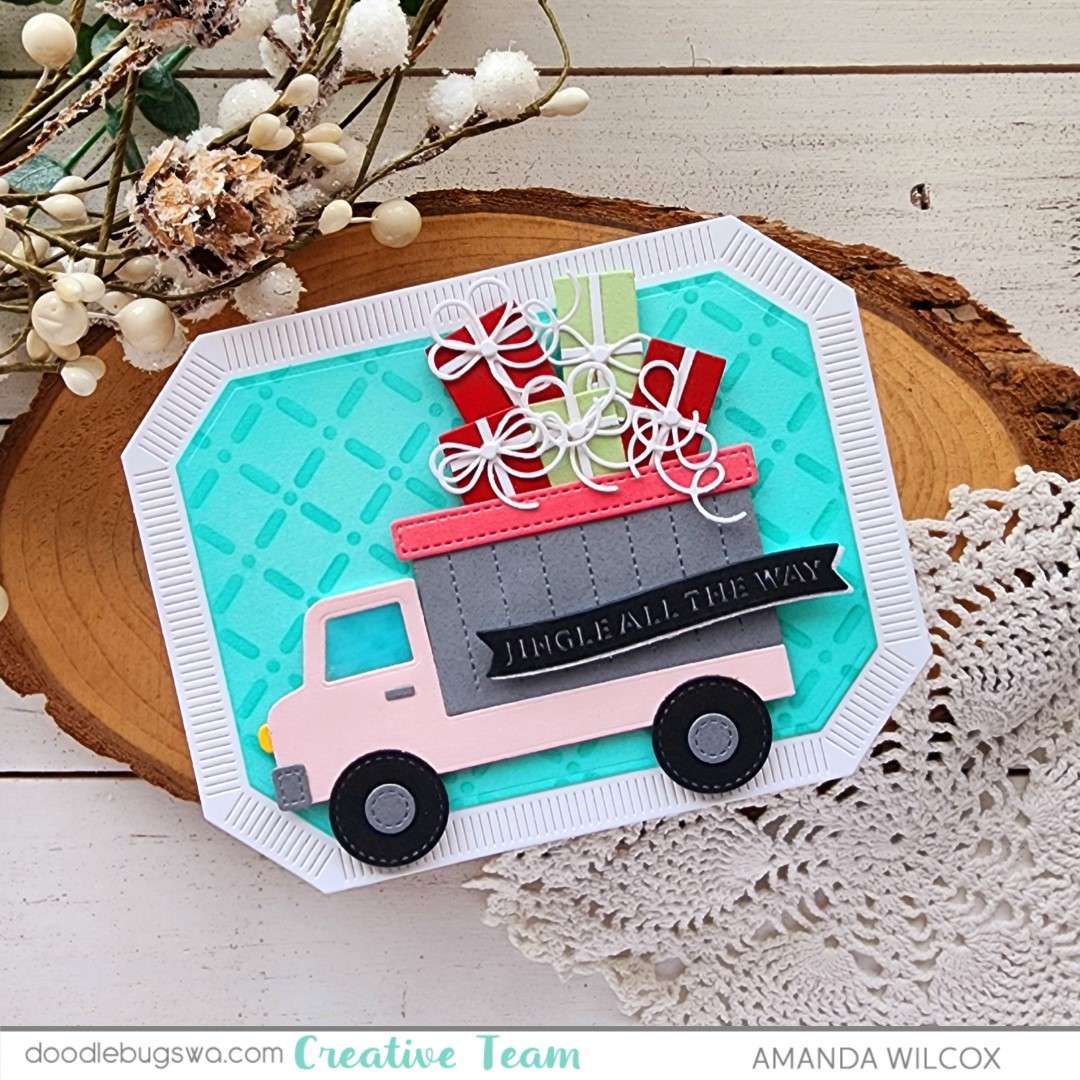
Doodlebugs – Hang in There Mini Scene

Happy Mix it up Monday everyone! Sometimes creating even a whole card front can feel overwhelming. Whether it’s too much coloring of images or too much space to fill. Today I have a fun design to share with you that shrinks your scene space but is really fun and has lots of interest too.

I started with a few images from Pretty Pink Posh Batty About You. I colored them with copic markers and used the coordinating dies to cut them out. Then I used a dab of liquid glue to adhere my bat to the tree branch.

Next, used some distress oxide inks to create a spooky sky on a piece of white cardstock. I started with crackling campfire, carved pumpkin and wild honey. After those were blended I went over the whole thing lightly with black soot, then went back over it all with the same colors to blend the black a little. I love the smoky look I ended up with. Next, I spritzed the panel with water and flicked black metallic watercolor on it too.

I trimmed a piece of black cardstock down to 4.25×3.5 inches and ran it through my die cut machine with the Spellbinders Tiny Dots embossing folder. This part of the design is easy to change up. Use a stencil or patterned paper, or maybe you like it simple and plain cardstock is your jam. Then just cut a 1/4″ strip of contrasting cardstock to adhere to the top. It’s like a bridge over the seam of your ink blending and the bottom panel. It polishes the design a lot.

Next, pop everything up on the ink blended panel with foam tape and squares. Placement of the sentiment can vary on this design too. I like the dab of orange at the bottom so that’s where my sentiment strip ended up this time. But it often ends up just below the seam strip or even up in the scene itself. Play around with it and see what you like.

Products used today:
Pretty Pink Posh Batty About You stamps and dies
Pretty Pink Posh Sentiment Strips dies
Pretty Pink Posh Sentiment Strips | Halloween stamps
Spellbinders Tiny Dots embossing folder
Distress Oxide Ink – crackling campfire, carved pumpkin, wild honey, black soot
Foam tape and squares
Liquid glue
Distress sprayer

LH Color watercolor – black

I appreciate you sharing your time with me. Have a fabulous day!

Doodlebugs – Florals For All Through the Year

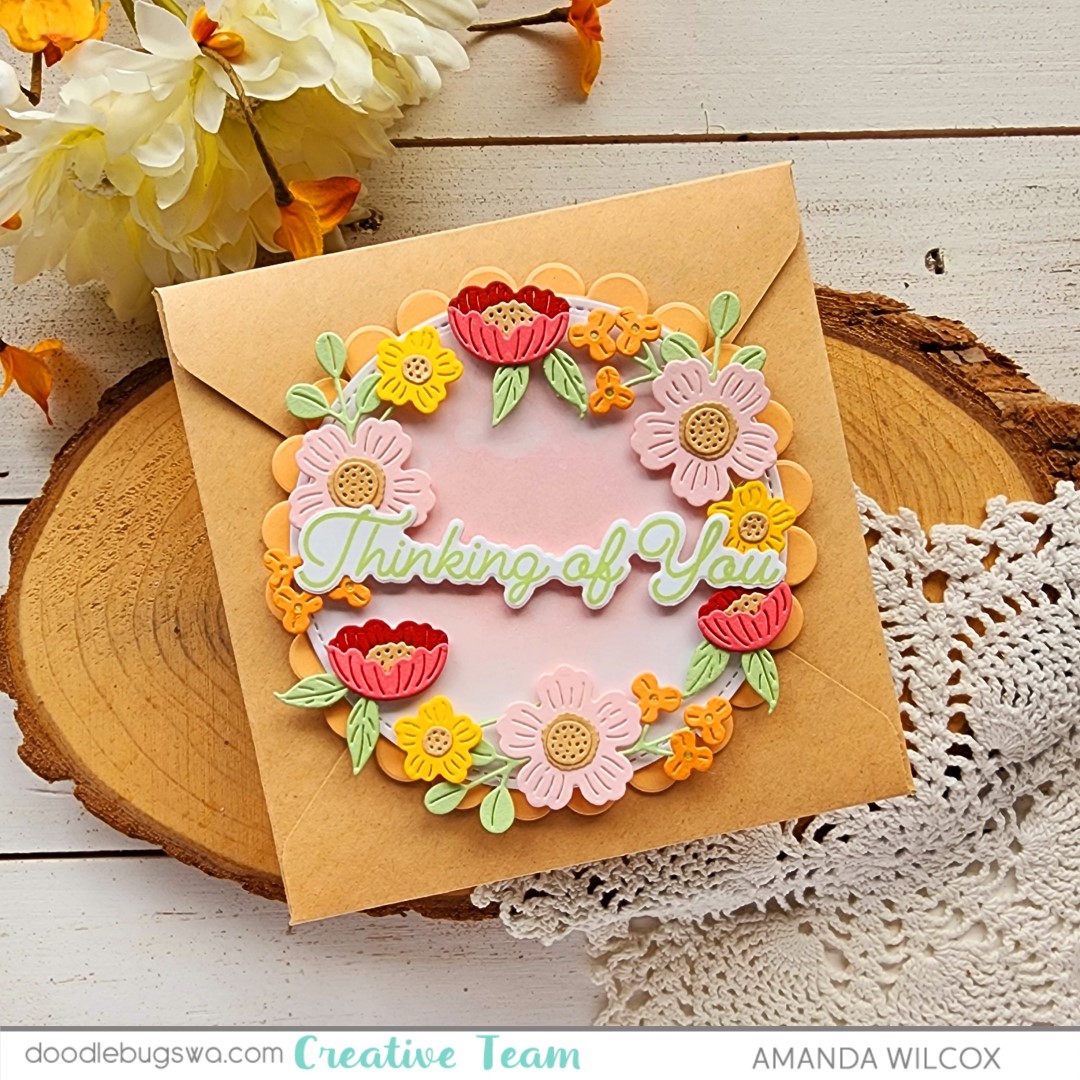
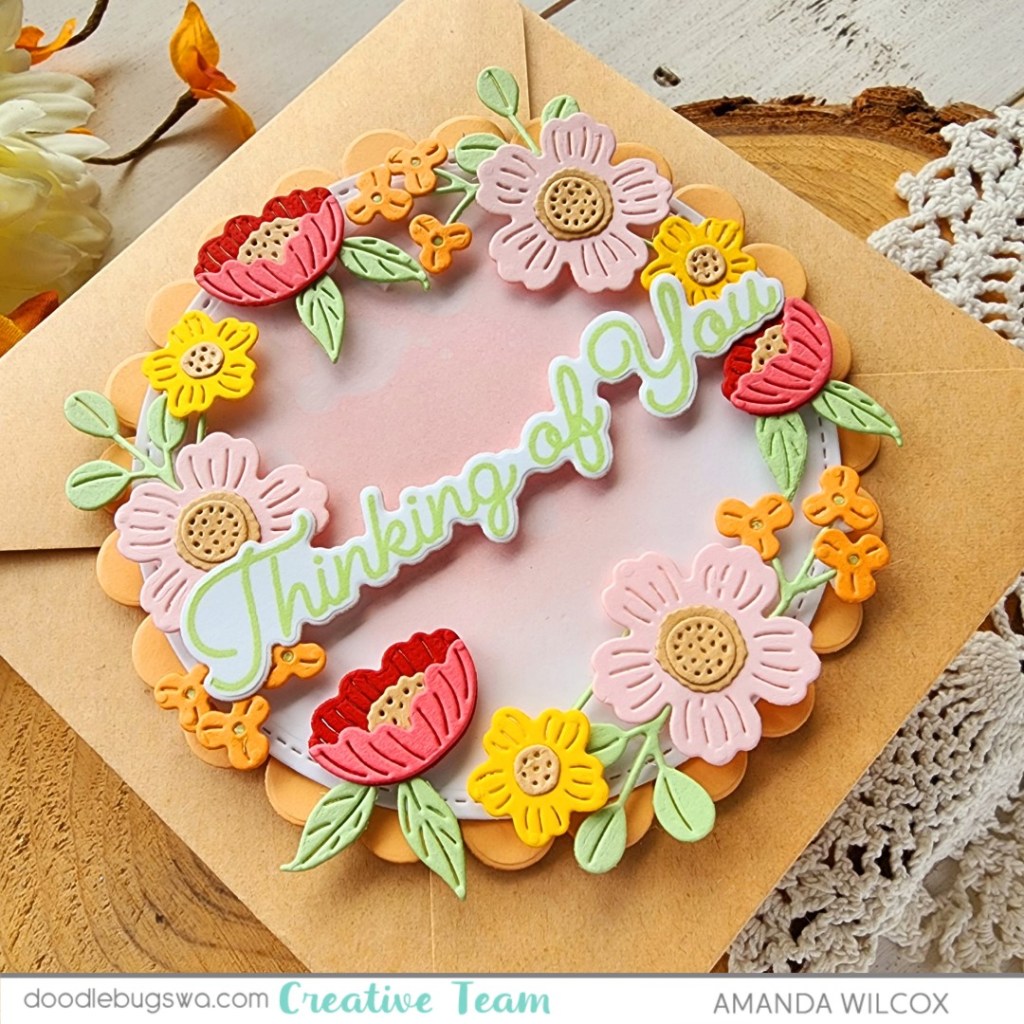
Hey friends! It’s Mix it up Monday on the Doodlebugs blog and I’m moving outside of my typical and playing with florals. There are some newer die sets from Spellbinders that are a fabulous price point but adorable, fun to create with and really versatile. The one we’re playing with today is called Little Blooms. The dies in this collection range from $7 to $15 and you can use them for a billion and one different cards!

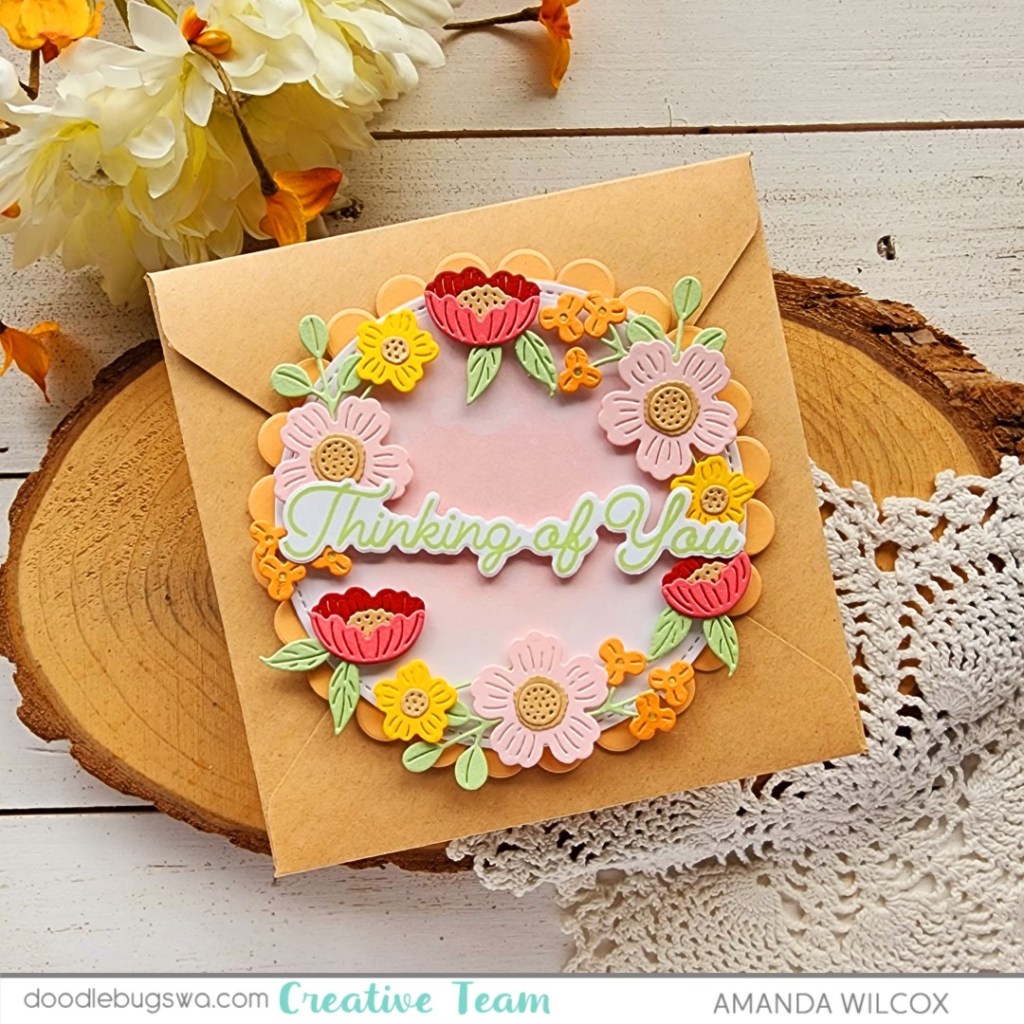
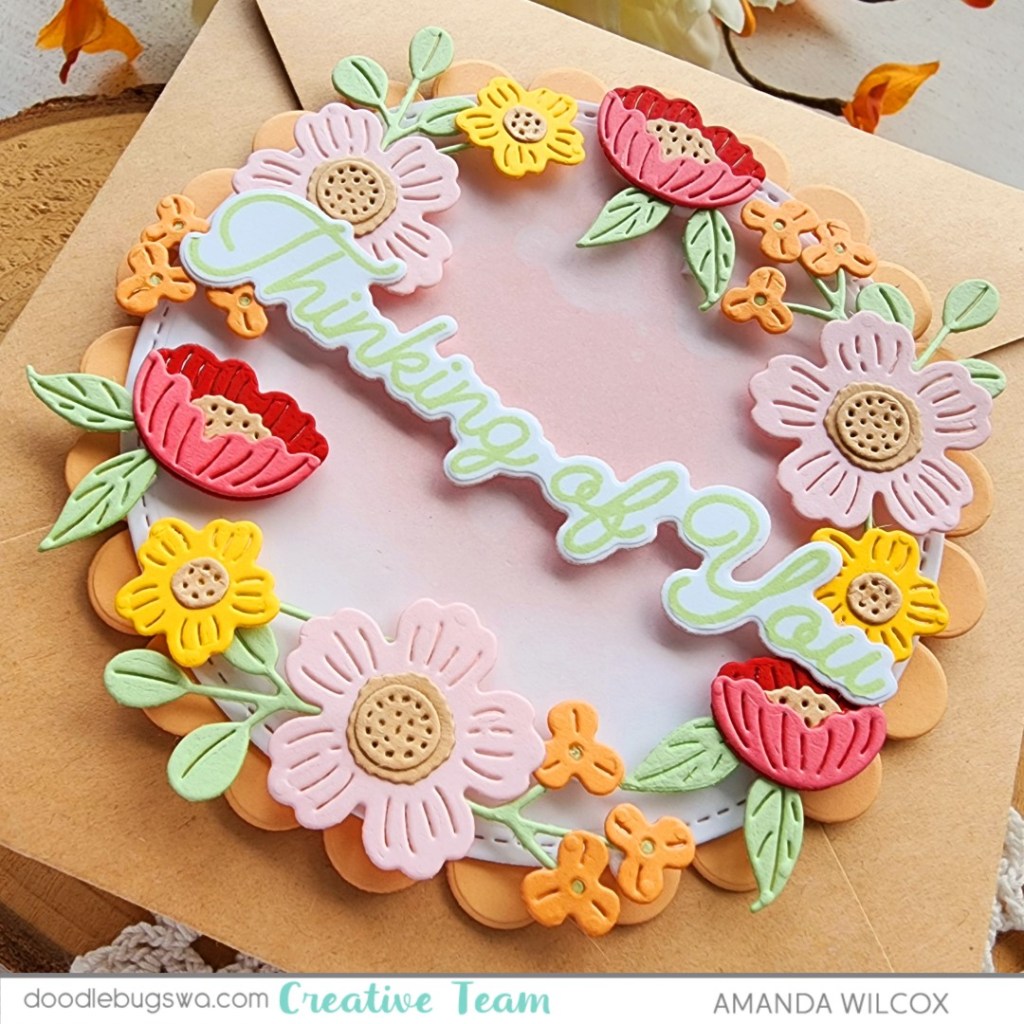
For today’s card, I cut the different elements from a limited color palette (happens to be a favorite these days) and used liquid glue to assemble all the pieces. I played around with arrangement on my craft mat and landed on a loose circle. To make it easy to add them to a card front, I used a piece of Press-n-Seal to hold them together while I added foam squares to the back of everything. This also made it a piece of cake to figure out what size circle die I could use for my background and actually adhering all the pieces to that circle at once. Definitely a kitchen item to keep in your craft room.

So after the florals were stuck to the Press-n-Seal, I die cut a white circle from the Mama Elephant Circle Combo dies and ink blended distress oxide spun sugar to the center. I spritzed it with water and blotted it dry. Then I cut two of the scallop layers from a peach-orange cardstock and used liquid glue to adhere all my layers together.

After removing the release paper from the foam squares on my flowers I popped them in place on the scalloped circle card front. To turn this into a card, I cut the same stitched circle a second time, scored it 3/8″ from one side and used liquid glue to adhere it to the back.

I went digging for a specific theme of sentiment and landed on it in the Spellbinders I’ve Got You Covered stamp and die set. I stamped it with celery stick ink and cut it out before popping it up across the center with foam strips.

I’m not a floral crafter but sometimes they’re just what you need. This little die set will be a long standing part of my stash for that reason. It’s simple and so pretty.

Products used:
Mama Elephant Circle Combo dies
Spellbinders I’ve Got You Covered stamps and dies
Spellbinders Little Blooms dies
Liquid glue
Reverse tweezers
Blending brushes
Distress Oxide Ink – spun sugar
Lawn Fawn Ink – celery stick

I appreciate you sharing your time with me. Have a fabulous day!
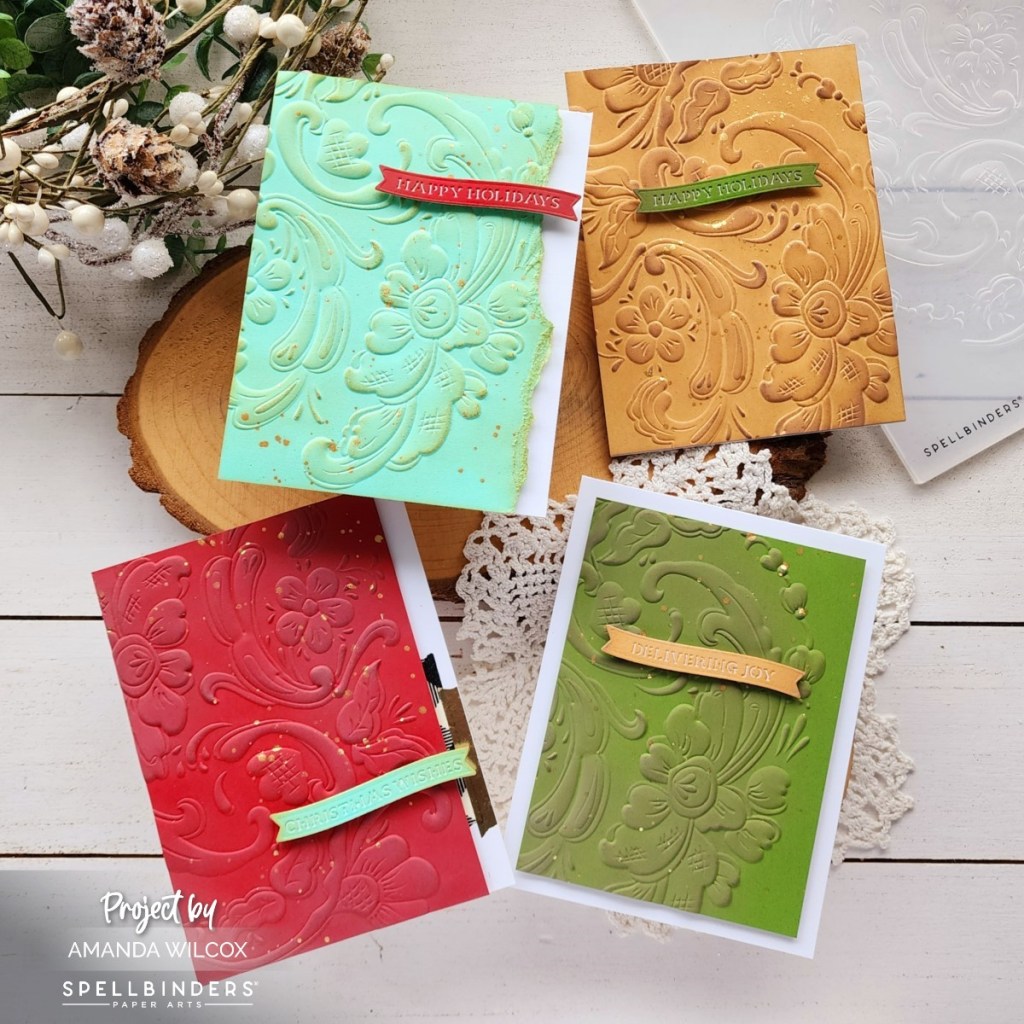
Doodlebugs – Monochromatic Fun and Shaped Cards

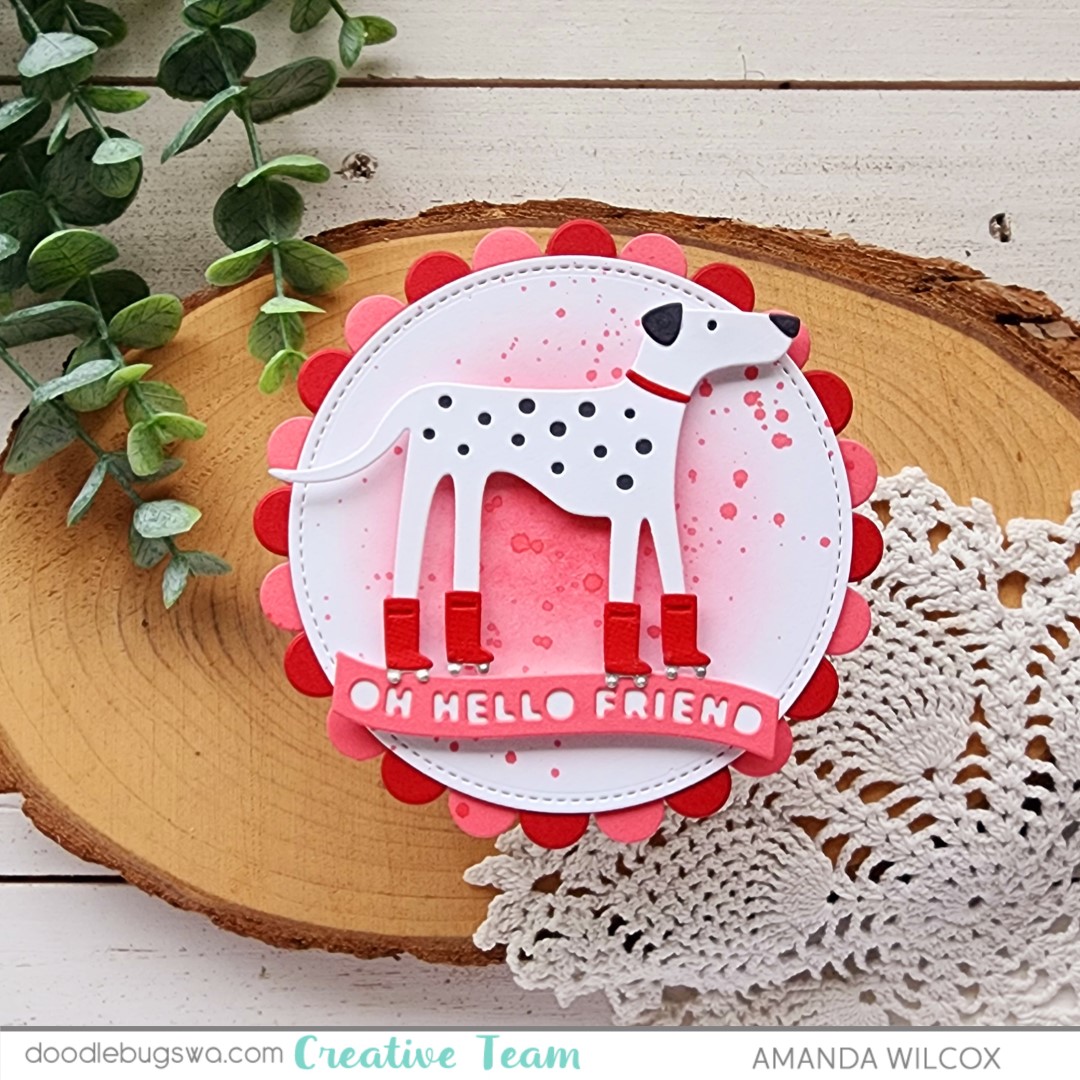
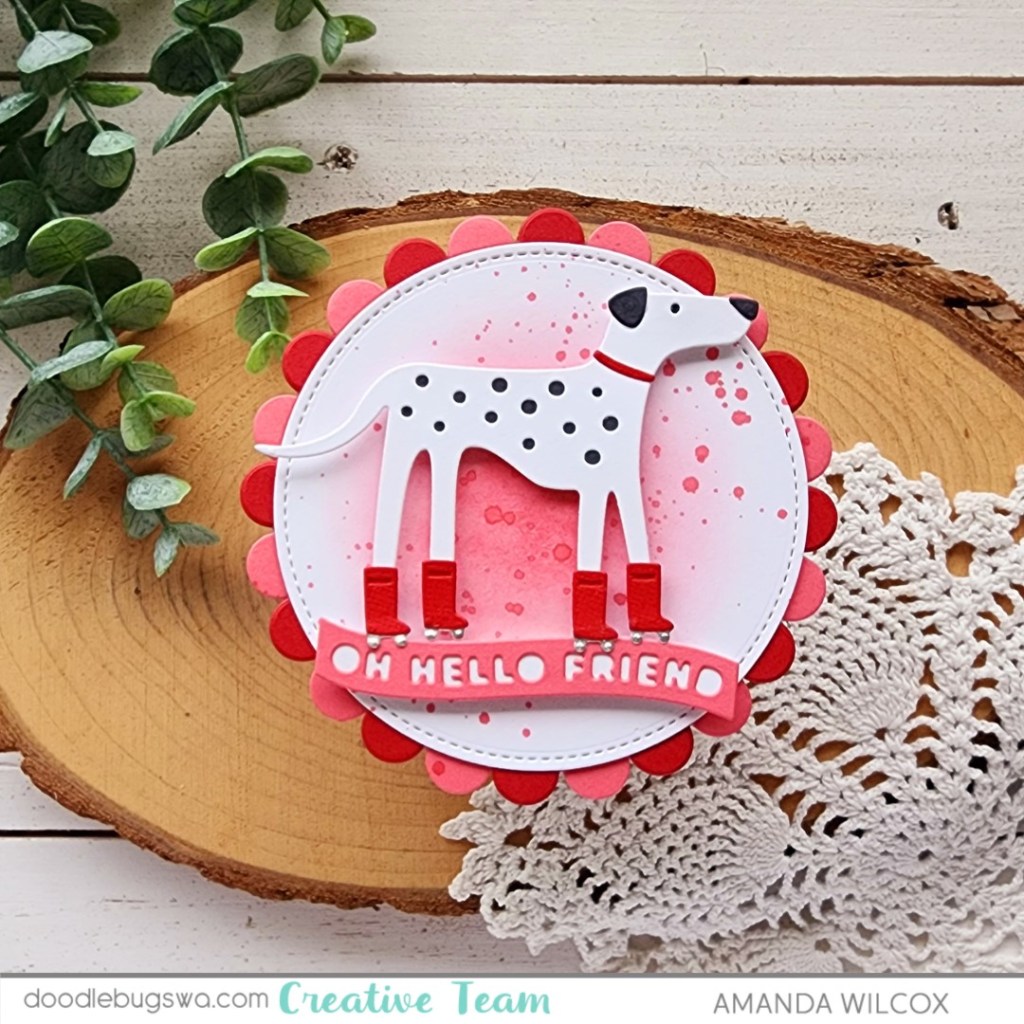
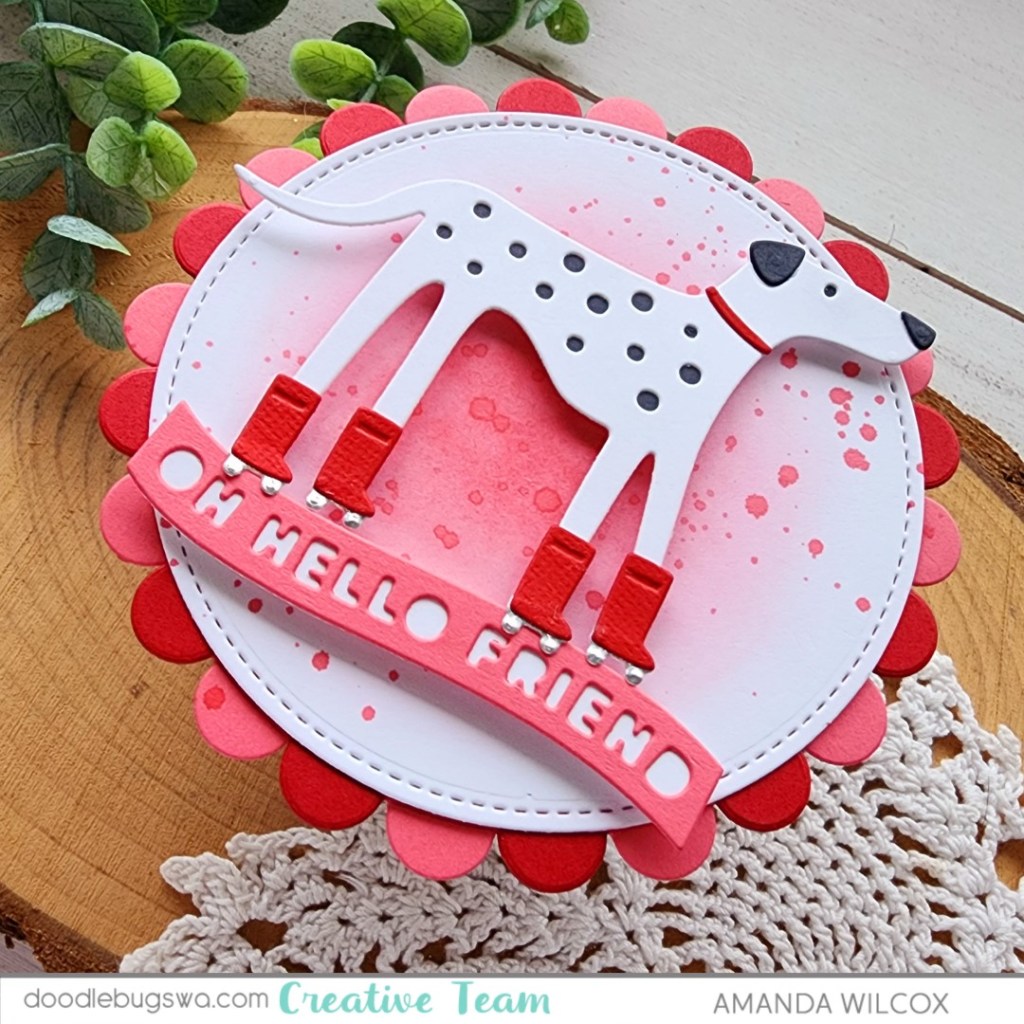
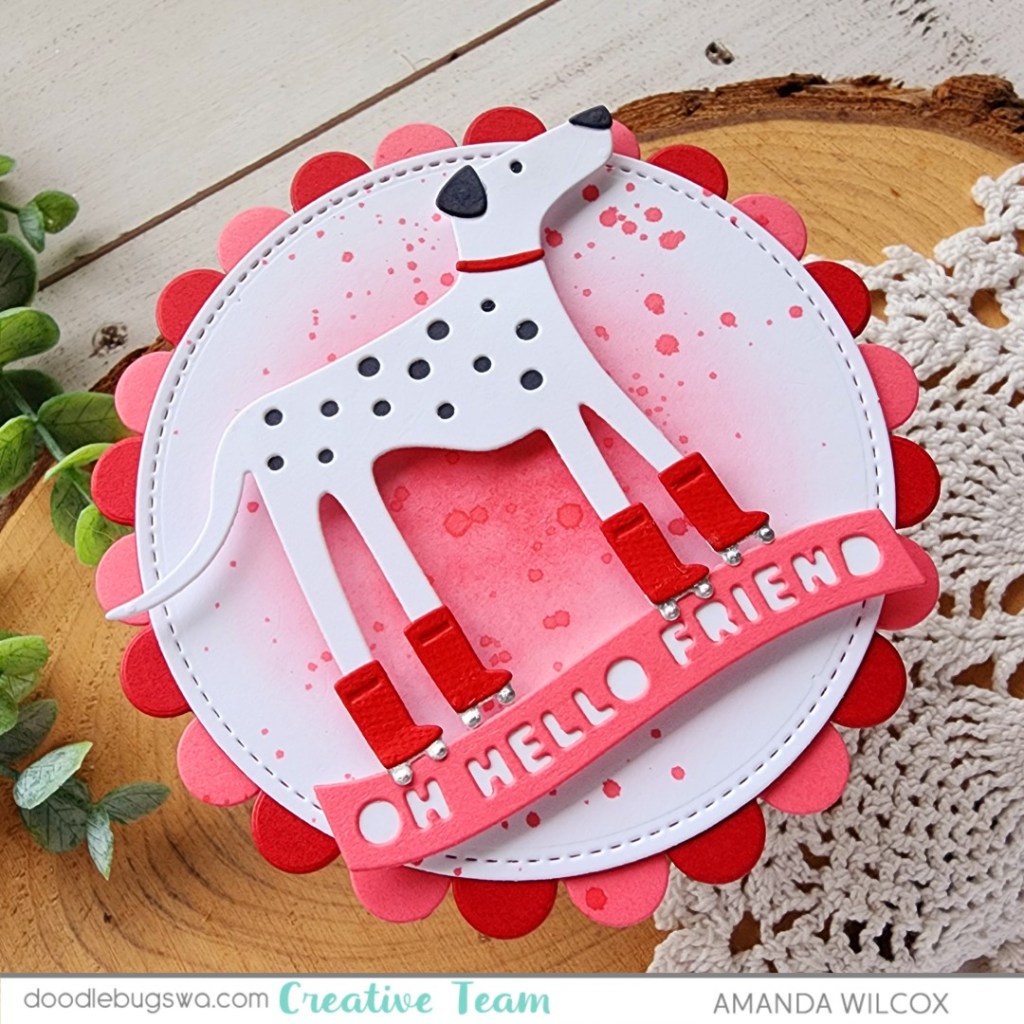
Happy Mix it up Monday everyone! On the Doodlebugs blog I’m playing with monochromatic designs and shaped cards to make things a little extra interesting.

I started by creating an adorable Spellbinders Roller Disco Dottie with a red collar and red skates. She’s the cutest but I couldn’t decide on a complimentary color that I liked today. So I decided to keep it all in the family, the red family.

Next, I pulled out some Mama Elephant dies and created a sentiment banner using Spring Banner Greetings dies. Then I created my card base with the Mama Elephant Circle Combo dies. I love the wiggle room of liquid glue for all of these types of things. It gives you that couple of seconds to line things up.

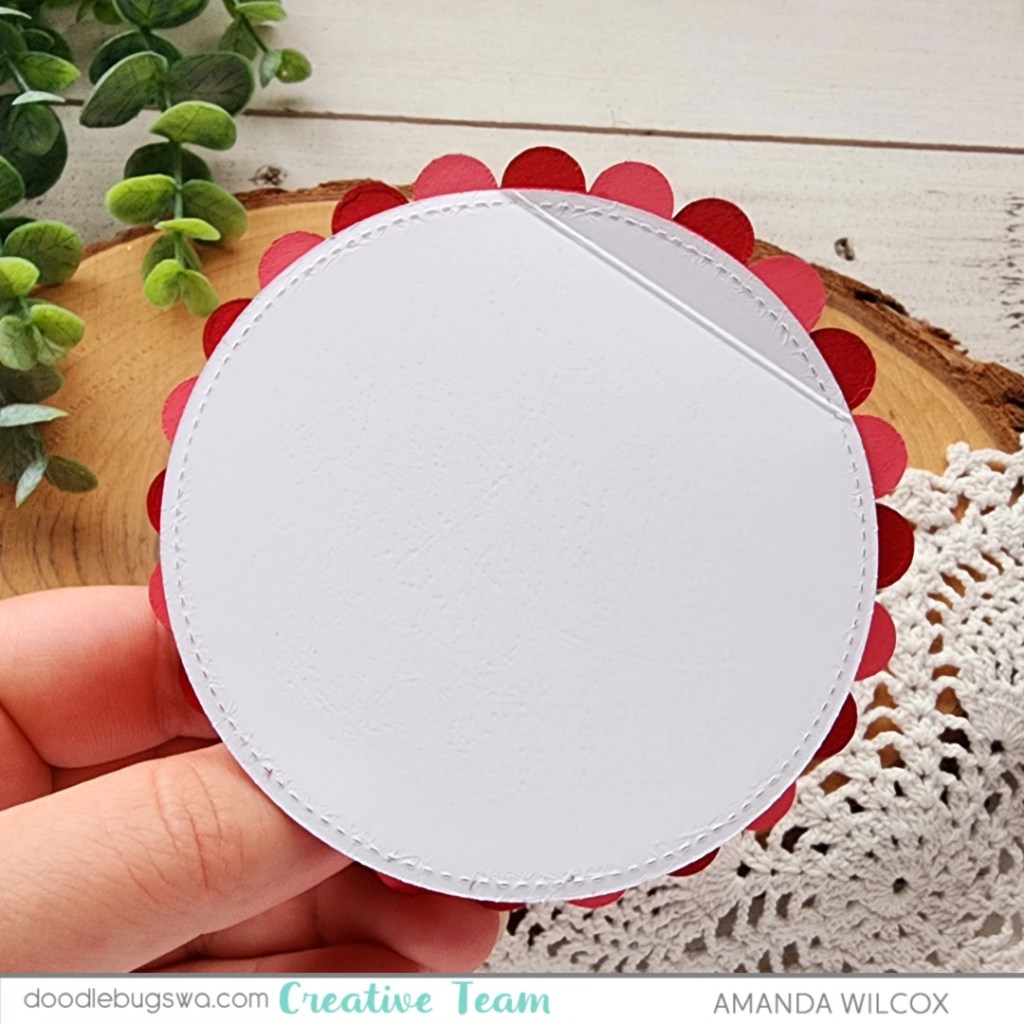
After creating the 3 top layers of my circle, I cut an additional white circle, scored it about 3/8″ away from one edge and then used liquid glue to adhere it to the back of the stacked circle combo. You can decide if your card opens up or to the side this way too. Total flexibility.

I ink blended the center of the circle on the front and splattered it with the same red ink color. Then I popped Dottie and her sentiment banner up with foam squares and strips.

I’m excited to pop this cutie in the mail to a special friend along with some crafty goodies I picked up.

Products used:
Spellbinders Roller Disco Dottie dies
Mama Elephant Circle Combo dies
Mama Elephant Spring Banner Greetings dies
Liquid glue
Foam squares
Scoring board
Blending brush
Lawn Fawn lobster ink
Reverse tweezers

I appreciate you sharing your time with me. Have a fabulous day!

Doodlebugs – Pastel Christmas Wishes, Non-Traditional Color Palettes for the Holidays

Welcome to a fun Mix it up Monday for the Doodlebugs blog where I’m still thinking of the holidays that are far away but are sure to creep up on us in no time! Typically I’m not a make ahead Christmas card type of person, I start late fall and do my best. But this year I’ve been really inspired by all the Christmas in July releases and extra inspiration I’ve seen from other design team members. It’s fabulous and so fun!

Another thing that happens for me when I create outside of the typical time of year for a holiday or season…I’m interested and willing to choose outside of my typical color palettes. It’s been SO FUN!

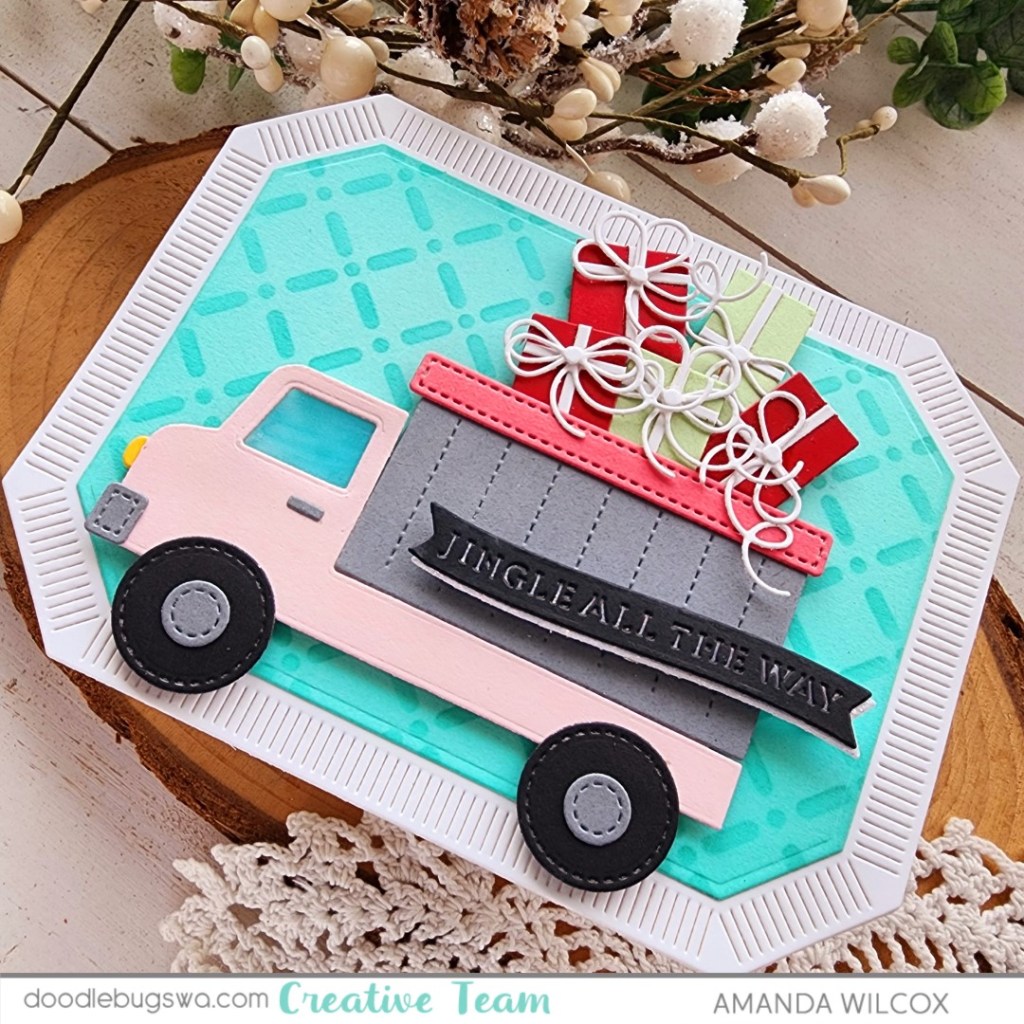
Today I have the Spellbinders Delivering Joy Sleigh in pinks, teals and mint greens. I added a little gold for some flair and kept the gifts classy with white. Isn’t is so pretty?!? I really adore it!

For the background, I went with the same green and teal color scheme using the Pretty Pink Posh Christmas Trees stencil set. I trimmed the panel down to 3.75×5 inches and popped it up on a pink card base because, well, pink. I chose the same teal from the poinsettias for my sentiment strip, which is also Pretty Pink Posh.

After popping the sleigh and sentiment strip up on the stenciled panel, I finished the design off with a scattering of Spellbinders pearls.

I’m really curious to know how you feel about non-traditional colors for any holiday season. Please share! I used to be really rigid with my colors and now I’m definitely enjoying playing around with it all.

Products used:
Spellbinders Delivering Joy Sleigh dies
Spellbinders pearls
Pretty Pink Posh Christmas Trees stencils
Pretty Pink Posh Sentiment Strips dies
Pretty Pink Posh Sentiment Strips | Christmas stamps
Foam tape, squares and strips
Liquid glue
Reverse tweezers
Lawn Fawn Ink – cilantro, mermaid, doe

I appreciate you sharing your time with me. Have a fabulous day!
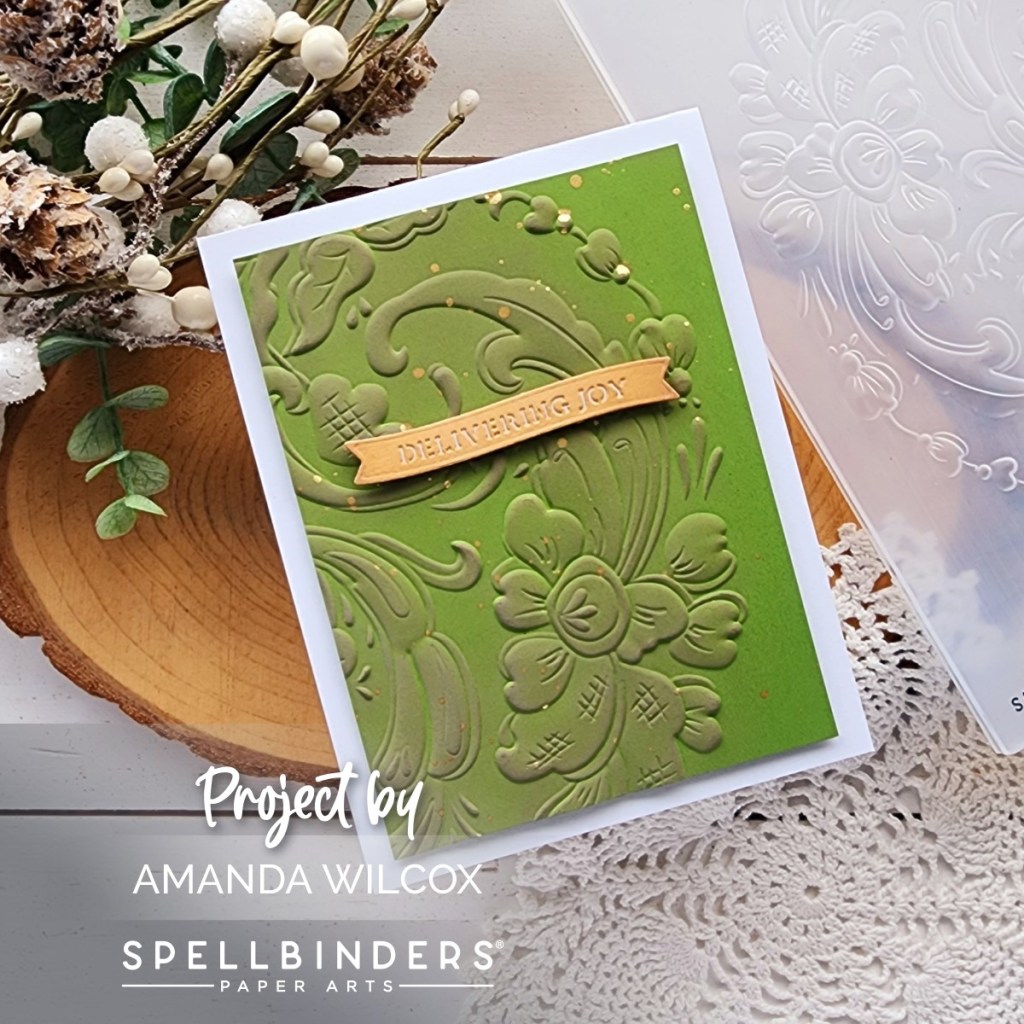
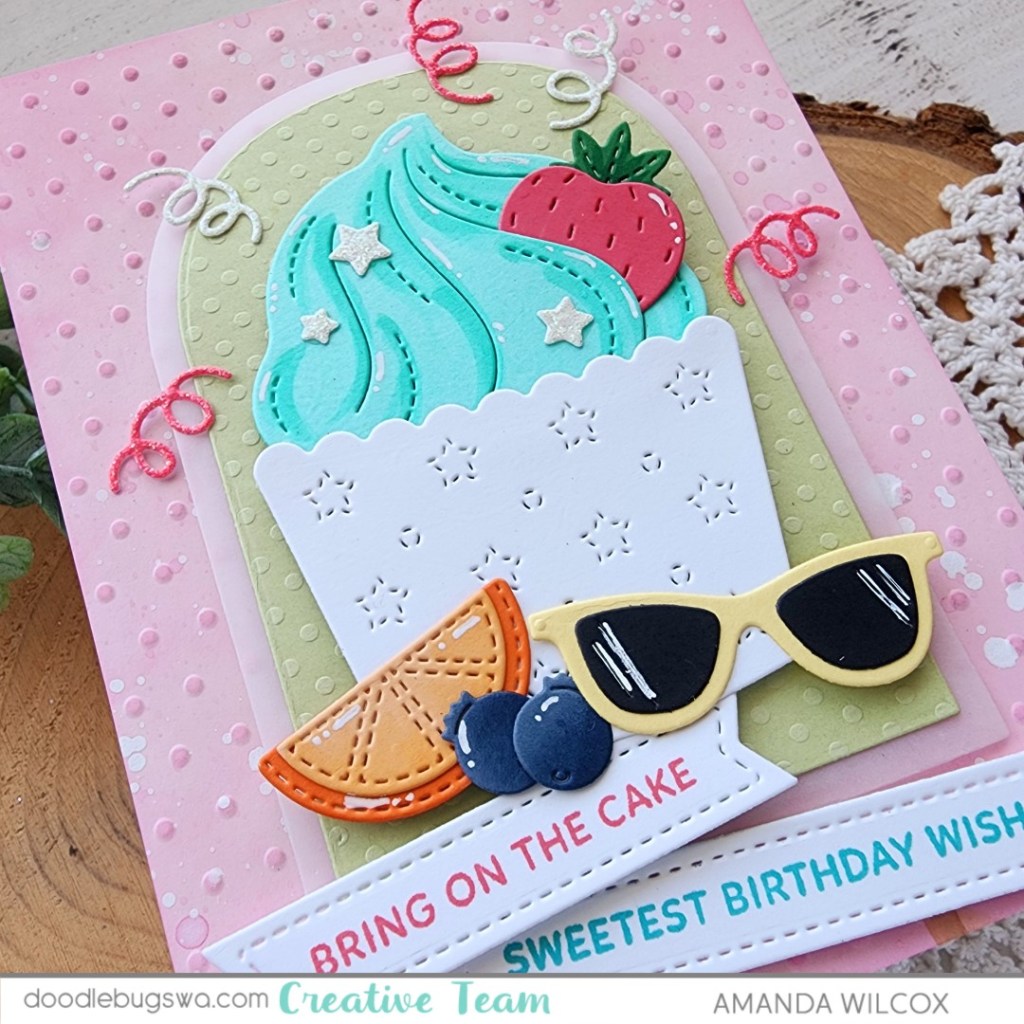
Doodlebugs – Summer Birthday Fun

Hey friends! I’m on the Doodlebugs blog today sharing a fun birthday Mix it up Monday with summer vibes. We don’t have many summer birthdays in our family and friends so I don’t make many cards this style and it was really fun!

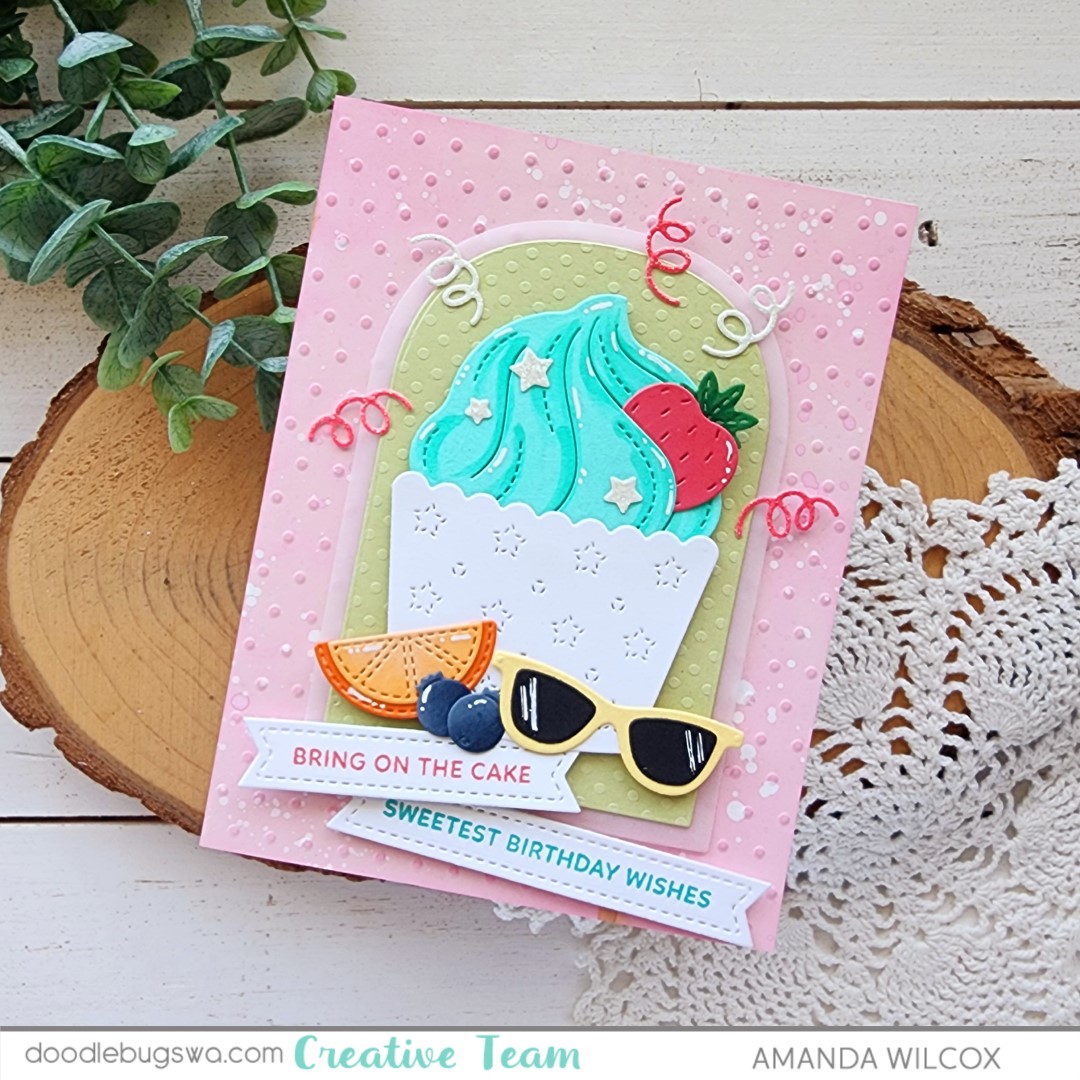
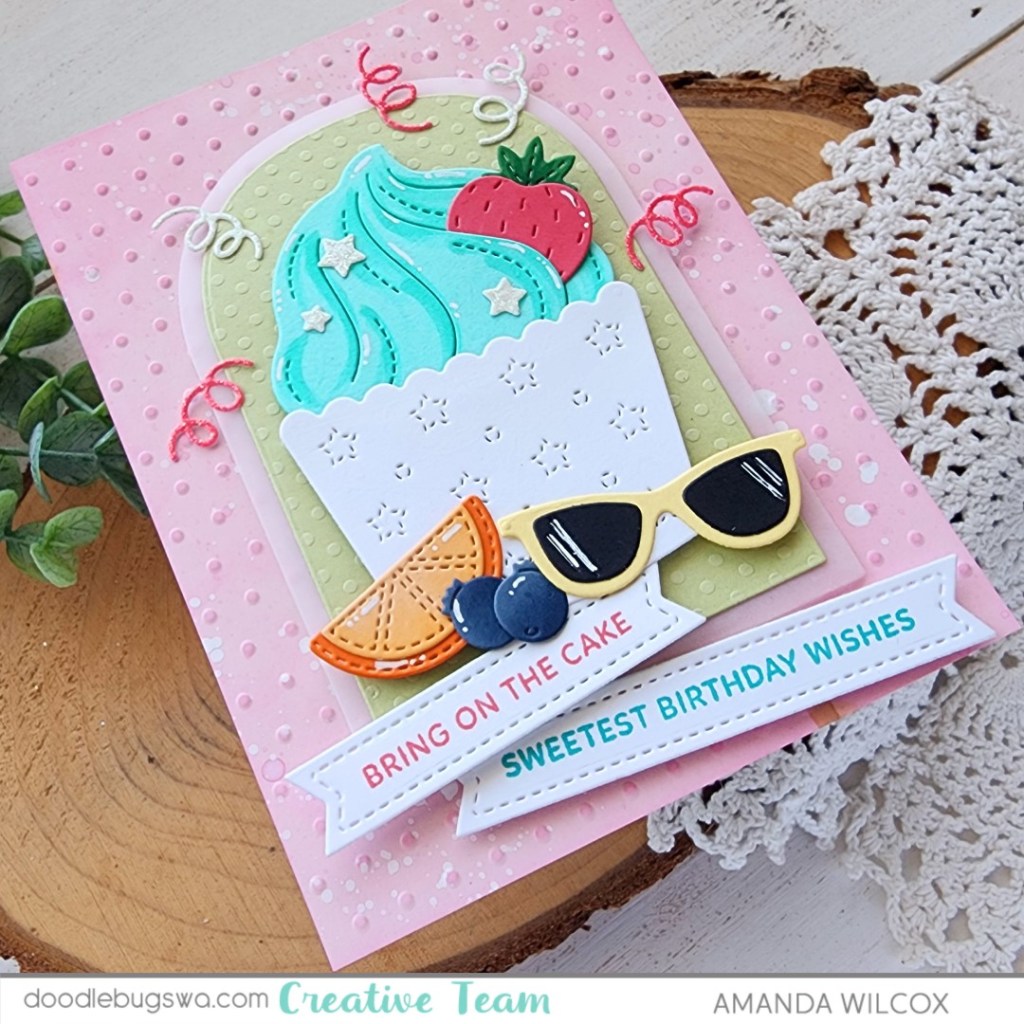
I started with the fun Pretty Pink Posh Celebration Cupcake dies, wanting to expand the use from 4th of July vibes to general summer, so I cut the fruit and sunglasses, omitting all the other parts at first. I added some detail with copic markers instead of ink blending this time and used liquid glue to adhere all the parts and pieces together.

Next, I cut 2 Mama Elephant Arches from vellum and a green polka dot cardstock in my stash. I used tape runner to adhere the layers together and foam tape to add the cupcake to that.

I started with a blank pink background but didn’t like that so I ran the panel through my die cutter with the Spellbinders Tiny Dots embossing folder, ink blended the edges with some picked raspberry distress oxide ink and splattered it with white paint. Ahhh, that feels so much more like me. Then I popped the arches up with foam tape.

I cut a couple of Pretty Pink Posh sentiment strips from white cardstock and stamped sentiments from the Pretty Pink Posh Sentiment Strips | Birthday stamp set in guava and peacock inks. These are popped up with foam strips.

Now my card is really bottom heavy so I went back to the cupcake die set and cut some of the other decoration type shapes out and glued them all around with liquid glue. I think they add a fun touch and extend the design up without pulling everything apart.

The last thing I did was add white gel pen accents to all of the images.

Products used:
Pretty Pink Posh Celebration Cupcake dies
Pretty Pink Posh Sentiment Strips dies
Pretty Pink Posh Sentiment Strips | Birthday stamps
Mama Elephant B2B Arches dies
Spellbinders Tiny Dots embossing folder
Lawn Fawn ink – peacock and guava
Distress oxide ink – picked raspberry
Liquid glue
Foam squares, tape and strips
Gelly roll pen – white

I appreciate you sharing your time with me. Have a fabulous day!

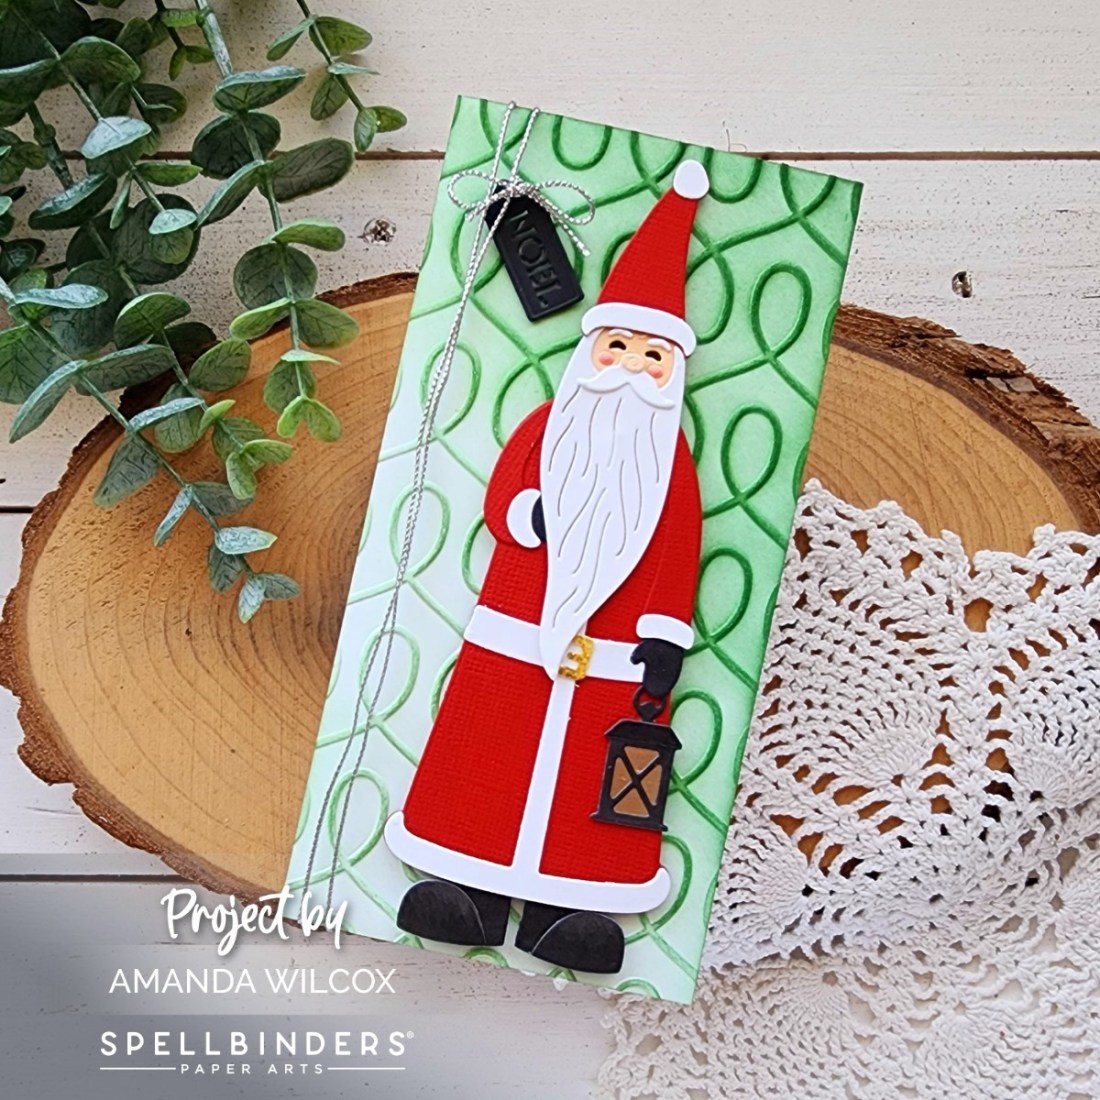
Spellbinders – Mini Slimline St. Nick Card

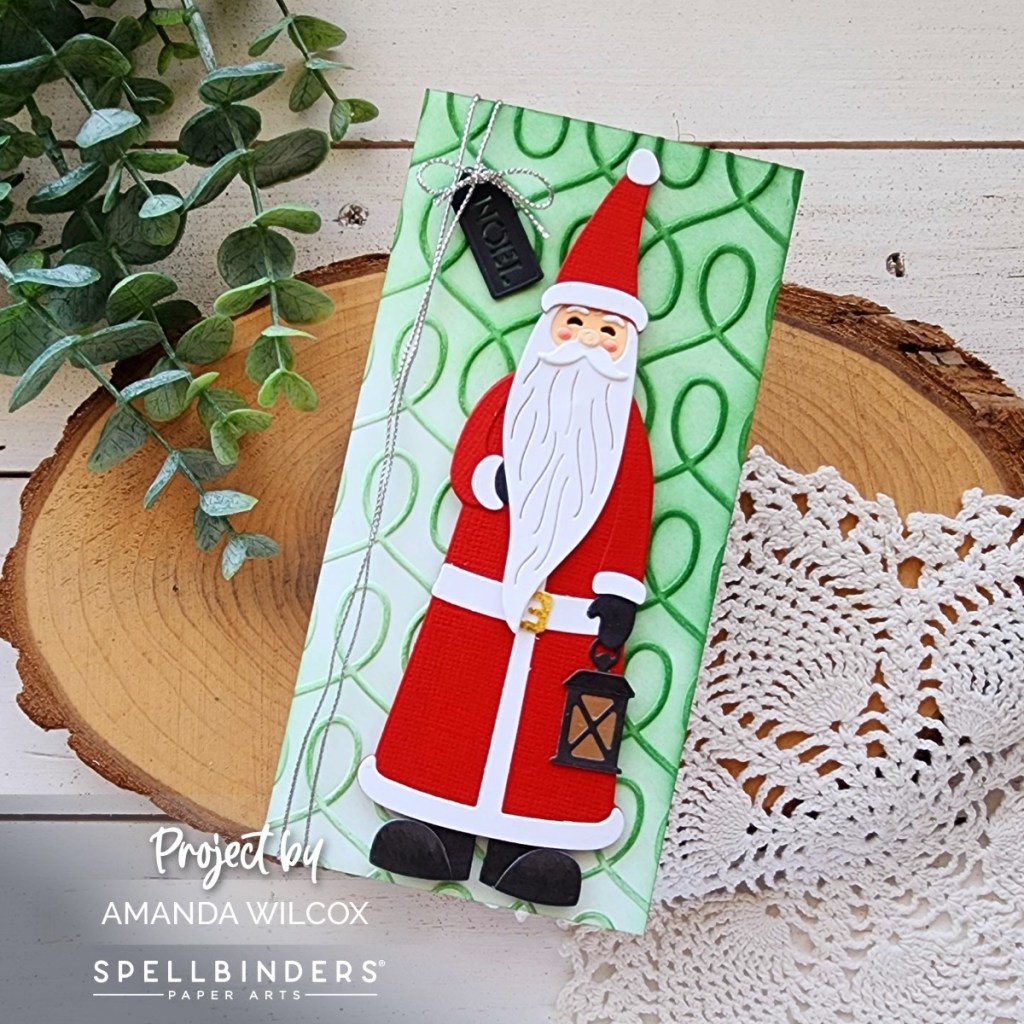
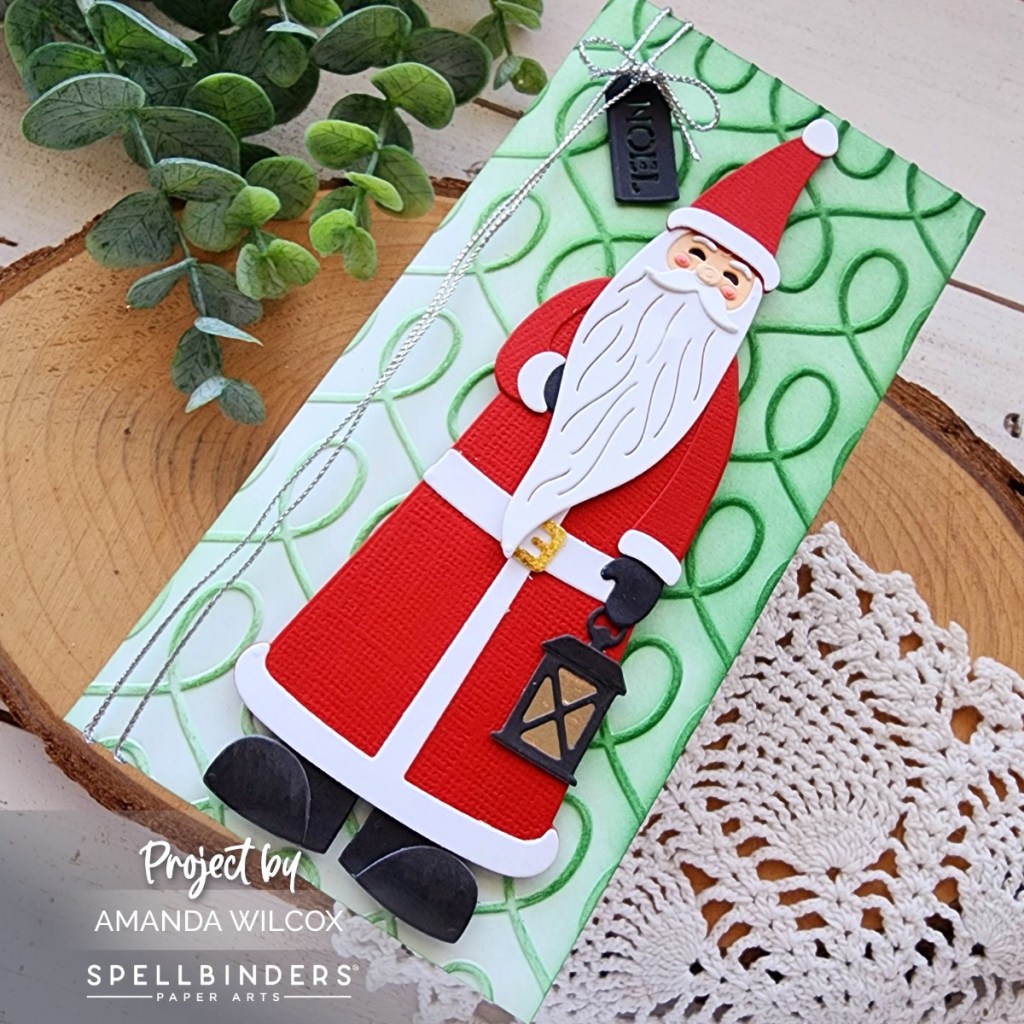
Hi there! Thanks for stopping by. Today I’m sharing a mini slimline card featuring the recently released Spellbinders St. Nick die set. This set builds a gorgeous Santa figure with a couple of add-ons like layers for a Christmas tree, a star and a snowflake.

I took my time cutting and assembling my St. Nick using liquid glue a reverse tweezers along the way. I also didn’t pay much attention to how tall he was turning out until he was complete. This meant a shift from a typical A2 card to a mini slimline which I haven’t made it a while. They are a really fun size to create and always surprise people when they open them.

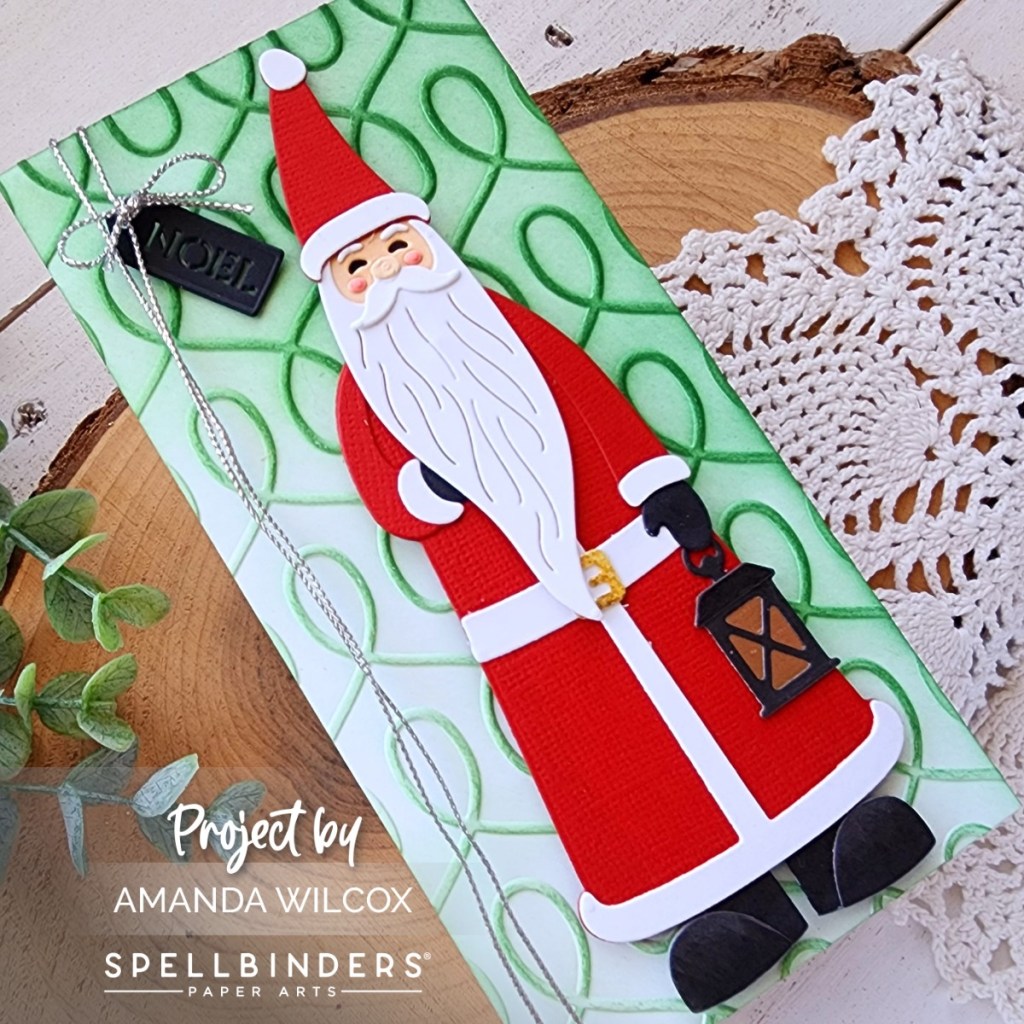
My background is a piece of white cardstock embossing with the Loops embossing folder, then ink blended with green dye ink fading from one corner to the other. I like the gradient look. I glued the panel to a card base and wrapped silver floral wire around it, tying it with a tag from the Delivery Joy die set.

Finally, I popped St. Nick up with foam tape on the card front. I didn’t find a lot of reason for finishing touches so there are none today. The lantern was cut from foiled cardstock and his buckle from glitter cardstock. Not much else to make shine or sparkle. I think it turned out really pretty though. St. Nick was a joy to create as well!

Products used:
St. Nick dies
Delivery Joy dies
Loops embossing folder
Liquid glue
Foam tape
Blending brush
Lawn Fawn ink – noble fir
Reverse tweezers

I appreciate you sharing your time with me. Have a fabulous day!

Spellbinders – Hang In There with Bibi’s Cats & Pugs Collection

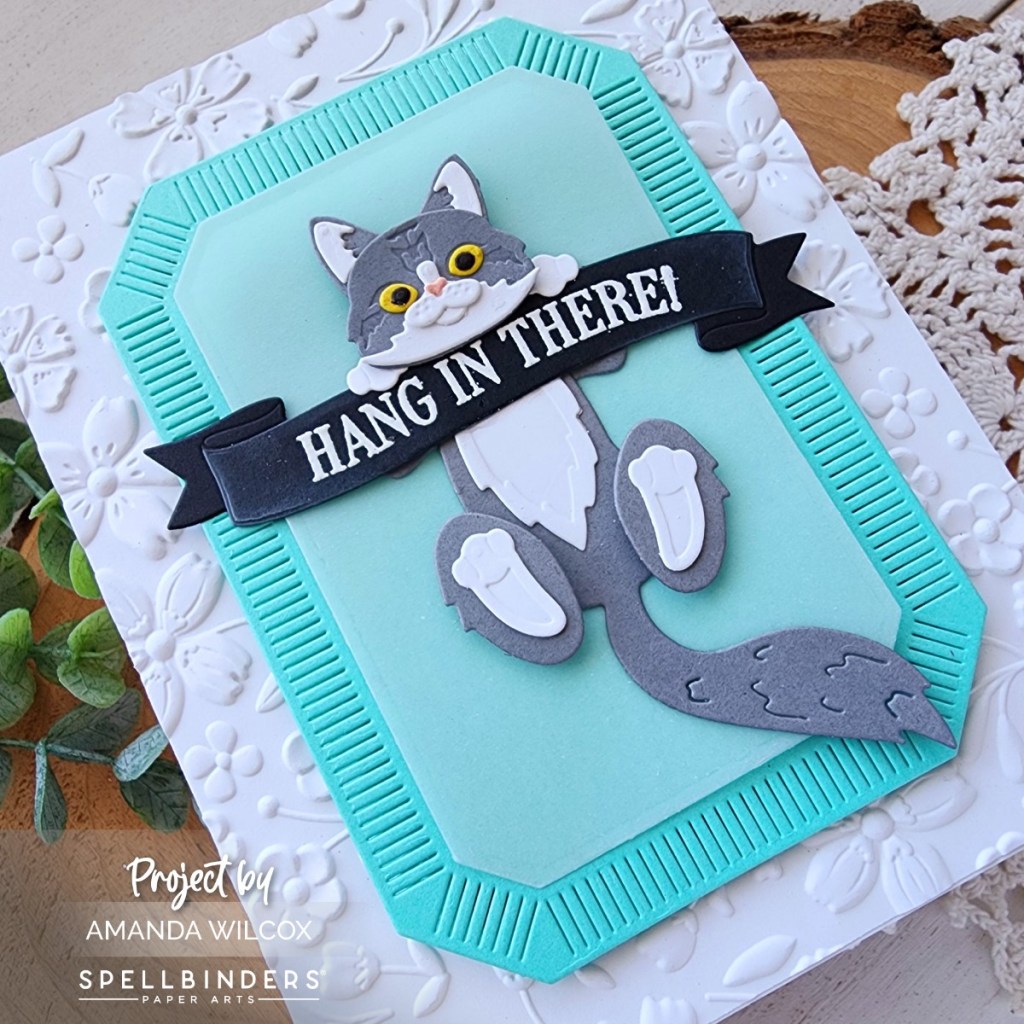
Welcome everyone. I’m sharing a fun and punny kitty card today featuring a new Spellbinders collection with Bibi Cameron – Cats & Pugs. There are a couple of sizes of cats and pugs available, today I’m playing with the smaller size cat set – Cheerful Kittens.

I cut all the elements for my kitty from gray and white cardstocks and used liquid glue to adhere them together. I did use a little yellow marker for the eyes and pink for the nose. Then I cut the banner which is part of this die set and heat embossed my sentiment from the Cats and Pugs Sentiments stamp set.

For the background, I embossed a white panel with the Flower Frenzy embossing folder and cut two layers of the Emerald Cut Label dies – teal and vellum. I used liquid glue to adhere the embossed panel to a card base and popped the teal up with foam tape.

I used tape runner to adhere the kitty and banner to the vellum panel and then hid more tape runner behind those parts to adhere the vellum to the teal panel.

Dry adhesive keeps the vellum from warping and hiding the adhesive behind other elements keeps you from being able to see it.

Products used:
Cheerful Kittens dies
Cats and Pugs Sentiments stamps
Emerald Cut Labels and Tag dies
Flower Frenzy embossing folder
Embossing powder
Liquid glue
Tape runner
Foam tape

I appreciate you sharing your time with me. Have a fabulous day!
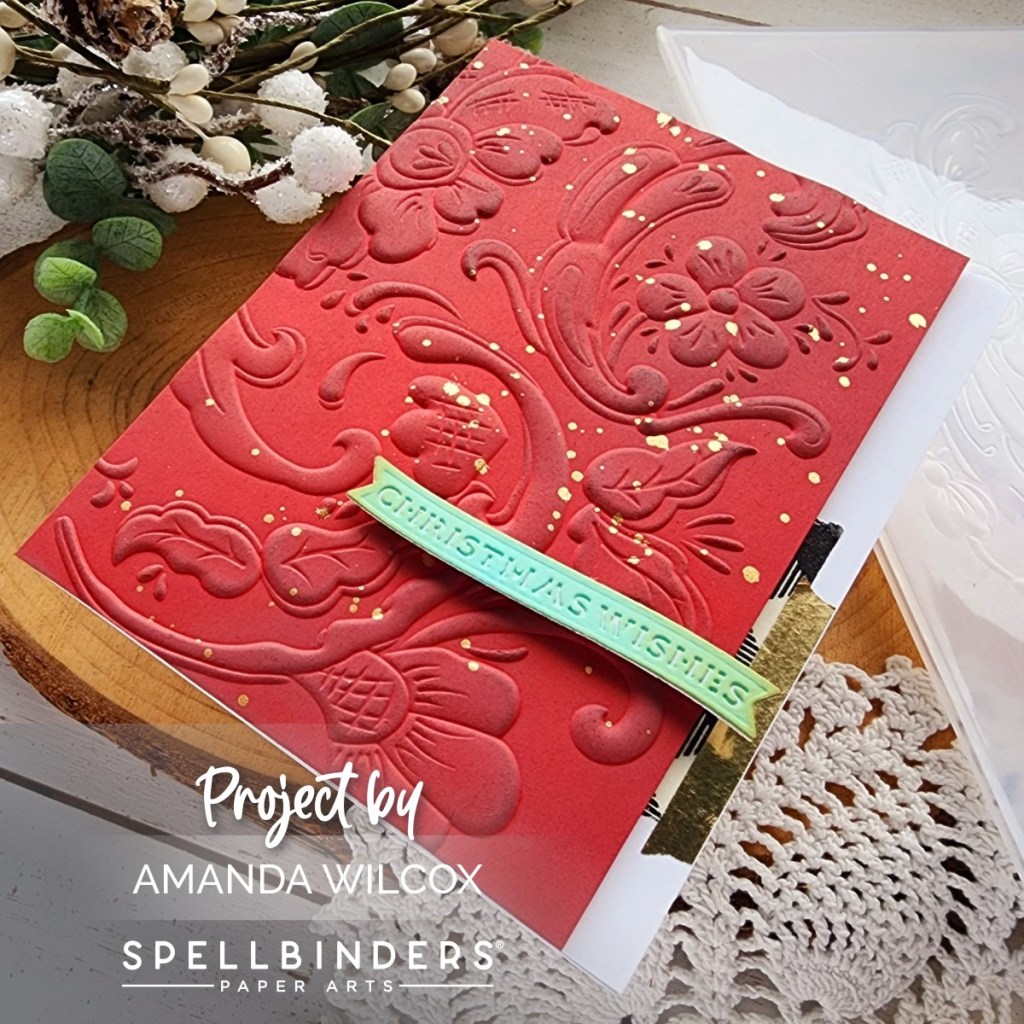
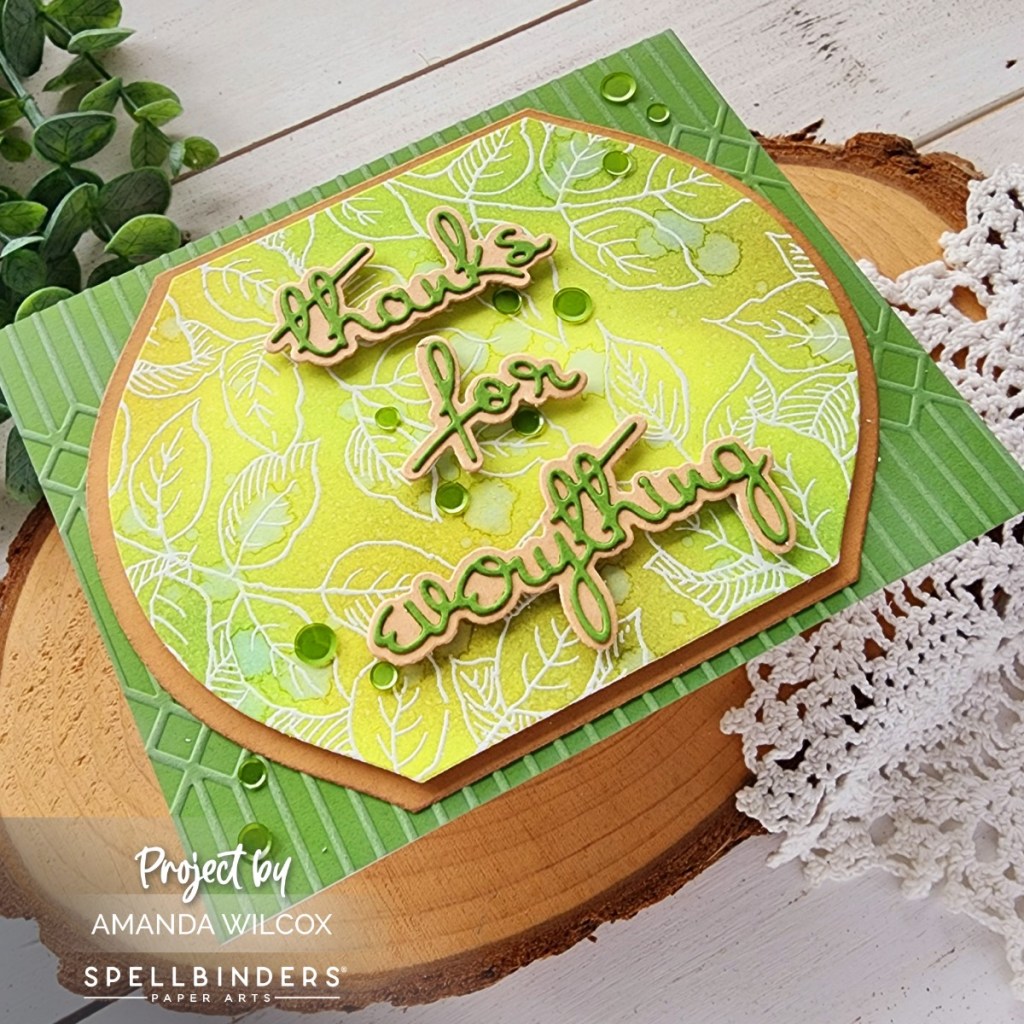
Spellbinders – Leafy Lines Backgrounds

Hi there! Earlier this month Spellbinders released a new line of stamps in partnership with Stampendous that are fabulous background stamps. I shared a couple of cards using the Streamers stamps and today I’m back with a couple of cards using Leafy Lines.

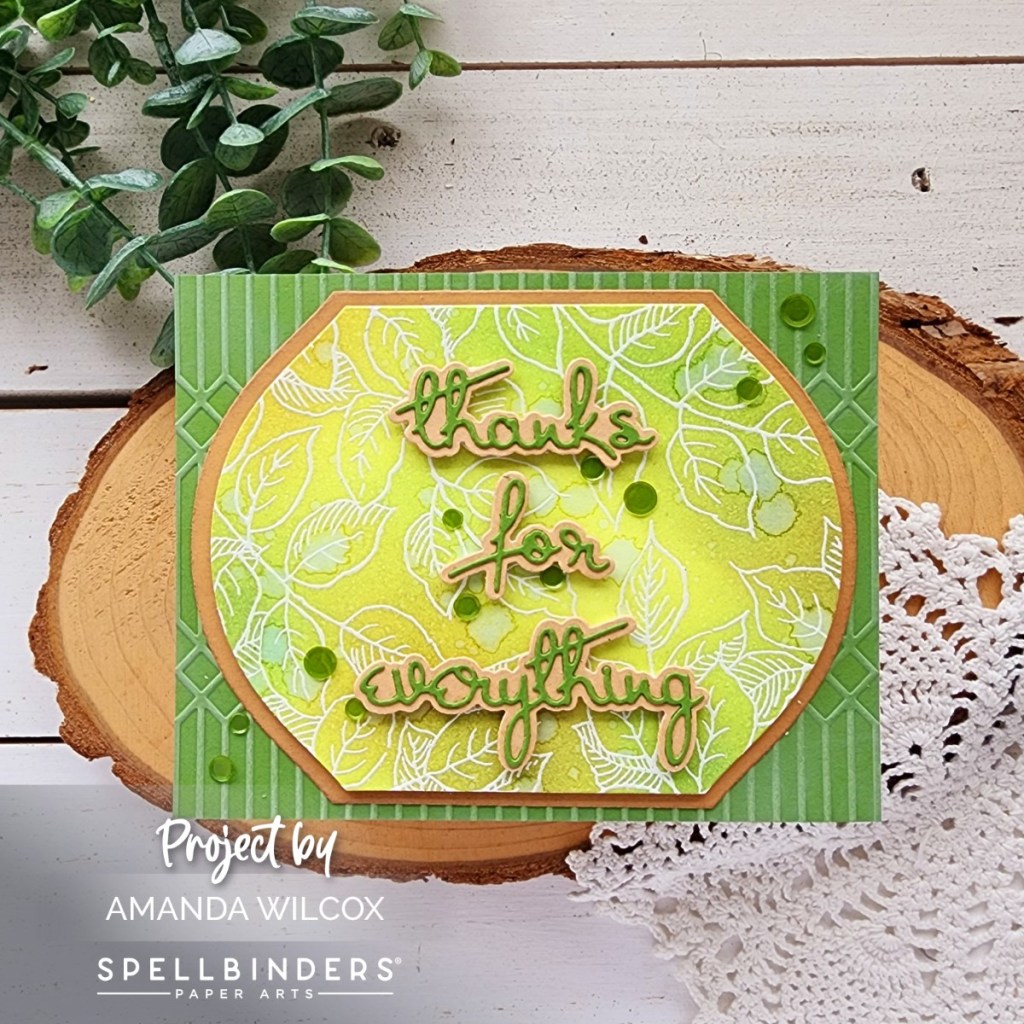
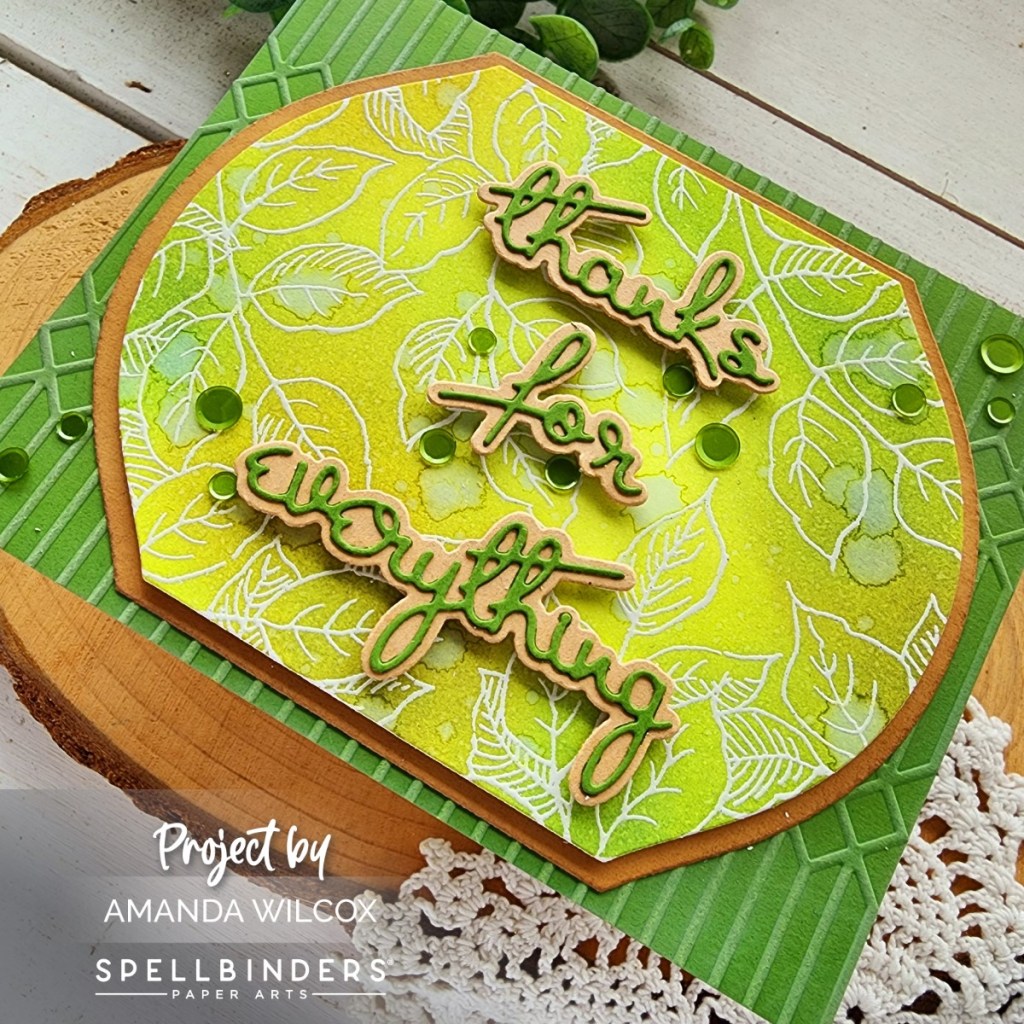
For my first card, I heat embossed the leafy lines images on a piece of watercolor cardstock and blended different green distress oxide inks over the top. I spritzed the panel with water and blotted it dry before cutting it out with a Mirrored Arch Label die. I took the next size up in the nested die set and cut that from kraft cardstock for a little frame.

Next, I chose a green cardstock to emboss with the Columns embossing folder. Using the same green and kraft cardstocks I cut my sentiment and shadows out as well. Then I used liquid glue to adhere the layers together, popping the leafy lines panel up with foam tape and then popping the sentiments up with foam squares on that.

Finally, I added a scattering of green smooth discs across the design for added interest.

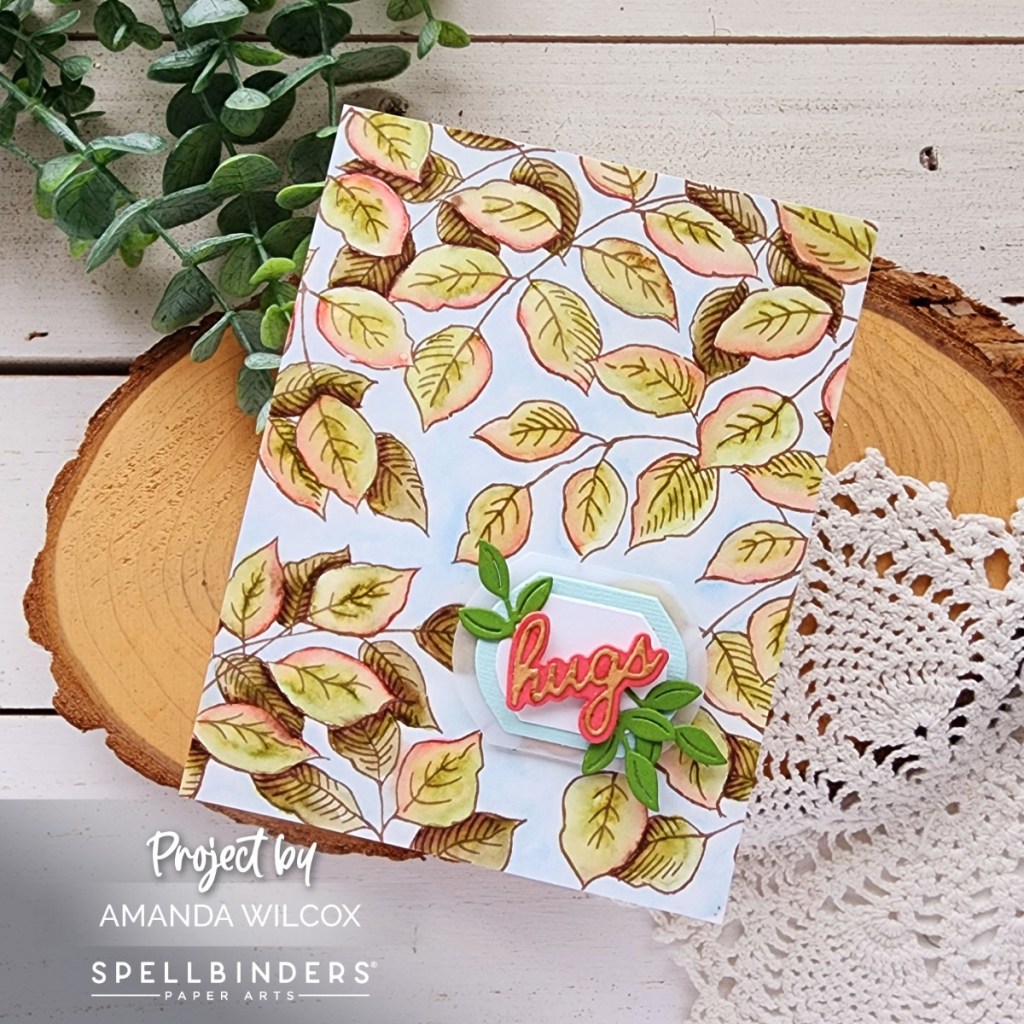
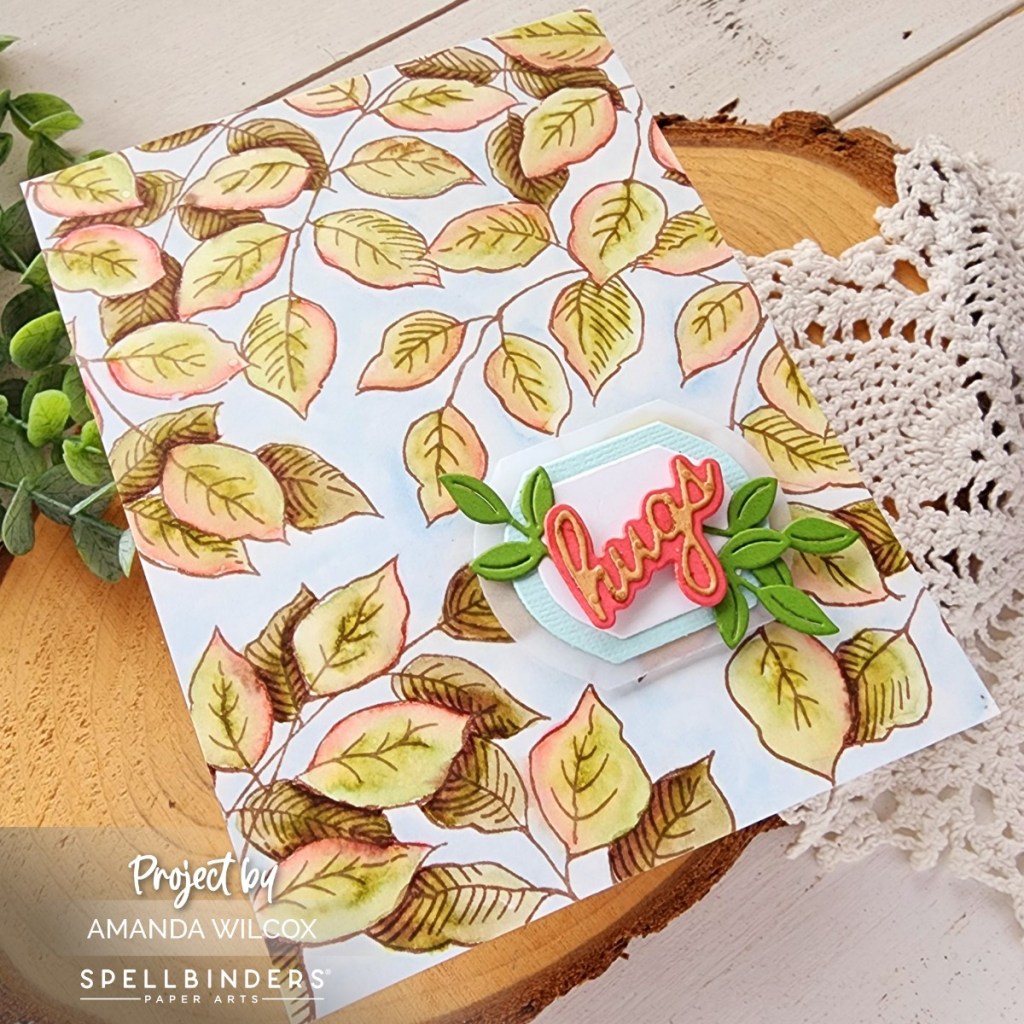
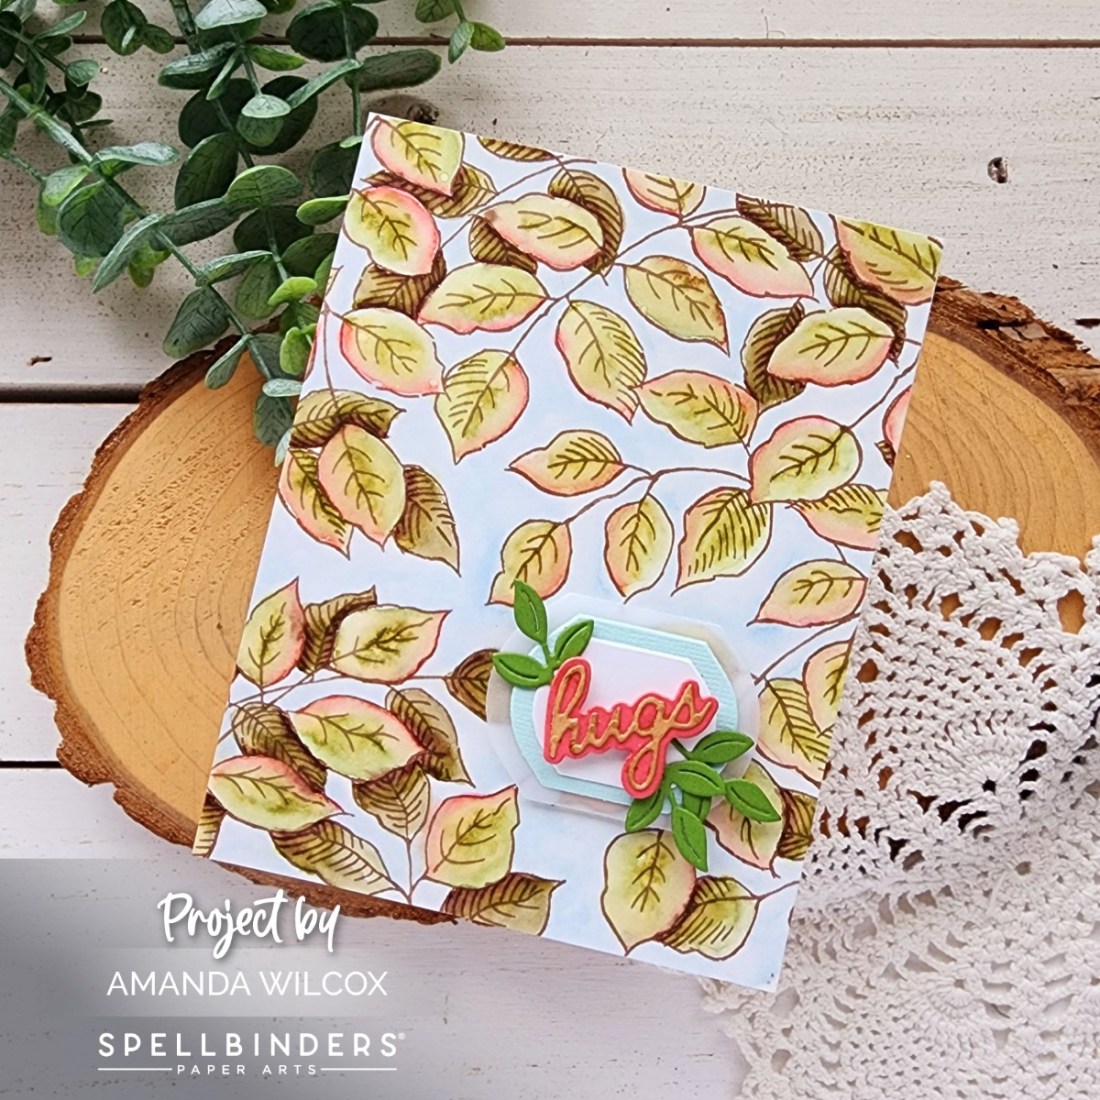
For my next card, I stamped the images with VersaFine brown ink so I could watercolor the image. This was so relaxing to do! I highly recommend giving it a try.

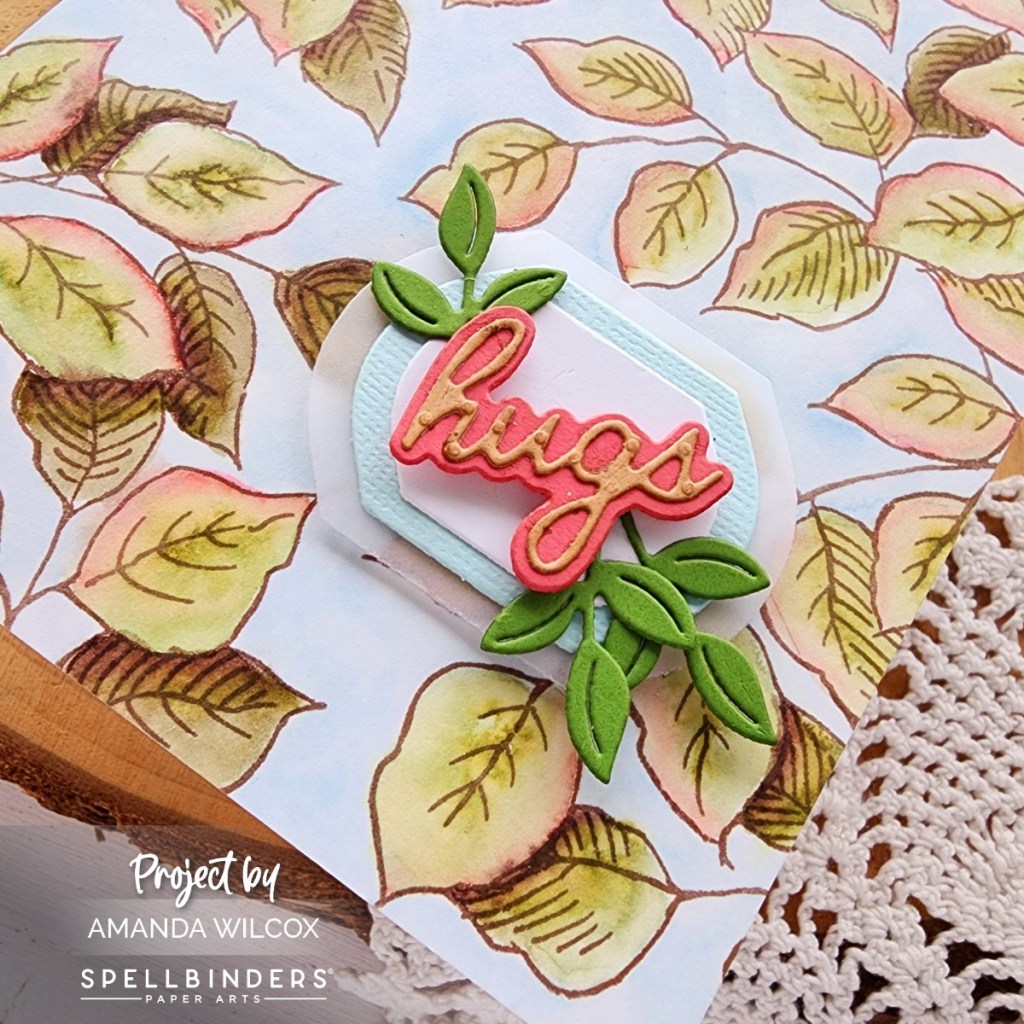
When the panel was dry, I trimmed it down to A2 size and glued it to a card base. Then I took the mirrored arch label dies back out and cut a few layers to hold my sentiment – vellum, light teal and white. Then I cut my sentiment from melon and kraft cardstocks, adding a little greenery in for fun.

The arches are glued together with liquid glue and popped up on the card base. Then The sentiment is popped up on those with the greenery slipped underneath with liquid glue.

I like to let the texture of the watercolor shine on these type of cards so I held off on any “finishing touches” for this one. I love how it looks just as it is.

Products used:
Leafy Lines background stamps
Mirrored Arches Labels dies
Stitched Kaleidoscope Arch dies (greenery)
Columns embossing folder
Thanks Enclosed Sentiments dies
Liquid glue
Foam tape and squares
Distress Oxide Ink – forest moss, mowed lawn, shabby shutters, twisted citron

I appreciate you sharing your time with me. Have a fabulous day!

Spellbinders – Handmade Holidays and Home for the Holidays Collections

Happy Friday everyone! This month I was also invited by Spellbinders to create with bits and pieces from the Handmade Holidays Kit Add Ons and Home for the Holidays Collection. As with most Spellbinders products, these interchange beautifully if you like bits and pieces from each one but are also packed with great things if you need to choose as well.

My first card today uses a couple of products from the Handmade Holidays Kit Add On selections. I built the gorgeous Delivery Joy Sleigh using various cardstocks in my stash and liquid glue to assemble all the pieces.

My sentiment banner comes from the Handmade Sentiments add on. I cut one from pink, then cut the sentiment, then decided to cut a solid banner from glitter cardstock to offset layer behind the pink one.

For my background panel, I added ink to the raised portion of my In the Pines embossing folder and embossed a piece of white cardstock. Then I went over the whole panel with another layer of the same ink and splattered it with gold watercolor for some sparkle.

All of the elements are popped up with foam tape and squares for my favorite dimensional look.

Okay, now it’s confession time before talking about this actual next card. Who buys the new fun gadgets but gets too nervous when they come so they sit in the beautiful box for months? Yeah, I’m raising my hand. I bought the Better Press system quite a while ago plus some plates. Nervous I would have a hard time with it, I left it all neatly stacked to guilt me from the sidelines of my craft room.

That ended with this next card though. I got a couple of plates from the new Copperplate Holiday Sentiments and Home for the Holidays Collections. I pressed the sentiment on an Emerald Cut Label with black ink. Then I pressed the Winter Rose background plate with garnet ink.

After popping the label up with foam tape, I created some poinsettias from the Poinsettia Spray die set and popped them up in opposite corners with foam squares.

I love getting a jump start of holiday cards. Normally I have plenty to go around but last year I fell short so it’s definitely on my mind.

Products used:
Winter Rose Better Press plate
Happy Holidays Better Press plate
Poinsettia Spray dies
Delivery Joy Sleigh dies
Handmade Sentiments dies
In the Pines embossing folder
Better Press Ink – black and garnet
Foam tape and squares
Liquid glue
Reverse tweezers
Distress Oxide ink – shabby shutters
Brayer roller
Gold watercolor

I appreciate you sharing your time with me. Have a fabulous day!

Spellbinders – Stampendous Backgrounds Collection

Hey friends! Spellbinders has some new amazing giant background stamps in a collection from Stampendous. These are great 6×6 red rubber stamps and they have a removeable piece in each one to alter the look or stamp just a smaller section of the pattern. They’re really cool!
Today I have two cards to share with you featuring the Streamers stamps.

For this card, I stamped and heat embossed the streamers on a large panel and ink blended dsitress oxide inks over the top. I spritzed the panel with water and let it dry. Then I cut the panel with the largest Notched Rectangle, plus a second for the back panel of my card.

I cut a smaller rectangle from vellum and added my hot foiled sentiment to that with foam squares. I finished the design off with a scattering of smooth silver discs for extra shine and interest.

For my second card, I kept to the Stampendous theme and pulled out the adorable Bear Hugs and Hugs Accessories dies.

Once again I heat embossed the Streamers image on a piece of white cardstock and ink blended over the top. Then I added my Stampendous Bear to a Make a Wish Arch cut out of vellum. Everything is layered together with foam squares.

Products used:
Streamers background stamp
Notched Corners Frames dies
Make a Wish Arches dies
Embossing powder
Anti-static bag
Distress Oxide Ink – picked raspberry, squeezed lemonade, carved pumpkin, wilted violet, milled lavender
Foam squares
Liquid glue
Hip Hip Hooray hot foil plate
Silver hot foil
Glimmer hot foil machine

I appreciate you sharing your time with me. Have a fabulous day!