Hey friends! Just popping in one more time to reveal the winner of our giveaway for the new embellishment release we announced last week. Drum roll please…
The random number generator chose number 18.
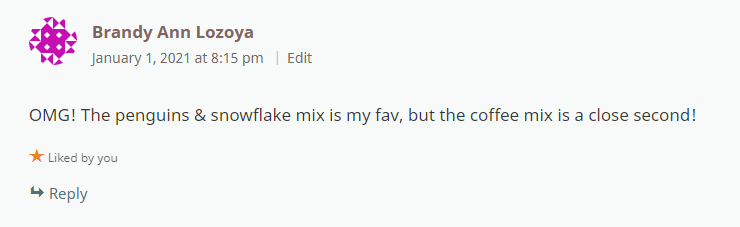
Which was comment…
Congratulations Brandy!!! Please email me at twiddlersnook@gmail.com with your mailing address and I’ll get your prize mailed out right away.
Thank you all for your love and support! I appreciate each one of you!
Happy New Year everyone!!! I’m super excited to announce that we’ve got a new embellishment release live in the Twiddler’s Nook Shop right now! I had so much fun picking and choosing these blends and hope you love them too! Here’s a look at just some of the new fun things…
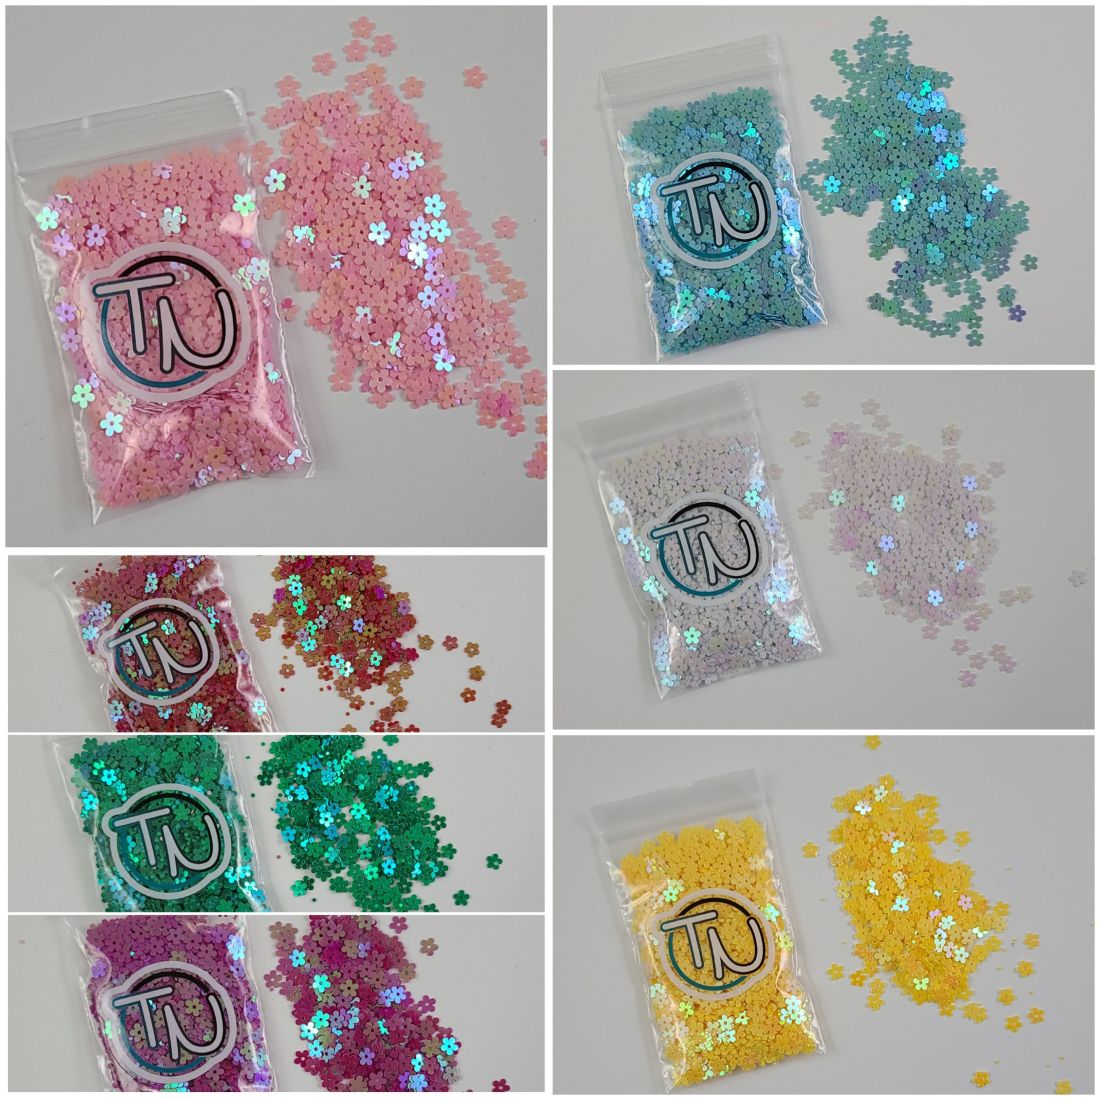
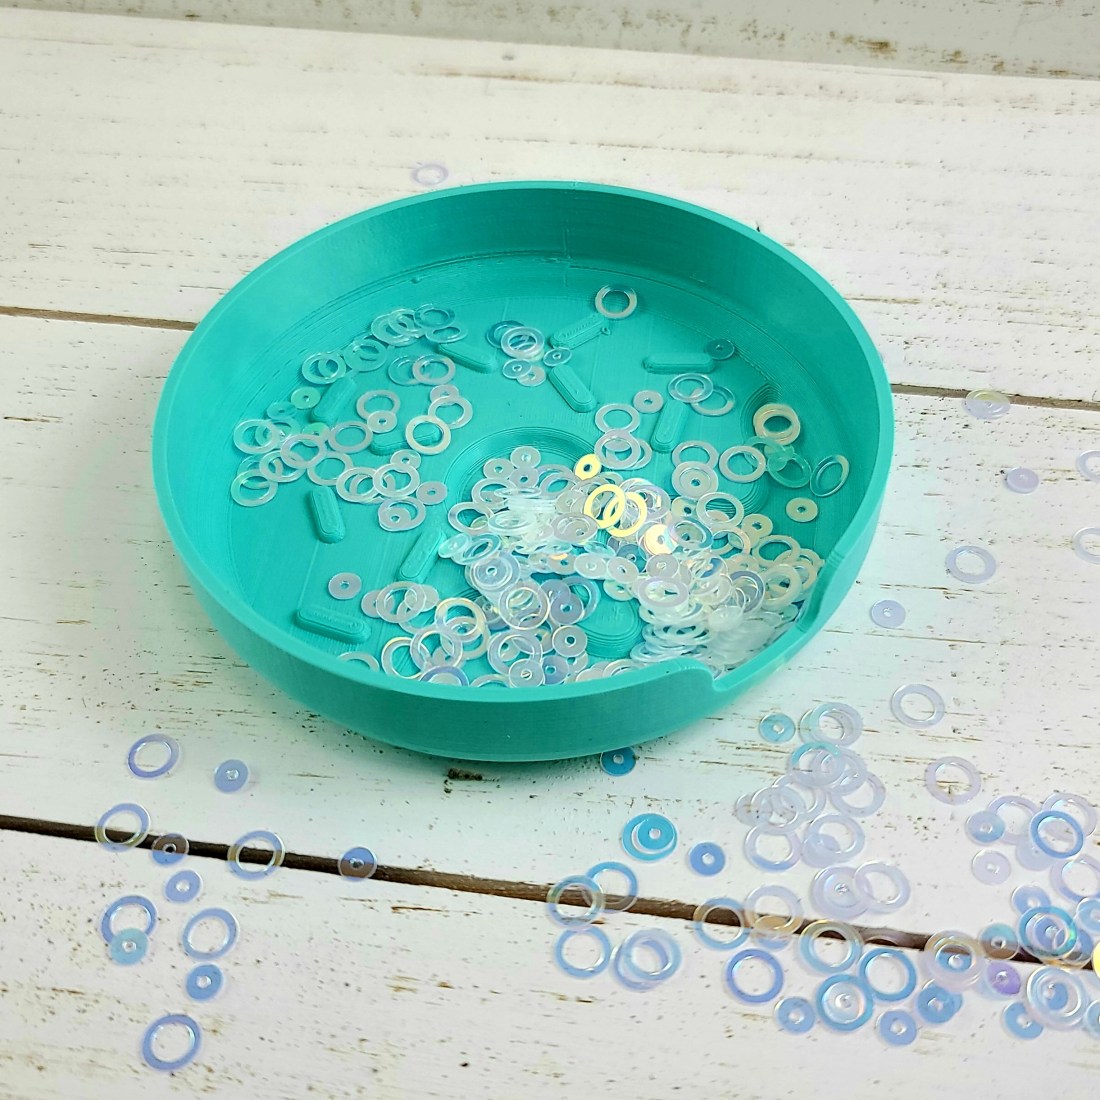
I just love these sweet flowers and had to get them in so many colors because I just couldn’t choose. They have an iridescent sheen to them so the color changes a bit in the light. It’s so beautiful.
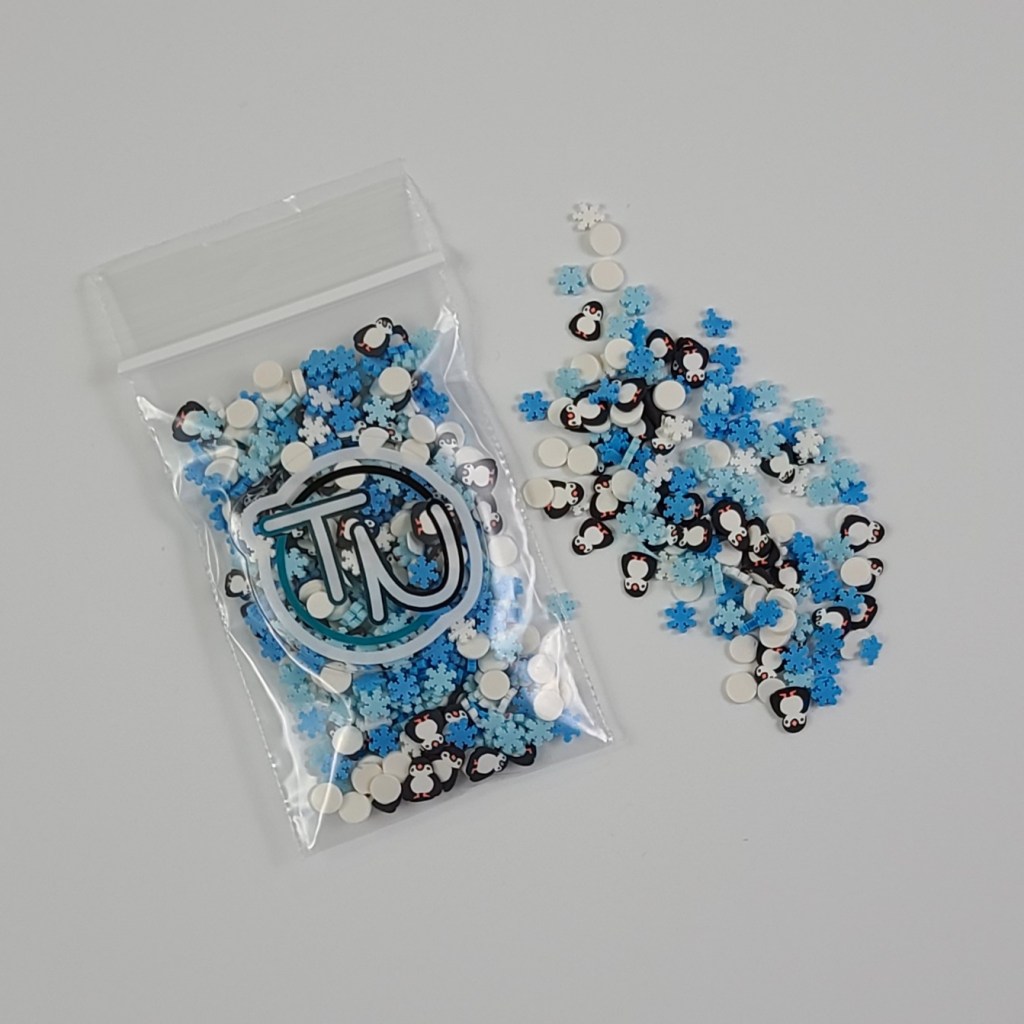
Okay, seriously, can you even stand the cuteness??? I just love this mix! It’s the perfect combo for some fun wintery cards and I can’t wait to see how you all use it.
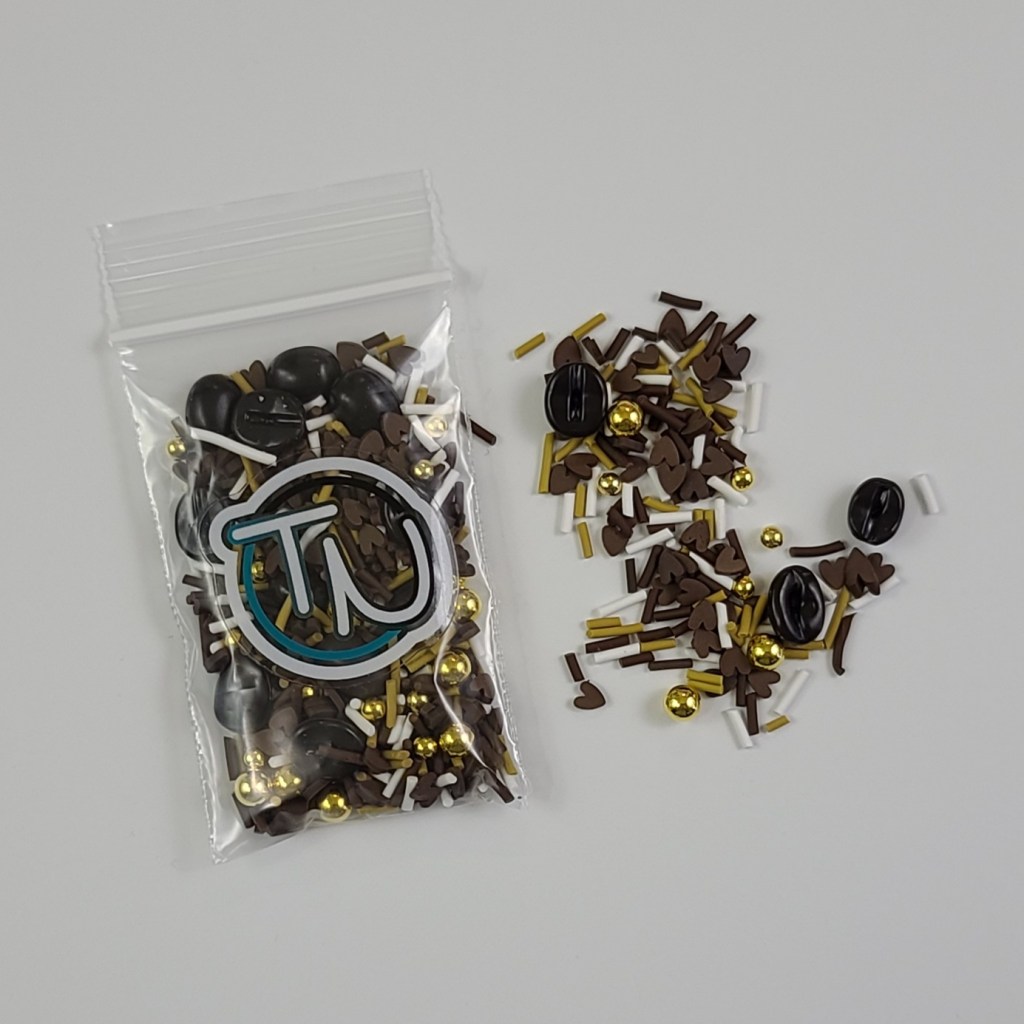
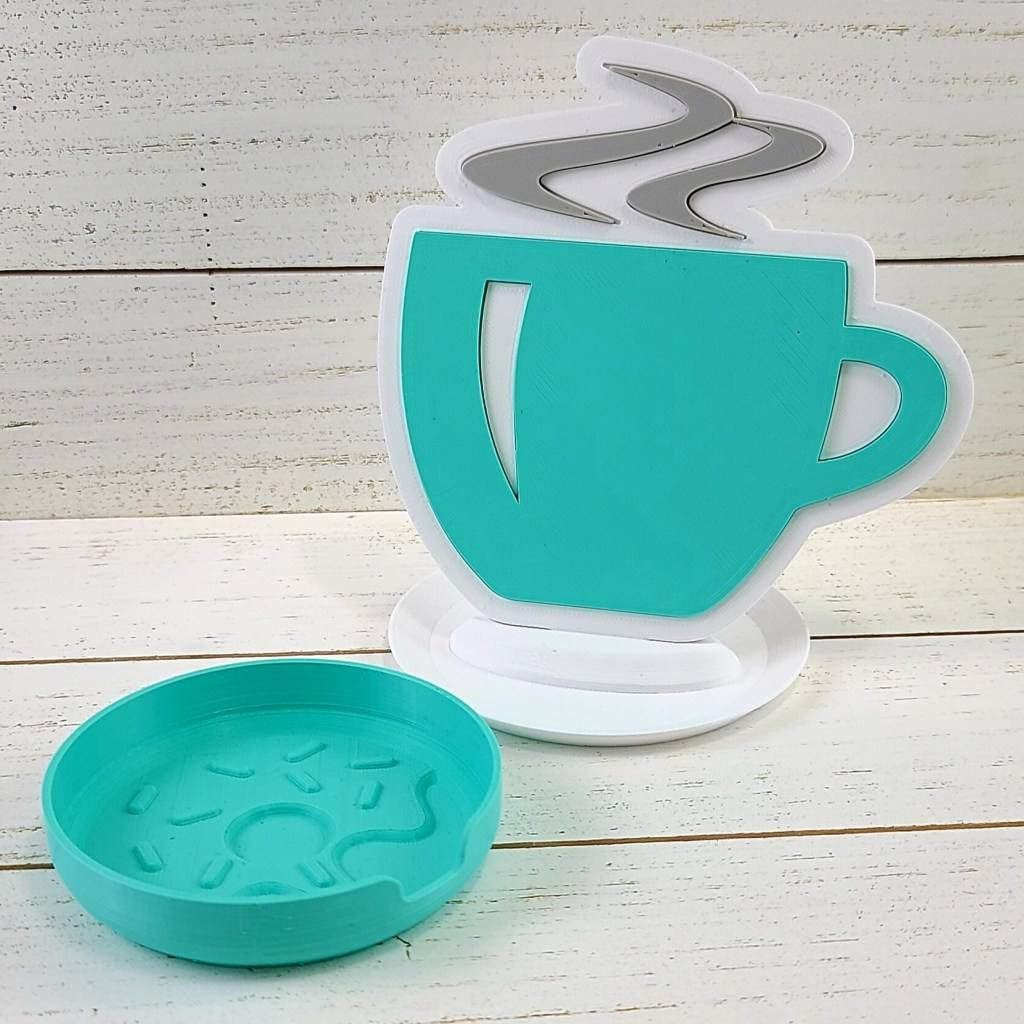
This awesome mix is just perfect for the most fun caffeinated creations that you have up your sleeve. I love the combo with that touch of gold and those sweet hearts to go with the great resin coffee beans and sprinkles. It’s so fun!
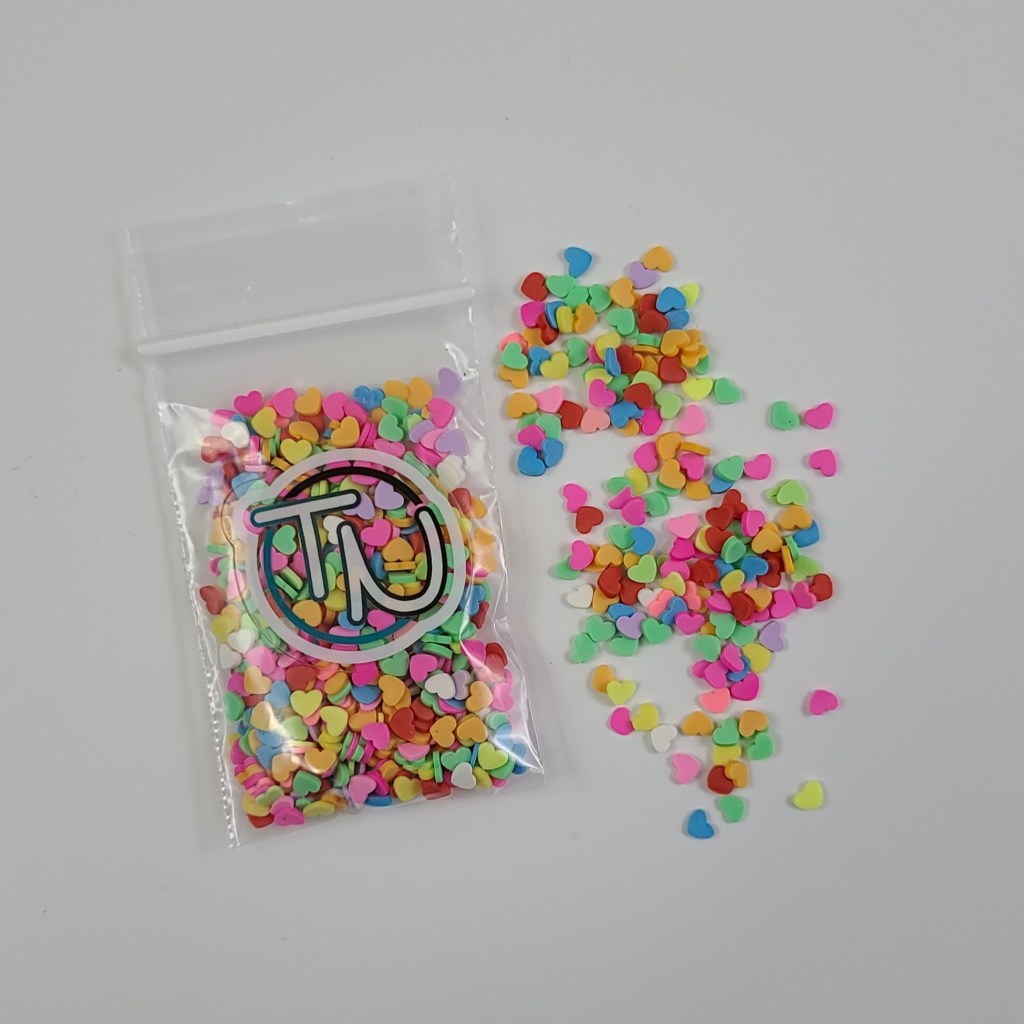
And I know we’re all gearing up for Valentine’s Day cuteness so I’ve got a couple of new heart mixes too. These are just so bright and happy, perfect for your love filled creations.
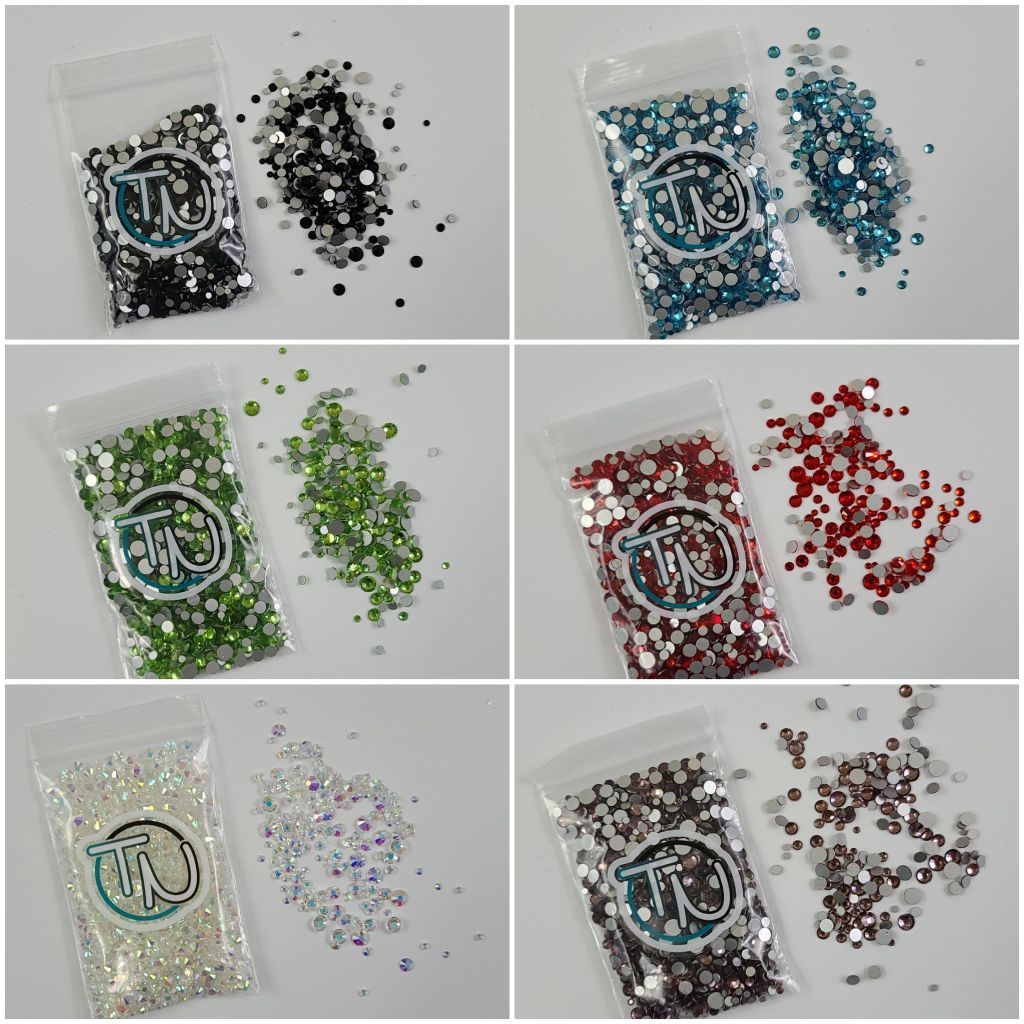
We’re also trying out flat back rhinestone and bauble mixes this time. Each pack has 3-4 different sizes of the same color gem so you have variety depending on what you’re adorning. I’m really excited about these too!
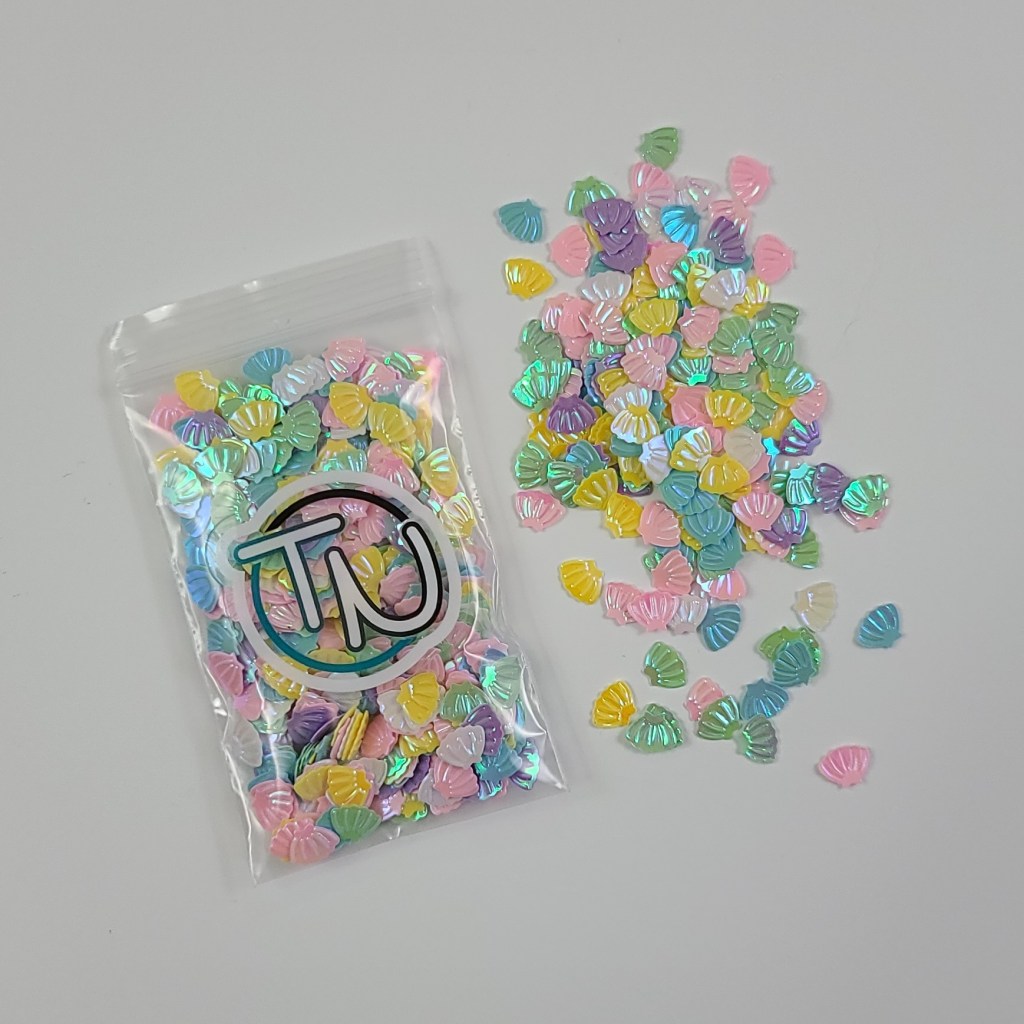
There are also a few fun mixes for themes that we tend to create later in the spring and summer like these great seashell confetti bits too.
This is just the tip of the iceberg so be sure to head to the Twiddler’s Nook Shop to see everything that’s new!
GIVEAWAY To celebrate this new fun release and the start of a fantastic new year, let’s have a giveaway! Comment here for a chance to win a variety pack of 5 embellishments from the new release.
I’d love to hear what your favorite is from the new release or maybe an idea of something you’d like to see us carry.
Commenting is open until Monday, Jan. 4, at midnight PST. Winner will be announced here on the blog Wednesday, Jan. 6.
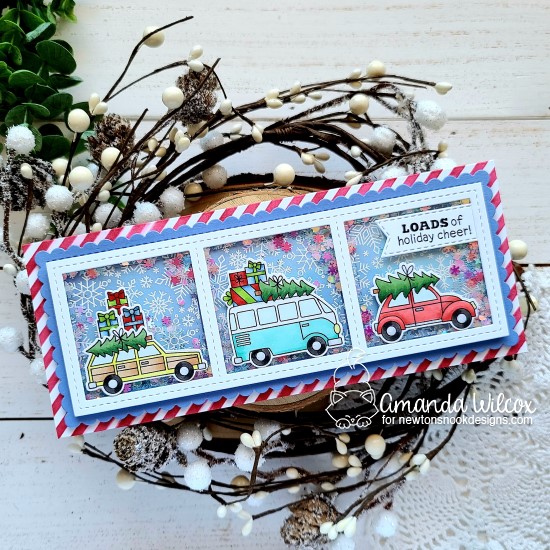
Hey friends! I’m over on the Newton’s Nook blog today with my last post of the year for them. This year has flown by and been an absolute blast being a part of that team too! I hope you’ve enjoyed all the creations and found a little inspiration along the way.
For today’s card I pulled out the recently released Destination Christmas set and colored up a few of the cars with my copics. I used the coordinating dies to cut them out and set them aside. I die cut the slimline frames and windows frame from white cardstock, then I used the snowfall roundabout and heat embossed it on the squares that came from the window panel. I inked them up with distress oxides in tumbled glass and blueprint sketch. Using my frame as a guide I adhered the squares down to a panel I die cut with the slimline frames and portholes scalloped rectangle.
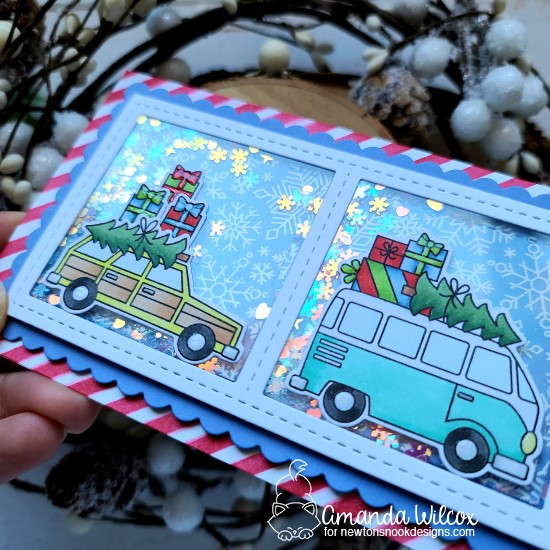
I decided to make this a shaker card so I trimmed down a piece of acetate and adhered it to the back of the window frame and lined it with foam tape. I sprinkled some snow queen shaker bits from the Twiddler’s Nook shop and sealed it all up. Using liquid glue I adhered the cars down next and decided on a sentiment.
I cut out a banner from the banner trio set and stamped my sentiment on that. Then I trimmed the edge off and used liquid glue to adhere it down. Finally, I didn’t like the plain card base so I used the Trinity Stamps stripes stencil on a white card base and then popped my scalloped panel up with foam tape.
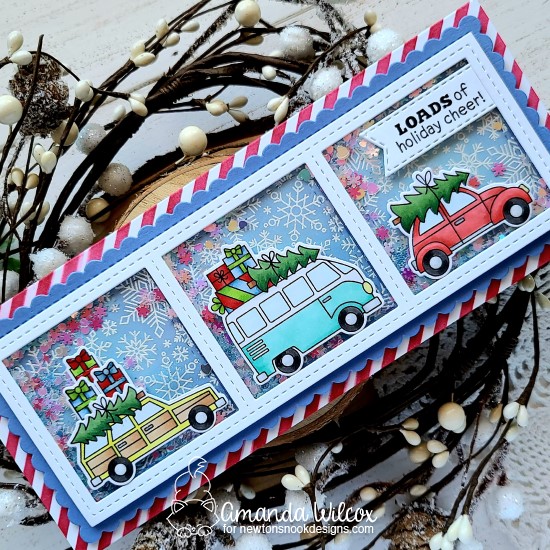
There’s a lot going on here so I kept finishing touches to just glossy accents to the package bows and accents on the cars like lights, wheels and door handles.
This card is so much fun and I had a blast putting it all together!
I appreciate you sharing your time with me. Have a fabulous day!
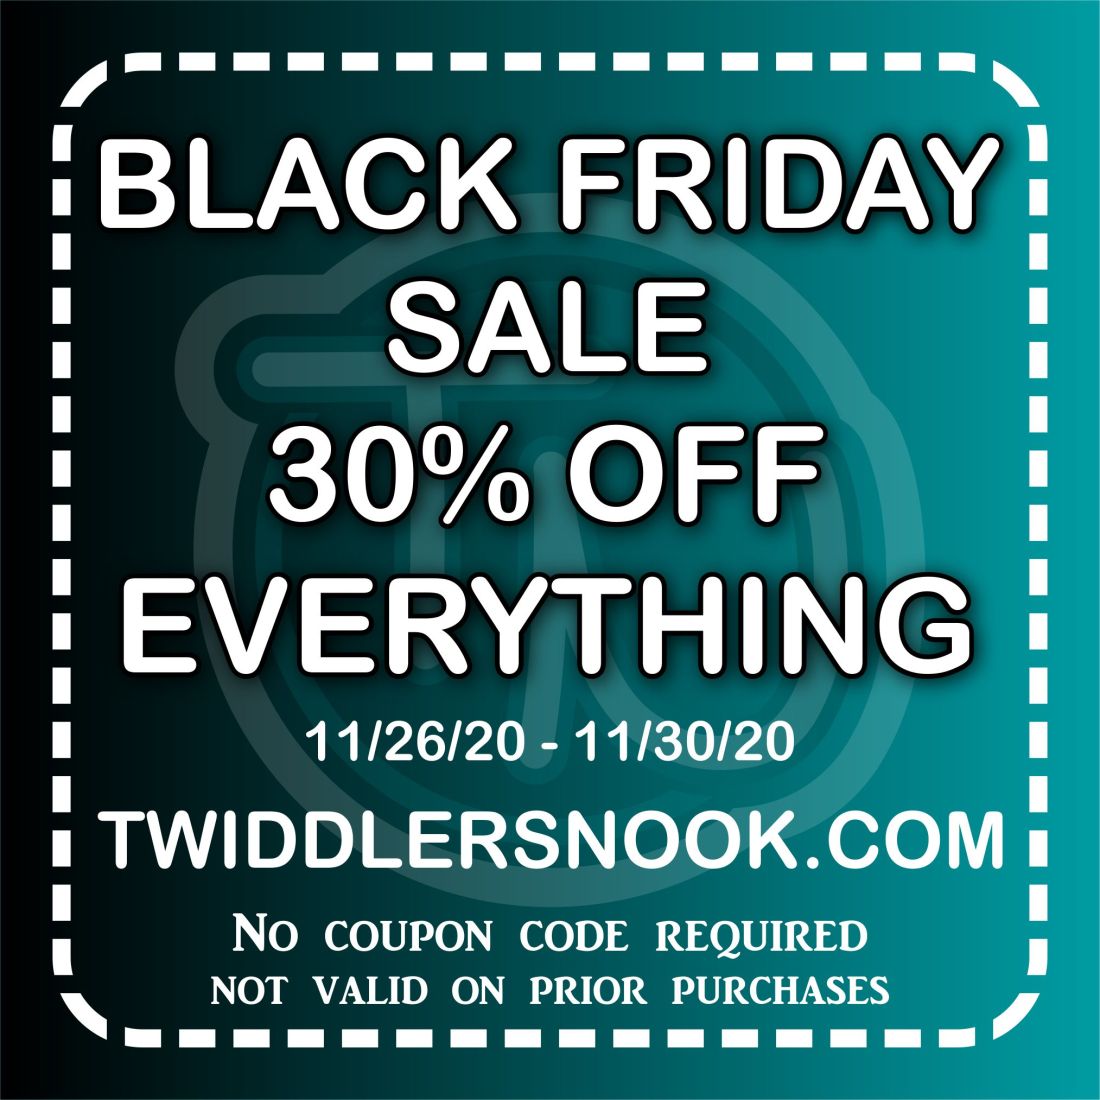
Hey crafty friends!!! Just wanted to pop in and let you know that we’re having a sale for the entire Thanksgiving weekend! We’re so thankful for the love and support we’ve gotten this first year expanding our business past my cardmaking and papercrafting creations. It’s very humbling and we’re excited to be able to extend some appreciation to our customers.
It’s pretty simple…30% off the whole store from now until Monday at midnight. The offer isn’t good on previous purchases and no coupon code needed.
Happy shopping everyone! Please help spread the word and share this with your friends and family. I’ve posted it on our Instagram and Facebook pages so you can share there or forward your email around too!
Tell those shopping for you what your Christmas wish list is or treat yourself!
Thank you again for all of your continued support! We truly appreciate each one of you! Have a fabulous day!
Hello everyone!!! Today is a very special day in our house…our daughter’s 14th birthday. Seriously, where the heck has the time gone??? I have no idea but we’re loving every minute of it. She’s amazing and we’re having a blast celebrating this weekend.
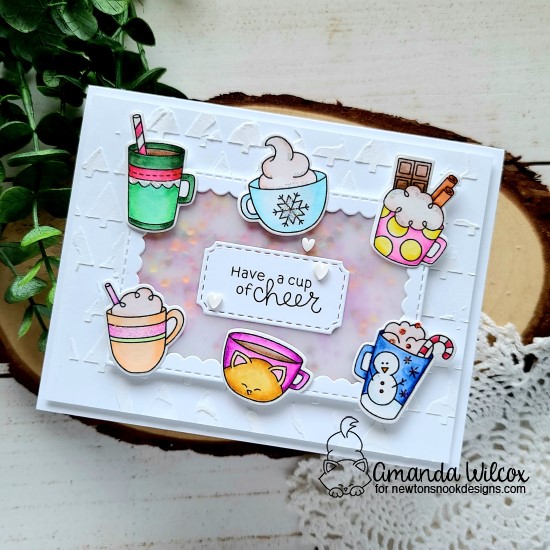
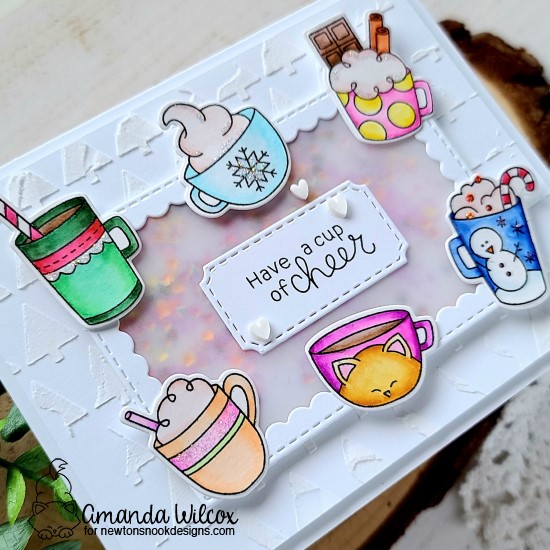
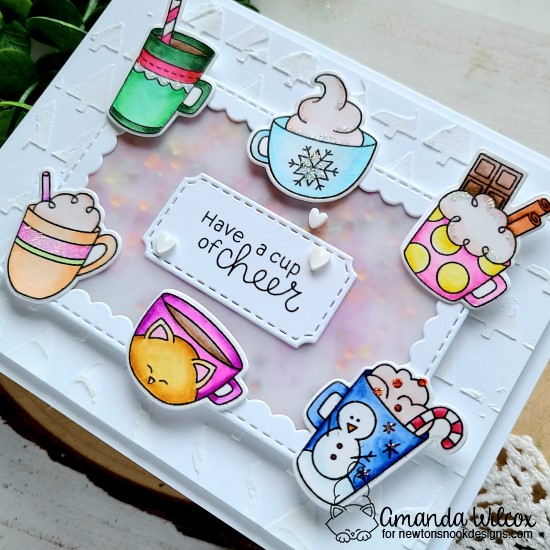
And on here I’m also still celebrating the Fall | Winter Coffee Lovers Hop! I have a fun Newton’s Nook shaker card to share with you featuring shaker bits from my shop too!
A few weeks ago we went away for the weekend so I stamped some images and packed my Zig markers to watercolor while we were gone. This fun batch of mugs were part of that. The images are from Cup of Cocoa and I used the coordinating dies to cut them out. Then I pulled out my tiny trees stencil and used texture paste for an intentionally imperfect background.
Moving on to my shaker mechanism, I die cut a frame from Framework dies and the ticket looking shape too. I backed the frame with vellum and foam tape. I poured some Burning Embers and Pixie Dust Micro Beads in the Vidia color to the center of my stenciled panel and adhered the shaker frame on top. I stamped my sentiment on the ticket shape and attached it to the vellum.
I attached my mugs around the frame and moved on to finishing touches. For those I added Stickles in unicorn to each of the mugs somewhere and a few white clay hearts to by the sentiment.
Such a fun and sweet card! Are you linking up fun projects to the Coffee Lovers Hop? I hope so! I can’t wait to see them all!
I appreciate you sharing your time with me. Have a fabulous day!
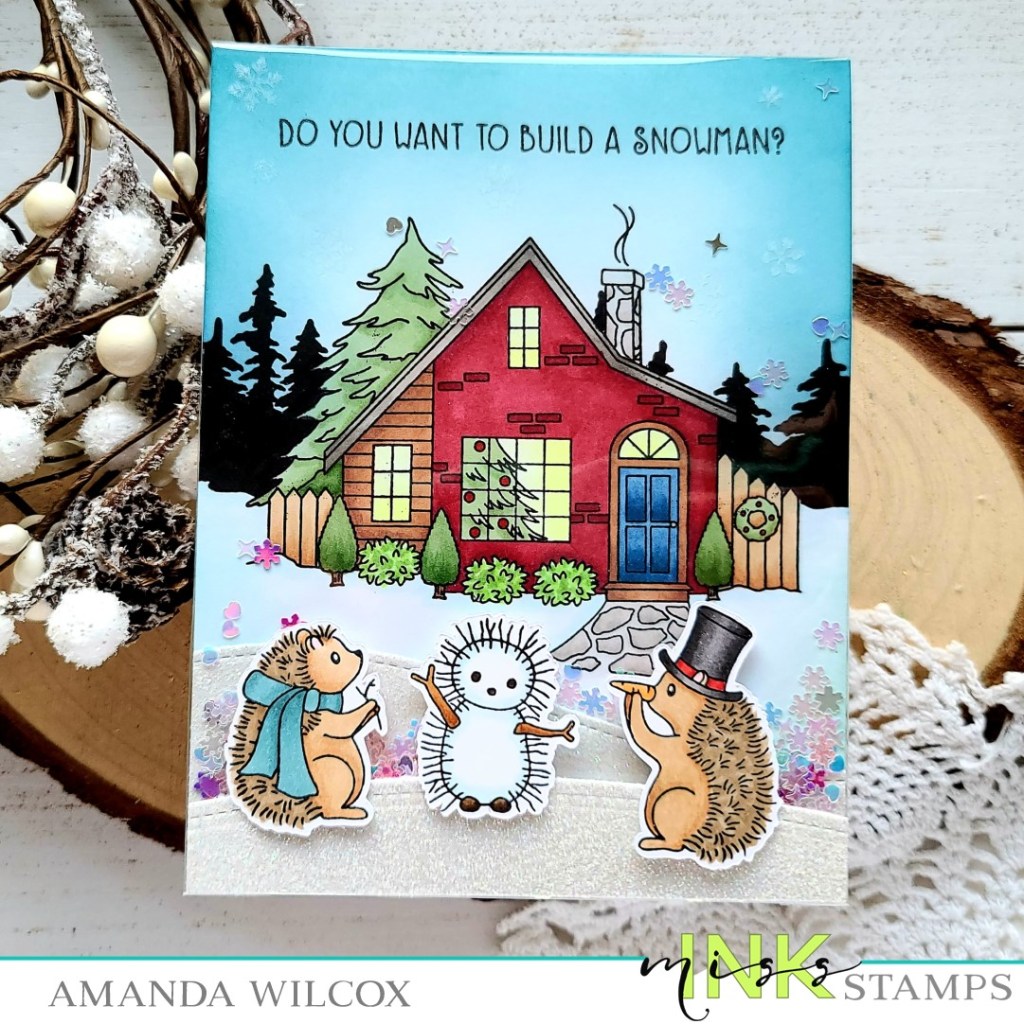
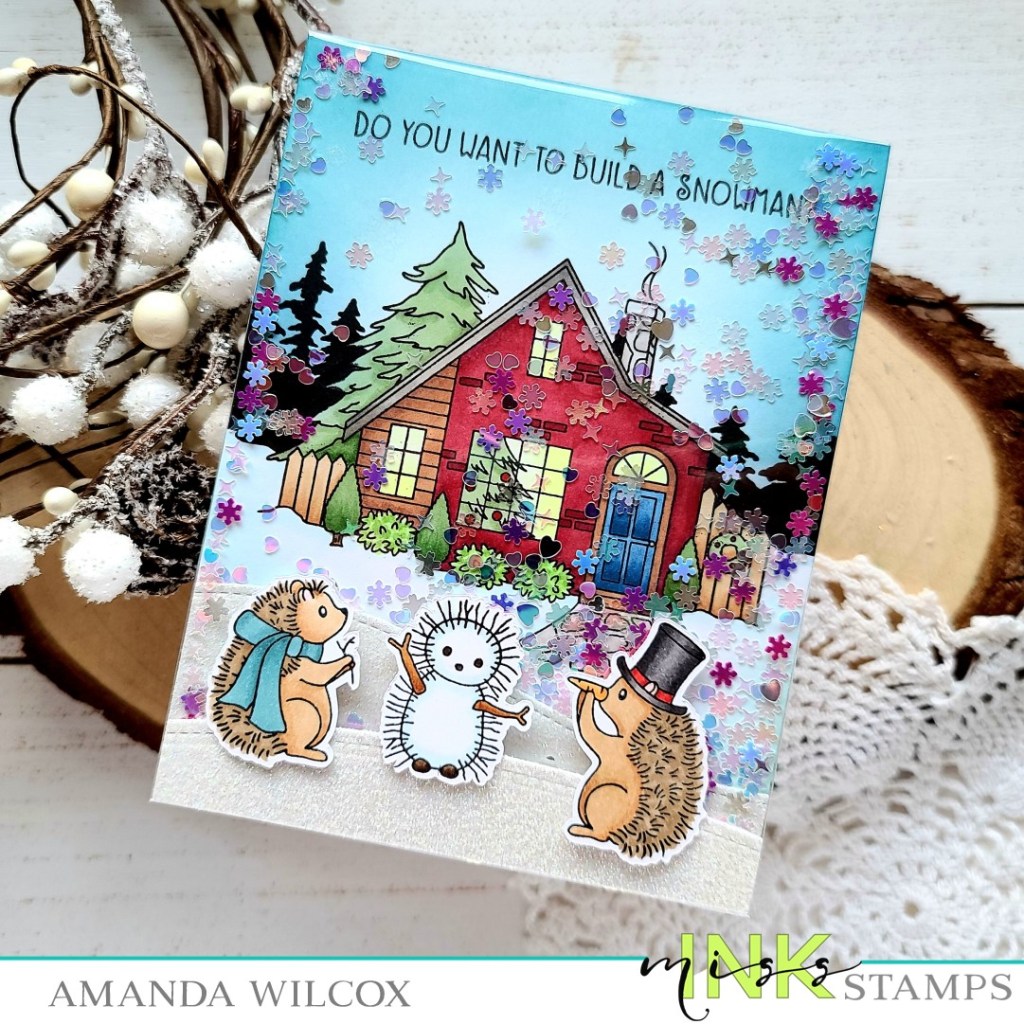
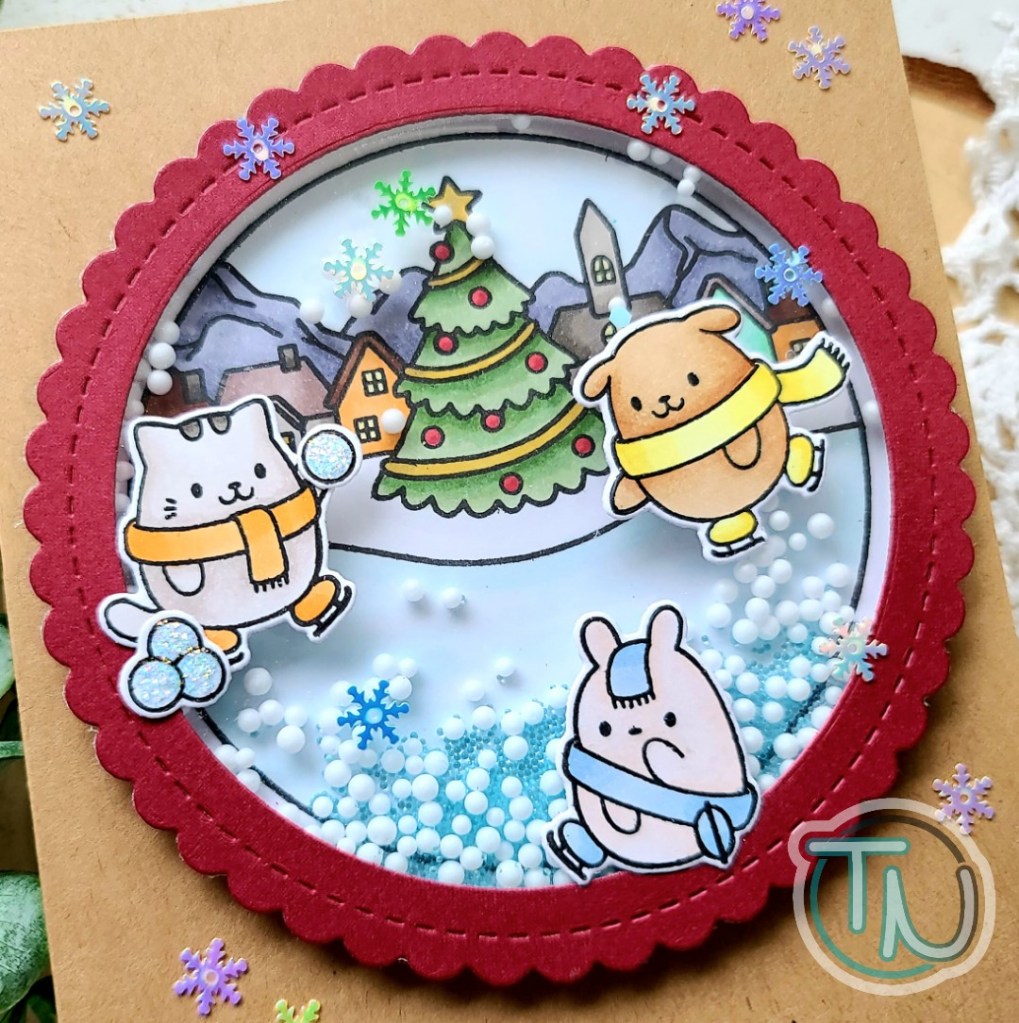
Hello everyone. Can you believe it’s November already? This wild and crazy year is flying by. Today I’ve got some snowy fun to share with you featuring a few stamp sets from Miss Ink Stamps and a fun winter embellishment from my shop called Snow Queen.
I started today’s card with the background panel. I stamped the Holiday Home image and cut out a mask for it. Then I stamped Pine Forest over the top so I had a layer of trees way back in the background. I removed my mask and colored the image with copic markers. Then I used dye inks and my Trinity Stamps blending brushes to add some color to the sky and the ground.
Then I chose the critters I wanted to use from Snow Buddies, stamped and colored them with copics too. I used my scan-n-cut to cut them out and moved on to assembling my card.
I cut a hill from some white glitter cardstock and glued it to the bottom of my scene panel and slid the whole panel into an acetate sleeve. I wrapped the sides around and used double-sided tape to adhere them down. Then I sprinkled in the Snow Queen embellishment mix and sealed the top up tight. Next, I adhered another snowy mound to the front of the acetate and adhered my critters and snow critter to the top of that. Then I glued the whole thing to a card base and it’s all finished!
This is my first infinity shaker card and it was so much fun to create! I’m definitely hooked and will have to give it another go ’round soon!
I appreciate you sharing your time with me. Have a fabulous day!
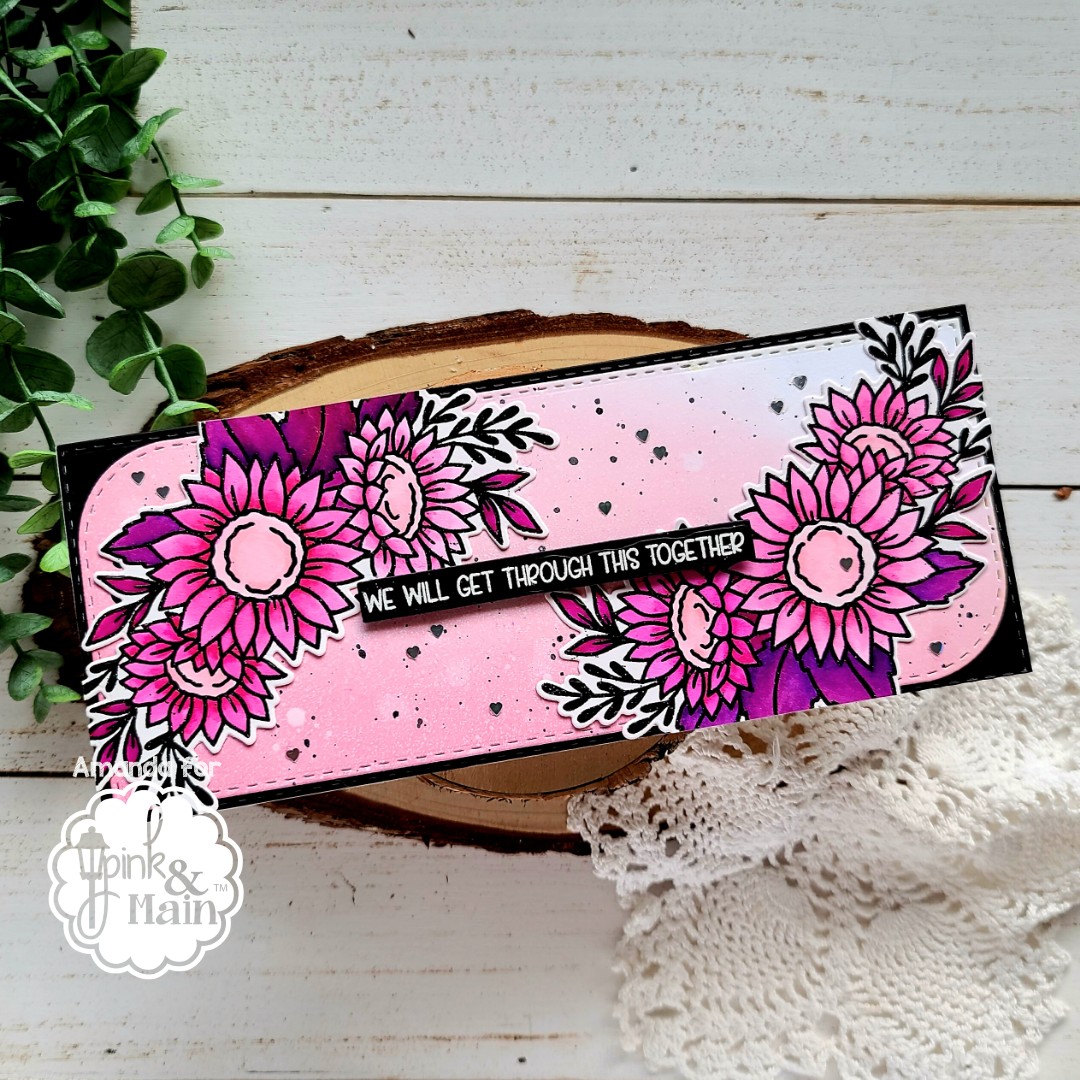
Hello again! I am part of a second Instagram Hop today to celebrate Think Pink – breast cancer awareness. It’s called Ink Pink! and there is a wonderful group of us so be sure to head there and hop along. Comment lots for chances to win prizes from great sponsors like Pink & Main and Twiddler’s Nook!
For my card, I stamped and heat embossed images from Sunny Greetings in black. Then I watercolored them with my Zig markers and cut them out with the coordinating dies. I took spun sugar and picked raspberry distress oxide inks and blended them in a panel. I spritzed it with water and flicked black paint on it. Once that was dry, I used the larger of the Beautiful Slim Line dies to cut the panel out. Then I took the largest Stitched Slim Line die and cut a black panel.
Time for assembly, the black panel was adhered to a white card base and the inked panel was popped up with foam tape. The Sunny Greetings images were adhered with liquid glue. I laid acrylic blocks on them to hold them flat while drying and heat embossed my sentiment in white on black cardstock. I used on of the sentiment strips from the Sunny Greetings coordinating dies and did partial die cutting to stretch it long enough to cut the whole thing out. Then this was popped up with foam squares on the card front.
My finishing touches were simple, just a scattering of holographic hearts from the Twiddler’s Nook shop for a little added interest. They look really cool when they’re caught in the light.
Remember, head over to Instagram and hop along. Comment for chances to win! And most importantly ladies…get those tatas checked!!! You never know and it’s been to be squished than sorry. Love you all!
I appreciate you sharing your time with me. Have a fabulous day!
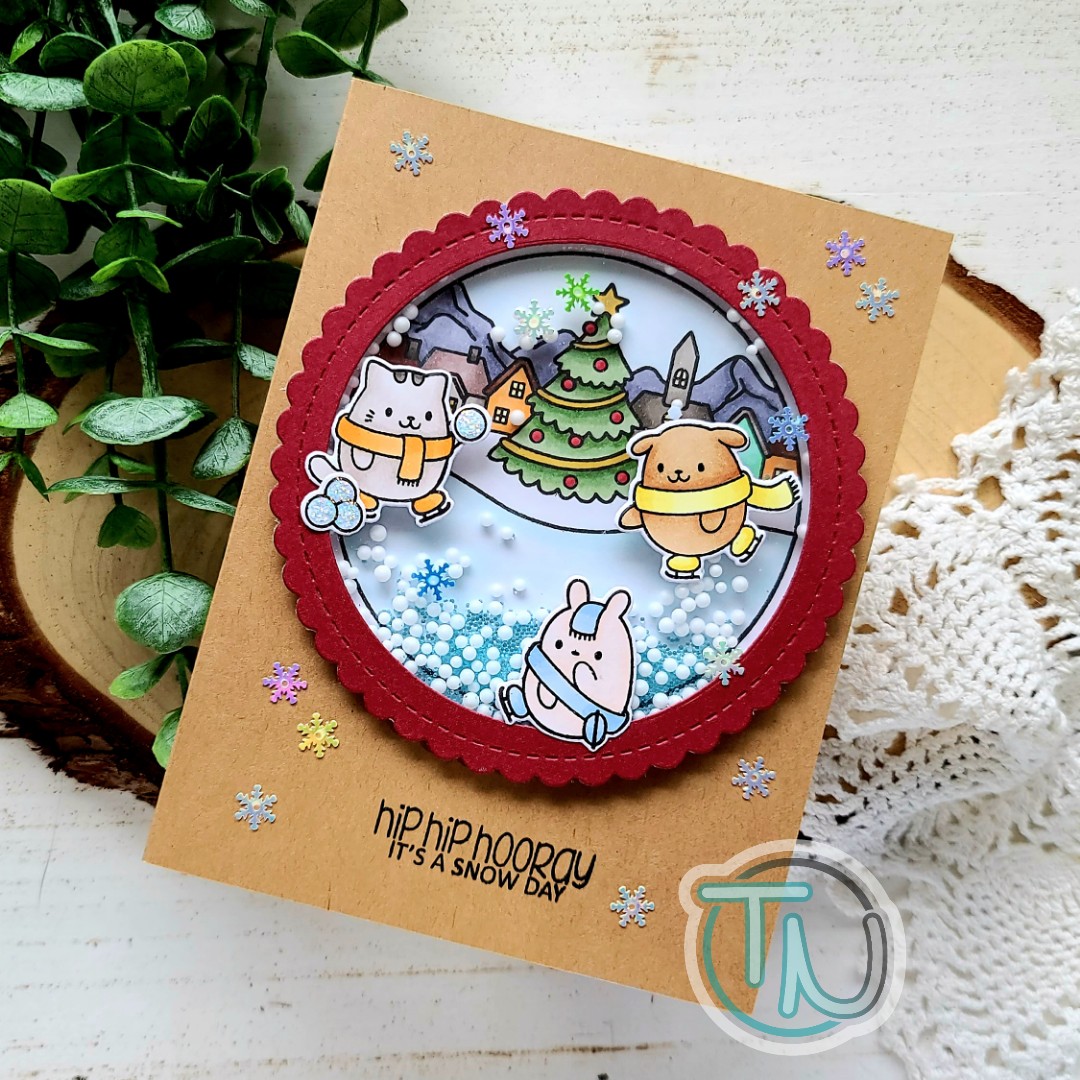
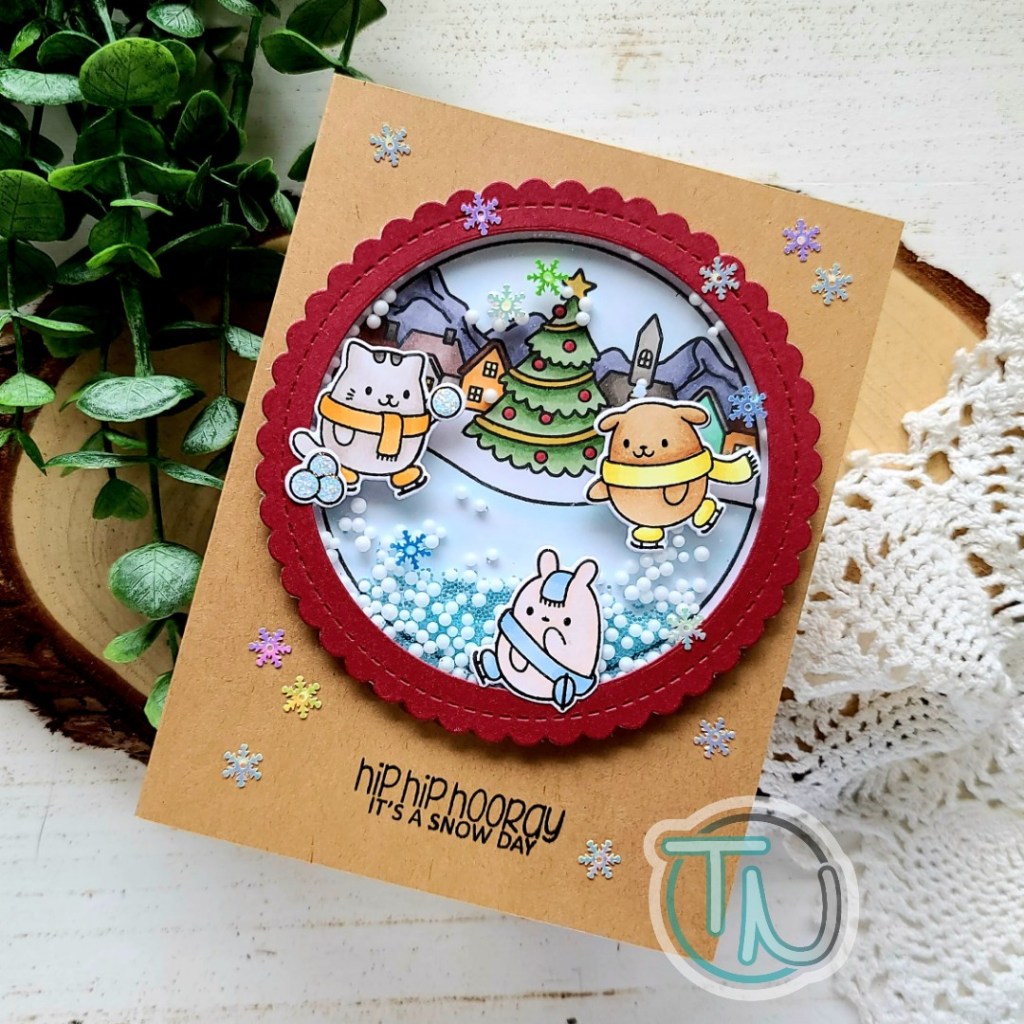
Hello again! I’m having fun making Christmas cards lately and wanted to share this fun shaker with you featuring the Simon Says Stamp Stamptember collab with Clearly Besotted.
I had so much fun stamping and coloring these images out! I used the coordinating dies to cut the critters out. Then I used my Newton’s Nook circle frames to create my shaker mechanism and frame.
I filled my shaker with some foam snow balls I’ve been hoarding from the Dollar Tree and some Pixie Dust micro beads in Silvermist from my Etsy shop. Once the shaker was created, I adhered it to a kraft card base and used my MISTI to stamp the sentiment.
I adhered the critters and snowballs with liquid glue and moved on to finishing touches. I added unicorn Stickles to the snowballs for a little glittery shine and some Frosty Flakes embellishments scattered across the card front.
Such a silly, fun card. I love how it turned out and can’t wait to play some more with this set.
I appreciate you sharing your time with me. Have a fabulous day!
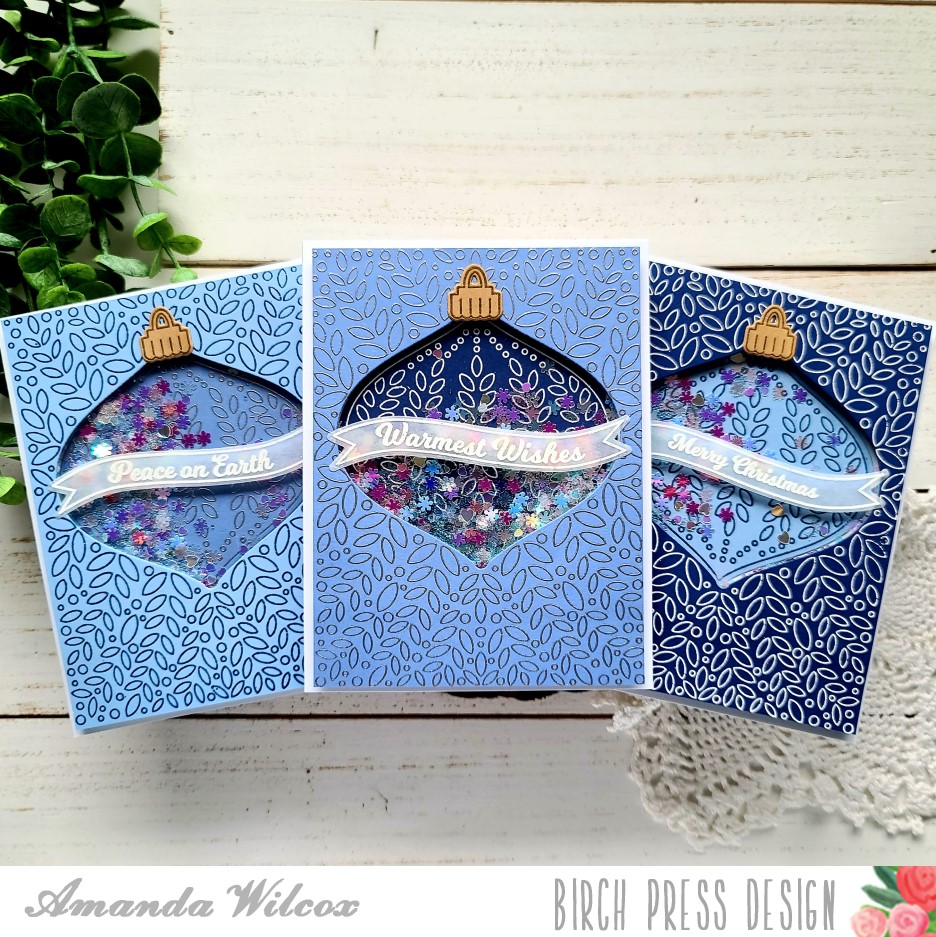
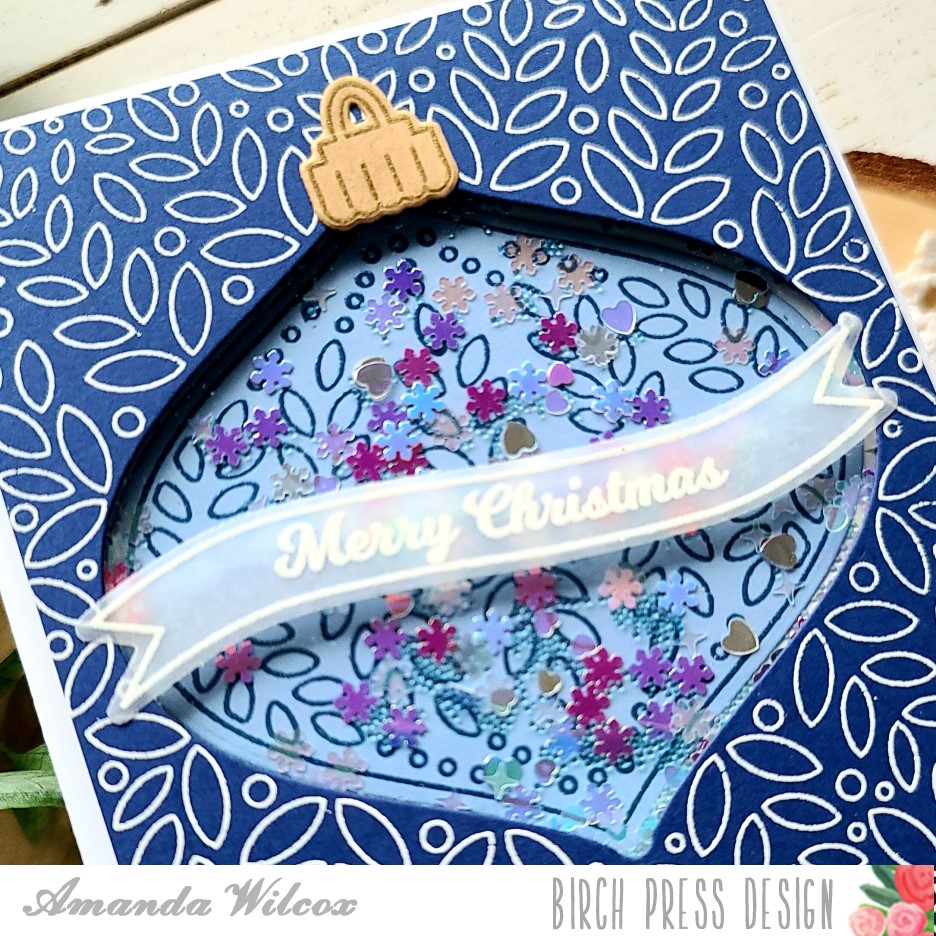
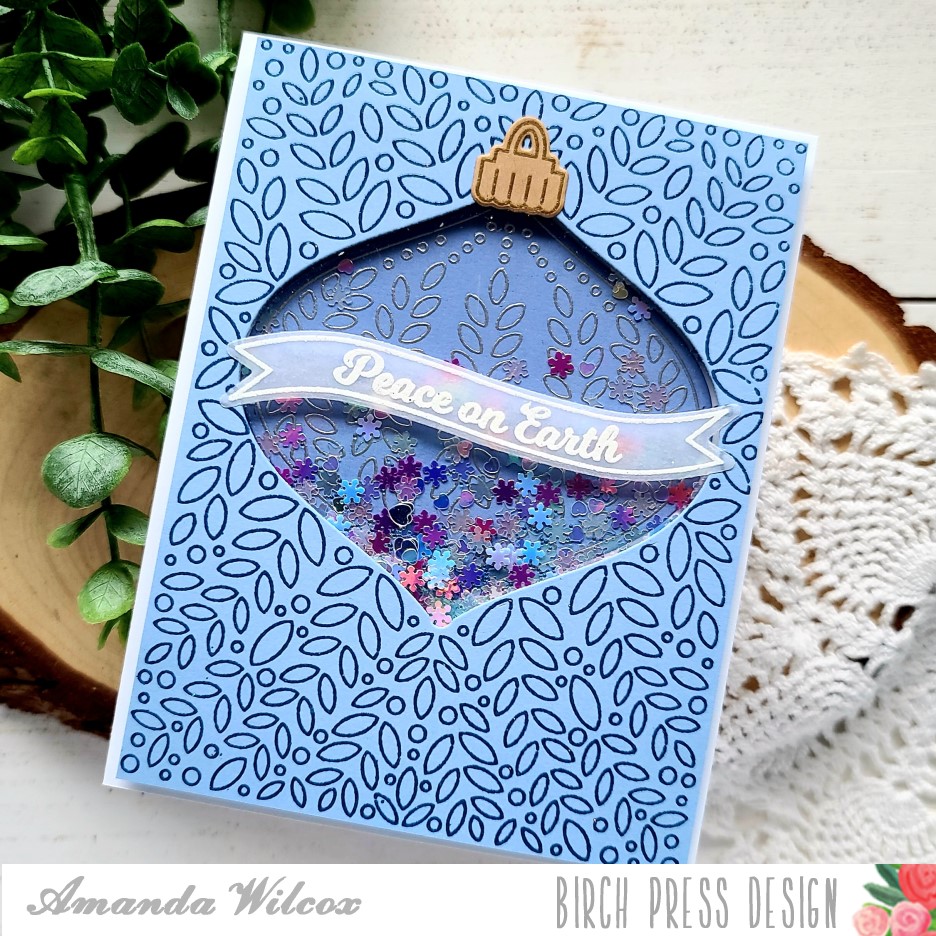
Hello and happy Friday everyone! I’m over on the Birch Press Design blog with a photo tutorial how to put together these awesome Christmas shaker cards. They were actually pretty quick and would be fun to make in larger batches to mail to friends and family this year.
I think these are so pretty and fun at the same time with the shaker mechanism adding a little whimsy to a more fancy stamp set.
Have you started making Christmas cards yet? With these 3 finished, I think my total is at about 12 and since it’s still October I’m feeling pretty good about that.
I appreciate you sharing your time with me. Have a fabulous day!