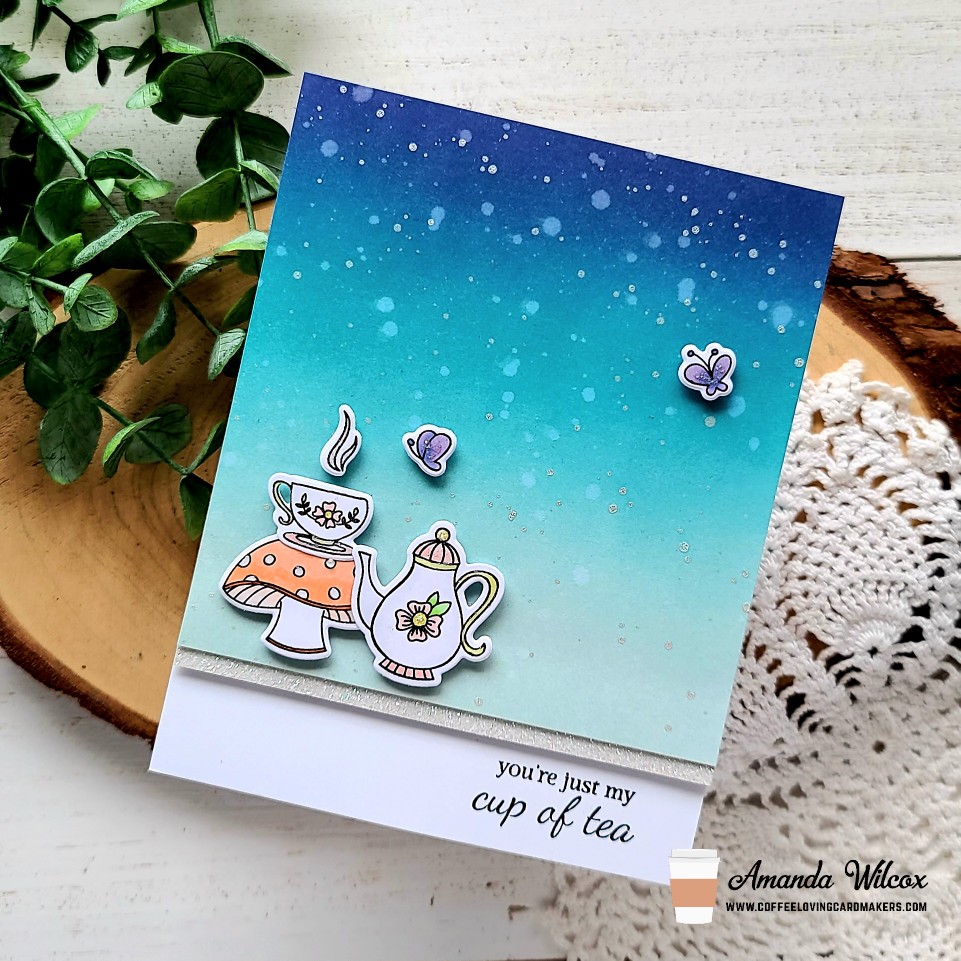
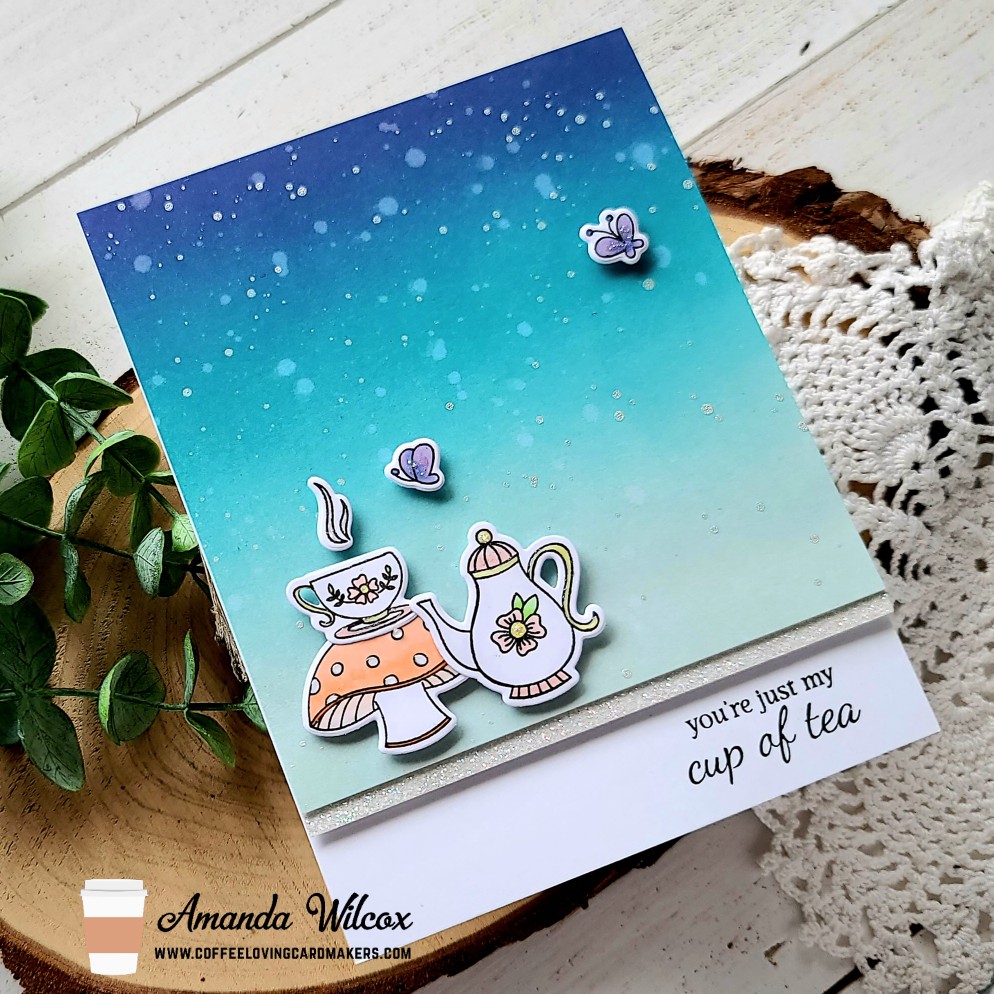
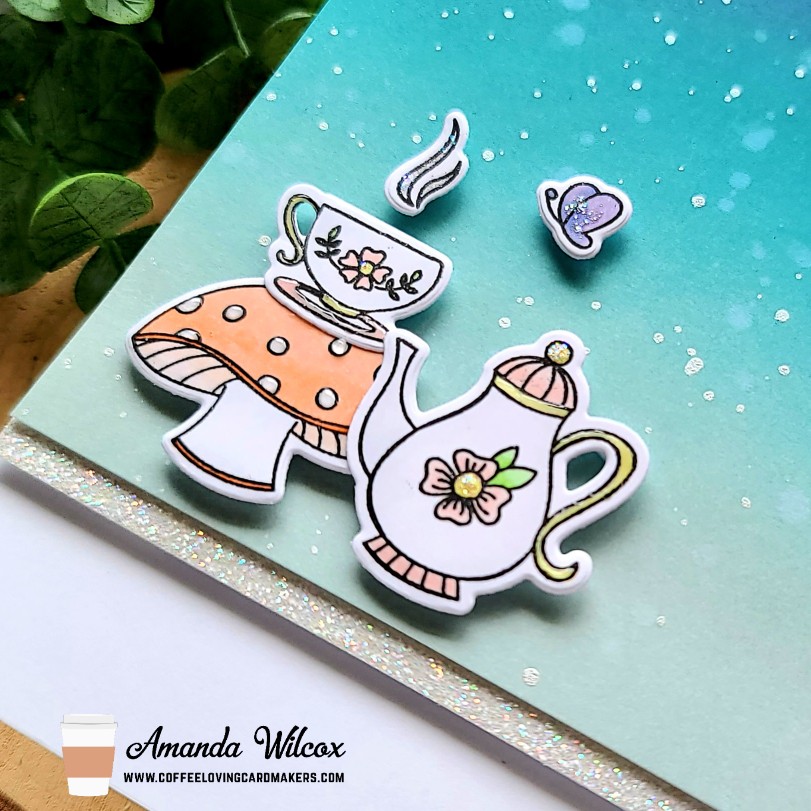
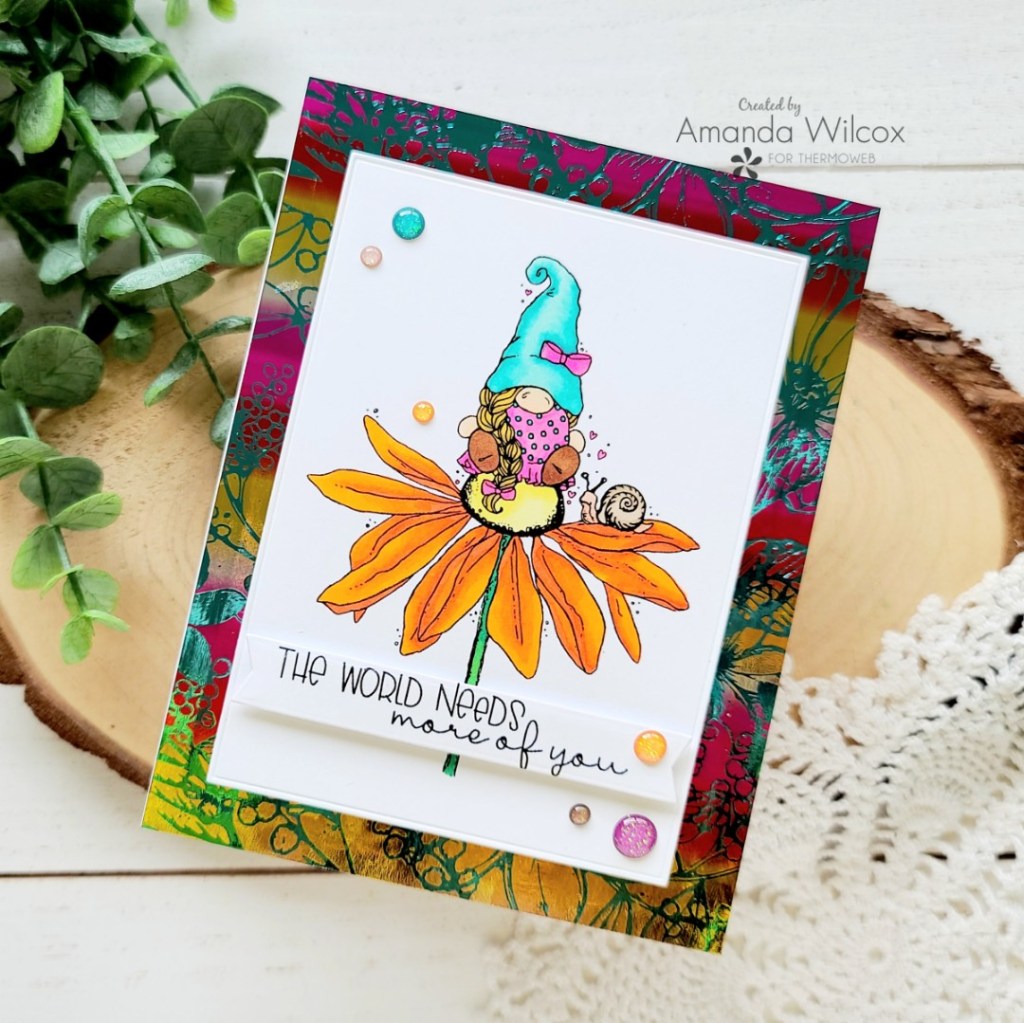
Hello my wonderful friends! I am over the moon to announce that I’m guest designing for Heffy Doodle this month and today is my first post! I couldn’t resist their new release and had to order almost all of it…and I’m already wishing I had the rest. So, I’m sure I’ll be back for more soon. Head over and check it out if you haven’t already.

I just knew that I wanted my first card to feature these amazing pandas from the Pandtastic Painters set, the Messy Desk stencil and the new Slider Pop Up die set. So the first thing I did was pull those items out and start deciding on my design so I could stamp and color images. I colored everything with copic markers and used the coordinating dies to cut the images out.
After I had the images cut out, I inked up a panel with the Messy Desk stencil and cut it out with the Slider Pop Up die. Laying my images on the panel gave me the great idea to cut out the Heart Pencil from white cardstock and color those in with my copics too, as part of the background.

Now that I have the front of the card figured out, I went back and cut the piece of the Slider Pop Up that pulls out and makes the card move. I inked the top of it up to match the rest of my card front so it was seamless. Then I took a white card base and inked up the Messy Desk stencil where the slider would show when the tab is pulled. I also stamped a sentiment here for added fun!
Now that I have all of my pieces, it’s time to assemble my card. I added double sided tape to the bottom of the slider mechanism and attached the card that you use to pull out. Next, I added more double sided tape to the back of the front panel on the sides and bottom, staying away from the sliding card, and adhered it to my card base.
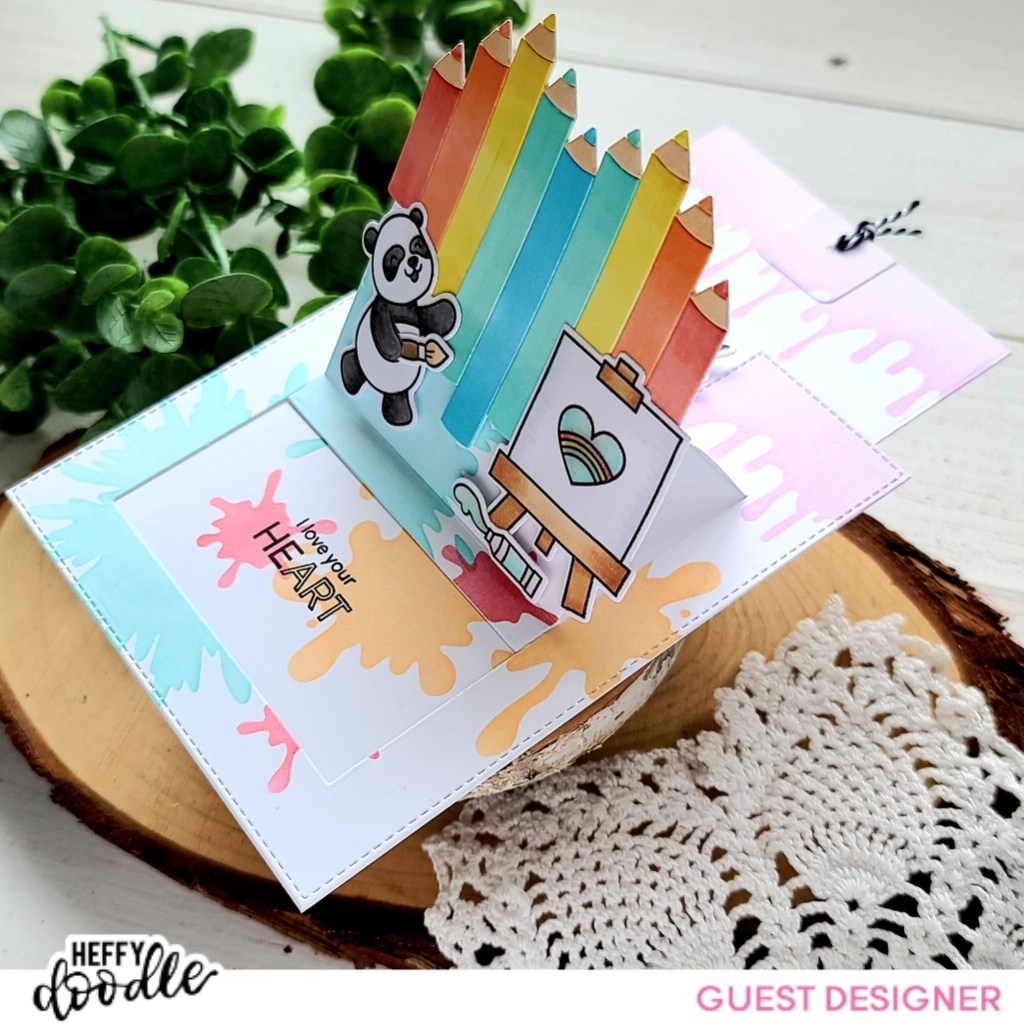
Then for the front of the card, I adhered the Pandtastic images to the Heart Pencil with liquid glue. I carefully added foam squares to the bottom portion of the images that will be sticking to the moving mechanism. Remember to keep adhesive only below the crease line. I popped the images in place softly and tested it out just to make sure. When everything moved correctly I pressed down firmly.

For finishing touches, I added glossy accents to the panda’s nose, paint coming out of the tube and heart on the canvas. Then, I decided to stamp and cut out a sentiment banner from the Wavy Banner Sentiments and add it to the top left. The very last thing I did for this card was pull the slider mechanism out, punch a hole in it and add some baker’s twine to make it easier to use. Another tip here is to add your slider mechanism with foam so there is a larger gap to grab the tab.
I had so much fun creating this card. I really hope you liked it and find some inspiration to create something wonderful! I appreciate you sharing your time with me. Have a fabulous day!