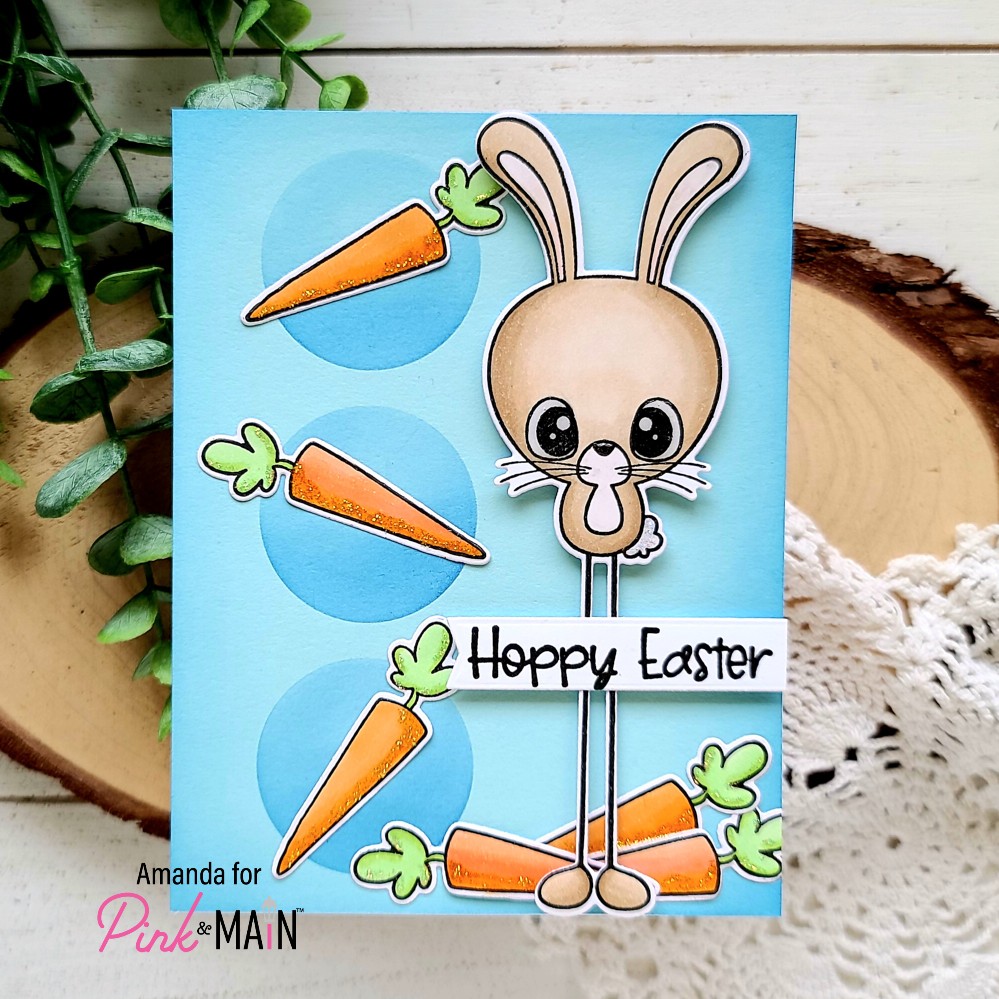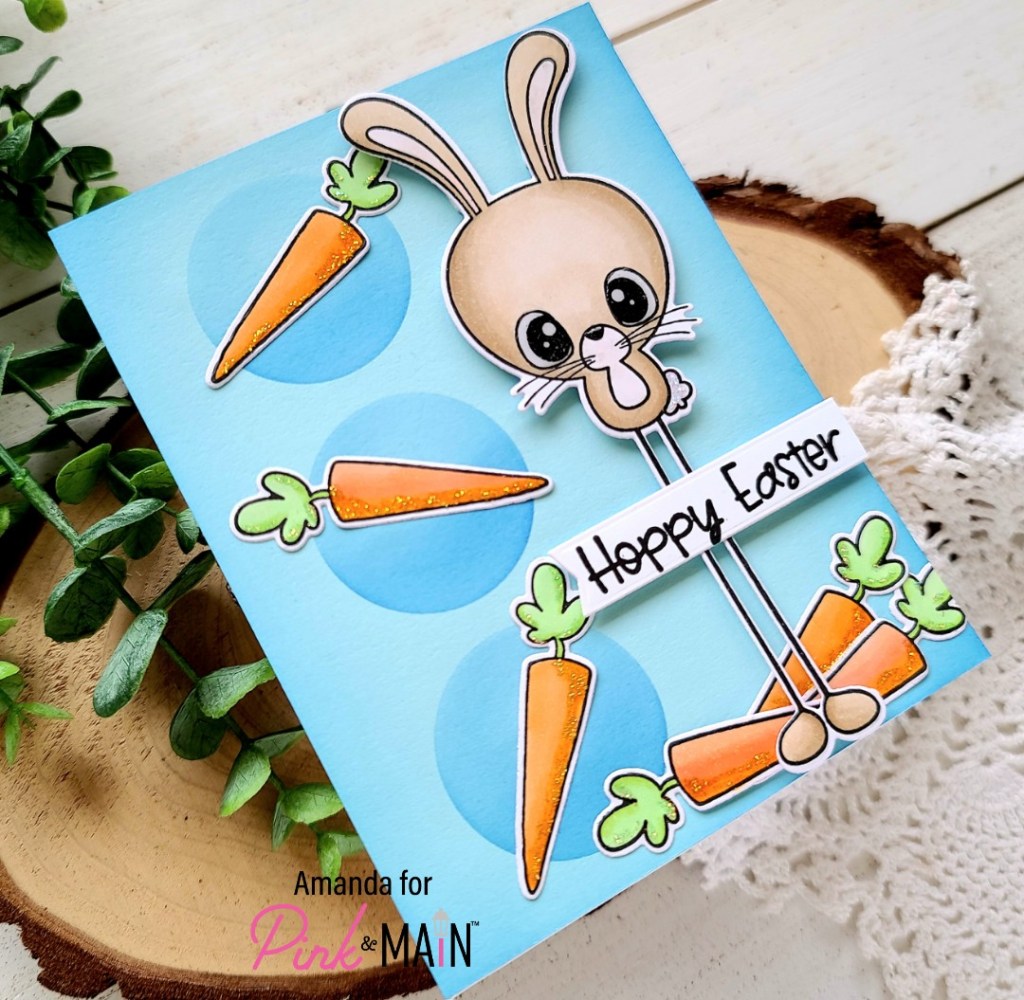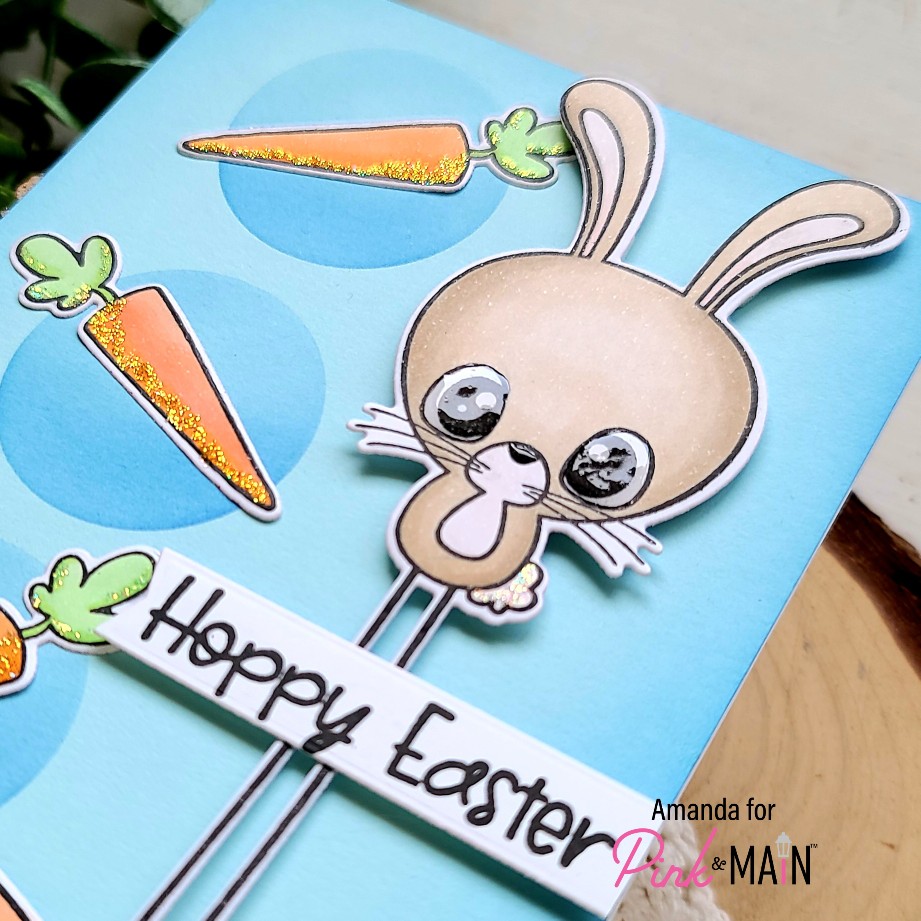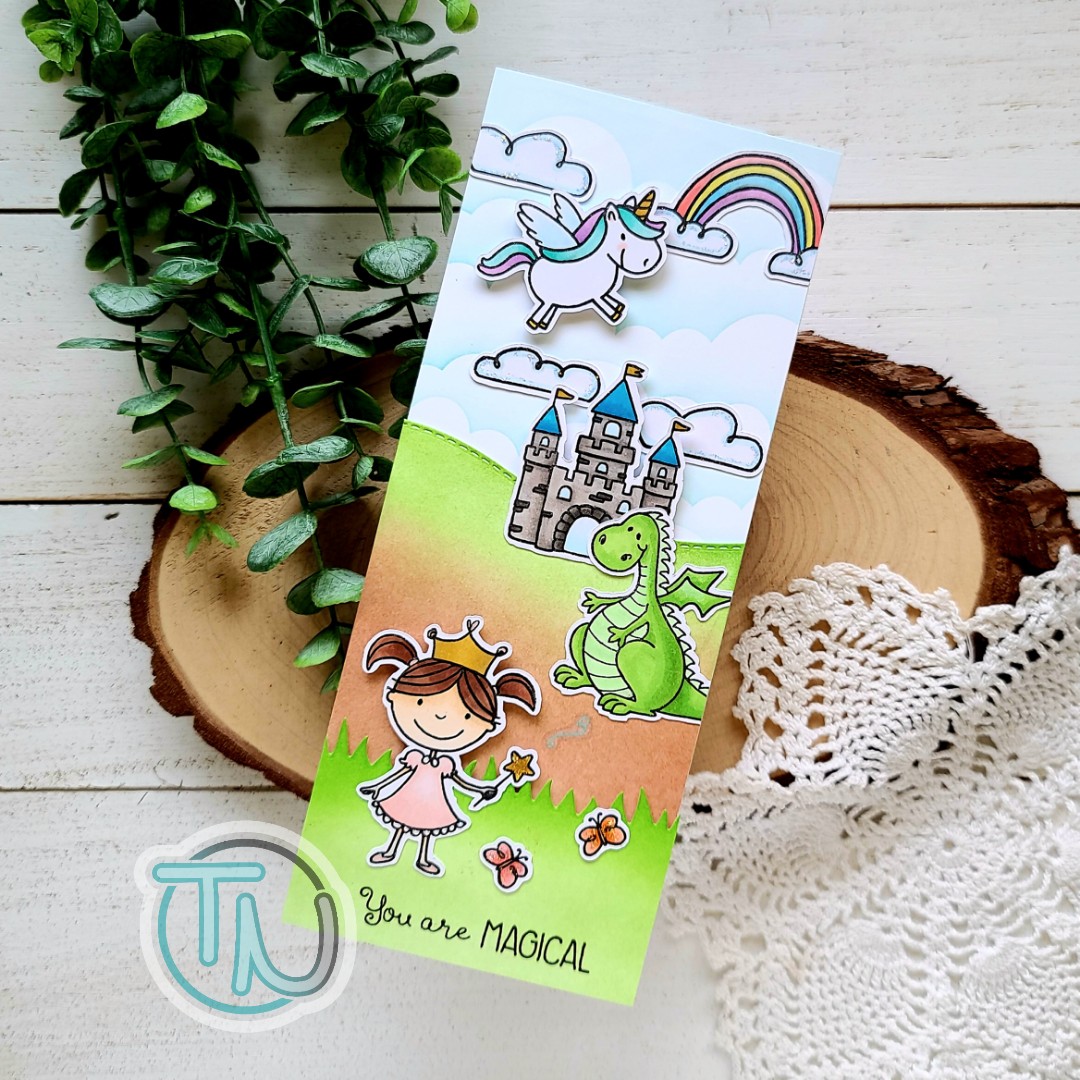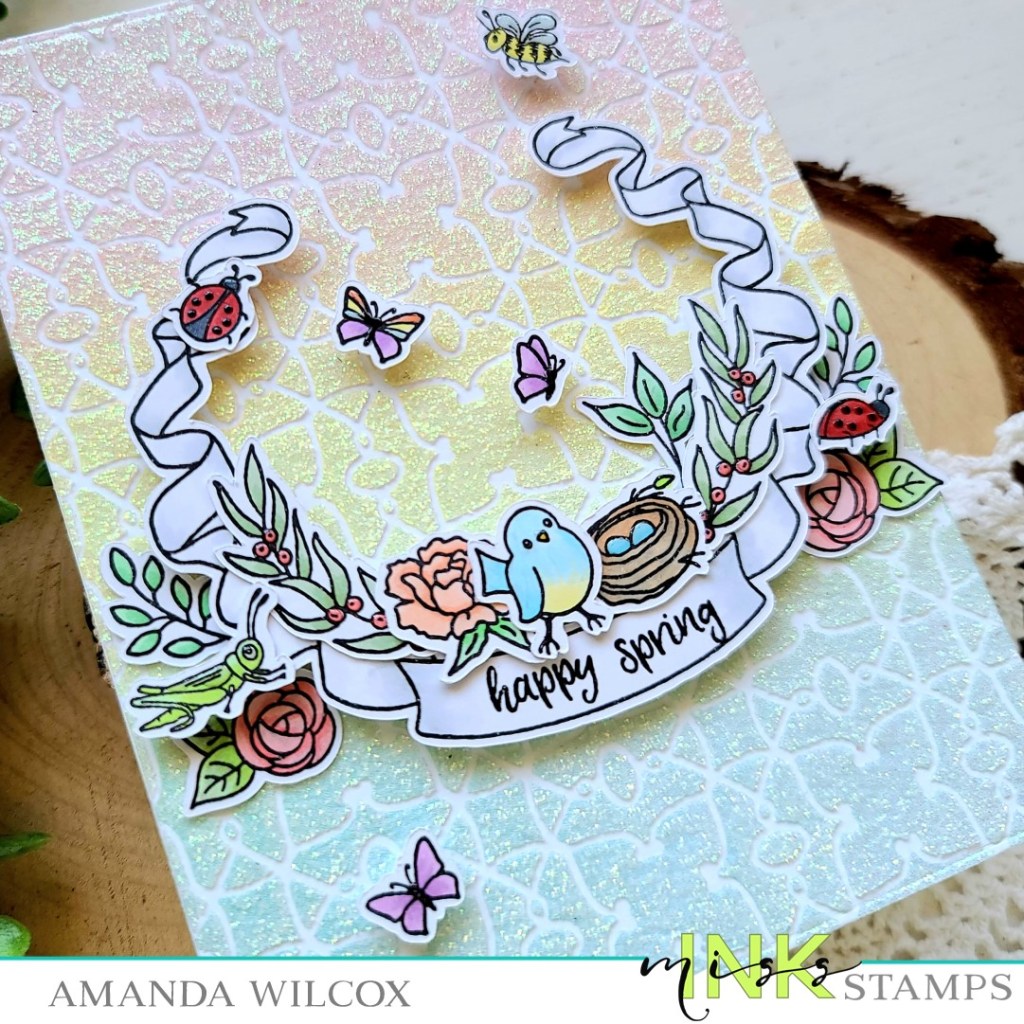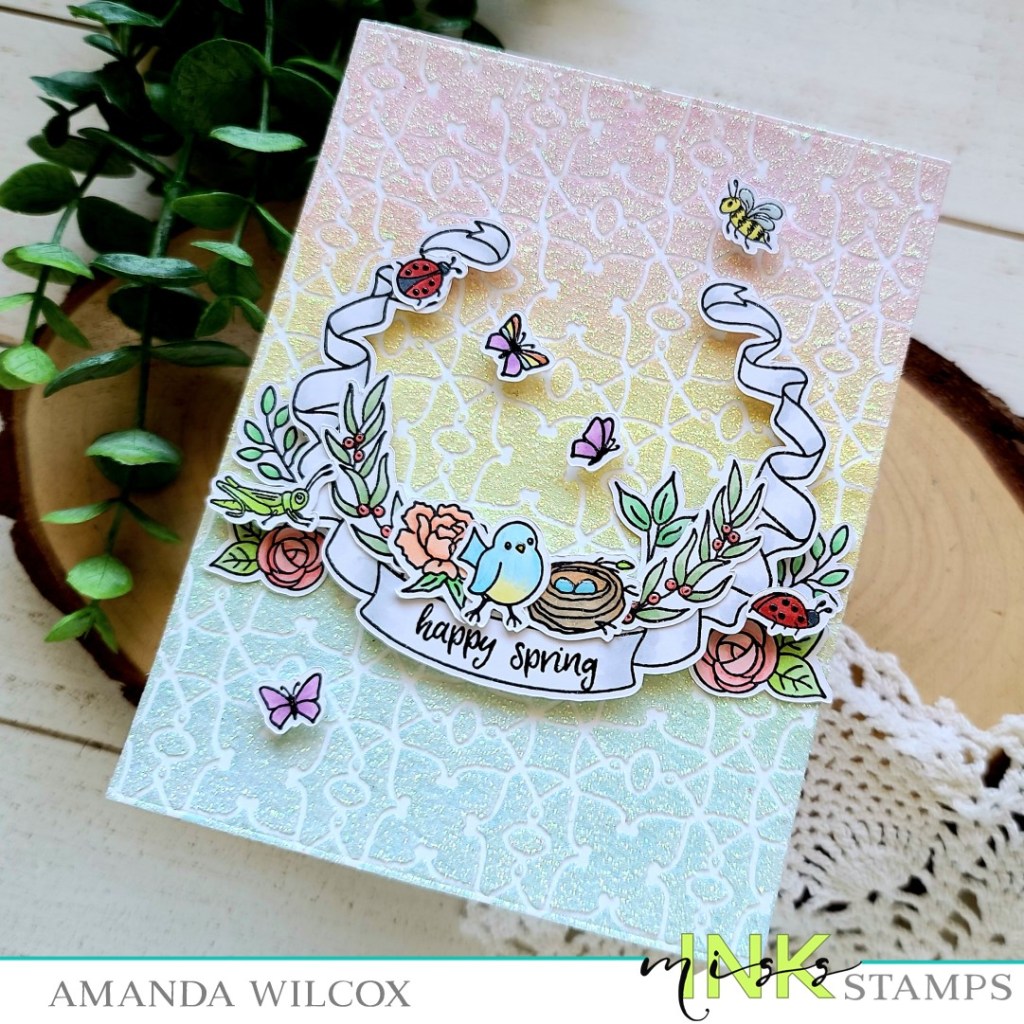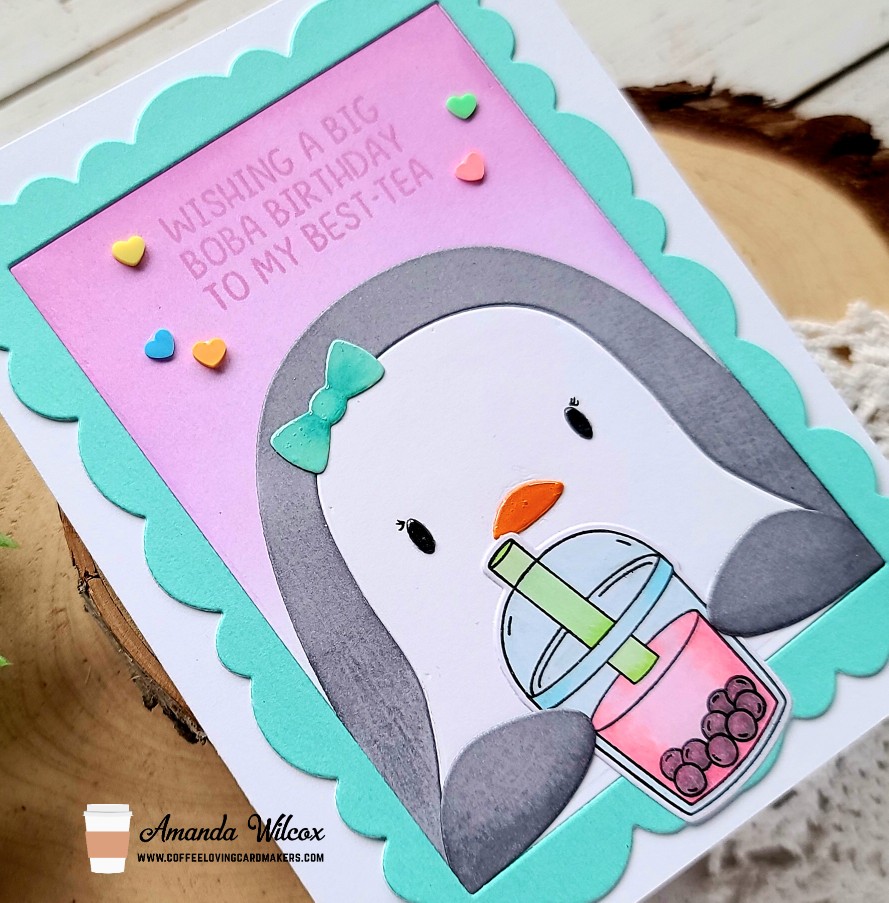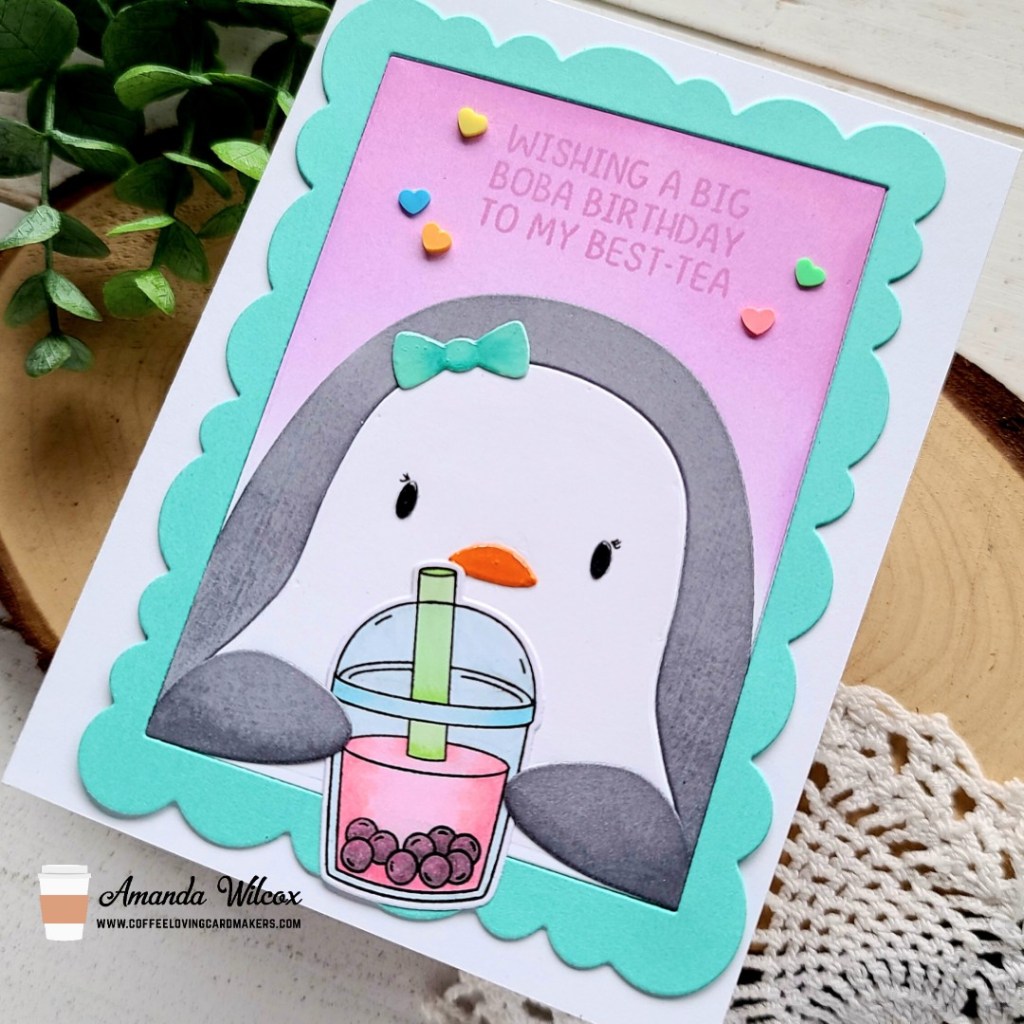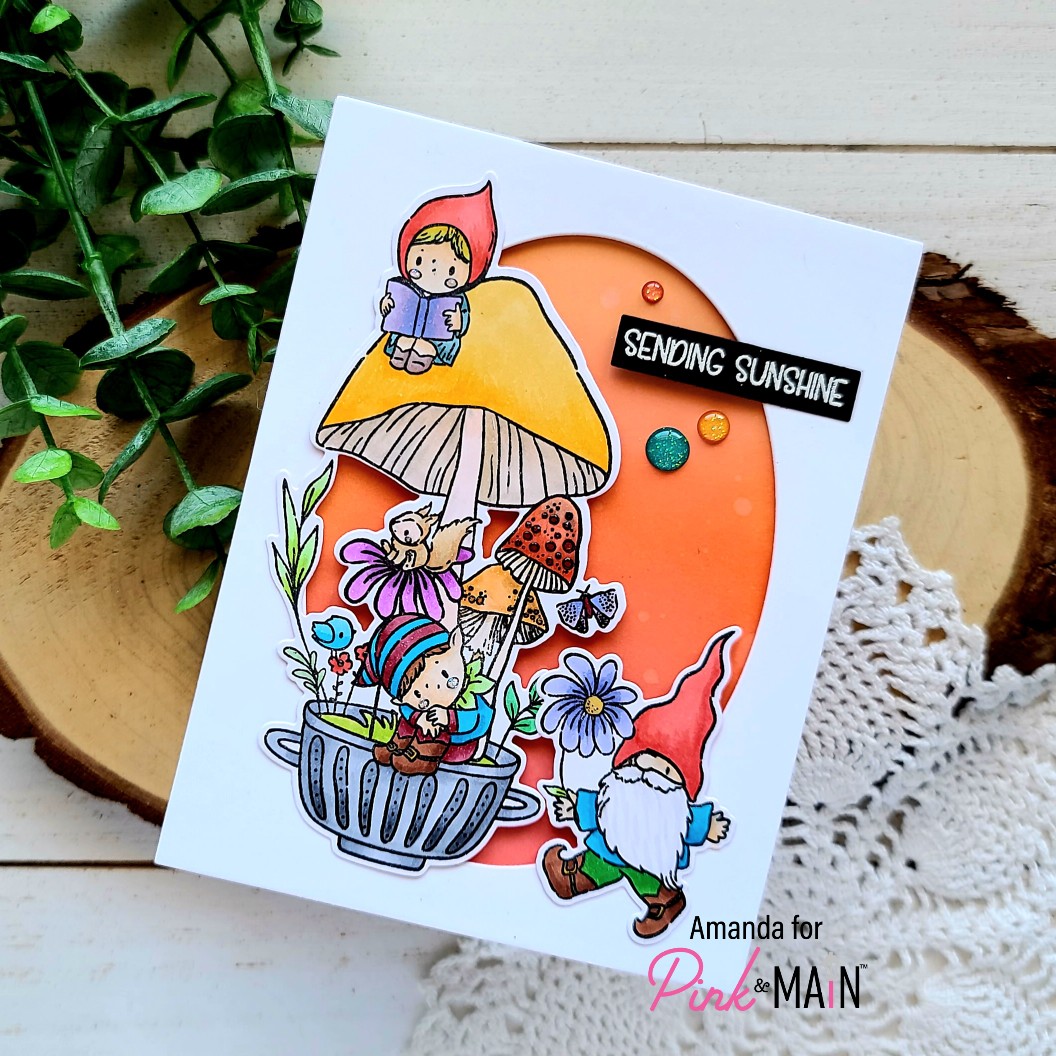
Hello there! I’m over on the Pink & Main blog today getting inky with some super adorable little gnomes! I love these images and how big they are. Sometimes it’s nice to have one focal point that fills your card front…in today’s case there are two but I just had to add that sweet gift with purchase gnome to the scene.
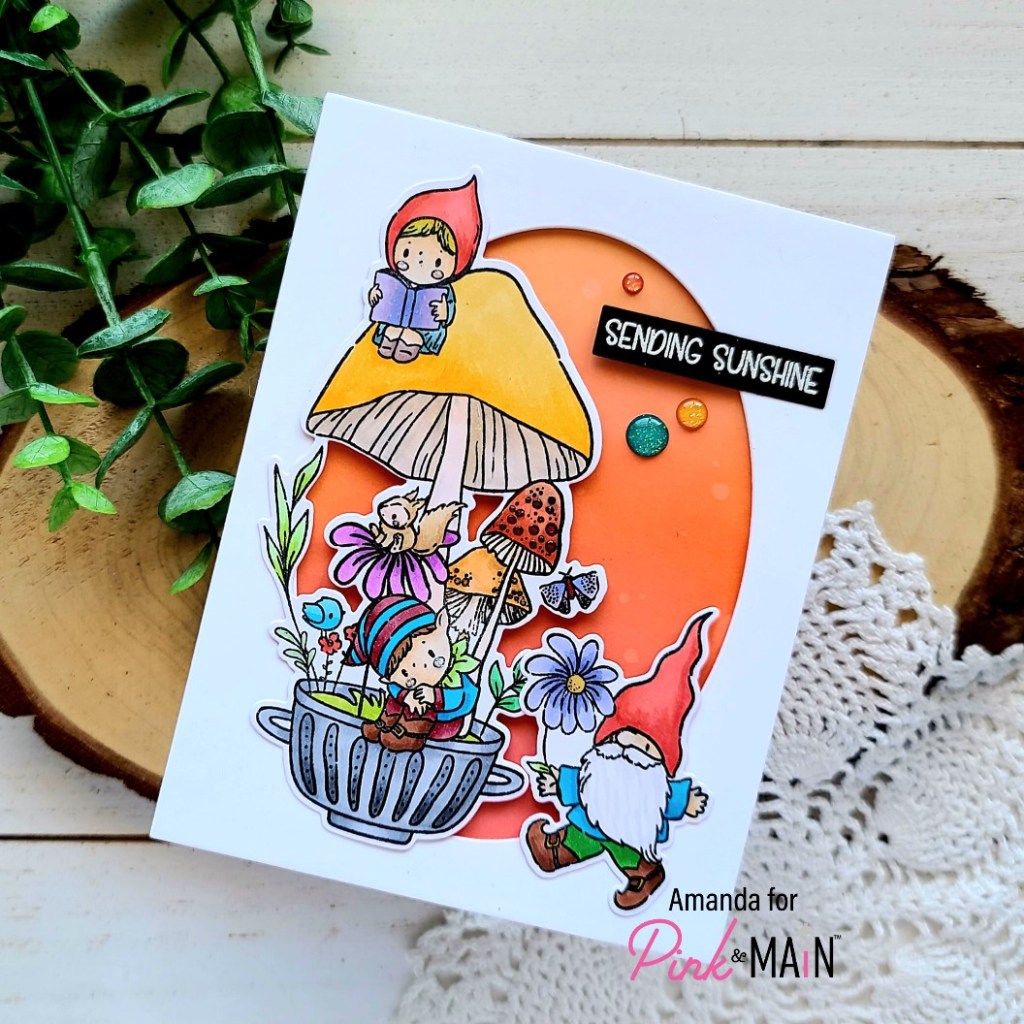
I started today’s card with an idea in my head so I stamped an image from Gnome Matter What and colored it with my copic markers. Then I decided to stamp cute mini gnomie and color him too. I used the coordinating dies to cut them out and set them aside.
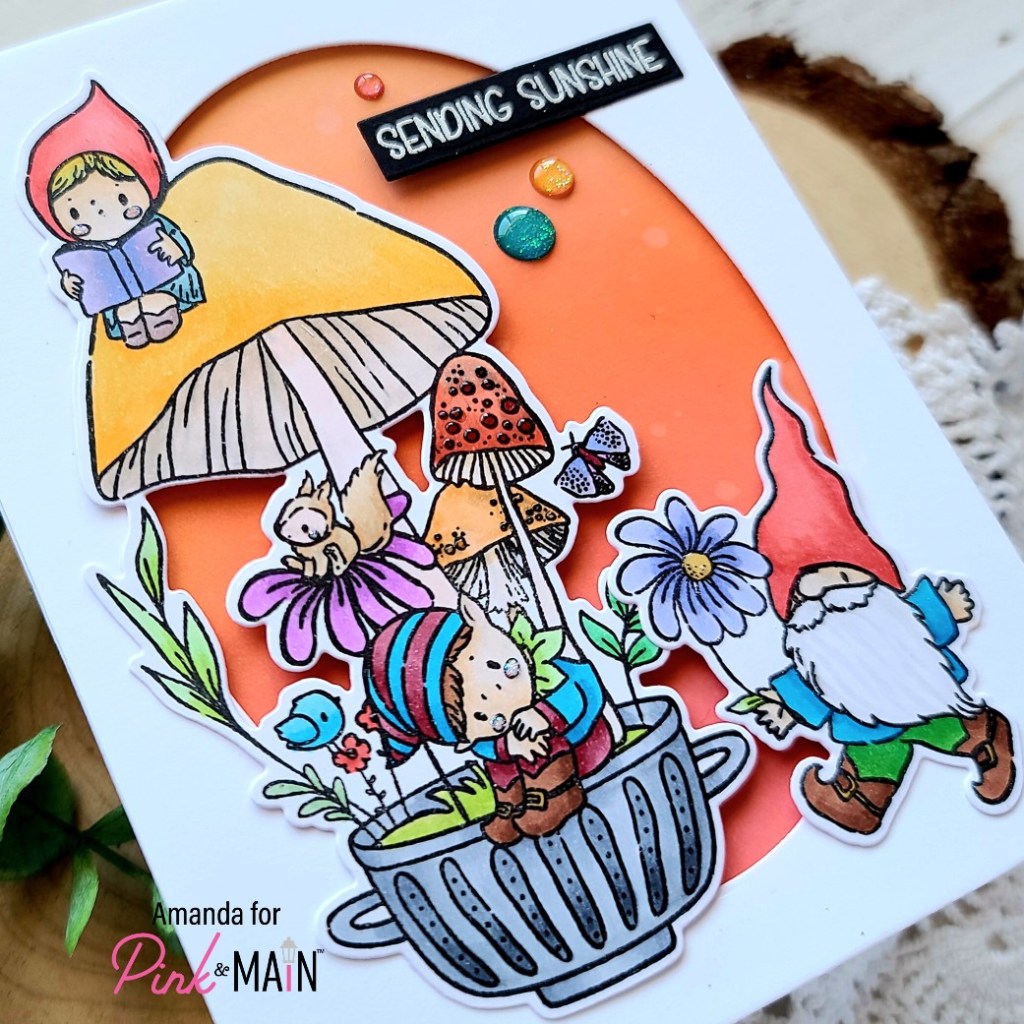
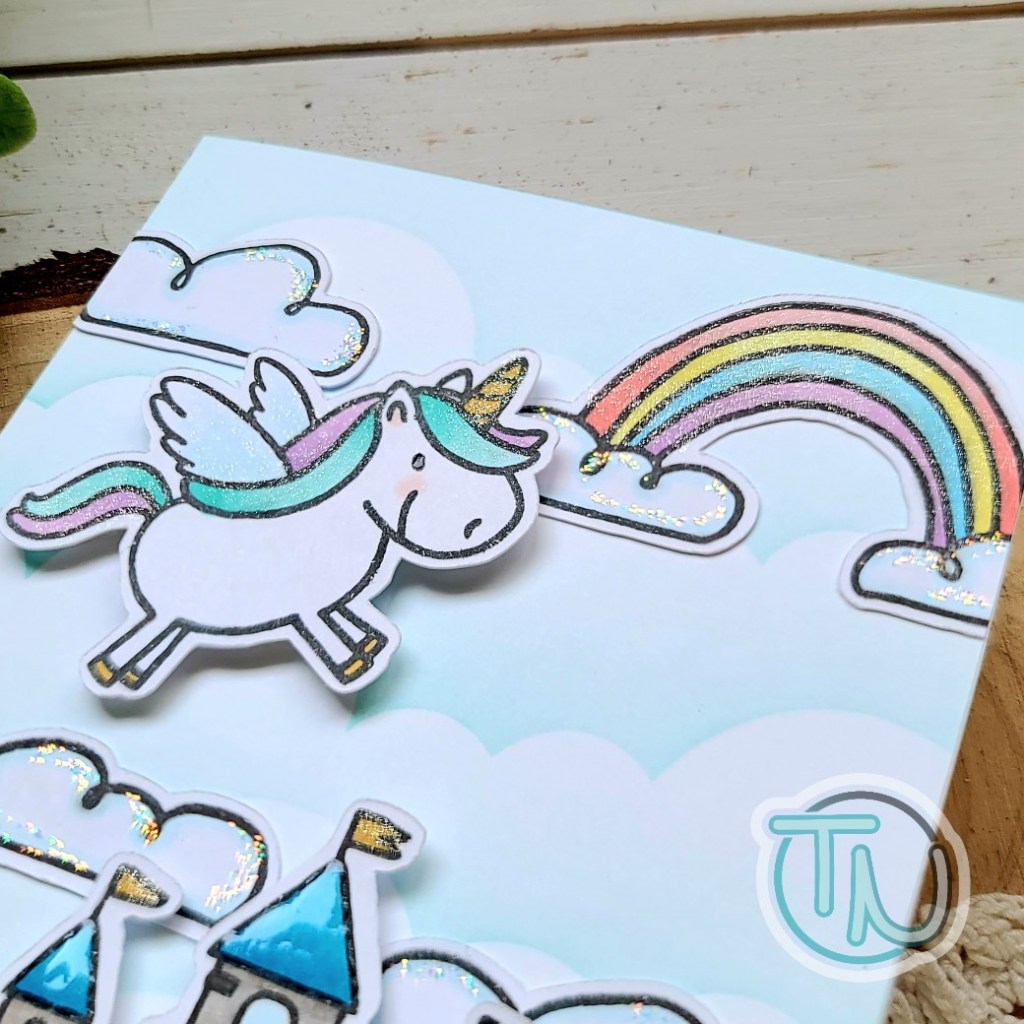
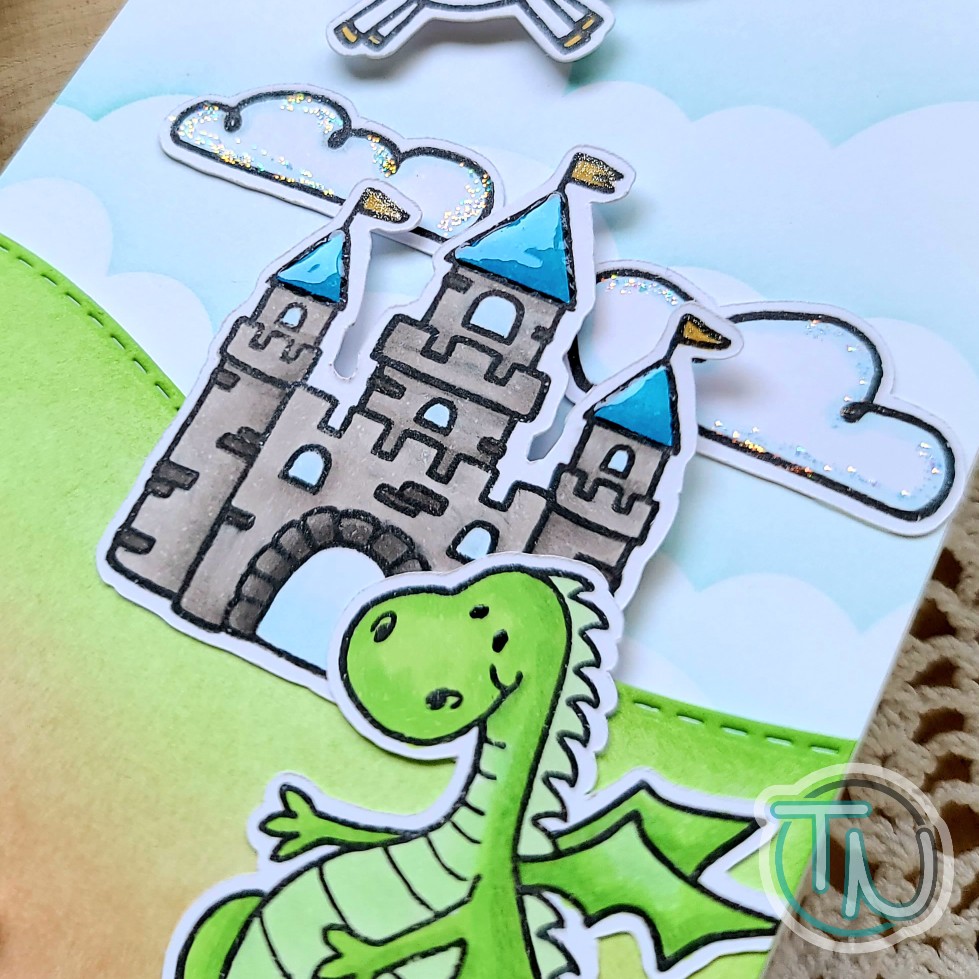
I inked up a panel with ripe persimmon, dried marigold and abandoned coral distress oxide inks. I spritzed it with water a used the largest A2 layered rectangle dies to cut it out. Then I die cut a second white panel and then cut a window with one of the layered oval dies. I used liquid glue to adhered the inked panel to a card base and then foam strips to add the oval frame. I selectively added foam squares to my images and used liquid glue where they overlap each other or the frame and put them in place.
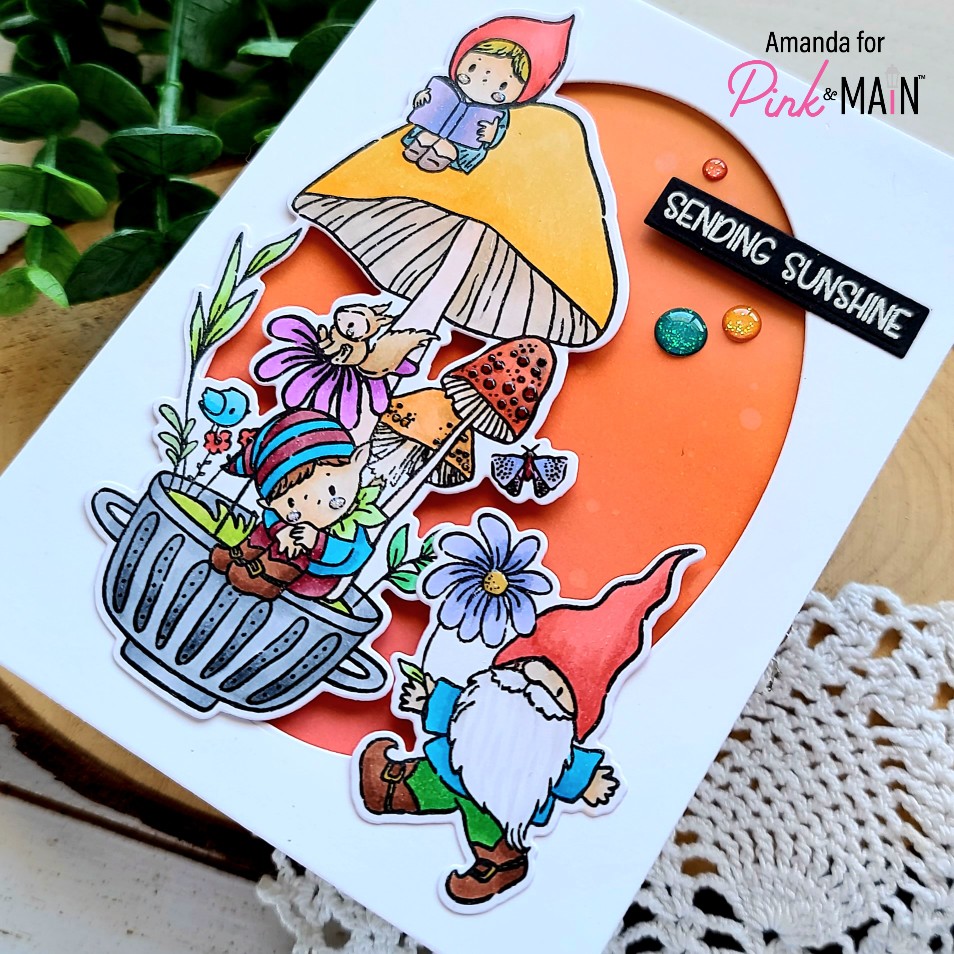
For my sentiment, I switched gears and pulled one out from Sunny Greetings and heat embossed it in white on black cardstock. This coordinating die set has sentiment banners that I used to cut it out and then popped it in place with liquid glue and foam squares too.
For finishing touches on this card, I added glossy accents to parts of the butterfly, mushroom spots and flower centers. Then I used star dust Stickles on the gnome cheeks. Last, I added 3 enamel dots from the Falling For You set.
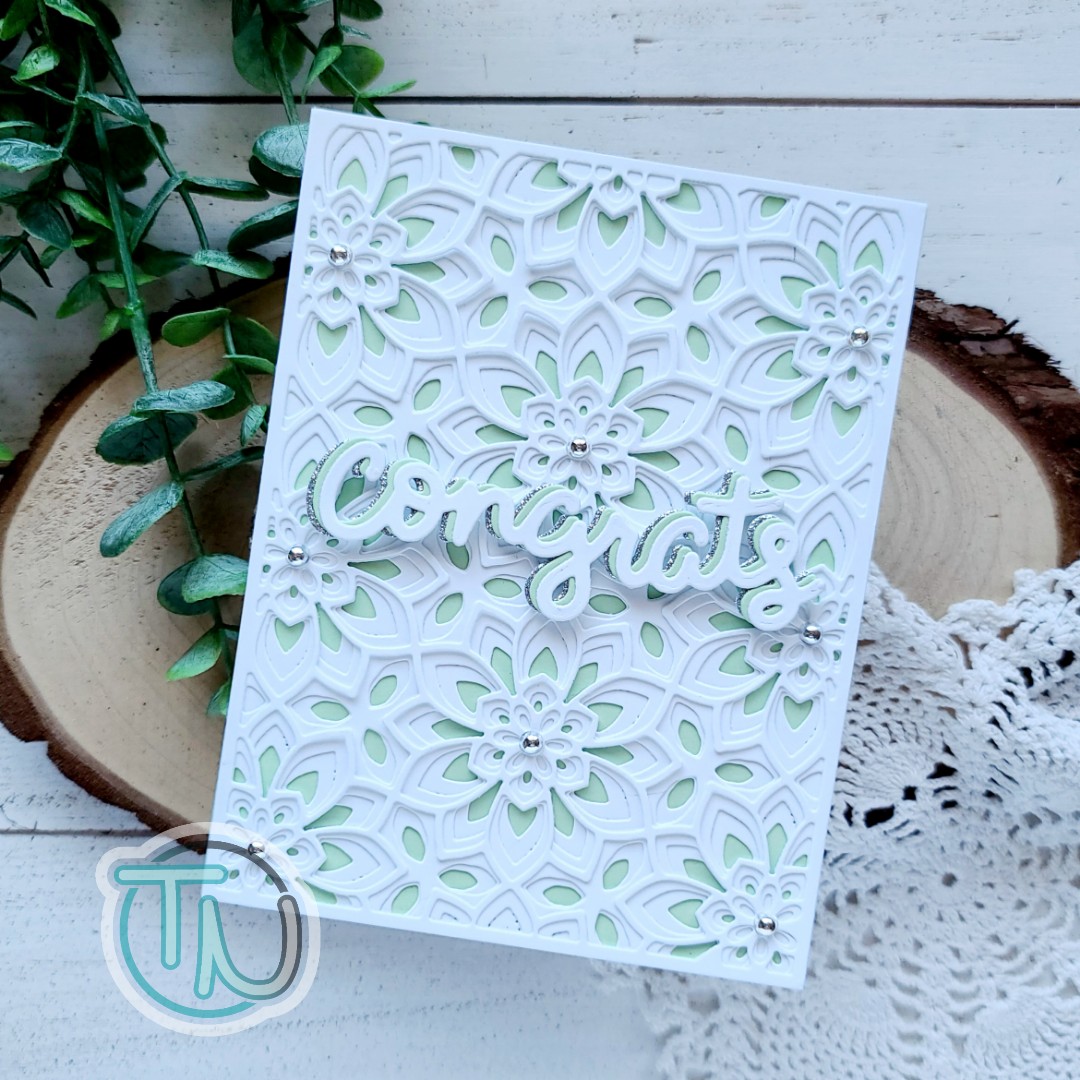
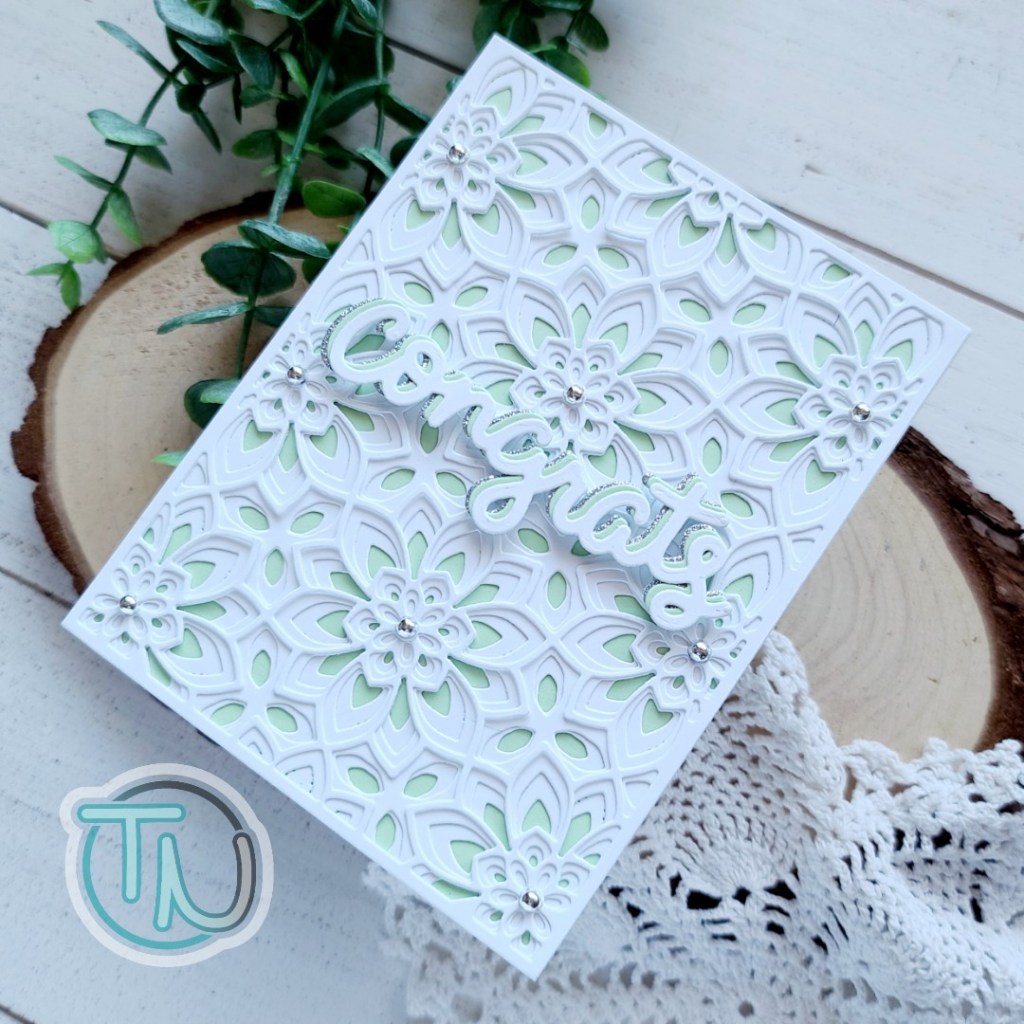
I appreciate you sharing your time with me. Have a fabulous day!