Blog

Elf Popcorn

Welcome back and happy Friday everyone! Today I wanted to share a project I designed about 5 years ago and have made them every year since.

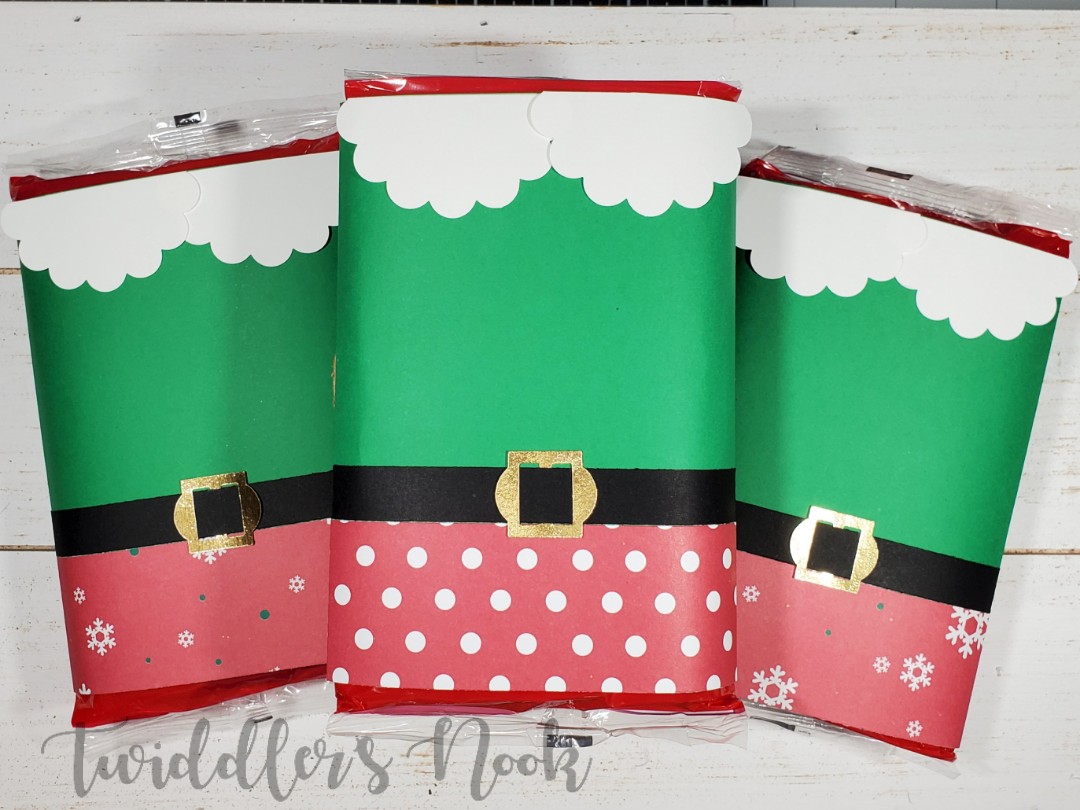
It’s essentially a wrapper for a package of microwave popcorn. The front looks like elf clothes and then I add a little piece of cardstock to the back so you can write a message.
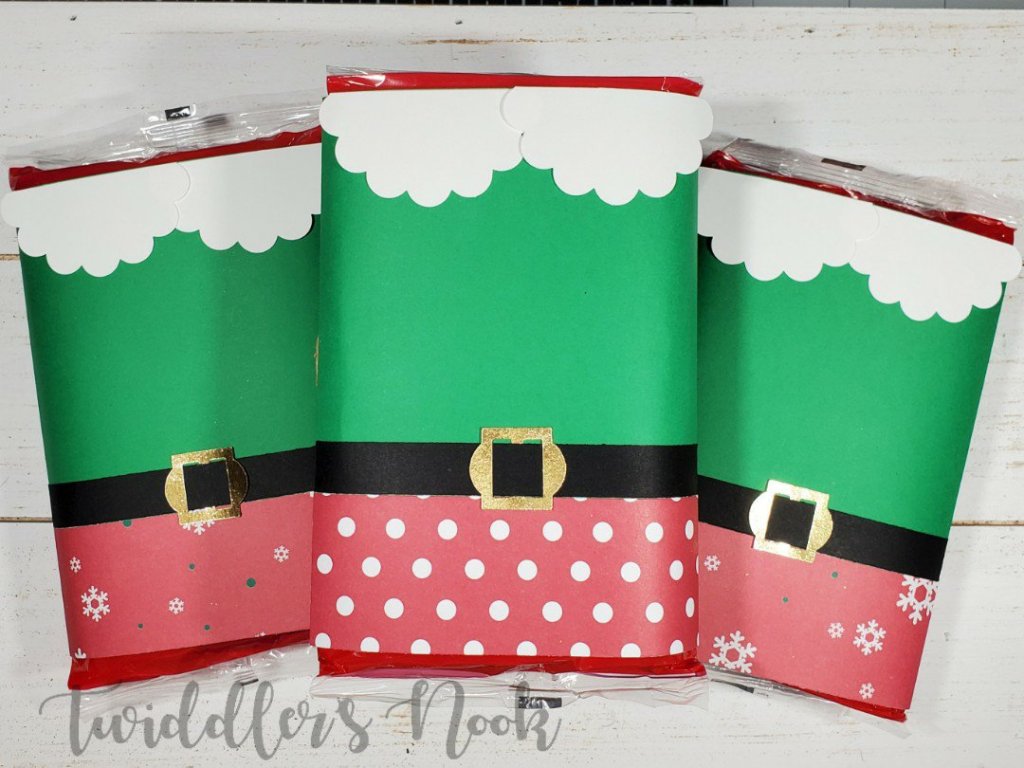
To make these I cut 8.5×5.5 green cardstock. Then I cut a red patterned paper (pants) to 8.5×2.5 and a black strip (belt) 8.5x.75. I designed a belt buckle on my Cricut and cut those from gold cardstock and threaded the belt through.
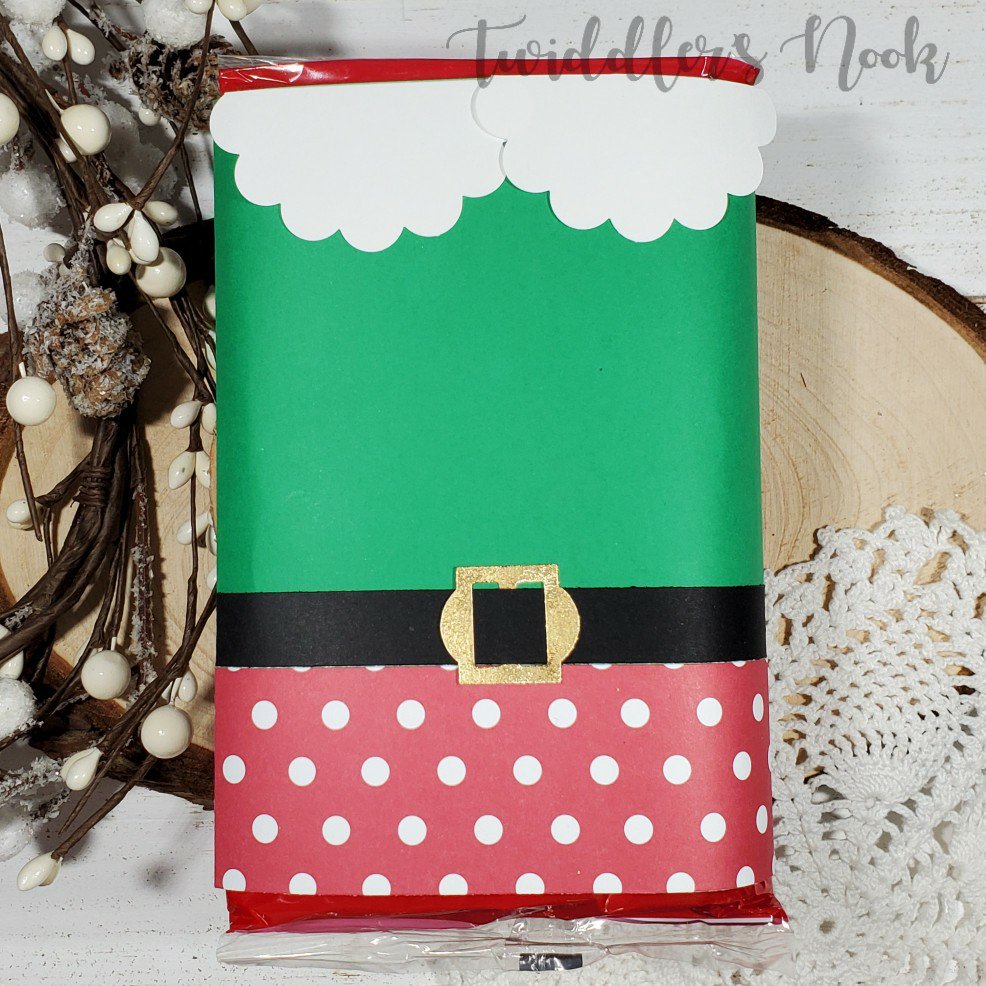
Next I glue the belt and pants to the green panel and score that whole piece 2 1/8 from each side. To make the collar I use a 2″ circle scallop punch, cut it in half and glue the two pieces to the top. Finally I add scor-tape to the back, wrap it around the popcorn and seal it shut.
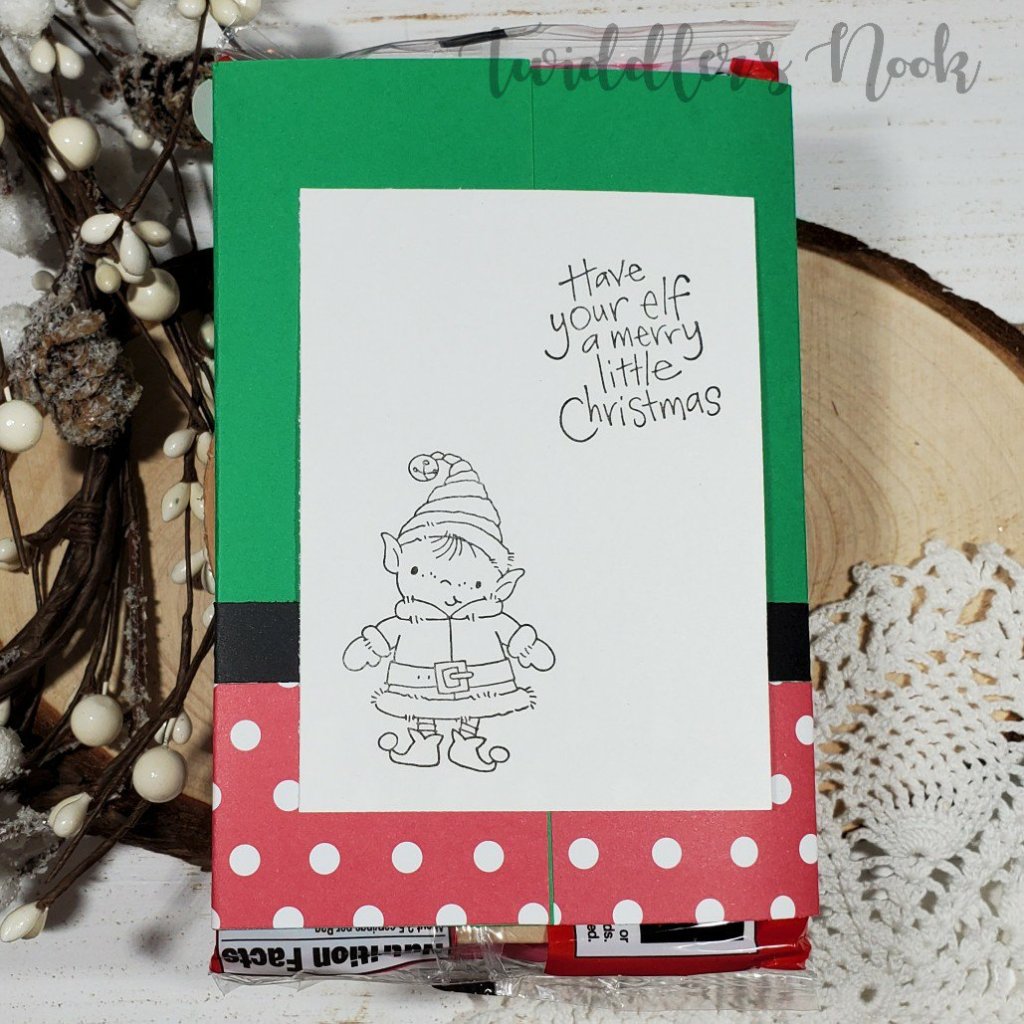
I have this adorable pair of stamps from Stampendous that I like to put on the back. This white panel is 3×4 inches and I just use tape runner to adhere it. I’ll write a quick note and it’s ready to give. I make these in mass, 44 to be exact, because that’s how many packs come in a Costco box of popcorn. Lol!

These make great teacher and classroom gifts, or put one on all your coworker’s desks like I’m doing today!

I appreciate you sharing your time with me. Have a fabulous day!

Trinity Stamps – Do Re Me Ow

Hello everyone! I’m so happy to be back crafting and sharing fun things with you. My whole family got really sick, including me, which doesn’t often happen. So we’ve been laying low and I haven’t had much energy to craft.

Last night I finally got back in there and made this super fun, punny Christmas card for my daughter’s choir teacher. It features a Trinity Stamps set called DO RE ME OW that is definitely one of my favorites of the year! I hope you enjoy it.

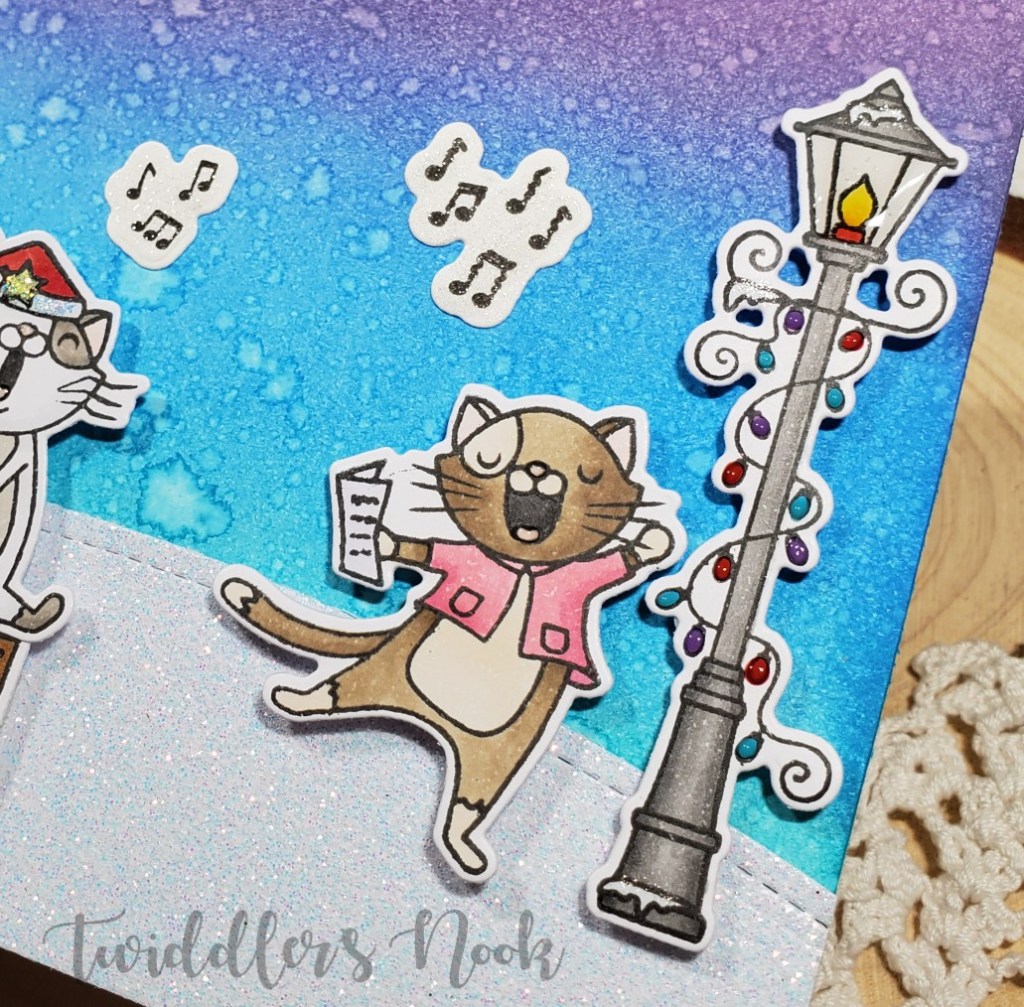
I started by ink blending a background and spritzing it with water. Then I die cut some white glitter cardstock for a snowy hill and set to stamping my images. I colored them with copics and die cut them with the coordinating dies. I love that this set also cuts out the words! So cool!

Then I started assembling everything. The words, music notes and fence are glued directly to the card and everything else is popped up with foam squares. Finally, I moved on to finishing touches, which is my favorite part!!!

I had colored the Christmas lights on the pole but decided to use Nuvo Crystal Drops on them instead. I love how it turned out! I also added glossy accents to the glass on the light, all the kitty noses and tongues, and the sticker on the box.

I put Stickles on the kitty boots and hats and used my Wink of Stella glitter brush pen on the music notes, words and snow on the light pole.

The inside of the card finishes the punny question from the front with, “DO RE ME OW” and under that I added the sentiment from the set, “We wish you a meowy Christmas.” My daughter is so excited to deliver this with his gift tomorrow. I’m sure it will give him a chuckle.

Thank you so much for stopping by today! I’m so happy to be back at it! Have a fabulous day!

Trinity Stamps – Season Greetings Silhouettes

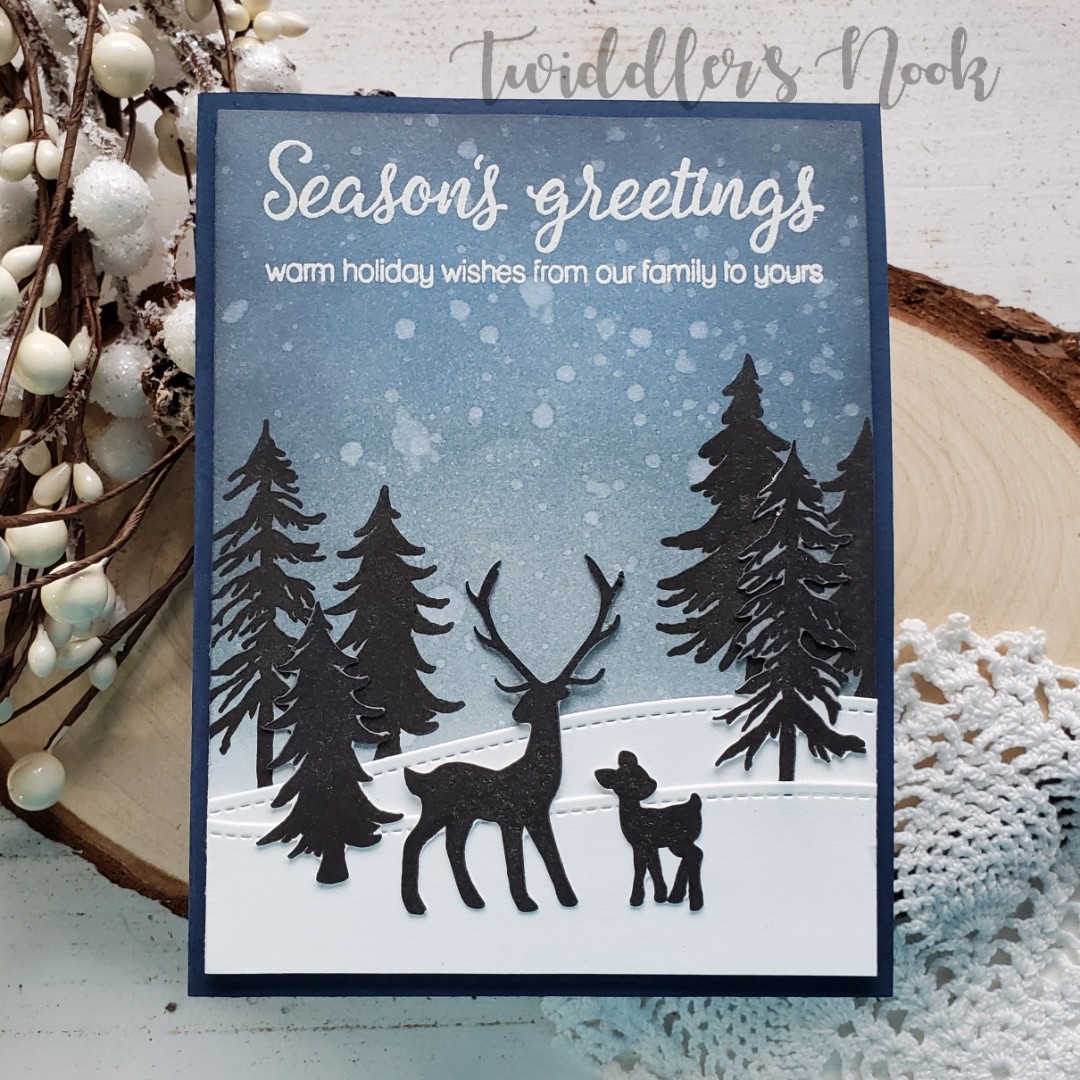
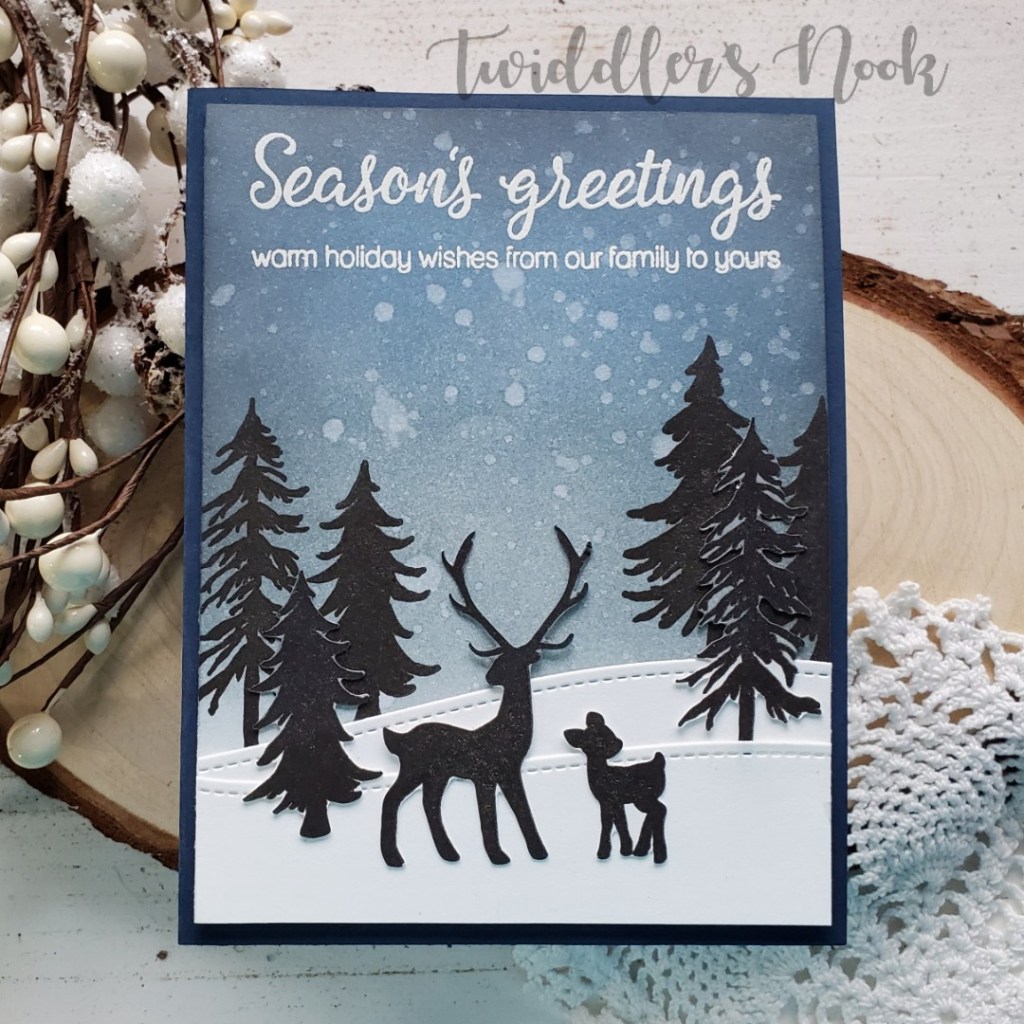
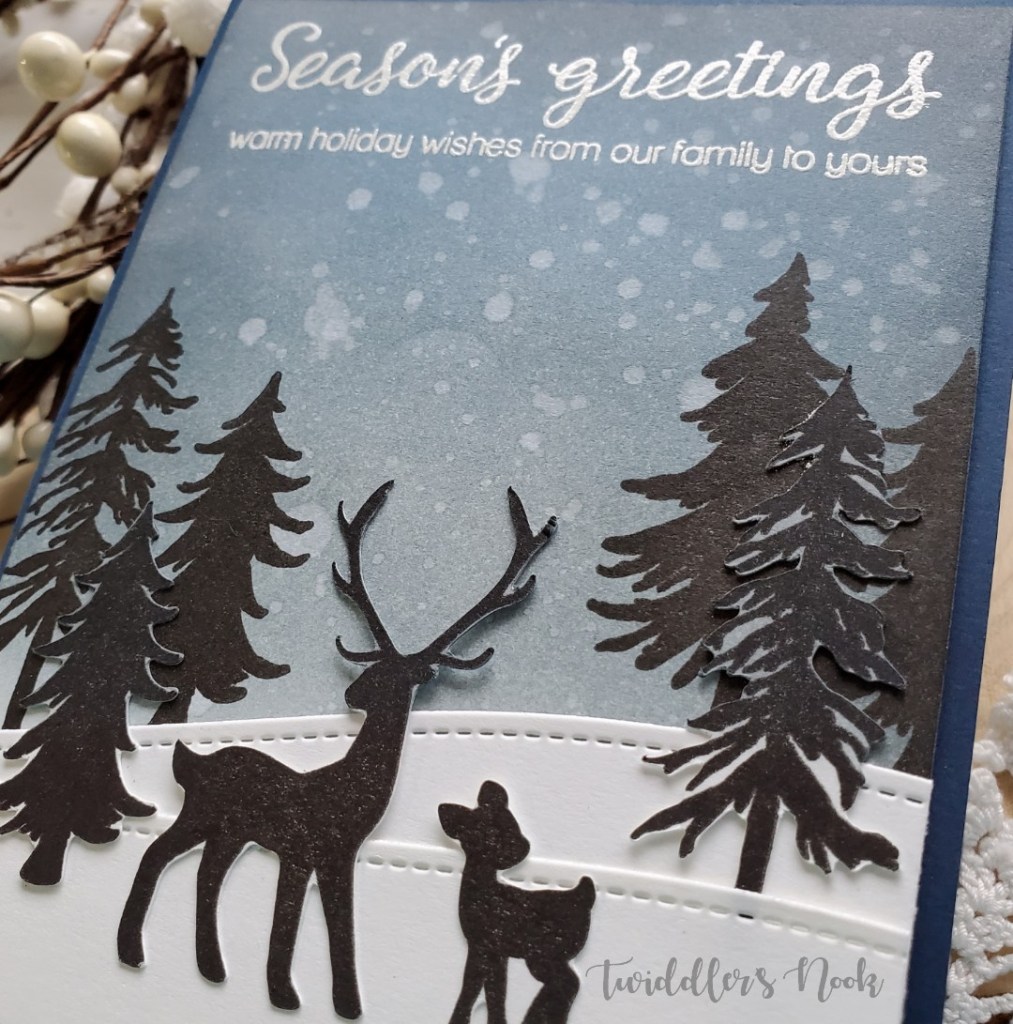
Good morning everyone! I was really restrained over Thanksgiving weekend with all the amazing sales going on but I did splurge on 2 orders. One was the amazing $25 grab bags from Trinity Stamps! I just had to have one! It came in this week and I had a moment to play with this new-to-me set called Season Greetings Silhouettes. It’s beautiful and totally the opposite of what I usually reach for so I really enjoyed creating with it.

I started by arranging my stamps to get an idea of the layout. Then I cut a 5.25×4 inch panel and grabbed my distress inks. I inked up that panel with weathered wood, faded jeans and black soot distress inks and splattered it with water. Then I stamped a few trees directly to the background and die cut two stitched hills. Next, I stamped more trees and the deer images and used my Scan-n-cut to cut them out.

I stamped and heat embossed my sentiment at the top and started adhering everything together. This is such a sweet and serene card. I love how calming it is.

Are you finished with your Christmas cards yet? I need to get mine in the mail ASAP!

I appreciate you sharing your time with me. Have a fabulous day!
12 Days of Christmas Tags Winners and a Bonus Tag

Thanks so much for stopping by today to see if you’re a winner from the 12 Days of Christmas Tags series! I want to thank everyone who took a moment to check out my creations, like, comment and share the love through this event and every day. It really does mean a lot and I love reading the comments to see what catches people’s eye and what draws them in. Thank you! Thank you! Thank you!

Today I wanted to share a bonus tag with you as well. But if you’re really here for the winners, you don’t have to wait, just scroll down to the bottom of this post. ❤

This tag is a mash-up between Trinity Stamps and Lawn Fawn dies. I took the bear from Have an Ice Day, stamped, colored and die cut him and then started on my tag shape. I wanted something I hadn’t used but I didn’t have any other true tag die cuts so I made my own again. I die cut the add-on to the flippin’ awesome as my base in white and dark blue cardstock and again in iridescent vellum. Then cut the vellum with a simple stitched hillside border to make my ice.

Next, I took my blue tag base and splattered it with gold and pearl watercolor and adhered the ice to it. Then I glued the white tag to the back so I can add the recipient’s name later on. I popped up my bear with foam squares and added a holly jolly candy cane from Trinity Stamps to the bear’s hand.

For finishing touches I added glossy accents to the skates and bear’s nose. Then, I took my Wink of Stella glitter brush pen to the scarf, mittens and tops of the boots. I also added black glaze pen to the bear’s closed eye and then some ribbon through the hole I punched.

This is also one going under my tree for Christmas so the secret name was die cut and glued to the back just the the others. I hope you’ve enjoyed this series! Thank you for hanging out with me!

On to the WINNERS!!!!!!!!!

Winner 1 – $15 gift card to Newton’s Nook
The random number generator chose Day 4, comment 8 which was Krystal.

Winner 2 – Loaded enveloped of fun goodies that I made
The random number generator chose Day 5 and the IG comment picker chose @beccay217.

Winners please direct message me on Instagram or Facebook or email me at twiddlersnook@gmail.com to claim your prizes. You have until Monday at 6 p.m. PST or I will choose new winners.

I appreciate you sharing your time with me. Have a fabulous day!

Newton’s Nook – Hot Chocolate Day

Hello everyone! Happy Friday! I hope you’ve had a wonderful week and have enjoyed the last 12 days of Christmas tags. I am leaving commenting open until this evening for those posts. I will choose winners and post them on here and Instagram in the morning. Be sure to check back and see if you’re the luck winner.

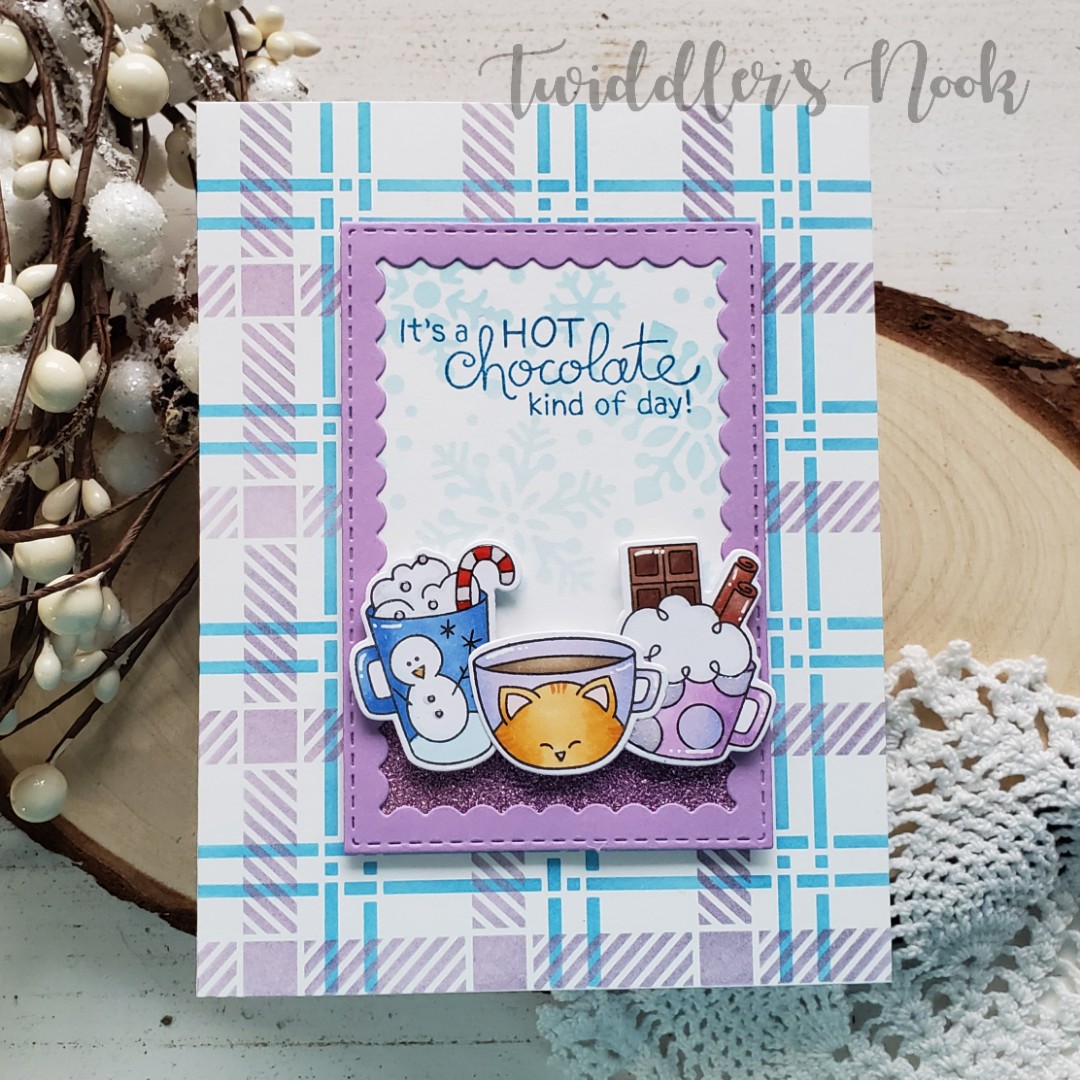
And on to today’s fun card. I’m playing along with the Newton’s Nook Inky Paws Challenge – Snow Day! Everyone needs hot chocolate on a snow day, right?!? My daughter and I always go play until we’re too cold, come in and warm up with a cup full and then do it all over again.

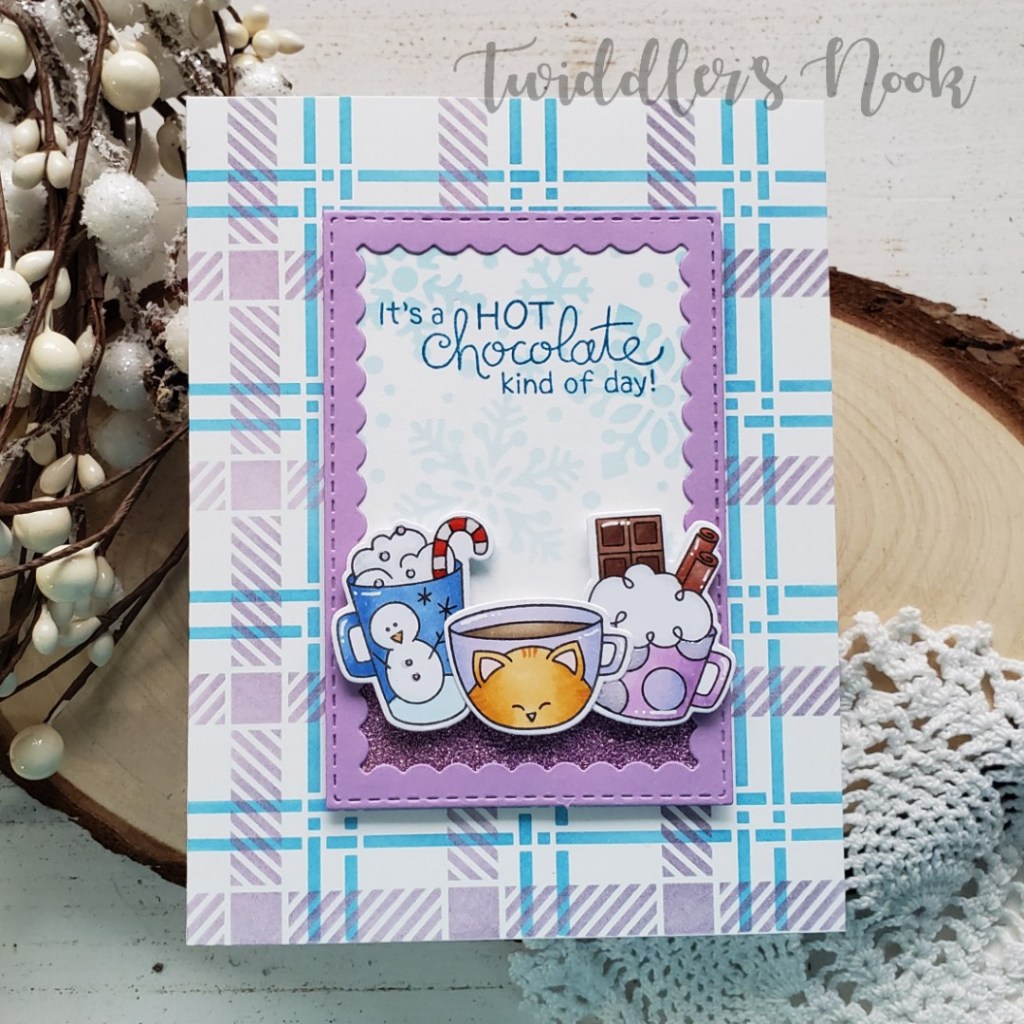
I’m so in love with the end result of this card even though I wasn’t sure when I started with the color palette. It’s just so sweet! I started out with the layering plaid stencil and moved on to color and die cut my images from the Cup of Cocoa.

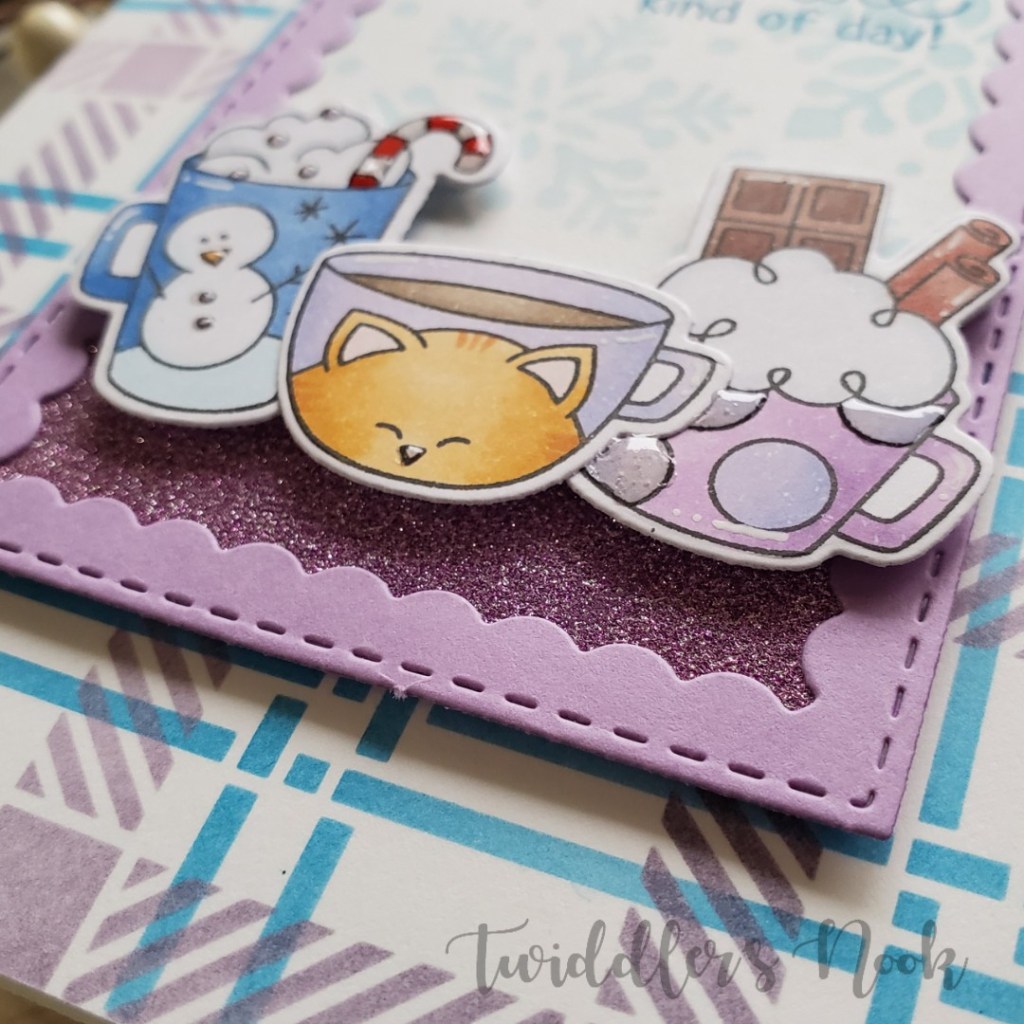
I cut a piece of cardstock and stenciled it with the snowfall stencil and added a piece of purple glitter washi tape to the bottom to ground my images. Then I cut a frame from the Framework set and adhered it. This little panel is popped up on the plaid background with foam tape. Finally, I added my images with foam squares to give them a little dimension.

Last I stamped my sentiment and started on finishing touches. I put glossy accents on the snowman nose and buttons, candycane, Newton’s nose and the dots on the mug. I also added white gel pen accents on all of the mugs.

I’m so pleased with the outcome of this card and can’t wait to share it with someone. I think I’ll tuck a packet of hot cocoa inside for fun!

I appreciate you sharing your time with me. Have a fabulous day!
12 Days of Christmas Tags – Day 12

Oh my goodness everyone! We did it! We made it 12 days of so many fun tags! We started with lots of mass production ideas and then transitioned into those more personal gift tags. So many ideas!

Thank you so much for joining me! Words cannot express how fun and rewarding it is to hear that you enjoy what I create and maybe even get a little inspired to make something fun too.

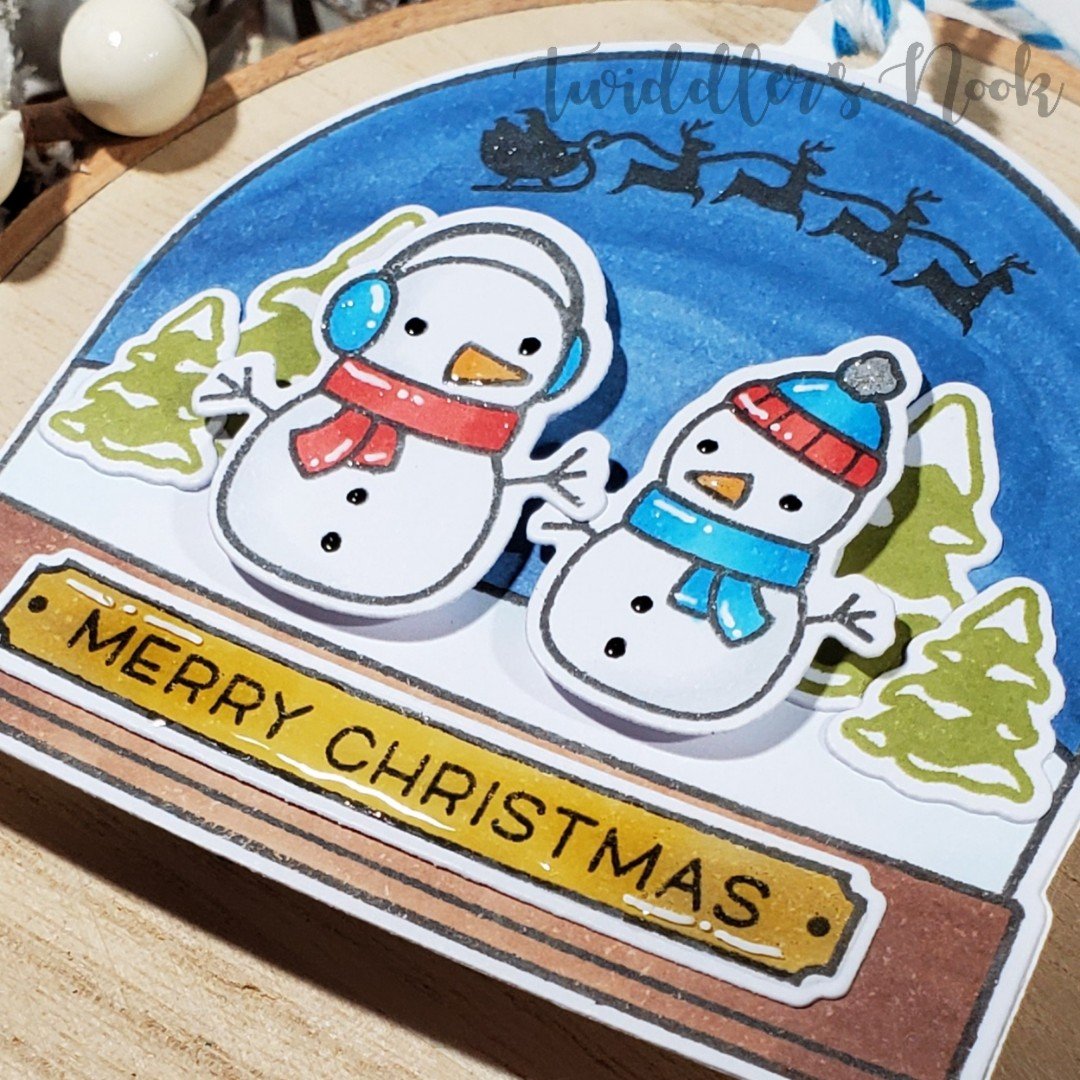
On with the show for today’s tag! I pulled out my Lawn Fawn stamps and dies again because I really wanted to make this snow globe into a tag!

To do this one, I stamped, colored and die cut my images. Then die cut another plain white snow globe for the backing.

I assembled my images on the front, popping up the snowmen with foam squares and flying everything else down. But when it was time to adhere the two pieces I pulled out my tiny tags set and die cut the top of the circle ornament tag and glued it in between my snow globes! Voila! String hole! (Yes, I feel like a genius in this moment. 😂)

For finishing touches on this fun tag I added glossy accents to the snowman noses and the globe label. Then I took my Wink of Stella glitter brush pen and went over the scarves, hats and Santa in the sky.

Once the glossy accents was dry, I added black glaze pen to the eyes and buttons and white gel pen accents throughout.

Look at all the shimmer and shine! You all have to know by now how much I love extra! 😉

Very last, just like the others recently, I die cut the recipient’s name and glued it on the back, then added baker’s twine to the top.

Don’t forget there are prizes to be won. Comment each day on here, on my Instagram post for the day and then head to Caffeinated Craftiness and do the same for her. Four comments per day gives you a shot at any one of four prizes!

I appreciate you sharing your time with me. Have a fabulous day!
The Rabbit Hole Designs – Heart Dance

Good morning everyone! I’m up on The Rabbit Hole Designs blog today with this sweet Valentine card featuring the new Love You More – Heart Dance stamp set. This couple is just so sweet and coincidentally kind of make a heart shape with their dance pose. 😉

To make this card I stamped the open heart cluster from the set in pink all over the card front and die cut a heart shape out. Then I backed it with iridescent vellum and put a sentiment strip across it.

Then I made a mini card for the inside and stamped my couple in the center and colored them with copic markers. I glued this to the inside of my regular A2 card so the couple shows through the window. I just love how this looks!

With it structured like this you get the pretty vellum window, the full image and still have room to write your love note to that special someone.

I appreciate you sharing your time with me. Have a fabulous day!
The products I used are:

Love You More – Heart Dance

For more inspiration, news and updates check out these links:

12 Days of Christmas Tags – Day 11

I can’t even believe we’re already to day 11 of this fun series! I have so many more ideas to share and I’m out of time! I suppose there’s always next year.

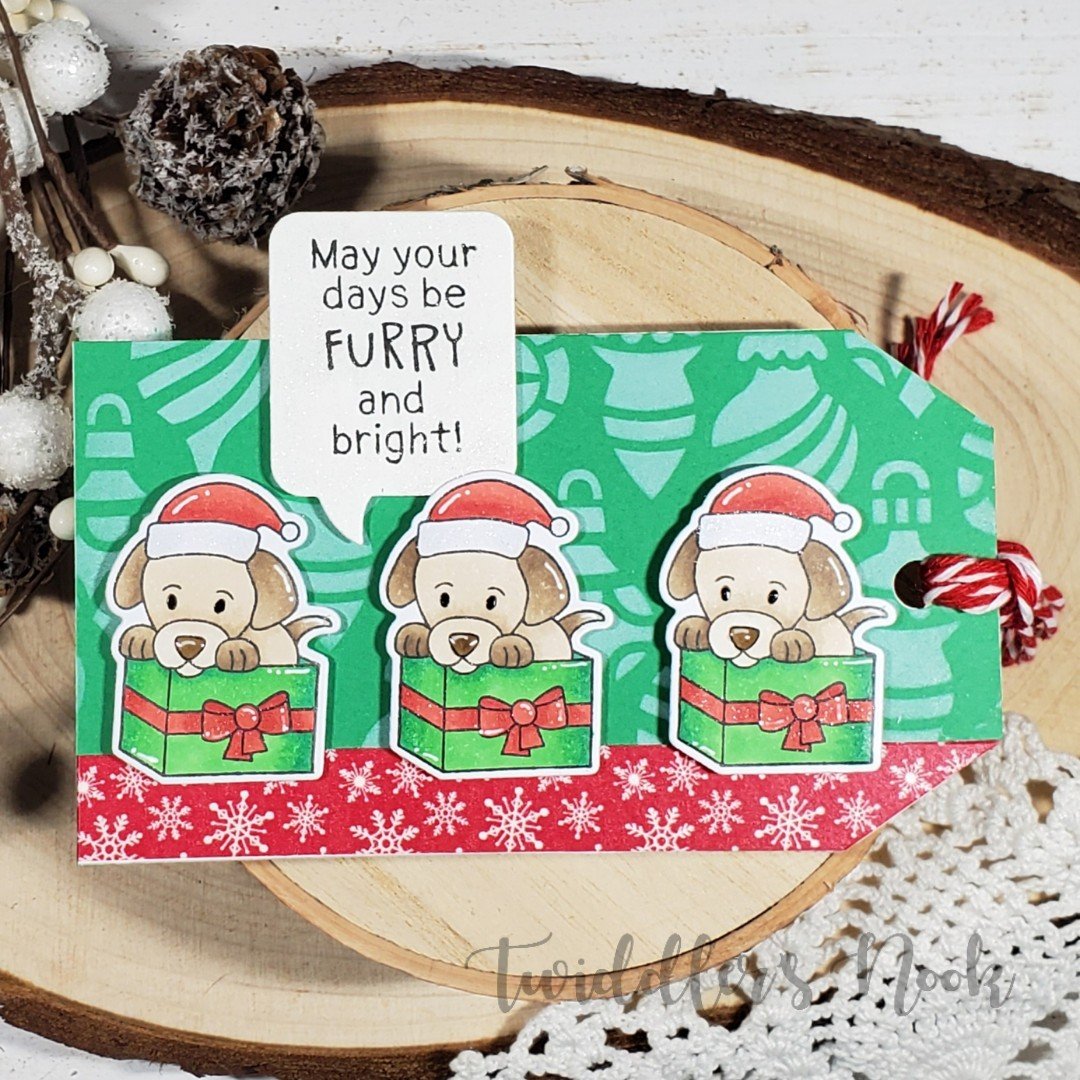
For today’s tag, I’m using this cute mini set from Newton’s Nook called puppy present.

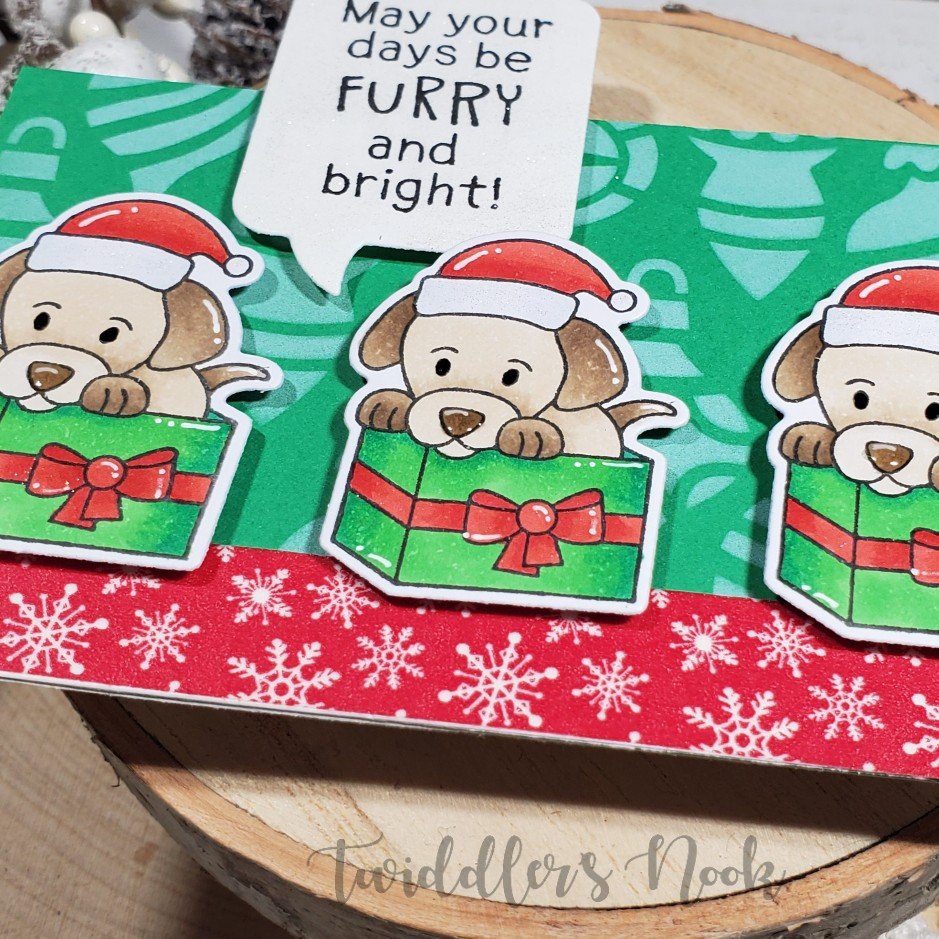
I used my paper trimmer to cut a custom tag and then inked the background with my ornaments stencil. Then I glued it to white cardstock and cut it out again. This helps with stability and a place for the name layer in. Next, I stamped, colored and die cut 3 puppies from the set and started to assemble. I used washi tape along the edge of the tag to create a “floor” and popped the puppies up with foam squares. The I die cut a speech bubble and stamped my sentiment. This is popped up as well.

I threaded some baker’s twine through the hole and started on finishing touches. First off was black glaze pen to the eyes and white gel pen accents to the images.

Then I added glossy accents to the noses and Wink of Stella glitter brush pen to the speech bubble, hat trim and package bows.

And then, last of all I die cut the recipient’s name from the same green cardstock and glued it to the back.

Don’t forget there are prizes to be won. Comment each day on here, on my Instagram post for the day and then head to Caffeinated Craftiness and do the same for her. Four comments per day gives you a shot at any one of four prizes!

I appreciate you sharing your time with me. Have a fabulous day!

12 Days of Christmas Tags – Day 10

Thanks so much for joining me again today. I’m having a blast making special tags for someone specific! Today I’m sharing another one that will be under our tree Christmas morning.

I decided to make a star shaped under the sea tag this time. Super simple but so much fun! I used all Lawn Fawn products on this tag. I stamped and colored the images with my copics, then die cut them all out and arranged my scene on the star tag.

After everything was adhered down I added white gel pen accents to the images, black glaze pen to the critter eyes, glossy accents to the lights on the seaweed tree and Wink of Stella glitter brush pen all over various images.

The gloss on the lights makes them look like they are lit and the glitter all over is so much fun!

I’m so happy with how this fun tag turned out. Last of all I die cut the recipient’s name and glued it on the back. But once again, that’s a secret for now. 😉

Don’t forget there are prizes to be won. Comment each day on here, on my Instagram post for the day and then head to Caffeinated Craftiness and do the same for her. Four comments per day gives you a shot at any one of four prizes!

I appreciate you sharing your time with me. Have a fabulous day!

12 Days of Christmas Tags – Day 9

Oh my goodness, we’re already three quarters of the way through our series! This has been so fun and has stretched my creative thinking in new ways. I love it! I hope you’re enjoying it too!

Today I’m sharing a different take on Christmas tags…the opposite of mass production. ❤

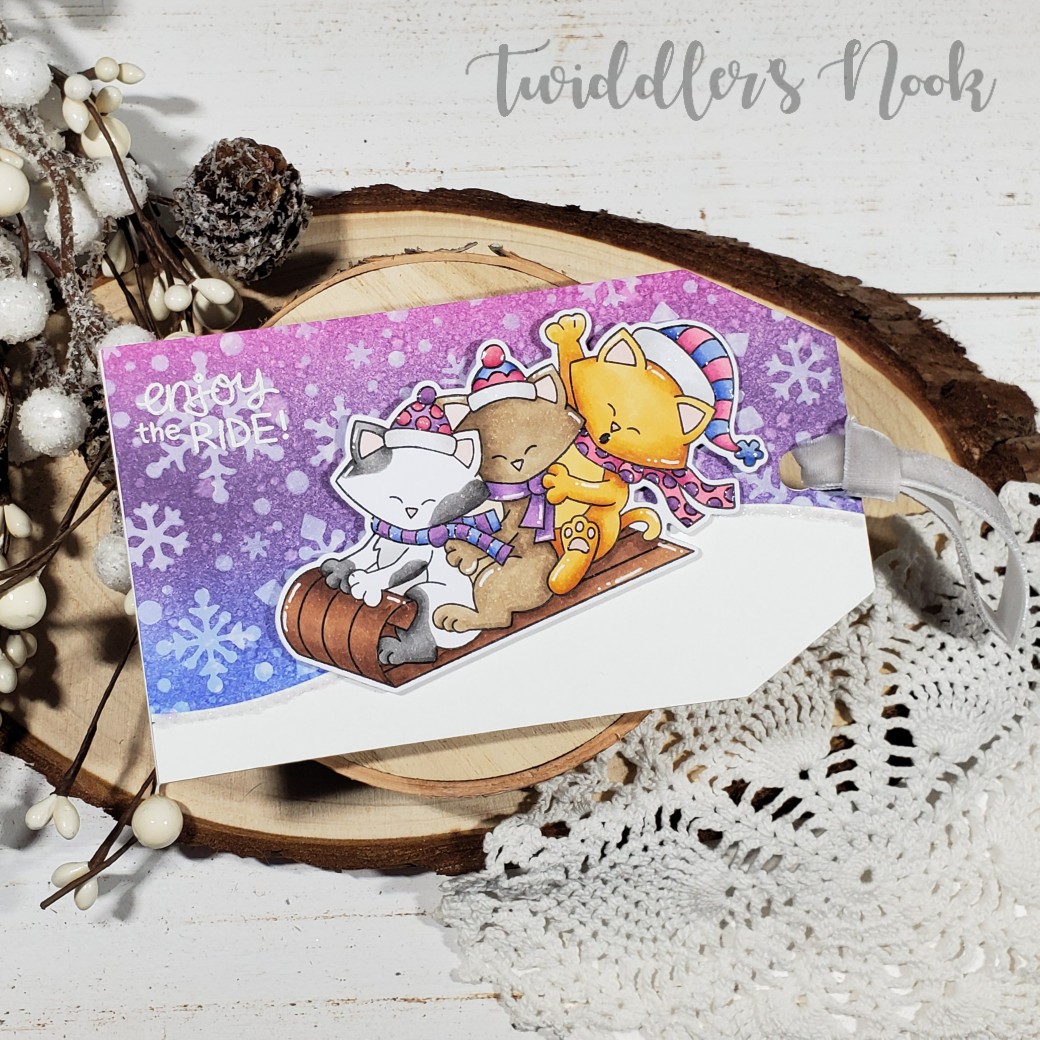
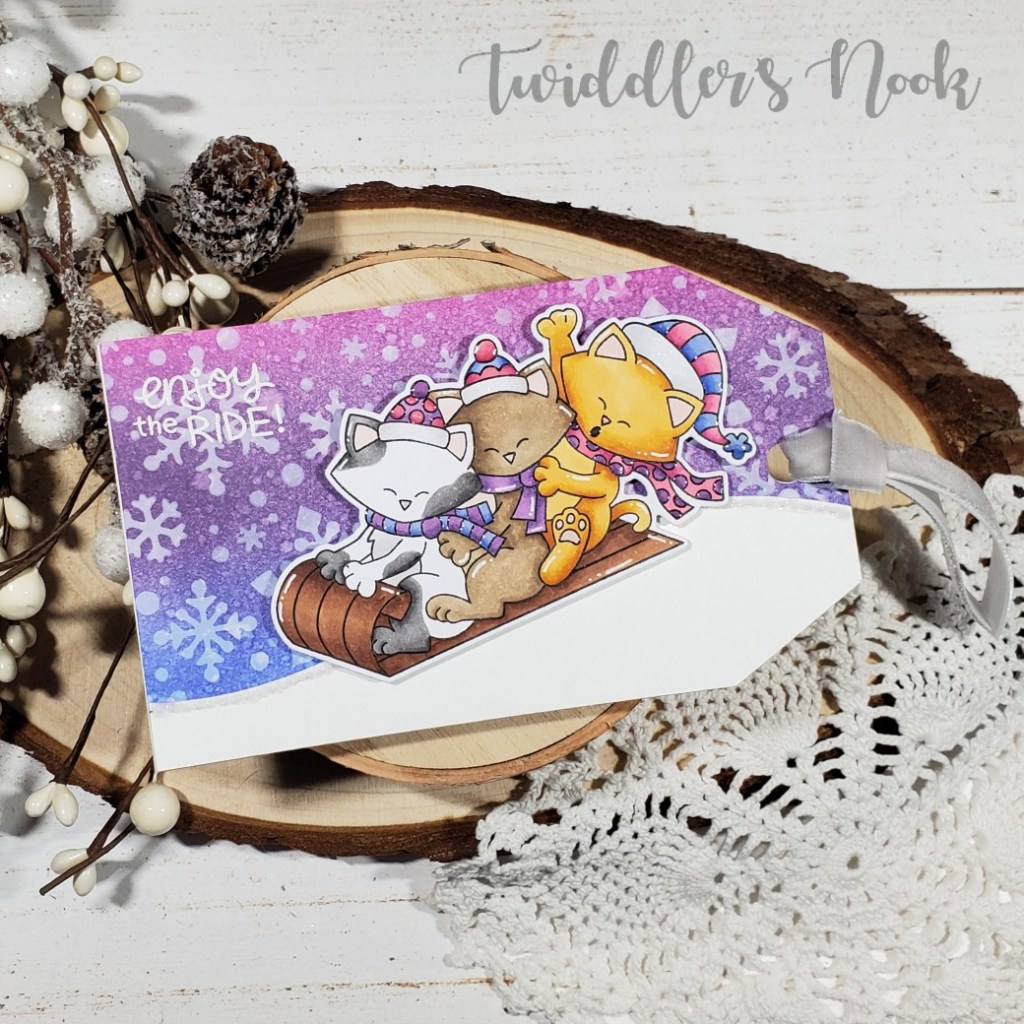
I really wanted to make a special tag for a special gift we’re giving this Christmas so I treated it like a smaller card front. I used the Newton’s Nook – Newton’s Tobbogan stamps and dies paired with the snowfall stencil for this one.

I blended distress ink on a panel and went over it with white and my stencil. Then I used my Cricut to cut it into a tag, plus 2 white tags of the same size. Then I used a stitched hills die to cut a snow hill and adhered it. I took my image and popped it up with foam squares and then stamped and heat embossed my sentiment. Finally I added this really fun velvet ribbon to the tag whole and moved on to finishing touches.

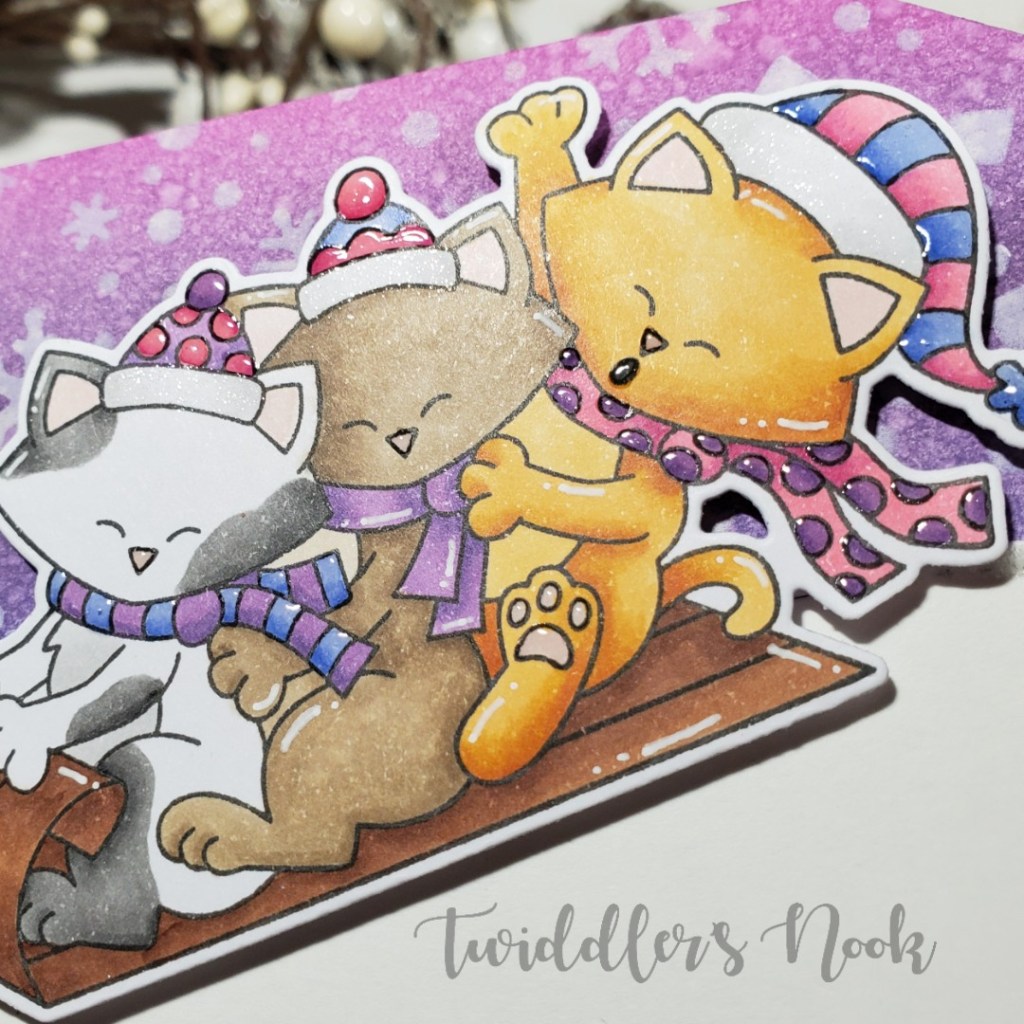
For those, I added white gel pen accents throughout and wink of stella glitter brush pen to the hats. Then I took glossy accents and put them on kitty noses, mouth and toe beans; plus the scarves and hats all have shiny accents too.

The very last thing I did was die cut the recipient’s name from the same pink, blue and purple colors as the tag’s color palette and glued it to the back. That part is a secret though. 🙂

Don’t forget there are prizes to be won. Comment each day on here, on my Instagram post for the day and then head to Caffeinated Craftiness and do the same for her. Four comments per day gives you a shot at any one of four prizes!

I appreciate you sharing your time with me. Have a fabulous day!