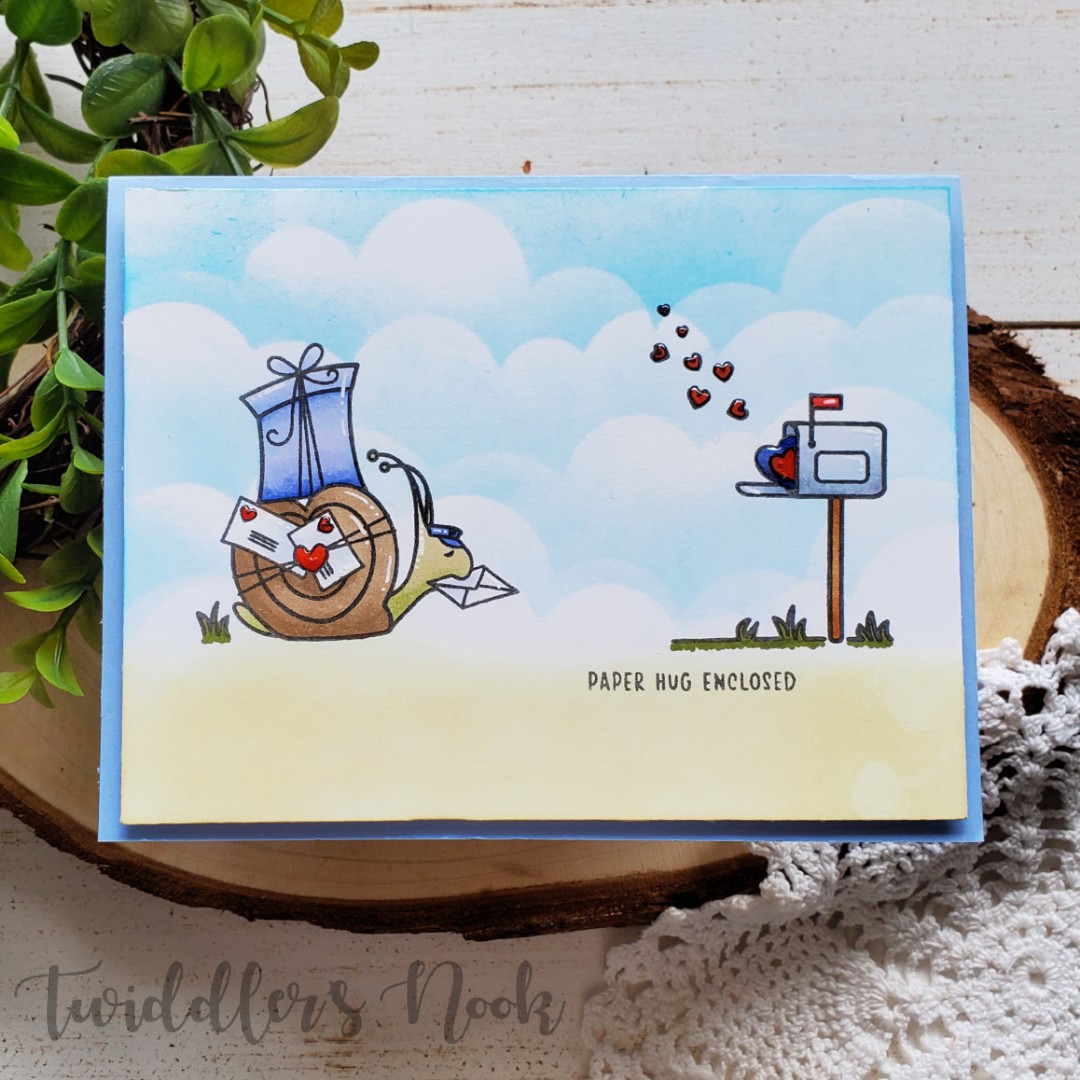
I’ve found a new-to-me company and I’m instantly obsessed!!! Trinity Stamps – I love all of their stuff and can’t wait to grow my collection. My first order arrived Saturday and I started playing right away. Today I’m sharing one from the Mr. Snailman set I ordered.
This was a fairly simple, one-layer card and it even required ZERO masking! Hooray for that one!
I stamped my snail and mailbox and colored them with copics. Then I stared at my panel for a very long time. It didn’t help. So, I slept on it and when I woke up in the morning, it hit me…stencils! So I got up and stenciled some cute clouds and gave it a ground and voila! I love it! For finishing touches I added glossy accents to all of the hearts and white gel pen accents throughout the images. After all that I popped the panel on a piece of craft foam for dimension and then to a blue card base and it’s ready to go.
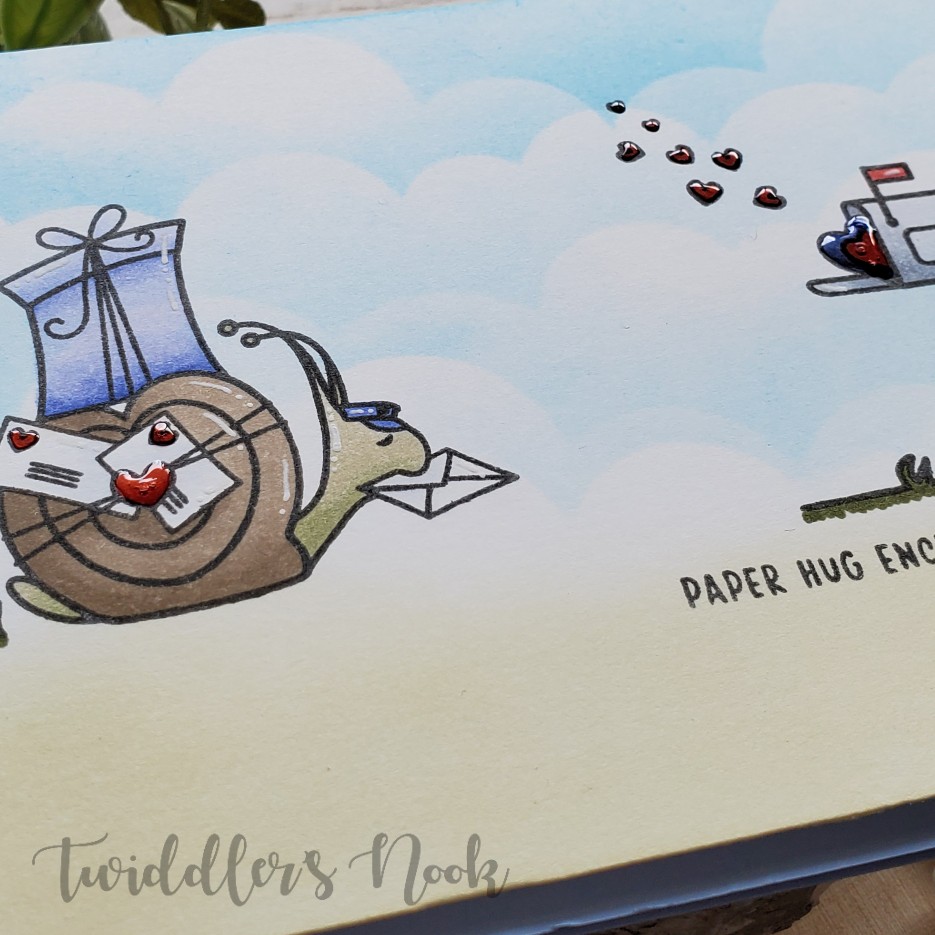
Here’s a closer look at the glossy shine. I love what that adds to an otherwise simple card.
Once this one was finished I had an idea for a Christmas version of this same card. Be on the look out for that one soon!
Thanks for stopping by and, as always, I appreciate you sharing your time with me. Have a fabulous day!
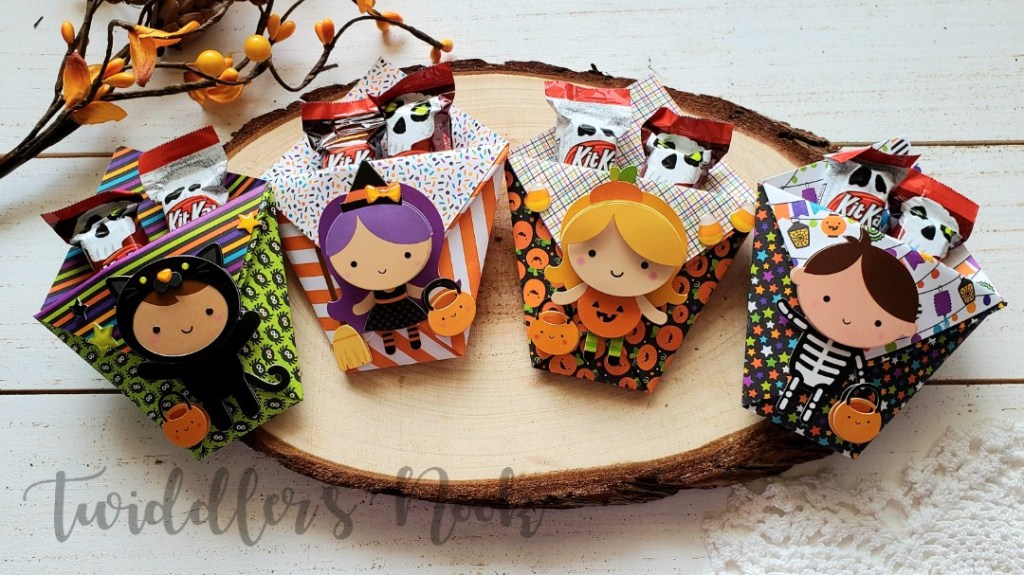
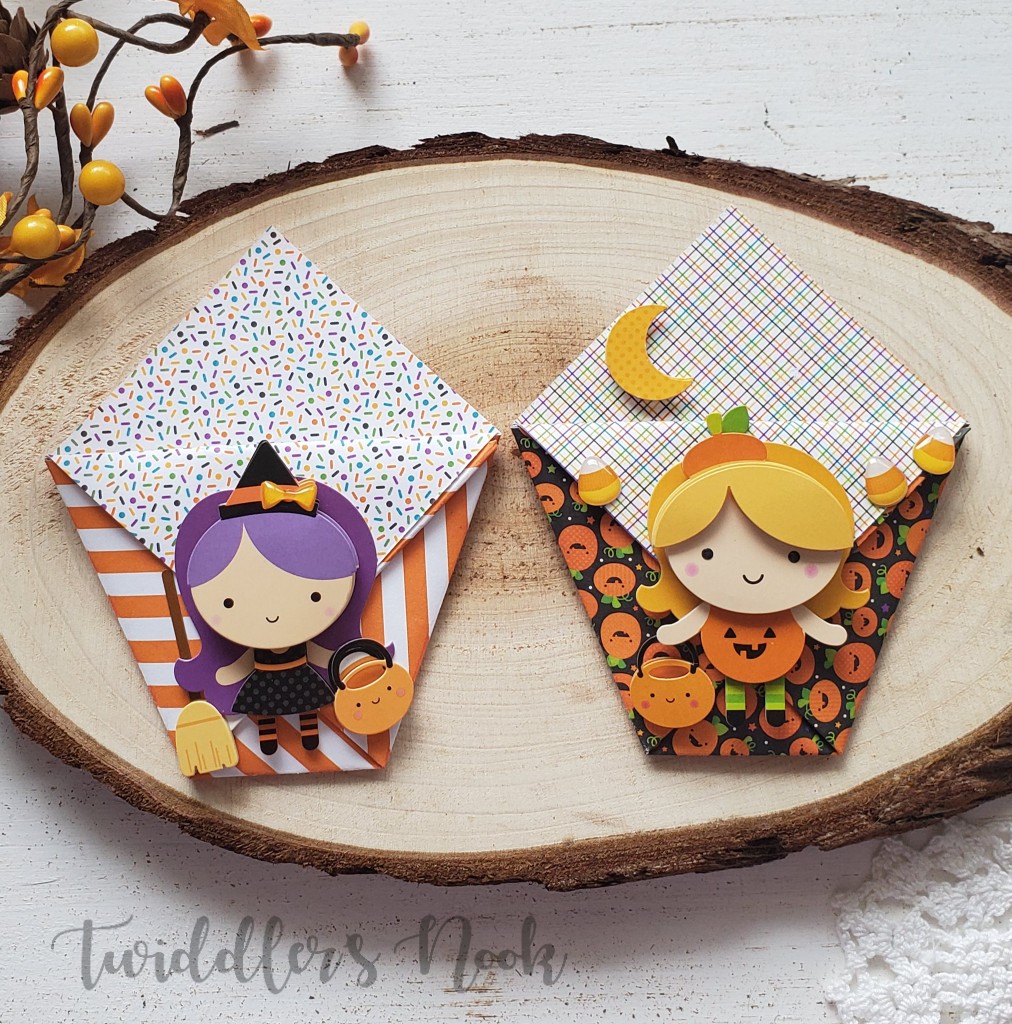
Thanks for stopping by again! We’re on day 4 and having so much fun already! Today is a really quick and easy idea that I love making tons of! It’s an origami fold that easily fits all kinds of treats or maybe even a gift card. You can also alter the size simply by making your starting square larger or smaller.
Look at those kiddos! They are seriously to die for!!! I’m going to link you to a great tutorial to make these cute little treat holders HERE. These cuties were made from a 6×6 piece of Doodlebug paper and then embellished with the coordinating Doodle-pops stickers.
Here’s a closer look without the candy in them. Still cute as ever! And who doesn’t have 6×6 pads of paper that would be perfect to use these on!
That black kitty is my absolute favorite! Remember, these are wonderful for Halloween but they would be equally is great for any holiday or party favors too. They are totally customizable depending on the paper you use and the decoration you put on the front.
Stop by tomorrow for more Halloween fun!
I appreciate you sharing your time with me. Have a faboolous day!
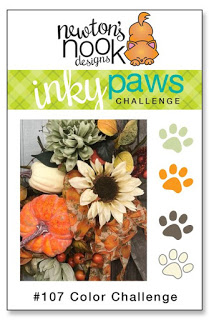
I know it’s been super busy on here lately but I hope you’re enjoying all of the fun projects and inspiration. Today I’m sharing one of my entries into the current Newton’s Nook Inky Paws Challenge.
After doing a number of these challenges now, I’m admitting that the color ones are the hardest for me. I guess I don’t like being dictated what color things will be. LOL! However, with that being said, I’m so excited about this card today and I hope you like it too!
Here’s how I did it:
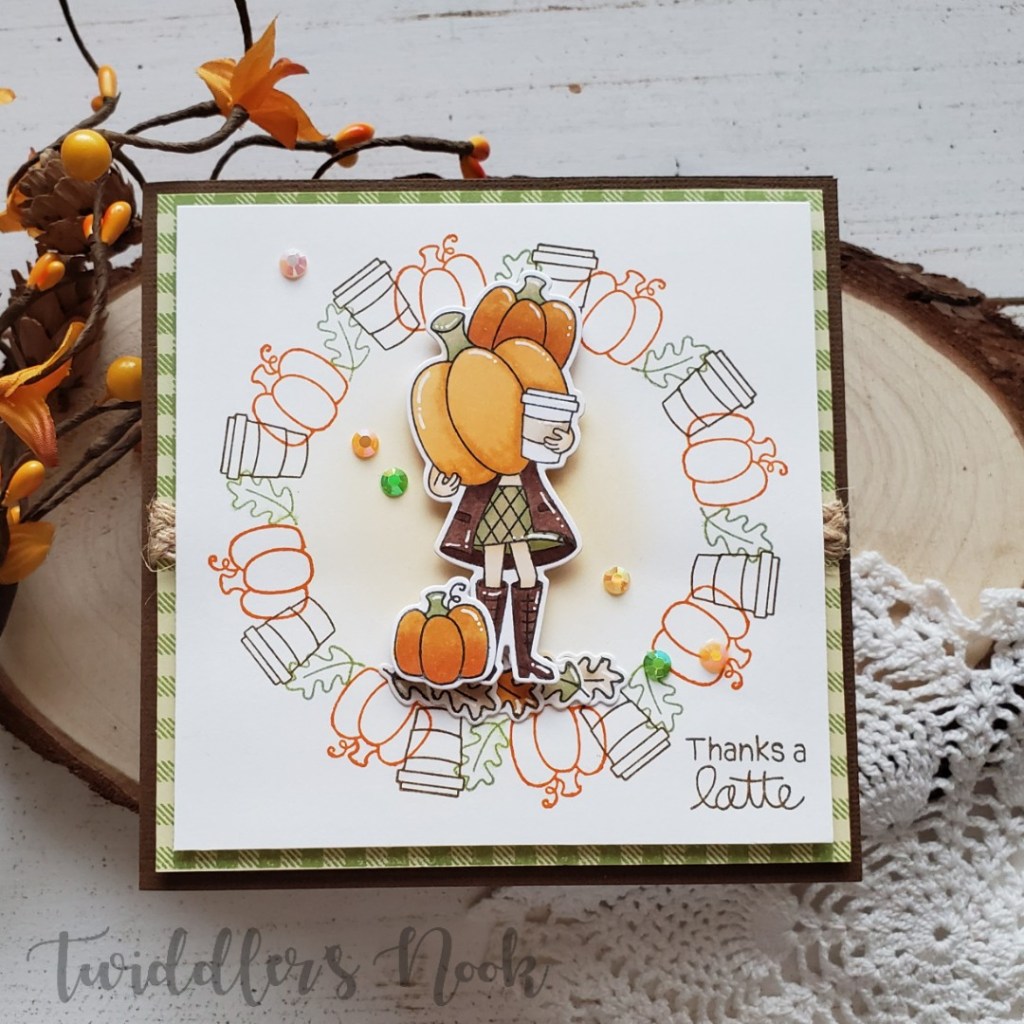
Stamped, colored and die cut my Pumpkin Latte images and set them aside.
Using a wreath builder tool I took the 3 smaller images from the set and stamped them in orange, green and brown inks. Then added a shadow of antique linen distress ink to the center, getting lighter as I went out.
I glued the leaves down creating a ground for my girl and popped her and the pumpkin up with foam squares. At this point I added my sentiment to the bottom corner as well.
Then cut a 4.5×4.5 piece of green and stamped a gingham background stamp on it. I wrapped a piece of braided jute twine around it and popped it up with foam tape on a brown card base. Then I popped the stamped panel up with foam tape as well.
For finishing touches I added some gems scattered around and white gel pen accents.
Using the wreath builder was so fun and went much quicker than I expected. This card came together so easily and I just love it! Don’t you?
I appreciate you sharing your time with me. Have a fabulous day!
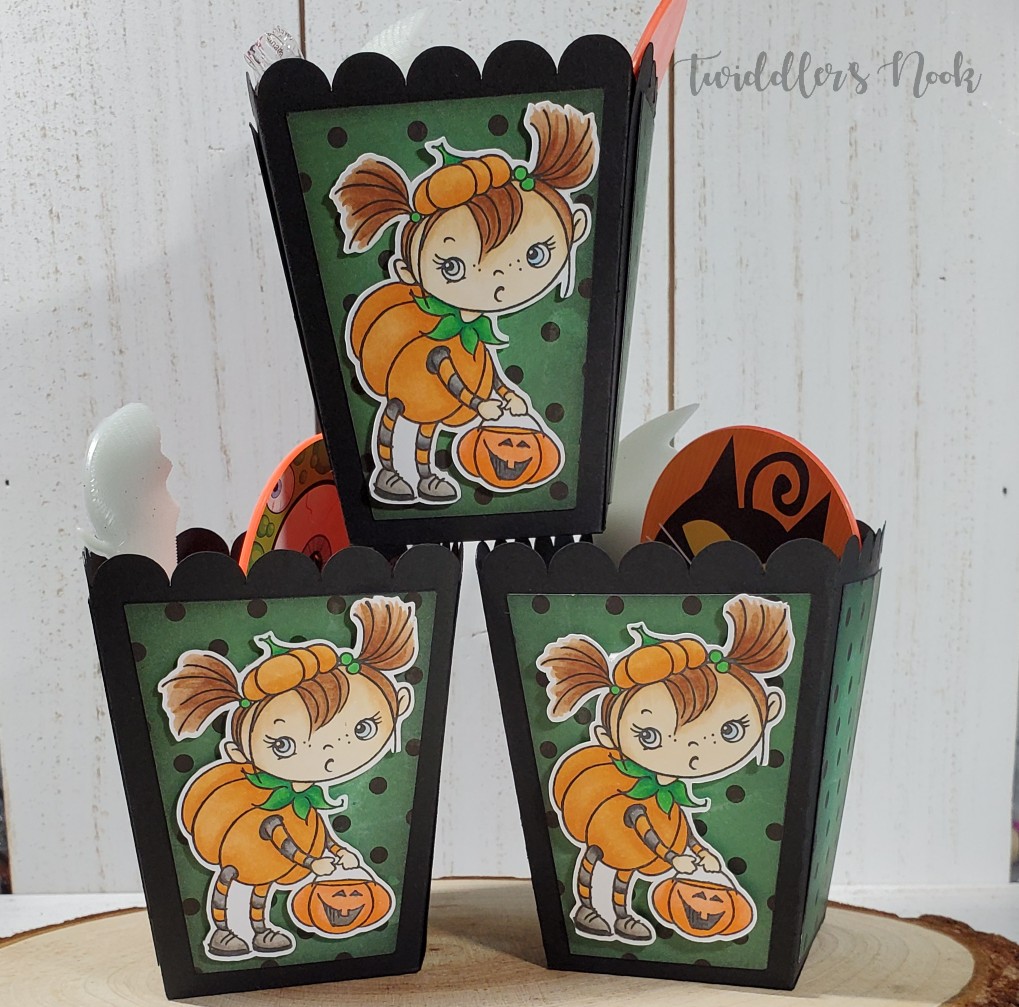
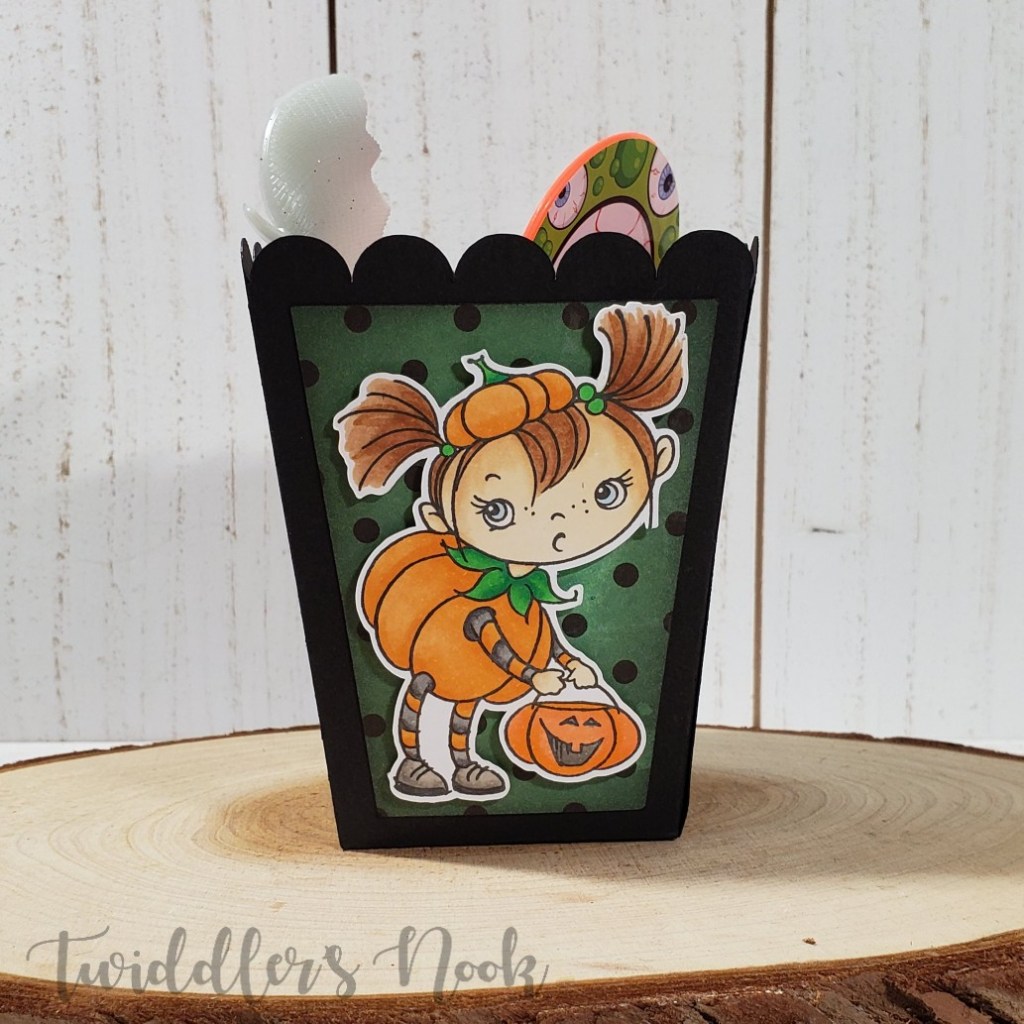
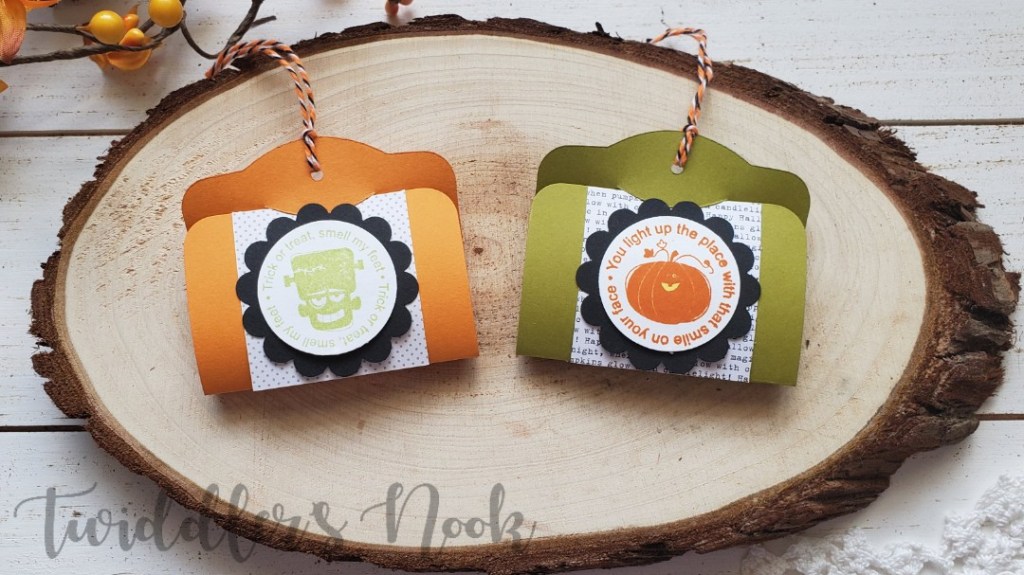
Welcome back to day 3. Today’s boxes are super fun and extremely versatile! They are a cut file from Lori Whitlock called popcorn favor box. I bought the dog and lion versions because the animals were too cute to pass up! They do have just the popcorn box available as well though.
To create these fun boxes, I used the file to cut out the box from black cardstock. Then I altered the file with the Cricut Design studio to create the panels for the sides and cut them from some Halloween patterned paper in my stash. I inked the edged of the patterned paper with black soot distress ink to tone down the brightness of the green a bit. Then I used scrappy tape and tape runner to put them all together.
Finally, I stamped, colored and colored this cute image from Stampendous called pumpkin kiddo. It’s an older stamp I found when digging deep in my forgotten about stamps and thought it would fit great on these boxes. She is popped up with foam squares on each box.
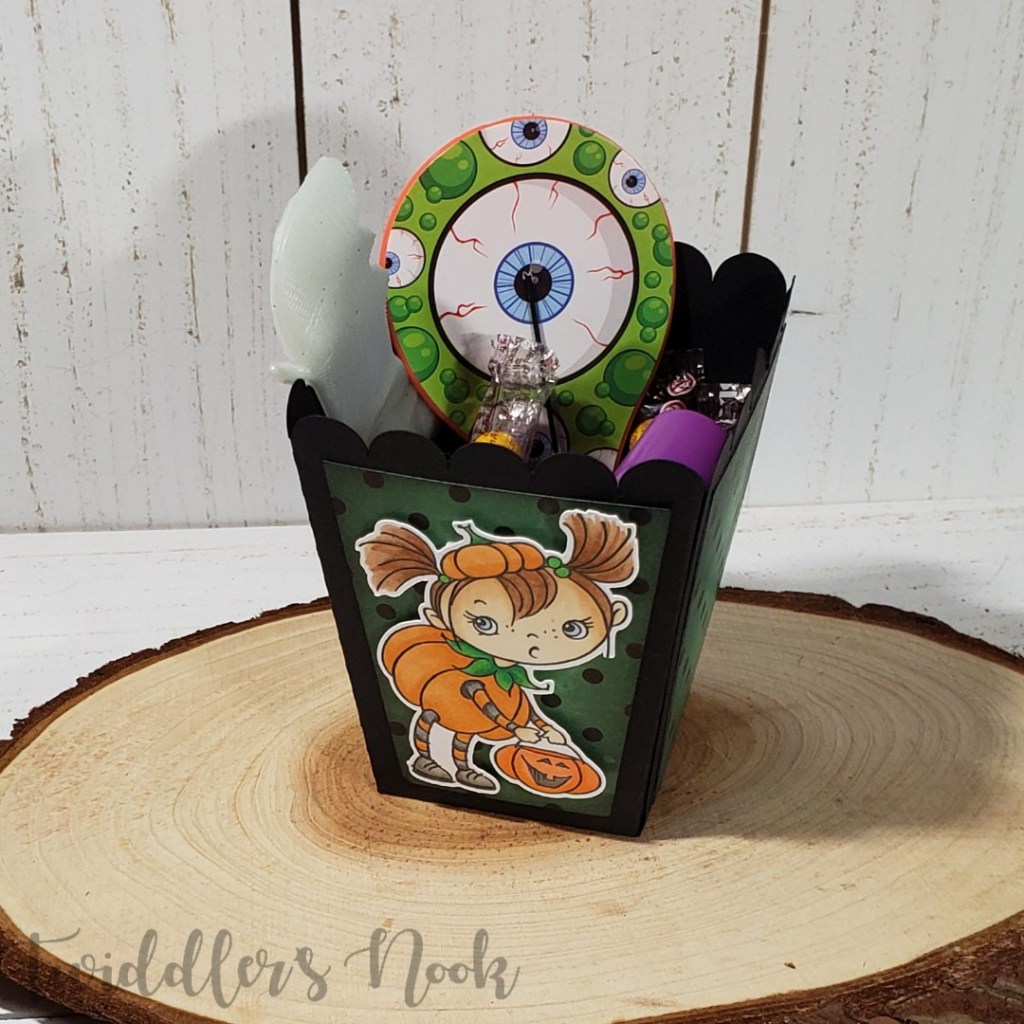
Then my daughter and I took our Dollar Tree haul and filled them up with fun goodies like glow-in-the-dark bats, a paddle ball, rubber stamps, slime and candy. I think the kids will have a blast and be excited to receive these cuties!
I want to try making these with the dog that comes with the cut file but add a Santa hat for Christmas. Won’t they be so cute?!? I think so. Maybe roll up a pair of socks to fill them. What would you put in these?
I appreciate you sharing your time with me. Remember to come back tomorrow to see what tricks or treats I have in store to share. Have a fabulous day!
Welcome to our last day of the inspiration hop for the amazing October release! I hope you’ve had so much fun and we can’t wait to see what you all create with this fabulous release!!!
On to today’s projects though! I’m sharing a couple of fun ones with the Caffeinated Reindeer! He’s one of my favorites from this release. I’ll definitely be using him a lot this holiday season!
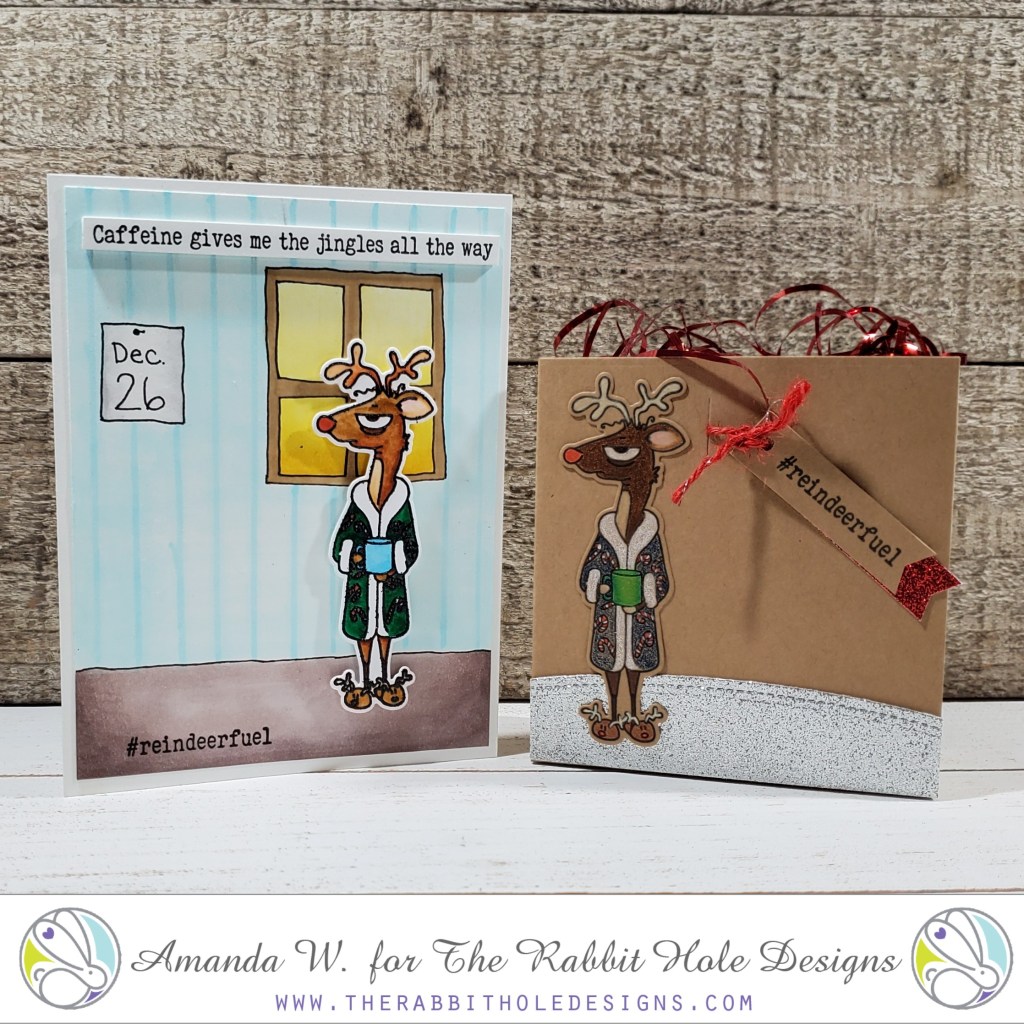
As soon as I saw the sentiments in the set, I knew I needed to make a treat bag with coffee in it. So that’s what I did with this first project.
It’s a pretty simple but fun design and we all know someone who needs a little extra #reindeerfuel during the holiday season.
Here are the details:
Stamped, colored and die cut my reindeer. I chose to stamp this reindeer on kraft cardstock and used my prismacolors on him too. I love that look these days!
I die cut a treat bag and a glittery snow hill and put them all together.
I adhered my reindeer and stamped the sentiment on a strip that I cut into a banner shape. Then added a red glitter banner behind it before tying it to the slits in the bag.
I put 4 k-cups in the bag and topped it with red tinsel to round out the package. I love all the shimmer with that exhausted reindeer. It’s fun and I know a lot of busy moms who can relate and will love this fun treat during the holidays.
Up next I stepped outside of my comfort zone and drew my own little scene for the next reindeer.
Here’s how I made it:
Stamped, heat embossed and colored my reindeer with Zig Clean Color Real Brush Markers, then die cut him out.
I took a 4×5.25 panel and lightly sketched out the general scene I wanted and then went over it with a fine tip black pen. I colored the background with my copics and popped the scene on a white card base.
I stamped my sentiment and cut it into a thin strip.
Then, I popped the reindeer and sentiment strip up with foam squares.
The message of this card cracks me up. If I were Rudolph, pulling an all-nighter for Christmas, I would look worse than this even the day after!
Be sure to hop along to all 3 days of inspiration to maximize your chances of winning fun prizes!
Every order placed will be eligible for a 10% discount. Discount Code TRHD2019 this code will only be accepted until Friday 10-04-2019 12:01 am PST. There are no exclusions on this code it is applicable to your whole order. Please Note: There will not be free shipping available during the time this discount code is in effect. Not applicable to previous orders. May be used more than once. Does not apply to shipping and tax.
GIVEAWAY:
To celebrate day 3 of inspiration The Rabbit Hole Designs is giving away the 3 stamp sets promoted on 10-02-19, to One lucky winner. Winner will be chosen at random from the comments left on participating blogs, so make sure to visit each stop and leave a comment. Leave comments by 11:59 pm PST 10-03-19 on all participating blogs. Winner will be announced on The Rabbit Hole Designs blog 10-04-2019
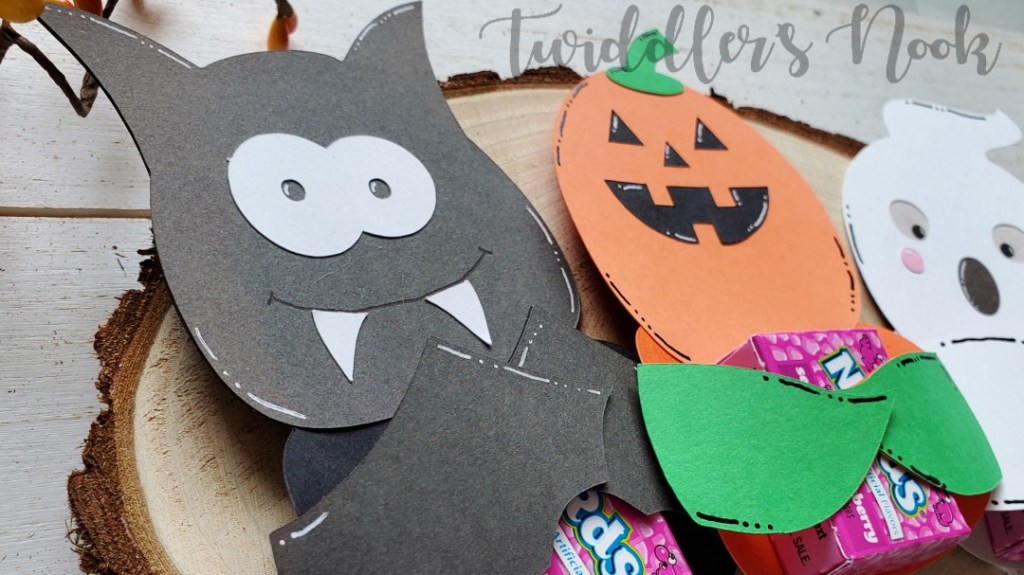
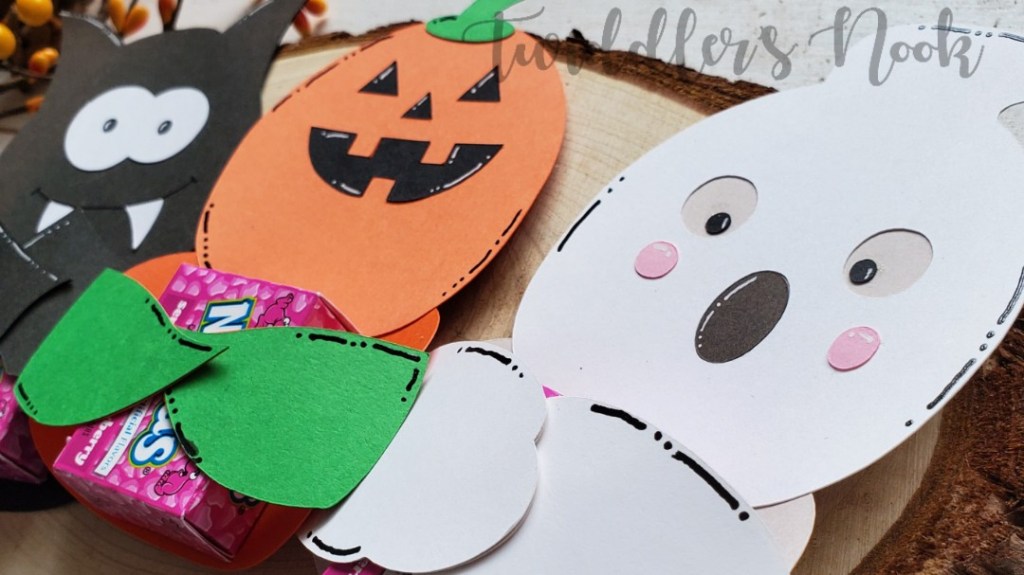
Welcome back! I’m so glad you stopped by! Today’s treat holder was a cut file I used on my Cricut from SVG Cutting Files. These were super fun to make and would be easy enough for mass production if you needed a lot to give out.
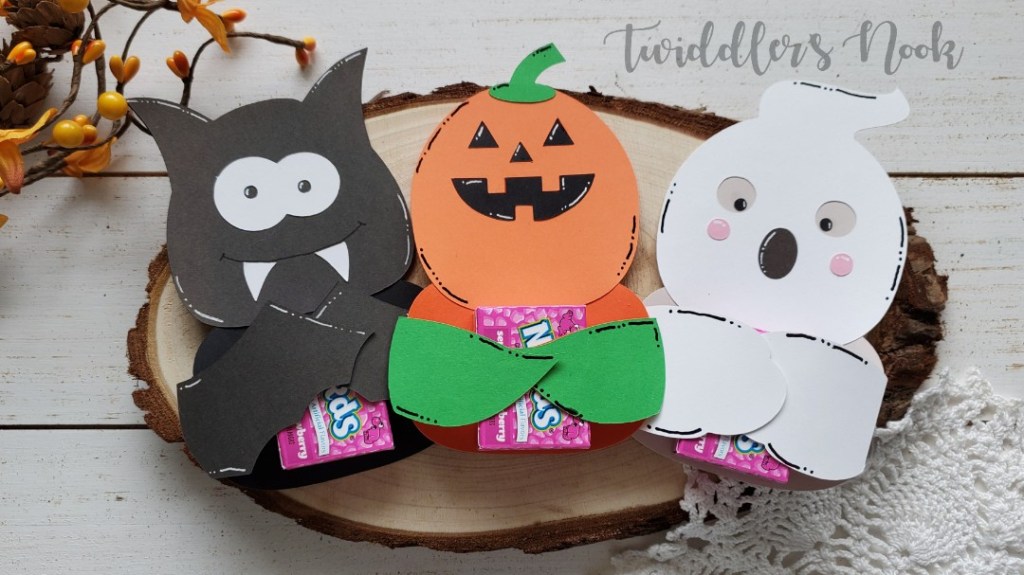
The file you purchase comes with all three of these Halloween cuties! They are designed to hold Hershey’s Nuggets but I decided to change it up a bit and put mini Nerds boxes instead.
After adhering all of the pieces together I took a white gel pen and black glaze pen to all each of them and added some highlights for interest. It’s amazing what dimension that adds to the whole thing.
Once that was dry, I used 1/2 inch glue dots and glued the Nerds to the belly of the creature and then one more glue dot to keep the arms closed around the box.
Aren’t they super cute? I think the bat is my favorite but I’ve always been partial to bats.
As always, I appreciate you sharing your time with me. Have a fabulous day!
Welcome to 13 Days of Tricks and Treats at the Twiddler’s Nook! I’m super excited to be sharing a Halloween themed project each day for the next 13 days. Some will be tricks and some will be treats.
We’re going deep into my stash of old and new dies and stamps to inspire you to dig through the dust and cobwebs and bring back things you’ve forgotten you even had.
I’ve also decided that I didn’t need all of these laying around so each day my daughter will be taking them to school and sharing them with friends and teachers. It’s going to be a fabooooolous time!
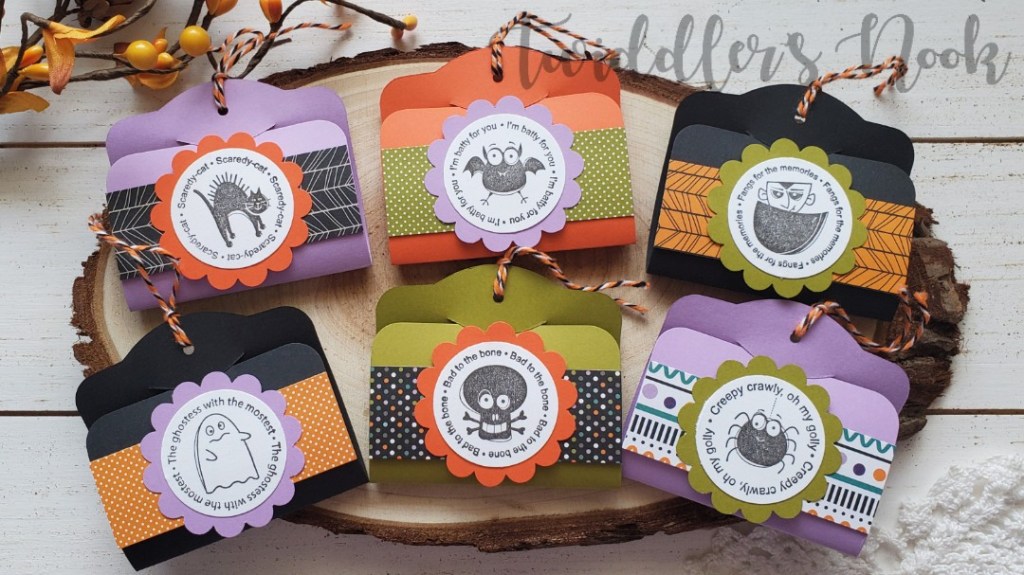
On with the show and today’s TREAT holders! These are made with an oldie but goodie die from Stampin’ Up called Two Tags. The die does just what it implies, cuts two different shaped tags at the same time. We’re only using one today though.
Aren’t they just so fun! I kept them simple but you could totally jazz them up depending how many you’re making and who they are for.
I just cut a thin strip of patterned paper, punched a scalloped circle in contrasting colors, stamped and punched my images and glued them all together. I used some fun black, orange and white twine from Doodlebug to the top. The images I chose for these are another oldie from Stampin’ Up called Batty for you.
For these tags I usually put an Andes mint inside because they are slim and it still closes easily but the grocery store had the cutest mini Hershey’s candy bars with Addams Family characters so I decided to give them a try and they fit great too!
Don’t forget to come back tomorrow to see what’s brewing next!
I appreciate you sharing your time with me. Have a faboolous day!
Welcome back to day 2 of The Rabbit Hole Designs new inspiration hop for the October release. I hope you’re having fun hopping with all of the design team and are getting great inspiration along the way. Today I’m sharing this super fun Caffeinated Turkey!
I love using my stamps for more than just cards and I realized that it’s been a while since I did anything like that and this turkey was just asking for it! My mom and I are two of the crazies that go Black Friday shopping every year. It’s tradition and we always have a blast. So this year I made a survival kit to get us through! haha!
I heat embossed my turked in black and used Zig Clean Color Real Brush markers to color him in. These are so fun and I love the watercolor look they give. Then, I used my Cricut to make a tag and had it write out the wording. I die cut some distress inked leaves and glued them to the tag. Then I popped my turkey on with foam squares and tied it to my filled up gift bag.
I also wanted to put this guy on a card and that’s what I’m sharing next.
In the spirit of trying new things, I stamped this turkey on kraft cardstock and colored him with my prismacolor pencils. It gives a totally different look from the same stamp. I love it! I stenciled the right side of my card base with the diamond flower stencil and glued more of those distressed leaves along the border. I popped my turkey up with foam squares and did the same with the sentiment strips I stamped.
I hope you enjoyed these ideas. I can’t wait to see all the creative things you all make with this fabulous turkey!
Every order placed will be eligible for a 10% discount. Discount Code TRHD2019 this code will only be accepted until Friday 10-04-2019 12:01 am PST. There are no exclusions on this code it is applicable to your whole order. Please Note: There will not be free shipping available during the time this discount code is in effect. Not applicable to previous orders. May be used more than once. Does not apply to shipping and tax.
GIVEAWAY:
To celebrate day 2 of inspiration The Rabbit Hole Designs is giving away the 3 stamp set’s promoted on 10-01-19, to One lucky winner. Winner will be chosen at random from the comments left on participating blogs, so make sure to visit each stop and leave a comment. Leave comments by 11:59 pm PST 10-03-19 on all participating blogs. Winner will be announced on The Rabbit Hole Designs blog 10-04-2019
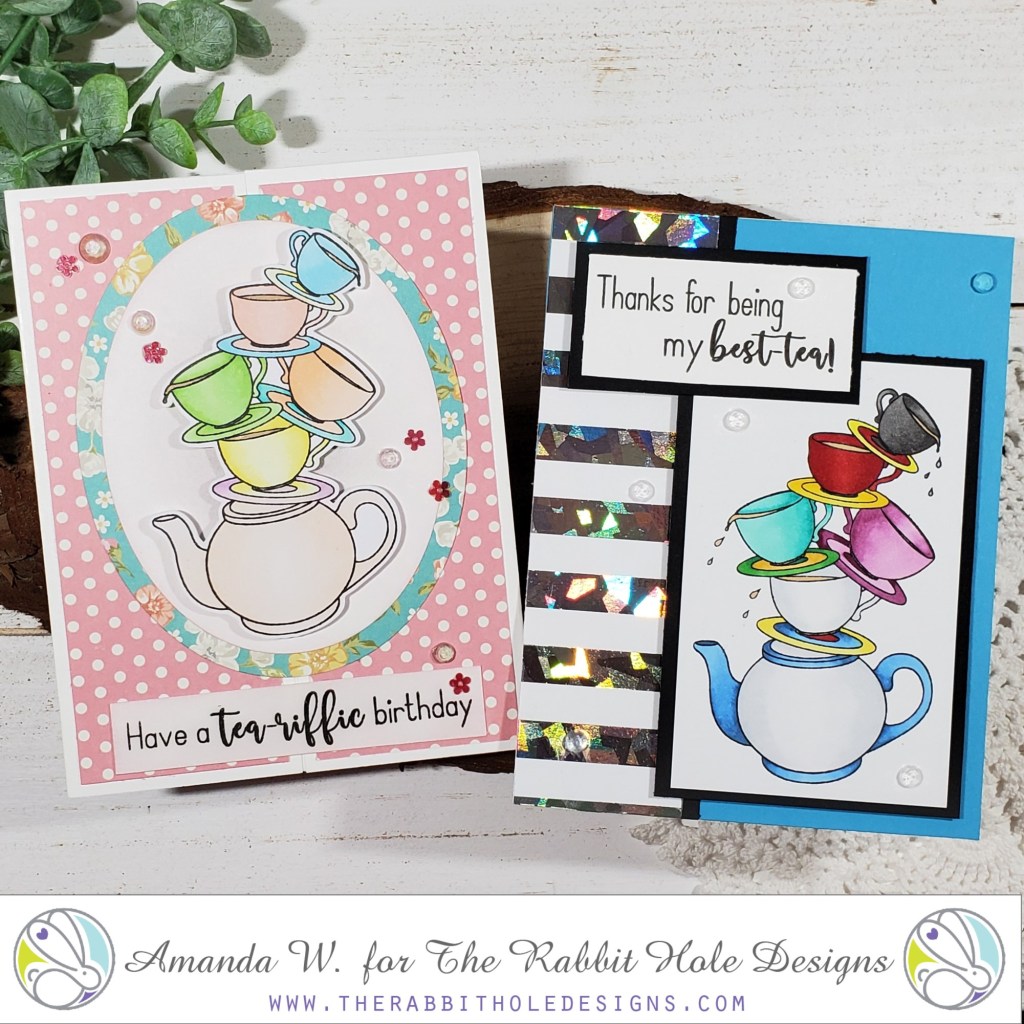
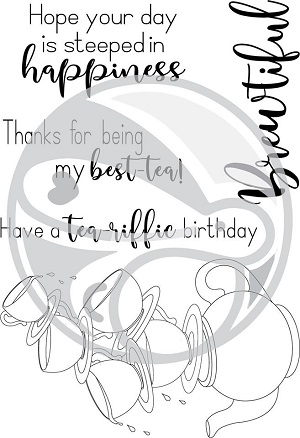
Hi everyone!!! So excited to be sharing a new set from the fabulous October release for The Rabbit Hole Designs!!! Are you so excited? Today’s set is called Steeped in Happiness and I love it! I’ve made two completely different cards to share with you today. I hope you enjoy them.
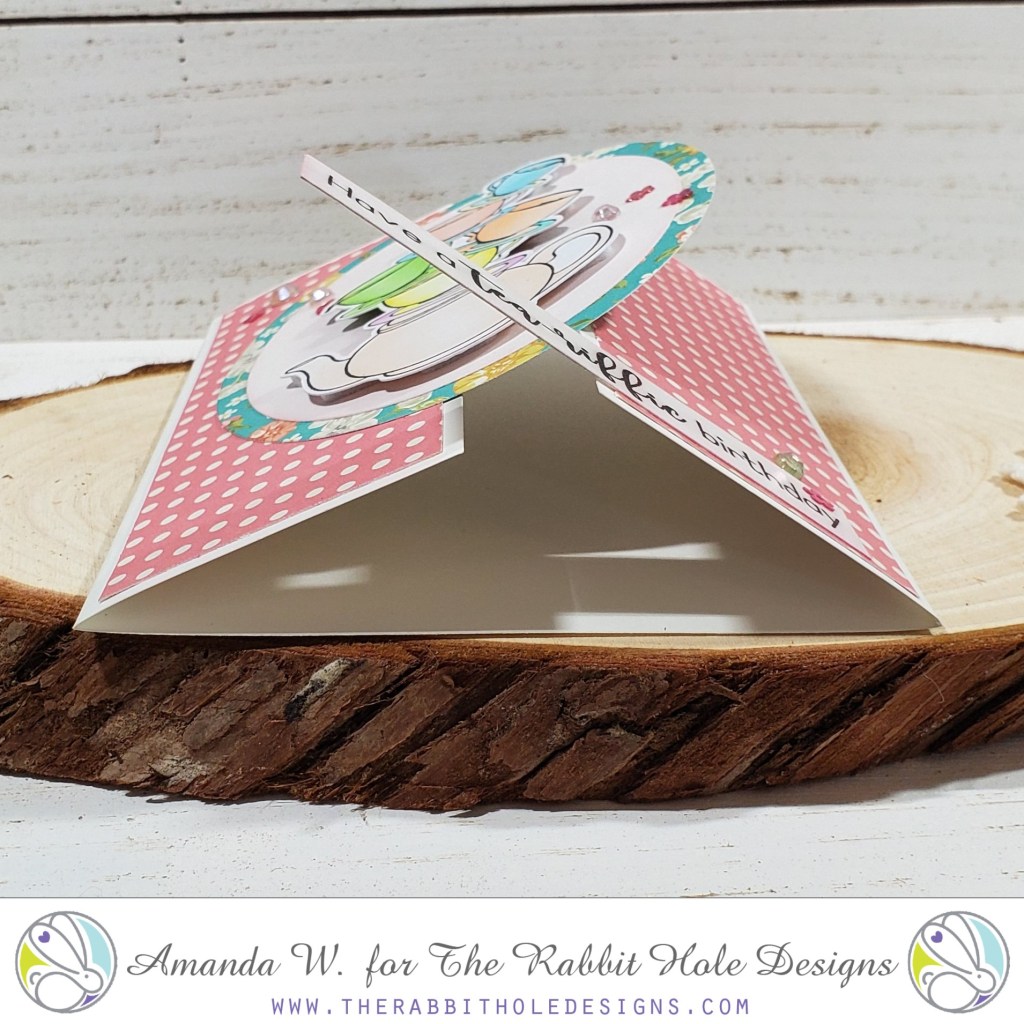
For this first one I knew I wanted to try a different fold technique to make the card original. So I’ve made a gate fold card but the images on the front are attached on opposite sides. It’s really cool for the recipient. Here’s a closer look.
Isn’t that cool??? Here’s a few more details on how I made this card.
I started with the card base 8 1/2 x 5 1/2 and scored it at 2.25 from each side to create the gate fold. Then cut patterned paper to fit the front panels and glued it down.
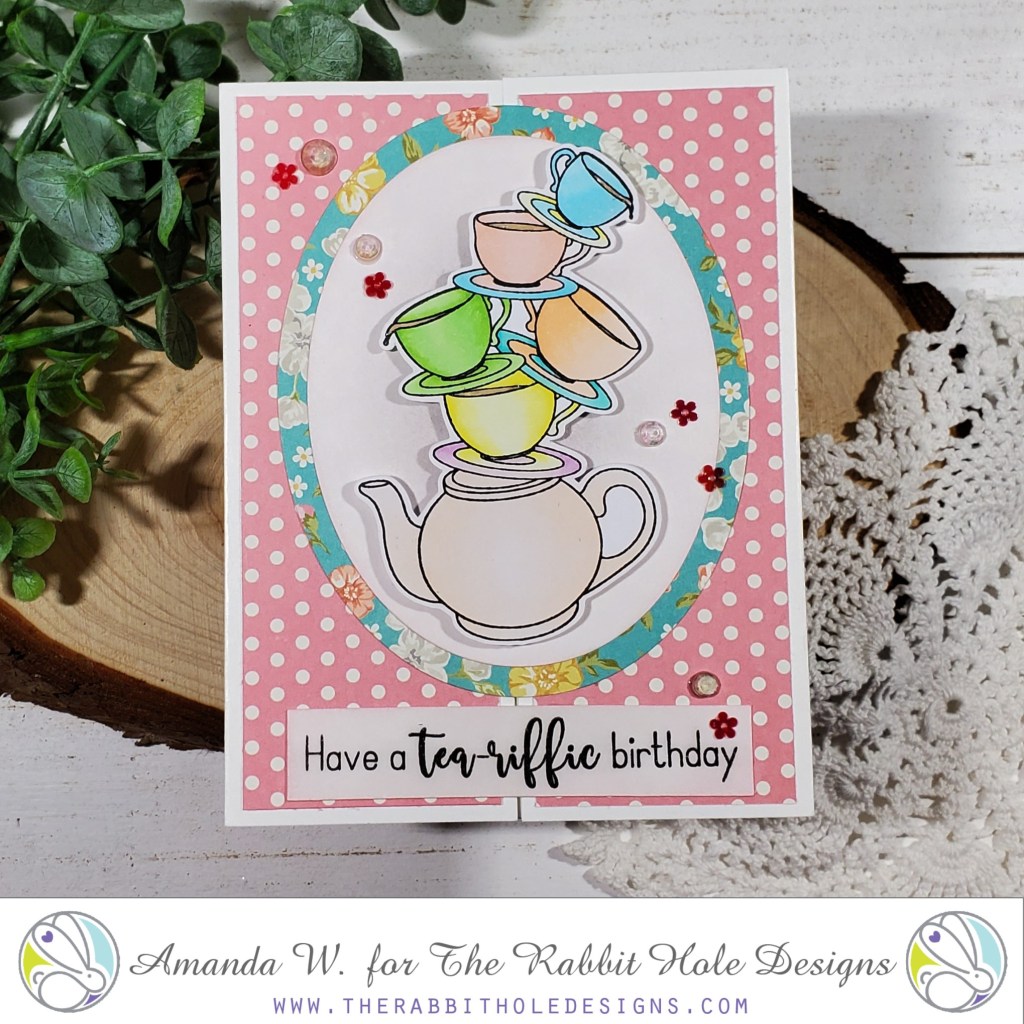
I stamped, colored and cut the image out.
I die cut 2 nested ovals – one with white cardstock that I inked lightly in the center and the other with patterned paper and glued them together. Then popped the teapot image up with foam squares.
I glued the oval to the left flap of the gate fold.
Next I stamped my sentiment from the set and cut a banner. This was only glued to the right flap of the card.
For finishing touches I glued gems and sequins all around the card.
It’s a really fun card but I especially like the gate fold technique for added interest and it helps it stand up nicely too. Do you ever make cards with different folds? I think I need to try it more often. This was fun and outside of the norm for me.
For the next card, I knew that I wanted to do something completely different than my first so I spent time thinking…then it hit me. I’m a Disney freak and Alice has always been one of my favorites. So, here we go!
Do you see it??? Let me know in the comments. 😉
Here are the details:
Printed striped paper on a toner copier and sent it through my laminator with Silver Shattered Deco Foil, then cut it down to a strip.
Stamped and colored my image and matted in on black cardstock. Same with the sentiment.
Now for assembly, I glued blue cardstock to a card base, then added my silver stripes and a black stripe along the edge. Then I popped up my sentiment and image panels with foam squares.
For finishing touches on this card I scattered clear gems throughout.
I love how this card turned out! Don’t you? What will you create with this super fun tea set? I can’t wait to see!
Every order placed will be eligible for a 10% discount. Discount Code TRHD2019 this code will only be accepted until Friday 10-04-2019 12:01 am PST. There are no exclusions on this code it is applicable to your whole order. Please Note: There will not be free shipping available during the time this discount code is in effect. Not applicable to previous orders. May be used more than once. Does not apply to shipping and tax.
GIVEAWAYS: To celebrate day 1 inspiration The Rabbit Hole Designs is giving away the stamp set Steeped in Happiness to One lucky winner. Winner will be chosen at random from the comments left on participating blogs, so make sure to visit each stop and leave a comment. Leave comments by 11:59 pm PST 10-03-19 on all participating blogs. Winner will be announced on The Rabbit Hole Designs blog 10-04-2019
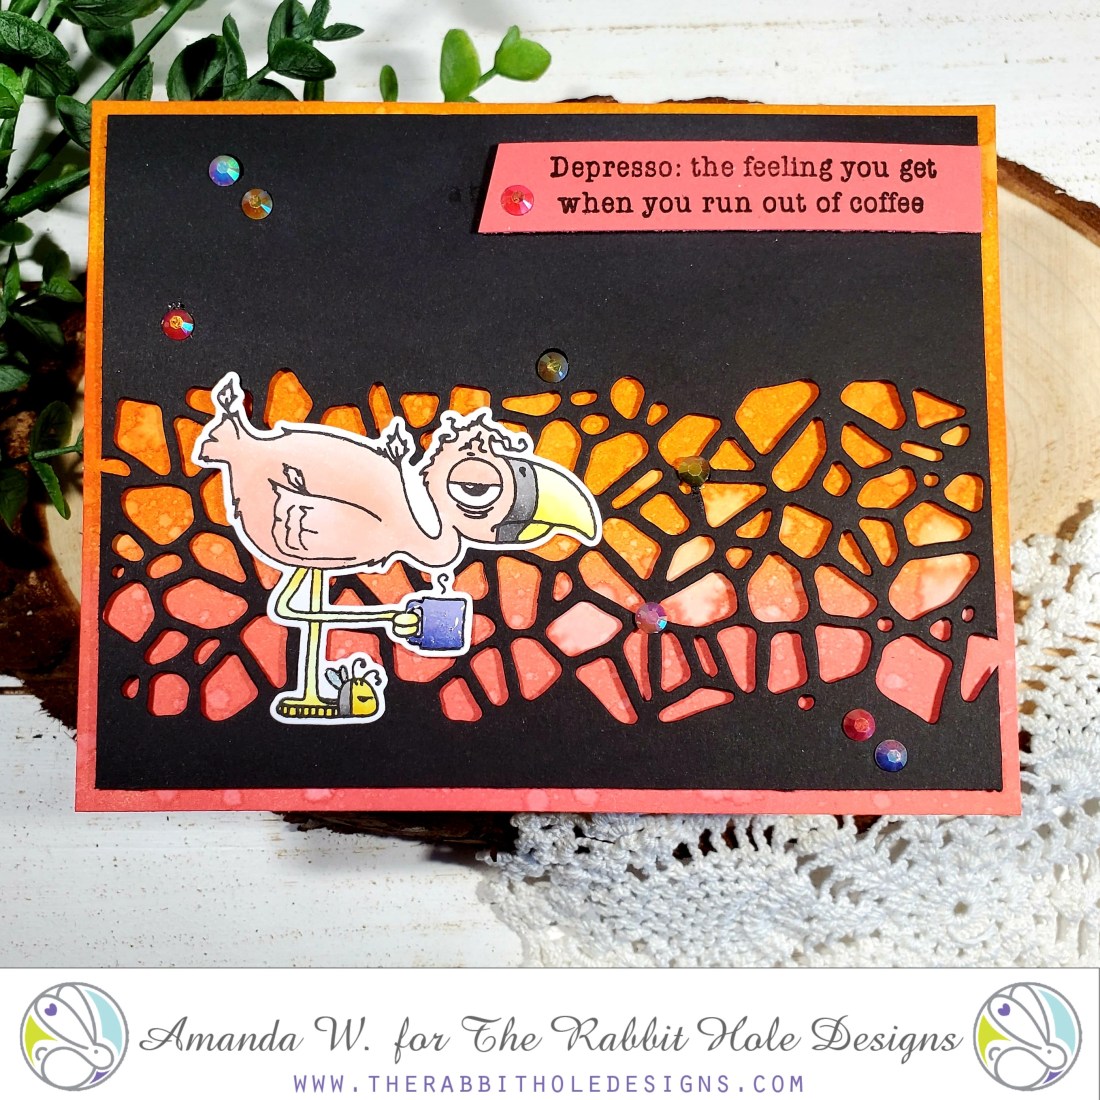
Hey! I’m over at The Rabbit Hole Designs blog today with this awesome caffeinated flamingo card. I have been playing with distress ink backgrounds lately and when this one was finished I knew I wanted to try a flamingo with it.
Here are the details:
Blended distress inks and spritzed the panel with water. Then adhered it to a card front.
Trimmed down a black panel to 4×5.25 and die cut a border out. Then popped this up with foam tape for dimension.
Stamped, colored and die cut my flamingo. Then I glued him directly to the black panel.
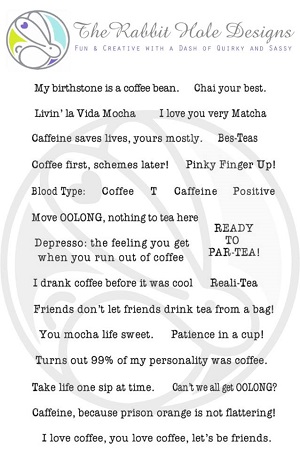
I chose a sentiment from the Perfectly Blended set, stamped it on a red-ish cardstock that matched my background and popped the strip up with foam tape.
For finishing touches I added glossy accents to the mug and gems scattered throughout. I love a little bling!
I love that black cardstock against the bright background. And the flamingo is just soft enough to pop from both of those elements and not get lost. This is such a fun card and was pretty quick to put together. I feel like a set of these with different sentiments would be a fun gift for someone. Or a great thing to have on hand for when you need to send a card on short notice.
Thanks for hanging with me today! Below are the products I used.