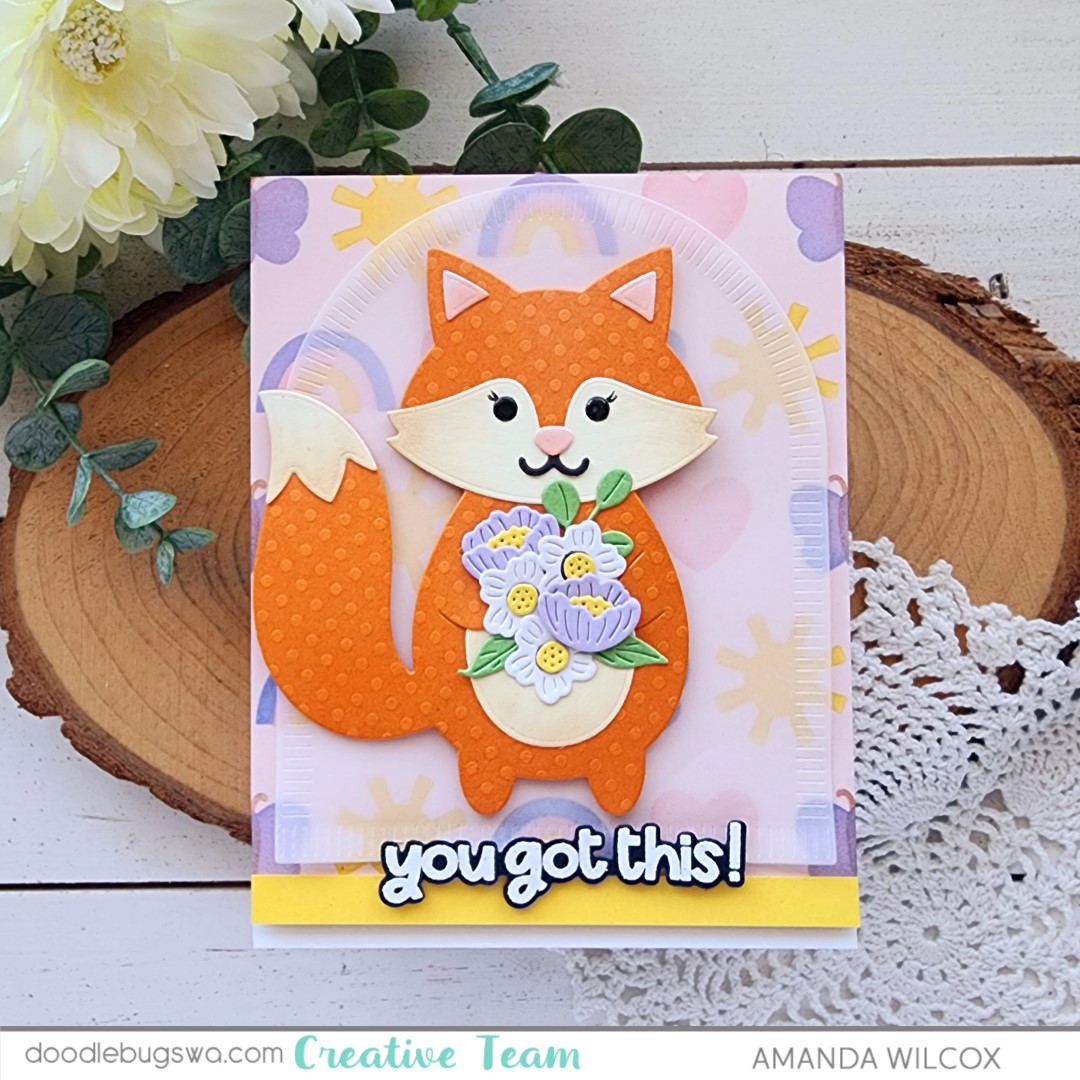
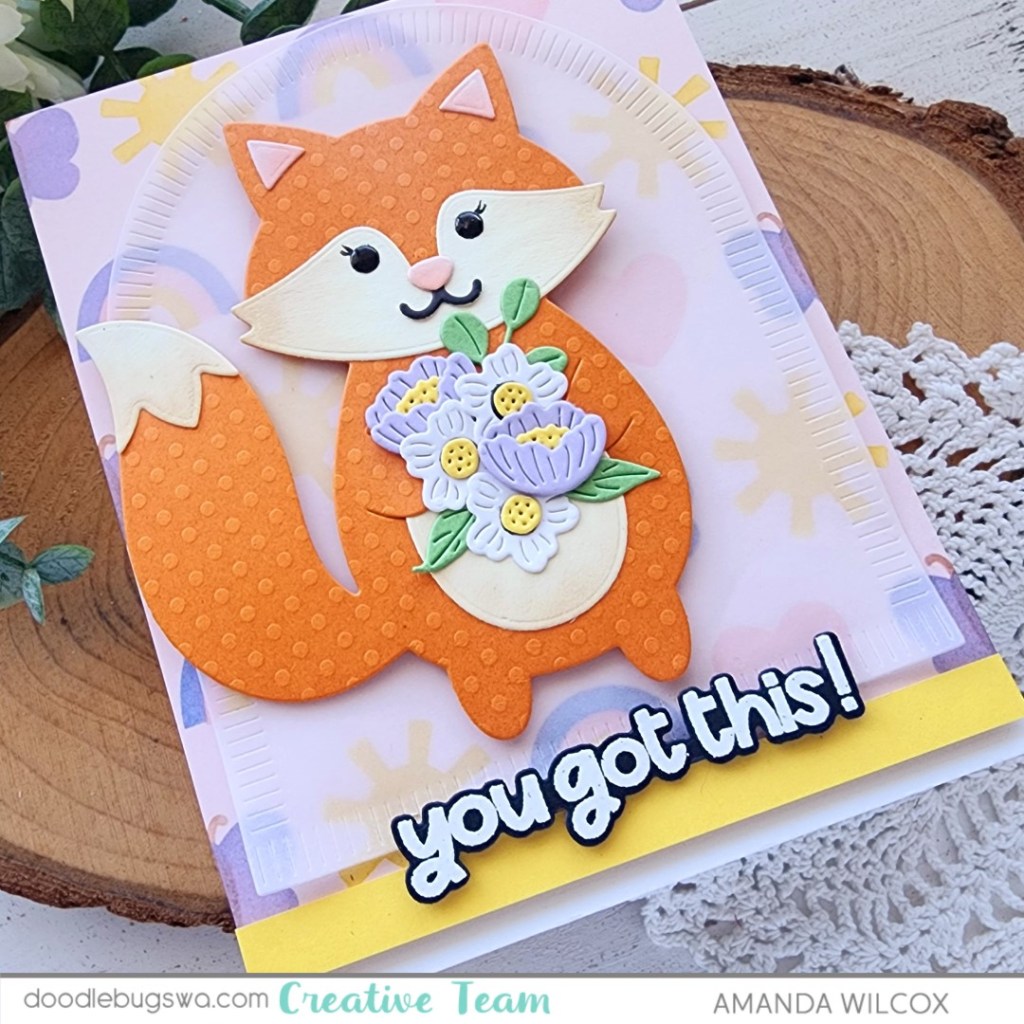
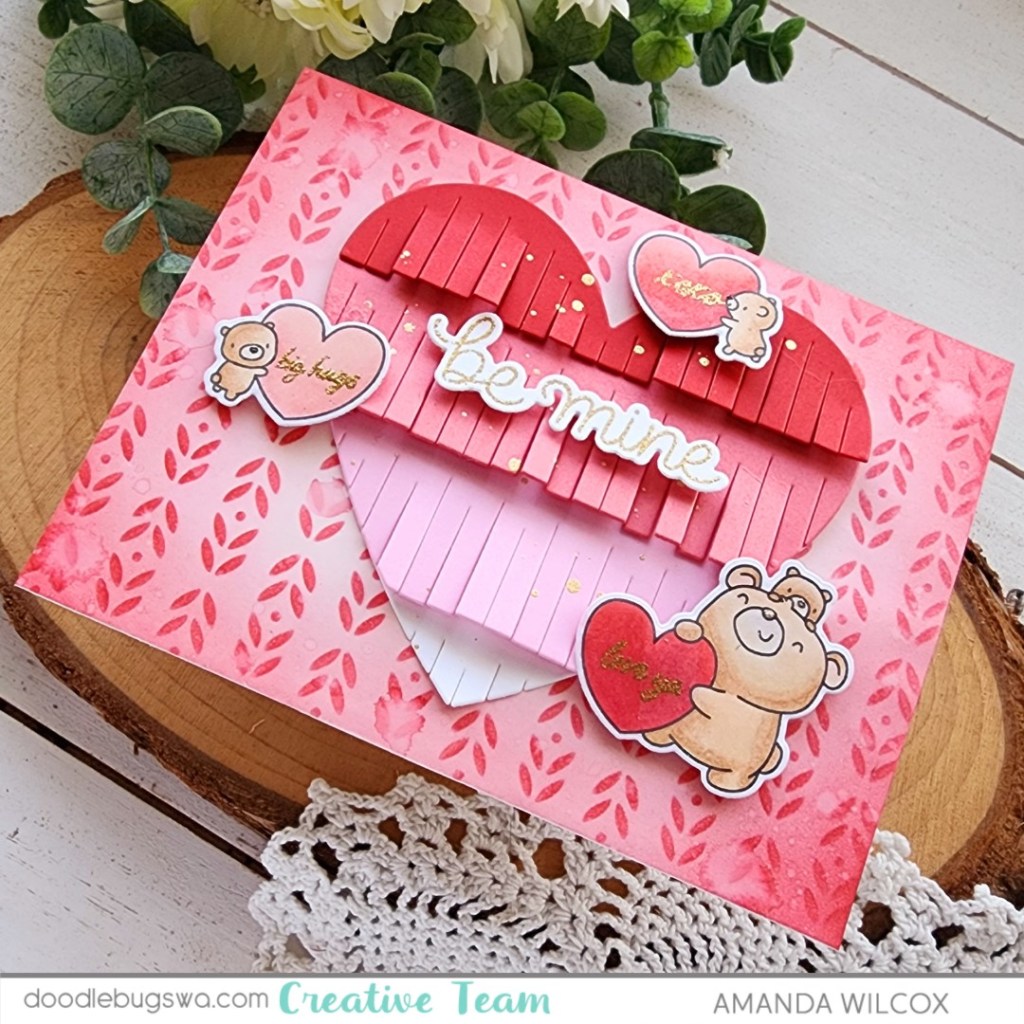
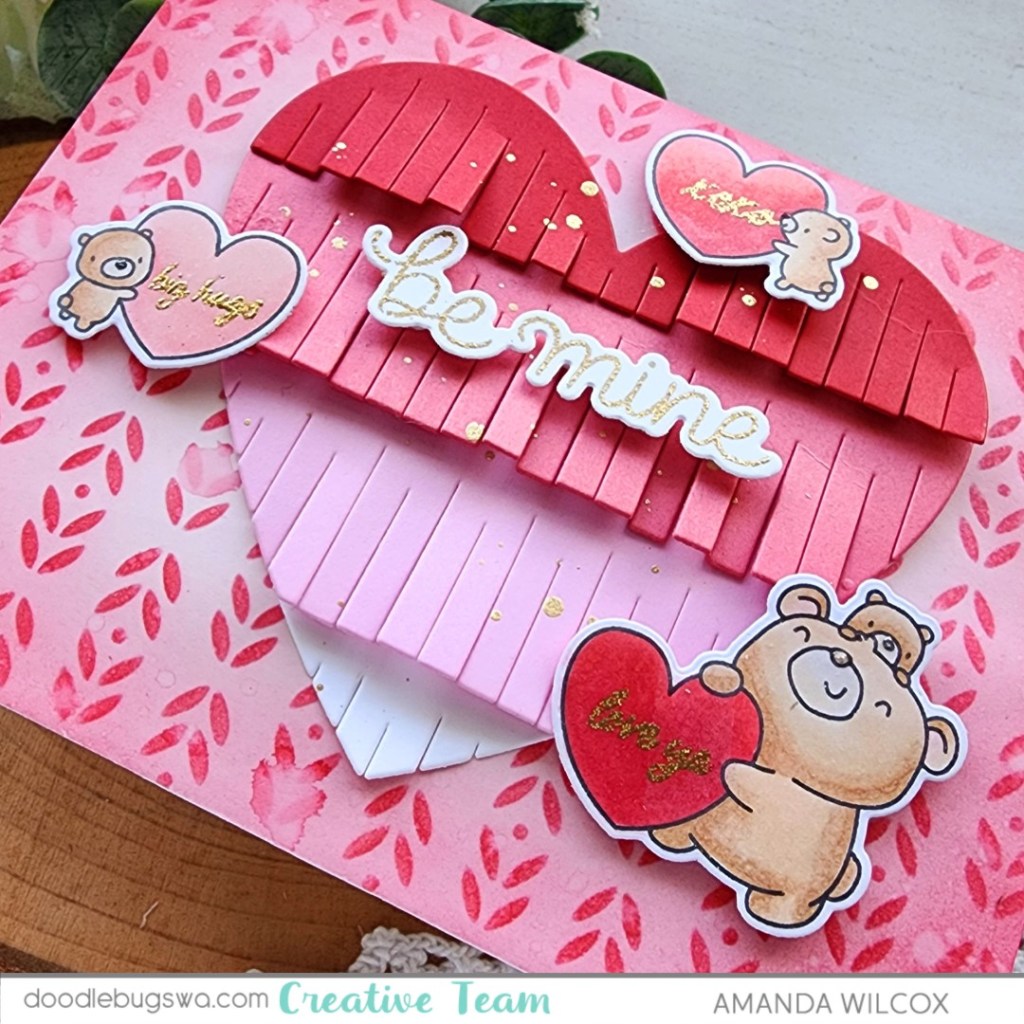
Happy Mix it up Monday everyone! I’m so excited to get a chance to play with the Mama Elephant Cake Gift Card Holder die set. It’s so fun and a fabulous way to make your card interactive!

I started by cutting the various parts of the gift card holder from colored cardstock and then used blending brushes and dye inks to add depth and dimension to them before assembling it all with liquid glue.

I pulled out the Lawn Fawn Heart Pandas to adorn the bottom of the cake, including the butterfly and trail. They are attached with foam squares.

My background panel is embossed with the Spellbinders Tiny Dots embossing folder and ink blended for depth to bring out the fun dots. I also stamped and heat embossed a sentiment from the Mama Elephant Way to Go stamp set, using the coordinating die to cut it out.
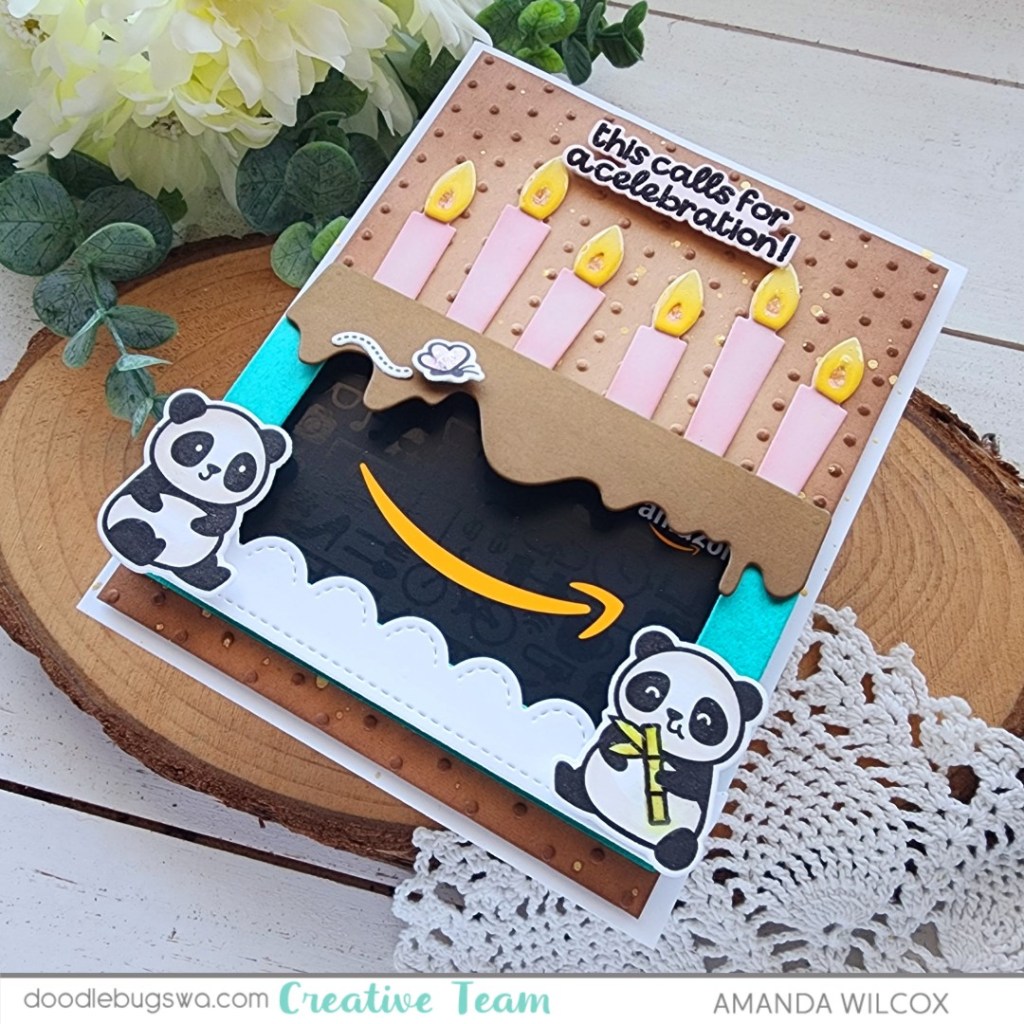
I popped the embossed panel up with foam tape on a white card base and splattered it with gold watercolor. Next, I glued the gift card holder to that with liquid glue. Then I popped up the sentiment above the candles.
For finishing touches I added stardust Stickles to the inside of the flames and butterfly wings. Then I went over the rest of the flames with glossy accents letting them mix together a bit.
Products used:
Mama Elephant Way to Go stamps and dies
Mama Elephant Cake Gift Card Holder dies
Spellbinders Tiny Dots embossing folder
Lawn Fawn Heart Pandas stamps and dies
Glossy accents
Stickles – stardust
Blending brushes
Lawn Fawn dye inks – walnut, mermaid, ballet slippers, sunflower
Foam squares
I appreciate you sharing your time with me. Have a fabulous day!