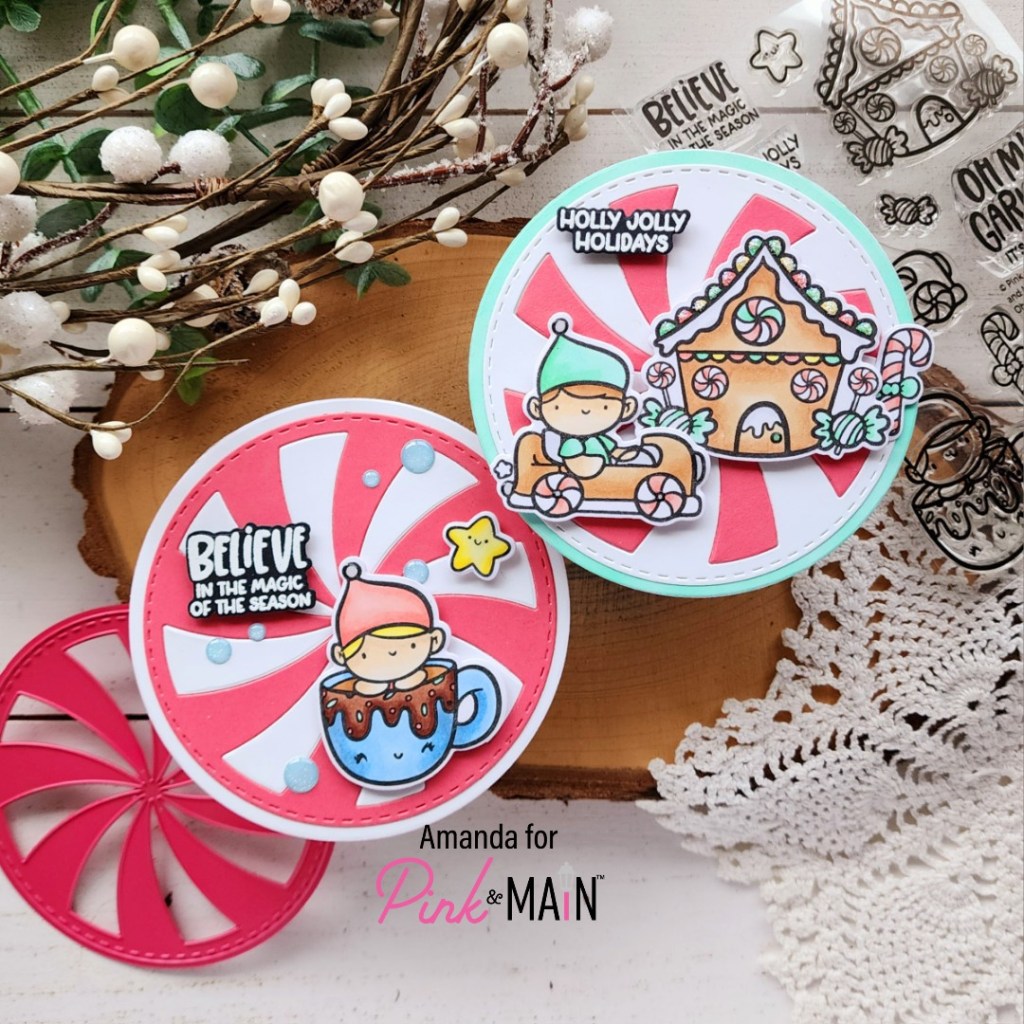
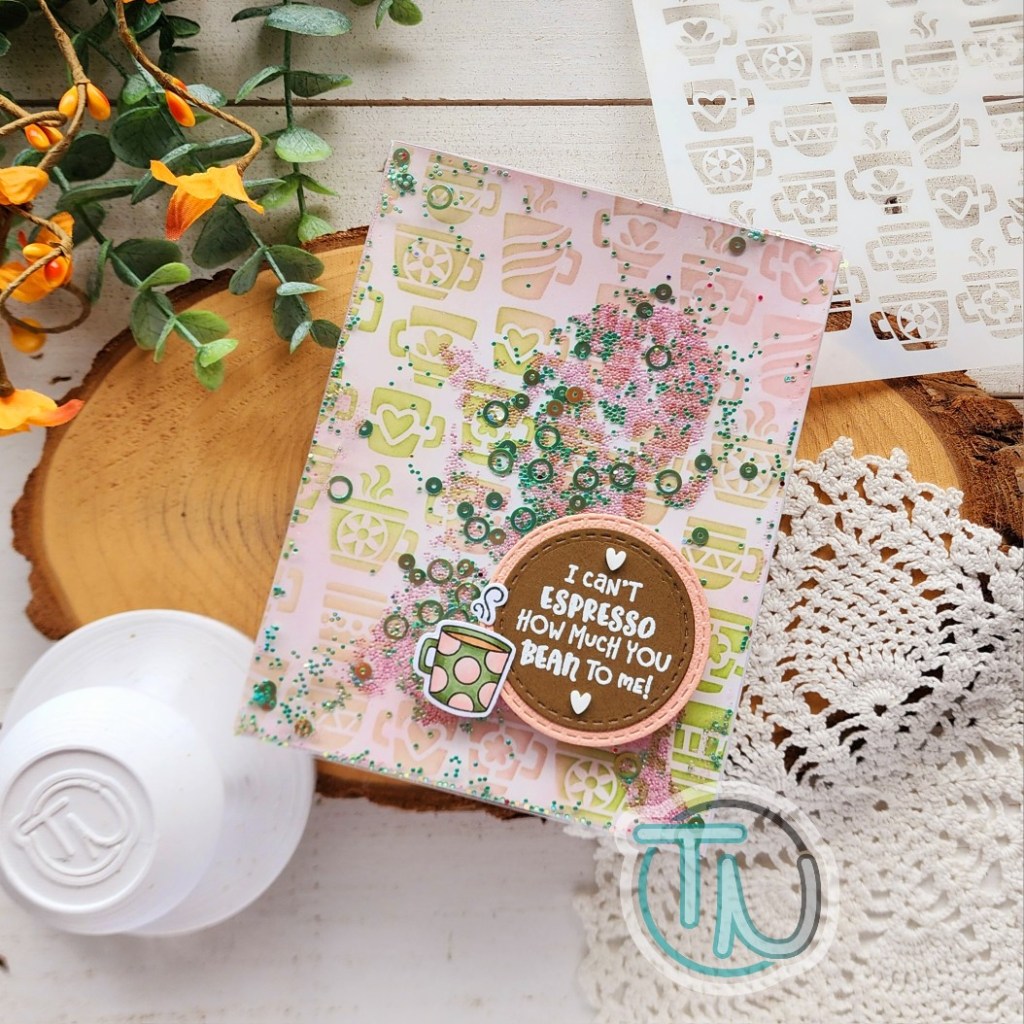
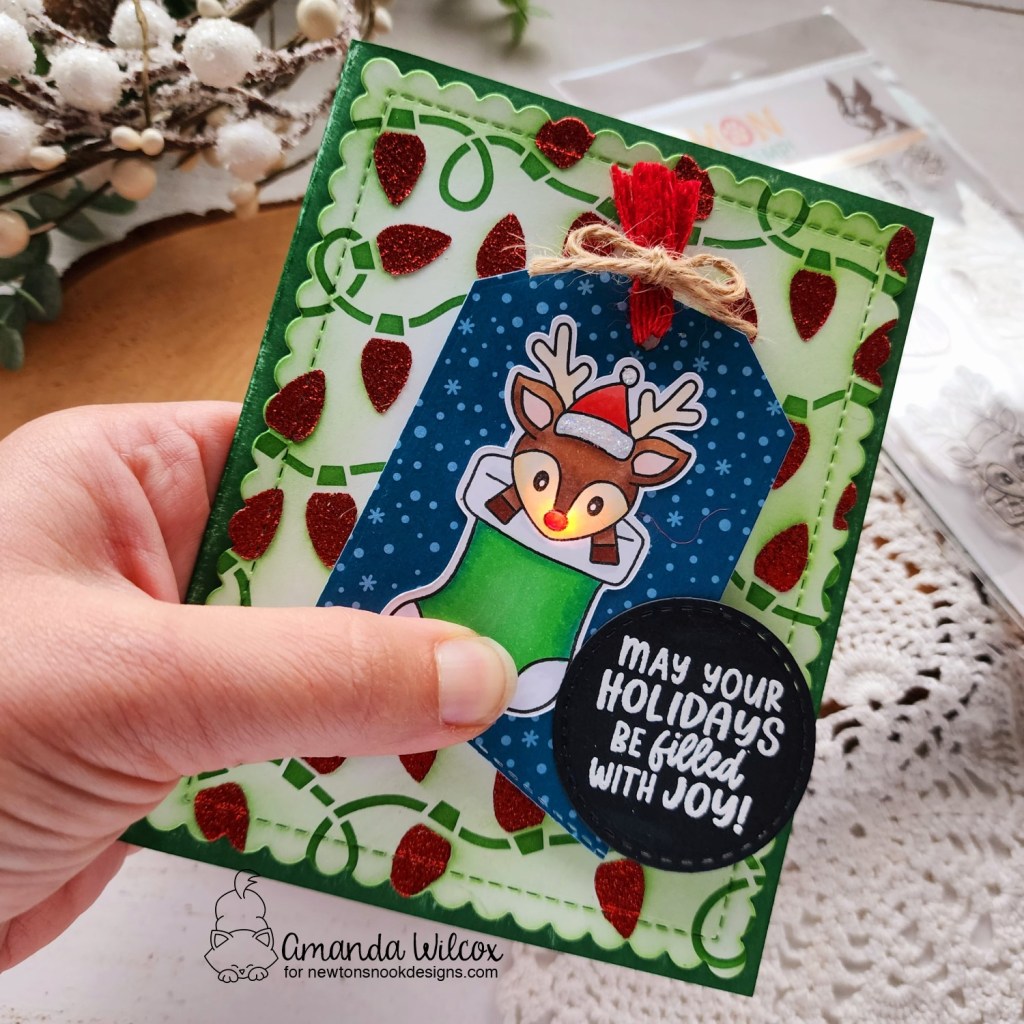
Hey friends! I’m switching things up for today because we’re getting cozy on the Doodlebugs blog while mixing things up. Mixing Mama Elephant cuties with Pretty Pink Posh sentiment stamps and dies for an awesome combo!

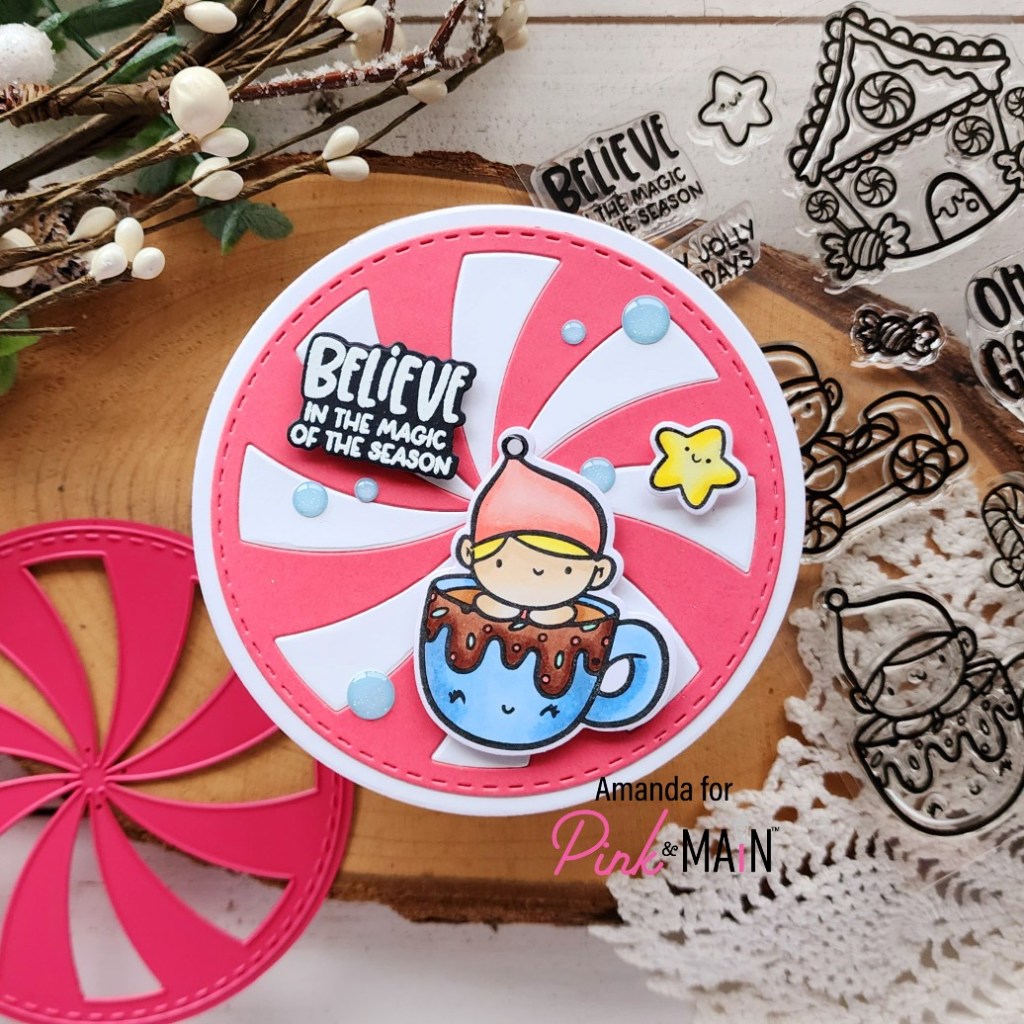
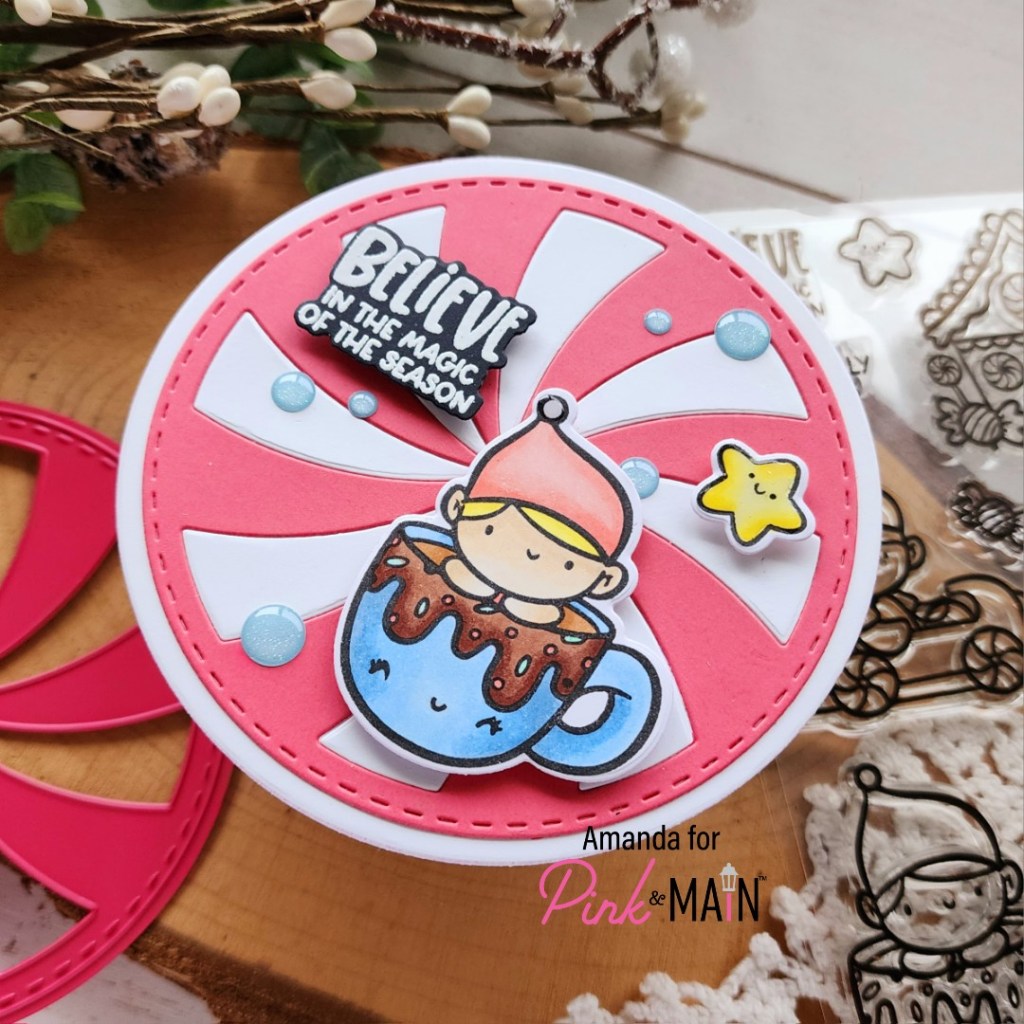
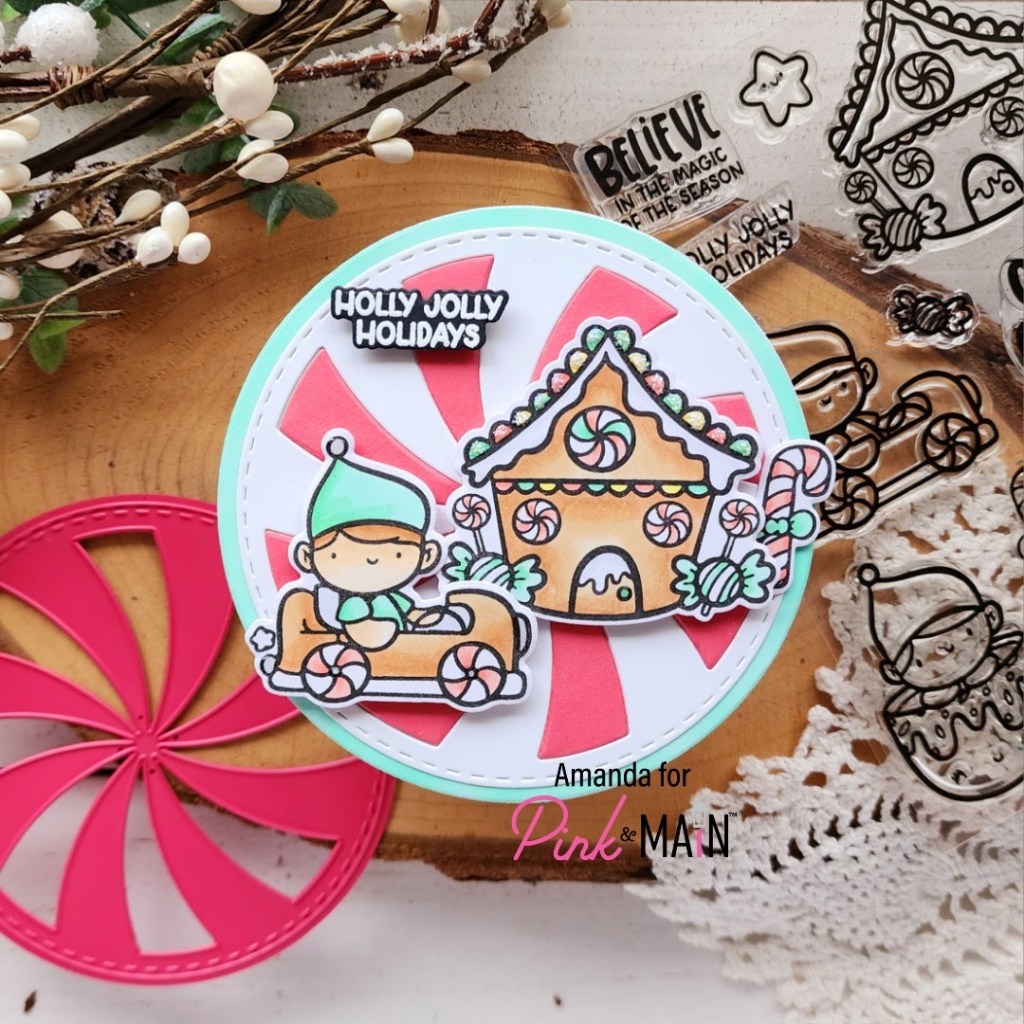
I started by stamping and coloring my images from Mama Elephant’s Keep Cozy set. Then I used the coordinating dies to cut them out and a little liquid glue to adhere the groupings together.

Next, I pulled some cardstock scraps from my stash and cut a bunch of sentiment strips using the Pretty Pink Posh Sentiment Strip die set. This die set is genius and a must have staple in your craft room. After cutting them all I arranged them on a piece of white cardstock. I used liquid glue to adhere them so I let the glue dry for a minute before trimming the panel down to 4×5.25 inches.
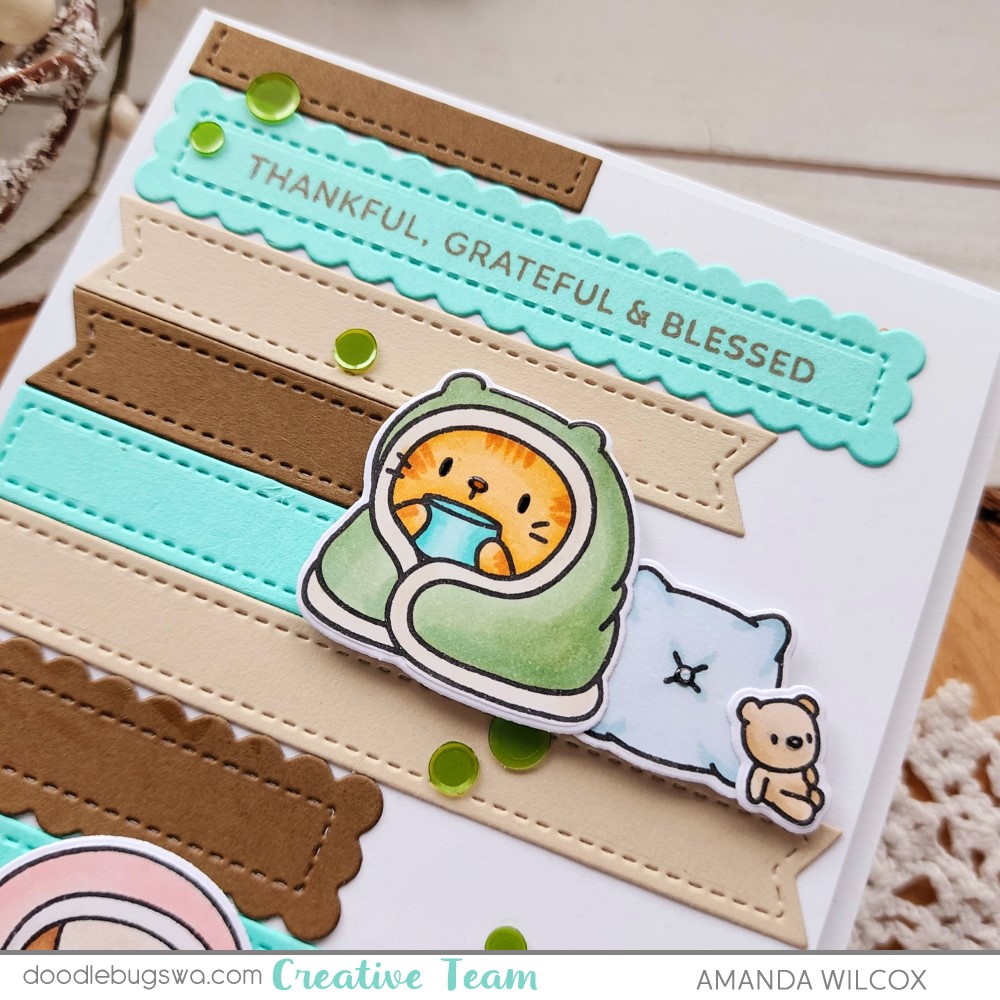
Then I added foam tape to my critters and popped them up like they were sitting on one of the strips. Next, I placed the panel in my MISTI and stamped a sentiment from Pretty Pink Posh Sentiment Strips | Fall stamp set with brown ink to keep the look subtle.
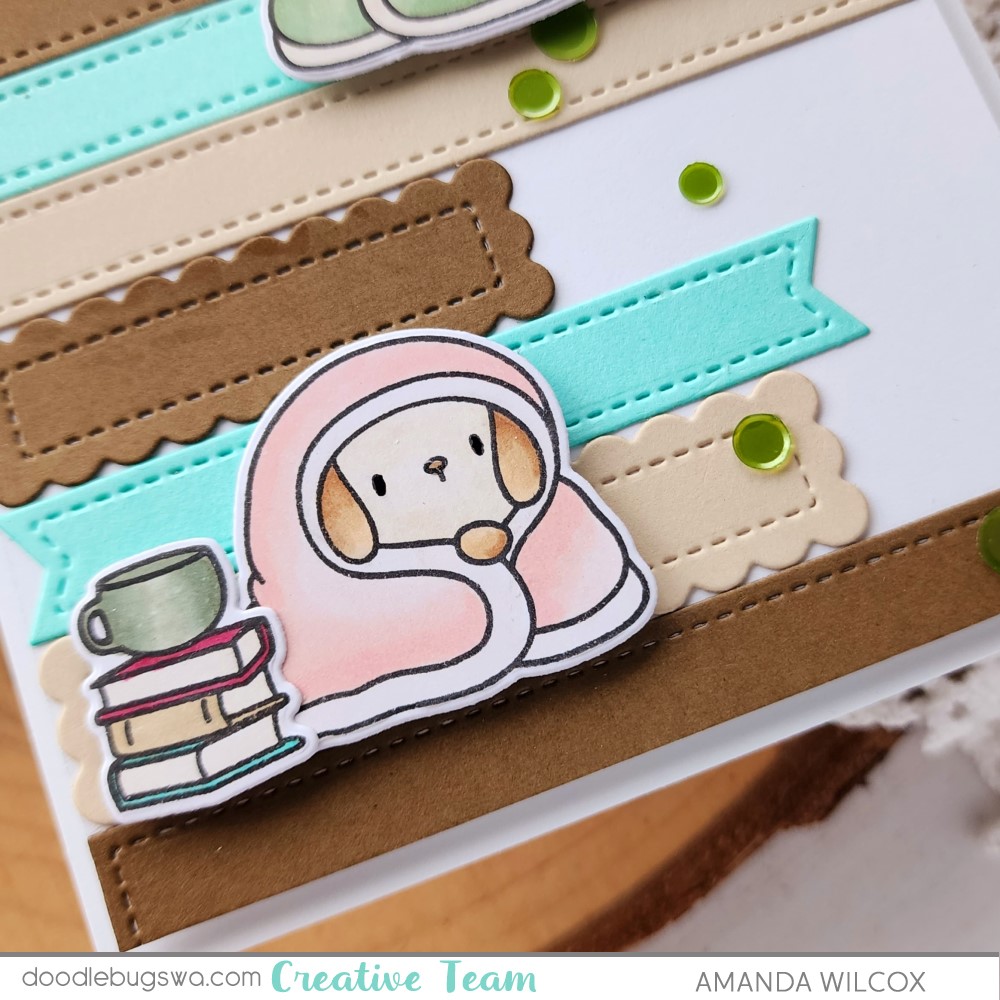
After that, I added foam tape to the back of the panel and popped it on a white card base. For finishing touches I added mossy green confetti across the design, black glaze pen the the critter eyes and glossy accents to their noses.
Doesn’t this make you want to curl up with a cuppa and a good book and forget your responsibilities? Me too!
I appreciate you sharing your time with me. Have a fabulous day!