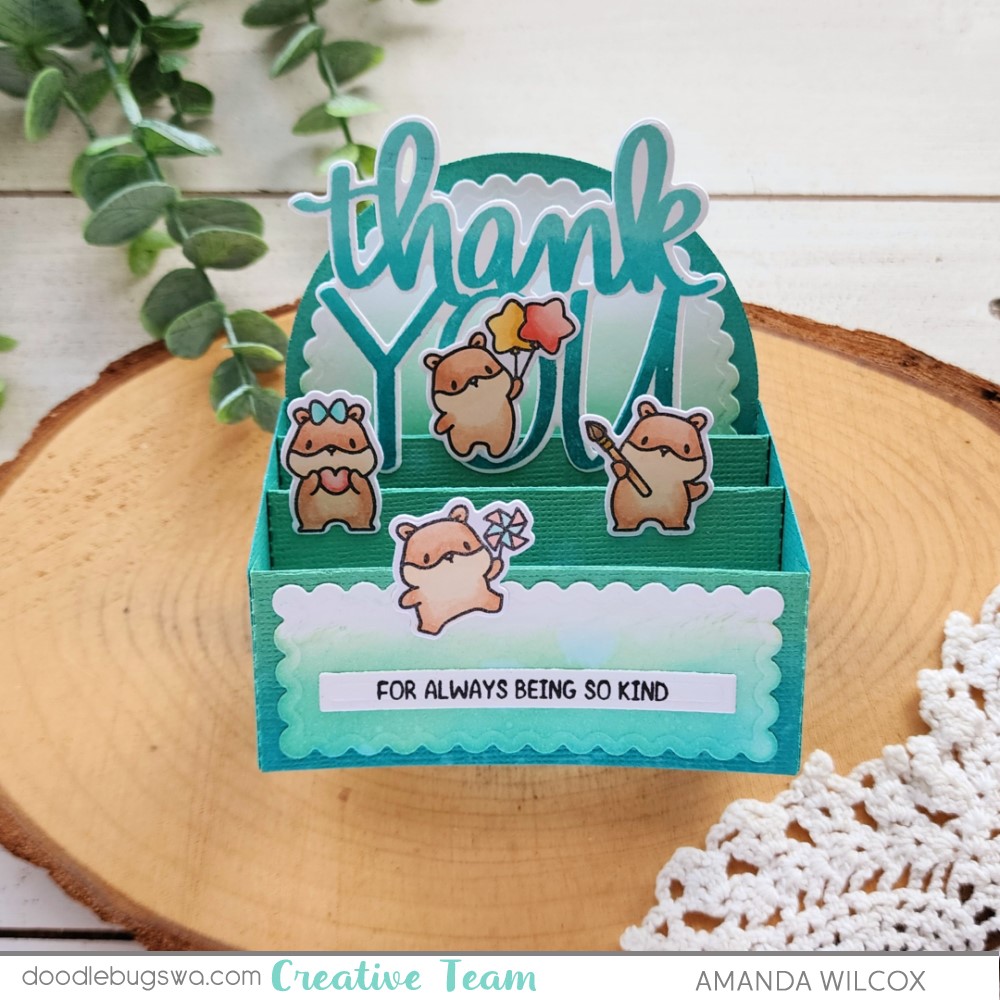
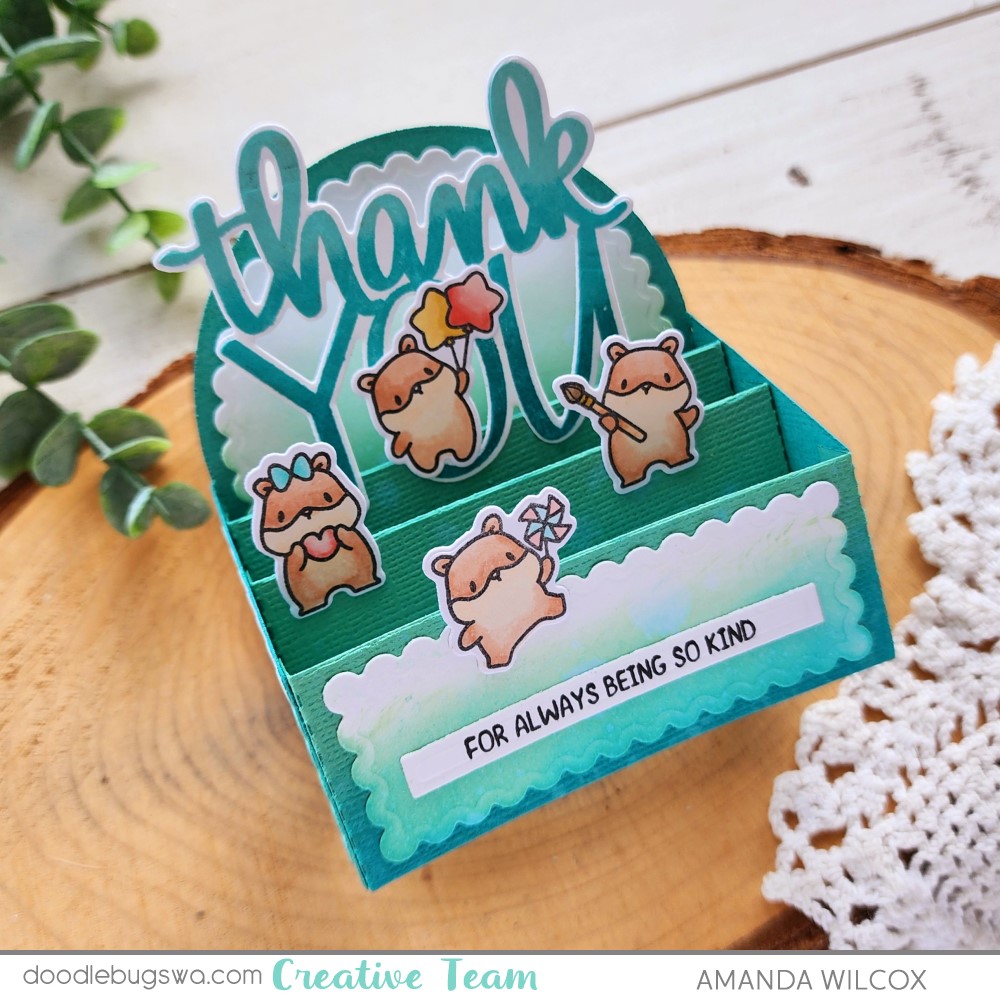
Hey friends! I am super excited to be sharing with you a look at the Waffle Flower Sneak Peek Kit #09! These kits give subscribers a peek at the next upcoming release before it’s available for purchase! They have all been amazing so far and this one is no different!
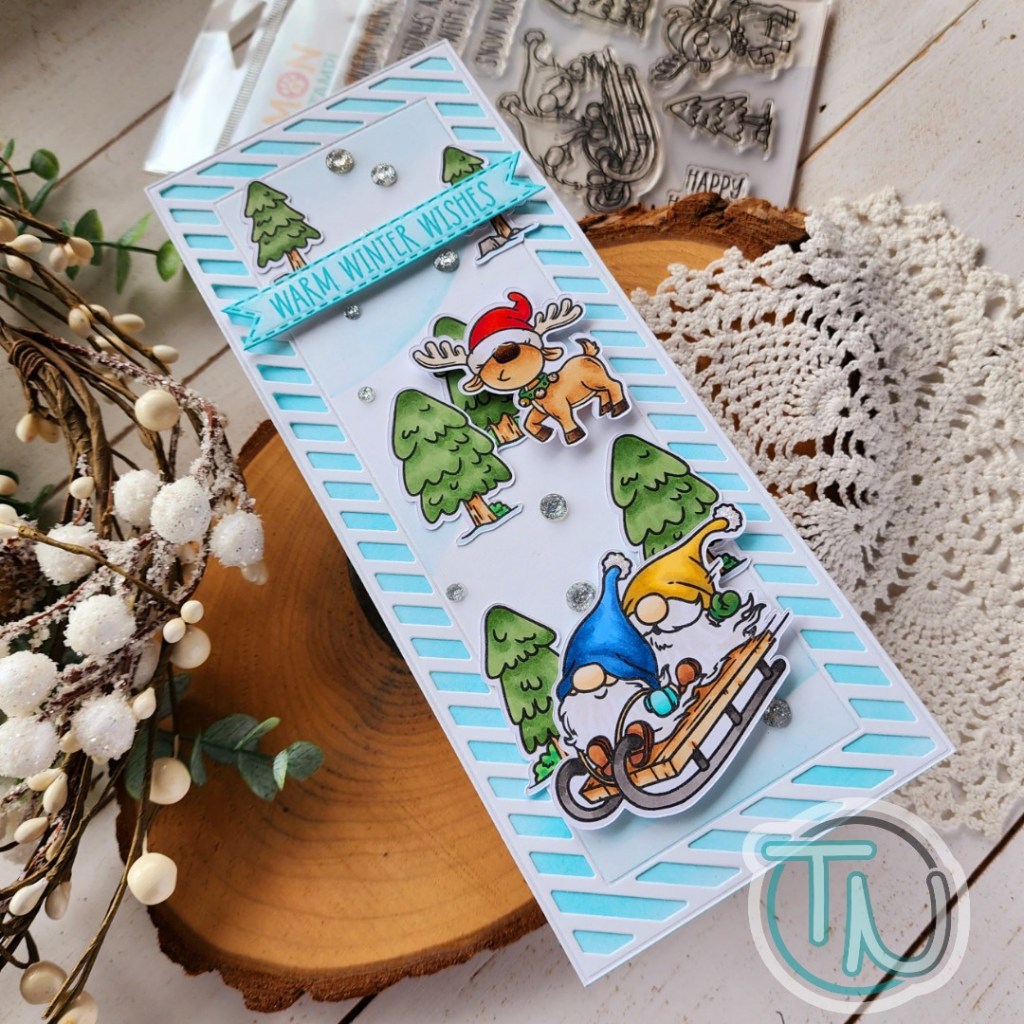
I couldn’t help myself and created three cards straight away, in one crafting session. It was so fun, I just couldn’t stop!

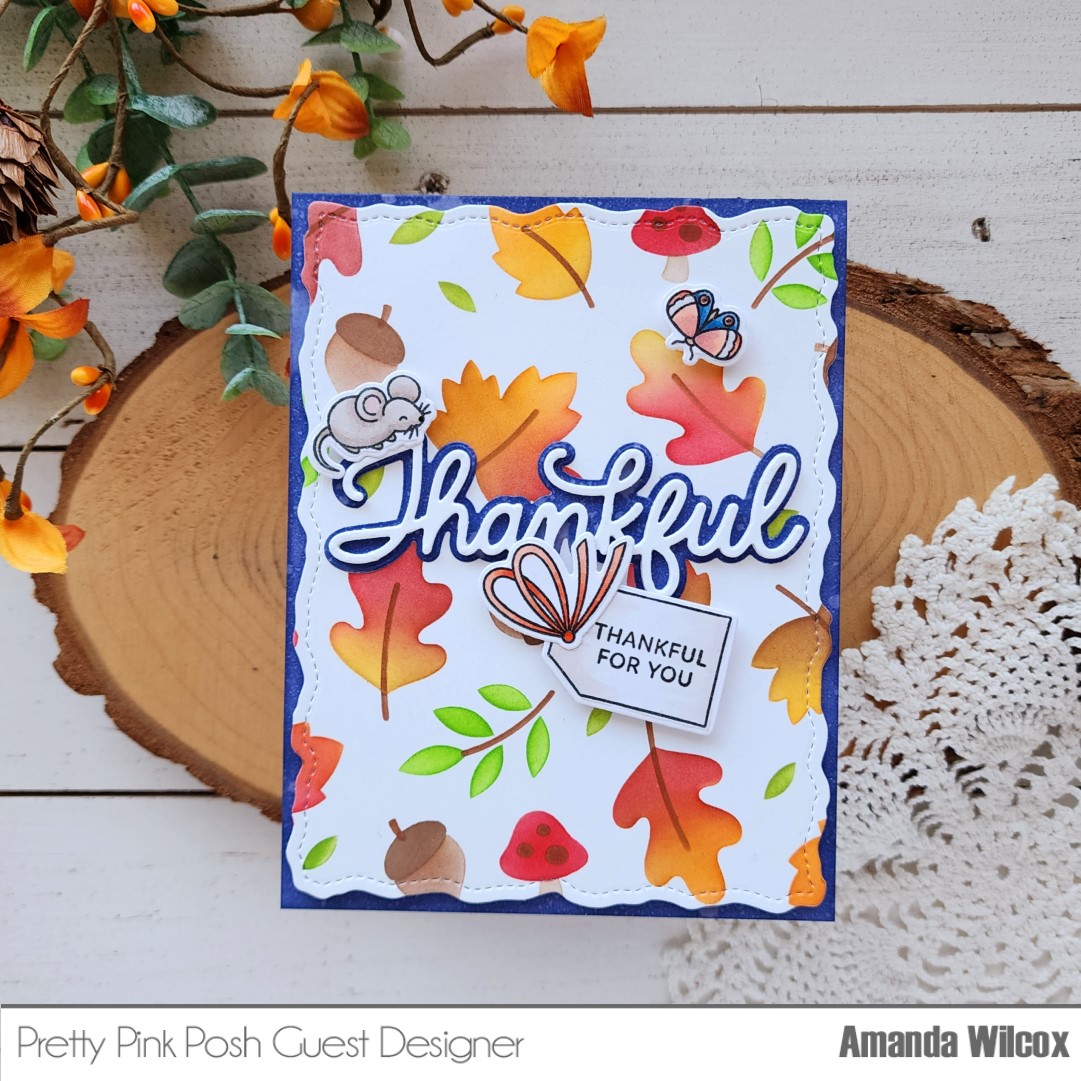
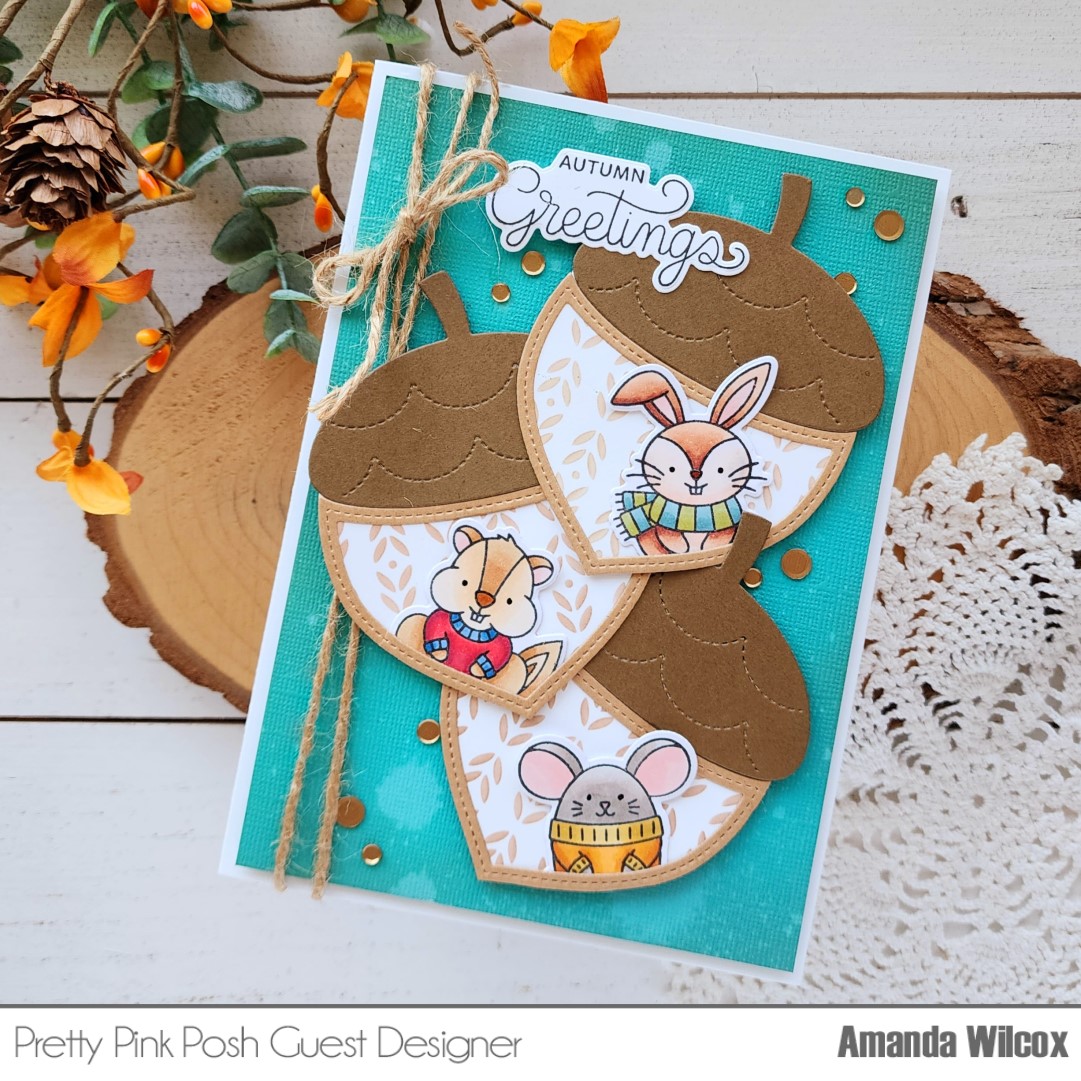
For my first card, I had to try inking on kraft cardstock. Nothing says fall to me more than those muted natural colors and I was excited to play. So I cut the panel from kraft using the die from the kit and lined up my stencil to ink blend. The kit also comes with one of the detail blender brushes which is so cool!
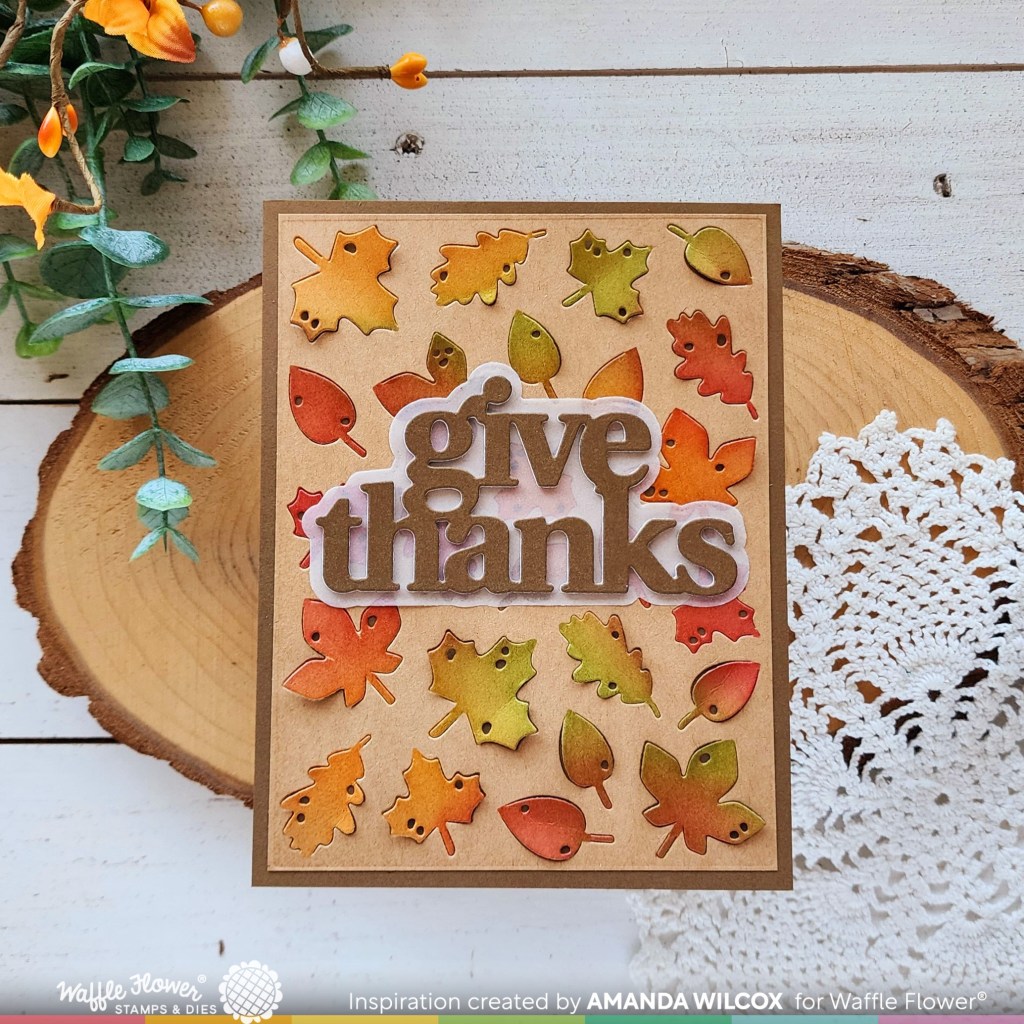
The sentiment die used on all my cards is also part of the kit. For this card I cut the shadow from vellum and the words from the same dark brown as my card front. I used liquid glue and adhered everything together.
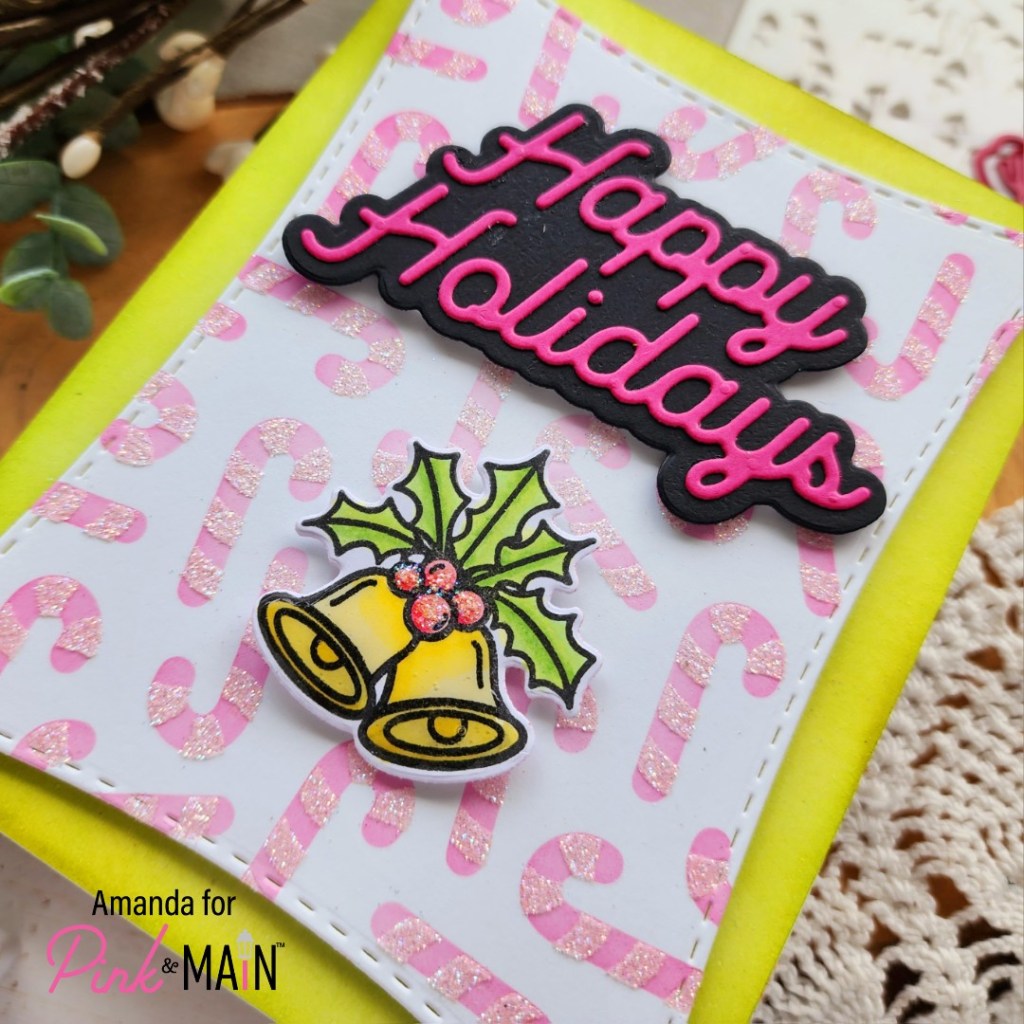
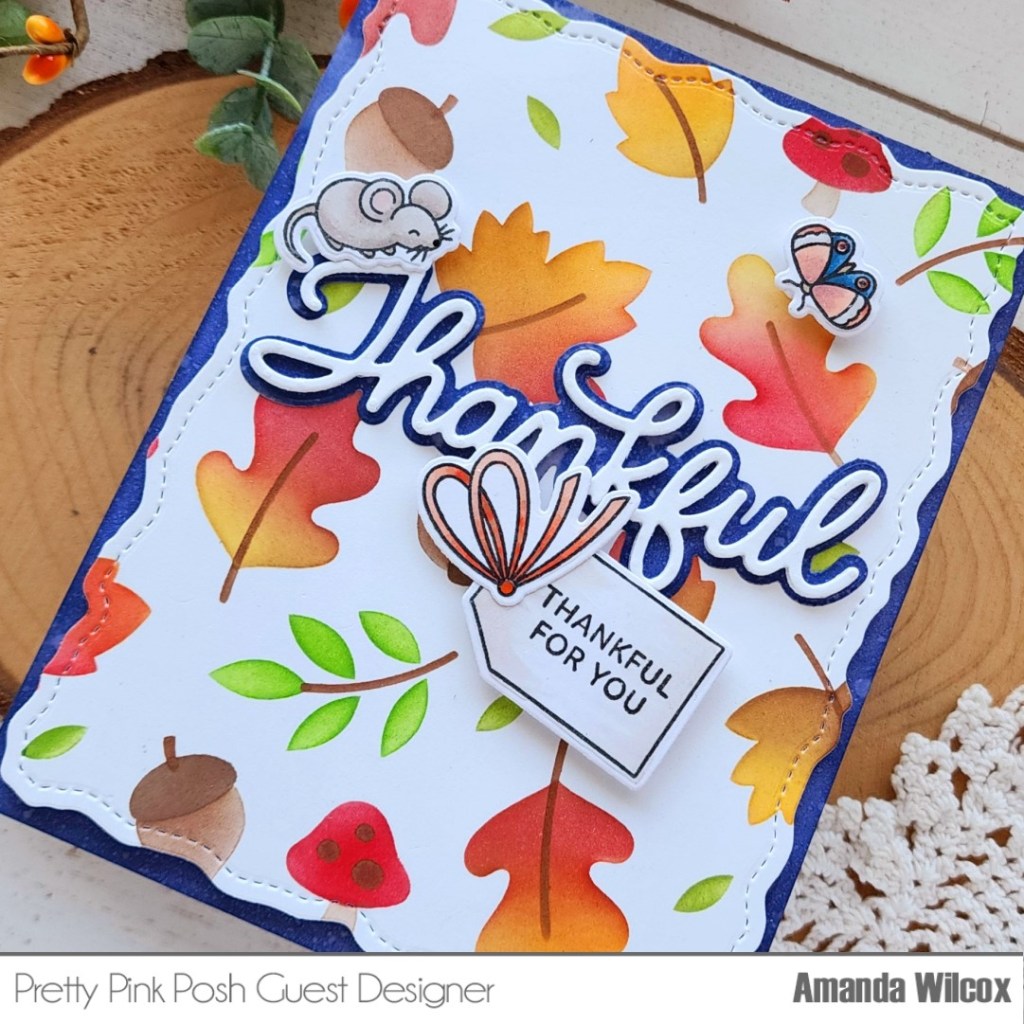
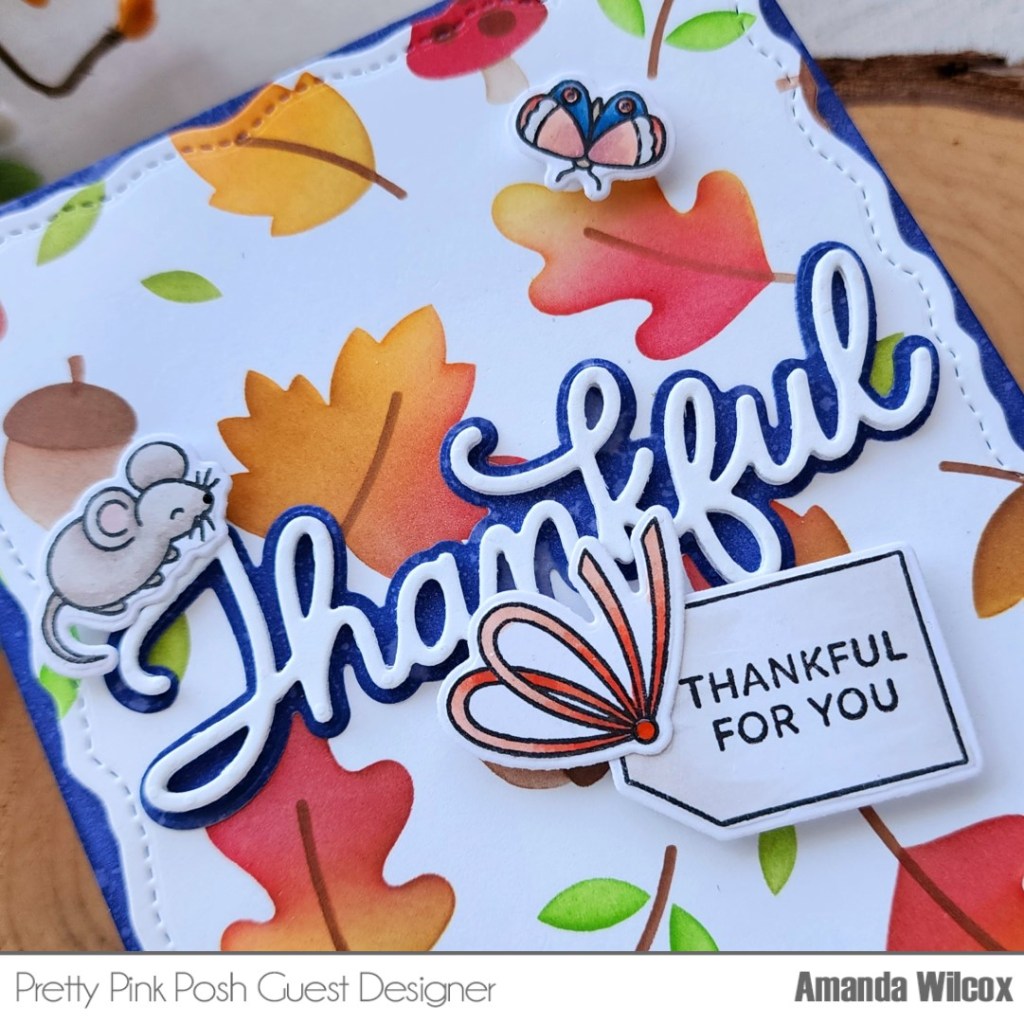
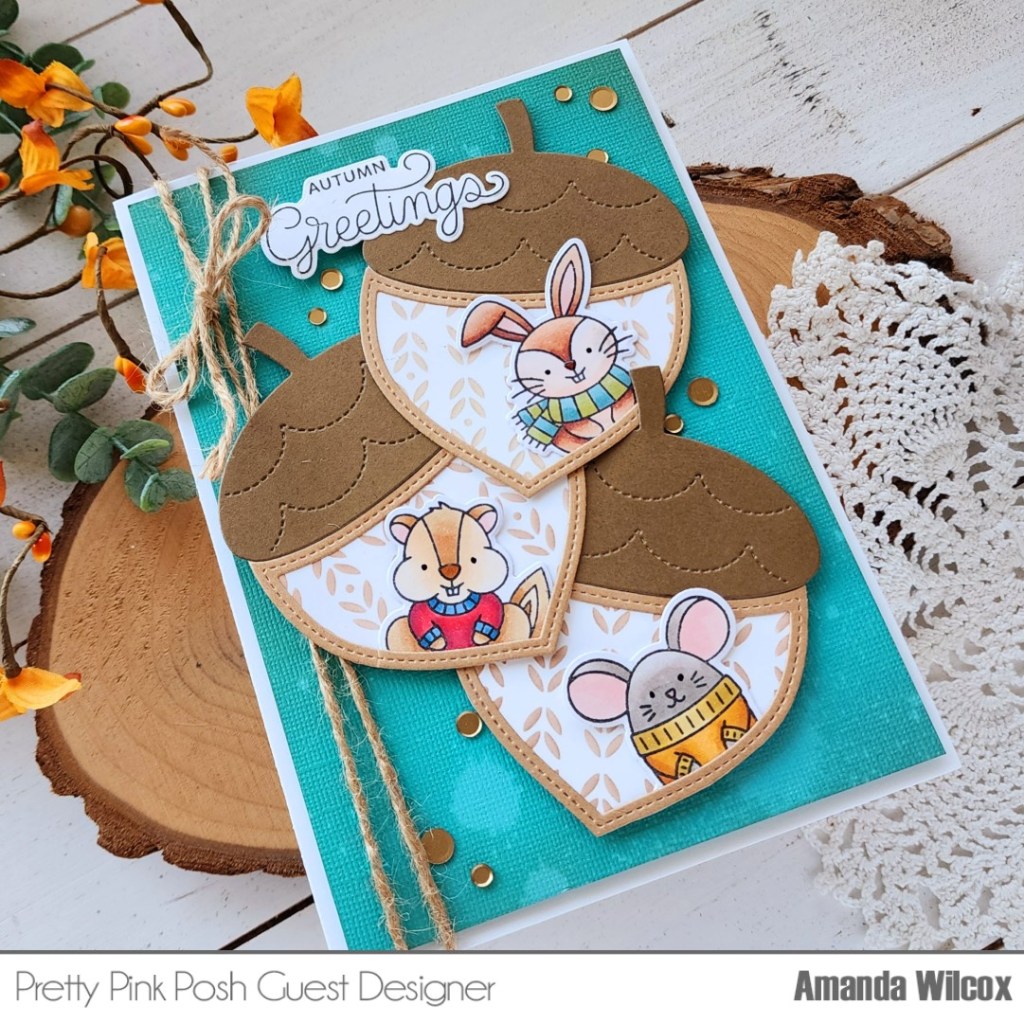
Sticking with the same colors but a brighter background, I mimicked the same idea on a white panel to see the difference it would give. Oh my wow is it huge!
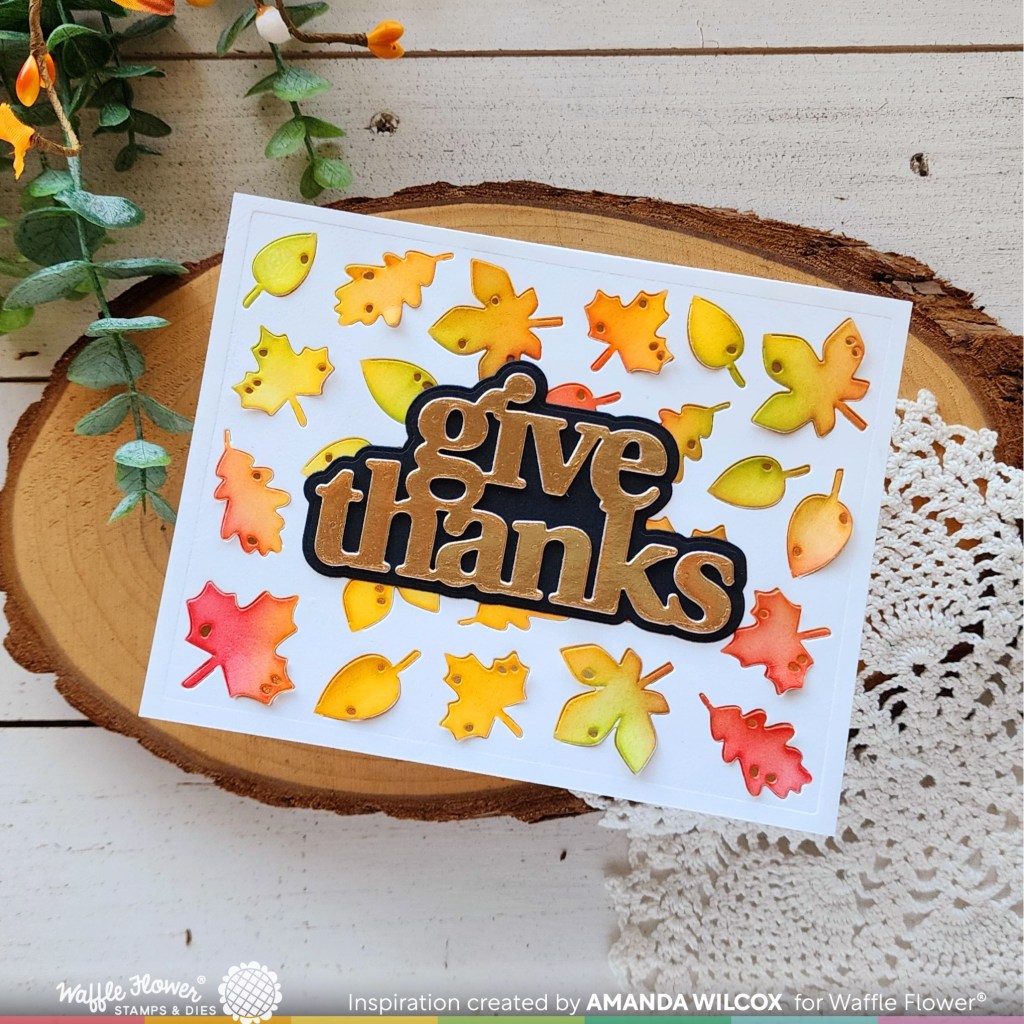
This time I cut the sentiment from gold foil cardstock, also lined my card front with is so that’s what shows through the lifted leaves. The sentiment shadow is cut from black cardstock this time for a bold statement on this card.
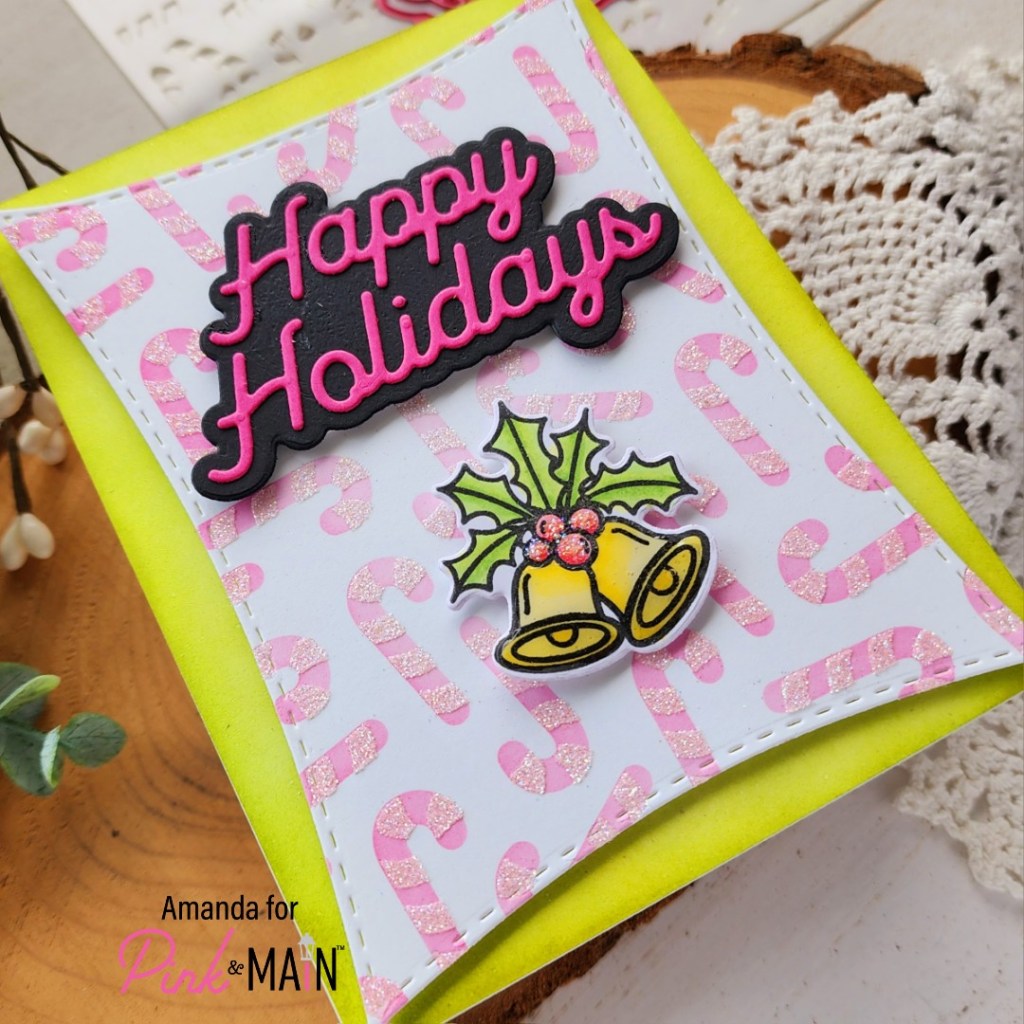
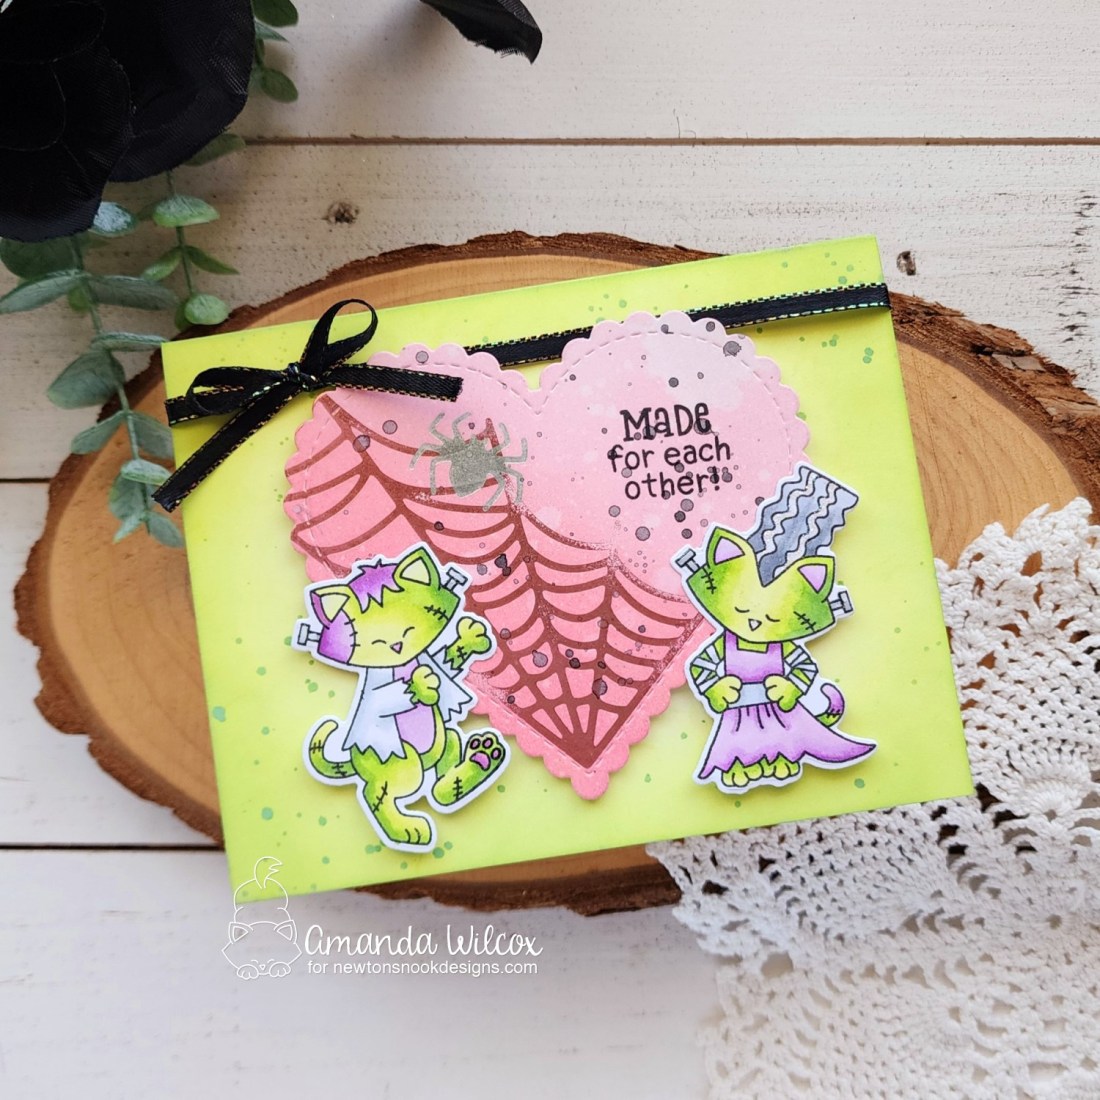
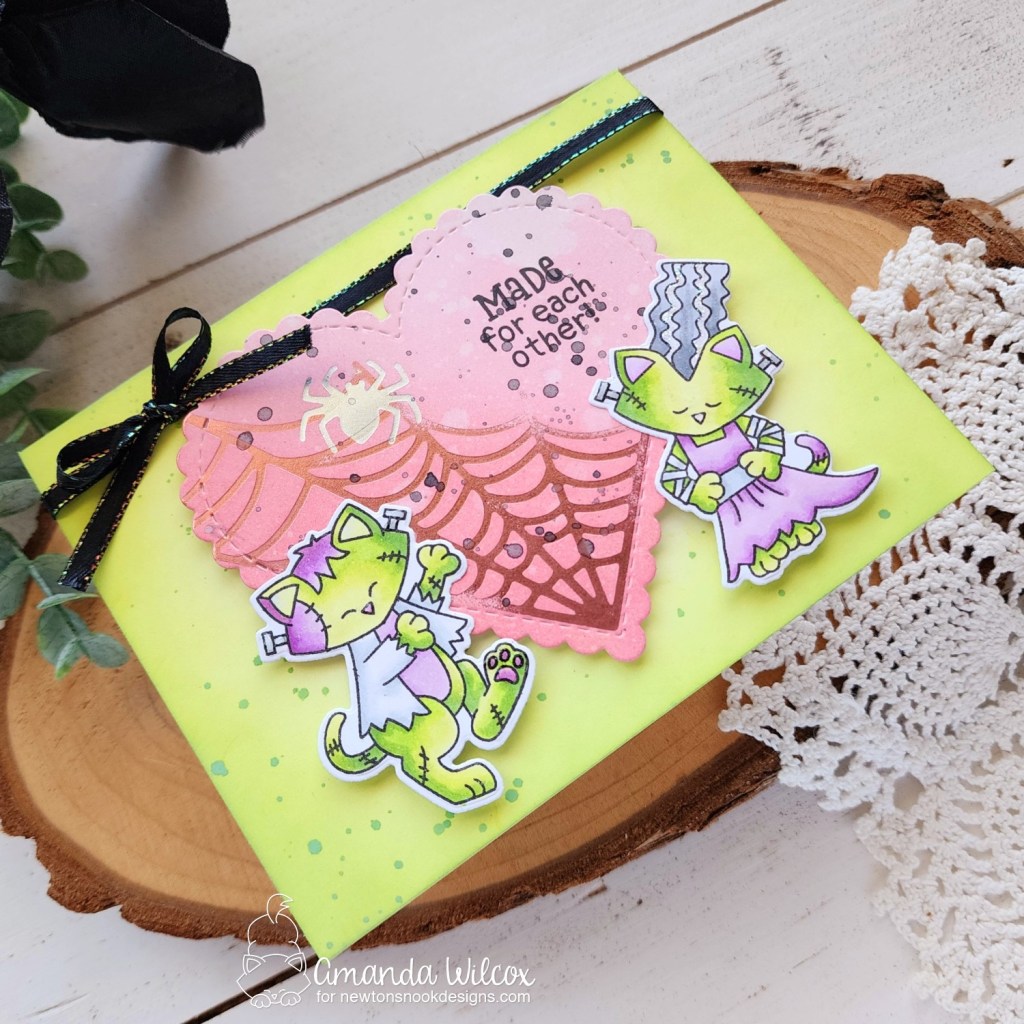
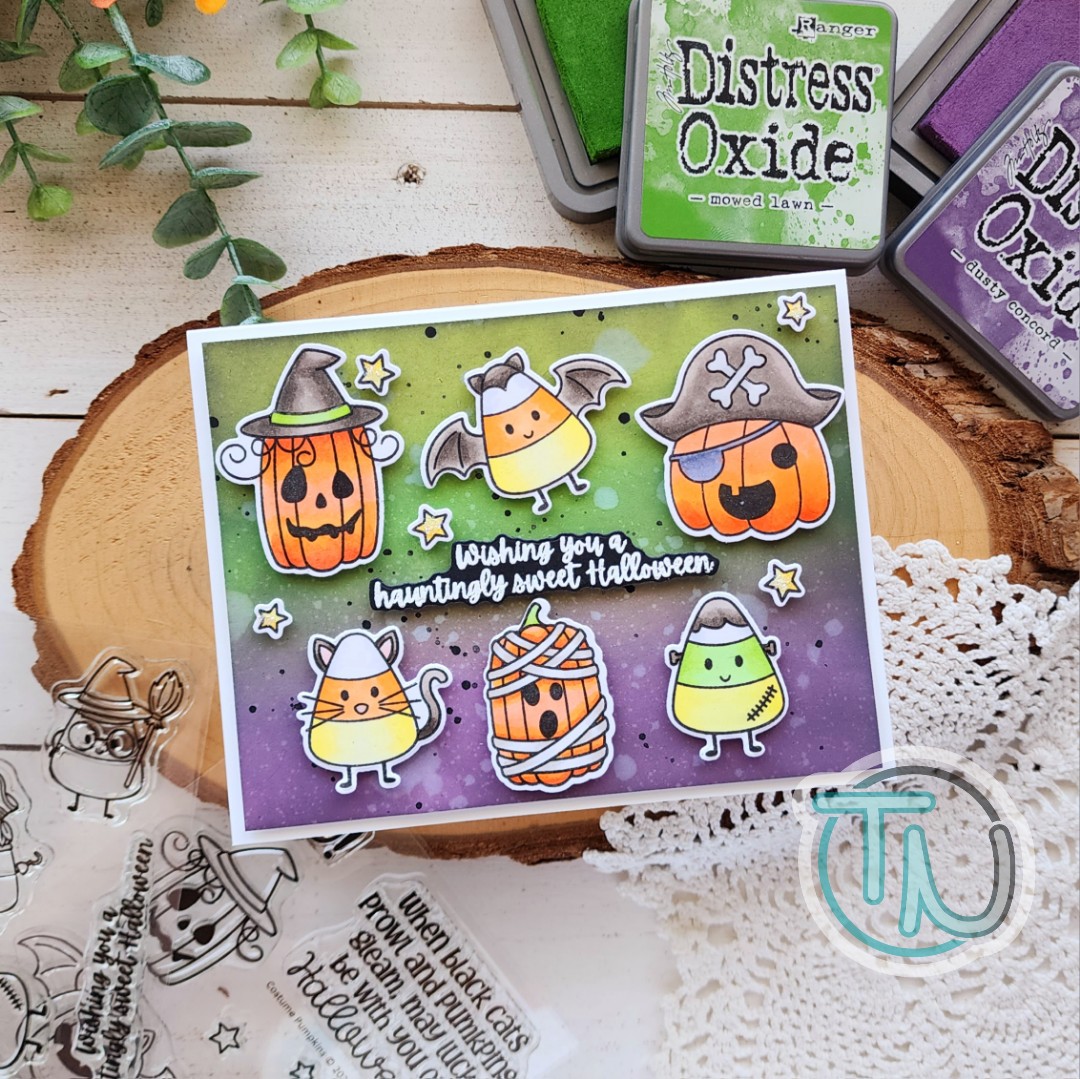
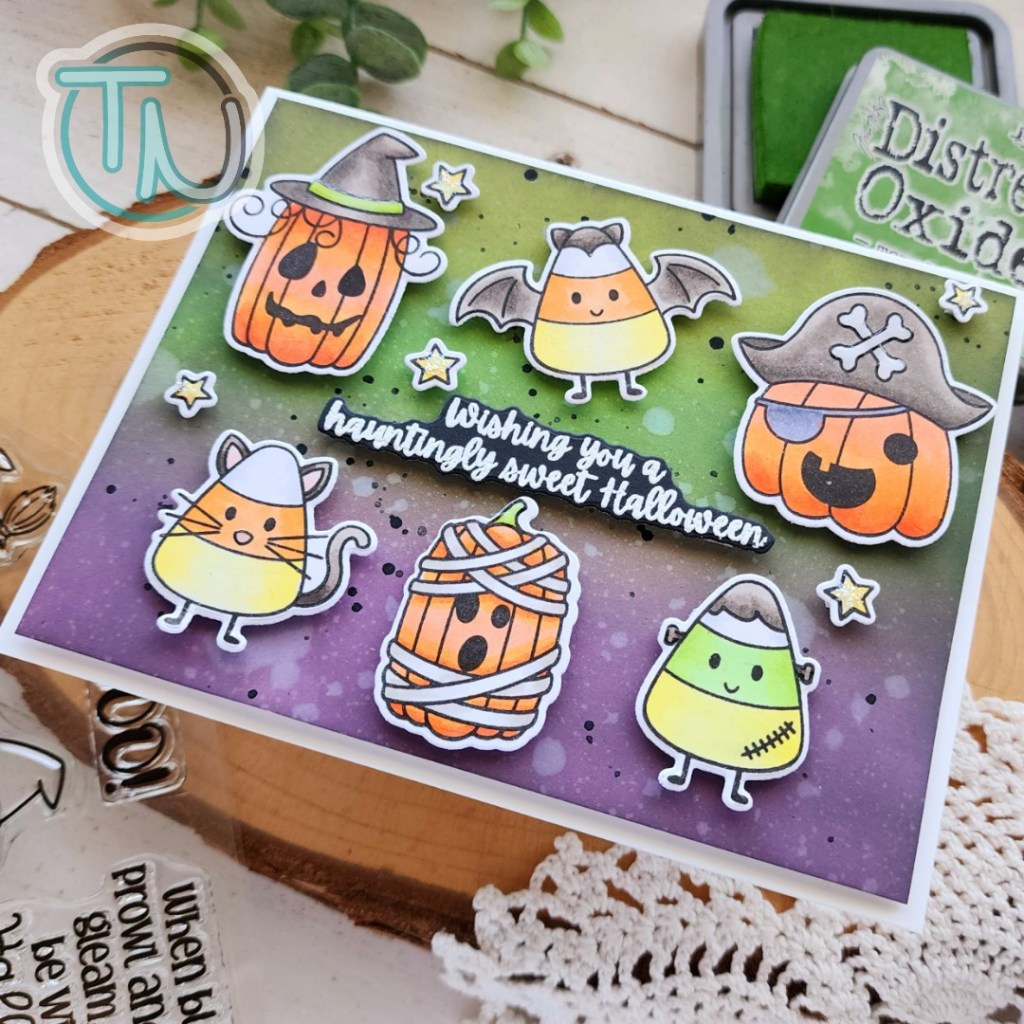
Next, I just had to try making a shaker window from the shadow die in the sentiment. I don’t think to create shakers all that often but this one was a must do for me.

This is also a great was to show that you don’t have to use the cover plate die with the stencil. This is a pretty stencil on it’s own as well.
I took some of the shaker bits and glued them across the design to give it a little extra without the die cut details. I also had fun trying non-traditional colors on this card too.
Do you have a favorite today?
If you want to check out the Waffle Flower Sneak Peek Kits, click HERE for my affiliate link.
GIVEAWAY

Would you like a chance to win a Sneak Peek Kit #09? Leave a comment here before Sept. 29 for a chance to win this kit!
Giveaway open to US residents only. Waffle Flower will contact the winner directly.
I appreciate you sharing your time with me. Have a fabulous day!