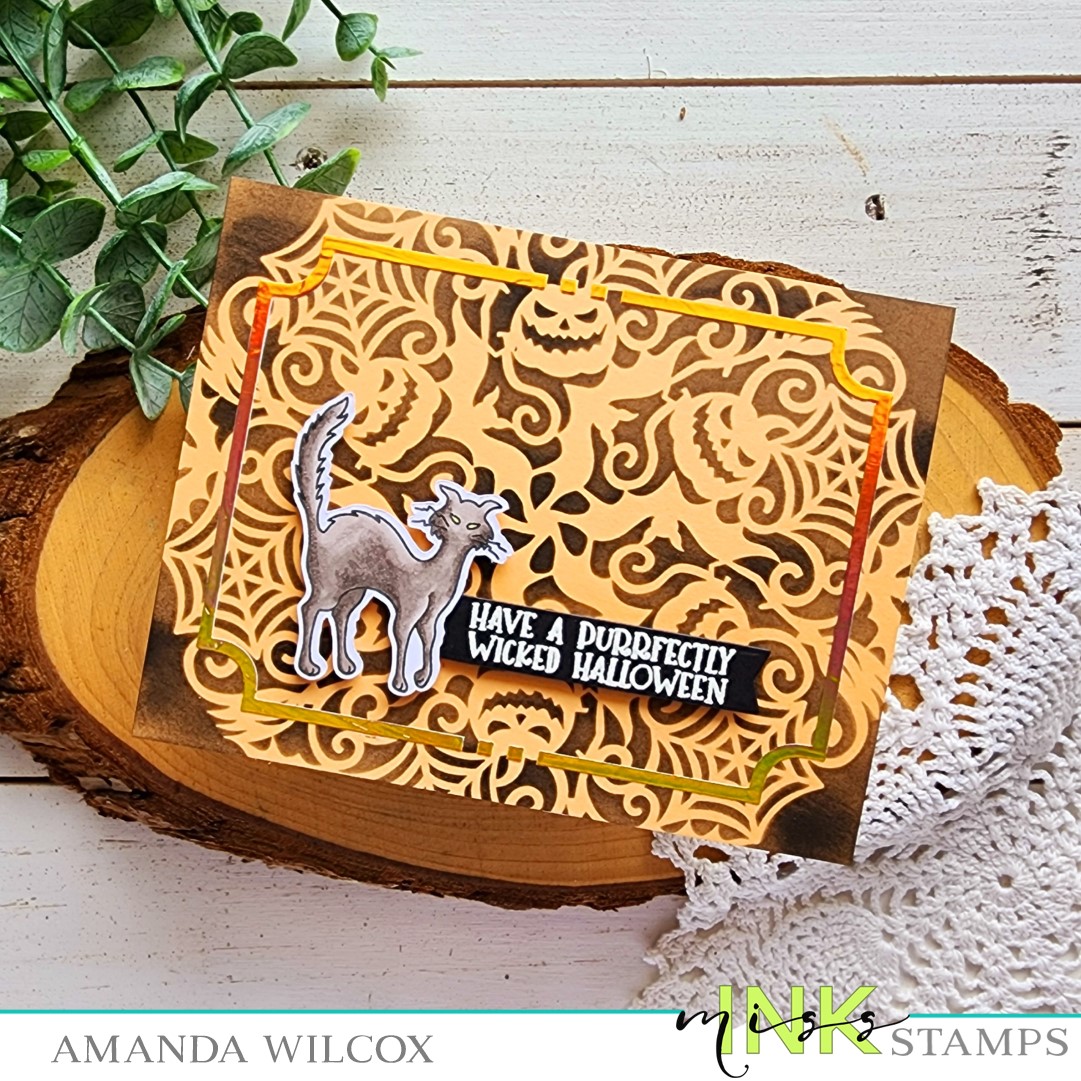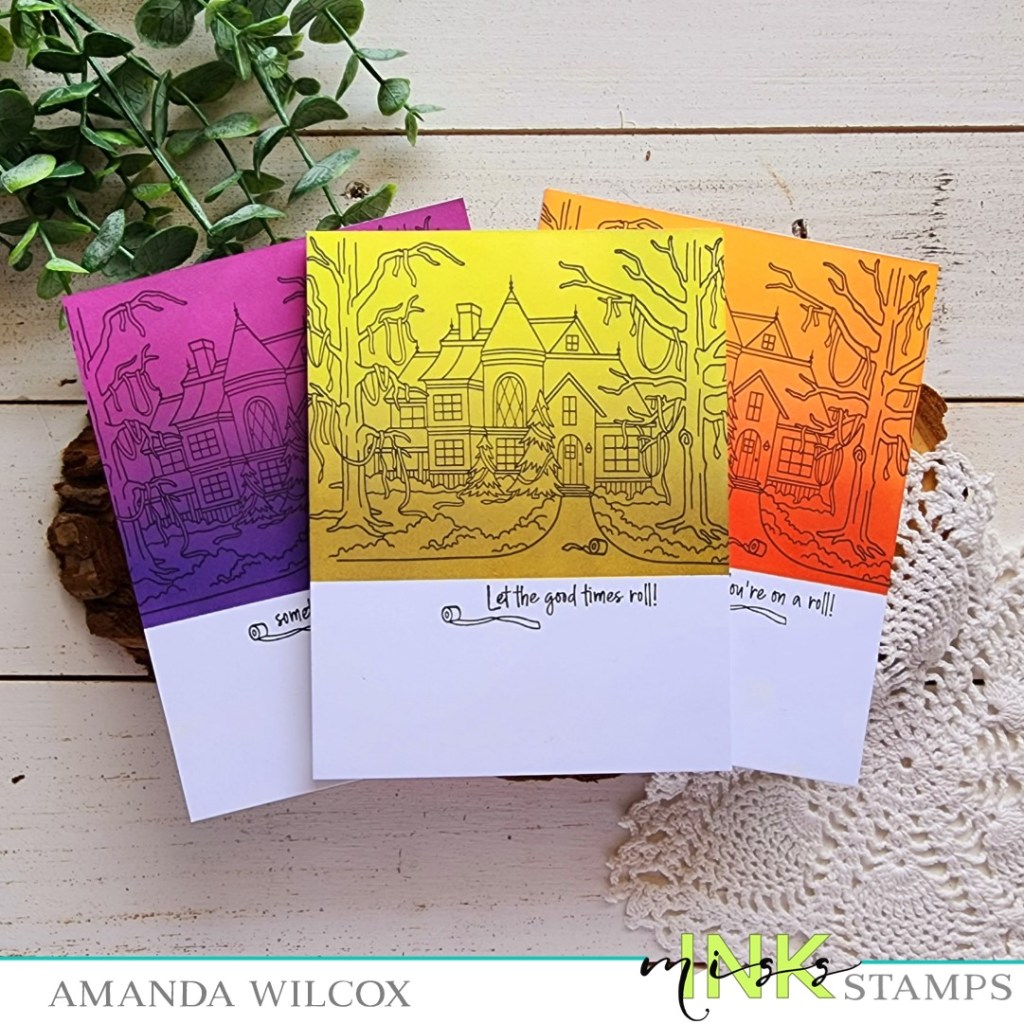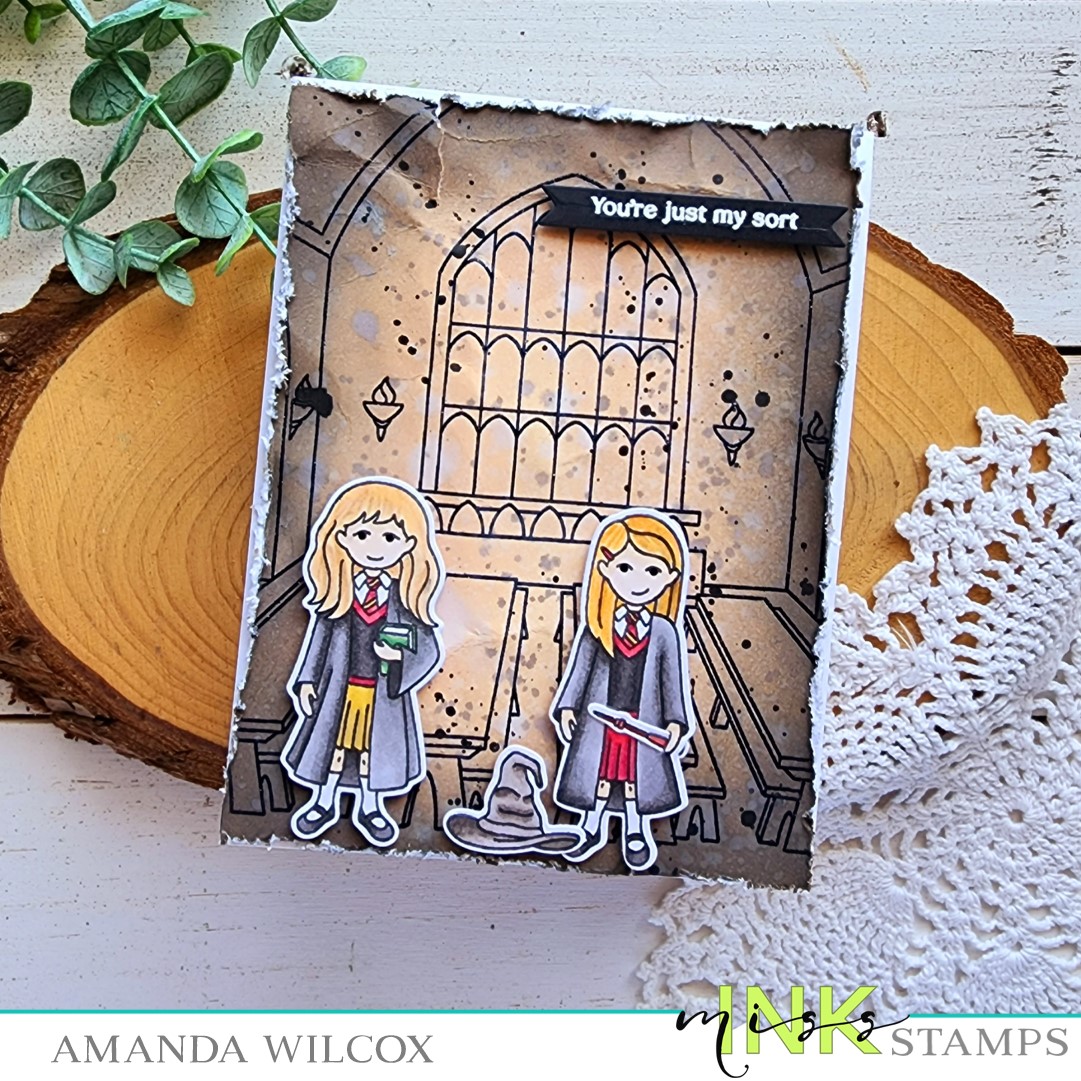
Hello my crafty friends! Today I have fabulous news to share with you! We are finally sneak peeking a new release from Miss Ink Stamps. My card today actually sneaks a new fantastical background stamp called Banquet Hall and new characters from Magical Graduation.

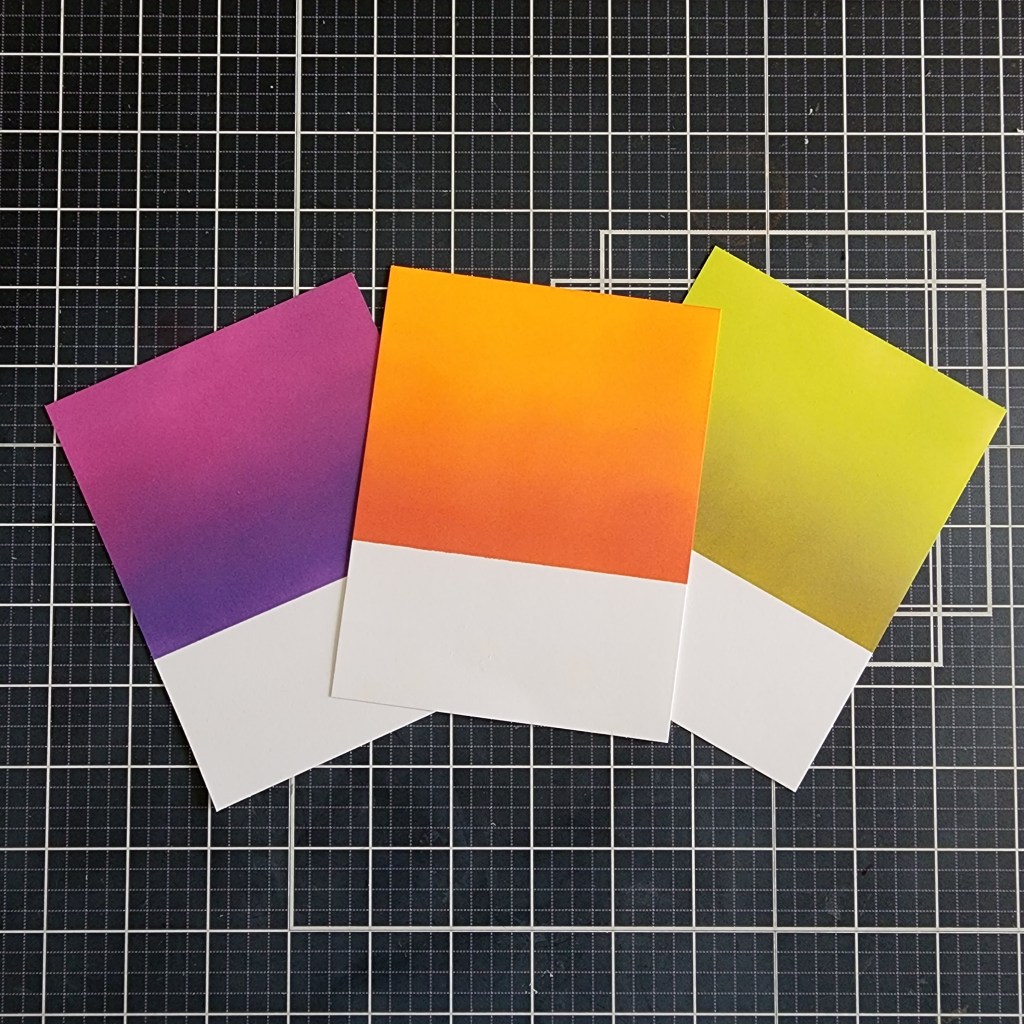
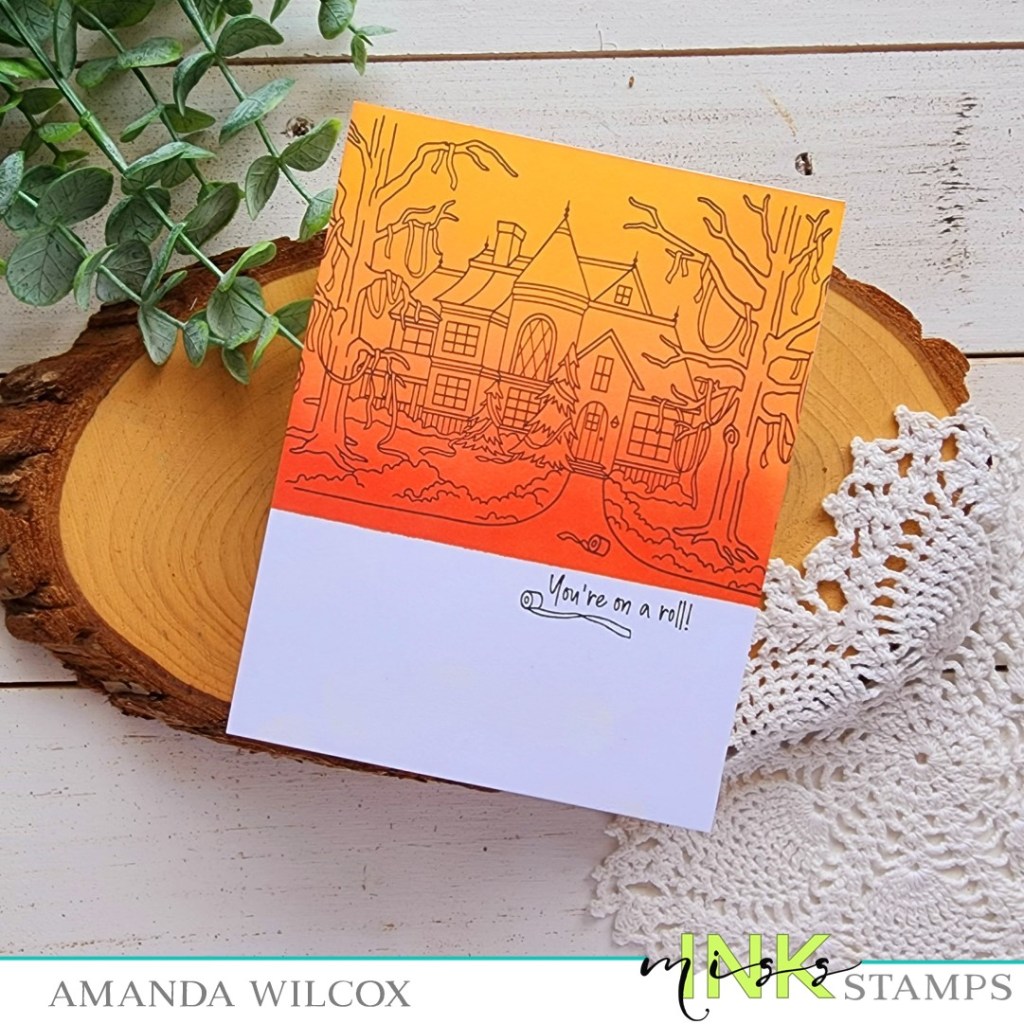
I started by stamping and heat embossing Banquet Hall on a piece of white cardstock in black and then blended Distress Oxide over the top in tea dye and gathered twigs. I went back and forth a few times before adding black soot around the edges. Then I spritzed it with water and splattered ink and paint on the whole panel.
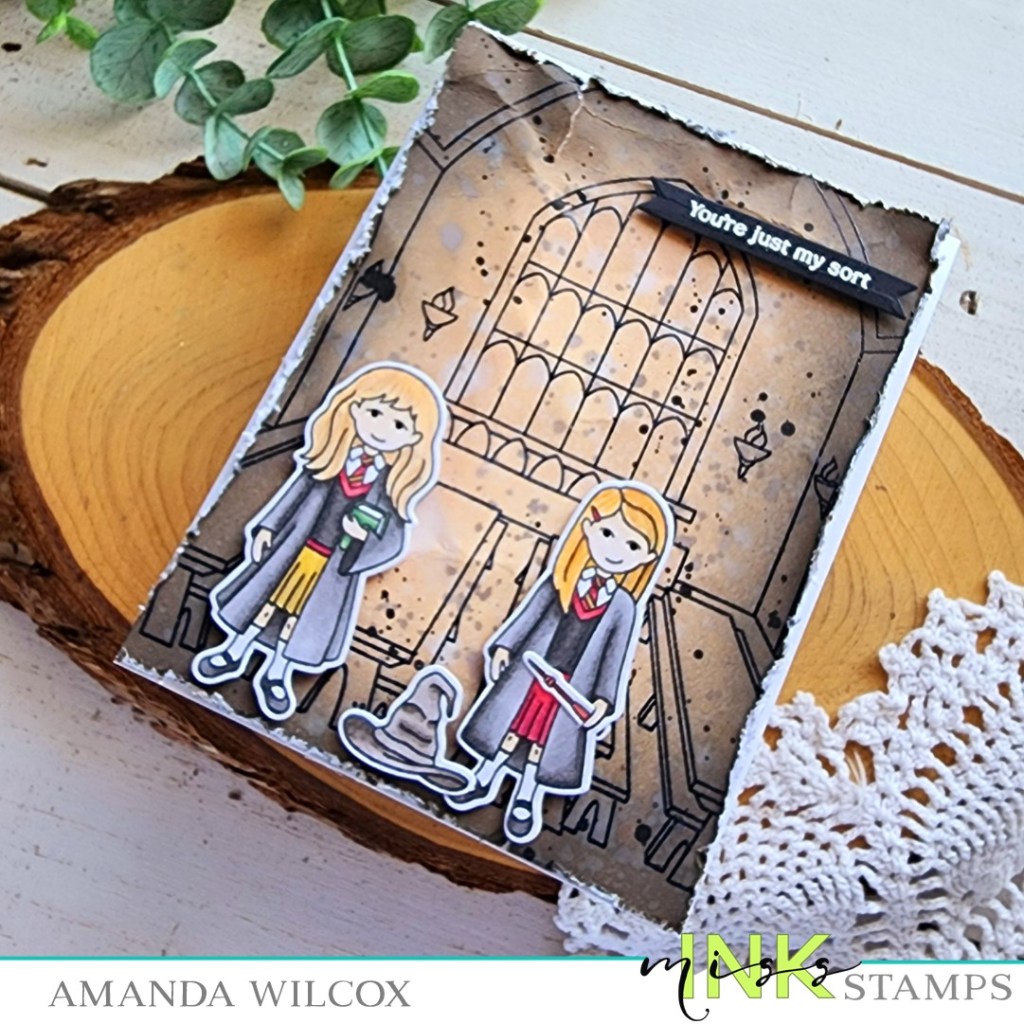
Once it was dry, I roughed up the edges being VERY NOT careful letting it tear and bend and crumple all over. I wanted that old distressed look. Then I pulled out images from Magical Graduation to stamp and color with my copics. Once they were colored, get this, I used COORDINATING DIES to cut them out! Yippee!!! For those who prefer die cutting images, feel free to insert jumps for joy here.

I added foam tape to the background panel and adhered it to a white card base. Then I added foam squares to the images and popped them in place. Finally, I stamped and heat embossed a sentiment on black cardstock and cut it out with a banner die before popping it up with a foam strip too.
I only added black glaze pen to the girls’ eyes for finishing touches on this card. I was going for rough and older so I didn’t want to add a lot of gloss or glitter.
Products used today:
Magical Graduation stamps and dies
Banquet Hall stamps
Trinity Stamps 4-Bar Card dies
Foam tape, squares and strips
Distress Oxide – tea dye, gathered twigs, black soot
I appreciate you sharing your time with me. Have a fabulous day!