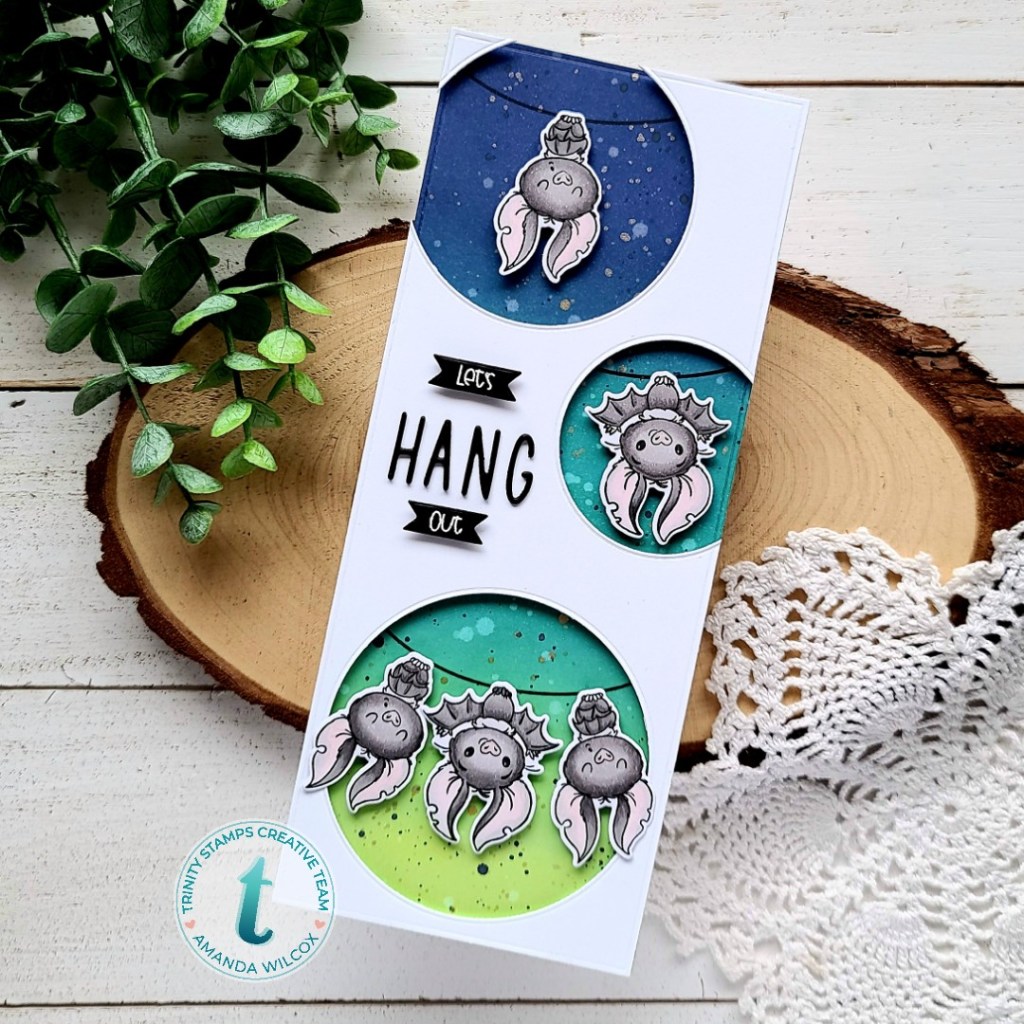
Hi everyone! Thanks for stopping by! Today I’m over on the Trinity Stamps blog sharing this really super amazing slimline card featuring some of my favorite critters ever!!! I love bats in real life but these cuties just take the cake! Let’s check it out!
I have a little photo grid to walk you through the first steps I did to create my card. I had the design in mind already so after laying the stamps out to make sure things would fit how I wanted, this is what I did.
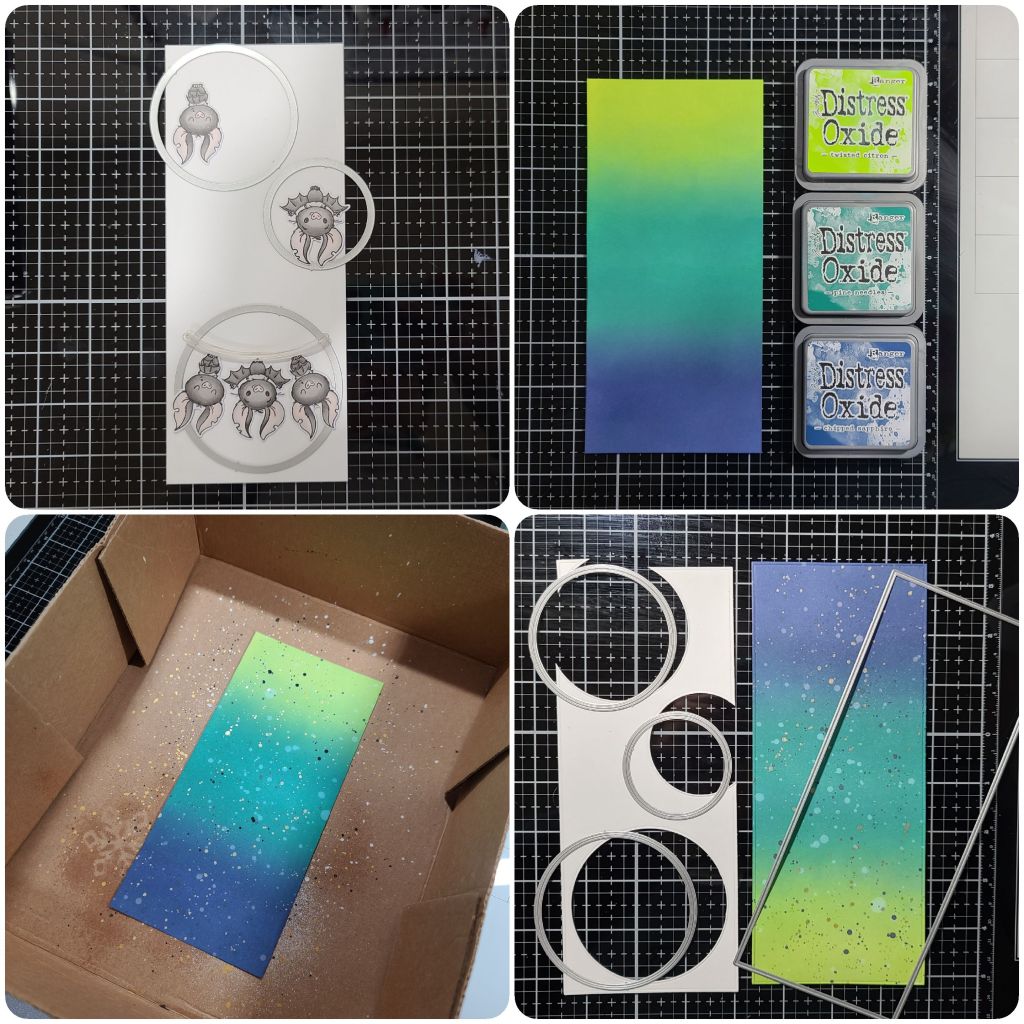
I stamped and colored the images from Fang-tastic Friends with my copics. Then I cut them out with the coordinating dies. I pulled out the embossed edge circle stack and chose the sizes that fit best together and arranged things. Then I blending distress oxides in twisted citron, pine needles and chipped sapphire on a panel. I spritzed the panel with water and then flicked it with pearl watercolor and black acrylic paint for some fun texture and shimmer. Then I ran the inked panel through my die cutter with the largest slimline series embossed panel die. Next, I taped the embossed edge circles in place and ran those through on a white panel.
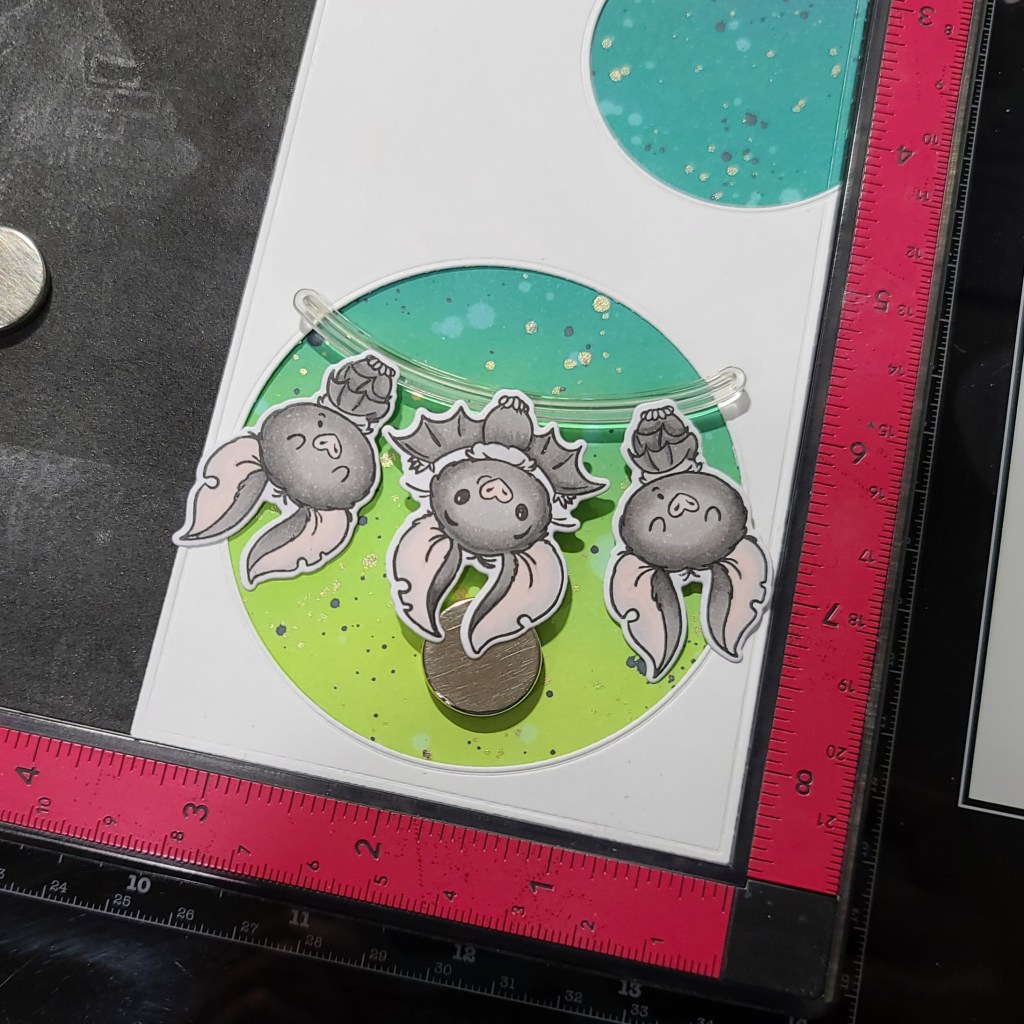
To get the line stamped just where it needed to be, I put my inked panel and the white panel in my MISTI and used the images to line everything up. Picked up the stamp with the lid and removed everything by the inked panel so I could stamp the line down. I did this same technique for each opening and it worked like a charm.
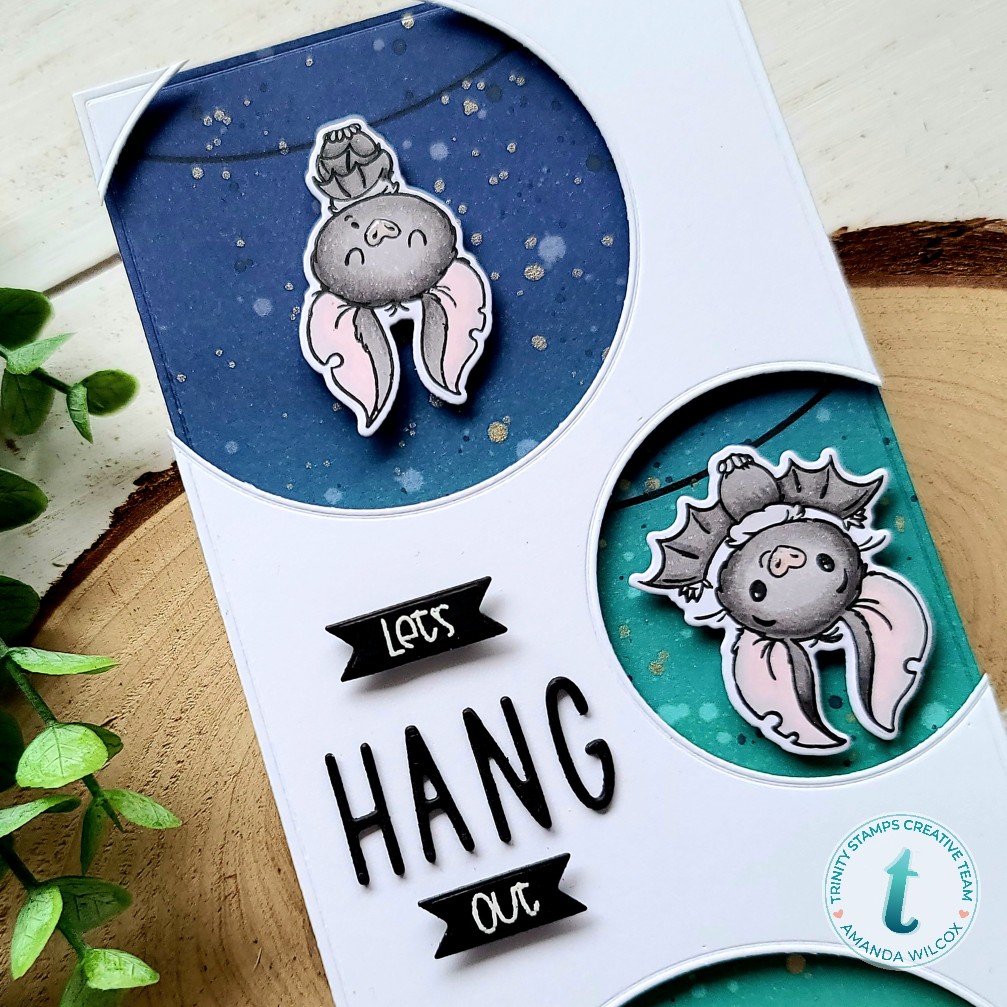
I added everything with foam squares and tape, and the moved on to my sentiment. I took one of the sentiments from the Fang-tastic Friends set and stamped it while masking the middle word. I heat embossed them in white on black cardstock and used a banner from the 4-bar card die set to cut them out. Then I used the graham cracker alphabet to cut the word hang from black cardstock 3 times and used a quickie glue pen to glue them all together. This pen works great for teeny tiny pieces. I used foam squares on the back of the banners and popped them in place too.
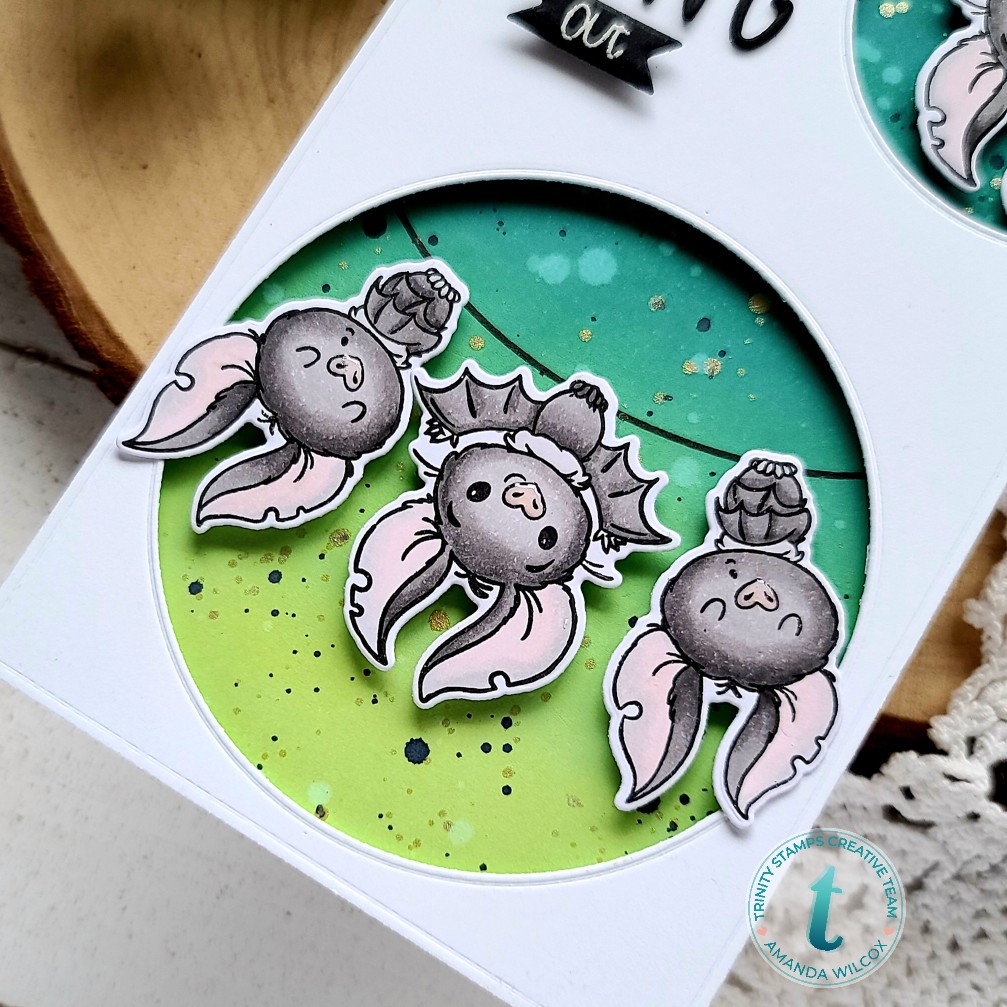
For the last finishing touches on this sweet card, I added glossy accents to all the bat noses and left it at that. Isn’t this card just adorable?!? And I was able to get extra use out of a Halloween-themed stamp set too! Dig in your stash, maybe you have something fun that you could try too!
I appreciate you sharing your time with me. Have a fabulous day!