Today is the last day to link up your amazing caffeinated projects for the Coffee Loving Cardmakers Spring-Summer Hop. I hope you’ve had fun, been able to create somethings and found inspiration with all of the fun entries.
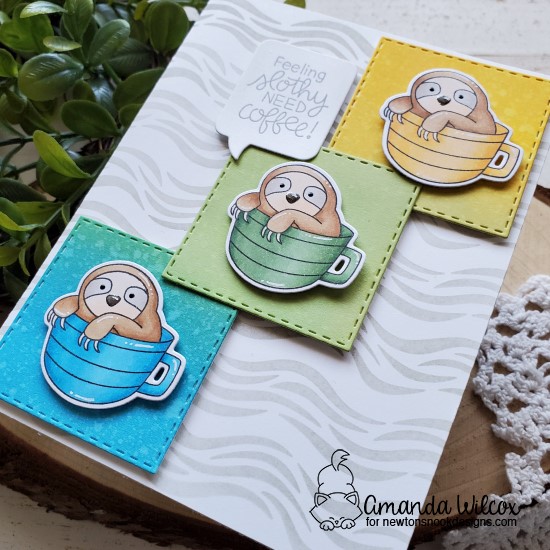
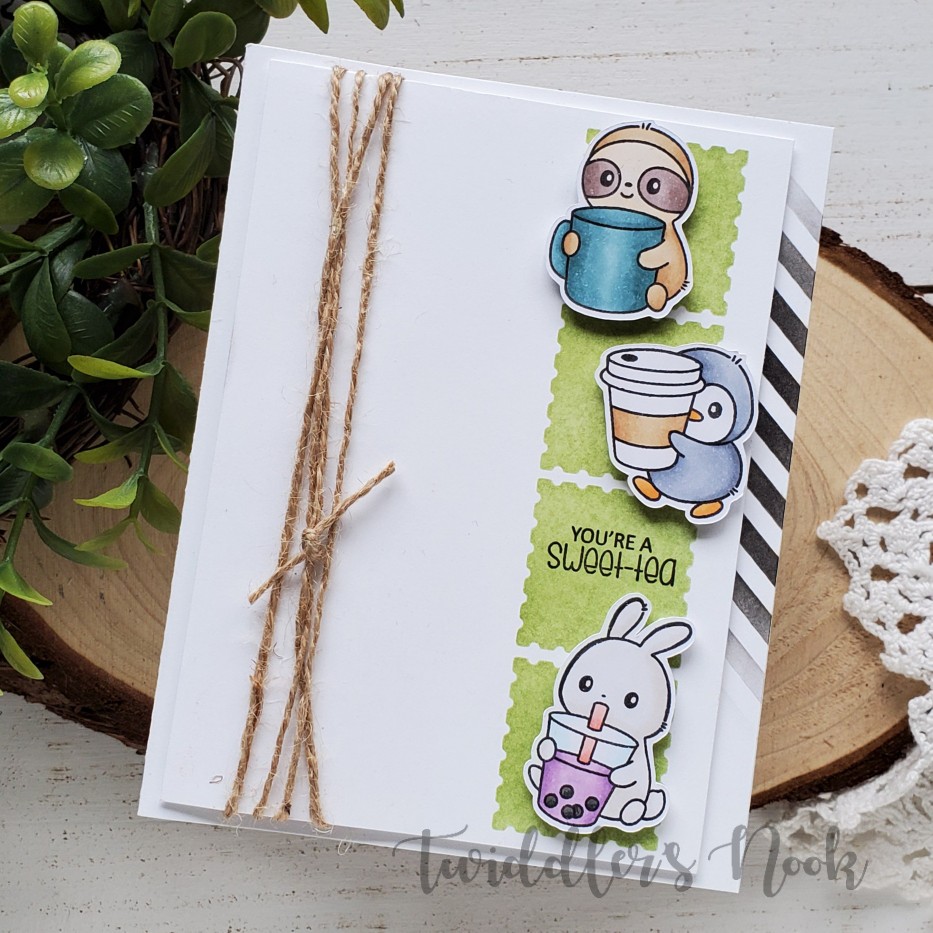
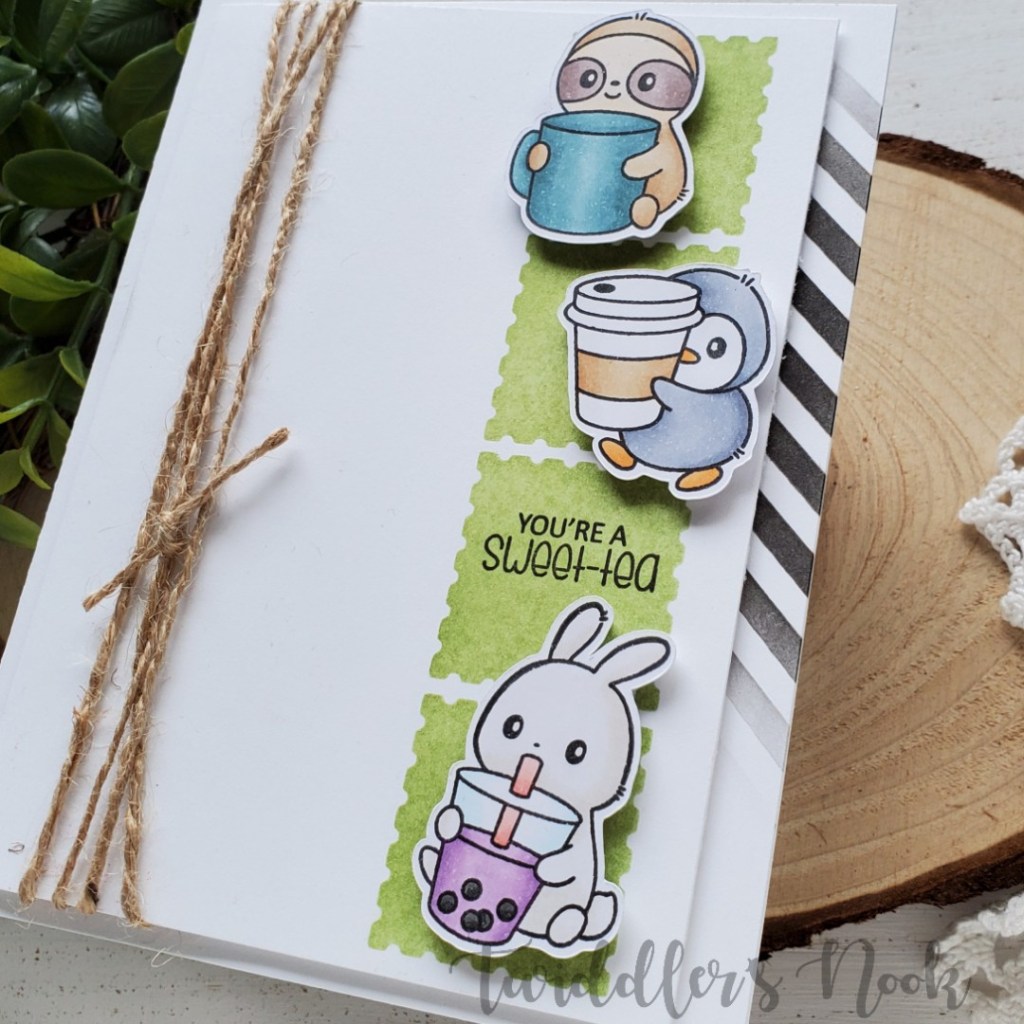
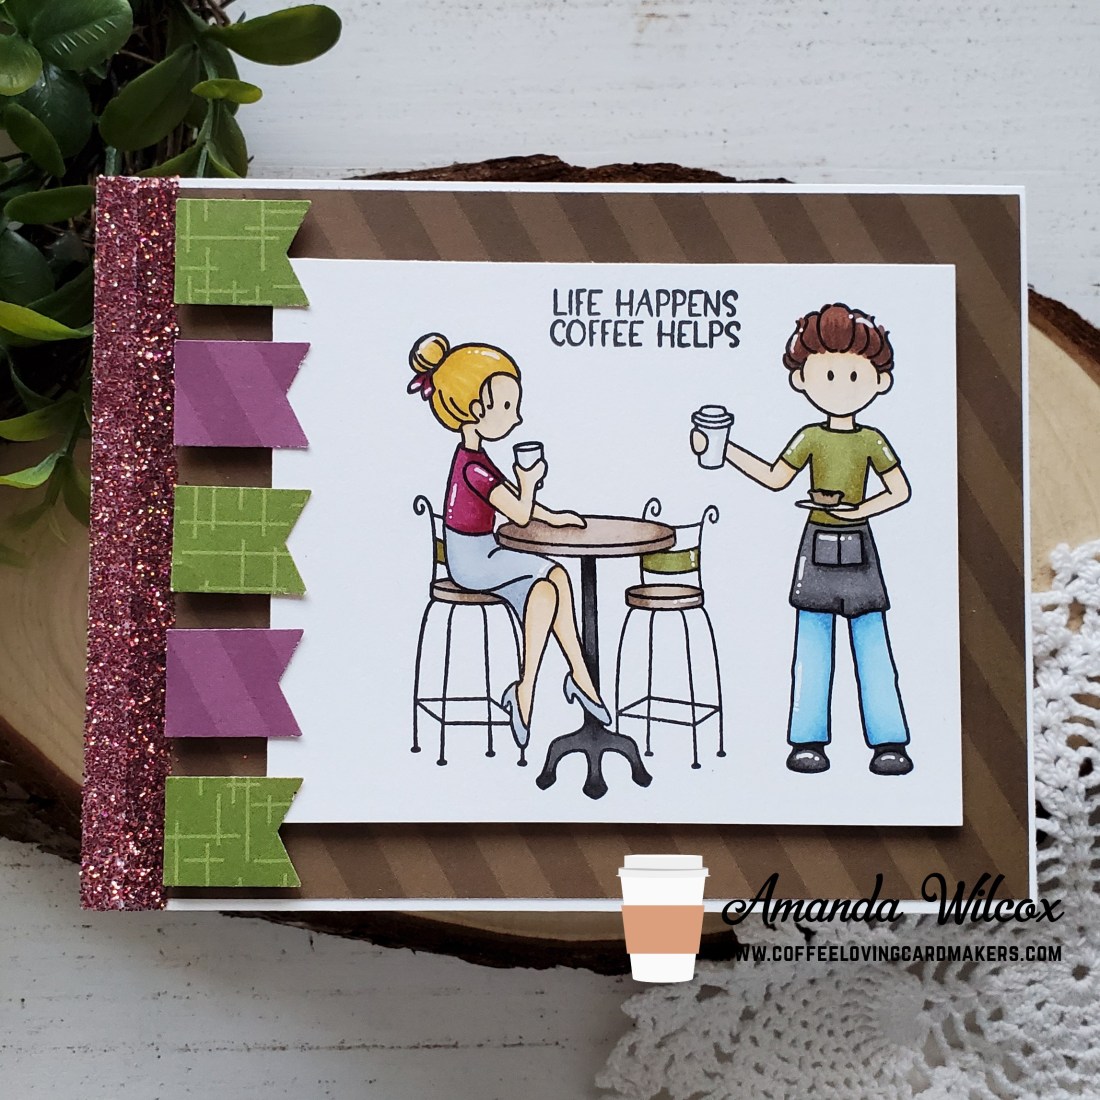
Today I’m sharing a fun card using on of the little 2×3 sets from Newton’s Nook – Slothy Coffee. I absolutely adore sloths and this set was just too perfect not to pull out this week.
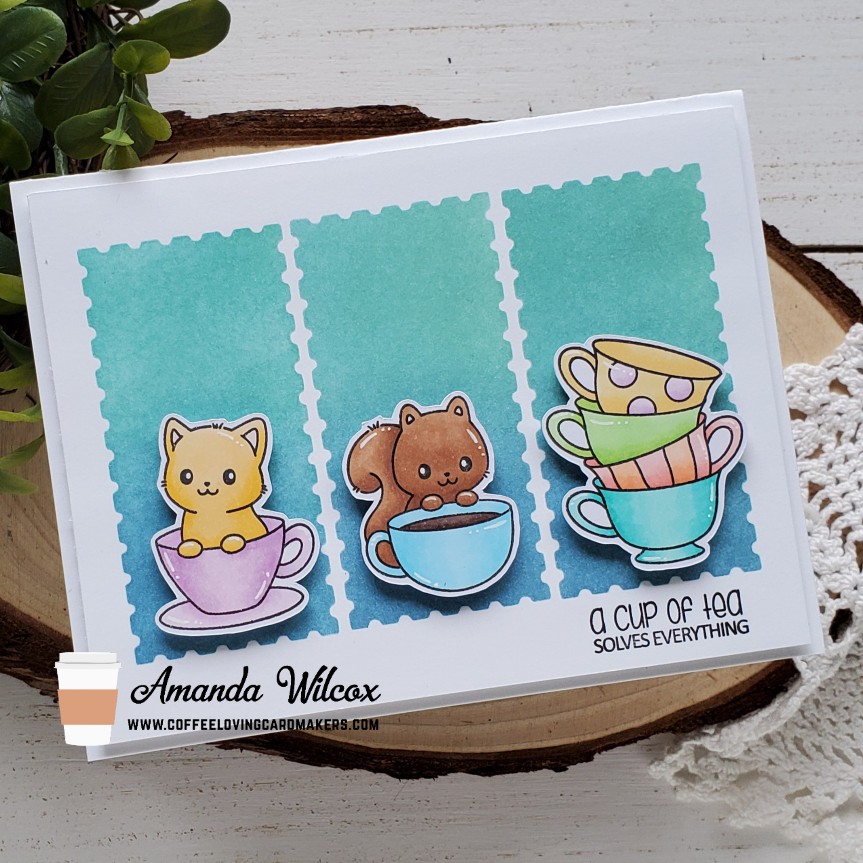
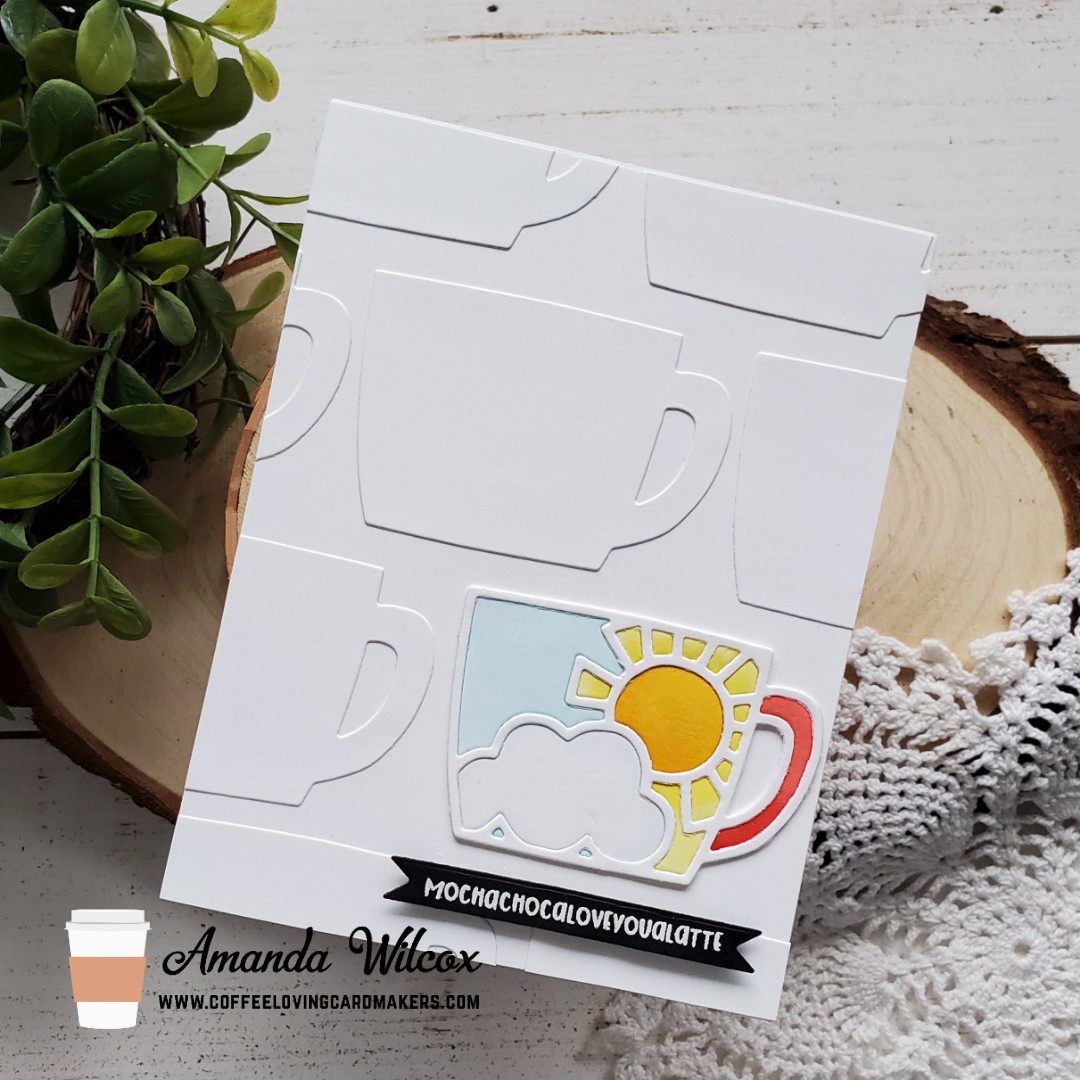
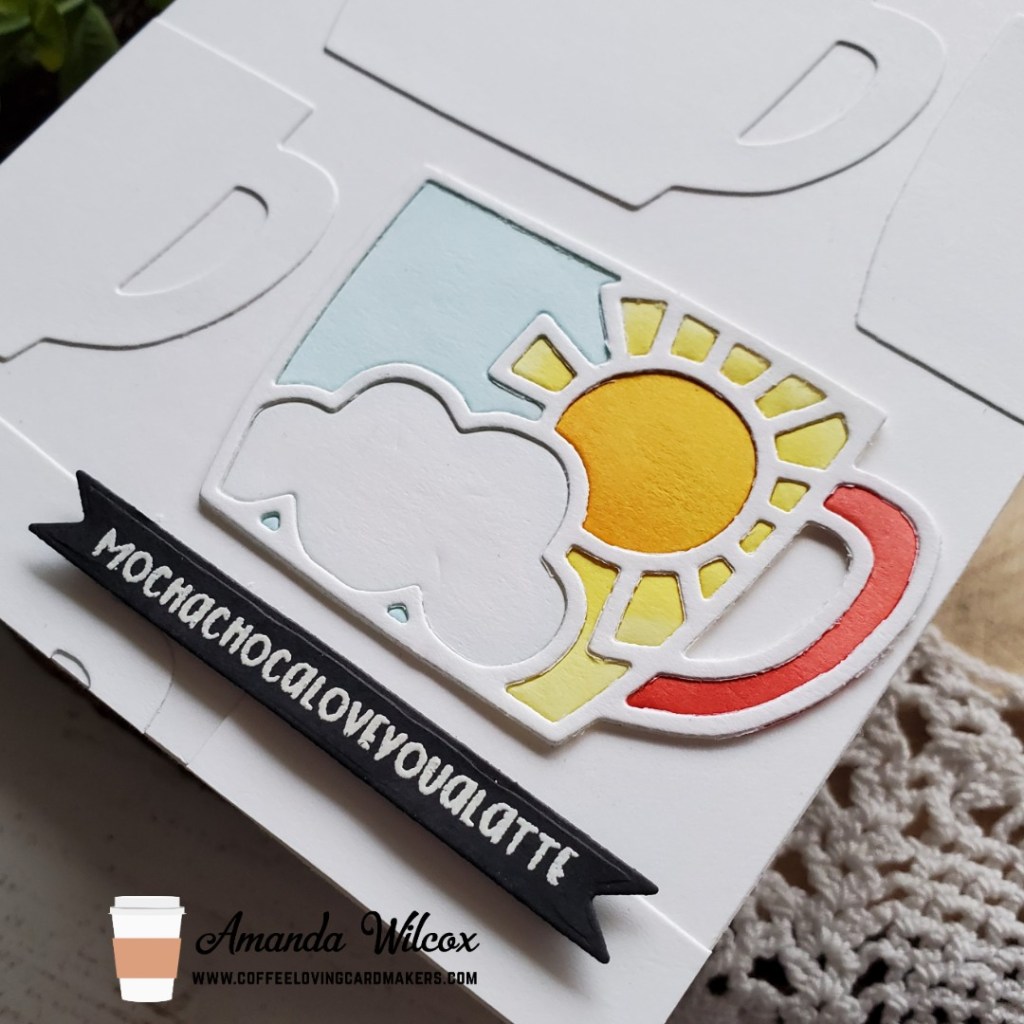
So, full disclosure here…the inked panels you see behind the sloths were from a card I made a few weeks ago. They were the windows I die cut out of a panel but the hoarder in me wouldn’t let me toss them. Then this idea popped in my head and it was so perfect!
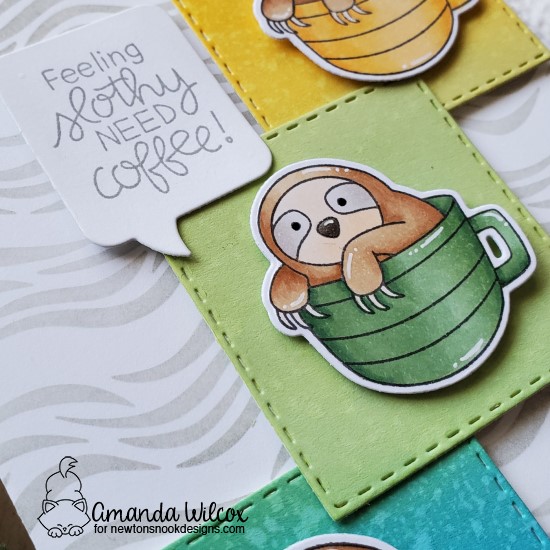
I stamped my sloth 3 times and colored them all the same. Then I colored the mugs coordinating with the inked squares I had in front of me. I used the coordinating die to cut them all out and set them aside. Then, I used my waves stencil with gray ink on a white cardbase for just a little subtle texture. Finally I added my squares and images with foam squares for some dimension.
Last, I pulled out my speech bubbles, die cut one and stamped my sentiment on it with the same gray ink from the background. Moving on to finishing touches, I added glossy accents to the sloth noses, black glaze pen to the eyes and white gel pen highlights throughout.
I’m linking this last card up to the Coffee Loving Cardmakers Hop HERE. I hope you’ve had a chance to play along with us and enjoyed all the inspiration shared.
I appreciate you sharing your time with me. Have a fabulous day!