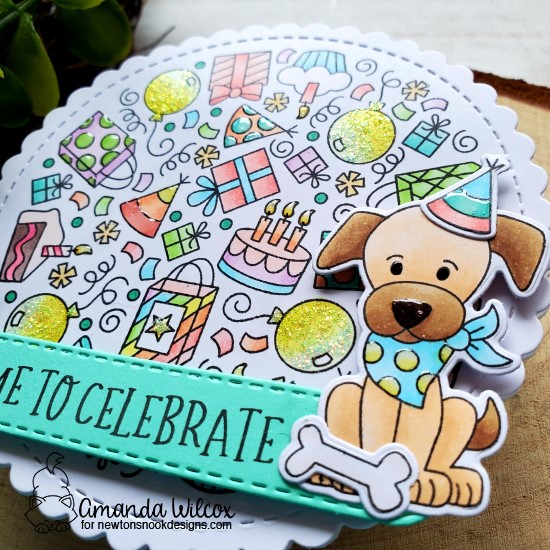
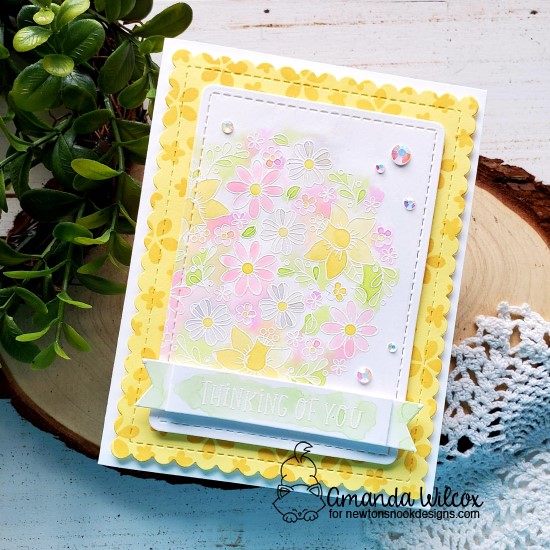
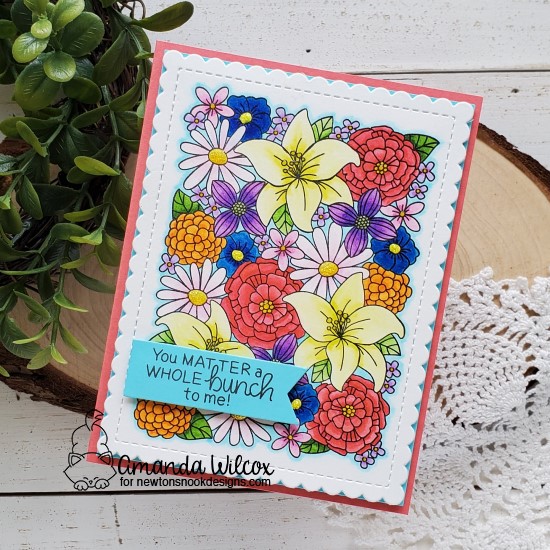
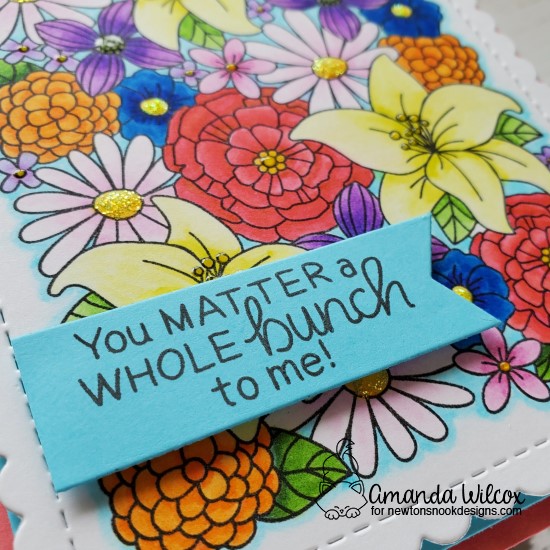
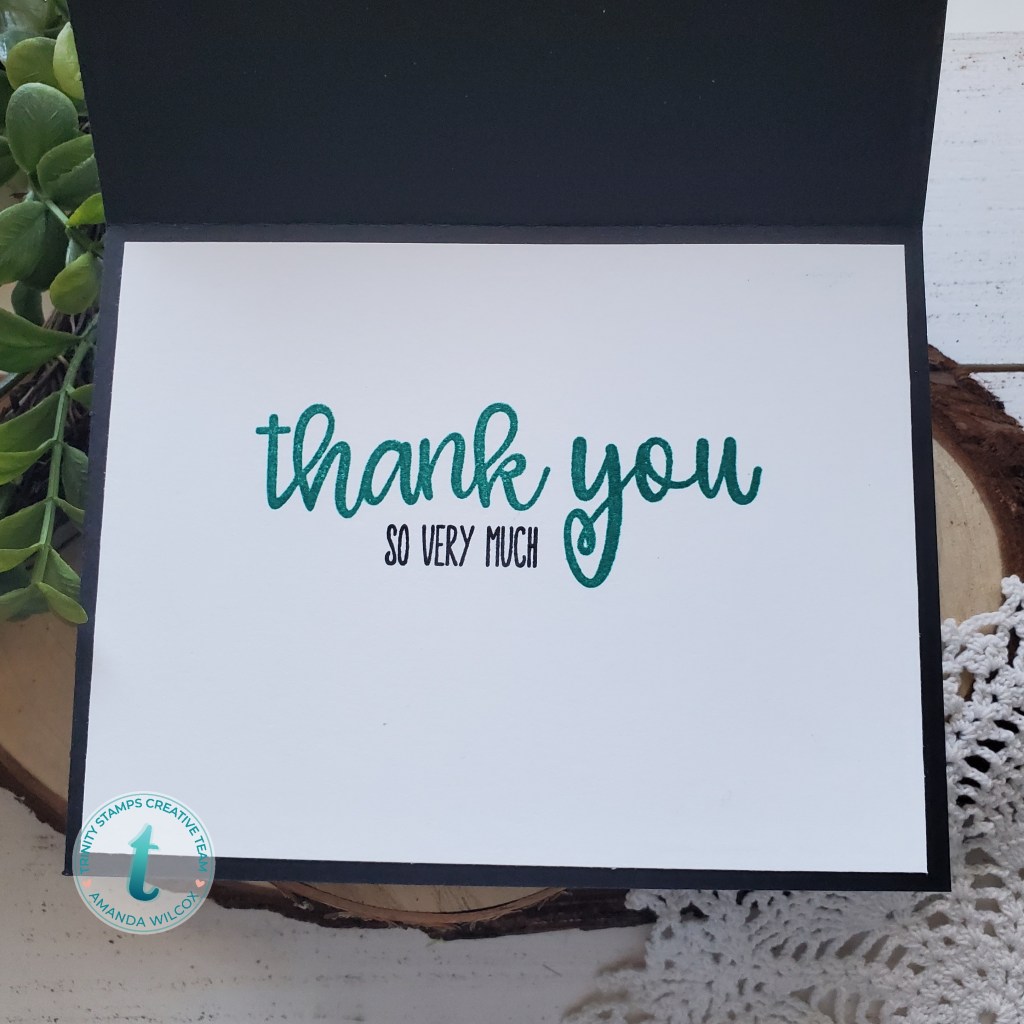
We’re back with another fun day of reveals for the Newton’s Nook May release! Today we are sharing fun inspiration for a new stamp and die set along with a stencil. They work wonderfully together but also are so great on their own.
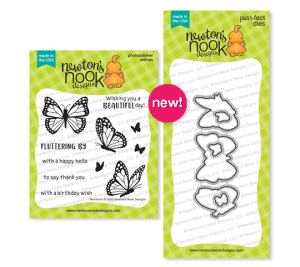

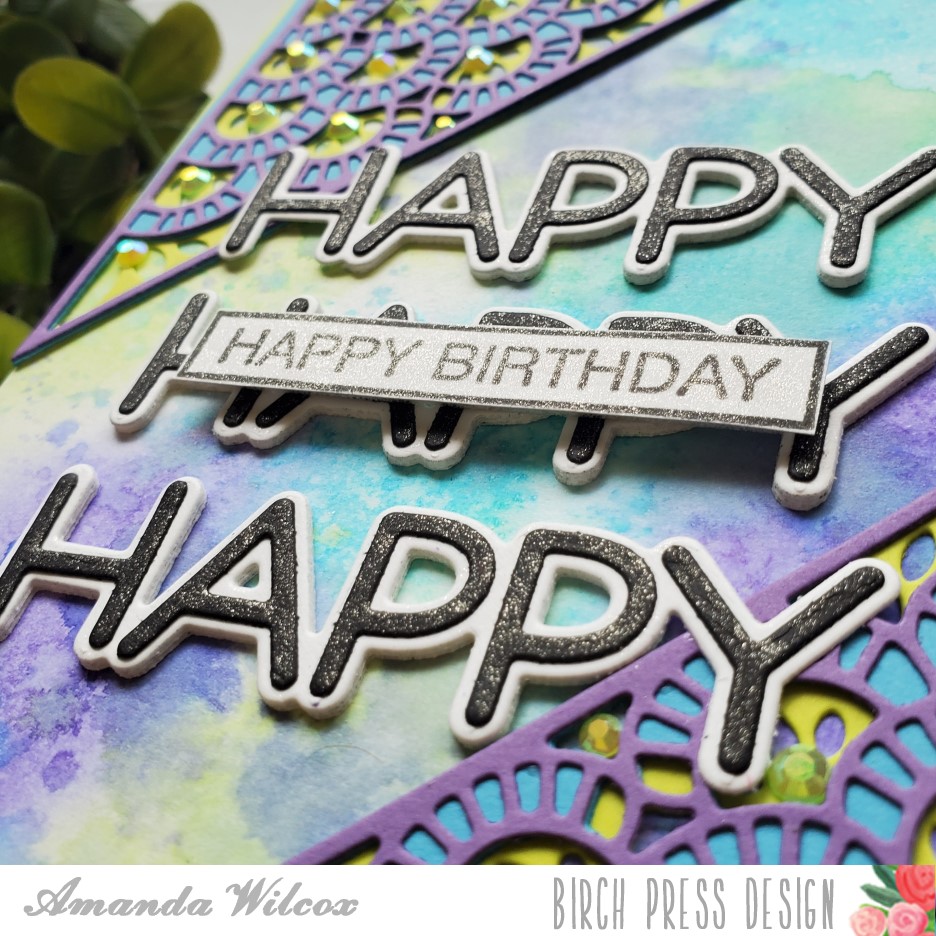
I have had a blast playing with this stencil set in so many different ways. The two layers gives you extra versatility and they match with the Monarchs stamp set wonderfully! Today I’ve used them together on a card.

I started this card by using blending brushes and some die inks with the two layers of the butterflies stencil. Then I colored the butterflies from the Monarchs set to try and match the blended colors. I stamped sentiments from Monarchs on a strip of paper matching the colored areas I wanted to put them in and snipped them apart.
I attached a strip of iridescent vellum and attached the butterflies and sentiment strips to it. Using those to hide my glue, I attached the vellum piece to the stenciled panel. Then I attached the panel to a card base and moved on to finishing touches.
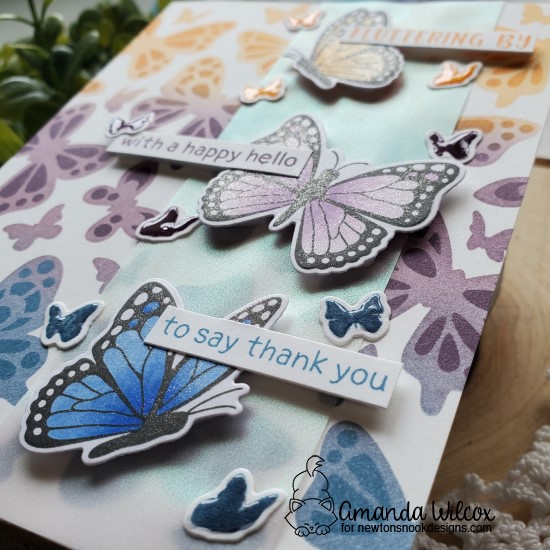
At this point I decided that my card could use a little something extra so I took the small butterflies from Monarchs and stamped them in the same inks I used to blend with, die cut them and glued them down. I covered them with glossy accents for a little shine and added Wink of Stella glitter brush pen to the bigger butterflies.
Would you like to win the “Monarchs” Stamp Set? This stamp set will be given away to ONE lucky winner! We will choose ONE lucky winner for each stamp set!
Here’s how to win: Comment on the NND blog and Design Team blogs (see list below)! Thewinner will be chosen at random from the collective reveal posts. Make sure to check out each of their blogs and comment for your chance to win. You will not know which blog has been chosen so the more you comment on the better your chances are of winning! You have until Thursday May 21st at 9pm EST to comment — winners will be announced on the blog post on Friday, May 22nd.
Check out all the awesome Design Team Blogs below to enter:
Newton’s Nook Designs
Ellen Haxelmans
Larissa Heskett
Samantha Mann
Zsofia Molnar
Naki Rager
Maria Russell
Andrea Shell
Tina Smith
Tatiana Trafimovich
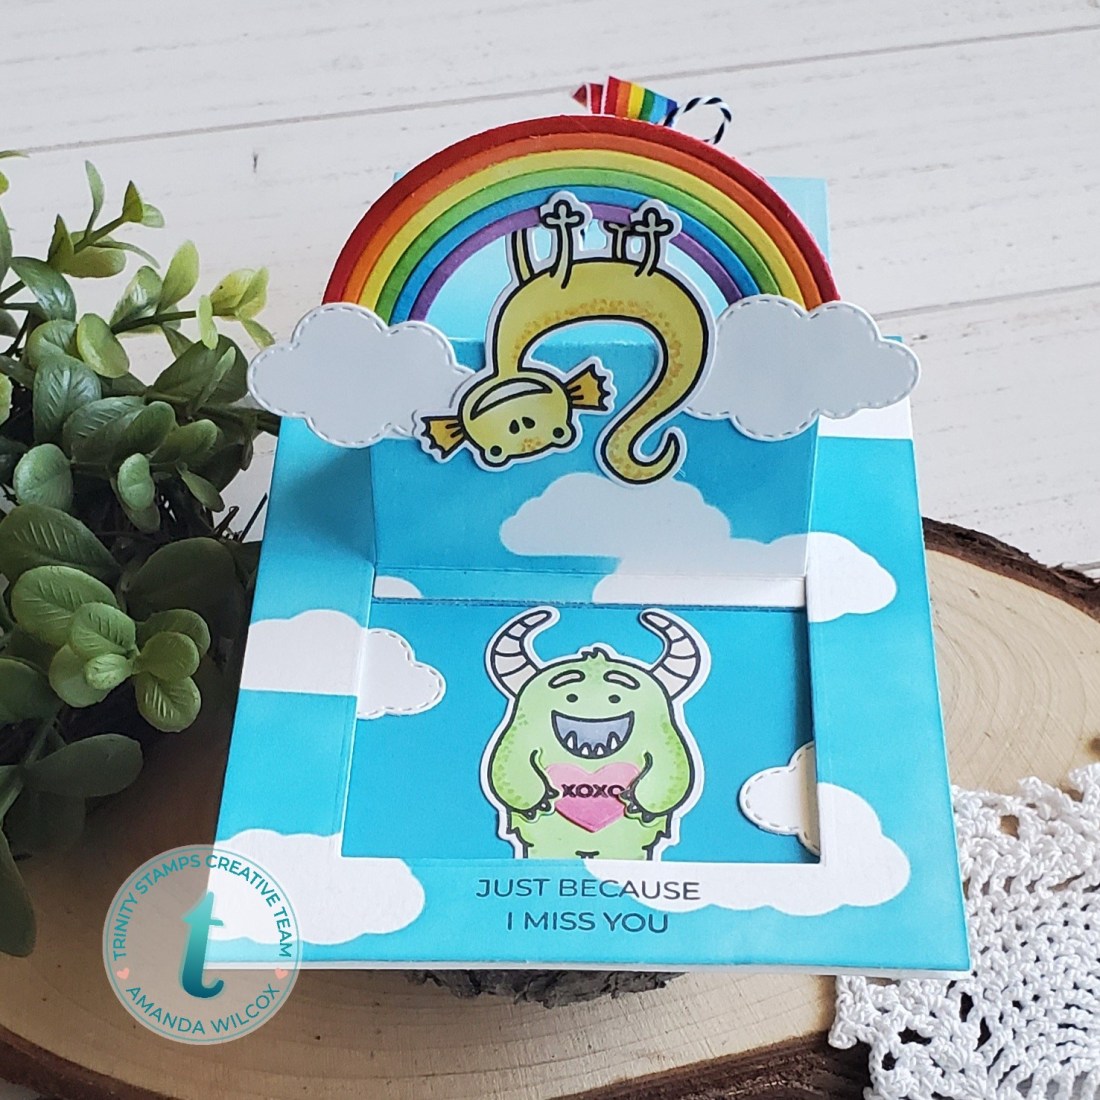
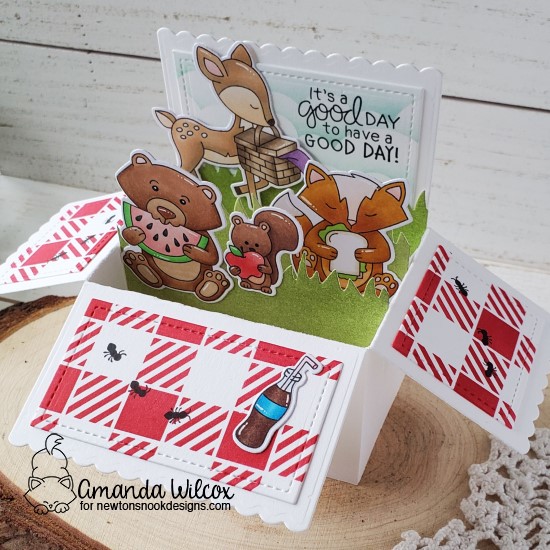
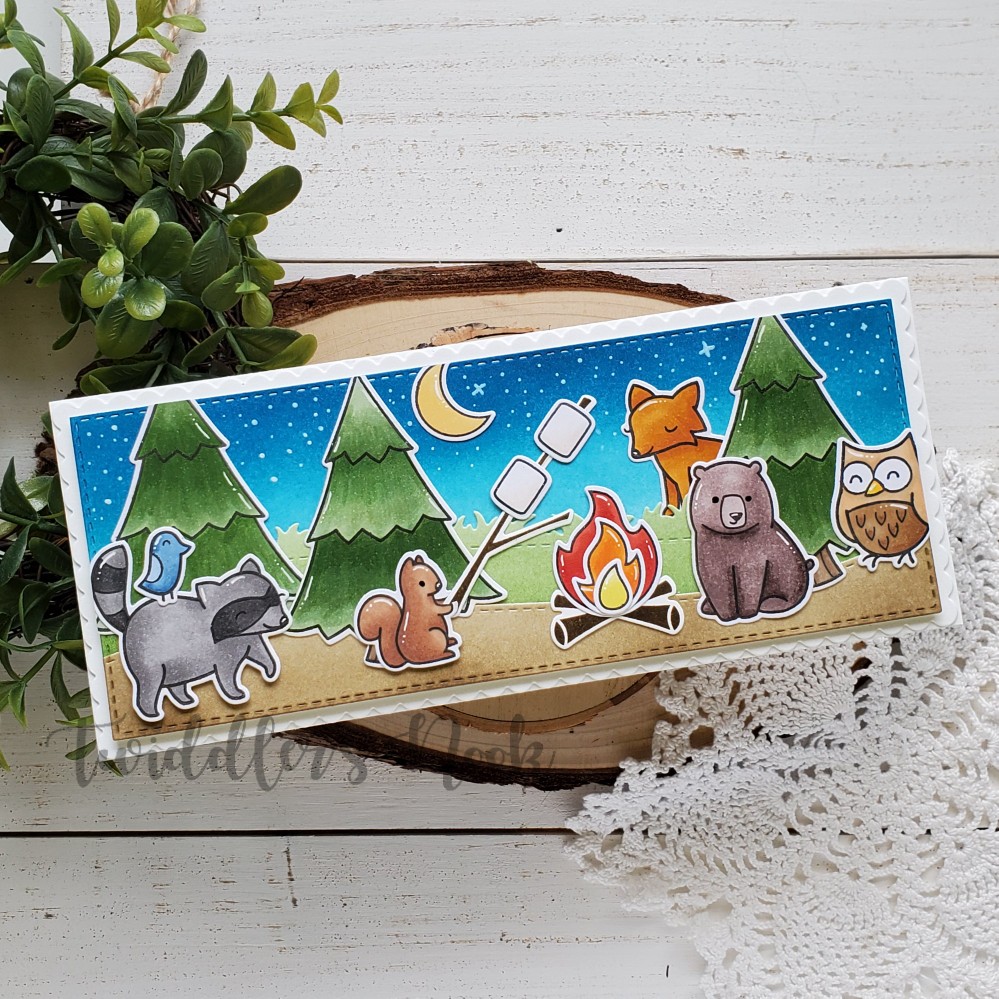
Amanda Wilcox