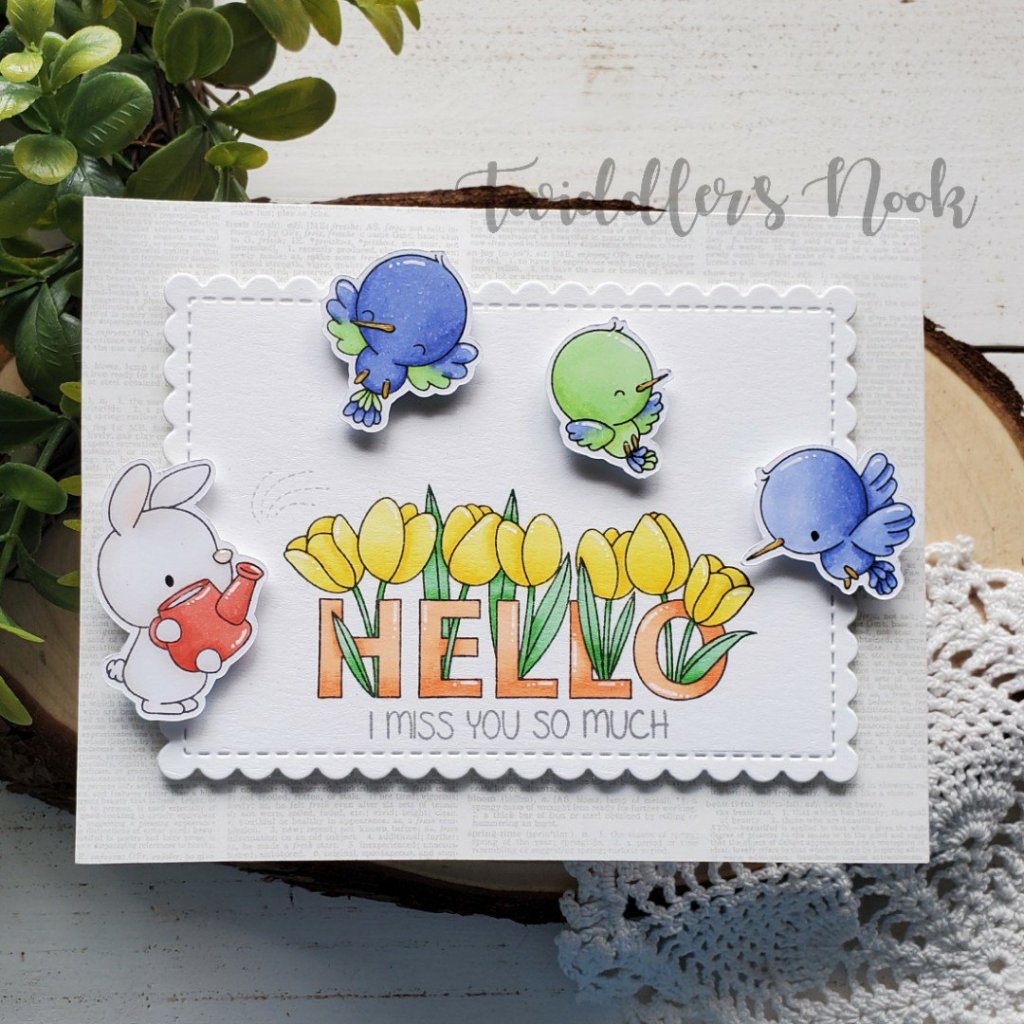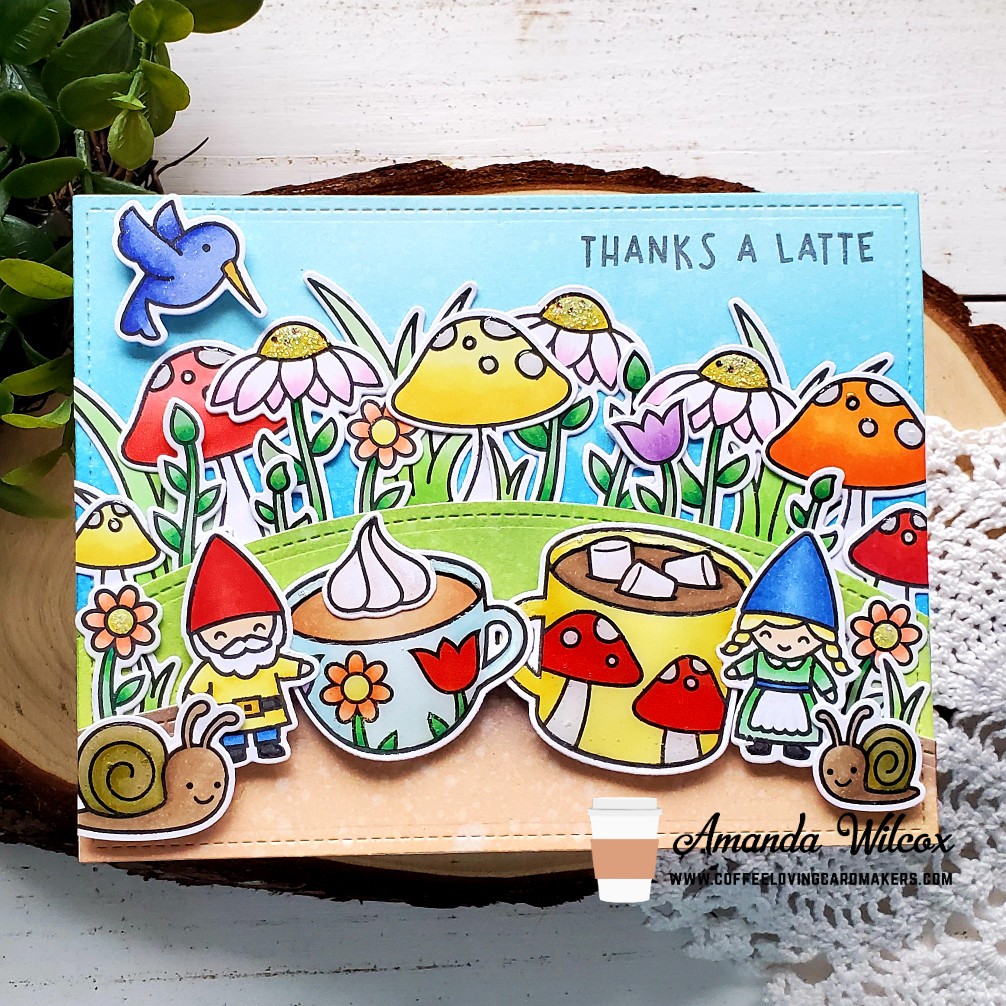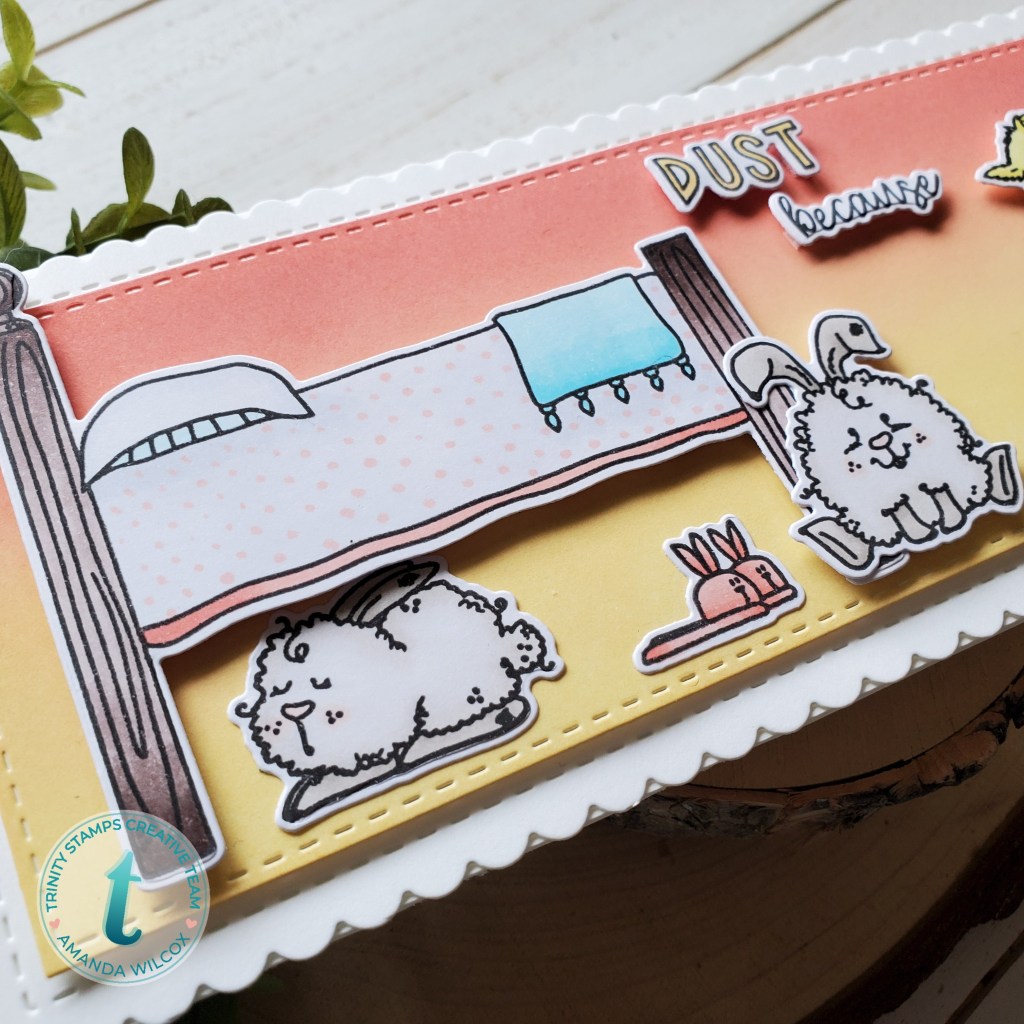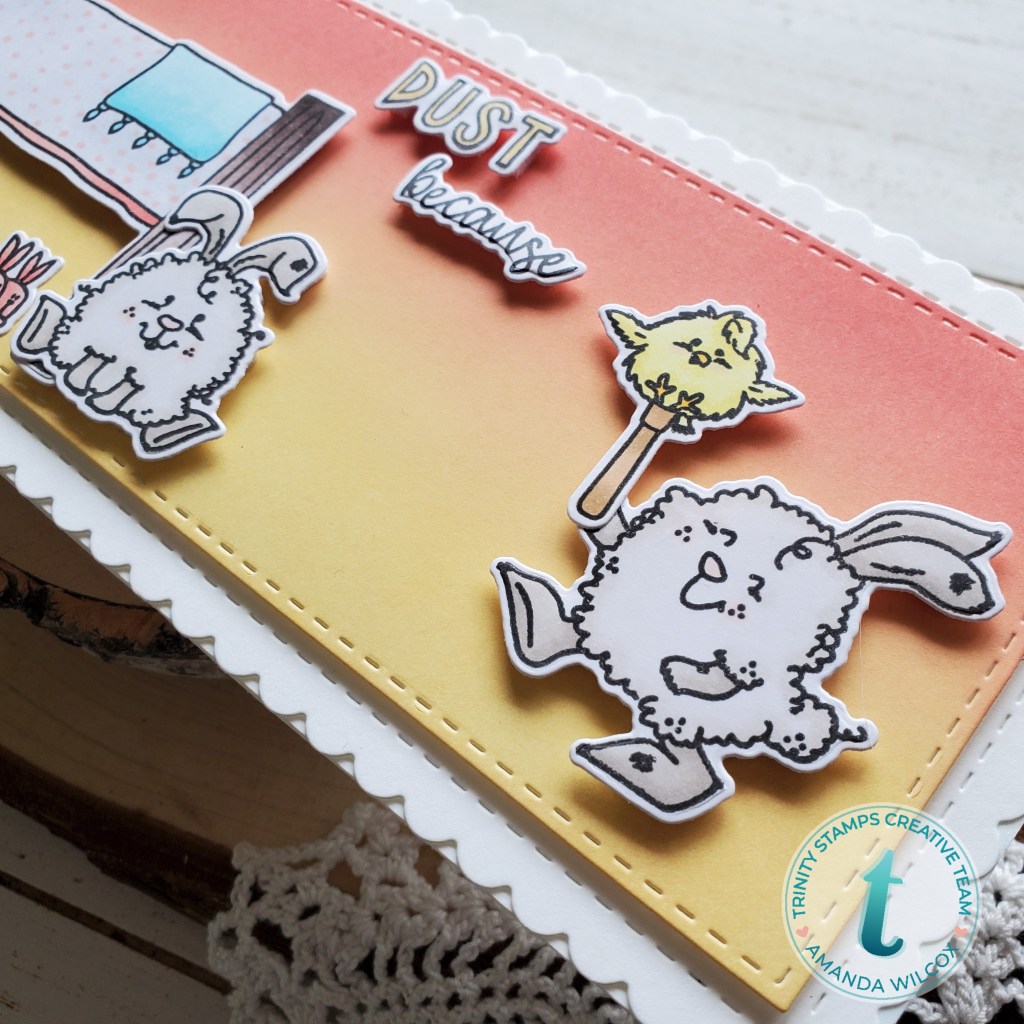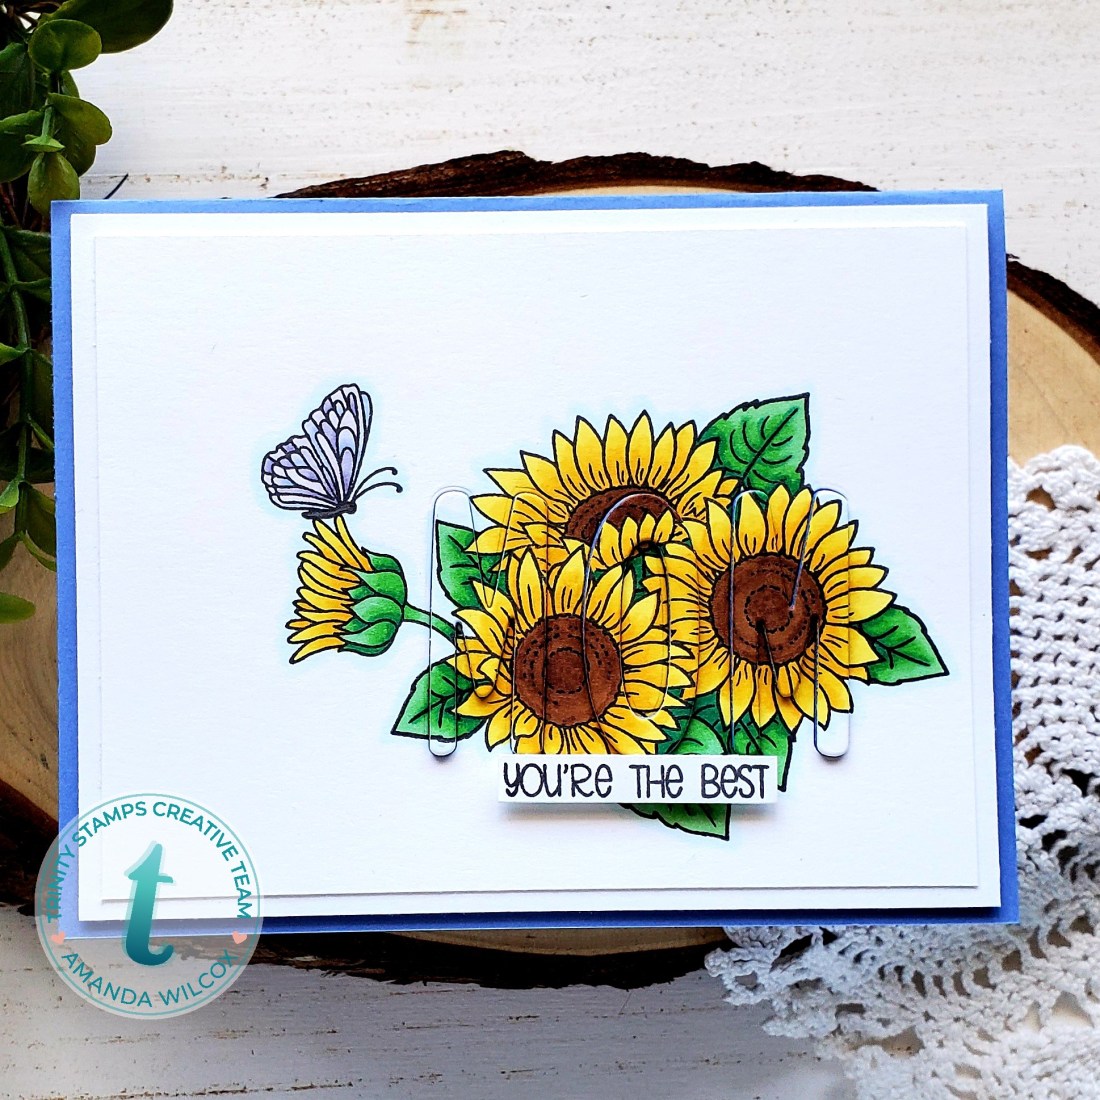
Happy Mother’s Day to all the moms checking in today. Whether your children are people or furry, you’re all amazing and deserve a day of love and celebration! Today I’m sharing the card I made for my mom this year. It took me out of my comfort zone and I’m blown away with the results.

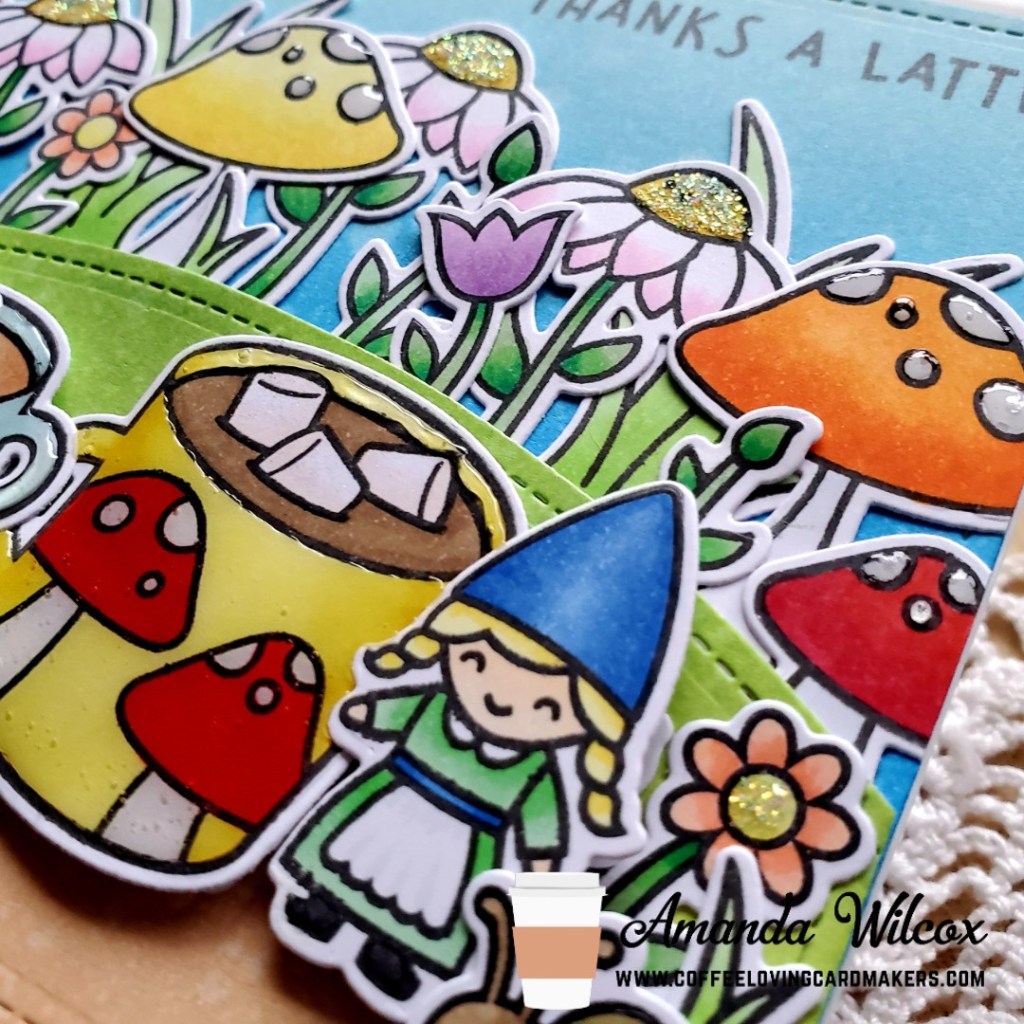
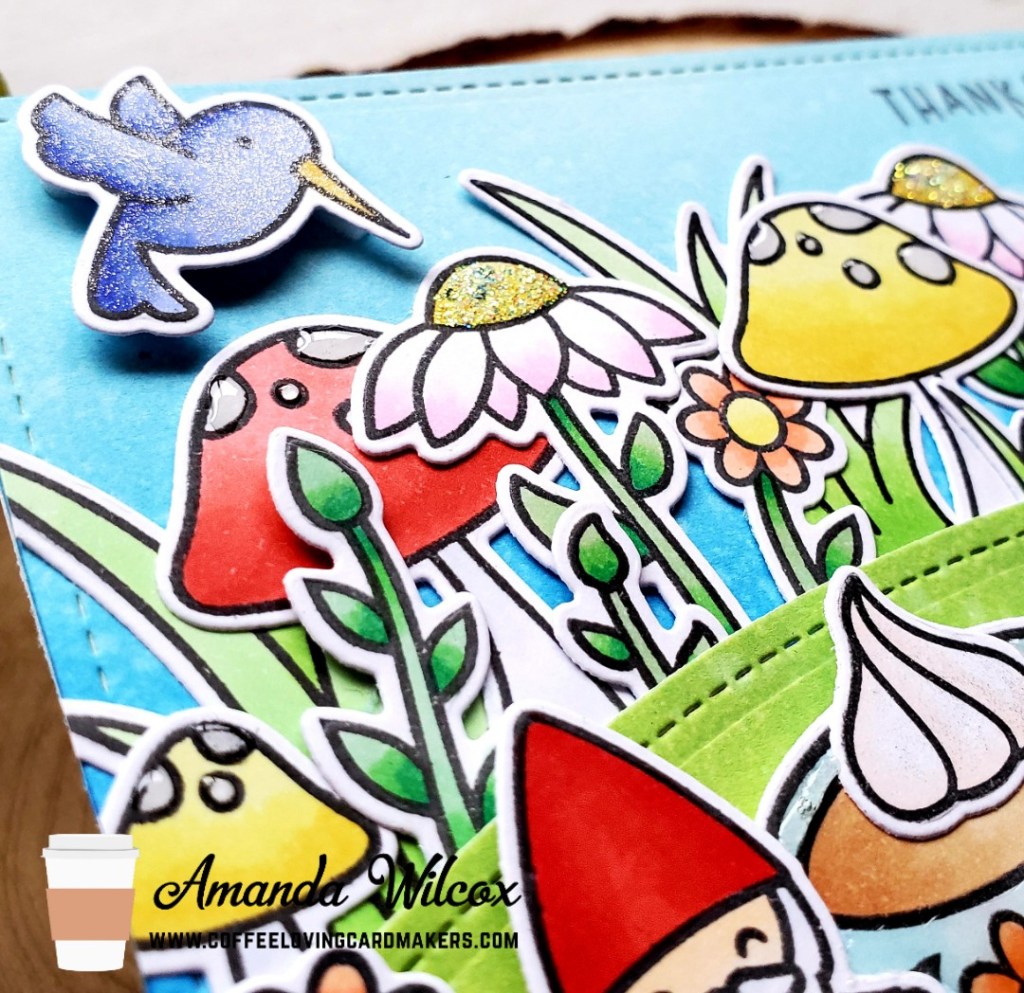
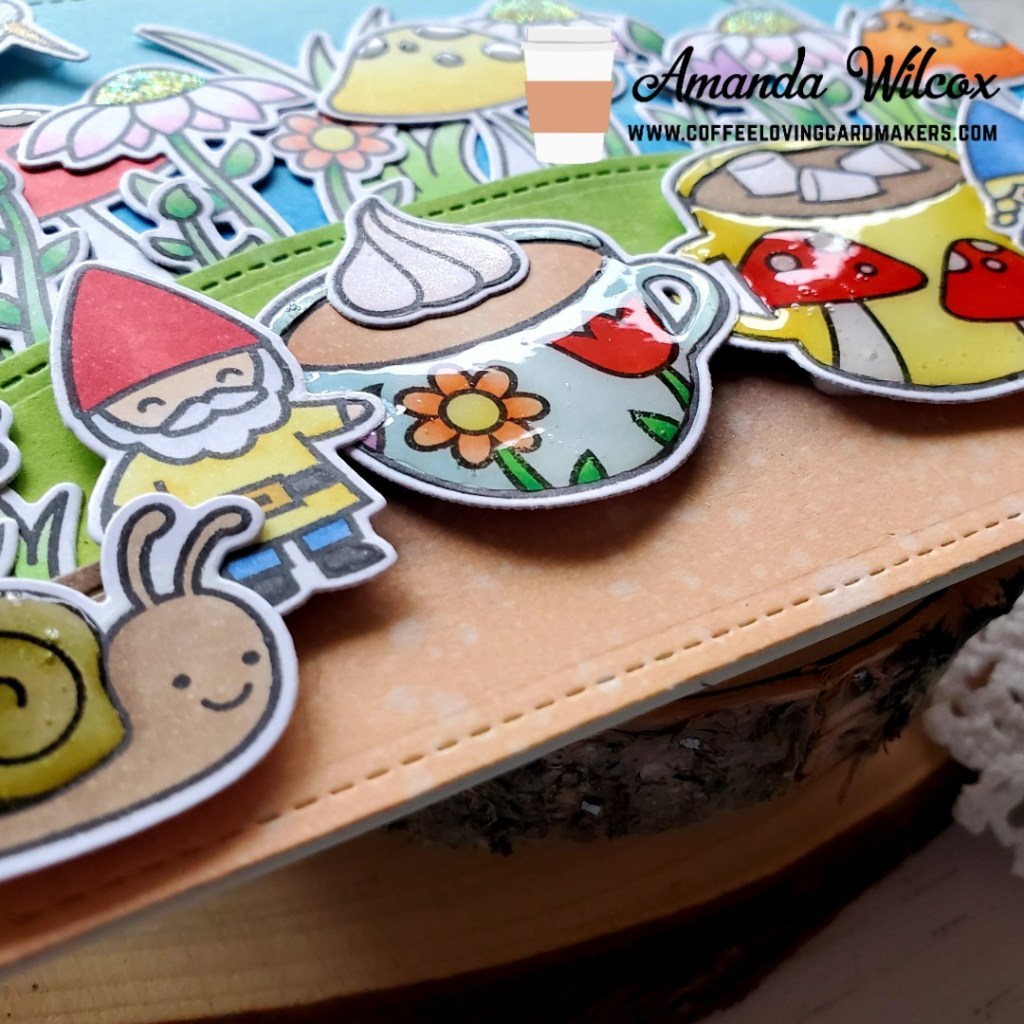
To create this card I started with the Trinity Stamps sunflower bouquet set and stamped them on masking paper right off. Then I laid my stamps out to decide how I wanted to bouquet to look. I stamped the one that would be in the front and put the mask on it. I kept doing this working my way around until it was as full as I wanted. Then for the reveal – I love this part – I pulled off all the masks and colored everything with my copics.

Then I pulled out my marshmallow alphabet dies and cut mom from the middle of the bouquet. I used a clear ruler to line the first 2 letter up, then placed the “O” die back in it’s slot and used the ruler again to line up the second “M.” I die cut the letters an additional 4 times in blue cardstock and glued everything together. I trimmed the colored panel down to 3.75×5 and adhered it to a white panel that was cut down to 4×5.25. I glued the letters in place and popped this panel up with foam tape on a blue cardbase matching the letters.
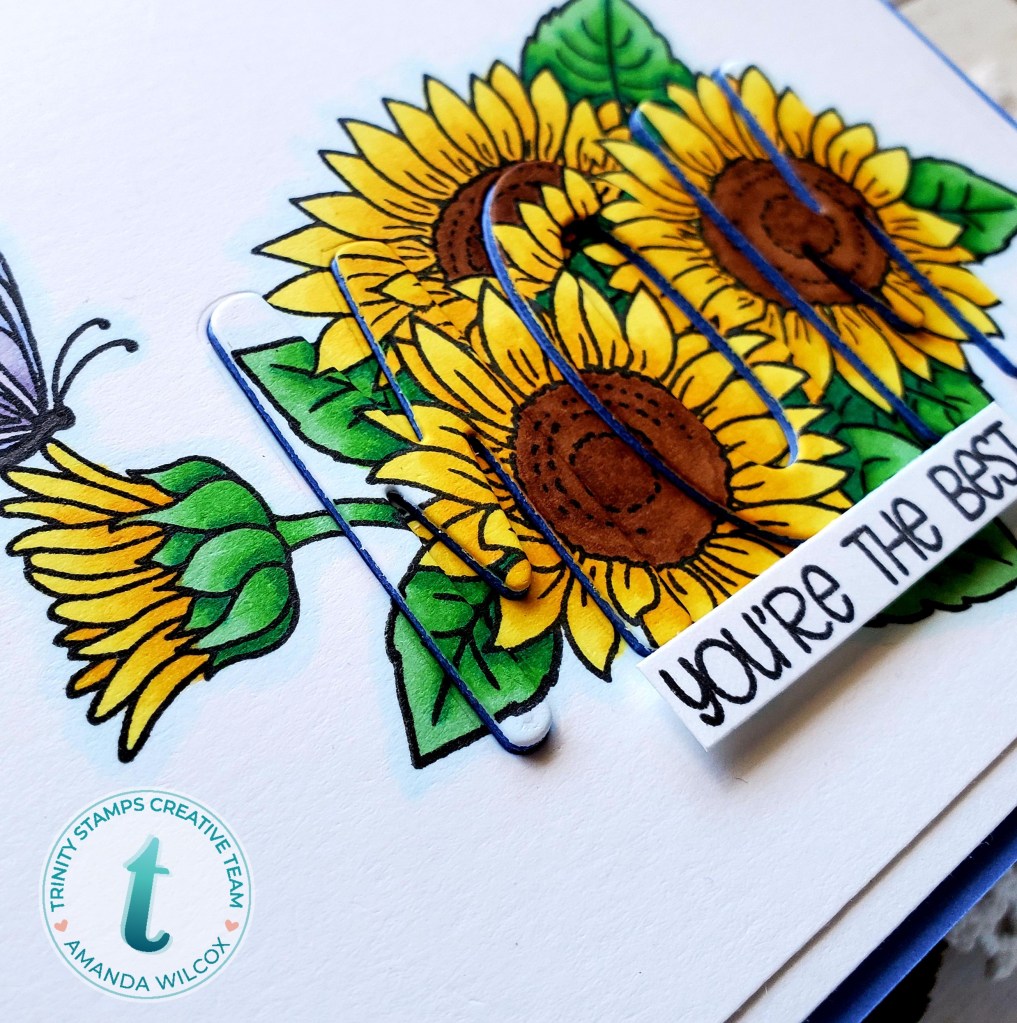
I pulled out my So Appreciate set and stamped the “You’re the best” sentiment on a strip and popped it up with foam tape. Then I moved on to the inside of the card.
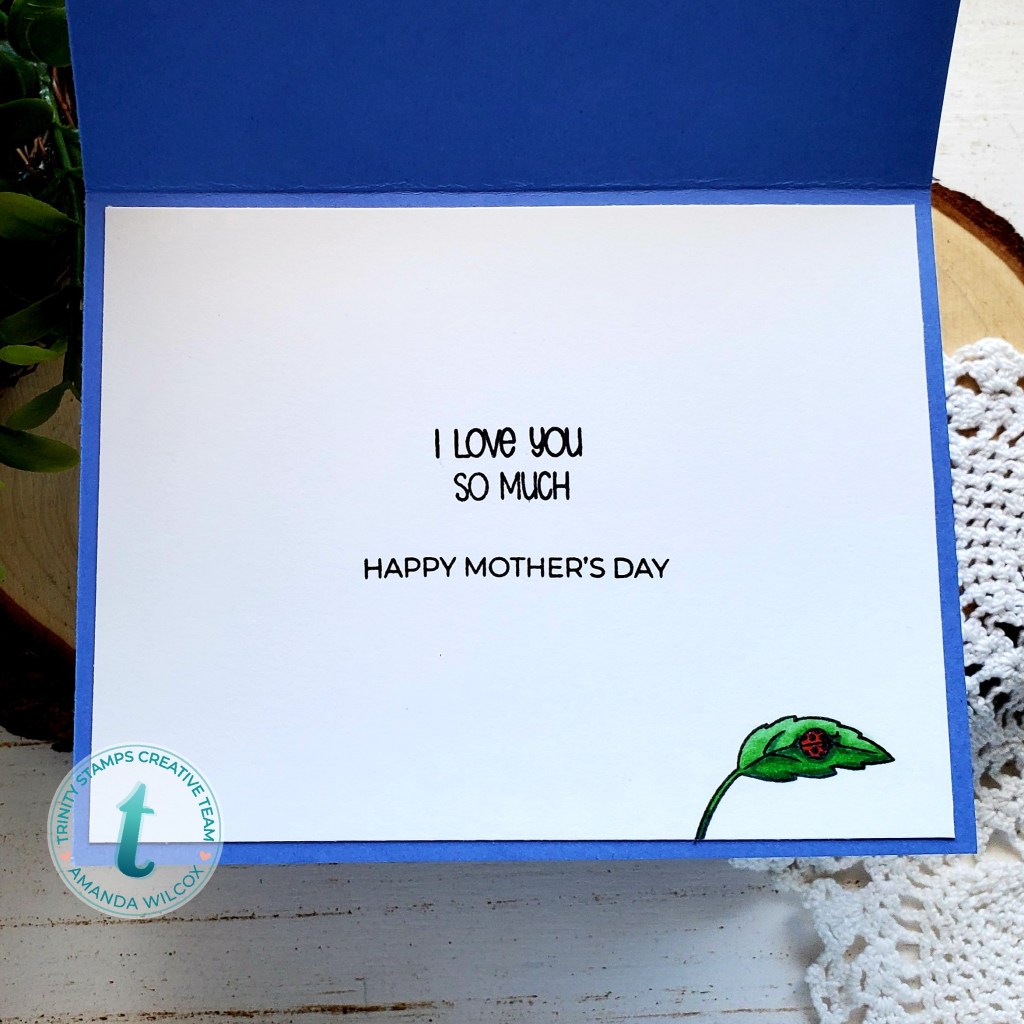
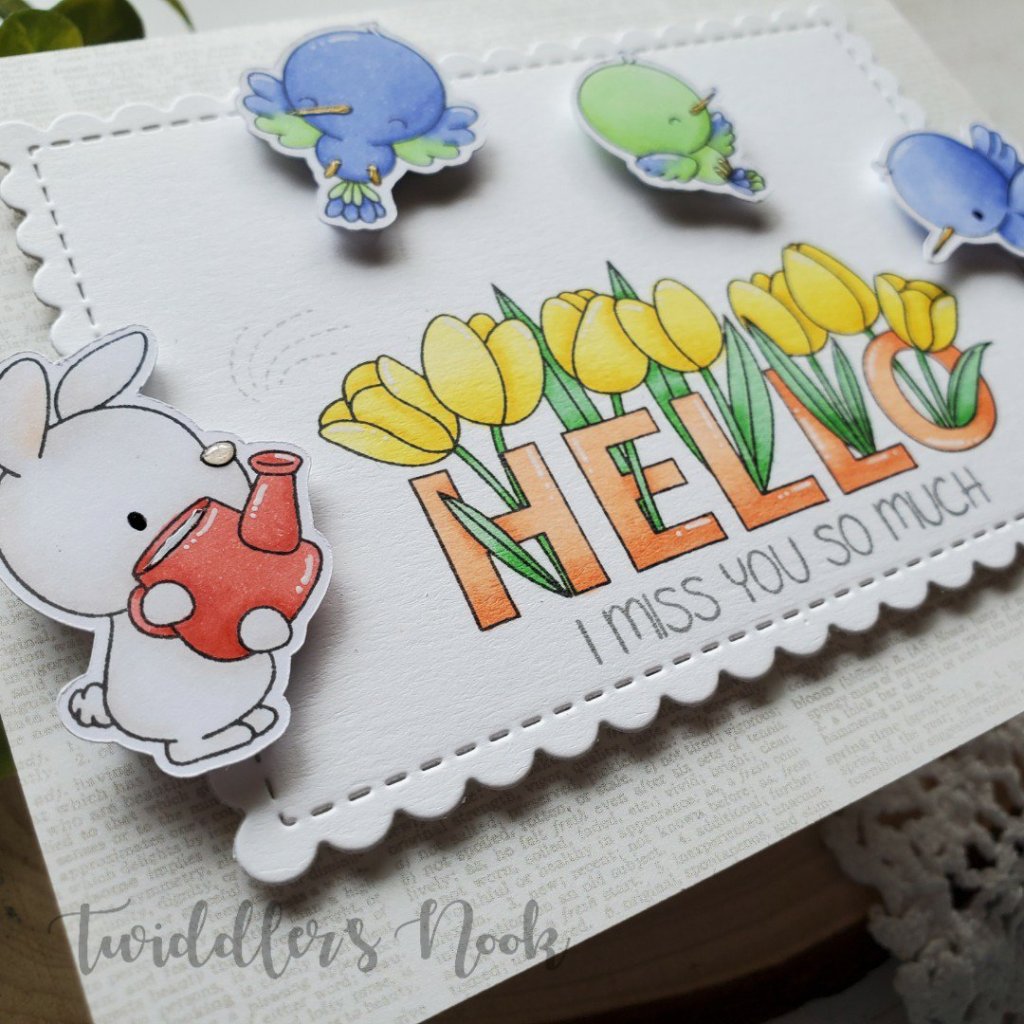
I trimmed another white panel down to 4×5.25 and stamped the leaf and ladybug from the Sunflower Bouquet using masking again and colored it with copics. Then I stamped the sentiments from So Appreciative and A Sentiment for (Almost) Everything to finish the card off.
I’m really excited to give this card to my mom. I know she’ll love it.
I appreciate you sharing your time with me. Have a fabulous day!