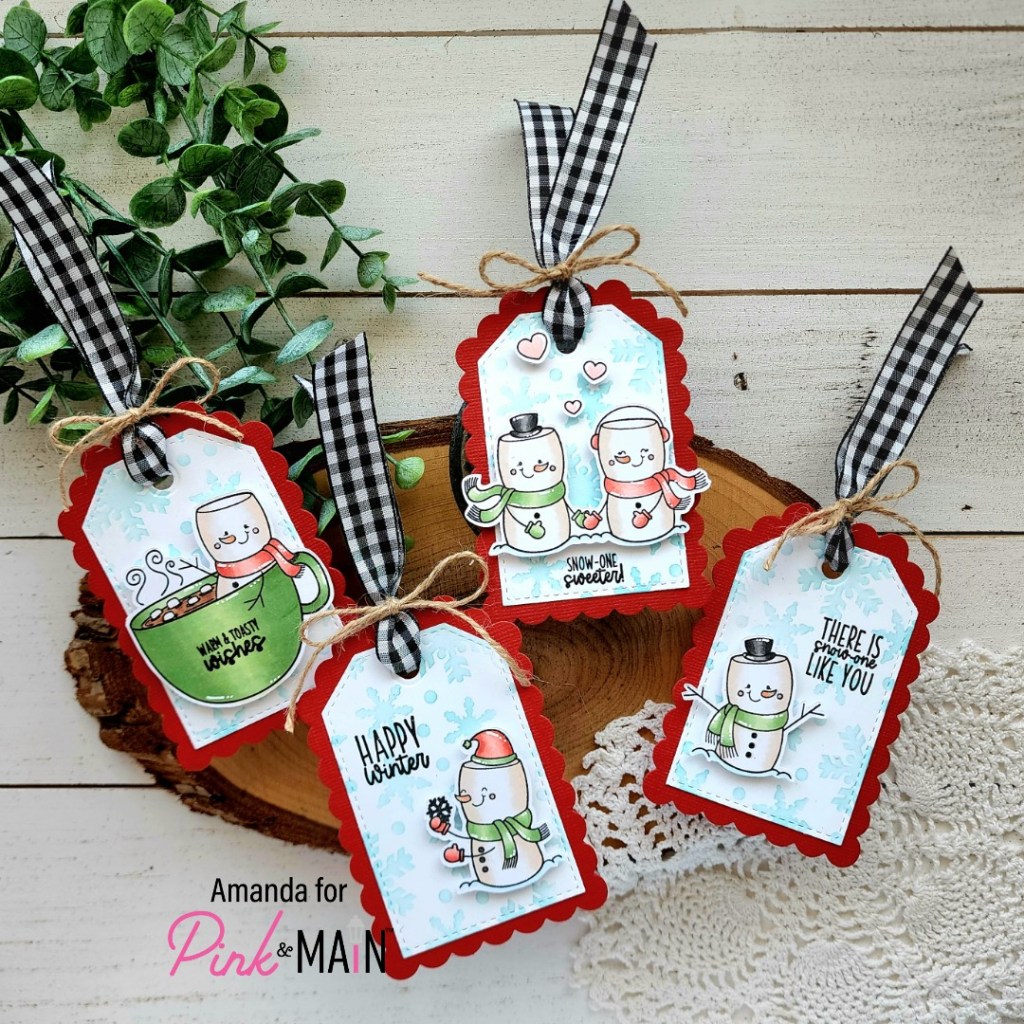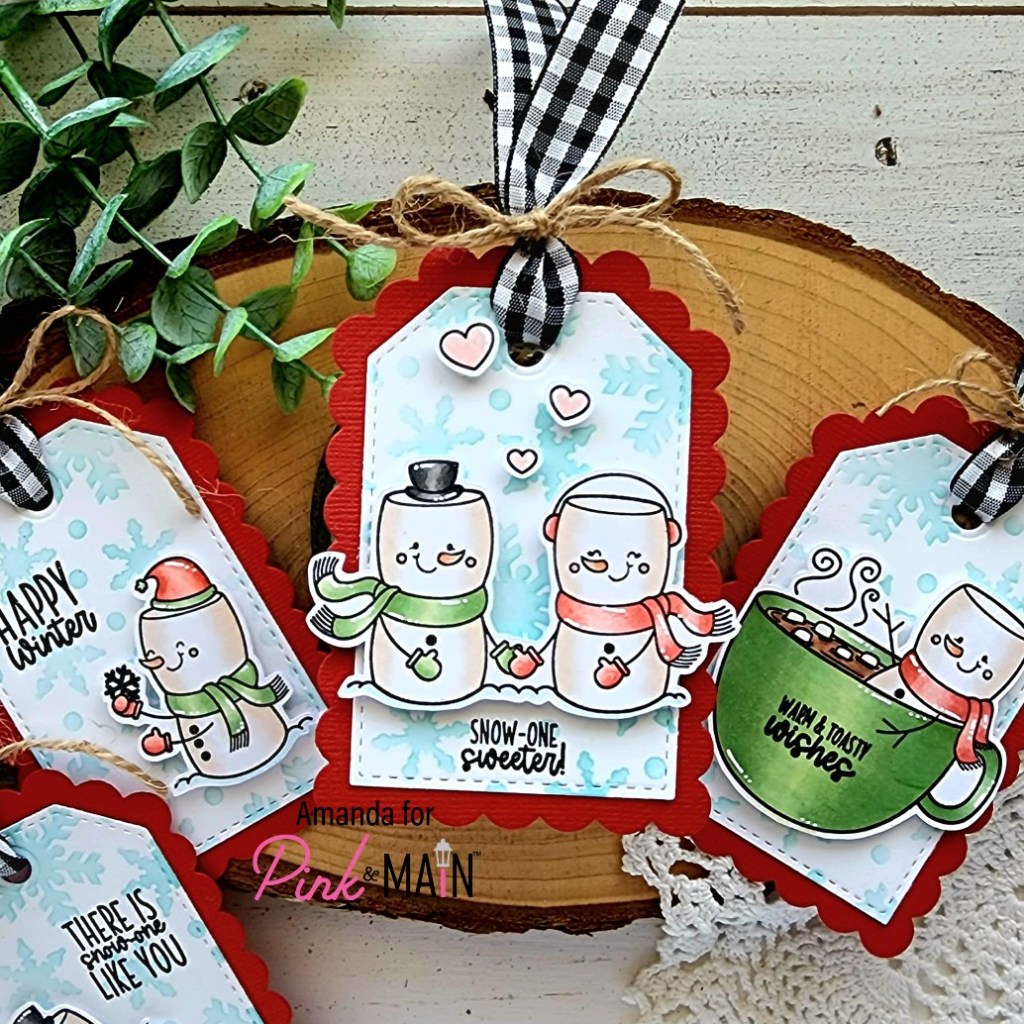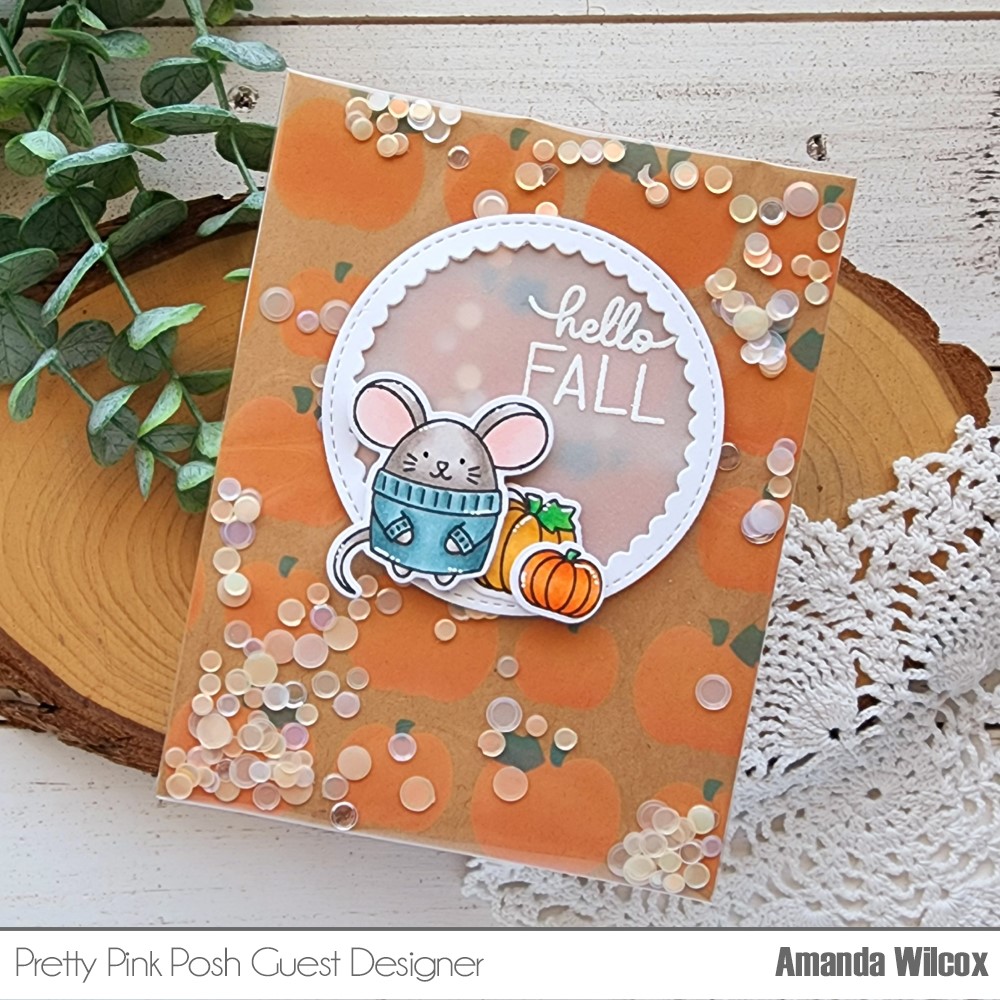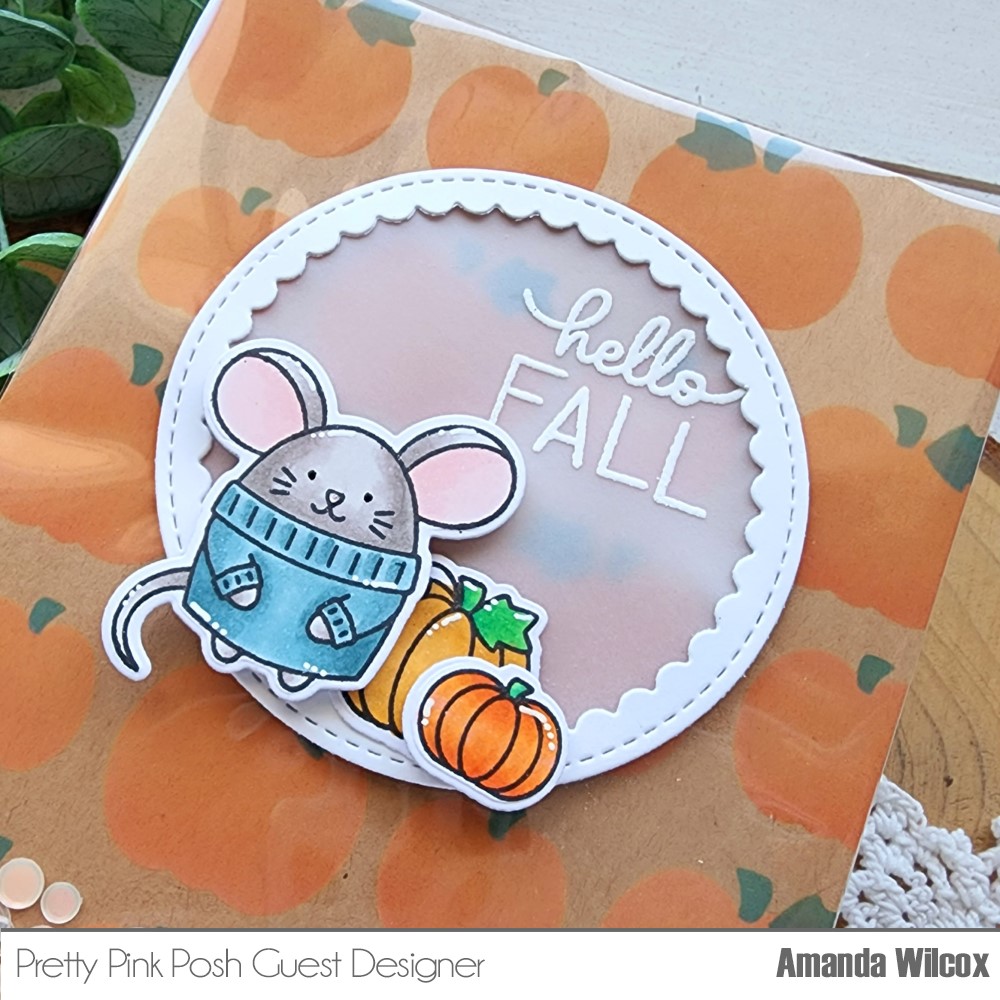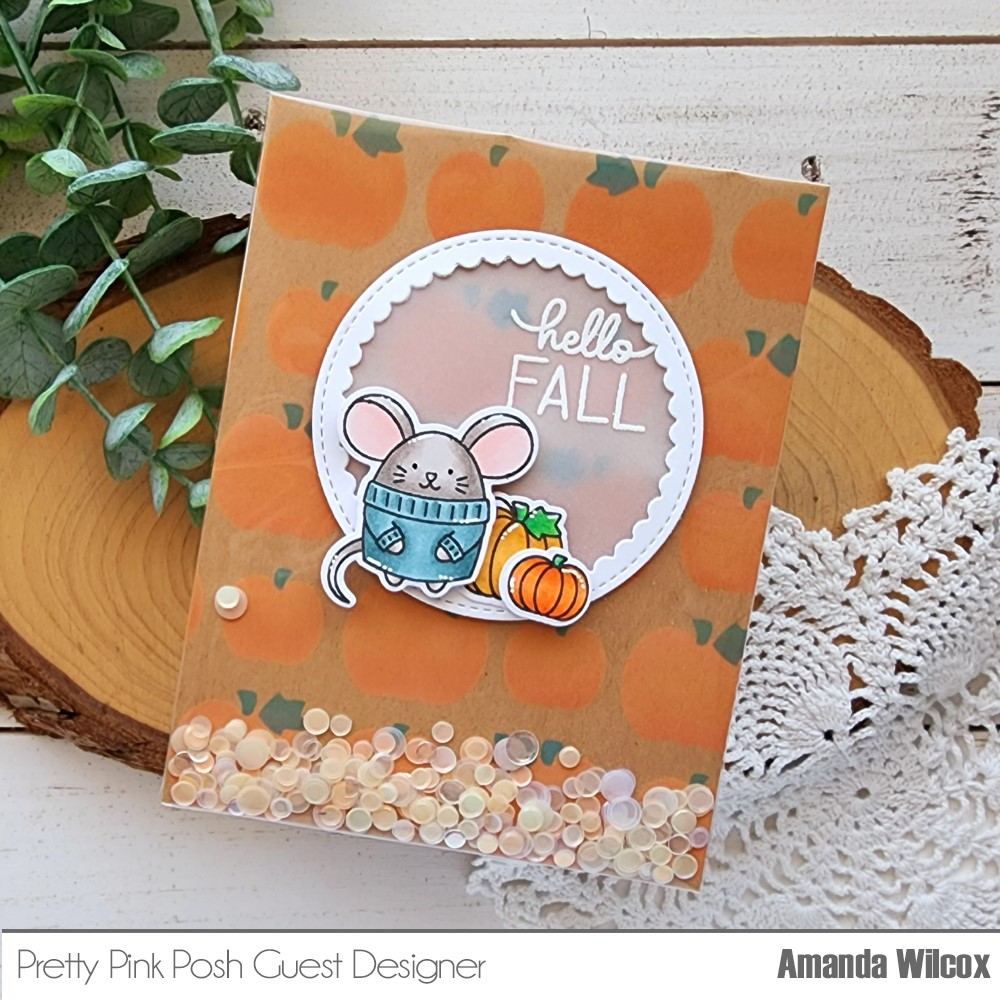
Newton’s Nook – Joyful Tidings

Hello everyone! Guess what today is?!?!? It’s the half-way mark to Christmas! Yeah, the years just seem to fly by. I don’t get it. But I couldn’t resist the temptation to dive into my Newton’s Nook Christmas stash and make a little nutcracker fun to share with you all.

I had a design in mind when I started this card but today I actually started with my background panel and found the copics to coordinate from there. The background is ink blended with distress oxide in rustic wilderness and bundled sage. I faded out to nothing at an angle as I came down. I spritzed the panel with water and blotted it dry before layering the Music stencil over the top and spreading gold glitz glitter gel through it.

While the panel was drying, I stamped one of the nutcracker images and colored him with my copic markers. Then I used the coordinating die to cut him out and went digging for a different shaped sentiment. I love the sentiments in the set but I really wanted that banner to the left of him so I looked at all my Roundabout and Heartfelt sets, landing on this one from Heartfelt Holidays. I think it’s simple and nice to go with the feel of the card.

Since the Banner Trio dies are solid, I always die cut that part first, then stamp and heat emboss on the shape. At the beginning I kept forgetting and tried to blindly line things up but it never goes well. Lol.

With the glitz gel panel dry, I die cut it with the largest Framework die and popped it up on a white card base with foam tape. Then I glued the banner to the nutcracker, added foam squares to them and popped them up as well.

For finishing touches I came in with stardust Stickles on all the gold parts of the nutcracker. I wanted his gold areas to be shiny like the background. Last, I added black glaze pen to his eyes to make them raised and shiny. I really love that part.

Products used:
Nutcrackers stamps and dies
Heartfelt Holidays stamps
Banner Trio dies
Framework dies
Music stencil
Glitz Glitter Gel – gold
Stencil pal
3D foam tape and squares
Distress oxide – rustic wilderness and bundled sage
Stickles – stardust

I appreciate you sharing your time with me. Have a fabulous day!
Pink & Main – Happy Bee-day!

Welcome, welcome crafty friends! I’m so glad you’re here today. I’m over on the Pink & Main blog sharing this adorable bee themed birthday card. You all know that I love to get inky and messy so today’s card is not unusual for me at all and I just love how it turned out!

I planned my layout a bit in advance by laying the stamps on the plain white scalloped die cut to see how they would fit together. I liked it so I stamped and colored everything with copic markers. I used the coordinating dies to cut everything out and set it all aside while I worked on the background.

Originally I cut a smaller rectangle from colored cardstock and used the second die in the Dotted Cover dies set to cut the polka dots. The texture was not working for me at all. It was too much and distracting from the images. So I went back to square one and thought I’d start with inking. I taped off the edges and used distress oxide in salvaged patina and dried marigold randomly on the panel. I spritzed that with water and flicked ink of both colors all over. Now, I was getting somewhere! But it needed something else. So I layered the Rainbow Fun stencil over top and spread Glossy Gel through it.

I love it so much! So, then I added all my images with foam squares, heat embossed a sentiment and cut it with a circle die and popped the whole thing up on a white card base.

For finishing touches I added black glaze pen to the bees’ eyes, nose, hands and feet. Then I used stardust stickles on the wings and glossy accents on the sun. Eeeep! Isn’t is so cute?!?

Products used today:
Sweeter Than Honey stamps and dies (Stamp of the Month)
Dotted Cover dies
Layered Circle dies
Rainbow Fun stencil
Glossy gel
Magic Anti-static Brush
Watermark & Embossing Ink
Embossing Powder – frosting
Foam tape
Distress Oxide – salvaged patina and dried marigold
Glossy accents
Stickles – stardust

I appreciate you sharing your time with me. Have a fabulous day!

Build Your Stash Holiday Cardmakers – Christmas in July Hop

Hey friends! I’m super excited to be sponsoring another Build Your Stash Holiday Cardmakers Hop! This is such a genius way to use your products more throughout the year and get a jump start on holiday cardmaking. Goodness knows we never have enough time to get it all done during the holiday season, so why not start early!

Since we’re sponsors of the hop, I wanted to highlight a few of our products.

Magnetic Die Stand

This product comes in a variety of shapes and colors to match your personality and style. Great for keeping track of dies while you’re crafting and not ready to put them away.

Pressure Pal

Our ever popular Pressure Pal helps apply even pressure with less stress on your hands when using a stamping look like a MISTI. This also comes in a variety of colors.

Embellishments

We offer a huge variety of embellishments to adorn your cards, create shakers, slime and so much more! Something for every occasion, all through the year!

Embellishment Trays

Be sure to check out our embellishment trays while you’re at it! These are fantastic for dumping embellishments into, rooting around to find what you want and then using the pour spout to easily put them back in the bag. It sure beats picking them up off your table one at a time or trying to dig in those little baggies.

We have a bunch of shapes and colors of these too. They are so fun and I seriously keep 4 on my desk at all times to hold die cut images and other things as well! They’re so cute and handy.

We have lots of other products in the shop so please take a moment to head over and then leave me a comment on what you plan to add to your stash!

This wouldn’t be a proper hop and celebration without a sale. So, before I go. Let’s put the shop at 20% off so you can try us out and get crafting!

Click HERE to visit the shop!

Miss Ink Stamps – Science is Like Magic

Happy Thursday everyone! Today I have another week of Miss Ink Stamps fantastic inspiration. This time I used only one stamp set for my entire card. Sometimes it’s nice not to need a stack of products to create something awesome! I get the mixing and matching but doing more with less is awesome!

I started by choosing a couple of images from It’s All Relative, stamping and coloring them with copic markers. I used the scan-n-cut to cut them out and glued them together with liquid glue.

I took an A2 piece of white cardstock and stamped the two atom images from the set and stamped them randomly all over it. When you’re doing something like this, be sure to stamp some off the edge of the paper to create the illusion of continuation off the page.

After the panel was covered, I didn’t like it at all. Honestly, it wasn’t doing anything for me. But I don’t like to give up so I took a blending brush and inked the edges a little with the same color ink I stamped with. That was a little better but I kept going. I added tea dye distress ink to the edges and then more blue. I kept going back and forth with light layers until it was looking cool. Then I spritzed it with a distress sprayer and that’s when the magic happened! I love how it reacted with the inks differently. Also, exactly why I chose the sentiment that I did to stamp on the desk.

To offset the stark white edges on the images I inked them just a touch with the tea dye distress ink before adding foam tape and popping them up on a vellum circle. I hid tape runner behind the images and added that to the background panel and trimmed anything hanging off the edge.

Last, I used liquid glue to adhere the whole panel to a card front and came in with glossy accents for the character’s eyes. I finished the card off with white gel pen highlights and the whole card is finished.

Products used:
It’s All Relative stamps
Trinity Stamps Embossed Edge Circle dies
Bearly Arts liquid glue
Thermoweb foam tape
Glossy accents

I appreciate you sharing your time with me. Have a fabulous day!
Newton’s Nook – Hip Hip Hooray Balloon Shaker Card

Hello everyone! Thanks for stopping by. Today I’m over on the Newton’s Nook blog sharing this really fun shaker card featuring products from the July Birthday Release! Be sure to check it all out if you haven’t yet. It’s an amazing release and I absolutely love everything!

For today’s card, I knew I wanted to pair this sweet image with the Balloon Shaker dies so I stamped and colored him right away. I used the coordinating dies to cut him out and started cutting and assembling the pieces to my balloon shaker. The top frame and bottom layer are both cut from a piece of paper in the new Birthday Party paper pad that released last week. The shaker bits are just sequins from my stash and I used the stacked die cut technique to create my shaker well in stead of foam strips.

For the background, I inked up a white panel with distress oxide in blueprint sketch, salty ocean and tumbled glass. I spritzed it with water and blotted it dry. Then I added the Cloudy Sky stencil over the top and spread Thermoweb transfer gel blanco through it. I removed the stencil, cleaned up and waited for it to dry. Fast forward, to a heated up laminator and dry transfer gel – I cut a piece of white latte deco foil flock transfer the size of the panel, layered it on top of the stenciled panel, placed them in a Craft & Carrier sheet and ran it through my laminator.

I die cut the flocked panel with the largest Framework die. Then cut the smallest die in that set from black cardstock. Next, I stamped and heat embossed a sentiment from the Birthday Oval set in white on it.

To assemble my card, I cut an orange piece of patterned paper and added it to a white care base. Then I popped the stenciled panel up with foam tape and glued my shaker directly to that with liquid glue. I popped the mouse and sentiment up with foam squares.

For finishing touches, I added black glaze pen to the mouse’s eye and glossy accents to his nose and the whole balloon.

Products used today:
Birthday Mice stamps and dies
Birthday Oval stamps
Framework dies
Balloon Shaker dies
Cloudy Sky stencil
Birthday Party paper pad
Thermoweb 3D foam tape and squares
Thermoweb Transfer Gel BLANCO
Thermoweb stencil pal
Thermoweb Deco Foil Flock Transfer – white latte
Glossy accents
Bearly Art liquid glue

I appreciate you sharing your time with me. Have a fabulous day!
Trinity Stamps – Mini Watercolor Frame & Fold Cards

Hello everyone! I’m excited to share a fun trio of cards that I made for my daughter when she was away at dance camp last week. I absolutely love the Trinity Stamps Love Dani line of 3×4 stamps and think they are so fun to watercolor. When the most recent additions release, I just had to have them and couldn’t wait to play!

To create these cards, I die cut the mini card that is part of the Slimline Frame & Fold die set from Trinity Stamps. It gives you this really fun 3×4 miniature card. I cut mine from Bristol Smooth cardstock because I knew I was going to heat emboss and watercolor my images with Zig Clean Color Real Brush Markers.

These were so much fun to color and experiment with. I also love that the Zigs don’t bleed through so I didn’t need an extra layer of cardstock to hide anything.

As I said earlier, these cards were for my daughter. She went away to a 4-day dance camp and I thought it would be fun to stash some happy thoughts in her suitcase. After I watercolored each card and let it dry, my husband and I each wrote different messages inside each card so she could open them each day.

Then, I used my WeRMemory Keepers envelope punch board to create coordinating envelopes that went with the colors on each card. I used some fun washi tape to seal each one and tied them together with baker’s twine.

This was silly and so much fun to create! These cards are also perfect for holding a gift card if you wanted to do that too!

Products used today:
Slimline Frame and Fold dies
Rooting For You stamps
Easy Peasy stamps
One in a Melon stamps
Watermark & Embossing Ink
Embossing powder – licorice
Magic Anti-static Brush

Zig Clean Color Real Brush Markers

I appreciate you sharing your time with me. Have a fabulous day!

Pretty Pink Posh – Rawr!

Welcome back everyone! Thanks for stopping by. Today I have a really fun card to share with you featuring those great dinosaurs from the most recent Pretty Pink Posh release.

I’m a huge dinosaur lover, plus I have a great inside joke with a friend that includes a dino that looks a ton like the T-Rex from Dinosaur Friends. Her favorite color happens to be pink and I couldn’t resist creating this custom, super fun card for her!

I started with an A2 white panel and three different pink dye inks from my stash. I pulled out the Layered Dinosaurs stencils and inked them up one layer at a time. Once it was finished I trimmed the panel down to 4×5.25 inches and set it aside.

Next, I stamped and colored images from Dinosaur Friends in a variety of pink colors that coordinated with the inks in my background. I used the coordinating dies to cut them out and set them aside while I cut one of the Stitched Photo Frames from white cardstock. I pulled the RAWR! sentiment from Dinosaur Additions and stamped it on the bottom section. Next, I lined the back of the opening with vellum and adhered my images with liquid glue. Then, I added foam strips and squares to the back and adhered it to the left side of my stenciled panel.

Before adding the panel to a card base, I thought it needed something extra so I wrapped pink twine around the right side and tied it in a bow. I added foam tape to the back of the panel and popped it on a card base.

For finishing touches I added glossy accents to the spikes on the dinosaur’s back and black glaze pen to his eye. Then I added a little Wink of Stella glitter brush pen to the palm trees for shimmery fun.

Isn’t this card totally adorable it all it’s unconventional glory?!? I seriously love it and my friend was so excited when she received it.

Products used today:
Dinosaur Friends stamps and dies
Dinosaur Additions stamps and dies
Stitched Photo Frames dies
Layered Dinosaurs stencils
Glossy accents
Wink of Stella glitter brush pen
Foam tape and squares

I appreciate you sharing your time with me. Have a fabulous day!

Jane’s Doodles – Say YES to New Adventures

Hey crafty friends! Today we’re having a surprise hop over on Instagram to celebrate Jane from Jane’s Doodles and all that she does to bring light into our wonderful industry and world. I’m so honored to be apart of this because I truly enjoy Jane and all of her creations! Today I have a fun camping scene card to share.

I used my stamps to plan out my scene and see what all I could fit. Then I stamped the images and colored them with my copic markers. I used the scan-n-cut to cut them out and set them all aside while I worked on my background.

For that, I started with an A2 white piece of cardstock and stamped mountains and trees in the background. Then I used blending brushes to ink up the panel creating a nighttime scene. I die cut the panel with a layered rectangle so I would have a nice white border around my scene and popped it up on a white card base with foam tape. Next, I started adding images to the scene with liquid glue and foam squares.

I couldn’t decide if I wanted my sentiment in the “dirt” or on the tent. I ended up choosing the tent because I thought it was a fun, unconventional place to put it and I really liked that. I used my MISTI to stamp it since my card was already put together. Then I sprinkled on white embossing powder and heated it up.

Then I came in with finishing touches to my images. I added black glaze pen to the critter eyes and stardust Stickles to the campfire and stars in the sky. Last, I added glossy accents to the racoon’s nose and moose’s coffee mug.

Please don’t forget to head to Instagram and hop with us to celebrate Jane and leave comments for a chance to win one of three gift cards to her shop!

Products used today:
Outdoors stamps
Happy Camper stamps
Layered Rectangle dies
Foam tape and squares
Bearly Art liquid glue
Glossy accents
Stickles – stardust
Watermark & Embossing ink
Magic Anti-Static Brush
Embossing powder – frosting

I appreciate you sharing your time with me. Have a fabulous day!

Pink & Main – Wildflowers Heat Embossed Cards

Happy Friday friends! Today I’m on the Pink & Main blog for release day! This is a gorgeous release with lots of variety in products. Today I have a pair of cards featuring the new Wildflowers stamp set and a few of the beautiful embossing powder colors that came out a few months ago.

To create these cards, I started with A2 size panels of kraft cardstock and the Wildflowers stamp set. First, I arranged all of the images from the set creating a full background. I stamped it with the Watermark & Embossing Ink and sprinkled embossing powders on it one section at a time. For this card I chose Sour Apple, Bubblegum and Grape Soda. Once the panel was covered, I heated it up with my heat gun and set it aside to cool.

Next, I cut the panel down with a Stacking Rectangle die and added foam tape to the back before popping it on a white card base. Next, I cut the Big Thank You from white cardstock four times along with the shadow from vellum once. I used EZ Squeeze liquid glue to adhere the layers together and add it to my card front too.

This is a simple design but it’s so pretty and I love the color pop from the embossing powders. Next, I have a card that highlights the images differently but uses the same technique.

For this card, I placed the panel in my MISTI and used the flower image as a guide where to stamp the foliage images because I wanted them “behind” the flower stem. I stamped two foliage images with different green dye inks, then stamped the flower with Watermark & Embossing Ink. I carefully sprinkled Sour Apple on the stem and Grape Soda on the flower portion. Then heated it up to melt the powder.

This time I used the Big Hello dies to cut from white cardstock and vellum, adhering them together with liquid glue once again. The rest of the card is assembled the same way but I decided to add a little twine bow around the bottom of the stems to finish the card off.

I thought this was a fun way to use silhouette stamps without making them black and I love the colored embossing powders that pop off the neutral elements too!

Products used today:
Wildflowers stamps
Big Thank You dies
Big Hello dies
Layered Rectangles A2 dies
Watermark & Embossing Ink
Embossing Powders – sour apple, grape soda, bubblegum
Magic Anti-static Powder Tool
EZ Squeeze liquid glue
3D foam tape

I appreciate you sharing your time with me. Have a fabulous day!

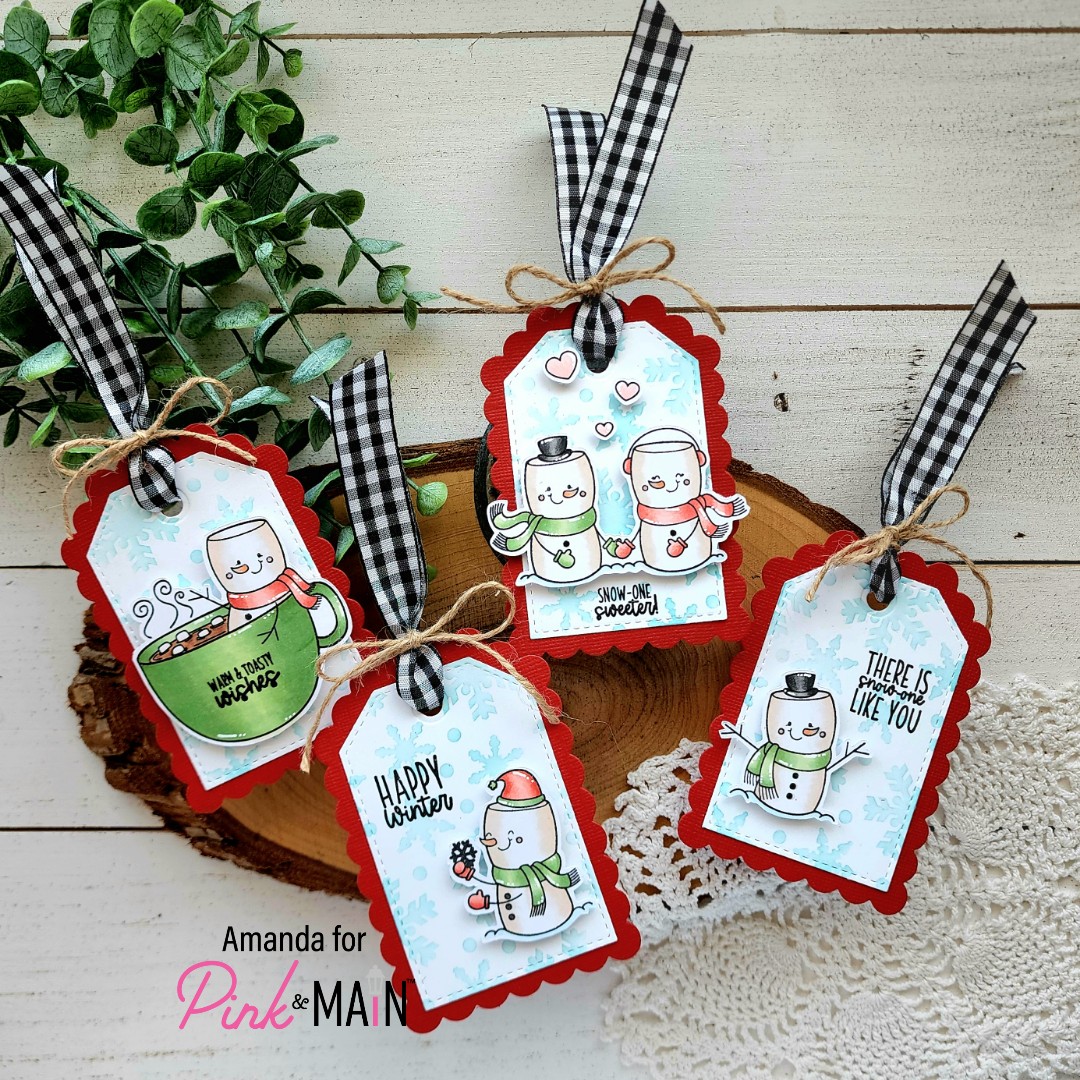
Miss Ink Stamps – Christmas in July Tag Trio

Hey everyone! Thanks for stopping by again today. For this week’s regularly scheduled Miss Ink Stamps inspiration, I decided to play a little Christmas in July and make a set of tags to get a jump on things.

The general design behind them is super simple and super easy to adapt to products you might already have. Here was my thought process while collecting products to create this trio today…

Choose my favorite tag die set, cut 6 white tags to double each one. This gives stability and a nice clean back to write on.

Choose my favorite wintery (or not) stencils and ink them up accordingly. This is where you have to decide if you’re making a coordinating set or completely different tags like I did.

Next, choose some fun images and sentiments to go with each tag. Stamp, color and cut them out. Then adhere them with liquid glue. Don’t forget to stamp your sentiments too.

Totally optional, but it’s always fun to come in with finishing touches like Stickles glitter glue and glossy accents. These images all have one or the other…or both! Then I tied twine through the hole and added a bow to the top too.

These were quick to whip up and fun because I have zero holiday stress to get them finished in time for Christmas.

Products used today:
Frosty Flakes stencil
Candy Stripe stencil
Sweater Weather stencil
Oh, deer! stamps
Ice Day stamps
Snow Buddies stamps
Newton’s Nook Fancy Edges Tag dies
Bearly Art liquid glue
Stickles – unicorn
Glossy accents

I appreciate you sharing your time with me. Have a fabulous day!