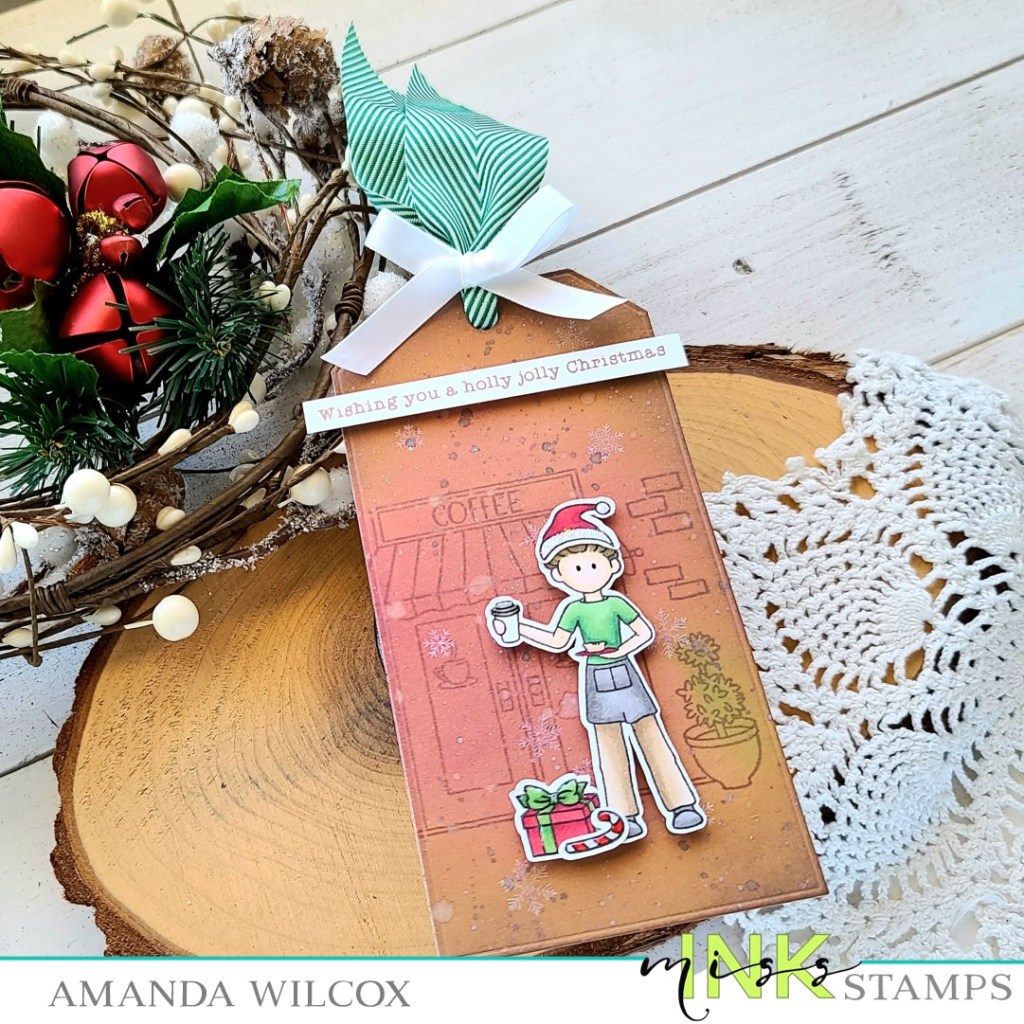
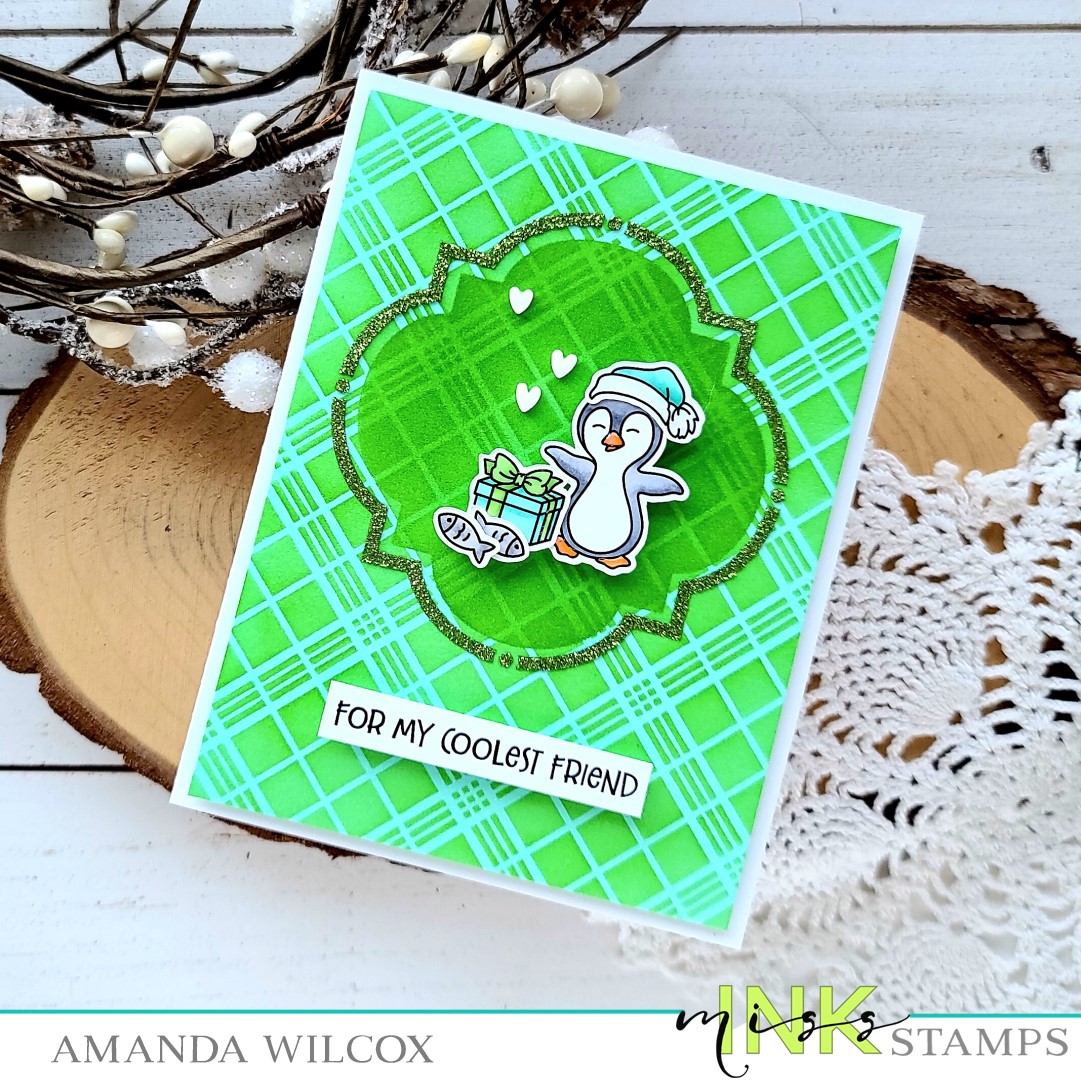
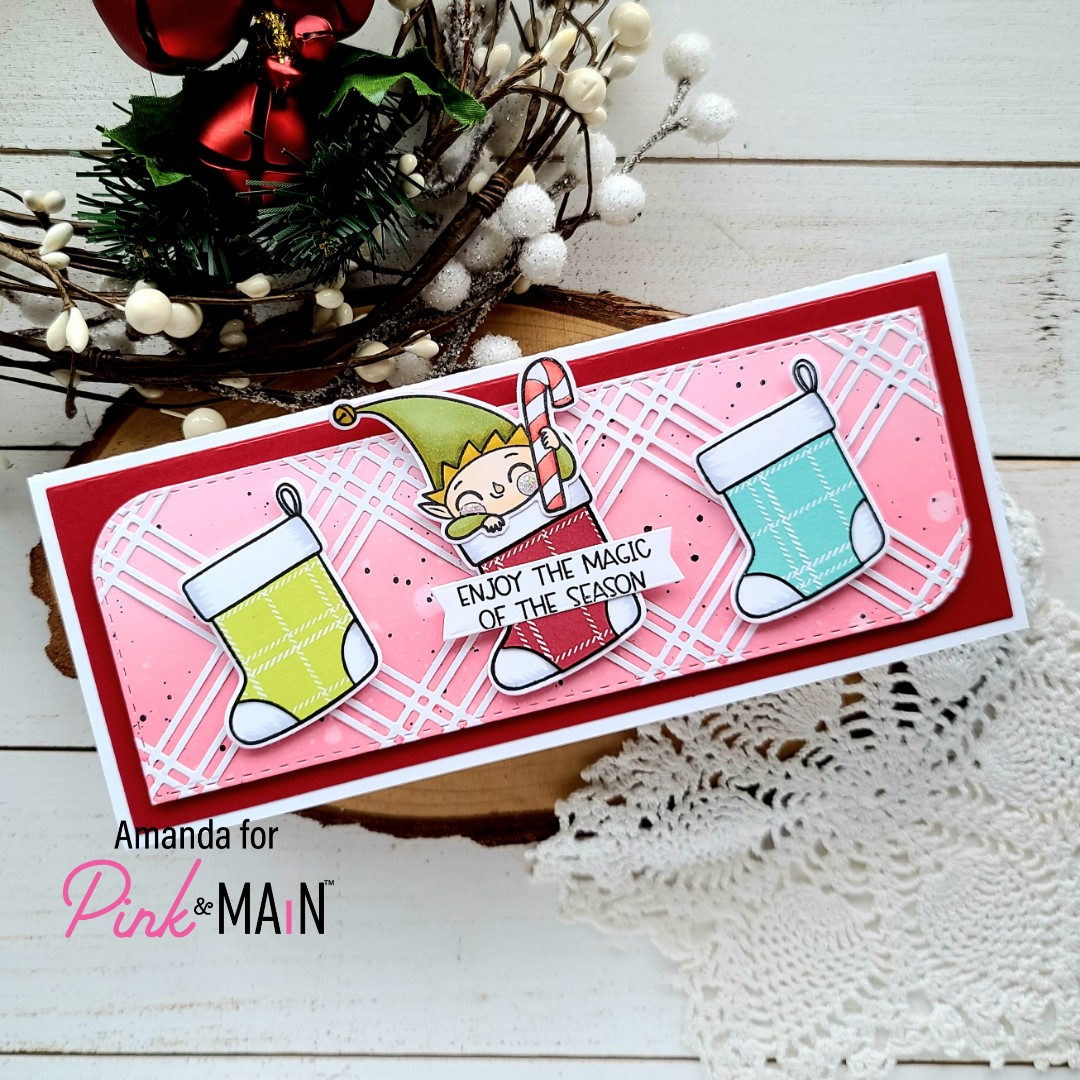
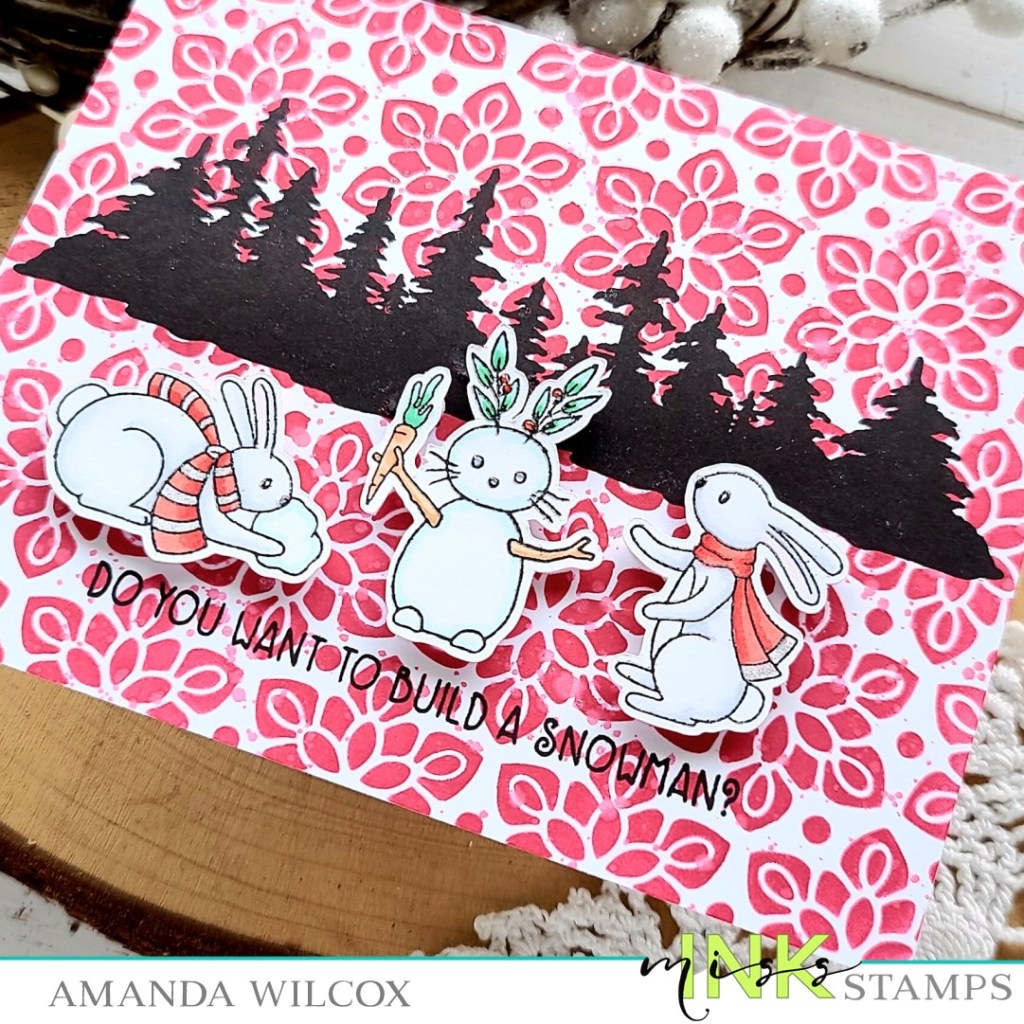
Hello crafty friends! Once again we’ve made it through another week and I have some super fun Pink & Main inspiration to share with you. Today I’ve got a slimline card featuring one of the adorable Polly and Pete stamp sets.
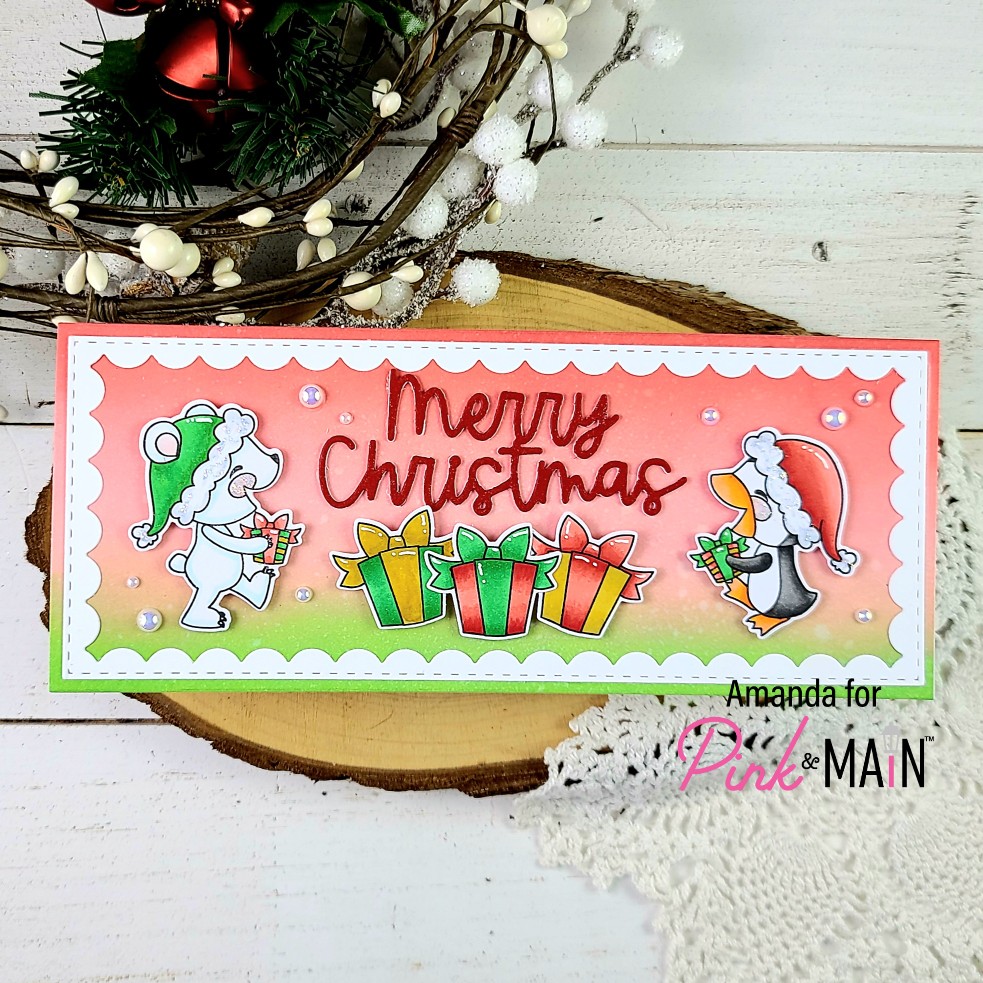
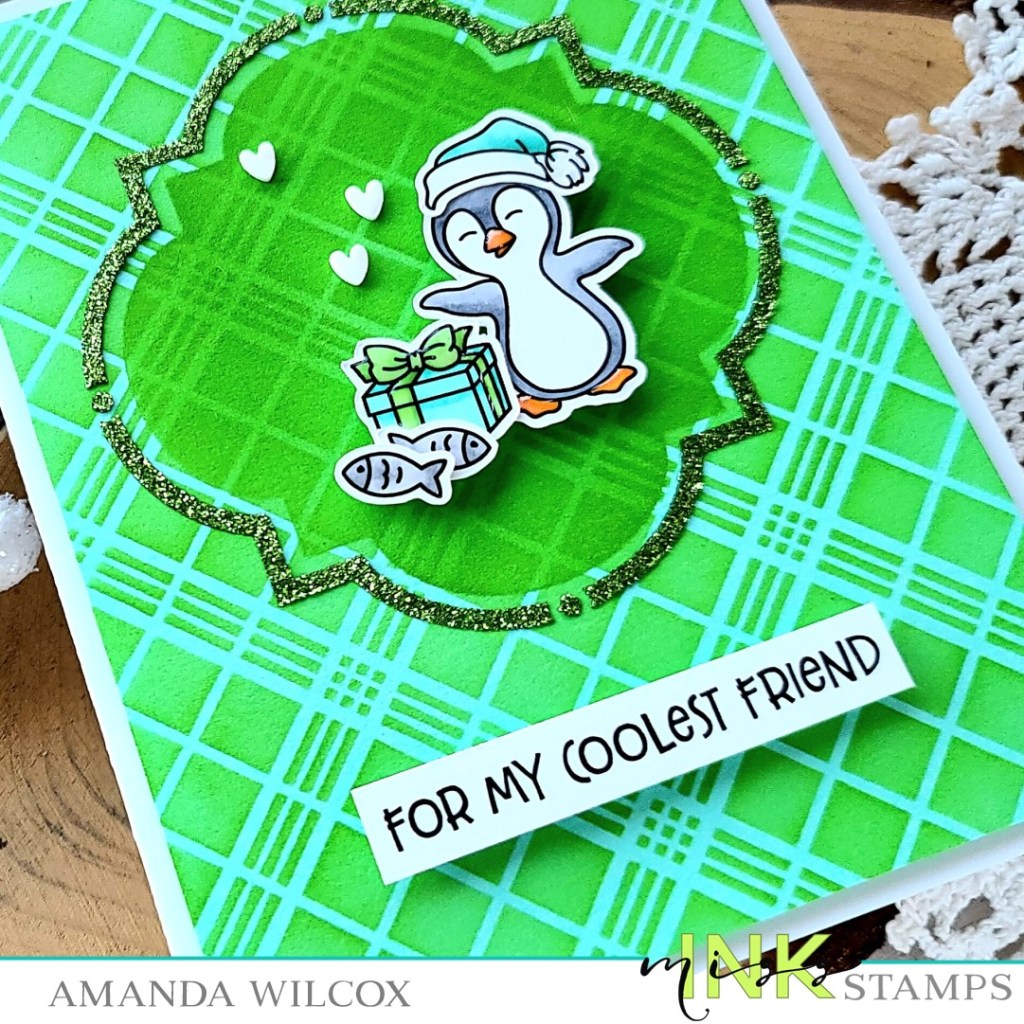
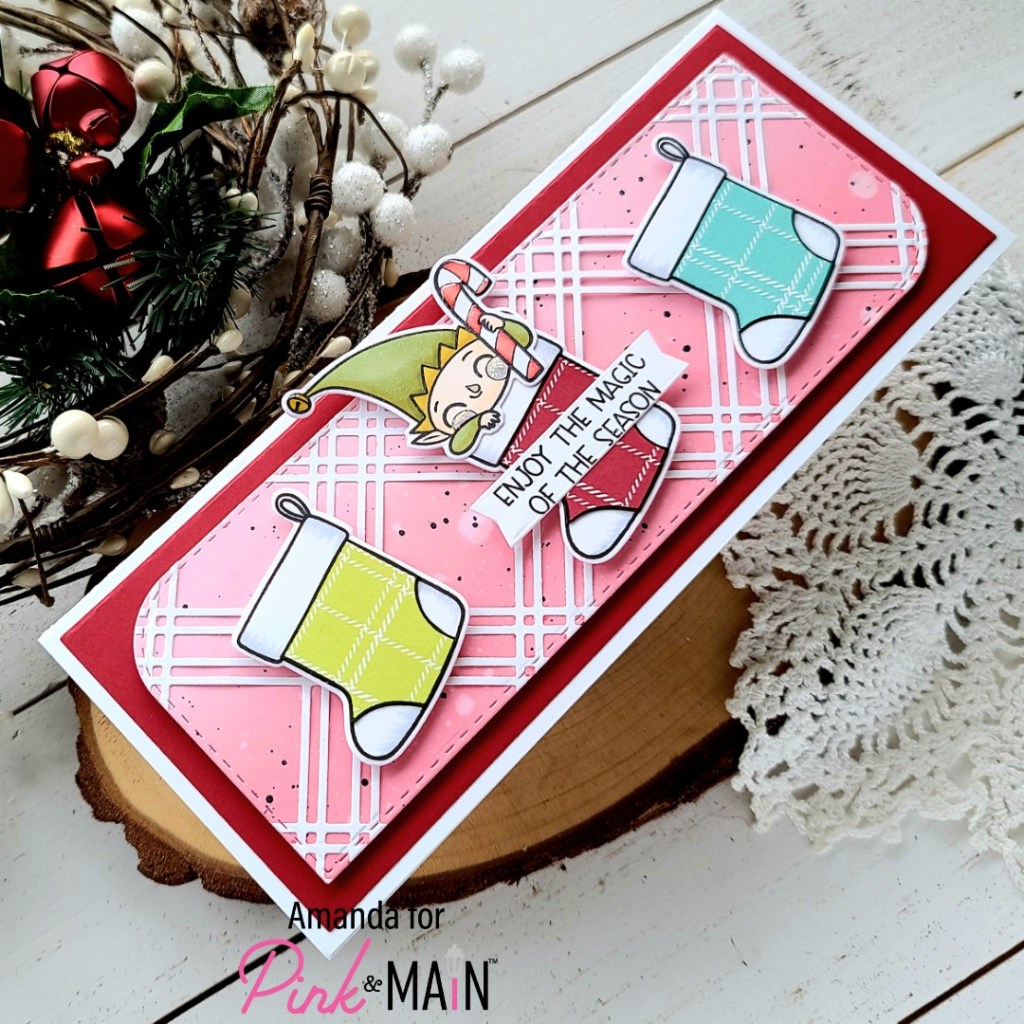
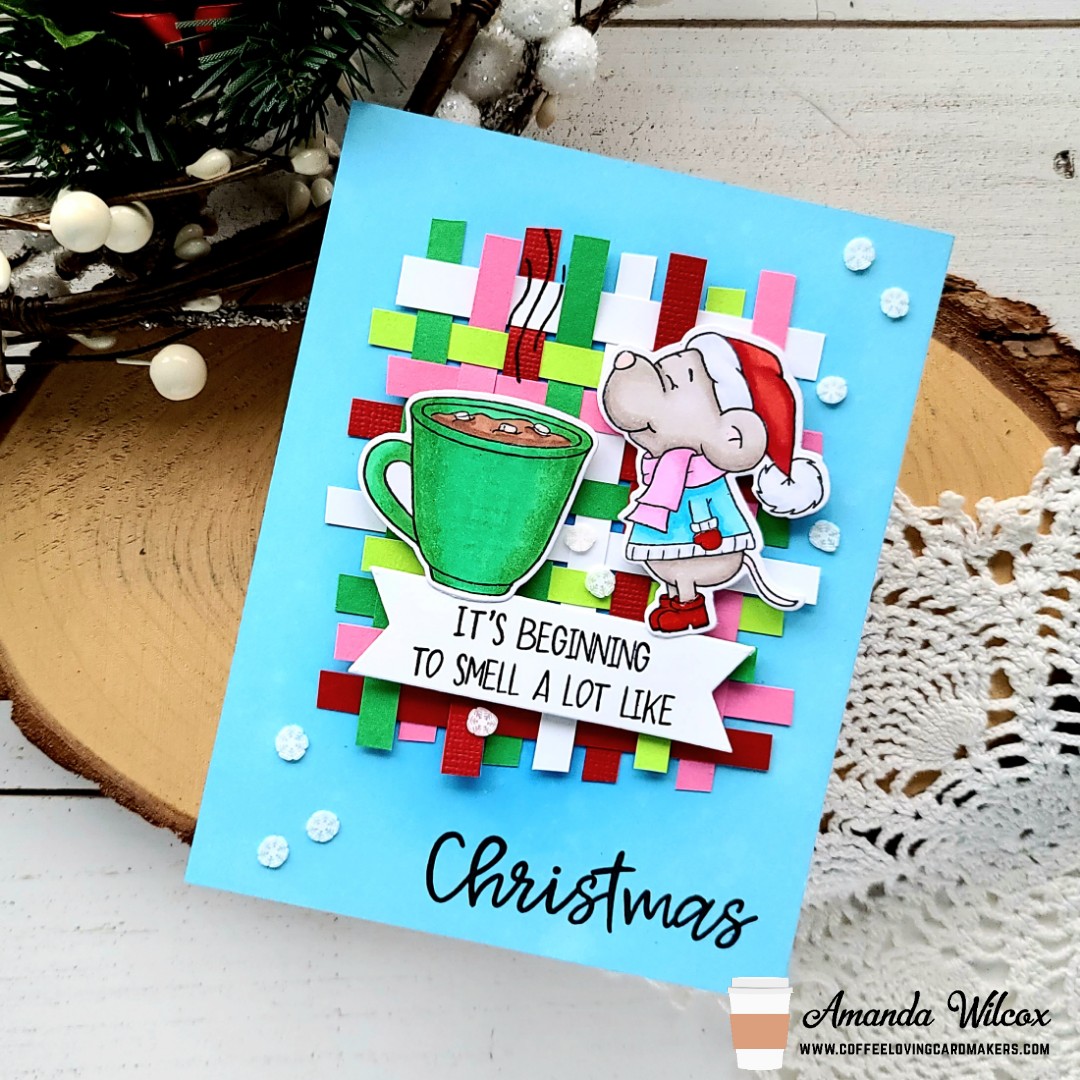
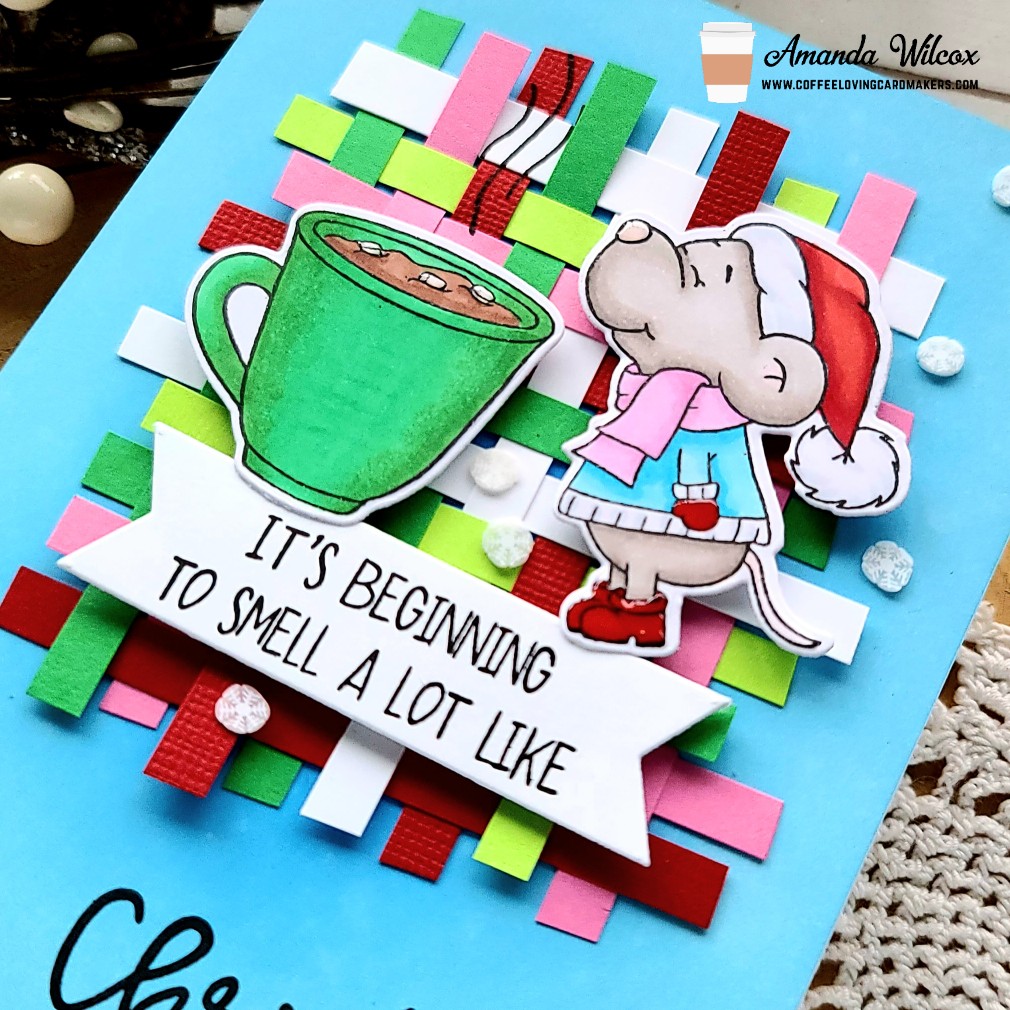
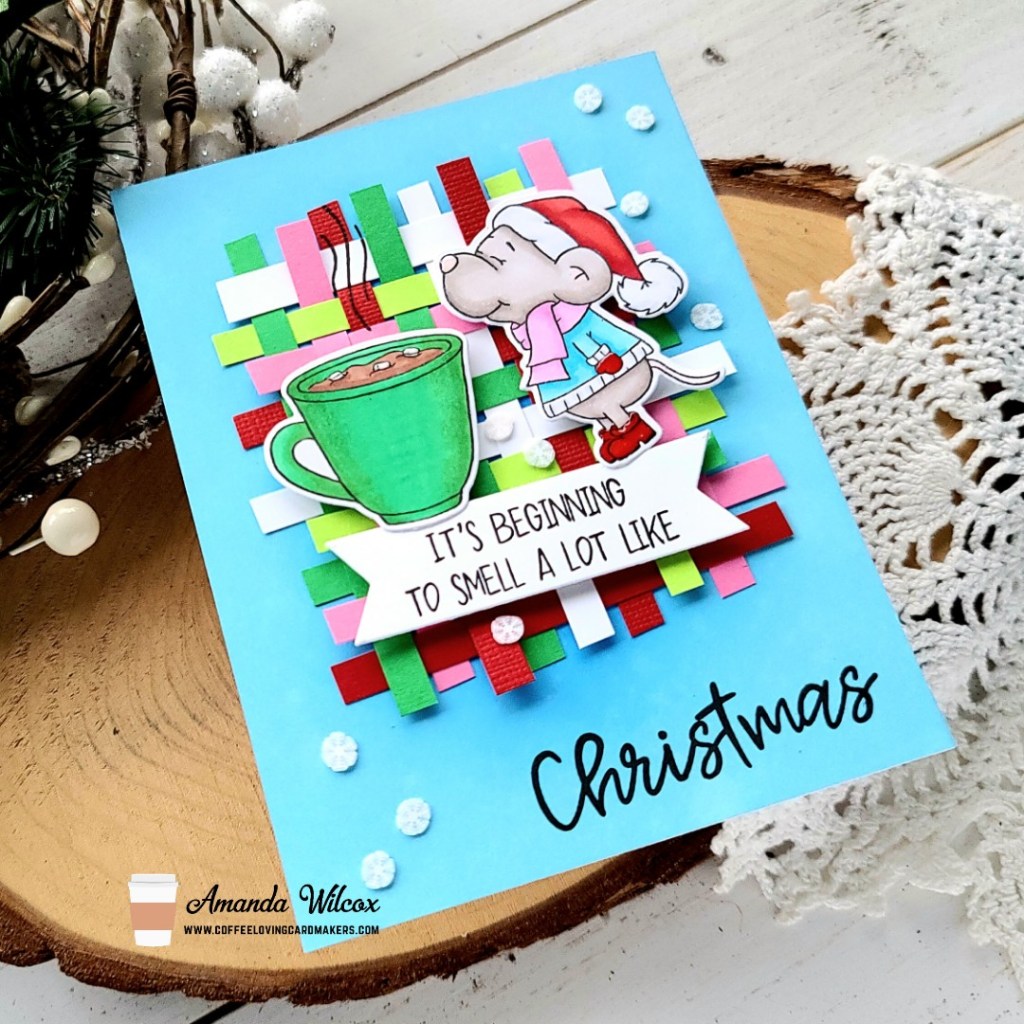
I started my card with a general idea in mind but I needed to get some images in my hands to play around with spacing and such. So I pulled out the Polly and Pete Gifts stamp set out and inked it up. I stamped both critters and 3 gifts. I used copic markers to color the images and cut them out with the coordinating dies. After arranging them on my glass mat I landed on a slimline card instead of squishing everything into A2.
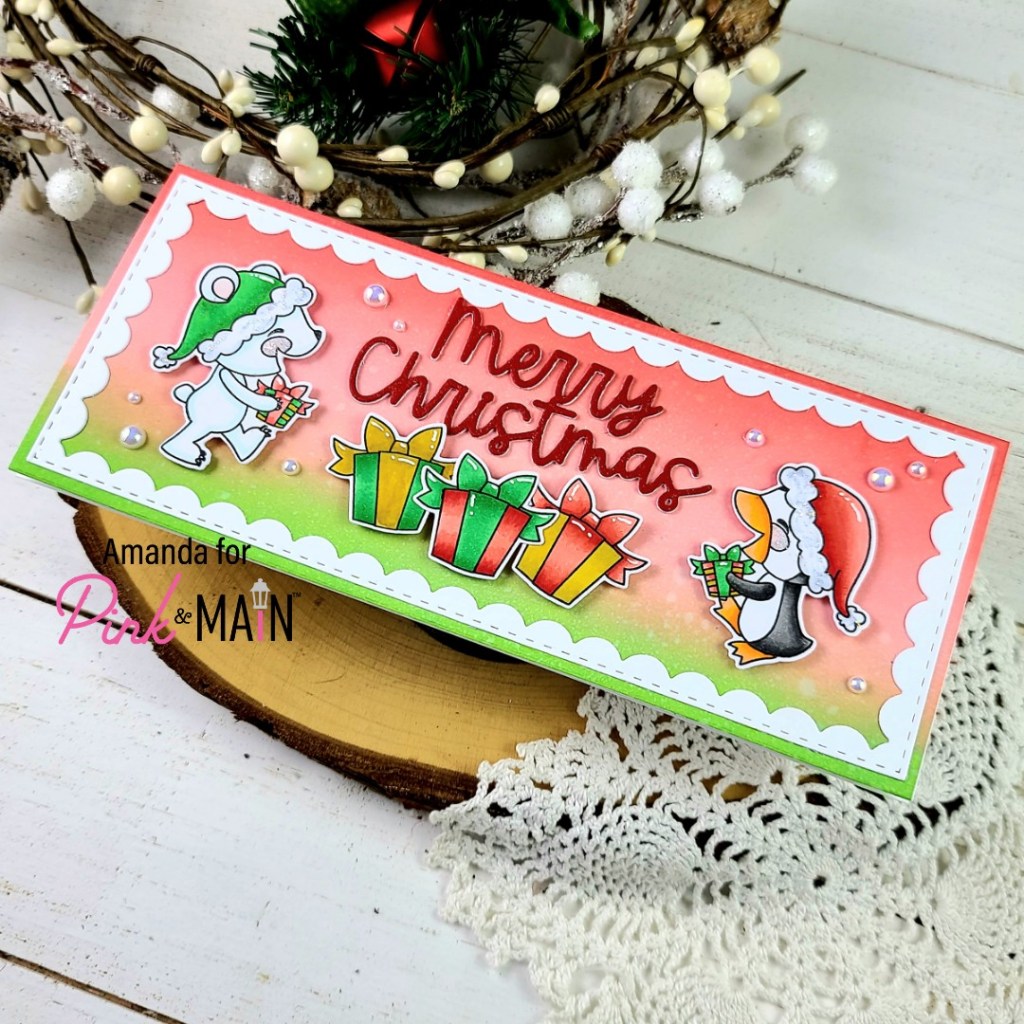
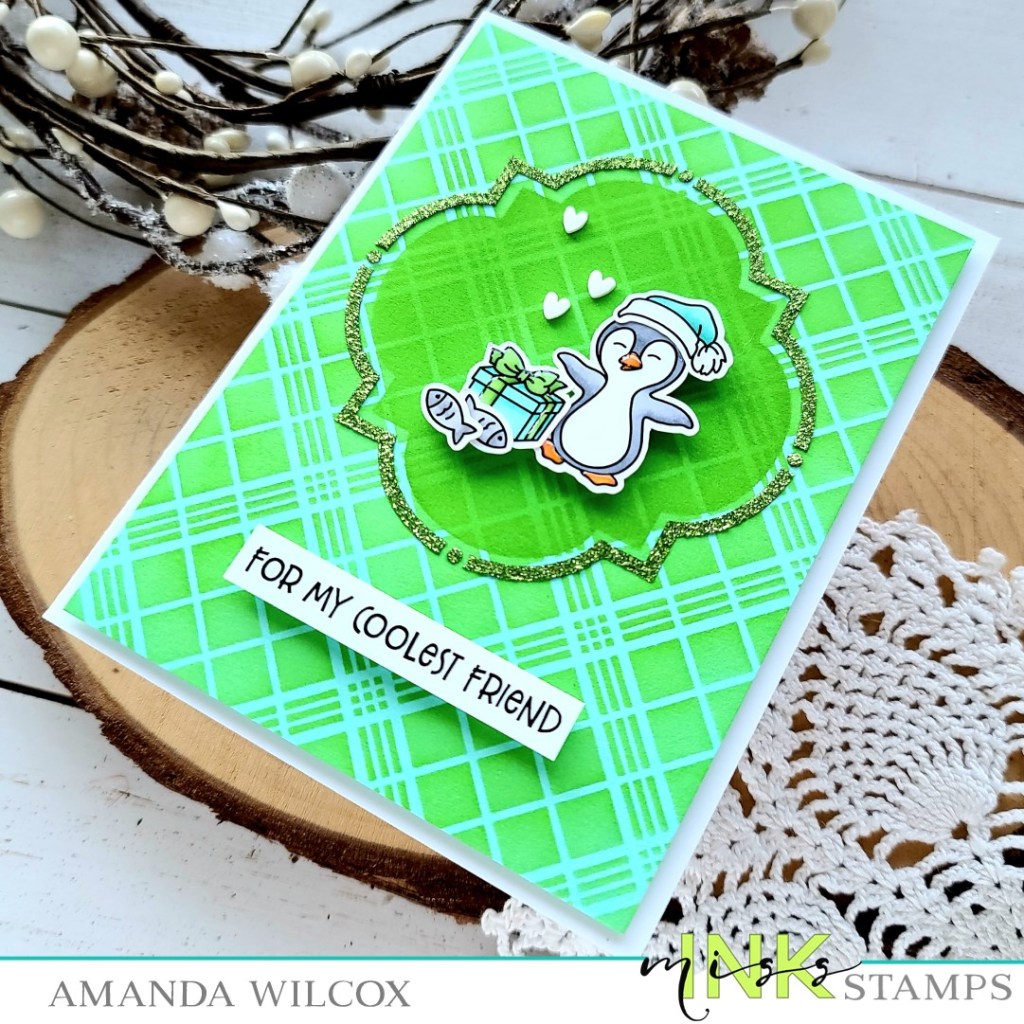
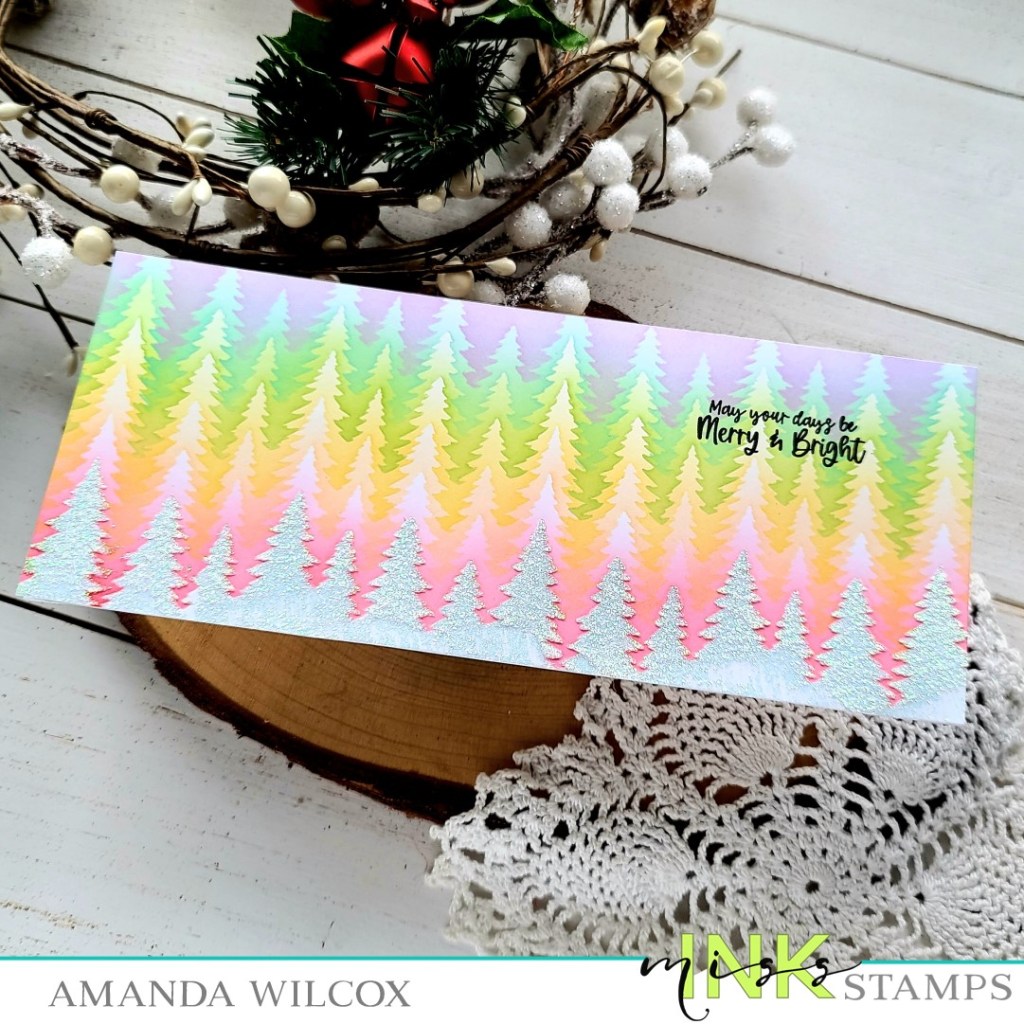
For my background I blended distress oxide ink on a white cardstock panel – top to bottom: festive berries, spun sugar, mowed lawn – and spritzed it with water. It was a bit oversized so I die cut it with the largest Layered Slimline die and adhered it to a white card base. Then I cut the reverse scalloped frame from the Blessings Slimline die set and adhered it with liquid glue as well. Then I popped my images up with foam squares.

For my sentiment, I die cut just the Merry Christmas words from the Christmas Greetings die set 3 times – 2 from white and 1 from red – and glued them together before adhering them to the card front.
For finishing touches I added white gel pen accents to the images and unicorn Stickles to the critter’s cheeks and hats. Then I finished my card with a scattering of white pearls from the Essential Pearls set and some Wink of Stella glitter brush pen on the sentiment.
These critters are just so cute and happy! I am technically done sending Christmas cards but I’m still having fun creating so I just might have to find someone to pop it in the mail to.
Products used:
Polly and Pete Gifts stamps and dies
Blessings Slimline dies
Layered Slimline dies
Christmas Greetings dies
Essential Pearls
EZ Squeeze liquid glue
Foam squares
Stickles – unicorn
I appreciate you sharing your time with me. Have a fabulous day!