Hi there. I’m on the Doodlebugs blog today with an idea for thank you cards using two-for-one backgrounds so you can make more quicker during the holiday season. I know I always need to stock up on thank you cards this time of year so having a similar layout or two-for-one (or more) backgrounds are super helpful!

Today I cut the Mama Elephant TYSM cover die from light green and kraft cardstocks. I took white card bases and glued all the pieces in place with liquid glue.
If you were really in a pinch, you could stop here and just add some splatter or gems for interest and be done, or even leave them as is too. We all know I’m extra so I have a hard time with that.

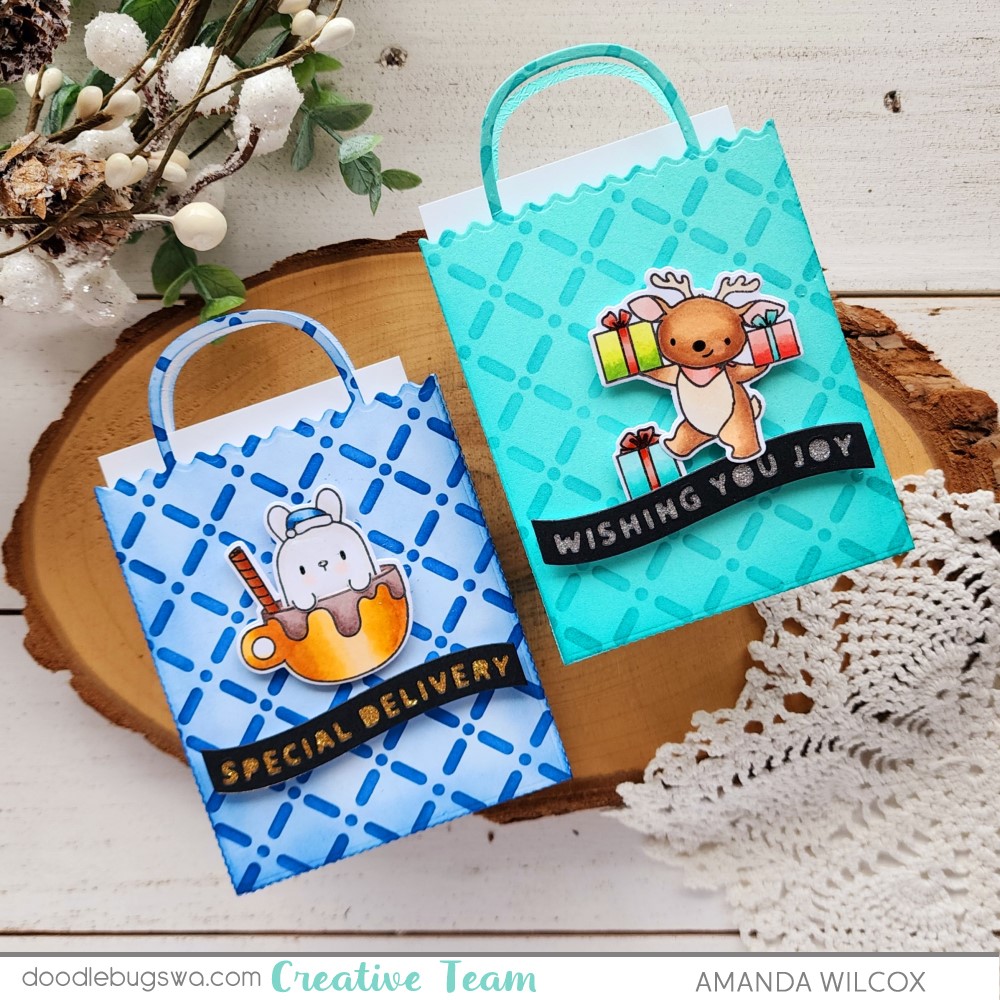
Instead of stopping, I pulled out the Pretty Pink Posh Winter Drinks stamp set and stamped a bunch of different cups and a couple of the steam image. I used copic markers to color everything and the coordinating dies to cut it all out.

I stamped and heat embossed a sentiment from the set and die cut it with a sentiment strip. I grouped the images together and popped everything up on foam squares and strips over the “sooo” portion of the sentiment. You can still see what it’s saying and I love how the sub-sentiment adds warmth to the card.
For finishing touches I just added white gel pen highlights to the cups.
I appreciate you sharing your time with me. Have a fabulous day!