Happy Mix it Up Monday everyone! Over on the Doodlebugs blog today we’re mixing old and new Valentine goodies together. Have you started Valentine crafting yet?

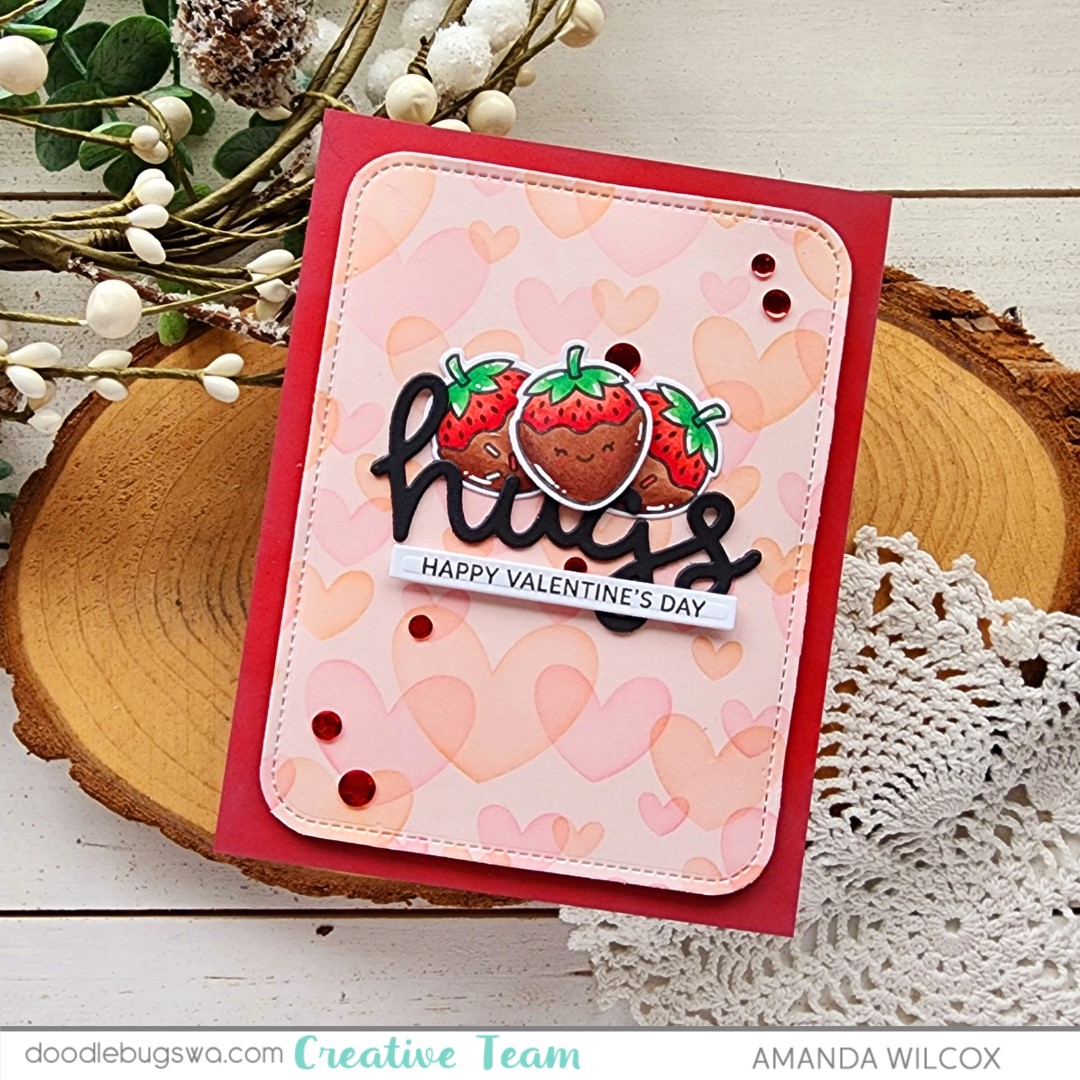
I started by stamping three of the Lawn Fawn Sweet Strawberry images, adding sprinkles to two and a sweet face to the third. I colored them with copic markers and used the coordinating die to cut them out.

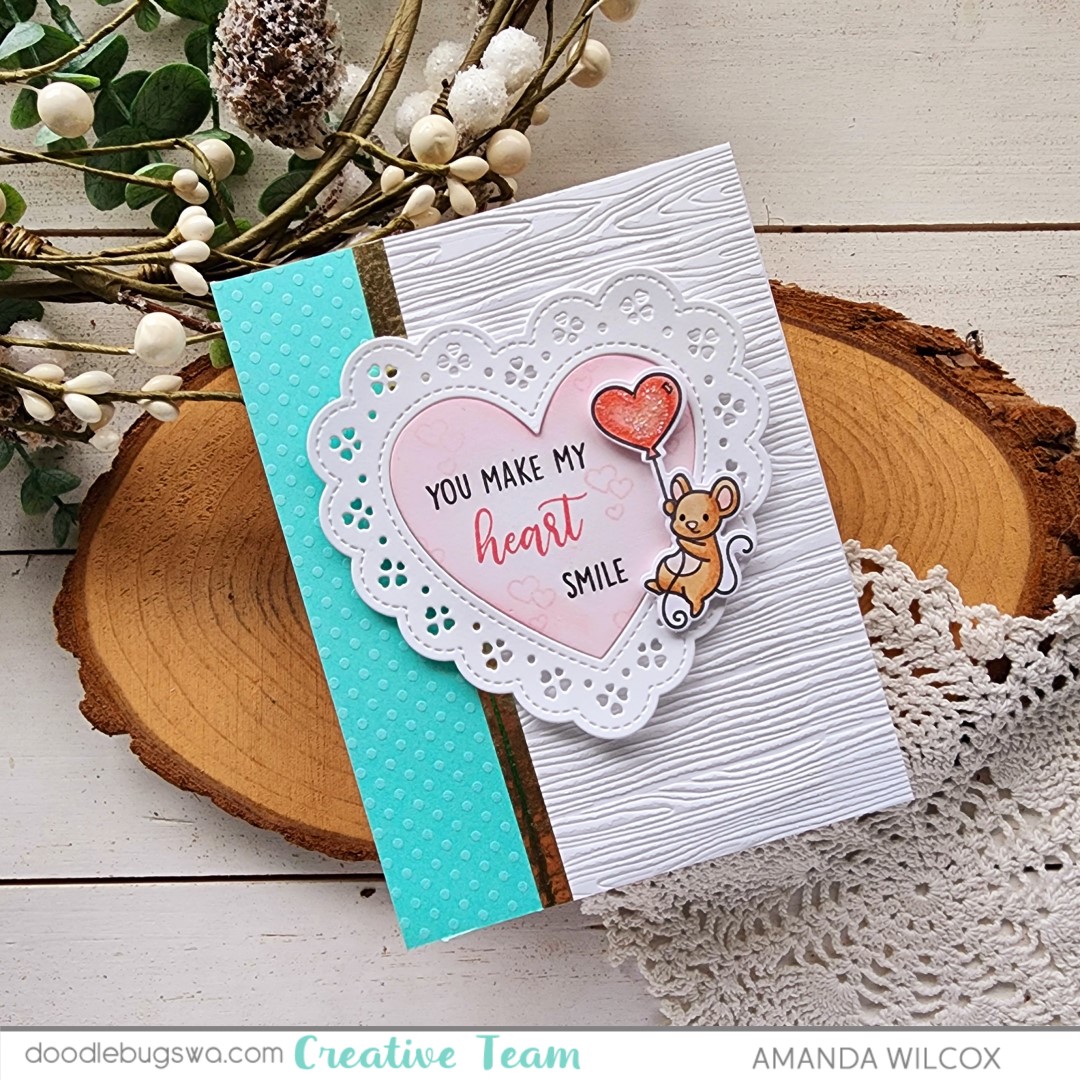
Next, I inked up a piece of pink cardstock with the Pretty Pink Posh Layered Hearts stencil with ballet slippers and apricot inks. Then I cut the panel out with the largest Lawn Fawn Stitched Rounded Rectangle Stackables in the small set. I glued a piece of red cardstock to a white card base and popped my stenciled panel up with foam tape on it.

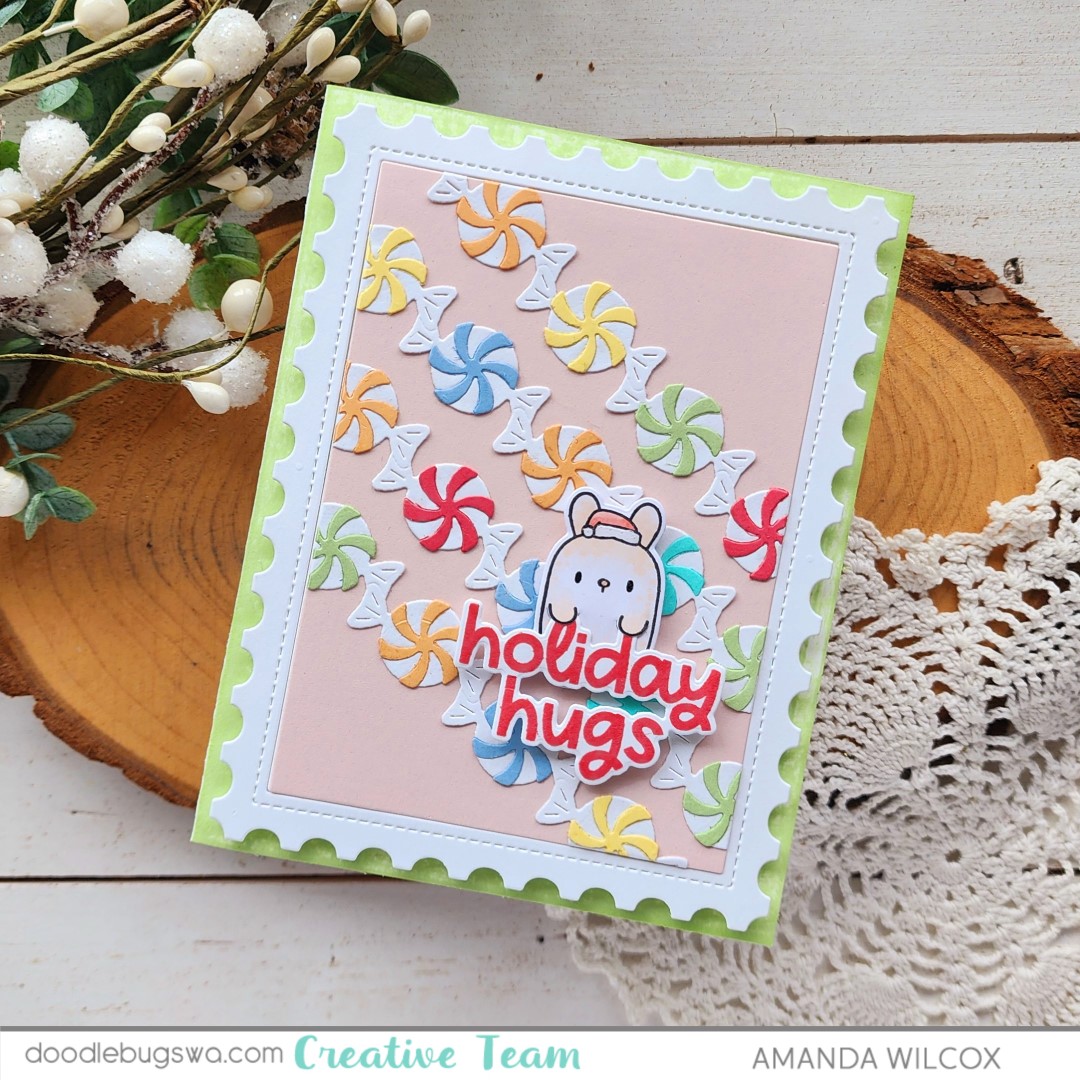
I cut the Lawn Fawn Scripty Hugs from black cardstock three times and glued them together. Next I used liquid glue to adhere the hugs and sprinkle strawberries to the stenciled panel. I popped the final strawberry up with a foam square. Next, I stamped and cut a Pretty Pink Posh sentiment strip and popped it up below the hugs sentiment.

For finishing touches I glued a scattering of Spellbinders flat discs across the design and added white gel pen highlights to all of the strawberry images.
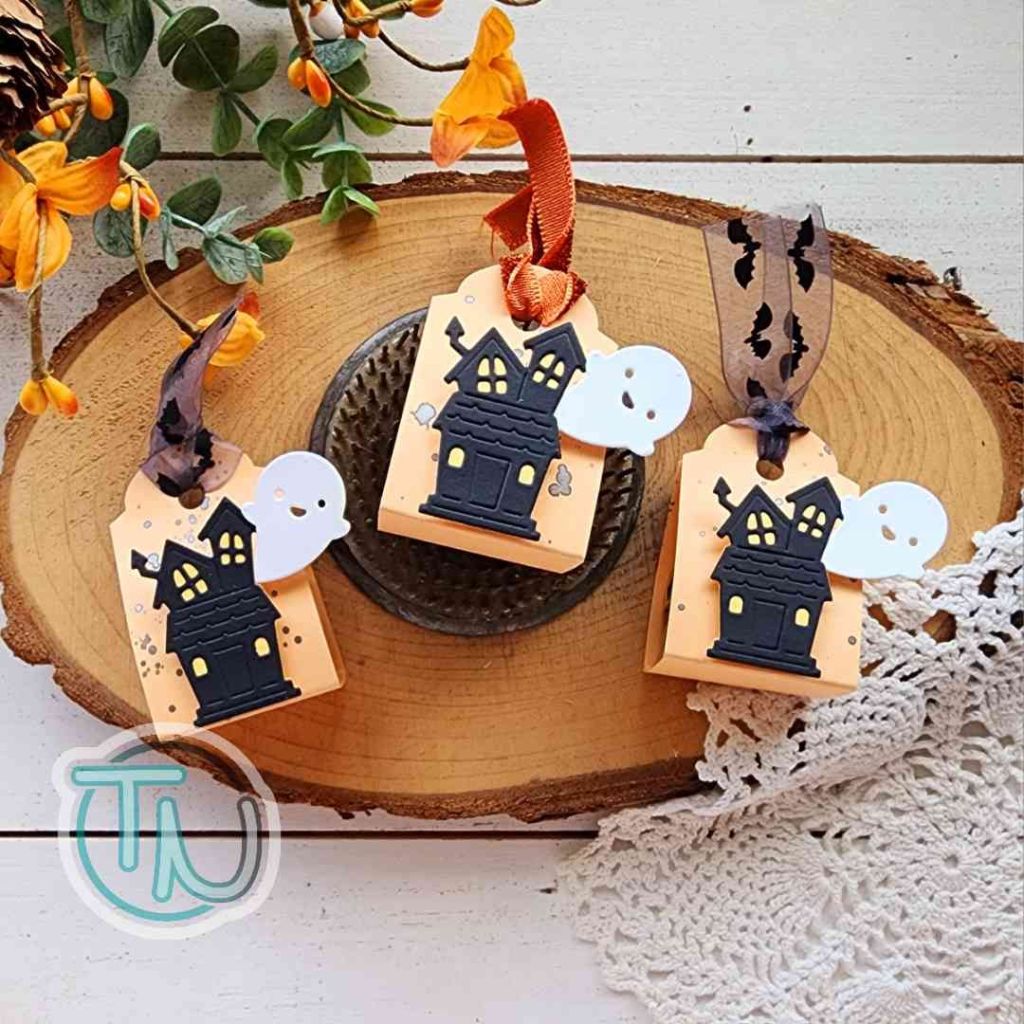
I love giving Valentines to anyone and everyone in my life. Everything from tags on gifts to treat boxes to cards. Almost more than Christmas I think. What about you?
Products used today:
Lawn Fawn Stitched Rounded Rectangle Stackables | Small dies
Lawn Fawn Sweet Strawberry stamps and dies
Lawn Fawn Scripty Hugs die
Lawn Fawn apricot and ballet slippers ink
Pretty Pink Posh Layered Hearts stencils
Pretty Pink Posh Sentiment Strips dies
Pretty Pink Posh Sentiment Strips | Valentine stamps
Foam tape and squares
Blending brushes
Sakura Gelly Roll white gel pen
Liquid glue
Spellbinder flat discs – red
I appreciate you sharing your time with me. Have a fabulous day!