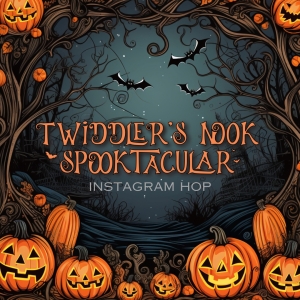
I can’t believe today is finally here. This has been months in the making and I’m excited to share with you the Twiddler’s Nook Spooktacular Instagram Hop! It’s a hop for us Halloween loving card makers where we come together on the 31st of each month from January through October to share fun inspiration and highlight the awesome products we offer at Twiddler’s Nook.
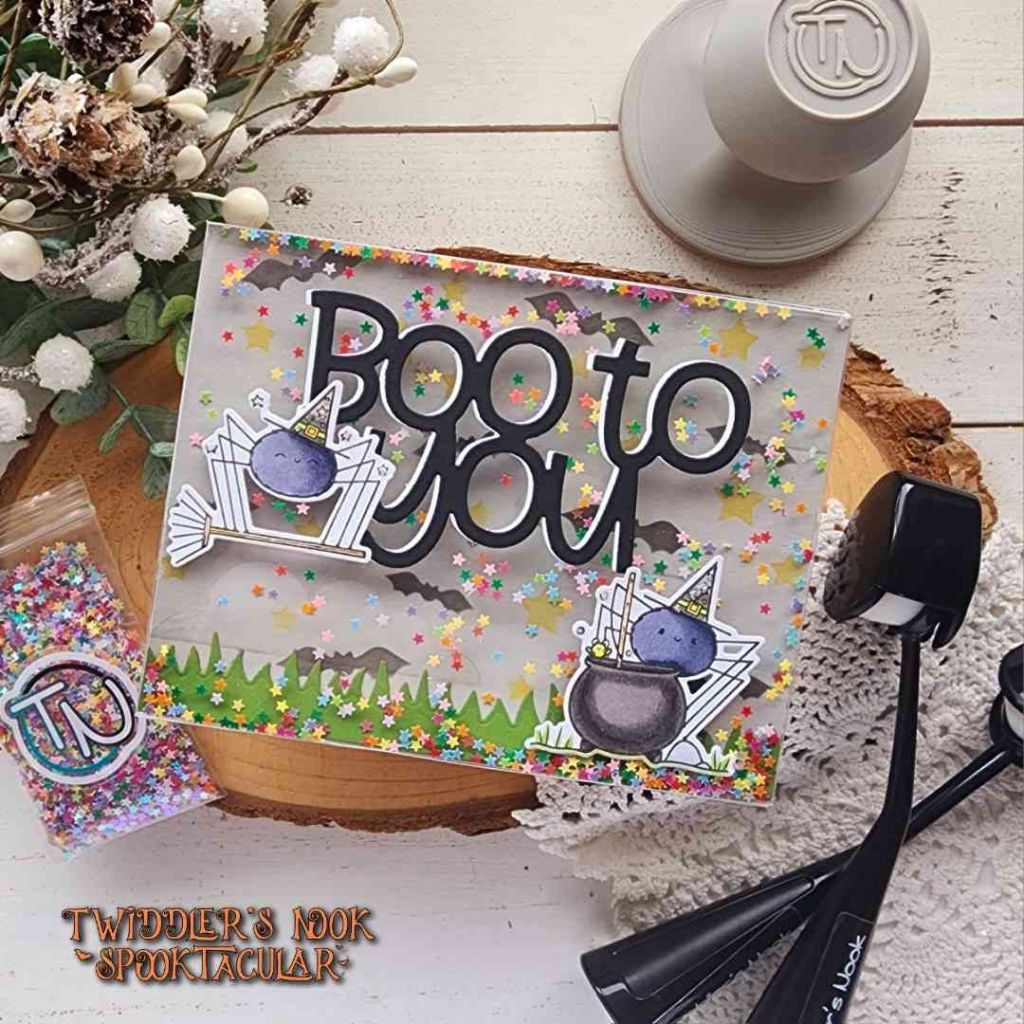
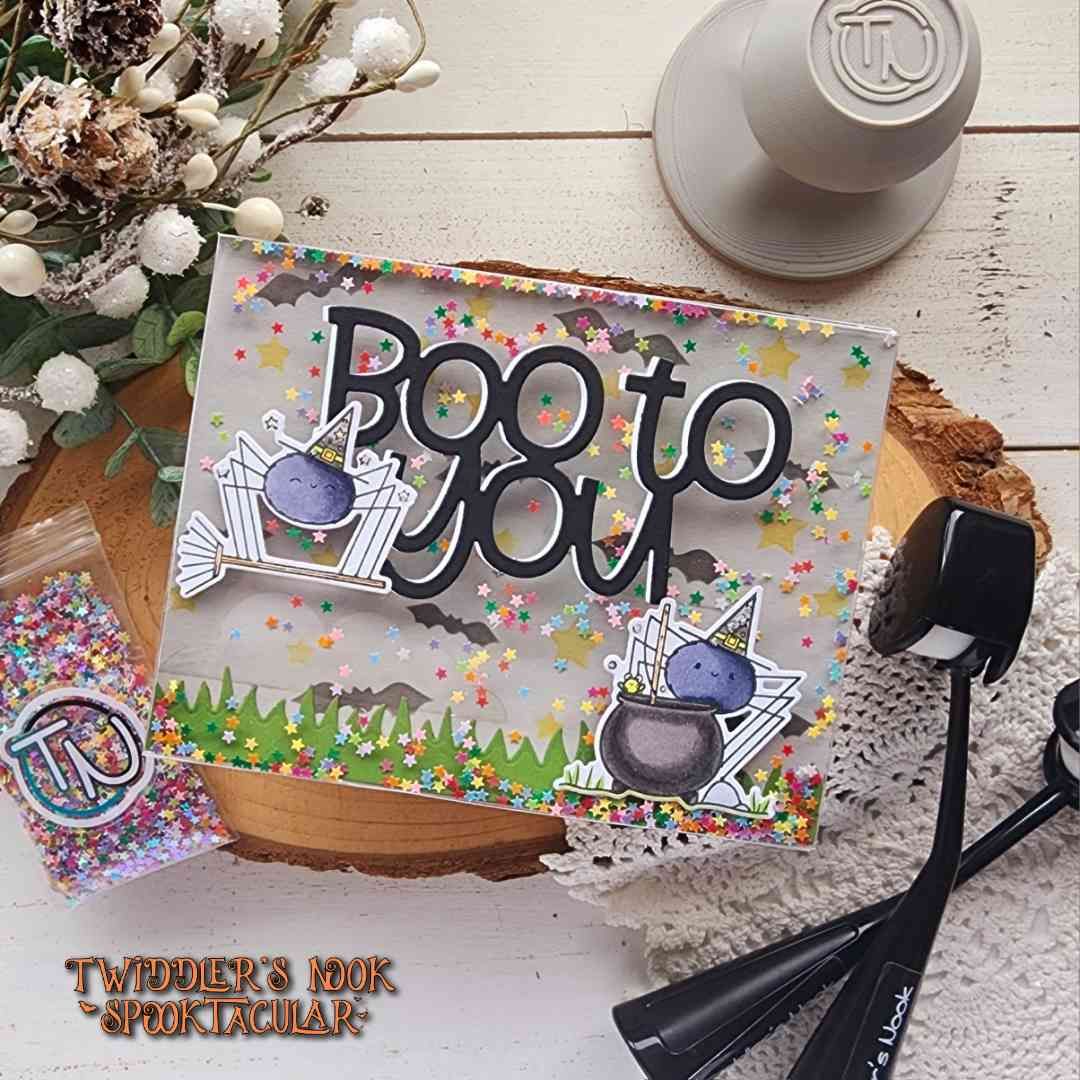
Today I’m sharing a fun shaker card using the Rainbow Wishes confetti as my shaker bits. I thought it was fun to add some color instead of my typical “Halloween” colors. I also used a Tonic Studios full panel shaker window which makes creating shaker cards a breeze and fun with no thick borders to hide your foam tape.

The images come from one of my favorite Pink & Main sets called Halloween Brew. Instead of going with a sentiment from the stamp set, I pulled out the Mama Elephant Big Boo and Trick dies.

For a little added spook, I used the Twiddler’s Nook blending brushes on a piece of gray cardstock with the Pretty Pink Posh Spooky Sky stencil set.
With all the layers put together, I finished things off with stardust Stickles on the stars and bubbles on my images.
Products used today:
Twiddler’s Nook blending brushes
Twiddler’s Nook Wishing on Rainbow Stars confetti
Twiddler’s Nook Pressure Pal
Tonic Studios shaker pouch
Pink & Main Halloween Brew stamps and dies
Mama Elephant Big Boo and Trick dies
Newton’s Nook Land Border dies
Pretty Pink Posh Spooky Sky stencils
Stickles – stardust
Pink & Main EZ Squeeze liquid glue
If you’d like to join us on the hop, head over to Instagram and comment for a chance to win a $20 gift certificate to the Twiddler’s Nook shop. You have until February 3 to comment. The winner will be announced on February 5.
I appreciate you sharing your time with me. Have a fabulous day!