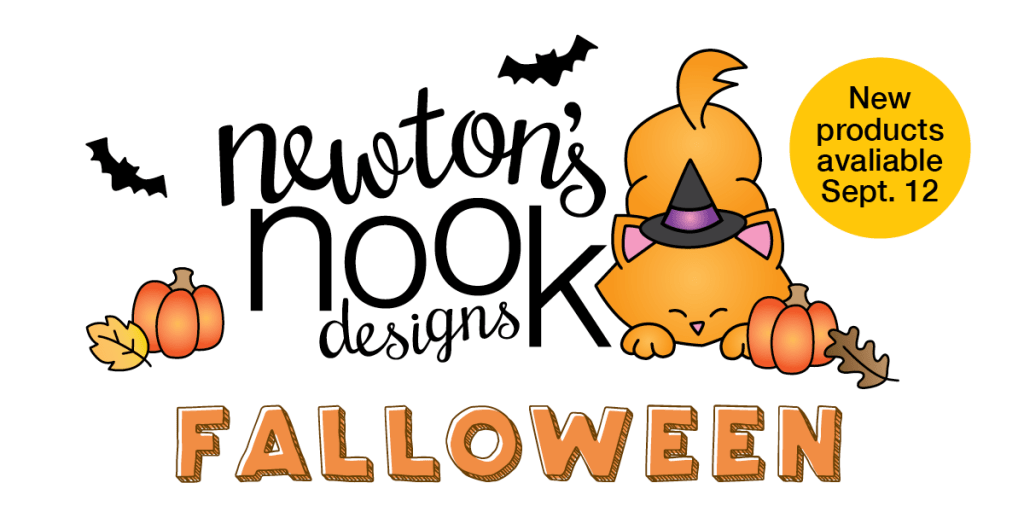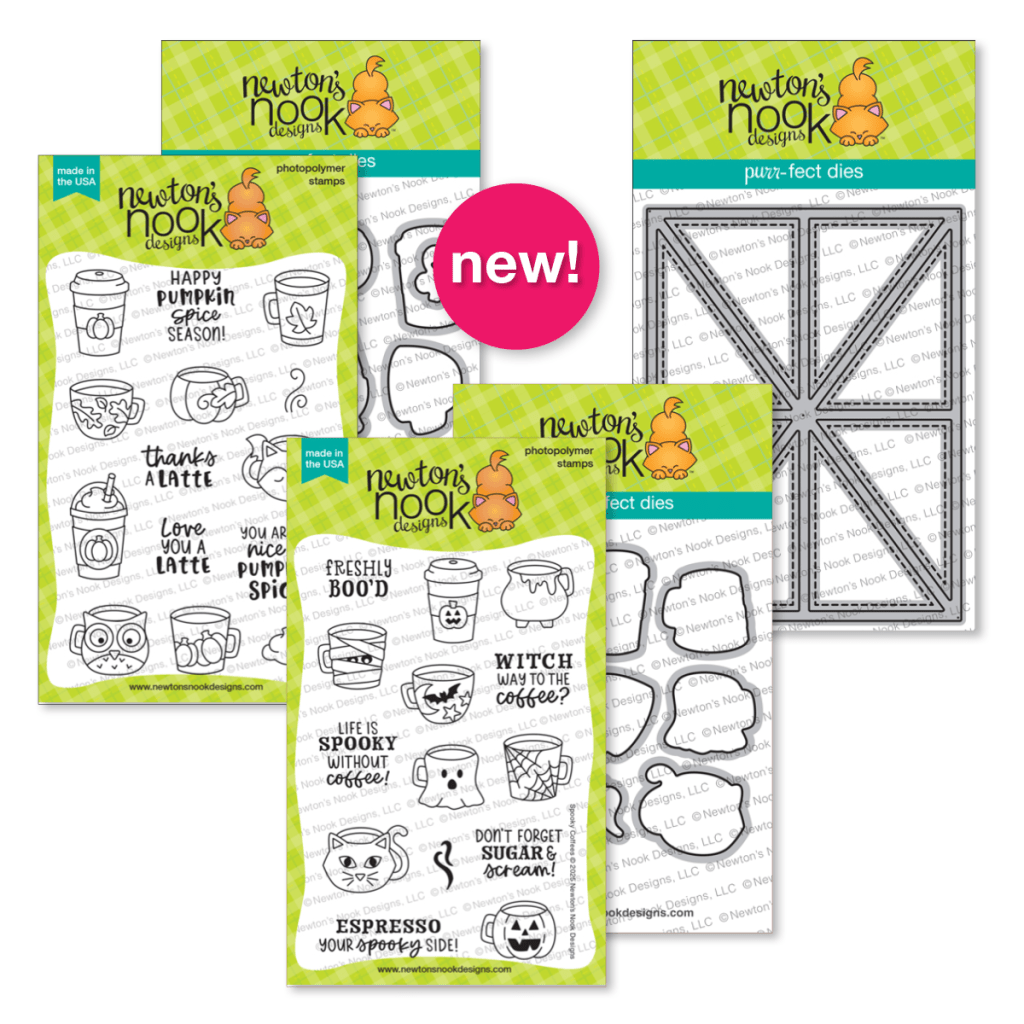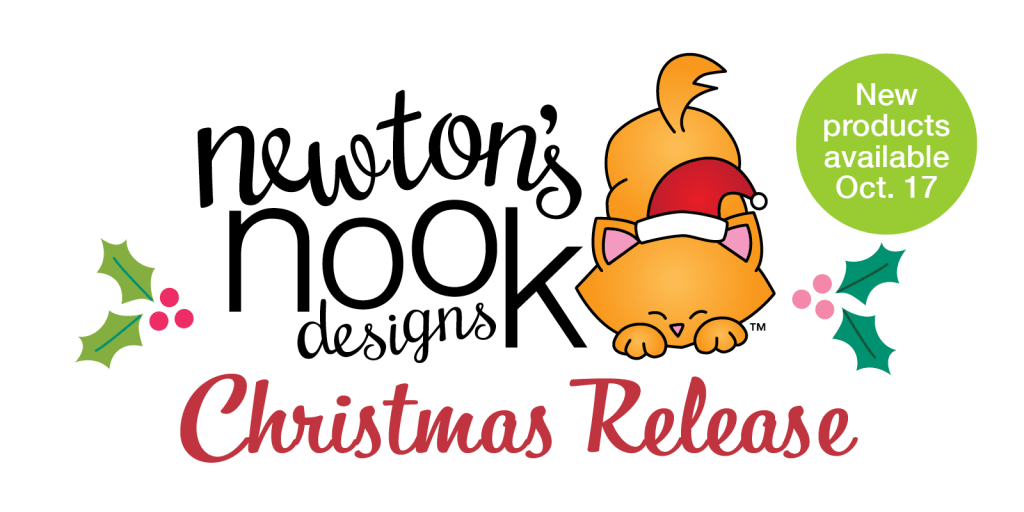
We’re already to the last day of release reveals for the Newton’s Nook October release! The week has flown by and we saved the best for last! Bring on the puppies and kitties!!!
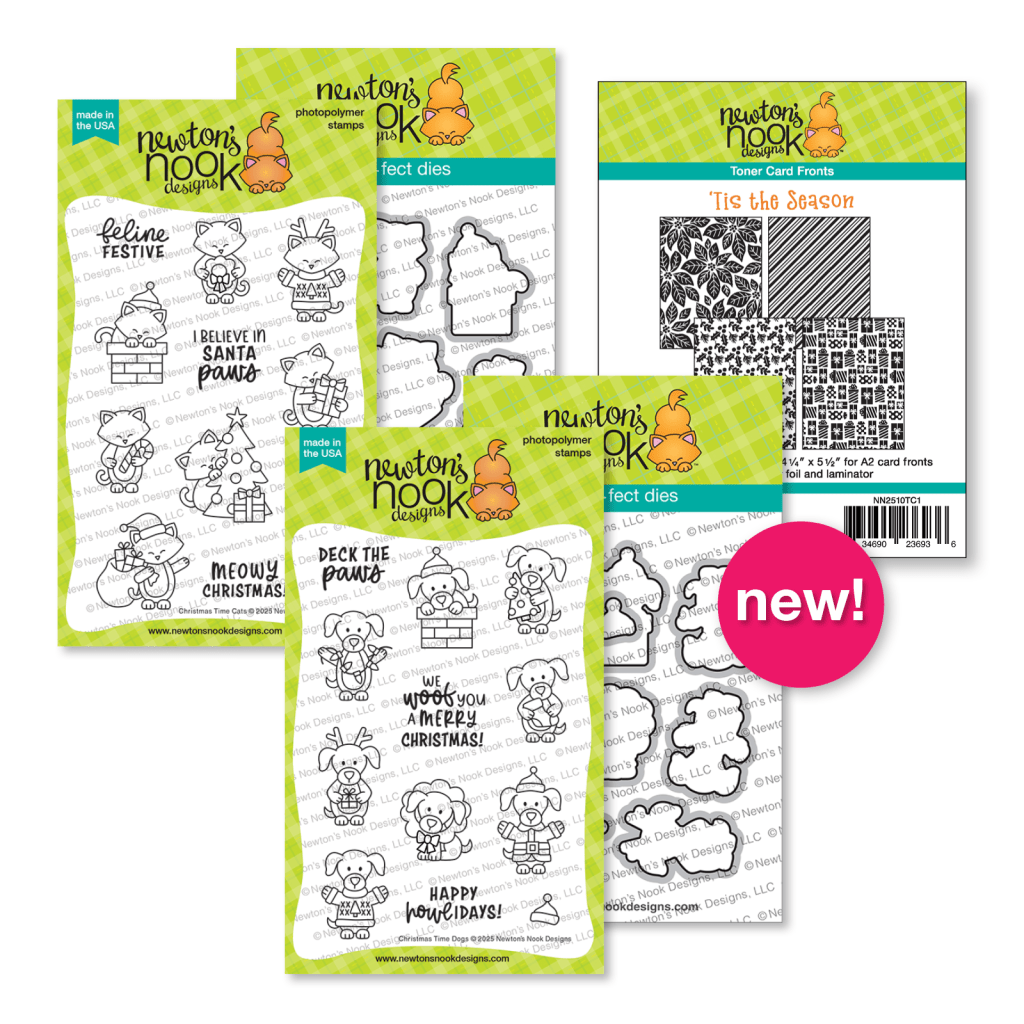
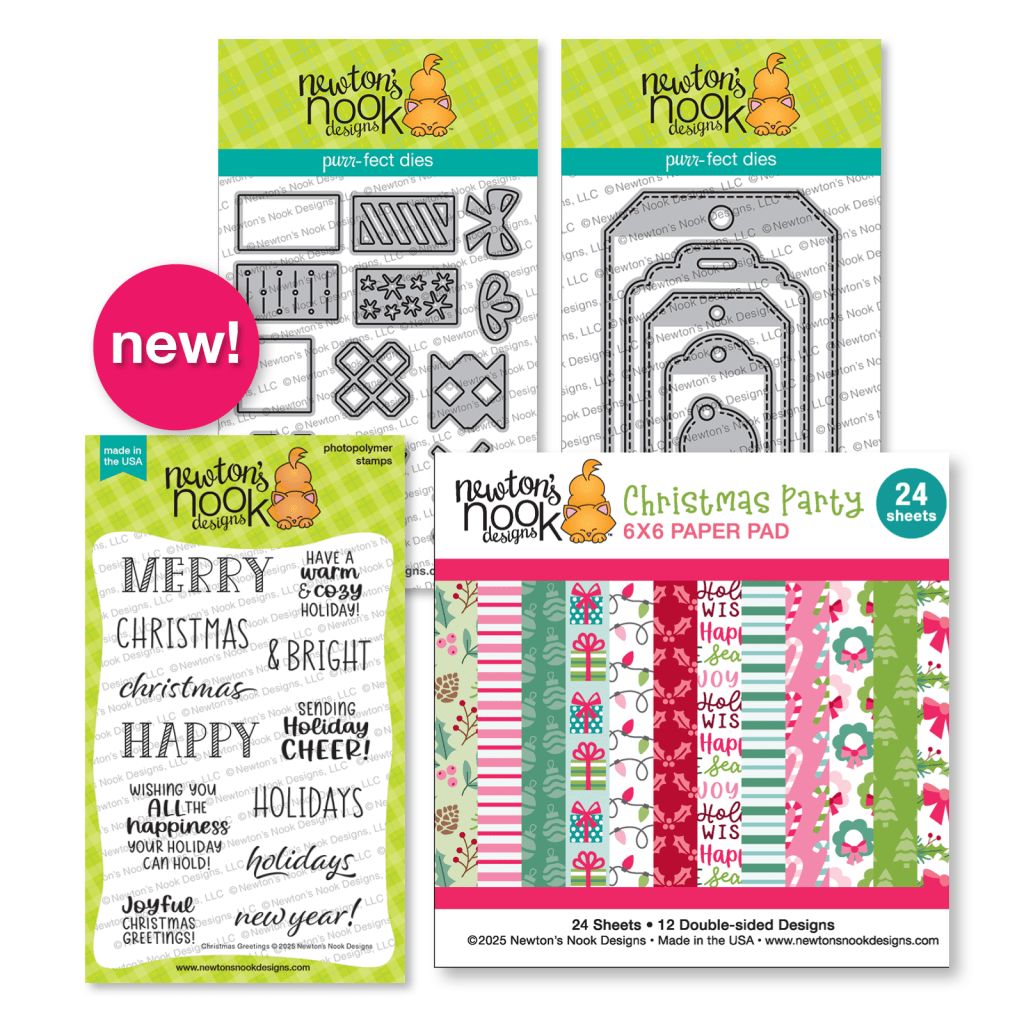
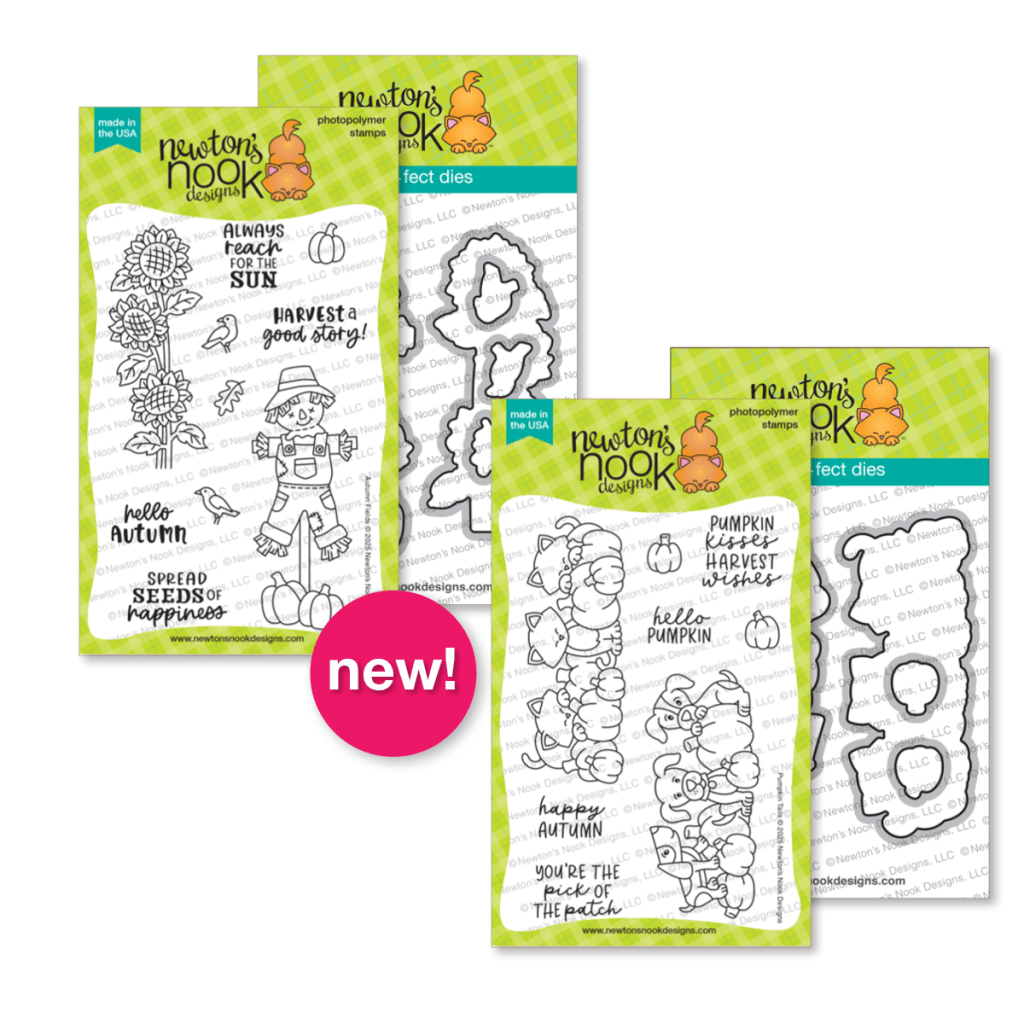
Today we reveal the Christmas Time Cats and Christmas Time Dogs stamp and die sets, along with new toner card fronts. Today I have cards to share using the new stamps but my toner card fronts didn’t get here in time so I’ll have fun inspiration using those coming very soon!
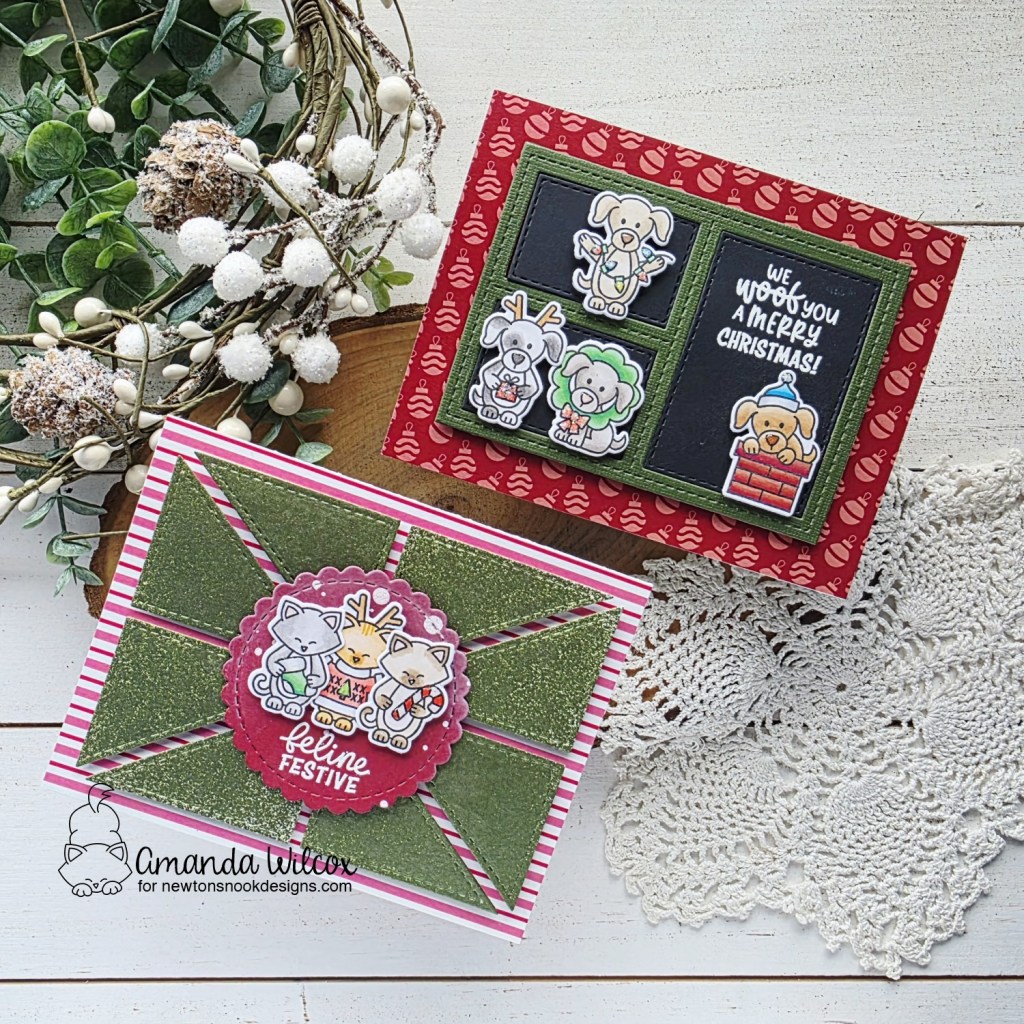
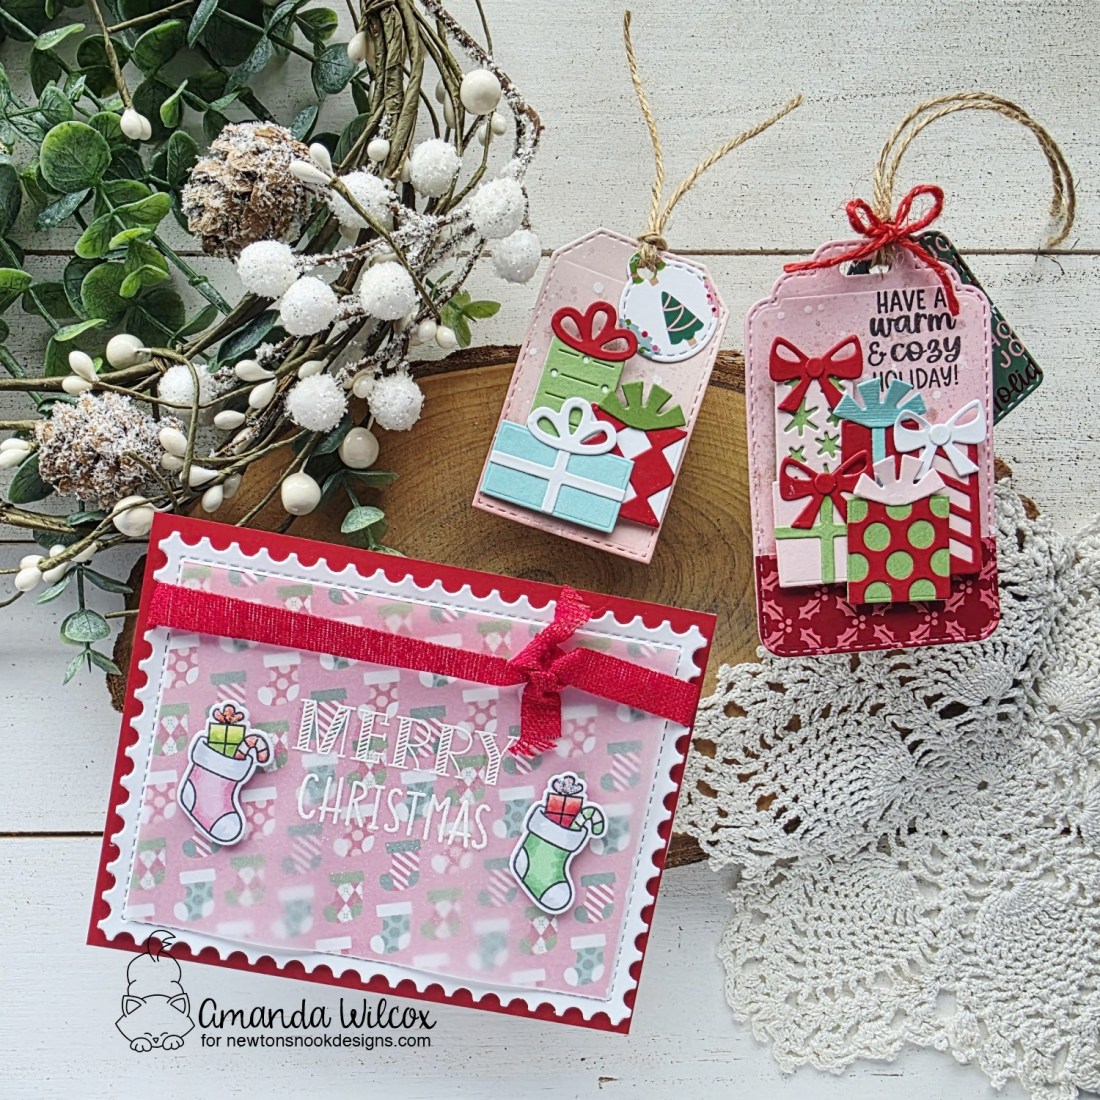
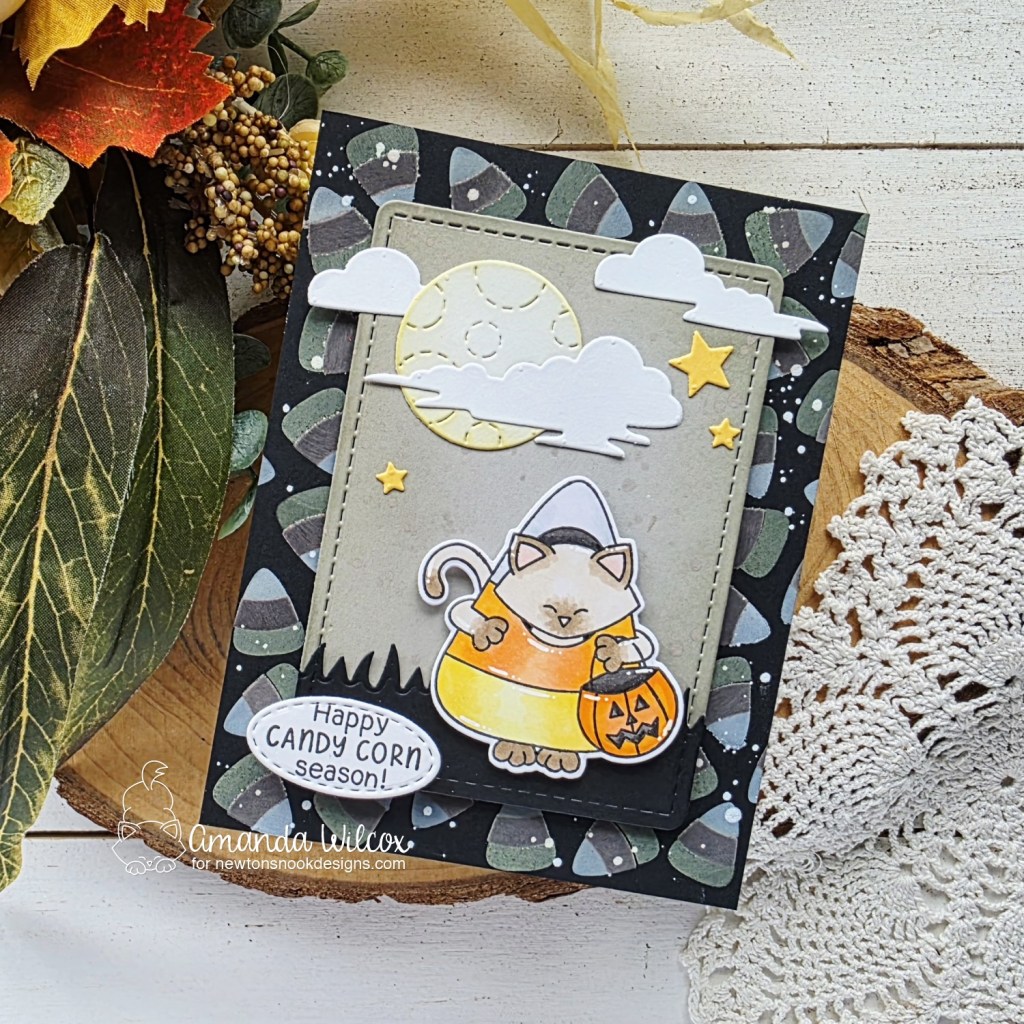
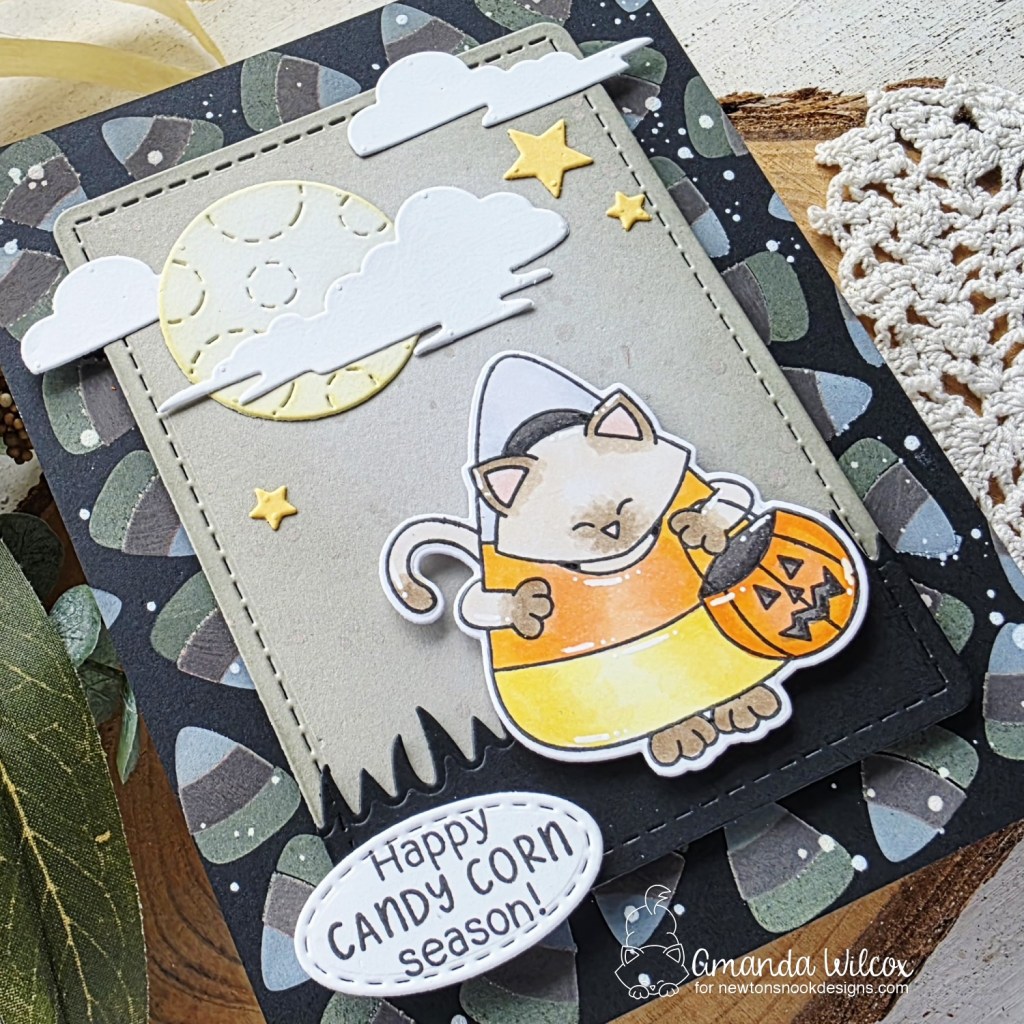
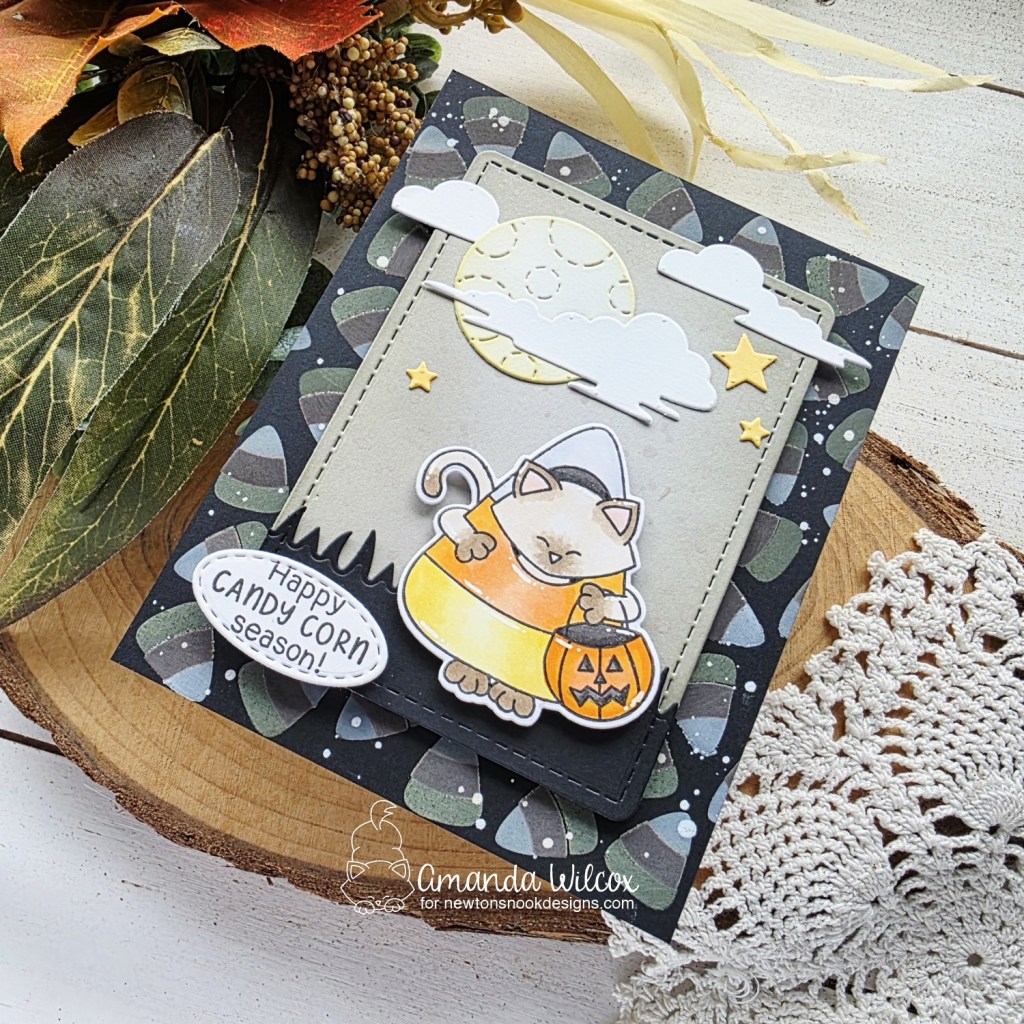
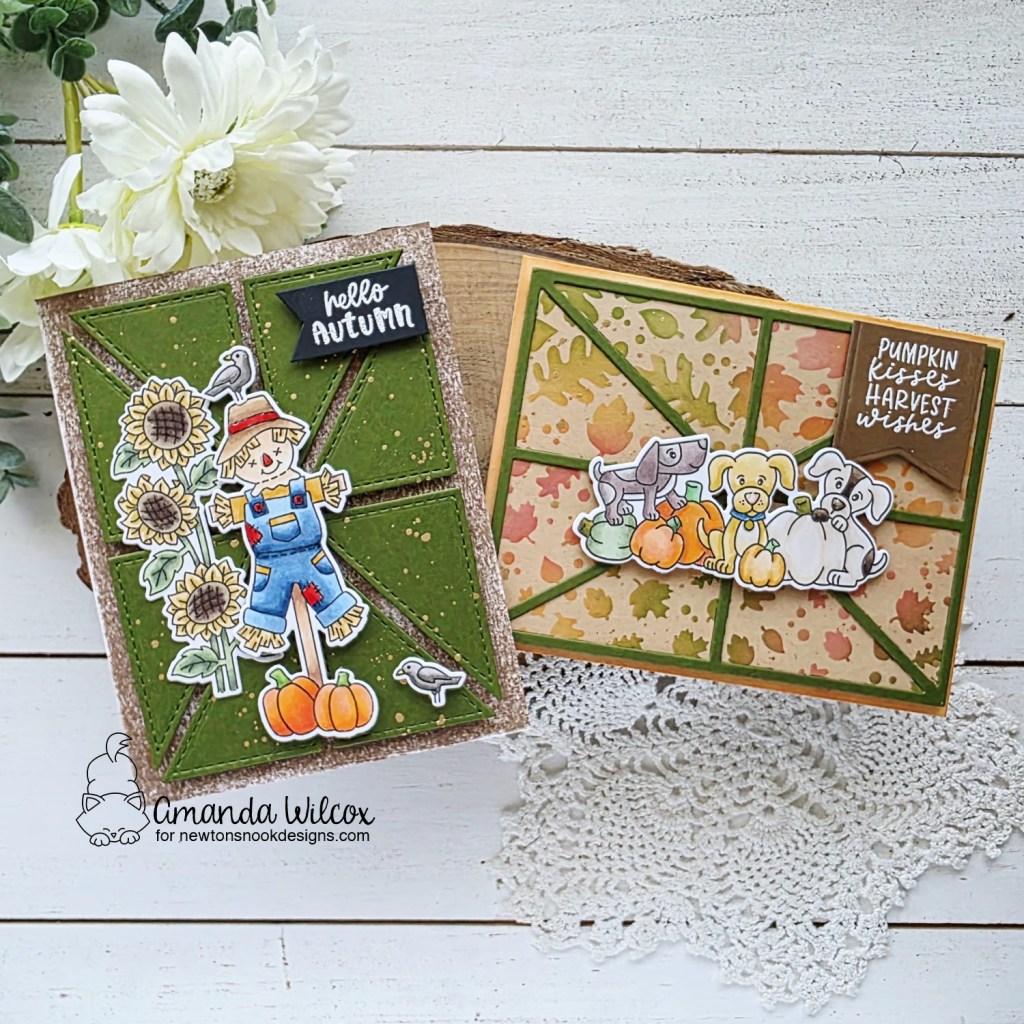
You know I love the new size of the Newton critters and these are no exception! I had a blast creating two cards to share with you today. Let’s visit the puppies first!
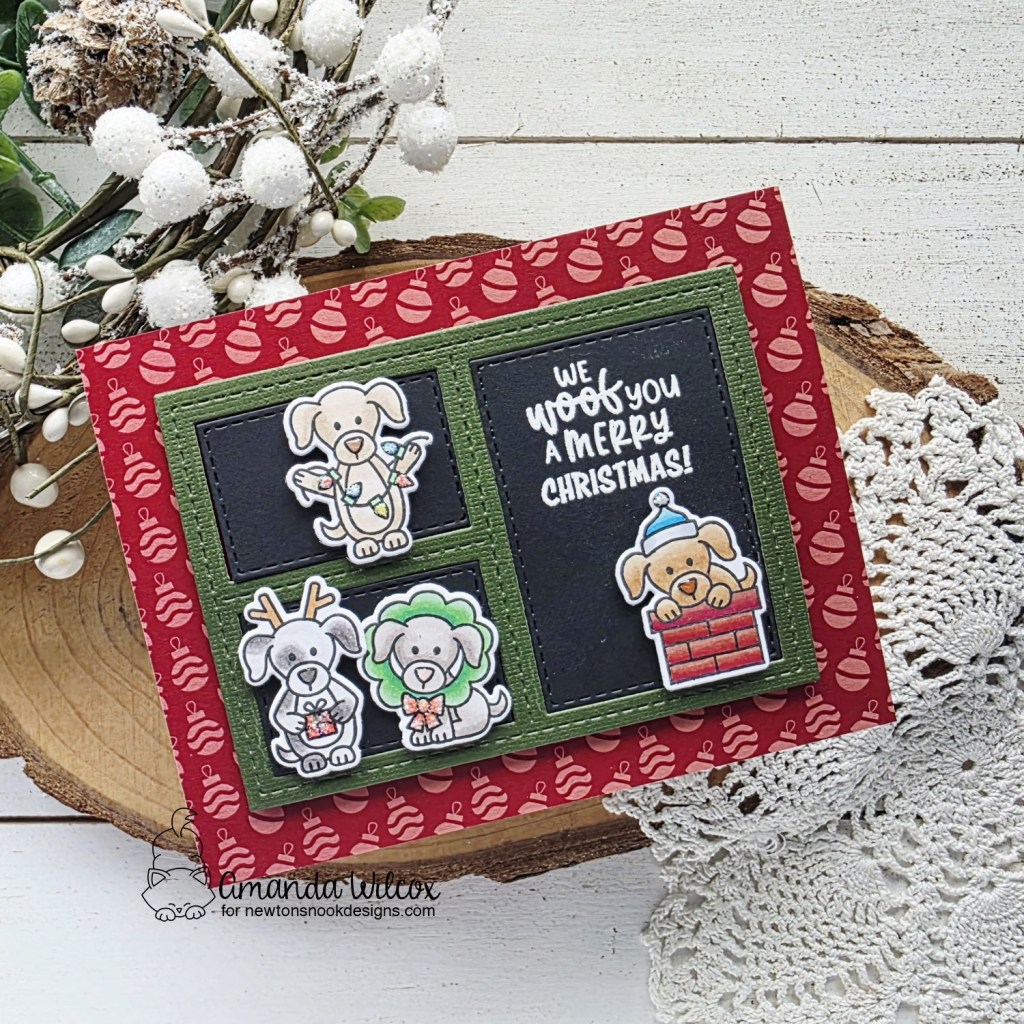
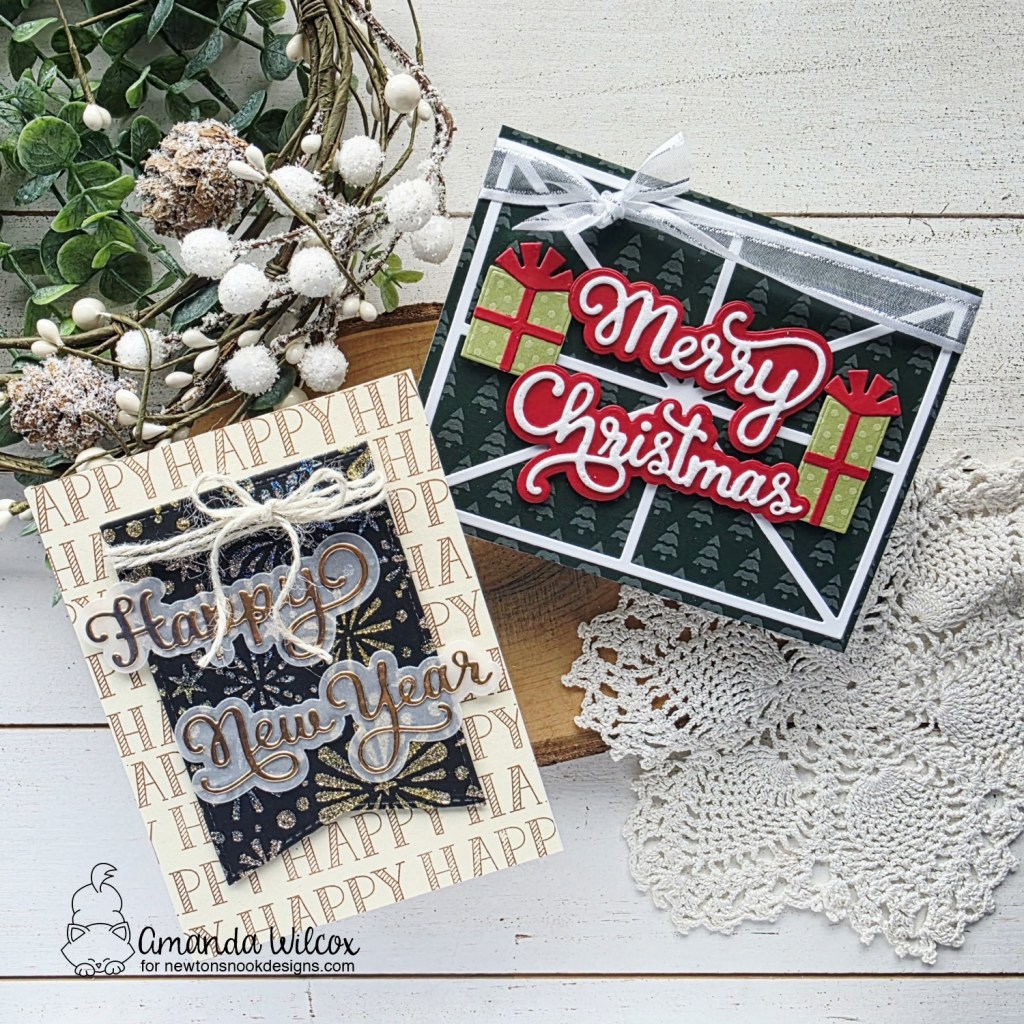
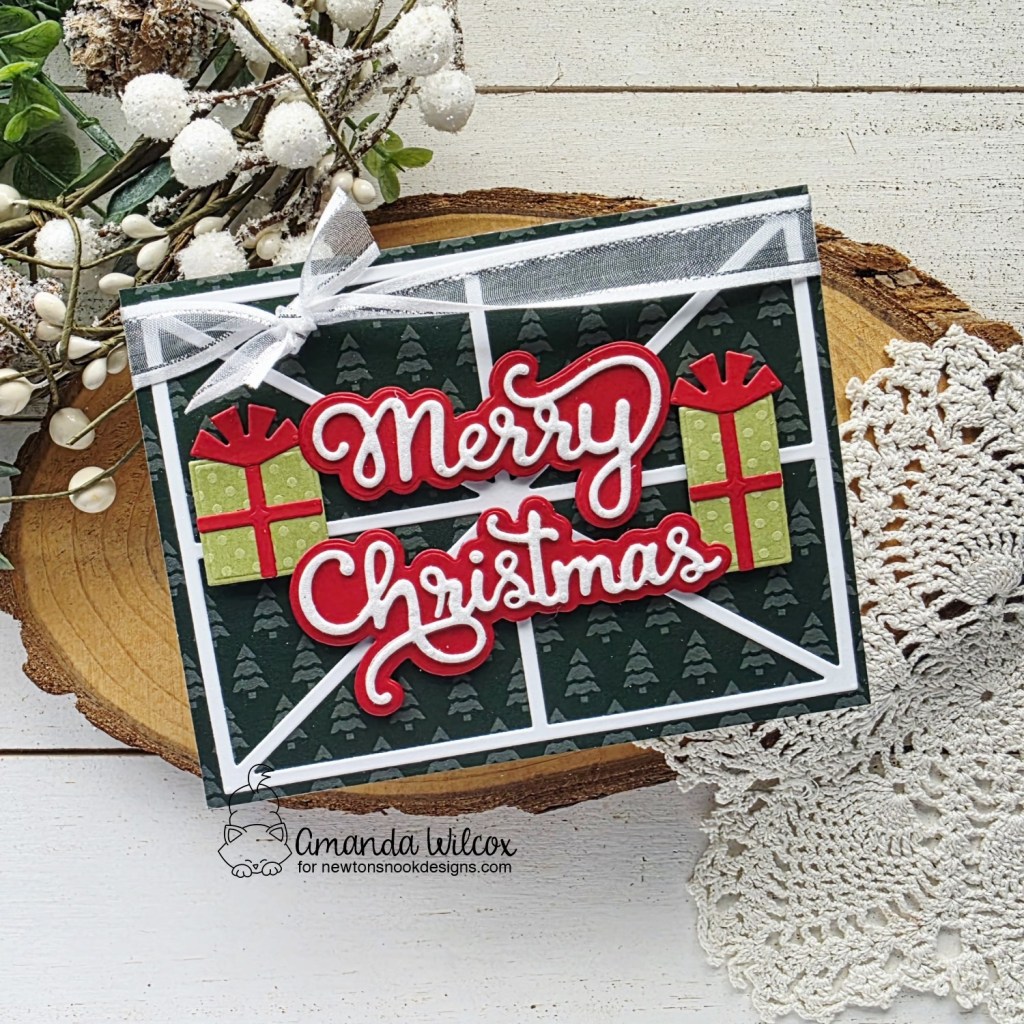
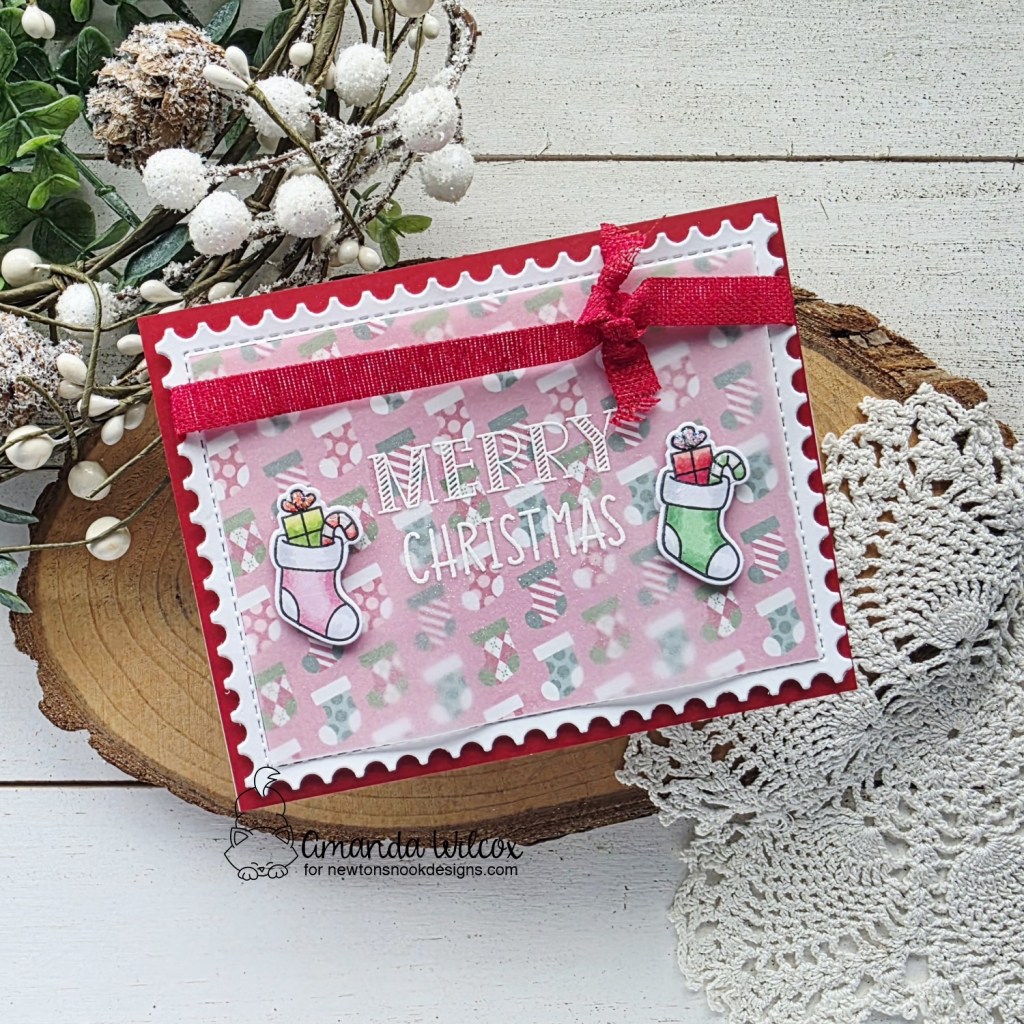
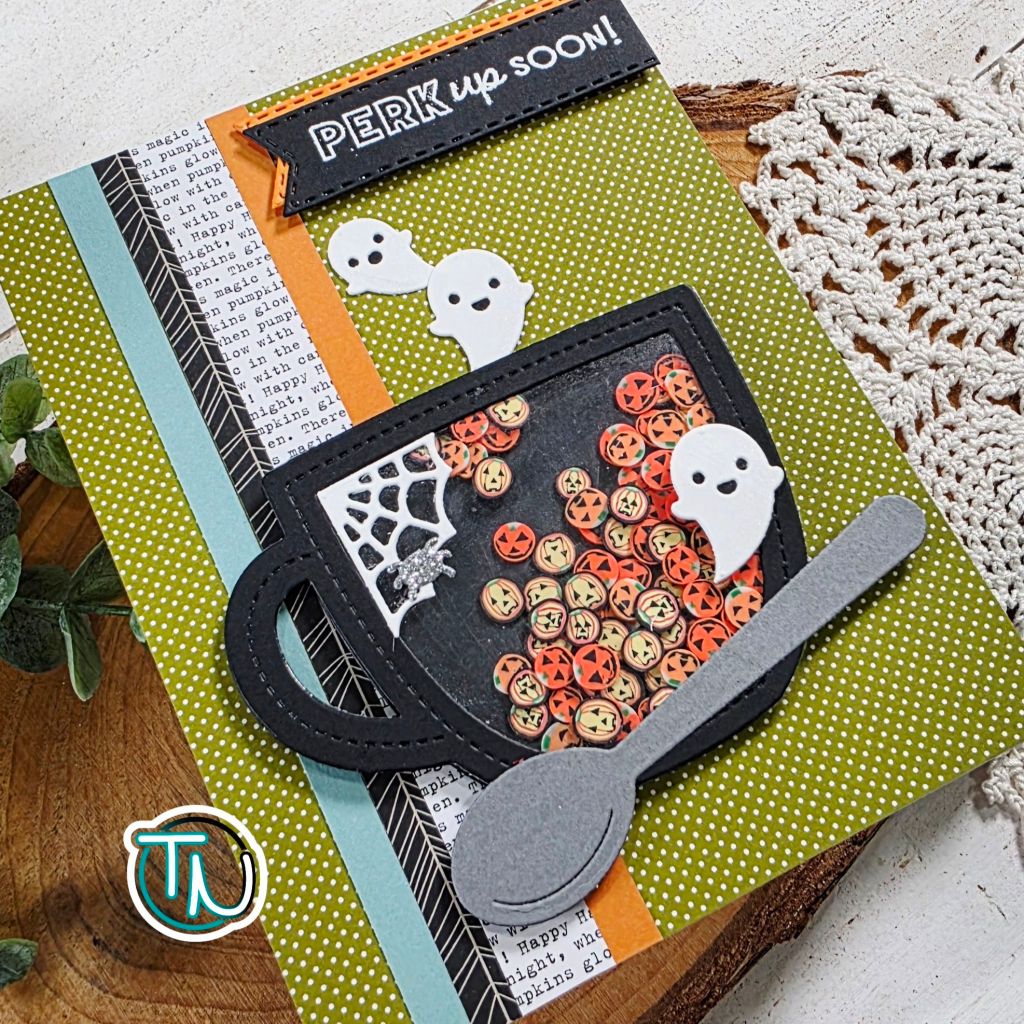
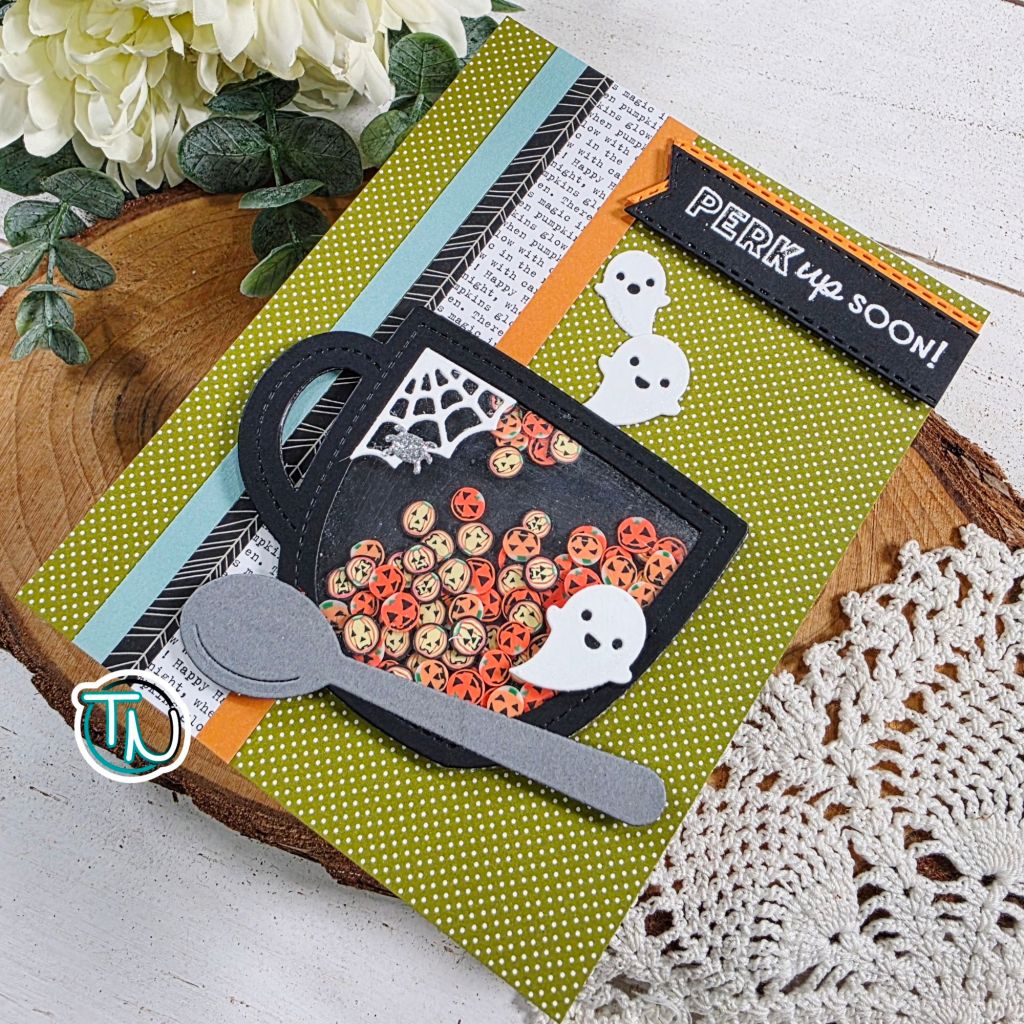
For this card I cut the Card Layout 2 die with green and black cardstocks. I heat embossed my sentiment on the larger rectangle and popped it all up on a piece of paper from the Christmas Party paper pad. Then I popped my puppies up with foam squares and finished the design off with some glossy accent noses and stardust Stickles on accents on each image.
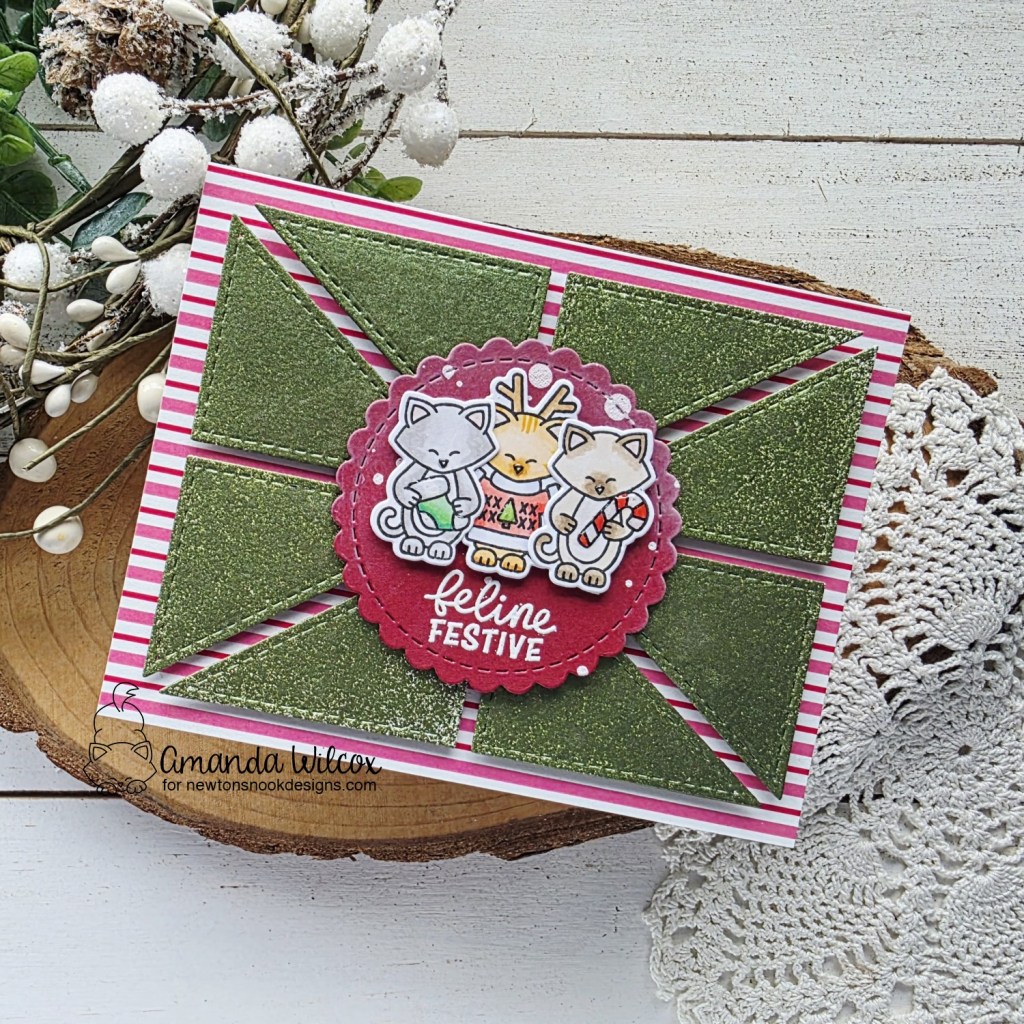
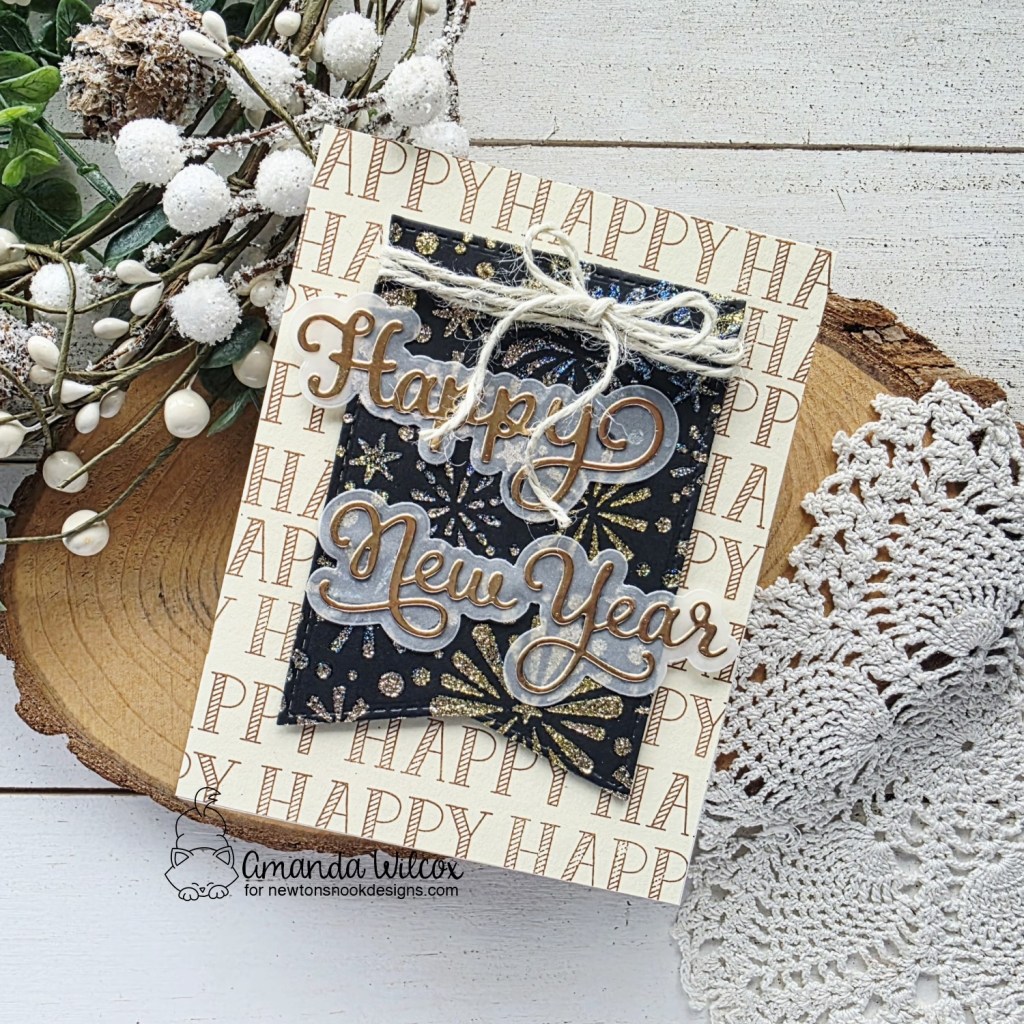
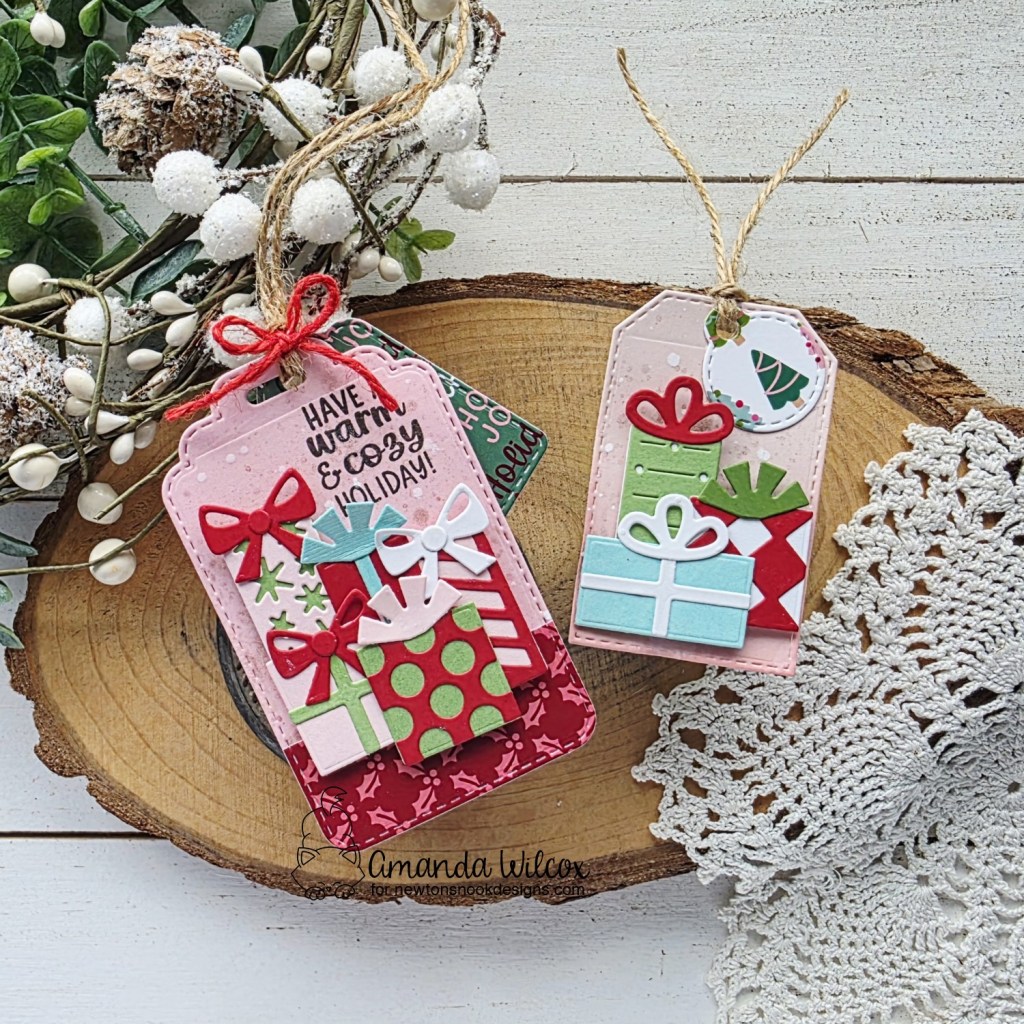
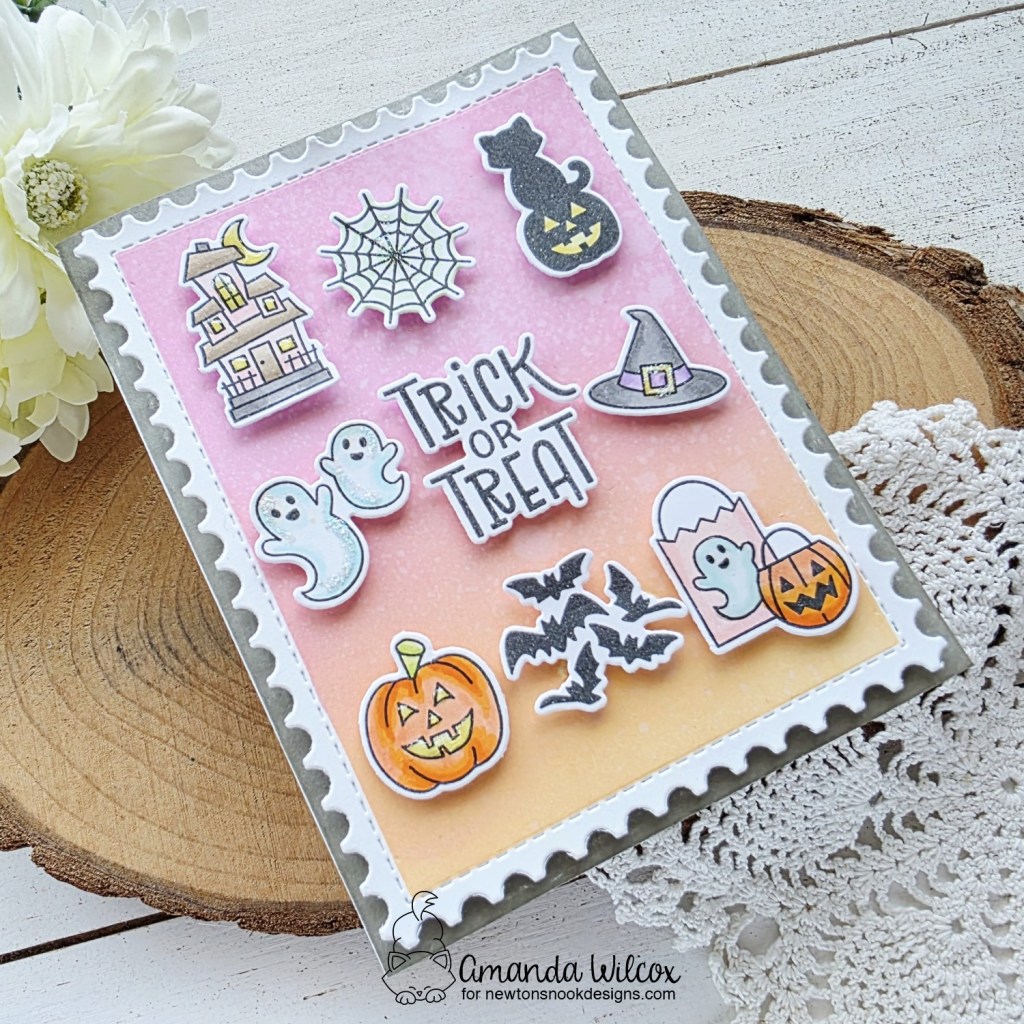
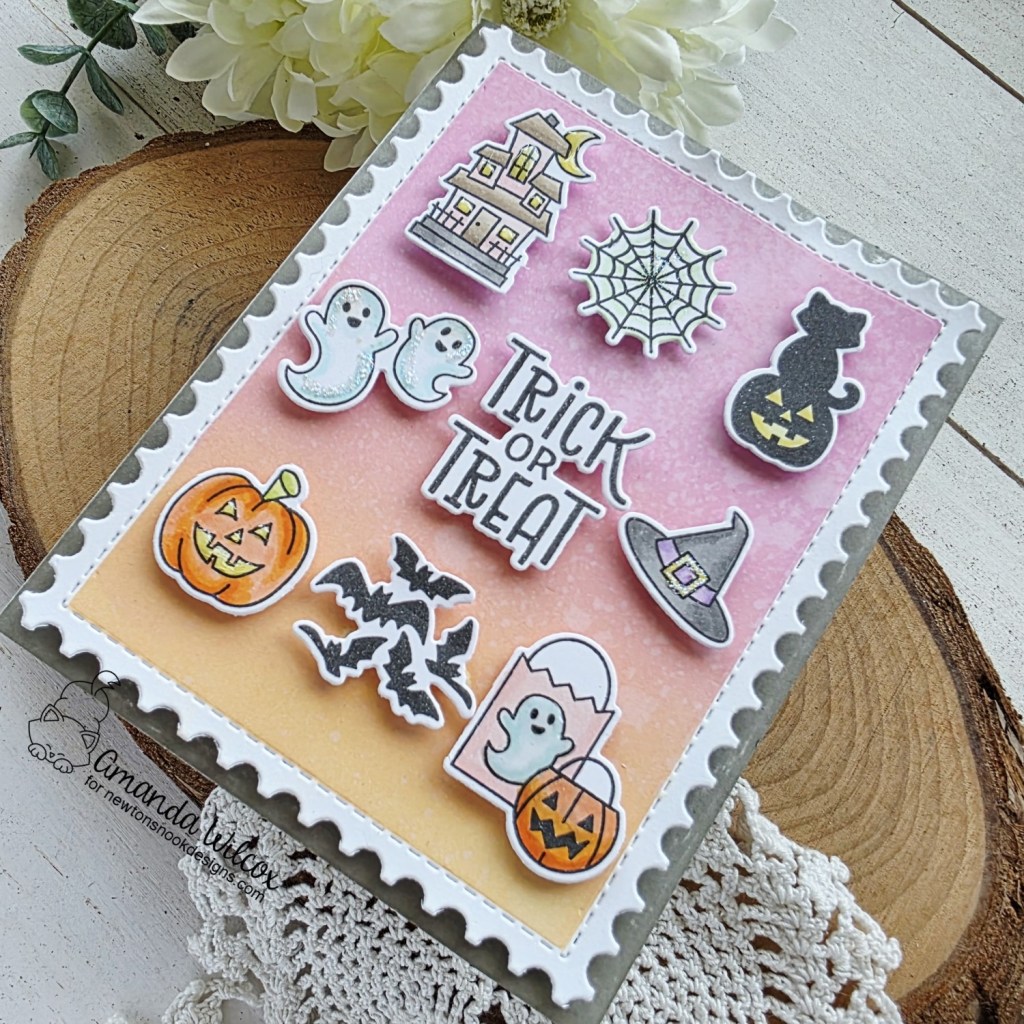
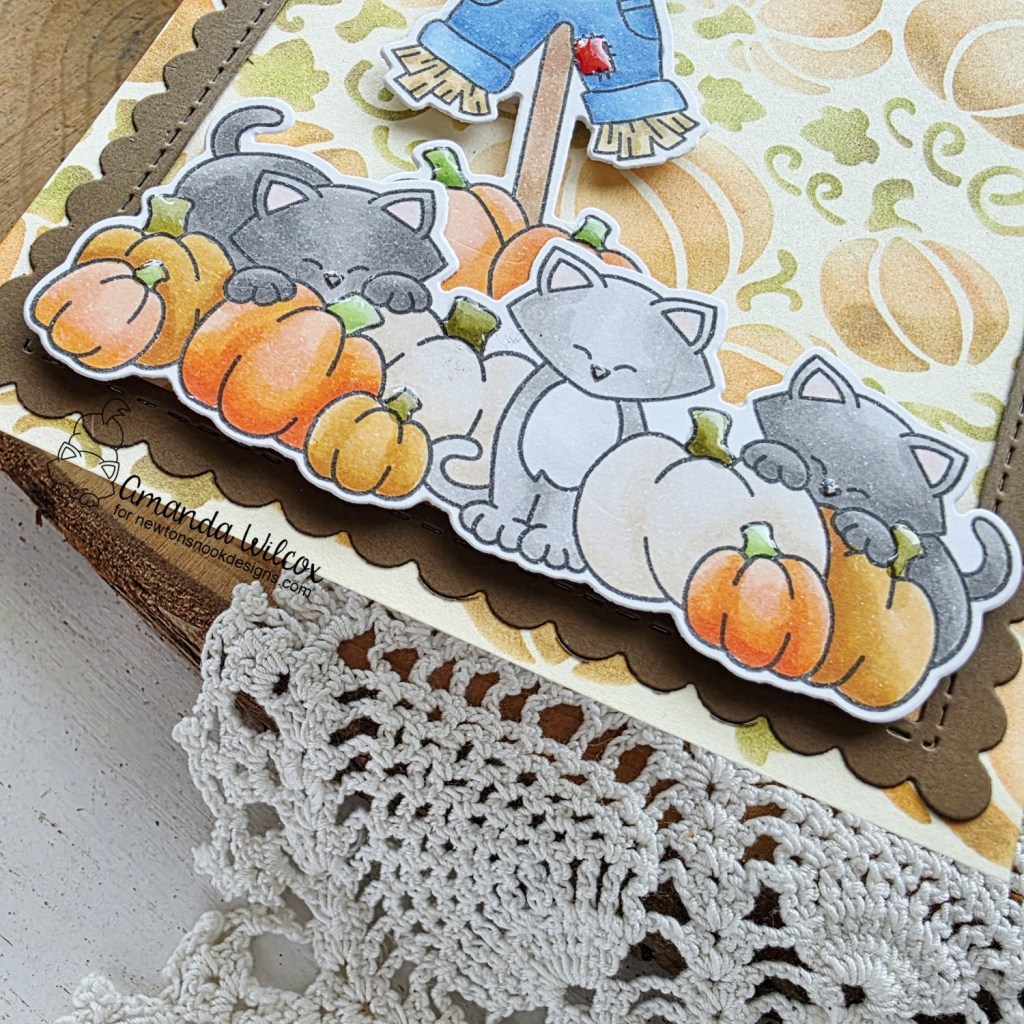
The kitty design actually uses the inserts from my card on day 2 which were white! I used Distress Micah Spray to add a fabulous green sparkle to them before popping them up with foam squares on another piece of paper from the Christmas Party paper pad.
I cut a circle using a Circle Frame die, heat embossed my sentiment on the bottom and ink blended a little white pigment ink on the top. Then I splattered a little white paint and popped my kitties up with foam squares. I added that to the card front with foam tape and finished the design off with some glossy accents on parts of each image.
Enter to Win a $25 Prize!
One lucky winner will receive a $25 prize to spend at Newton’s Nook Designs online shop! The winner will be chosen at random from the collective blog posts featuring our new products this week. For a chance to win, leave comments on the Design Team Member Blog Posts (see list below) from Tuesday October 14 through Thursday October 16th. You will not know which blog has been chosen so the more you comment on the better your chances are of winning! You have until Thursday, October 16th at 9 pm ET to comment — winners will be announced on the NND blog on Friday, October 17th.
Want another chance to win? We will be having an Instagram hop on Friday with a second prize! Please join me on Instagram on Friday, October 17th for details!
Check out all the awesome Design Team Blogs below to enter:
Newton’s Nook Designs
Donna Idlet
Samantha Mann
Diane Morales
Farhana Sarker
Amanda Wilcox