Today we’re continuing with the spooky Halloween theme but we have just one stamp and die set to share. It’s really fun and going to be versatile for both bookmarks, tags and little scenes.
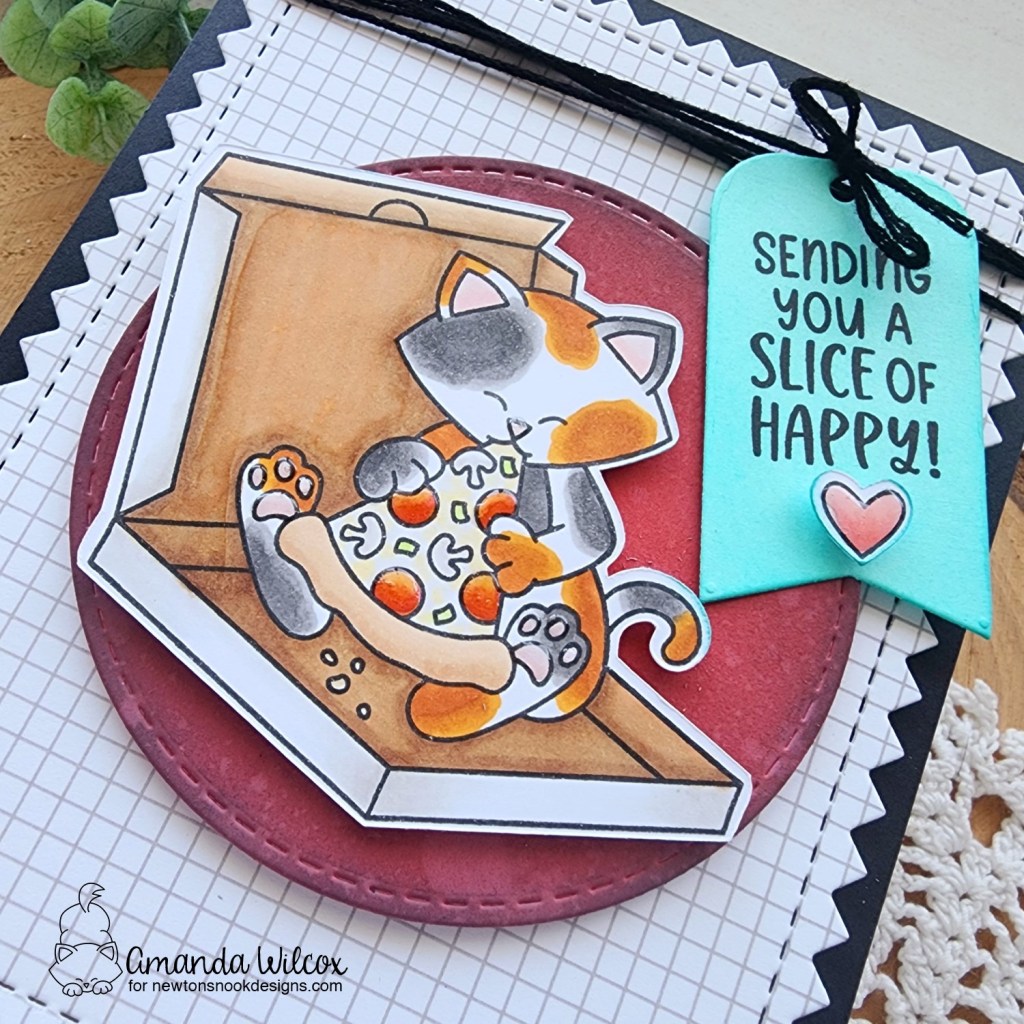
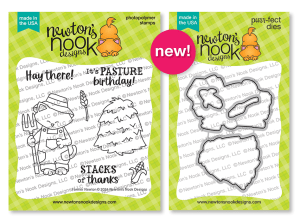
Spooky Stories stamps and dies

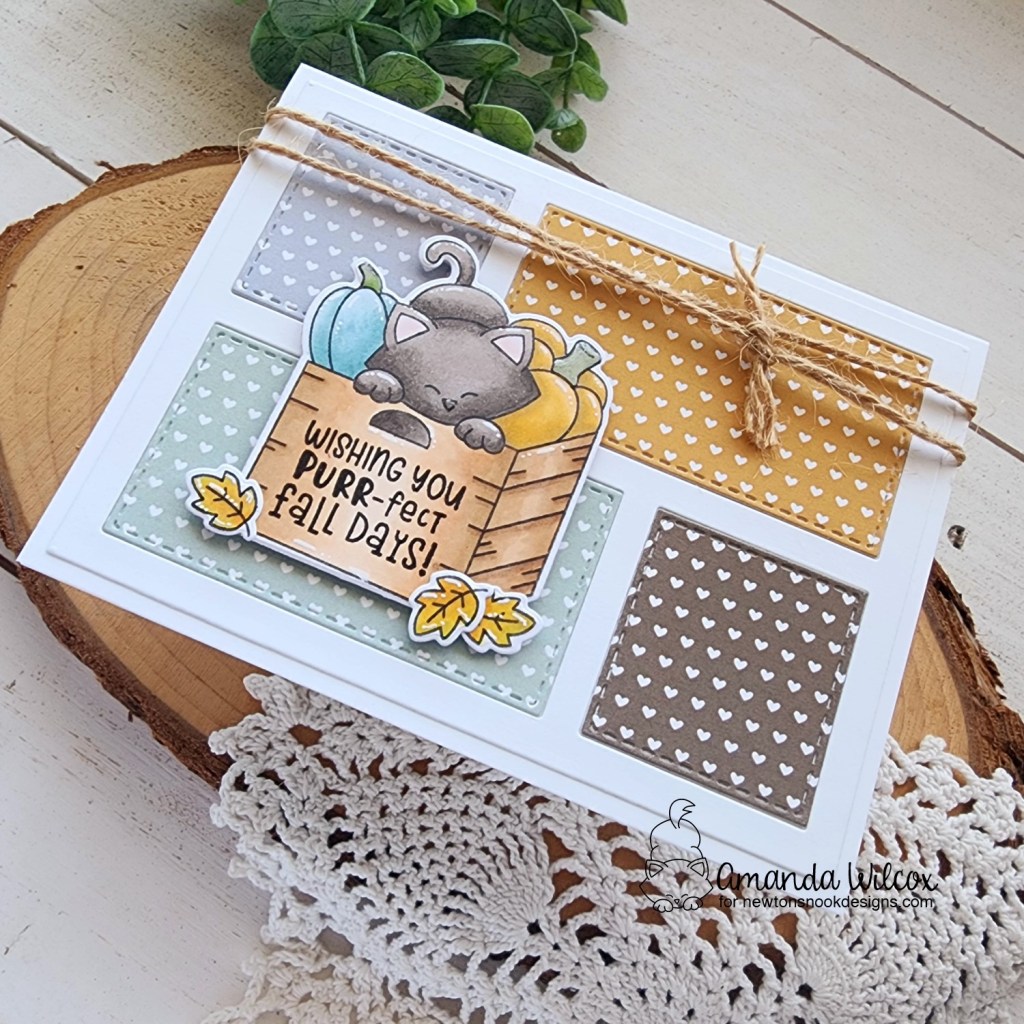
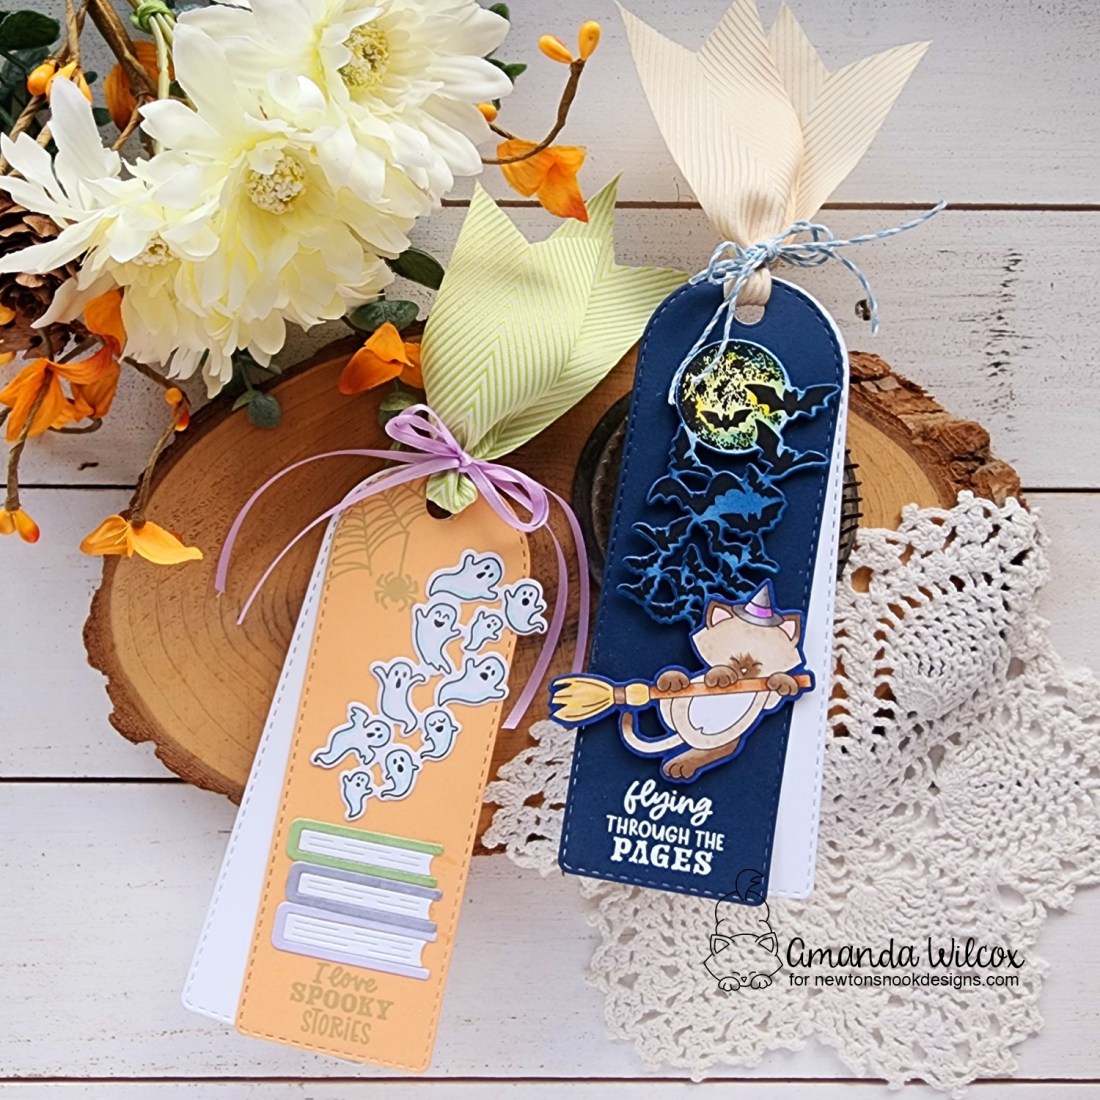
I created a couple of bookmarks to share today but am really itching to also create some mini scenes using these fun images really soon!

I used the new Bookmark II dies for both of these bookmarks. Starting soft and pastel with the ghosts and going to a dark night sky for the cool bats!

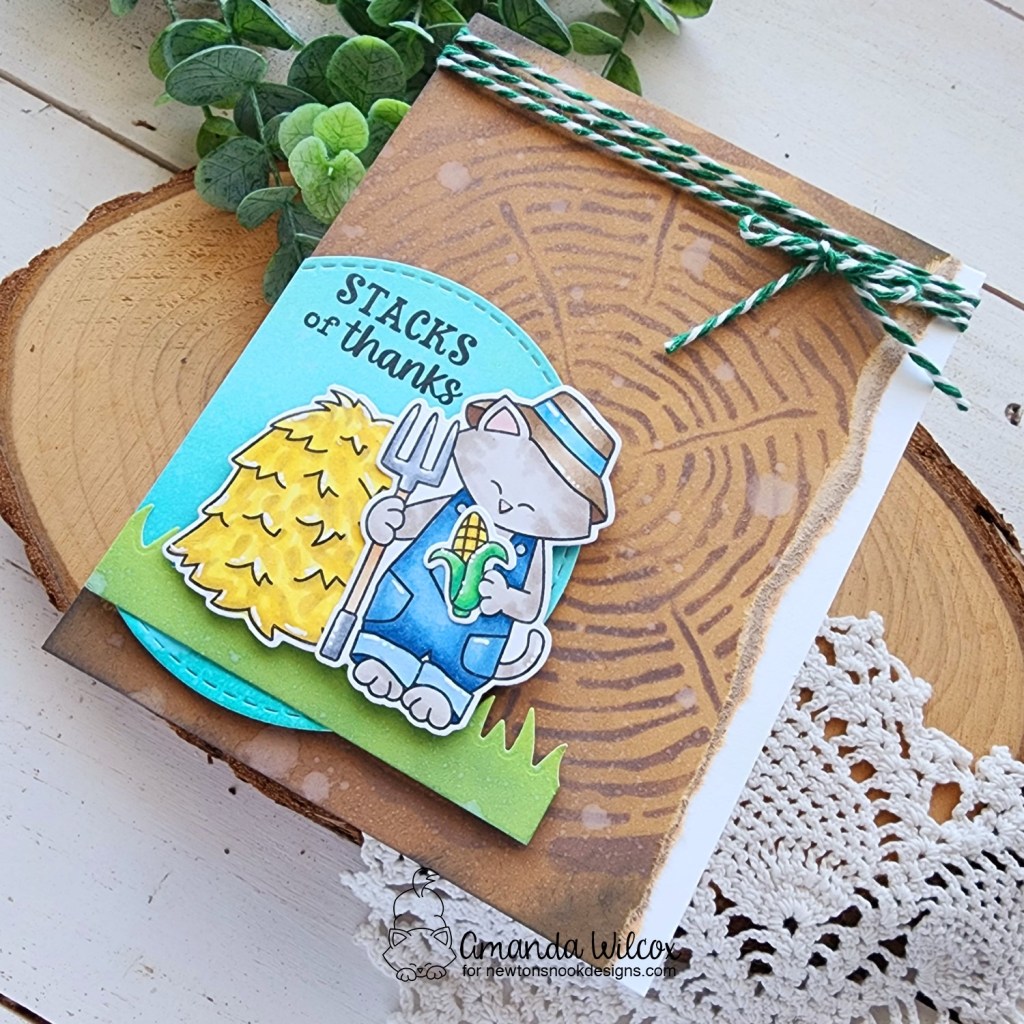
I stamped the sentiment and images with gray ink so it wasn’t harsh and used the book stack dies from the Bookmark II set. I added the ghosts like they’re coming out of the spooky stories, keeping everything flat since it’s a bookmark.

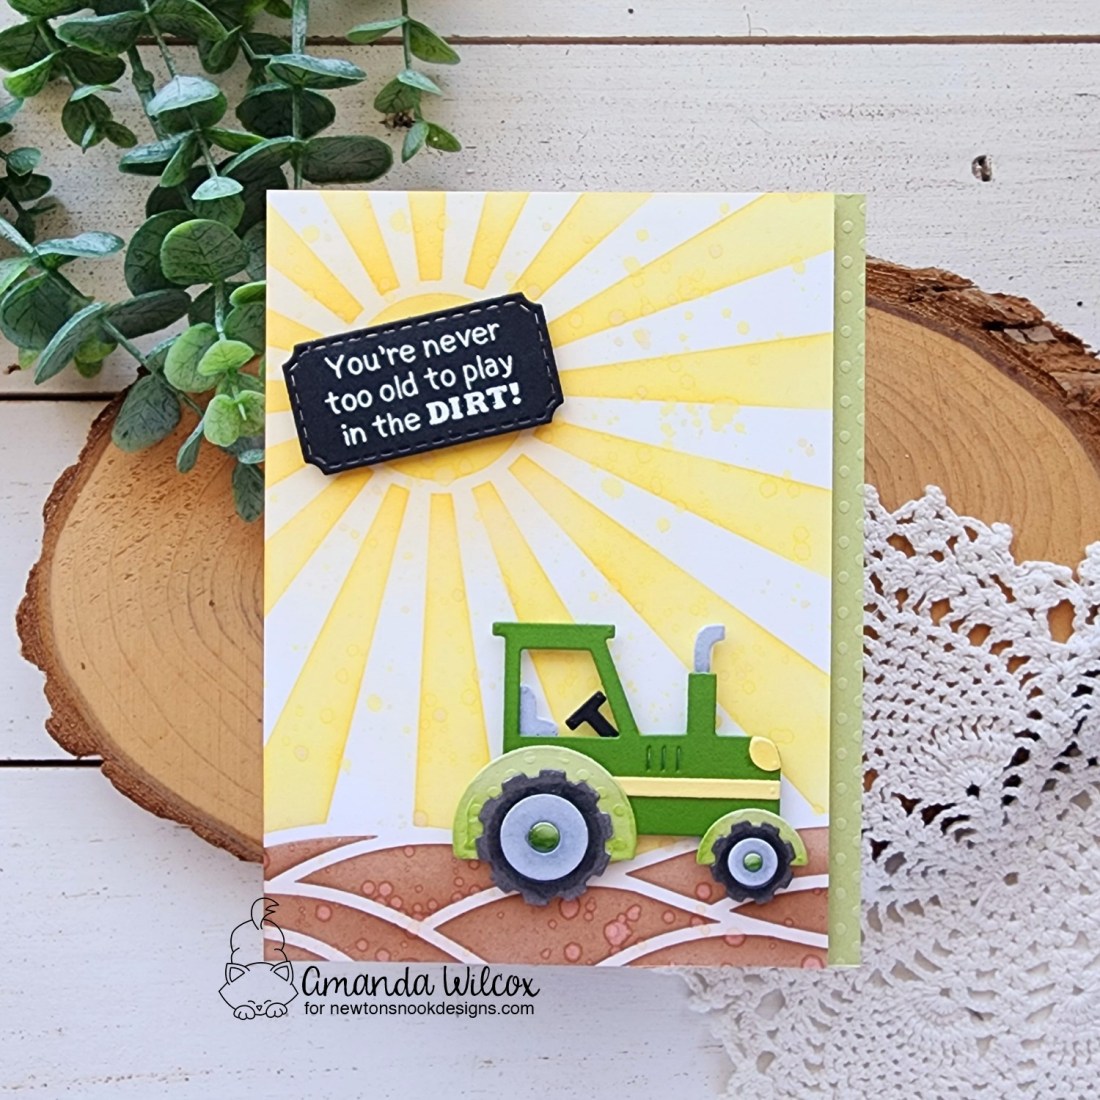
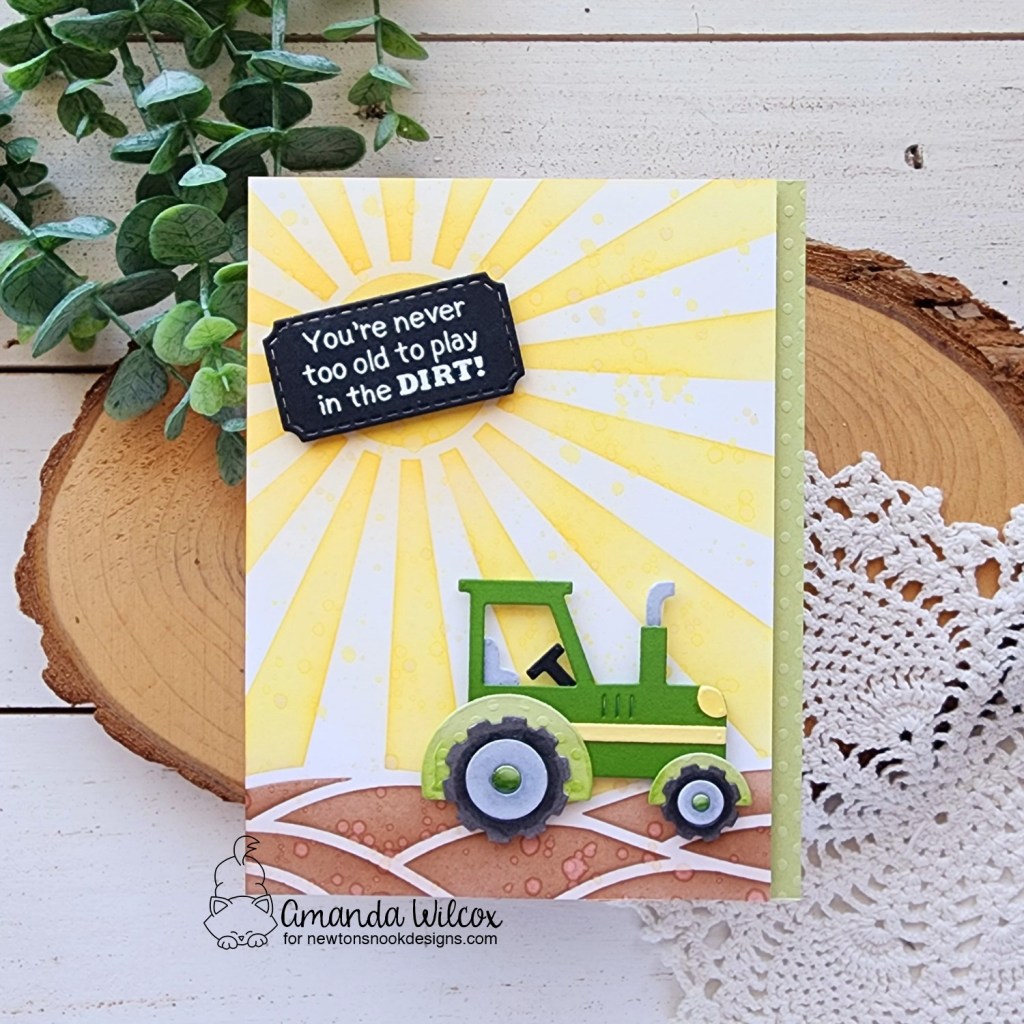
For this second one, I started with a dark blue background, heat embossing the sentiment at the bottom. Then I stamped and die cut the bat image from Spooky Stories. I colored the moon with some yellow markers and used a blending brush to add dark blue to the rest.
I stamped and colored the witchy Newton from Newton’s Boo-tiful Night, cutting it out with the coordinating die. I didn’t like the white edge so I colored it with a dark blue marker so it blended in better.
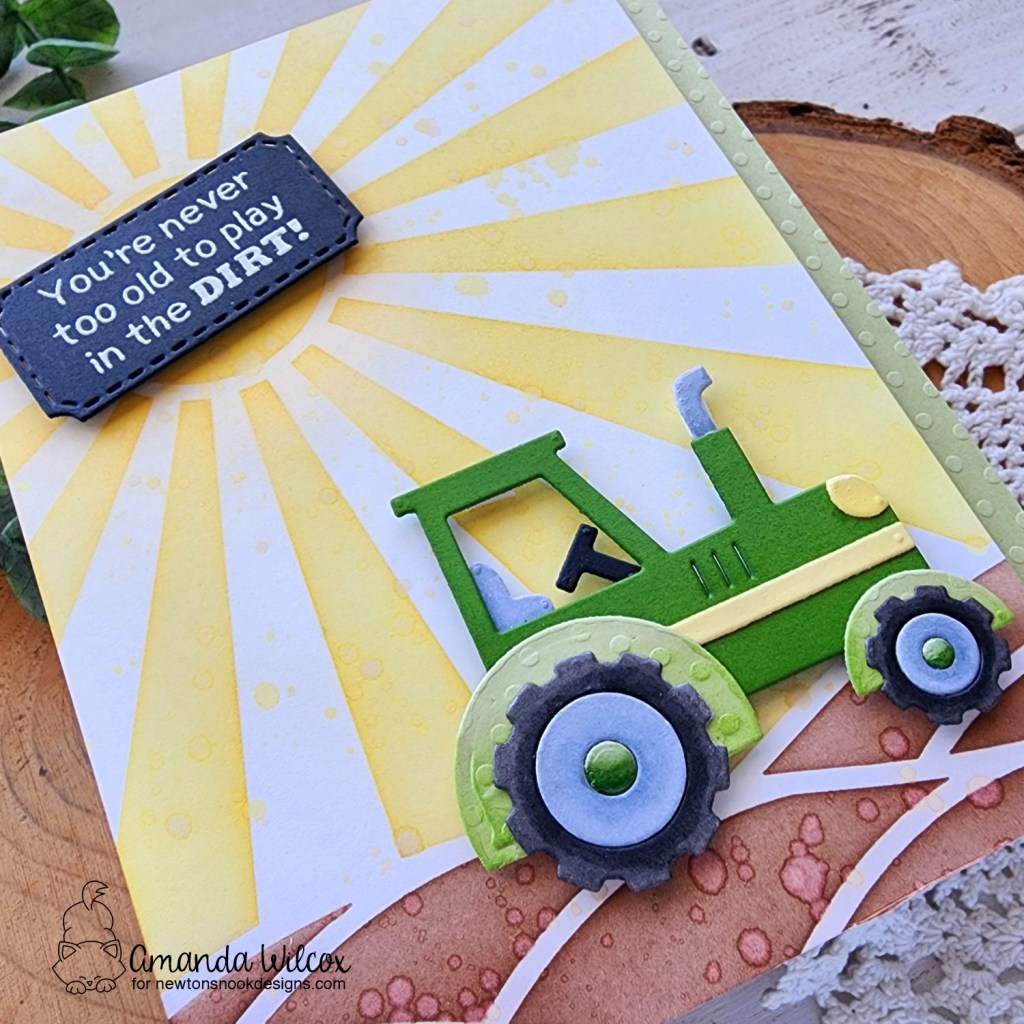
Not thinking about my bookmark rule, I did pop all of these images up with foam squares. Oops, you know how much I like my dimension. Haha!
Enter to Win a $25 Prize!
One lucky winner will receive a $25 prize to spend at Newton’s Nook Designs online shop! The winner will be chosen at random from the collective blog posts featuring our new products this week. For a chance to win, leave comments on the Design Team Member Blog Posts (see list below) from Monday September 9th through Thursday September 12th. You will not know which blog has been chosen so the more you comment on the better your chances are of winning! You have until Thursday, September 12th at 9 pm ET to comment — winners will be announced on the NND blog on Friday, September 13th.
Check out all the awesome Design Team Blogs below to enter:
Newton’s Nook Designs
Donna Idlet
Larissa Heskett
Samantha Mann
Diane Morales
Farhana Sarker
Amanda Wilcox