Spellbinders – Saturday Stitching Inspiration

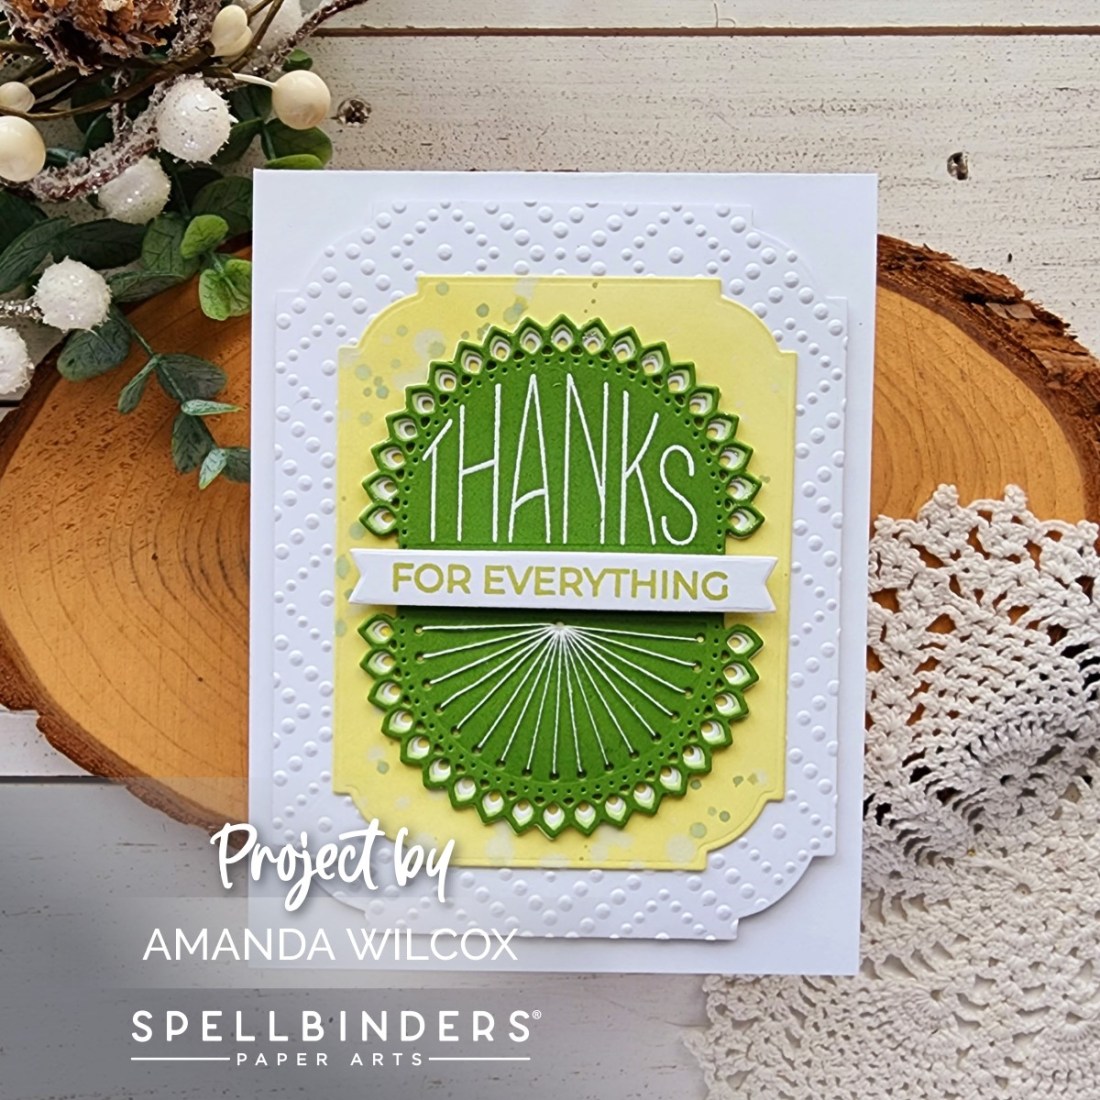
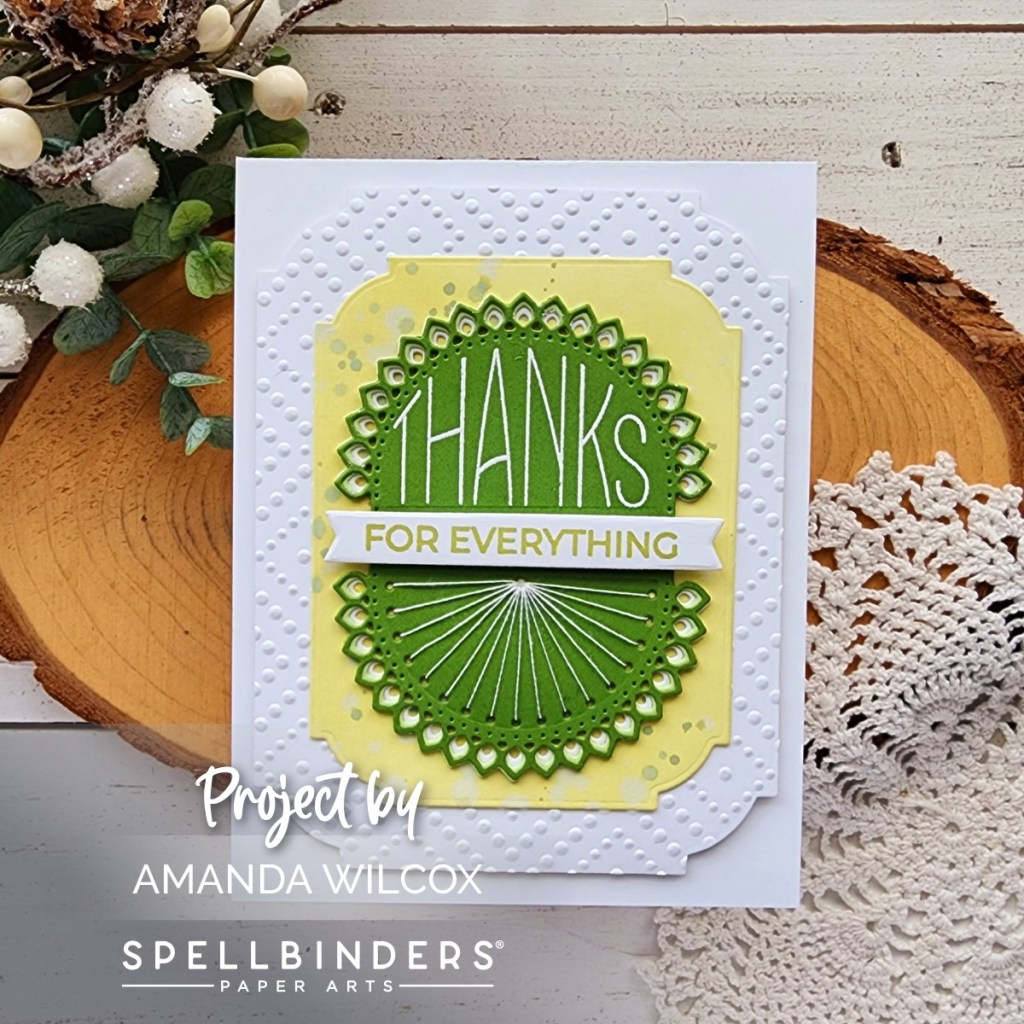
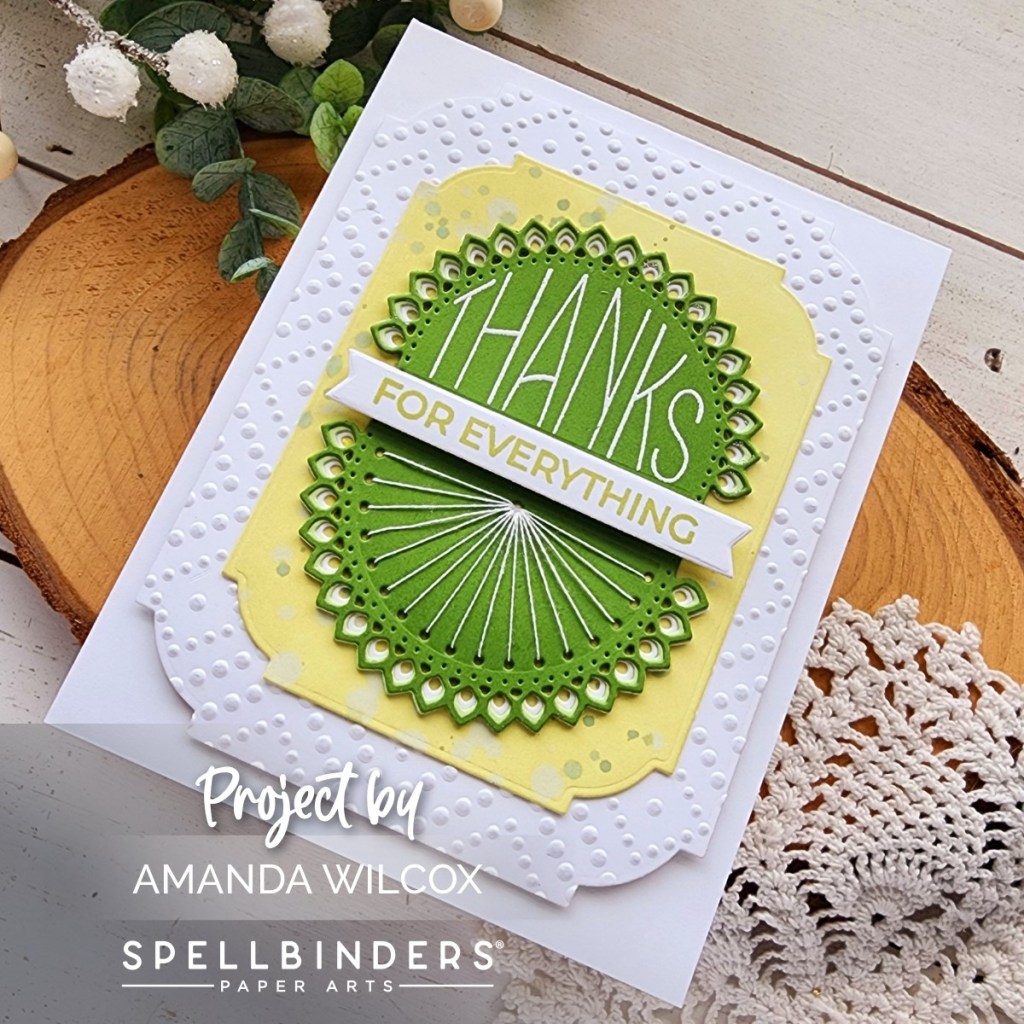
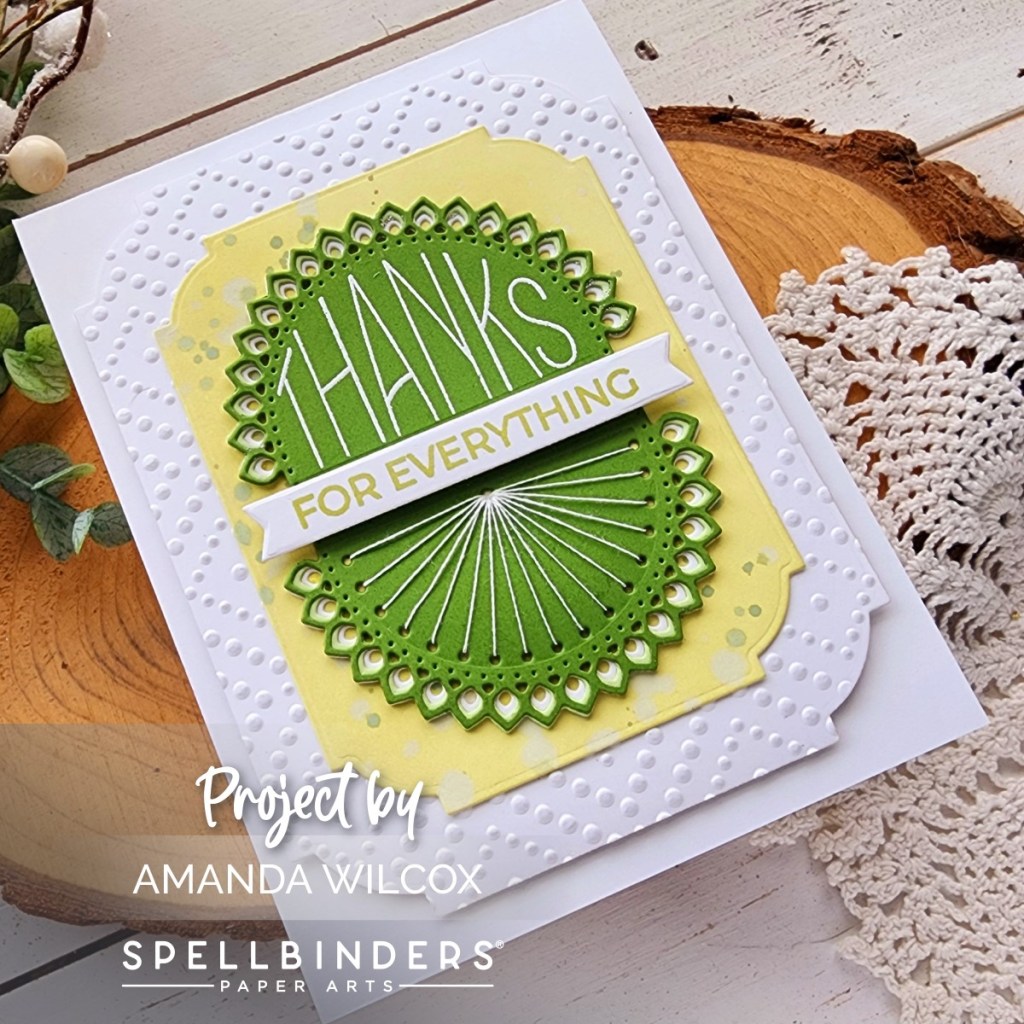
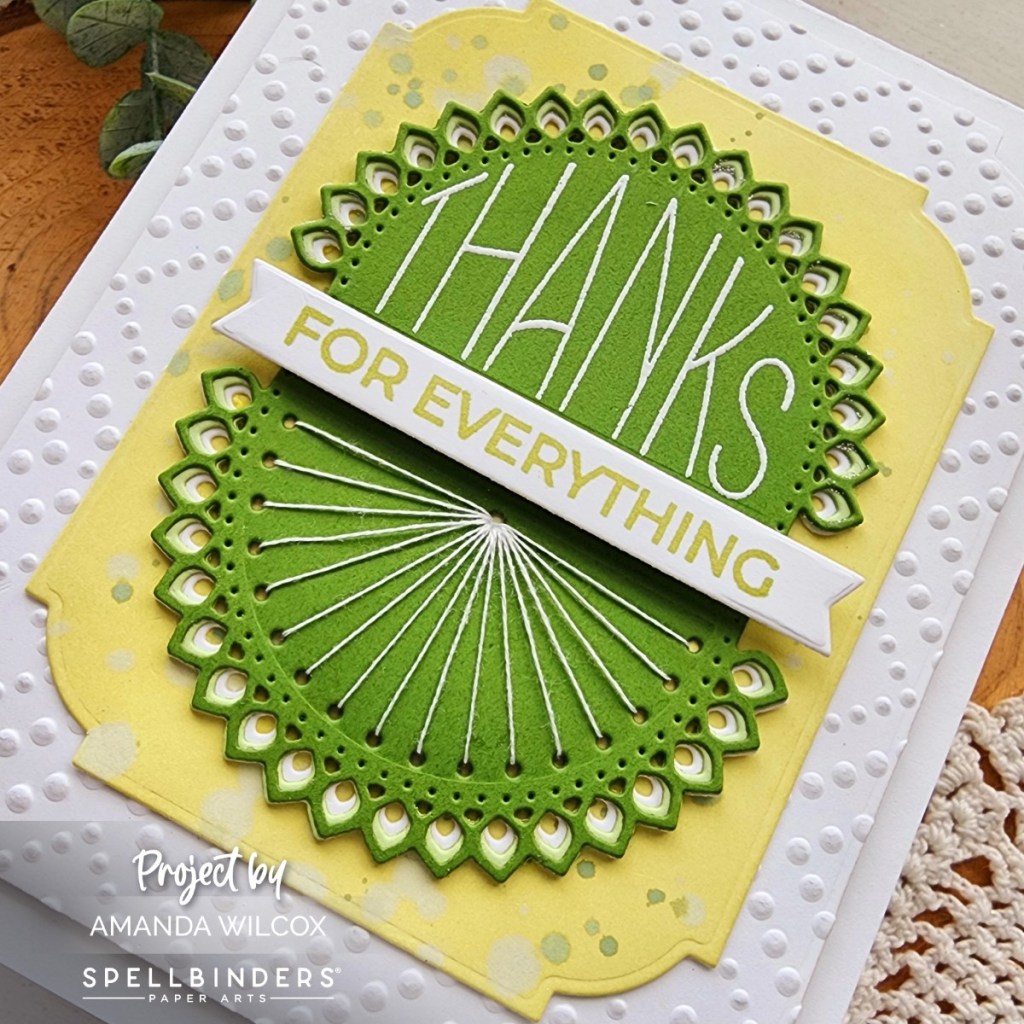
Welcome friends! Today I have another Spellbinders Saturday to share some inspiration featuring different Spellbinders products, new and old. Today I decided to add the stitching detail instead of skipping it. This card was a wing it as I go project and it was great for getting some creative juices flowing.

I started by die cutting the two half rounds from the Stitched Kaleidoscope Arch die set and the layers for the eyelet openings as well. I used liquid glue to adhere those on and then chose to heat embossed the top half of my sentiment in white and mirror the white on the bottom with my stitching. I’m loving these green hues!

Next, I pulled out the Notched Corner Frames dies and cut one from white cardstock that I ink blended with distress oxide ink in peeled paint. I splattered it with water and flicked some watered down mowed lawn ink on it as well.

For my larger layer, I skipped a size and cut another white panel from the one two sizes up and ran it through my die cut machine in the Dazzling Dots embossing folder. Now that I had a better idea of the final look I needed to decide on my sentiment banner and ink color for that. I decided to go back to the peeled paint distress oxide ink so it went with the inked panel and those great green tones.

For assembly, I popped the embossed panel up with foam tape, glued the next panel with liquid glue along with my stitched kaleidoscope and then popped up the sentiment strip.

I absolutely love how this turned out! It was really fun to create and really helped me through a little creative slump.

Products used:
Stitched Kaleidoscope Arch dies
Notched Corner Frames dies

Dazzling Dots embossing folder
Distress Oxide Ink – peeled paint, mowed lawn
Foam tape
Liquid glue

I appreciate you sharing your time with me. Have a fabulous day!
Doodlebugs – Birthday Fun

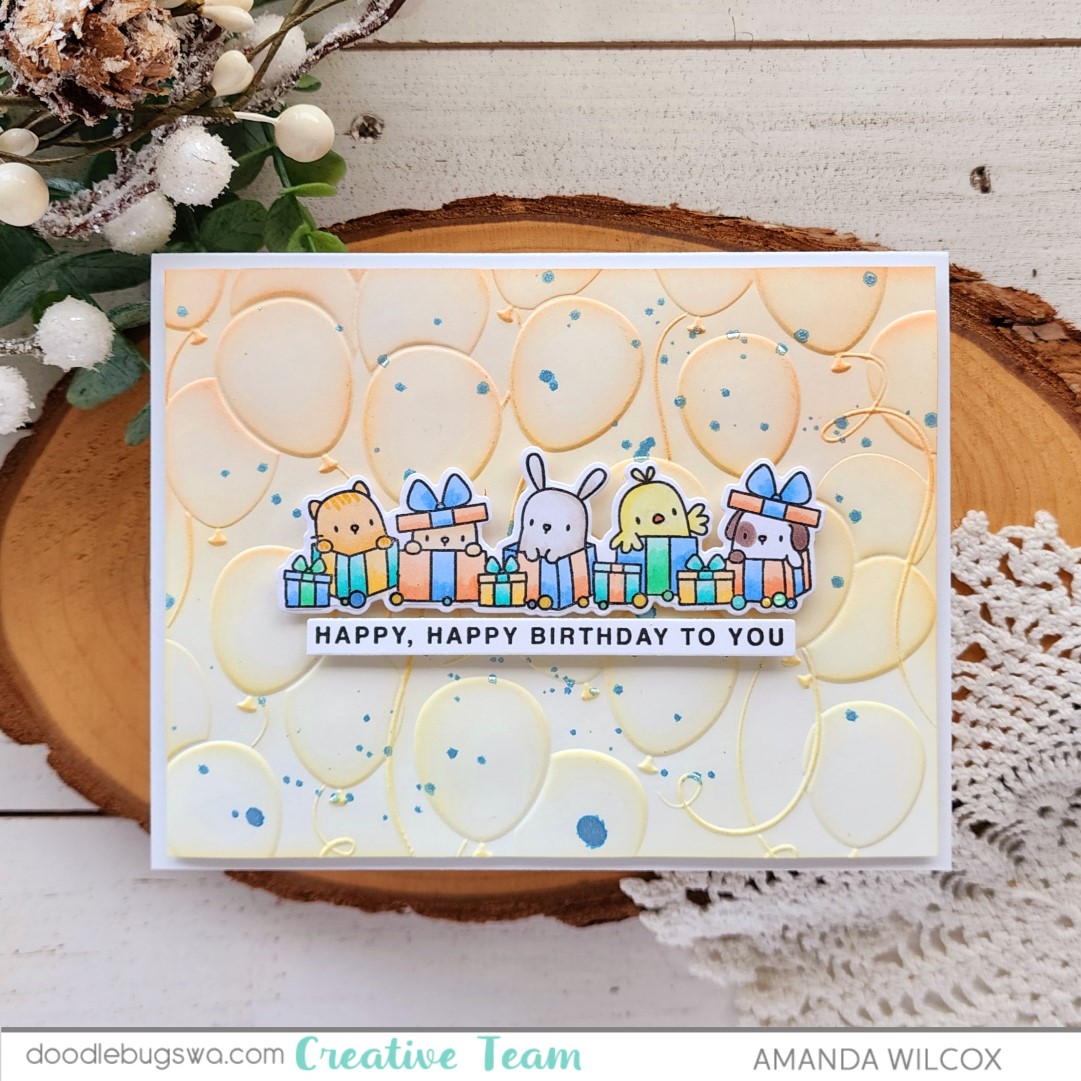
We had another birthday in our family and I’m excited to be able to share the card I made to celebrate the occasion today on the Doodlebugs blog. I’m fairly obsessed with the detail this embossing folder gives and I think it’s such a fabulous backdrop for birthdays and big celebrations, I am reaching for it over and over again!

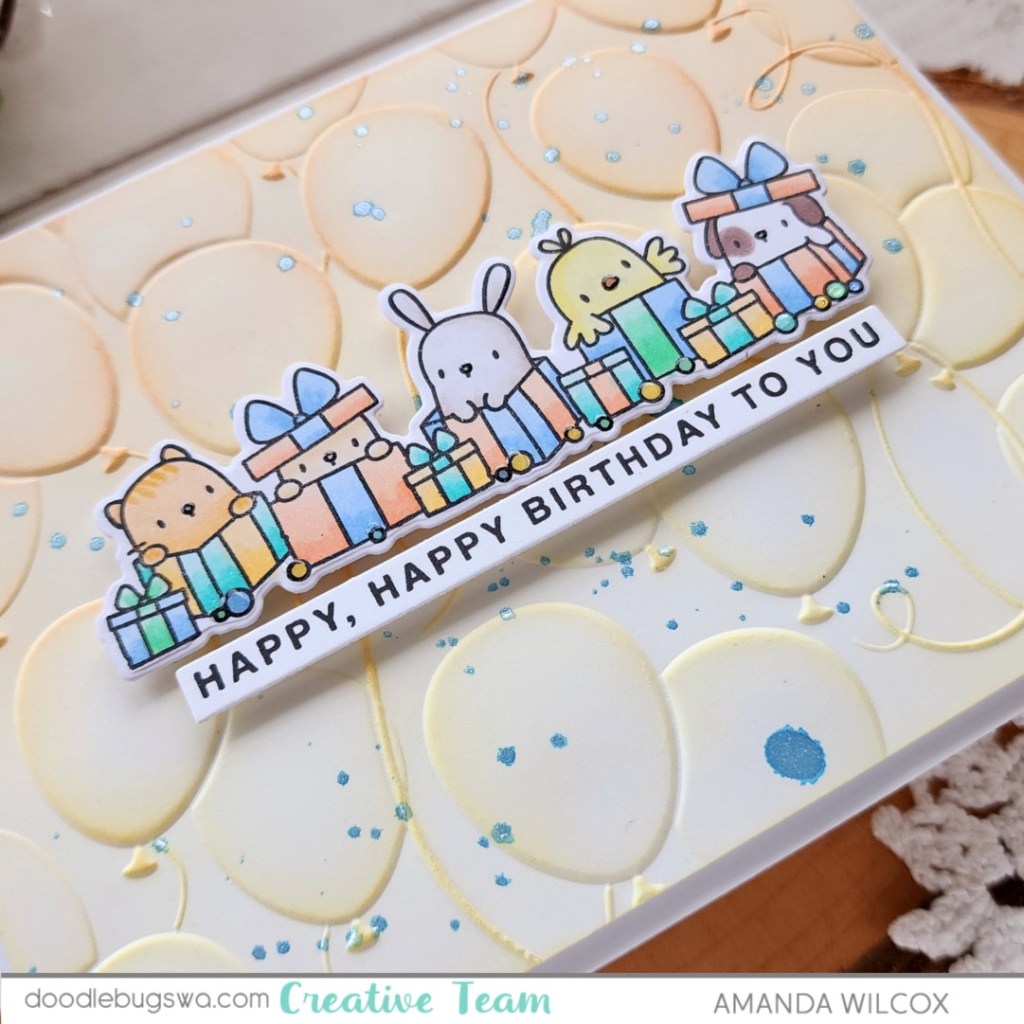
Today I embossed a panel and then ink blended over the embossing so the ink really grabbed the highs and skipped the lows of the images. I chose Lawn Fawn peach fuzz and butter inks for my background, then splattered it with blue metallic watercolor.

I chose the Mama Elephant Little Line Agenda stamps for my images. I colored those with copic markers and used the coordinating die to cut it out. Then I used the Mama Elephant Easy Sentiments stamps and coordinating die for my sentiment strip.

Now that I have all my elements, I trimmed the embossed panel down to 4×5.25 inches and popped it up on a white card base. Then I popped the line image and sentiment strip up as well. I finished everything off with glossy accents on the critter noses and the bubble balls in front of all the gifts.

This is a really simple design that would be fun and great to recreate for the masses as a gift or to have cards on hand.

Products used:
Mama Elephant Little Line Agenda stamps and dies
Mama Elephant Easy Sentiments stamps and dies
Spellbinders Floating Balloons embossing folder
Foam tape
Glossy accents
Blending brushes
Lawn Fawn ink – butter and peach fuzz
LH Colors watercolor

I appreciate you sharing your time with me. Have a fabulous day!
Spellbinders – Hello Blooms Stenciling Card

Hi there! I’ve been making a point to go through my stash when I’ve got free crafty time and use things in my stash that have been neglected or forgotten. I have so many awesome things that get love when they are new and then I don’t get to revisit them much. I have a few goals this year and sharing inspiration for those things is one of them.

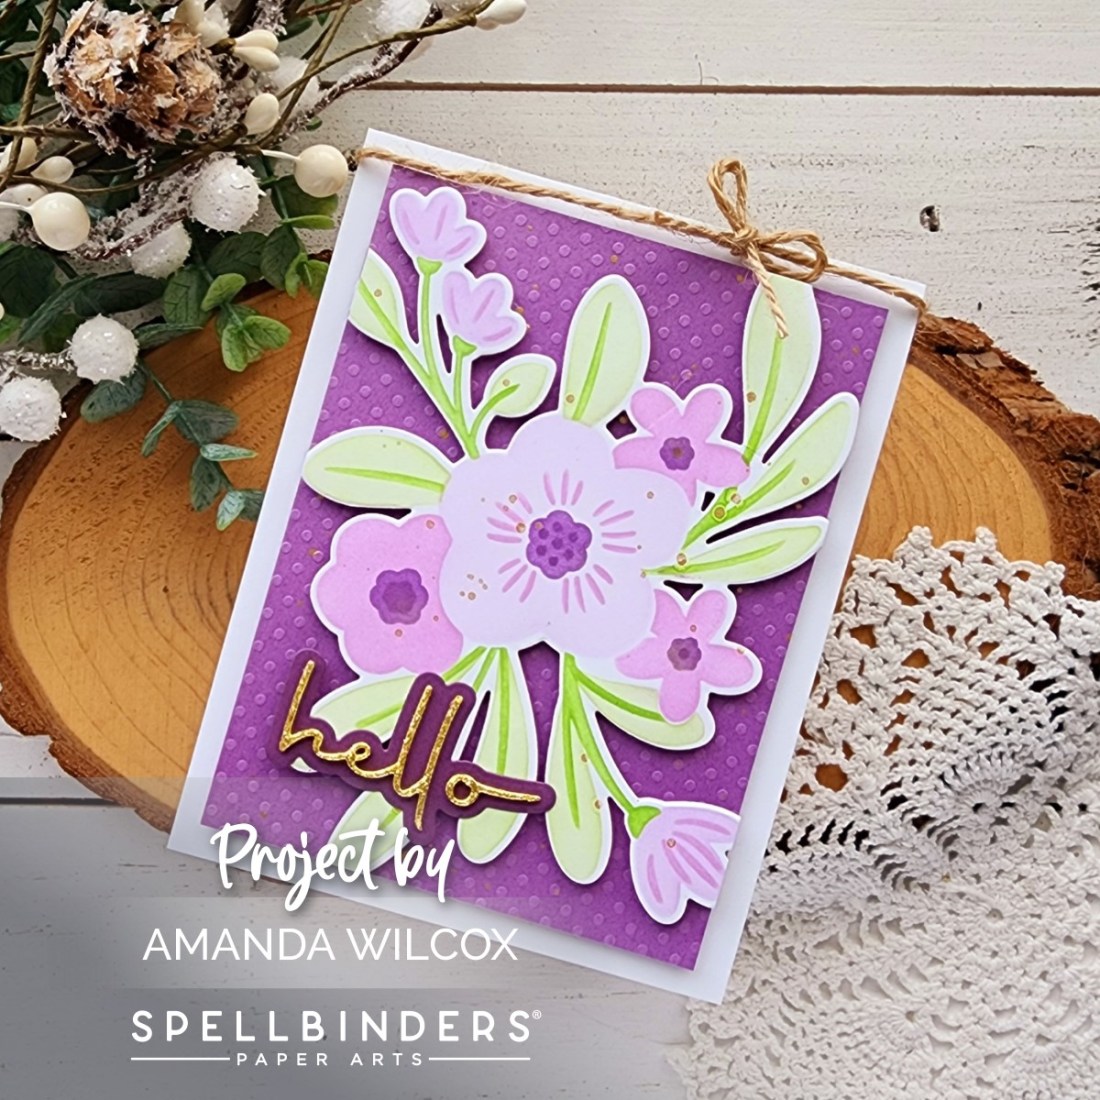
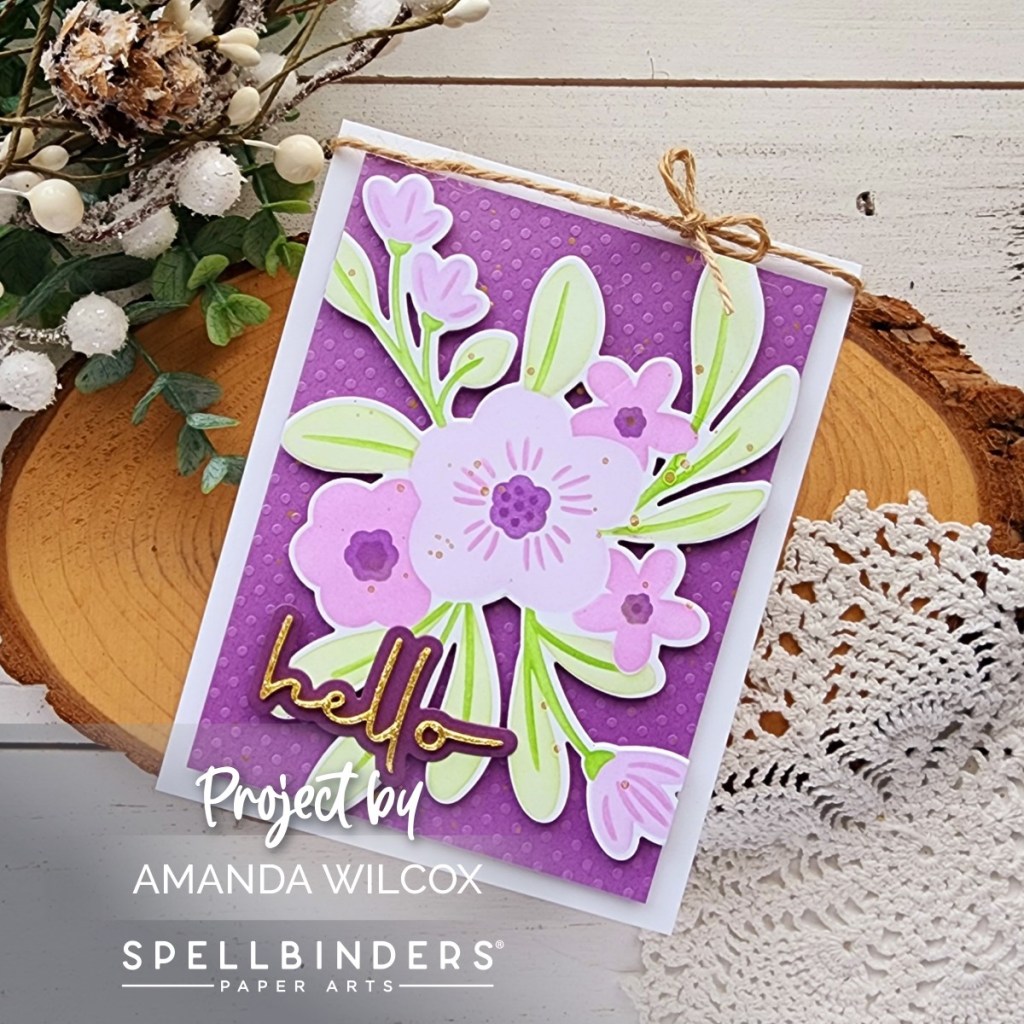
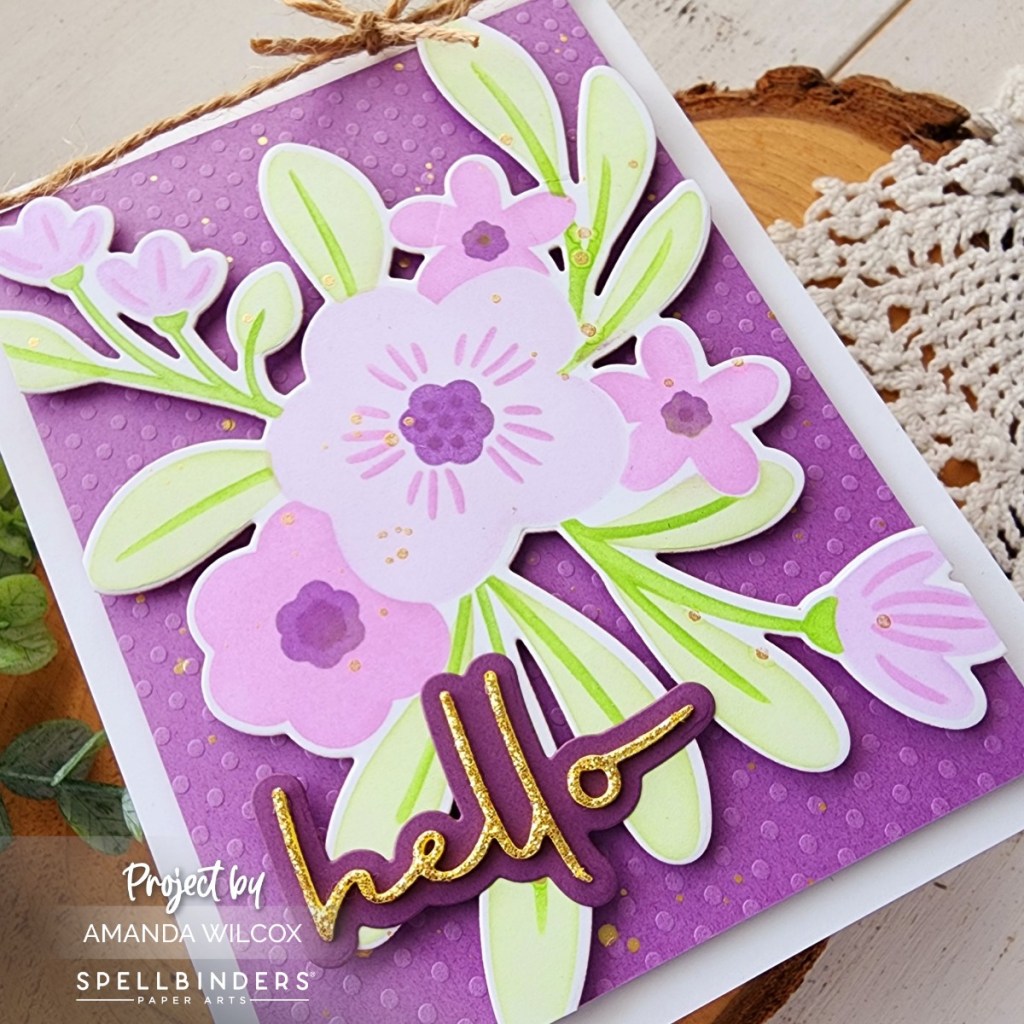
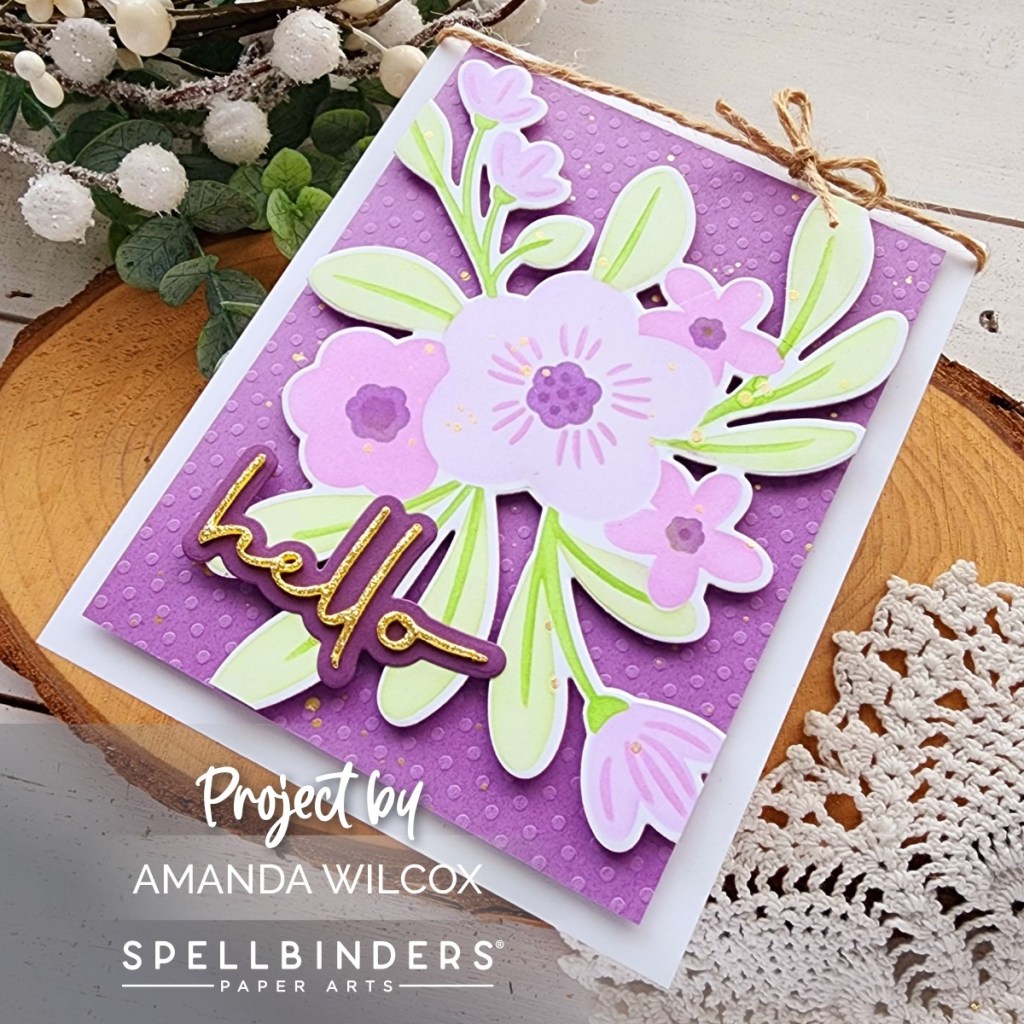
Today I have a card featuring the stencil and die set from Spellbinders called Hello Blooms. They have a number of these layered stencils sets and the designs are fabulous. They’re really fun to create with and also great if you need something quick too.

Each time I have created with this stencil I have chosen a different color palette and each time I think I like this one more than the last. This time I went outside my comfort zone and did all purple. Definitely not my go-to color but it turned out so pretty and I love the gold accents with it.

After stenciling, I used the coordinating die to cut the florals out. I cut a piece of dotted cardstock from my stash to 3.75×5 and popped my floral up on it with foam squares. I trimmed the excess off and lightly splattered the panel with gold watercolor. Letting that dry, I cut the shadow for hello included in this set from dark purple cardstock and the word itself from Spellbinders die cutting glitter foam. I’ve said it before and I’ll say it louder for those in the back…this stuff is AMAZING!!!!!!!! I highly recommend at least the basic colors in your stash if you like to die cut words and shapes from foam.

I used liquid glue to adhere the sentiment and then also to add it to the florals. Then I popped the panel up on a white card base with foam tape. I finished things off with some jute twine tied around the top of the card front.

Products used:
Hello Blooms stencils and dies
Pop Up Die Cutting Glitter Foam – silver and gold pack
Foam squares and tape
Liquid glue

LH Colors watercolor – gold
Blending brushes
Lawn Fawn dye inks

I appreciate you sharing your time with me. Have a fabulous day!

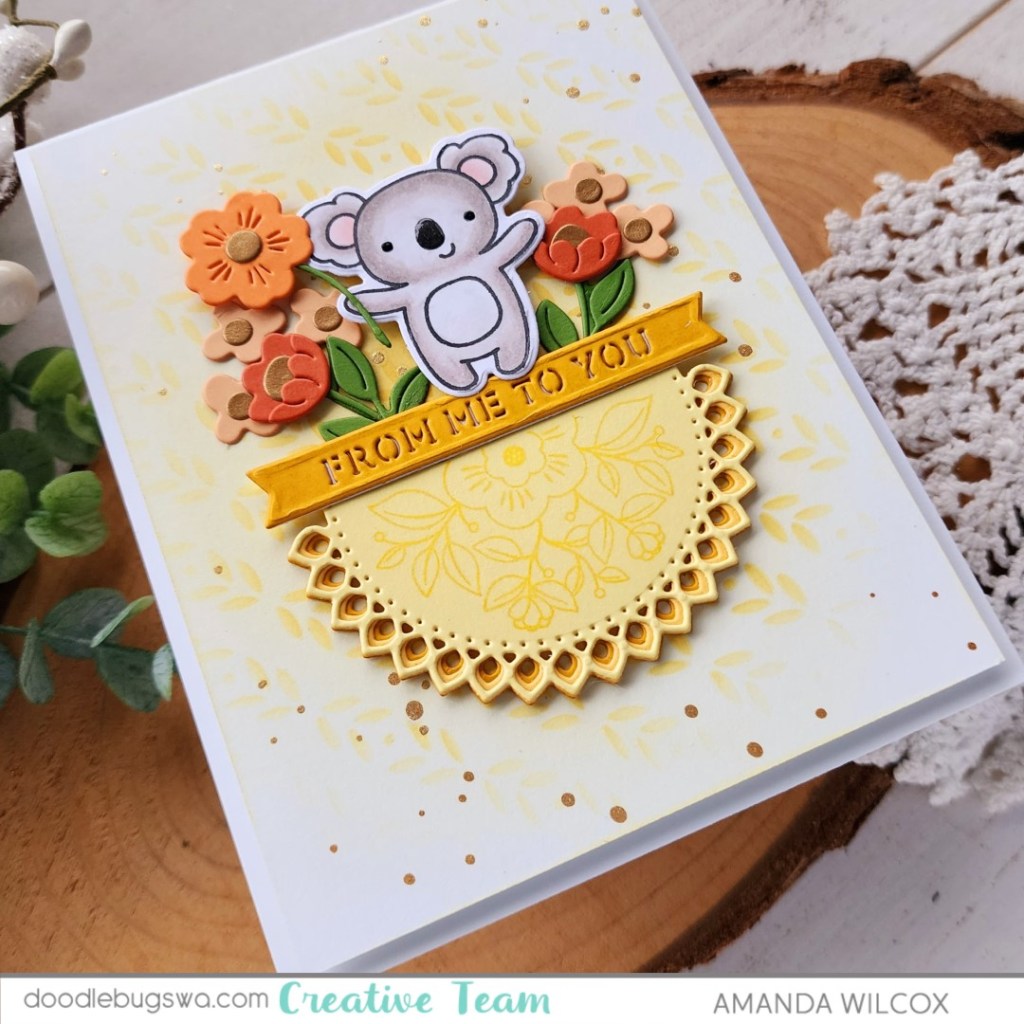
Doodlebugs – From Me To You

Welcome everyone. I’m so glad you’re here. It’s Mix It Up Monday on the Doodlebugs blog and we’re playing with Spellbinders and Pretty Pink Posh today. I decided to NOT stitch on some glorious stitching dies to show you that you don’t always have to, even if it feels like it.

I tend to be an all or nothing girl and when a die set comes with options, I feel like I need to use them all or I’m not doing something right. However, the stitching portion of this Spellbinders die set is optional…as in, it’s a separate die, and today I didn’t use it. What do you think?

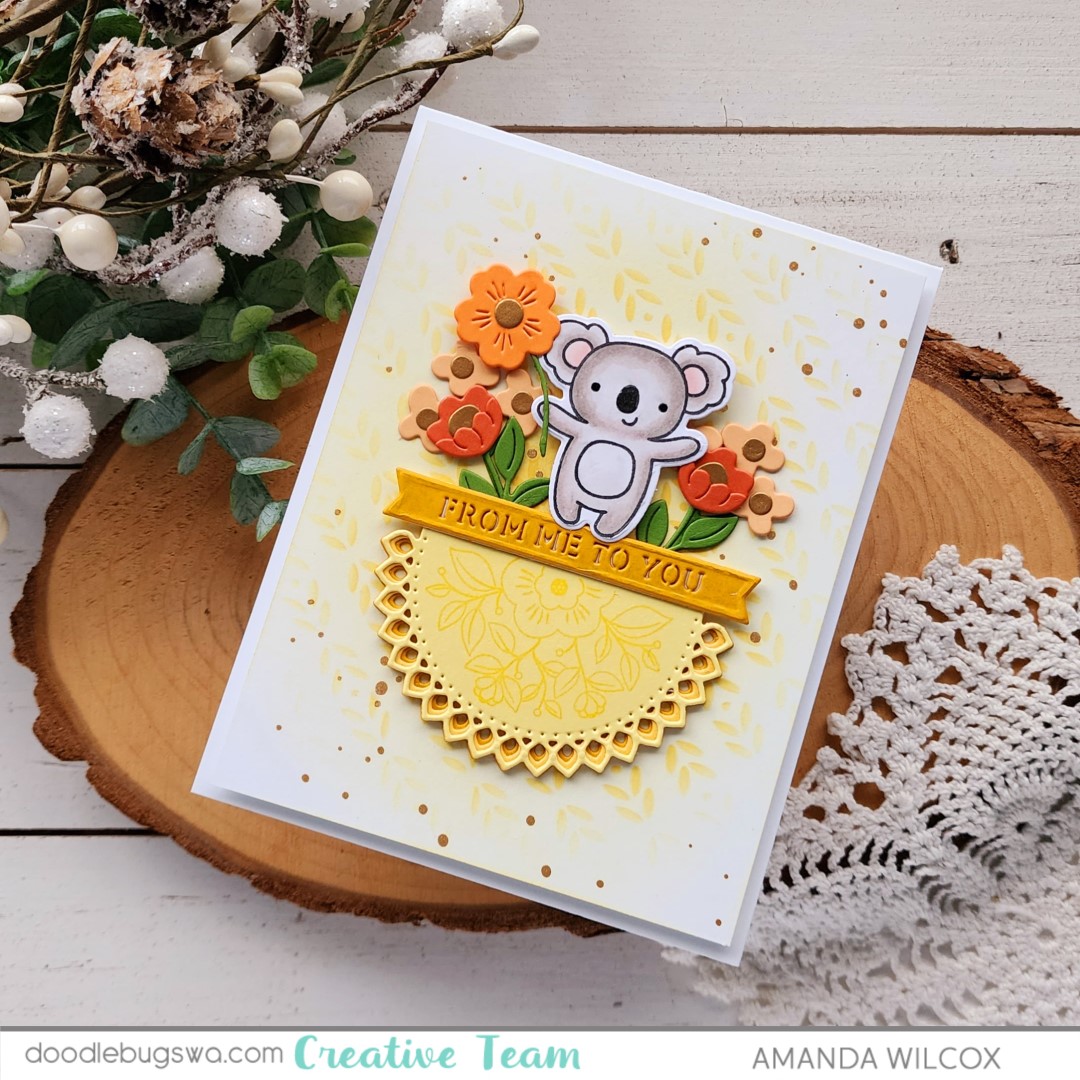
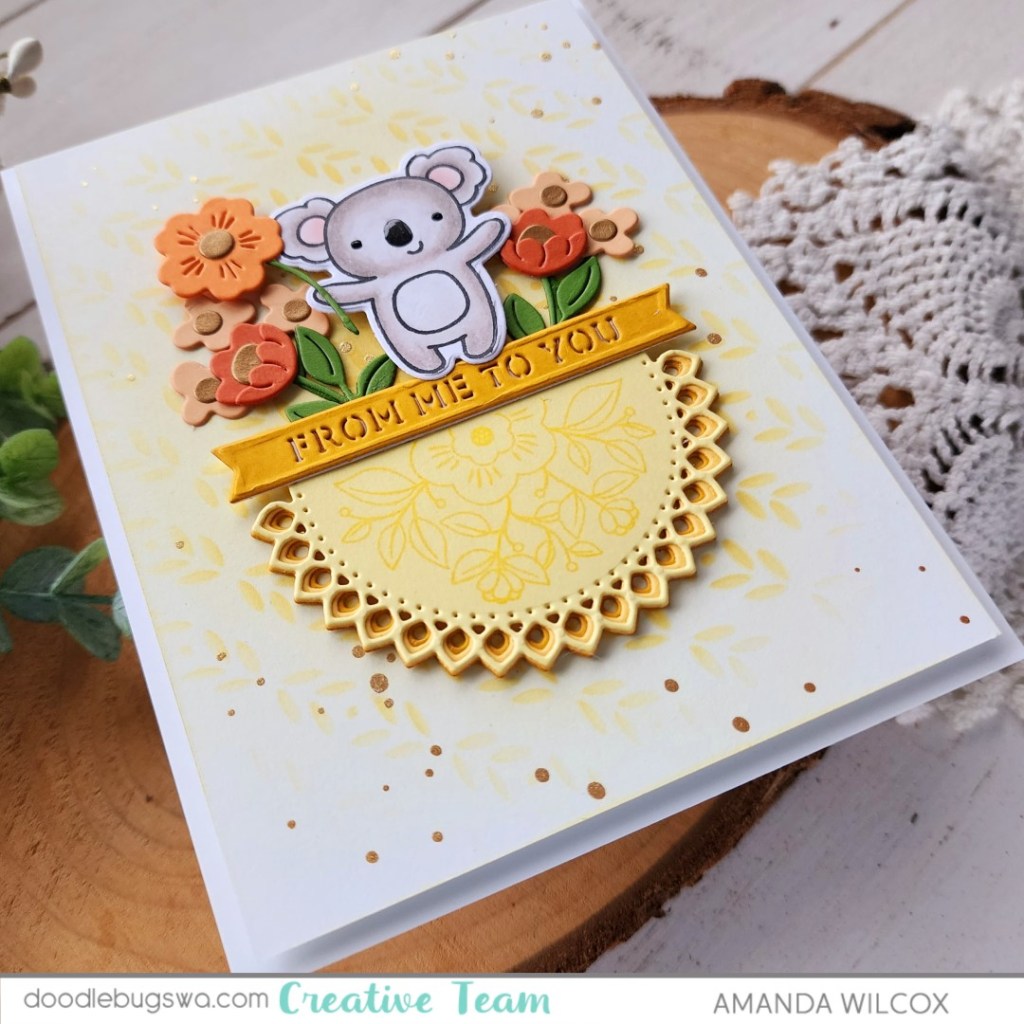
The Spellbinders die set in question is called Kaleidoscope Arch and it happens to have a coordinating stamp set too. Today, instead of cutting the stitching holes, I added some detail with tone-on-tone stamping using the floral image in the stamp set. I cut all the layers from yellow cardstocks in my stash and glued them together with liquid glue, including the sentiment banner. Then I popped the whole thing in my MISTI and stamped the floral image with yellow ink.

Next, I chose orange cardstocks and a good green to die cut all of my floral pieces. These are also included in the Kaleidoscope Arch dies. I used gold metallic paper for the flower centers and adhered everything together with liquid glue. You all know I love my critters, so I went digging and found this sweet koala from Pretty Pink Posh Crafty Critters to color and die cut. When I was playing with placement for the florals and koala I thought it would be cut if he help a flower so I cut another one and glued everything in place…again, liquid glue. I really value that wiggle room time you get with that versus a tape runner that adheres immediately.

For my background, I took a piece of white cardstock cut to 4×5.25 inches and layered the Pretty Pink Posh Deco Leaves stencil at an angle. I blended No. 2 Pencil ink with a blending brush, removed the stencil and added more of the same color focusing on the center and fading out. Then I splattered the panel with gold watercolor and let it dry.

Okay, now that everything is dry we can layer everything together. I added foam tape to the stenciled panel and popped it up on a white card base. Then I added foam squares behind the koala and the flower he is holding but that’s all. Everything else has layers behind so this little bit of foam keeps everything the same height. I removed foam release paper and added liquid glue to everything else and popped my focal image in the center of the card front.

For finishing touches I added Sakura black glaze pen to the koala’s eyes and glossy accents to his nose. Isn’t it the cutest!?!

Products used:
Spellbinders Kaleidoscope Arch stamps and dies
Pretty Pink Posh Crafty Critters stamps and dies
Pretty Pink Posh Deco Leaves stencil
Lawn Fawn No. 2 Pencil ink
Blending brush
Gold watercolor
Foam squares
Glossy accents
Liquid glue
Sakura black glaze pen

I appreciate you sharing your time with me. Have a fabulous day!

Doodlebugs – New Year, Birthday Card Restock

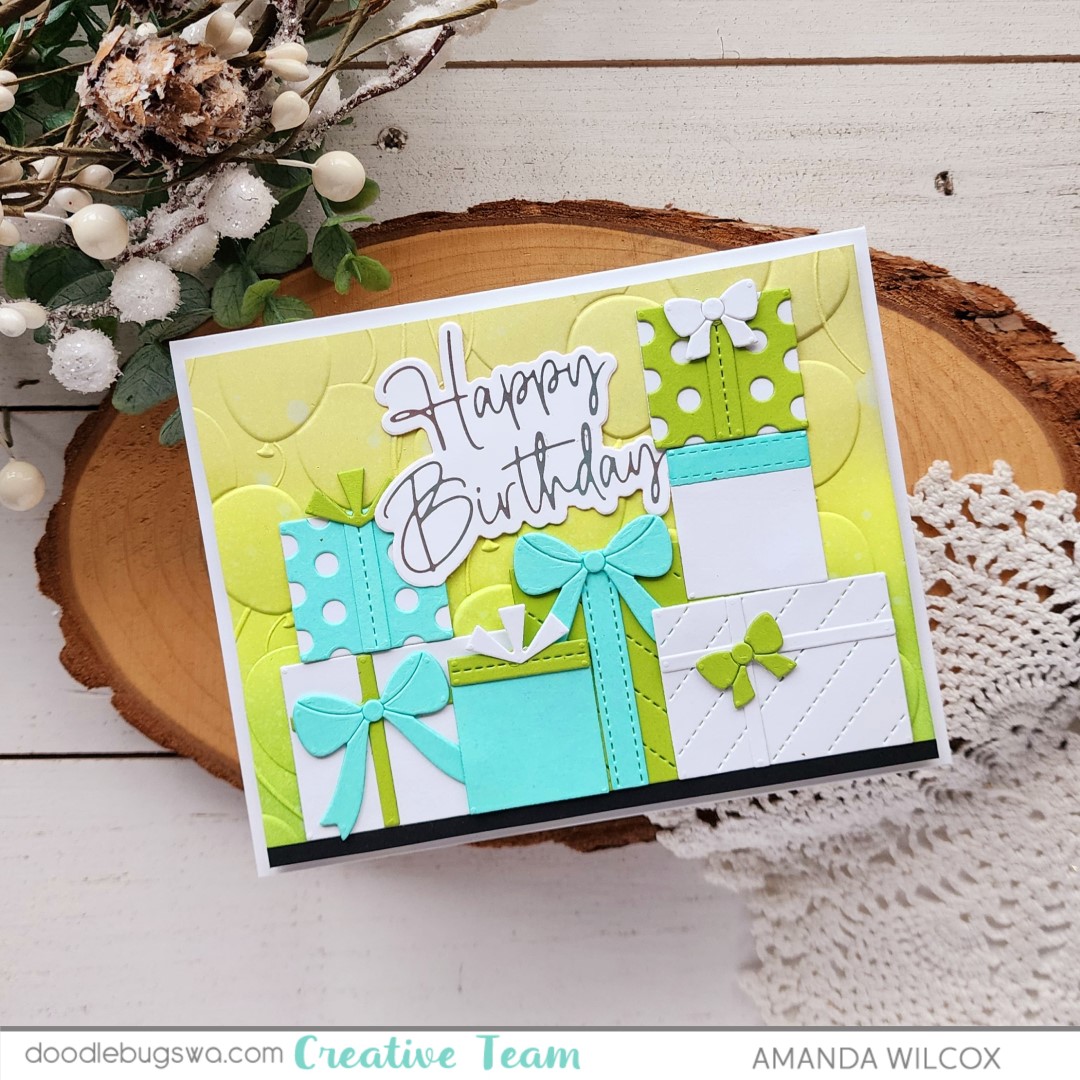
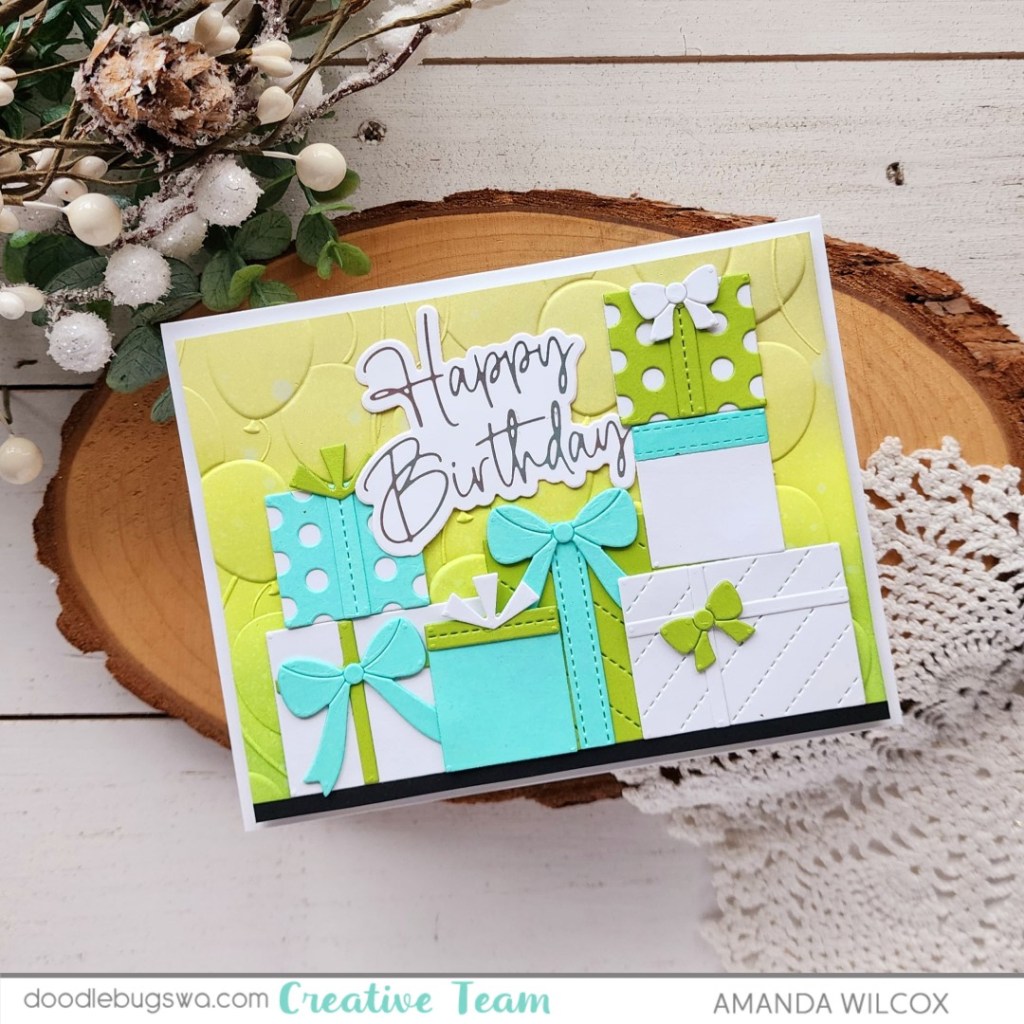
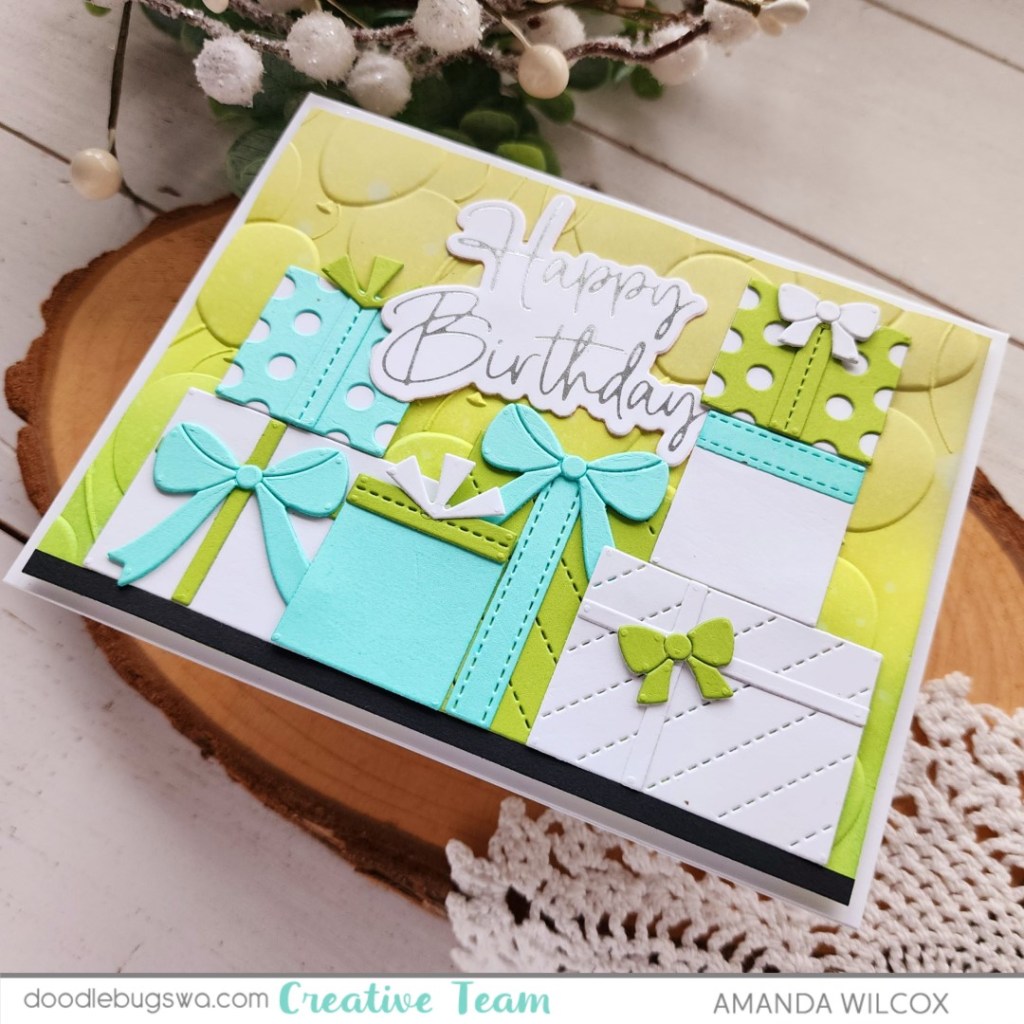
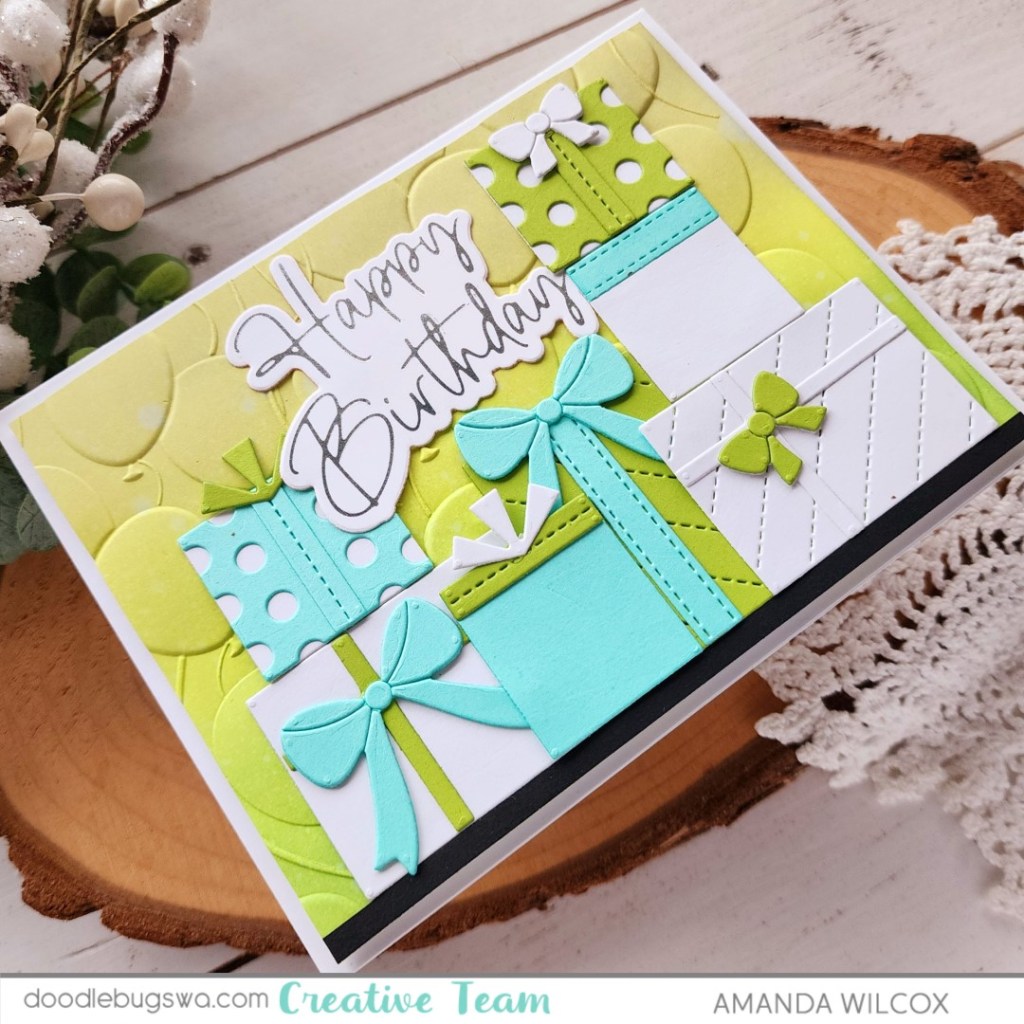
Welcome back everyone and Happy New Year! I’m on the Doodlebugs blog today getting a jump on birthday cards. These Build a Gift dies from Pretty Pink Posh are fantastic for every occasion through the year.

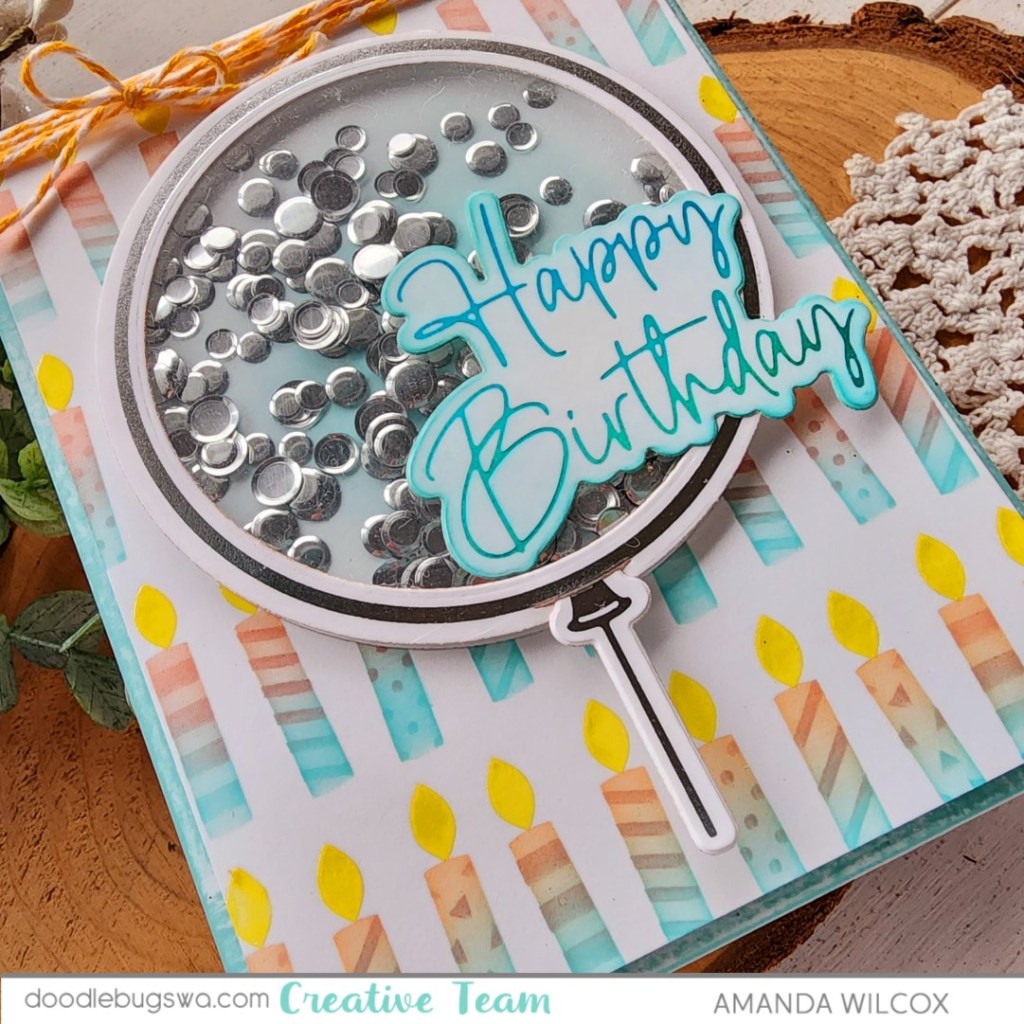
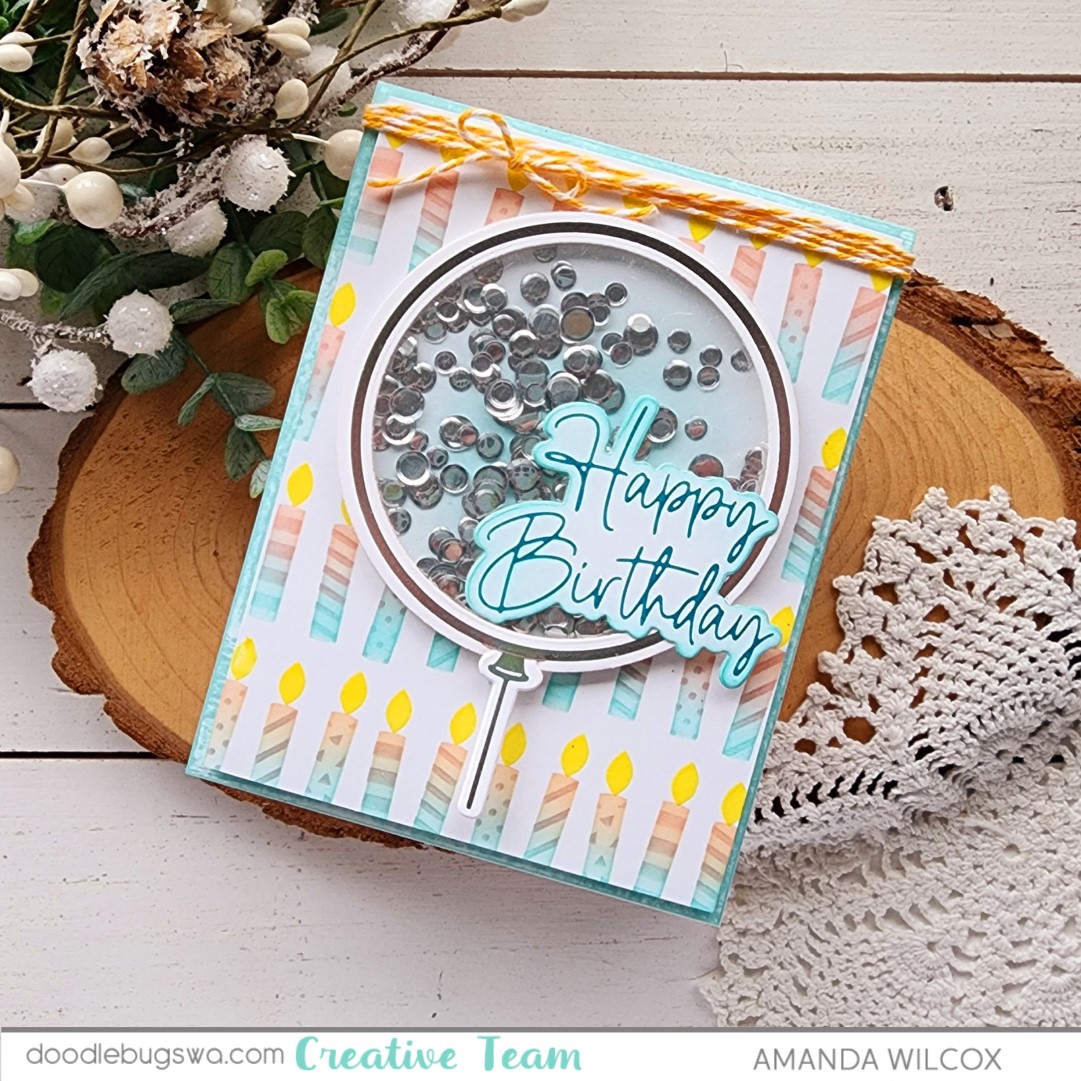
I die cut a bunch of pieces from white, green and teal cardstocks and used liquid glue to assemble them it lots of different combinations. Then, pulling from the gift colors, I blended green distress oxide inks on a white panel and spritzed it with water. Then I used the Spellbinders Floating Balloons 3D embossing folder on it.

I cut a strip of black cardstock to create a floor, glued it to my balloon panel and then started gluing down packages, stacking as I went. It’s so fun!!!

For my sentiment, I hot foiled Happy Birthday from the Spellbinders Giant Party Balloon hot foil and die set. I used the coordinating die to cut it out and glued it in place. Finally, I added foam tape the back and popped it up on a white card base.

What kind of cards do you start stocking up on at the beginning of the year? Birthday and thank you are my top two for sure!

Products used:
Pretty Pink Posh Build a Gift dies
Spellbinders Floating Balloons 3D embossing folder
Spellbinders Giant Party Balloon hot foil and die set
Spellbinder hot foil – silver
Distress Oxide Ink – mowed lawn. twisted citron and shabby shutters
Liquid glue
Foam tape

I appreciate you sharing your time with me. Have a fabulous day!
Doodlebugs – Merry Christmas From Us

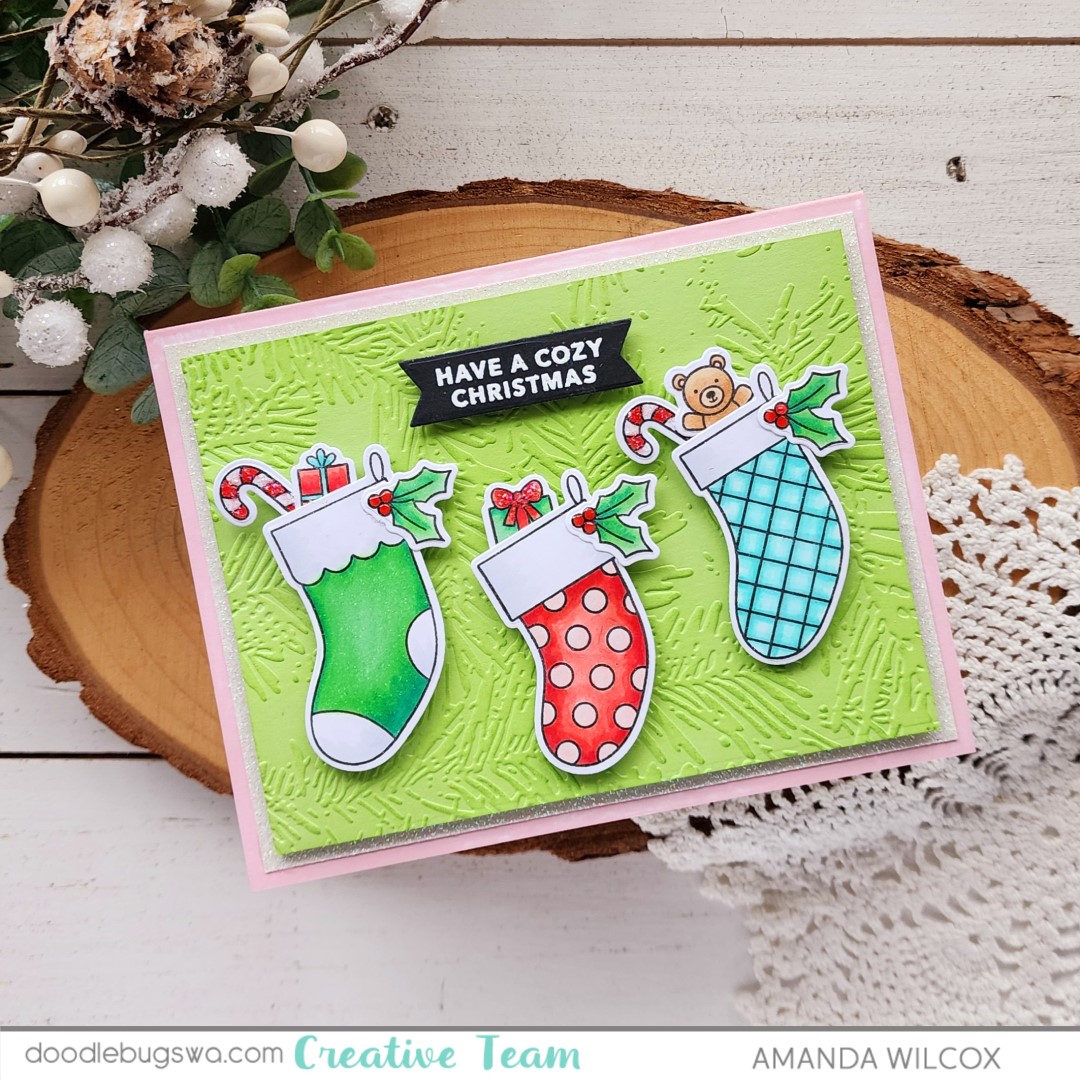
I’m over on the Doodlebugs blog today with a Merry Christmas from the Doodlebugs team to all of you! We hope you have a wonderful holiday, spent with those you love.

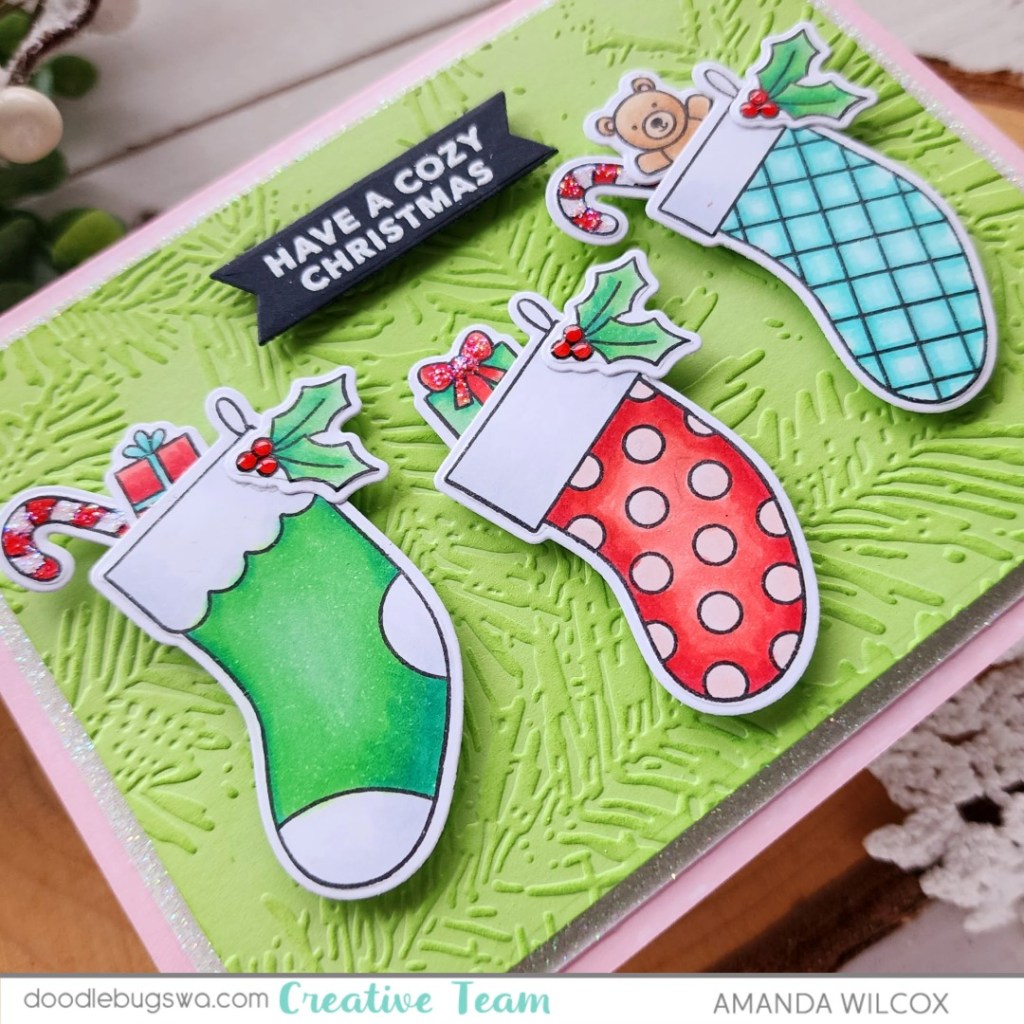
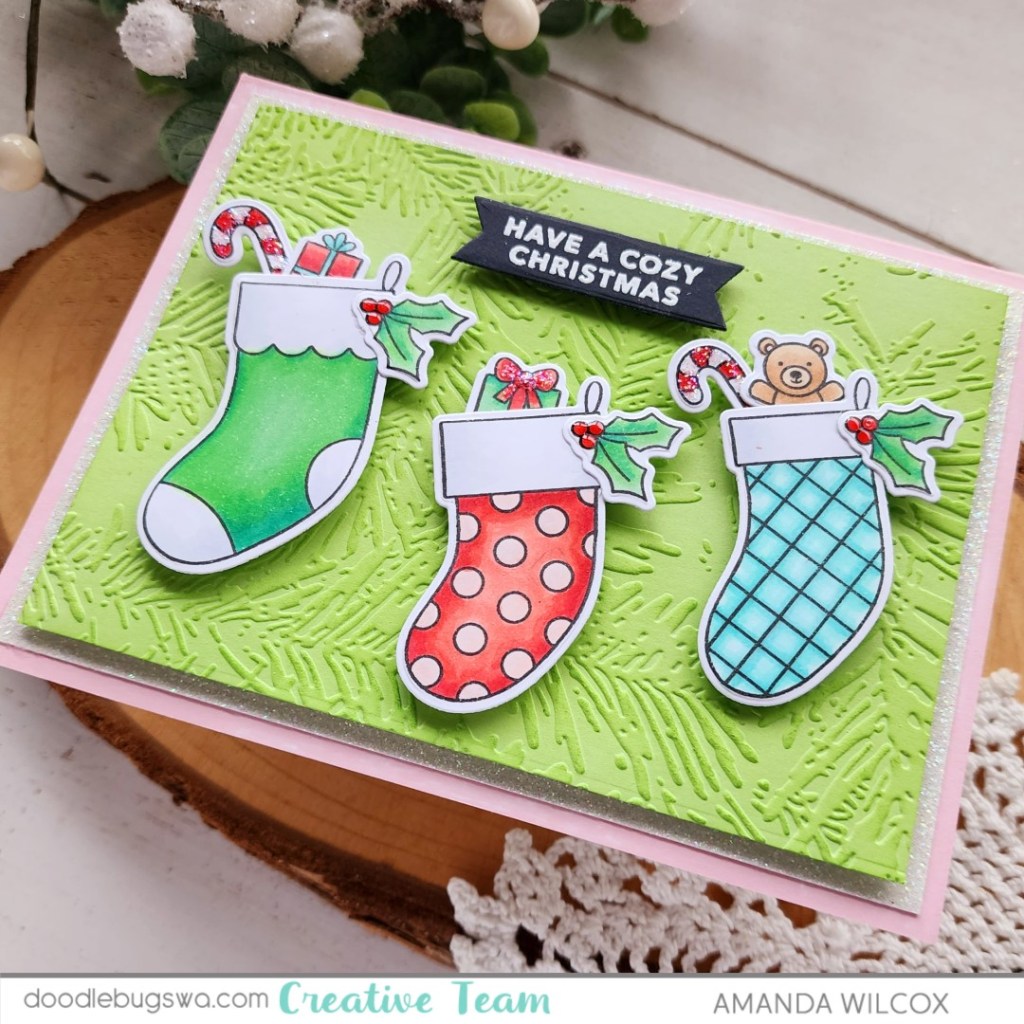
To create my card, I stamped images from Pretty Pink Posh Holiday Stockings. I used the coordinating dies to cut them out and liquid glue to adhere my stocking gifts in place. I stamped and heat embossed a sentiment and used a Lawn Fawn banner die to cut it out.

Next I used the Spellbinders In the Pines embossing folder on a piece of green cardstock. I trimmed that down to 3.75×5 inches and lightly went over the embossing with a darker green ink to help it show up better.

I took my Lawn Fawn ballet slippers ink pad and drug it across the edges of a white card base, then cut white glitter paper down to 4×5.25 inches and glued it down. I popped the embossed panel up with foam tape and then added my sentiment and stockings with foam squares.

For finishing touches I added glossy accents and stardust Stickles to bits and pieces in all of the stockings.

Products used:
Pretty Pink Posh Holiday Stockings stamps and dies
Spellbinders In the Pines embossing folder
Lawn Fawn Extra Sentiment Banners dies
Embossing powder
VersaMark ink
Anti-static brush
Lawn Fawn Ink – jalapeno and ballet slippers
Liquid glue
Glossy accents
Stickles – stardust

I appreciate you sharing your time with me. Have a fabulous day!
Doodlebugs – Stretch Your Dies from Christmas through Winter and Beyond

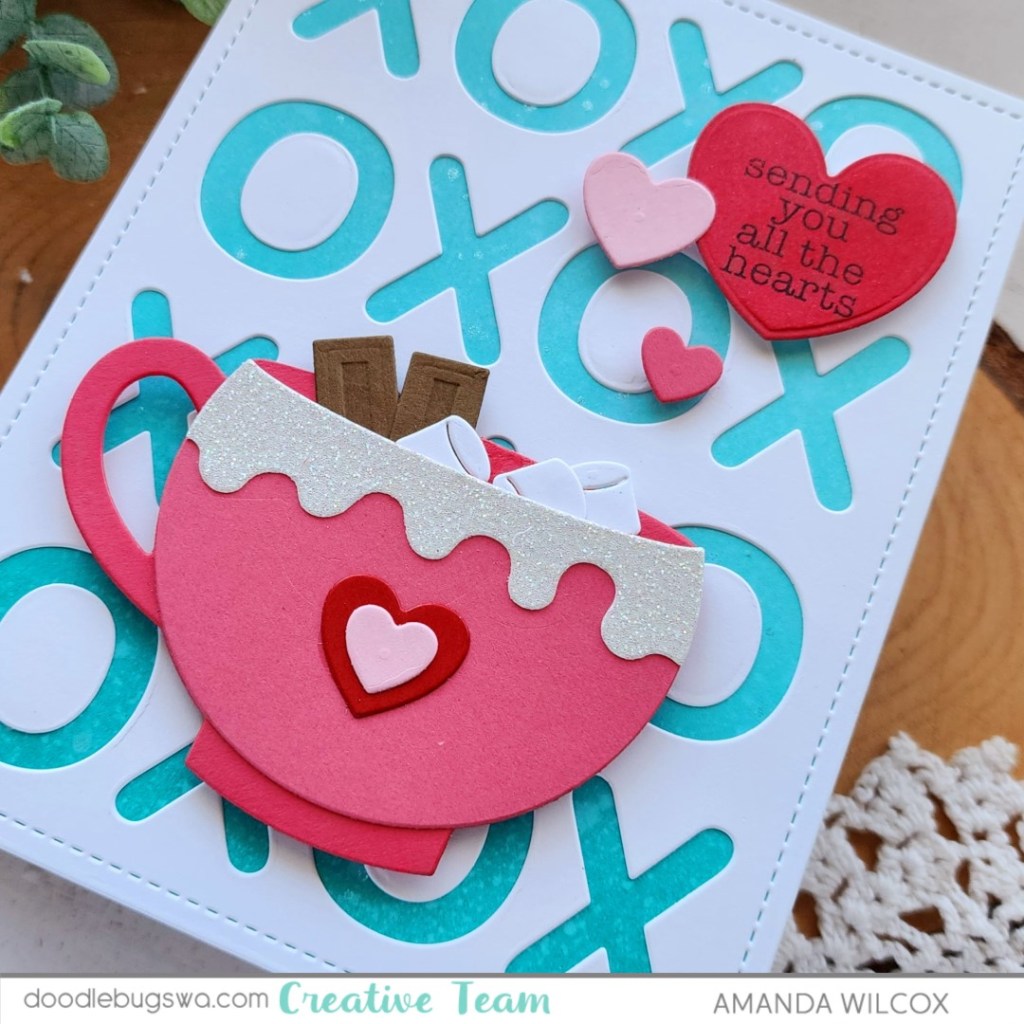
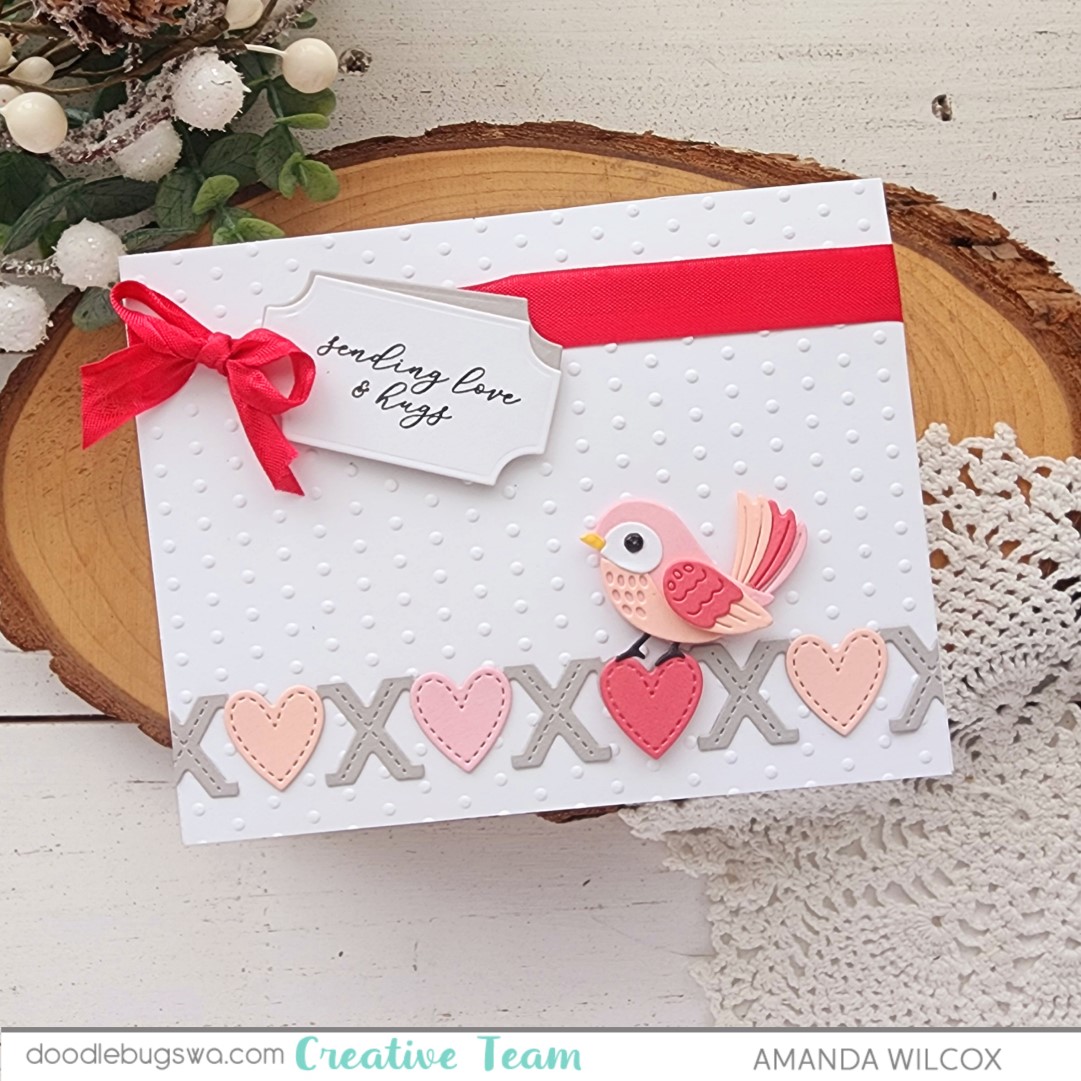
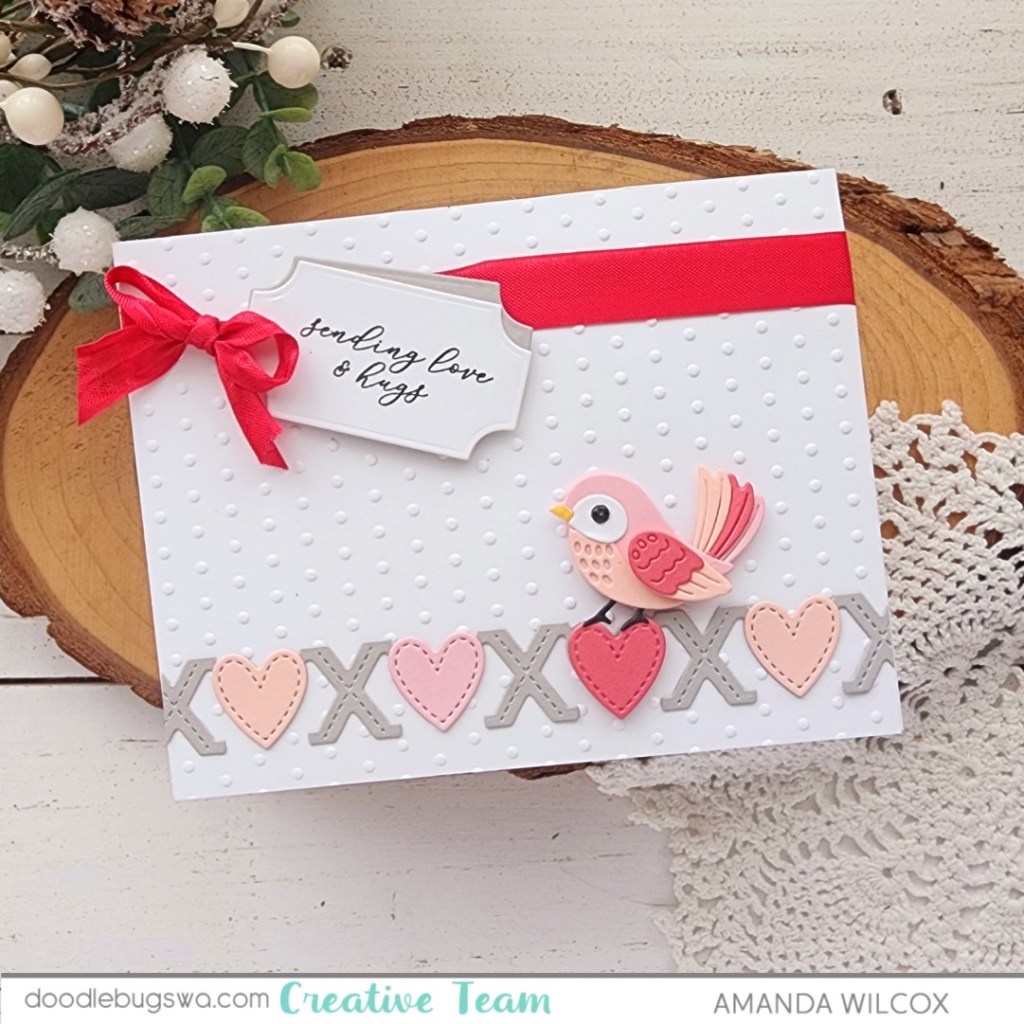
Hi friends! I’m on the Doodlebugs blog today stretching some fabulous Christmas dies into Valentine’s Day and that gave me ideas for all year long too! It’s so nice when products can be used for more than one time a year.

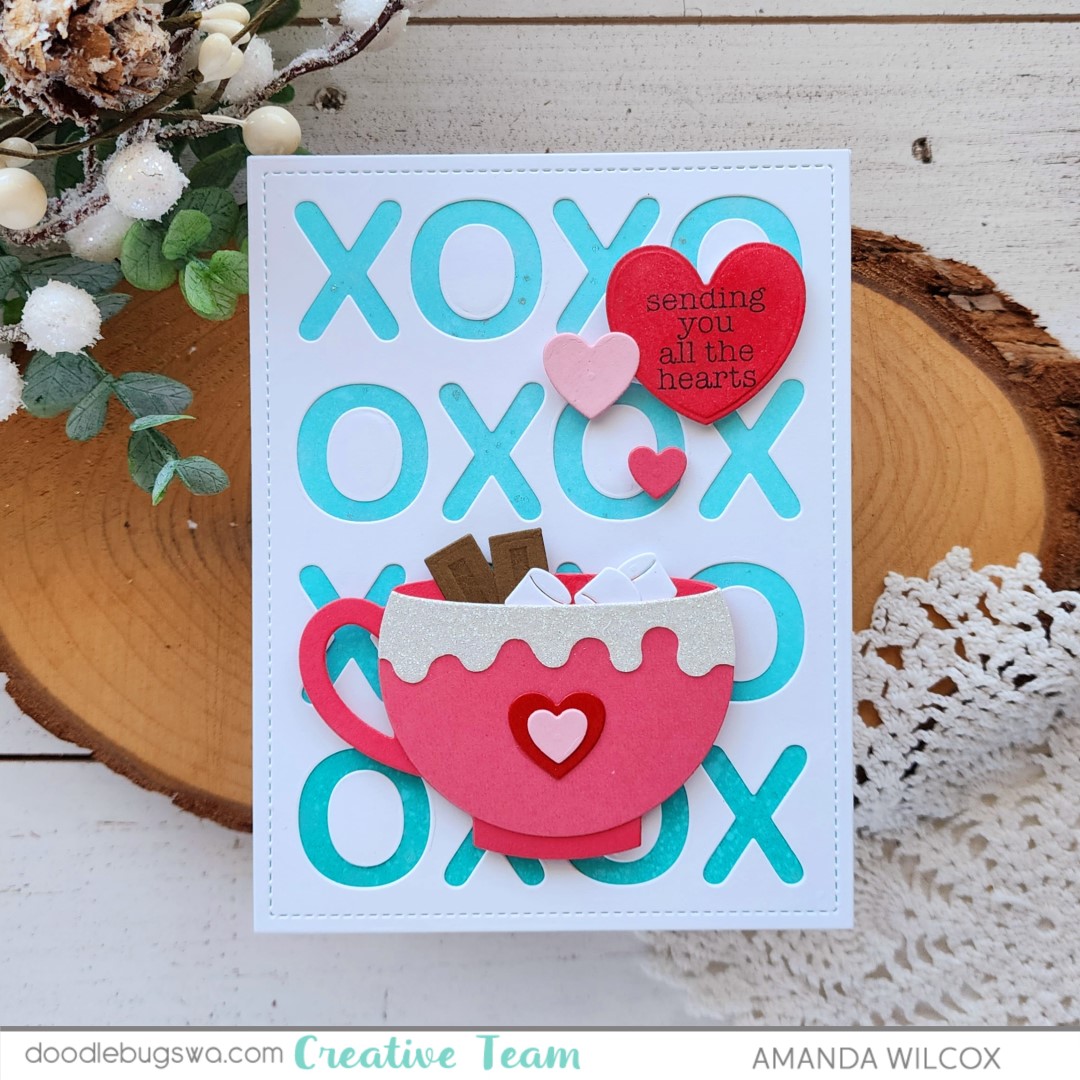
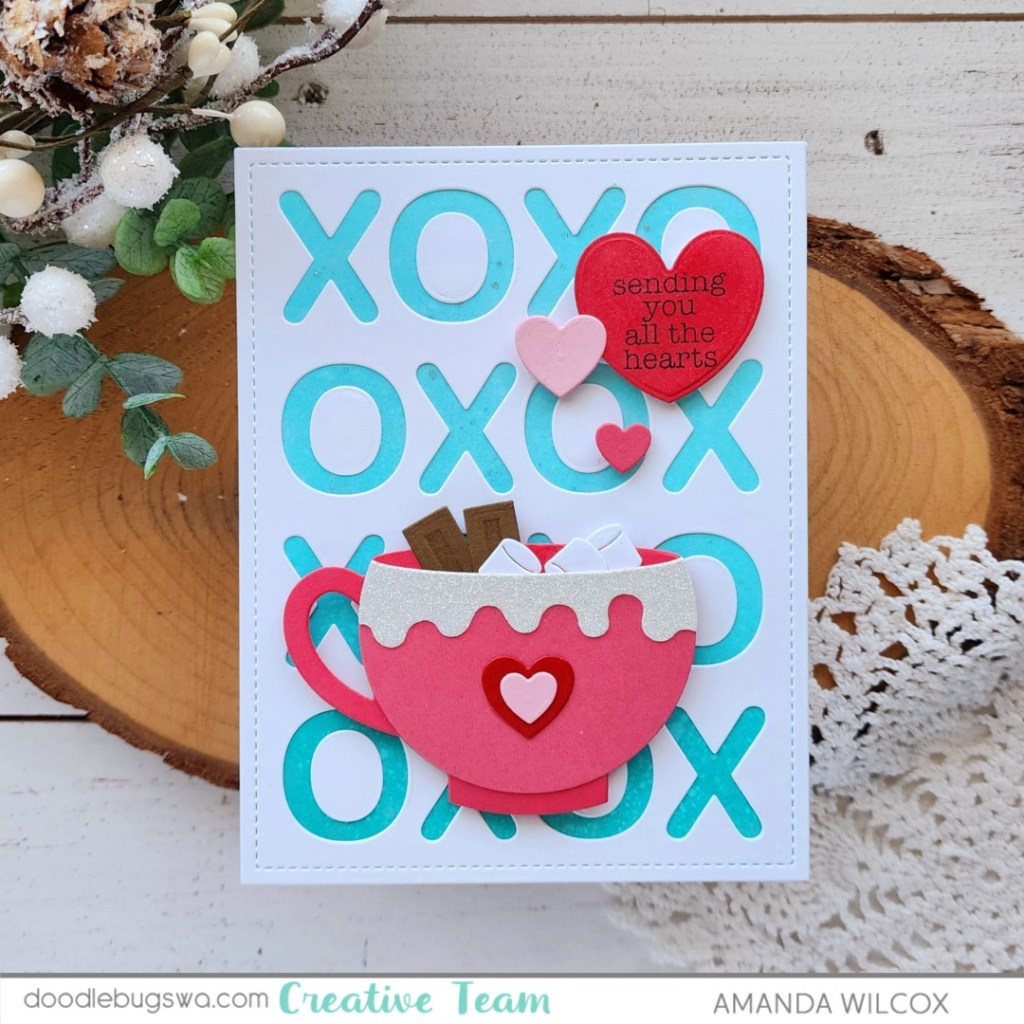
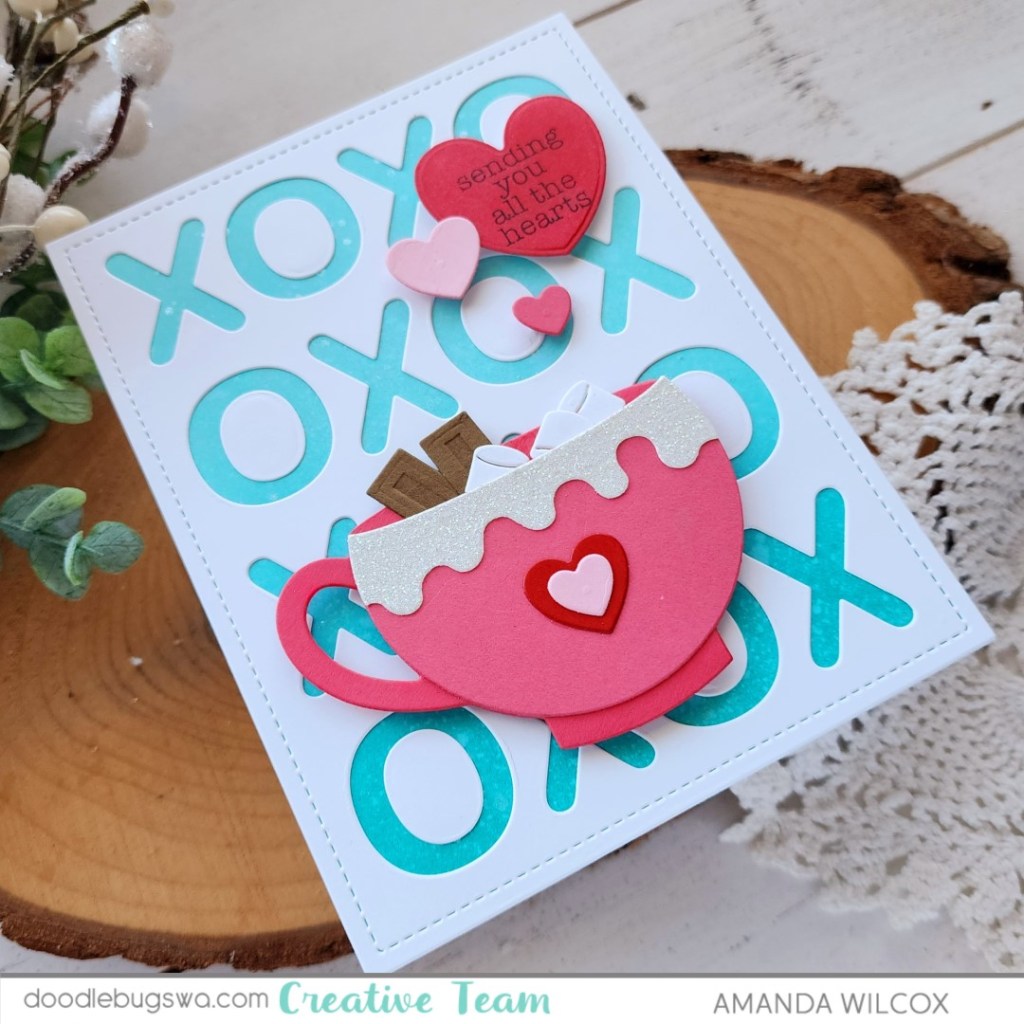
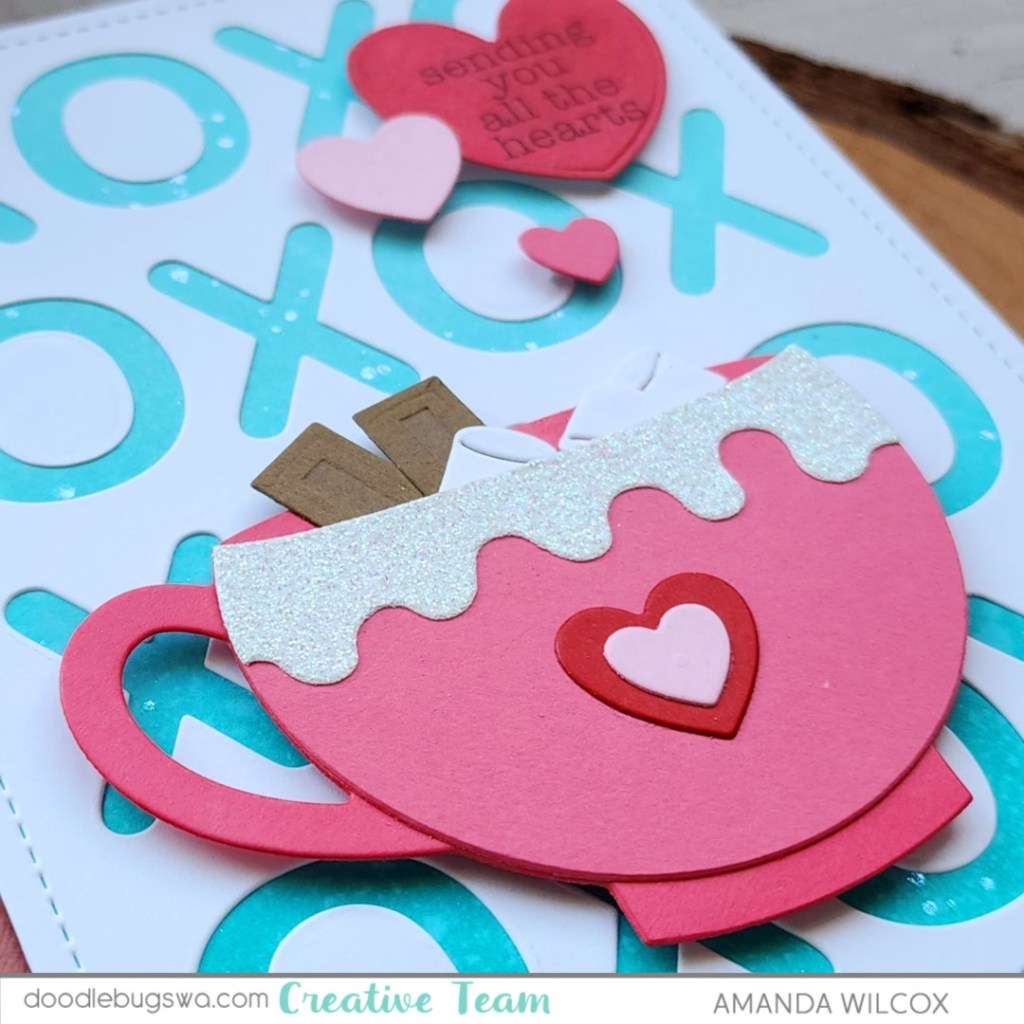
I fell in love with the latest Mama Elephant release and thought this fun mug from Spellbinders would be a great combo for some lovely hot cocoa to share. I used cardstock from my stash to die cut all of the pieces and liquid glue to adhere everything together.

Then, I took a white panel and ink blended peacock feathers and salvaged patina distress oxide inks. I splattered it with water and pearl watercolor. Then glued my cover panel on top and inserted the centers of the Os where they belonged.

I popped the mug up with foam squares toward the bottom of my card. Then I added some more hearts, one holding my sentiment. The smaller ones are from the mug dies and the larger one is from the new Mama Elephant Heart Pocket die set.

I love the shimmer of the watercolor on the background and the sparkle from the glitter paper on the mug. They are simple ways to add a little extra to your card designs.

After I created this love filled mug, I was thinking that it would be easy to add snowflakes through winter and change your sentiment to a thank you. I always need extra thank you cards through the holidays.

Products used:
Mama Elephant Heart Pocket dies
Mama Elephant Beary Good Day stamps
Mama Elephant XOXO Grid Cover die
Spellbinders Merry Mug Creations dies
Liquid glue
Foam squares
Distress Oxide Ink – peacock feathers, salvaged patina

LH Colors watercolor – pearl

I appreciate you sharing your time with me. Have a fabulous day!
Merry, Merry – Shop Your Stash

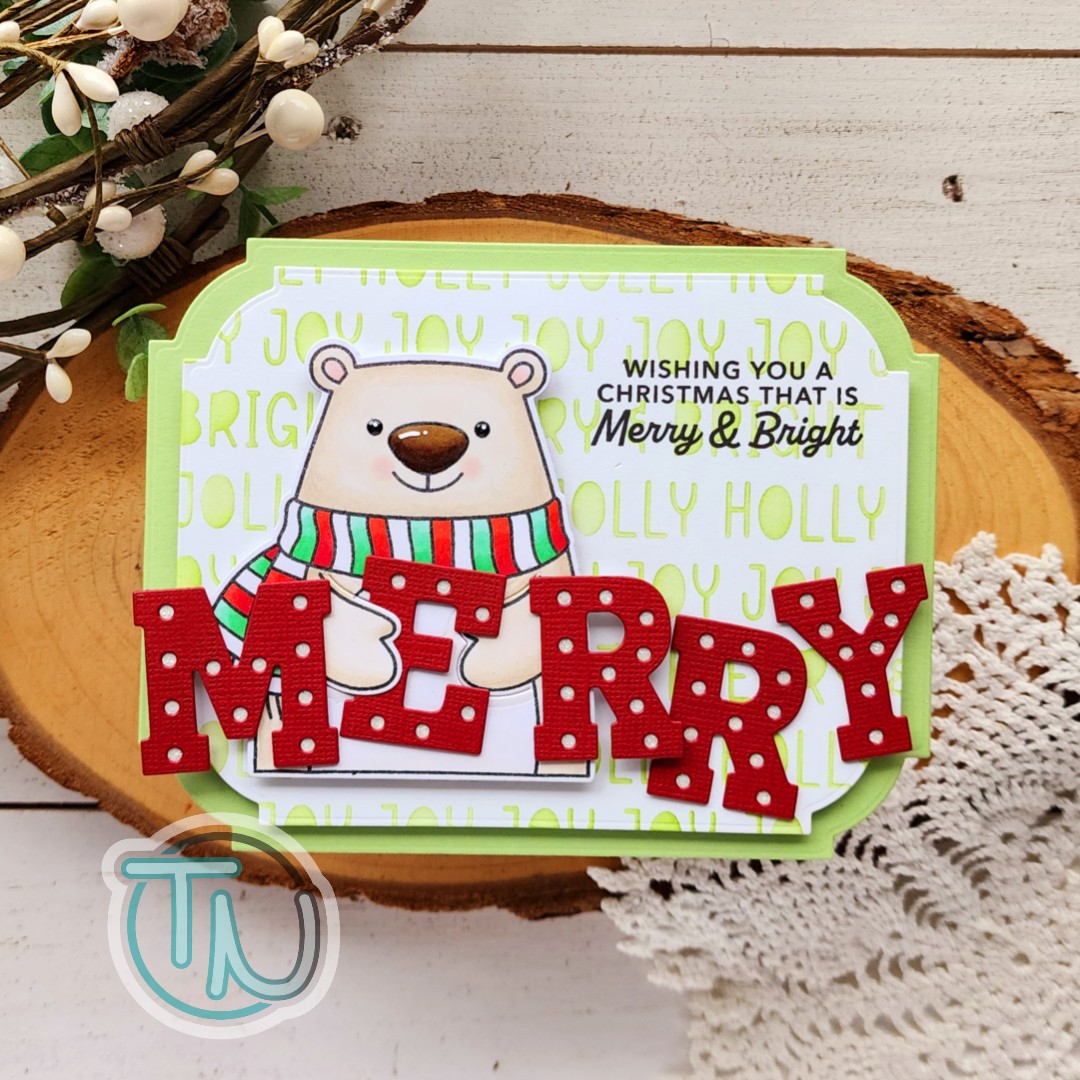
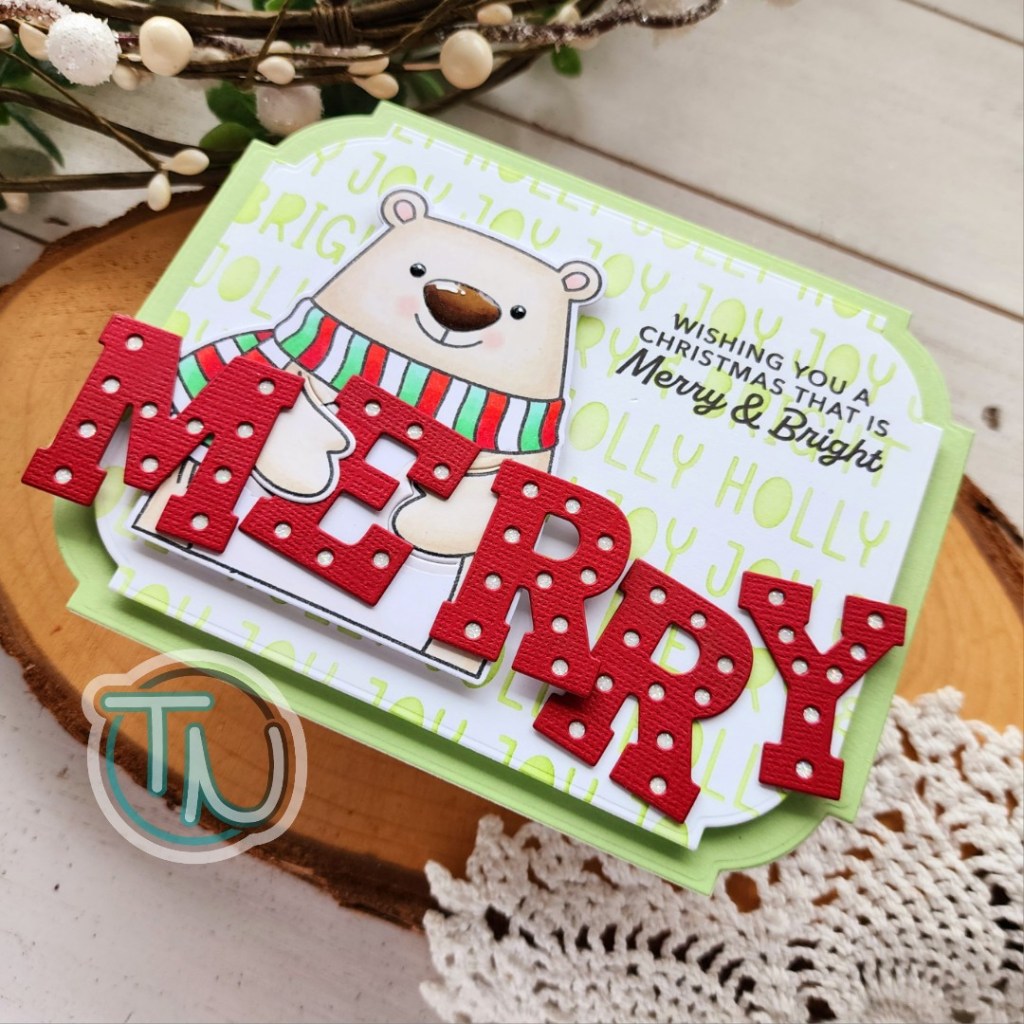
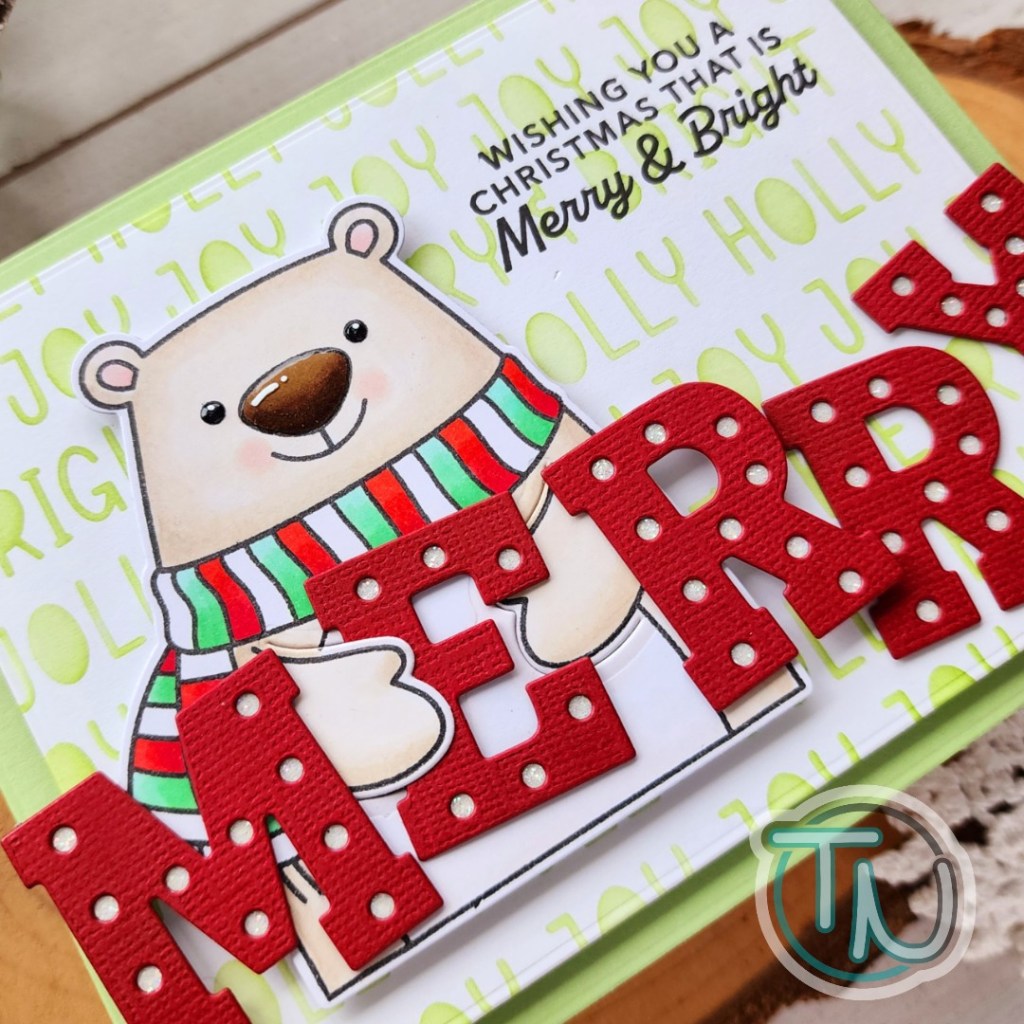
Hello everyone! It’s officially Christmas season and I’m not mad about it one bit! I know we’ve all been holiday crafting for a while in order to get things done by Christmas but there’s something different about feeling no judgement for blasting that holiday music and watching those fabulous movies on repeat that makes things a bit more magical. I wanted to start this season off with a really fun card that came together in my head and uses a bunch of great goodies that were in my stash.

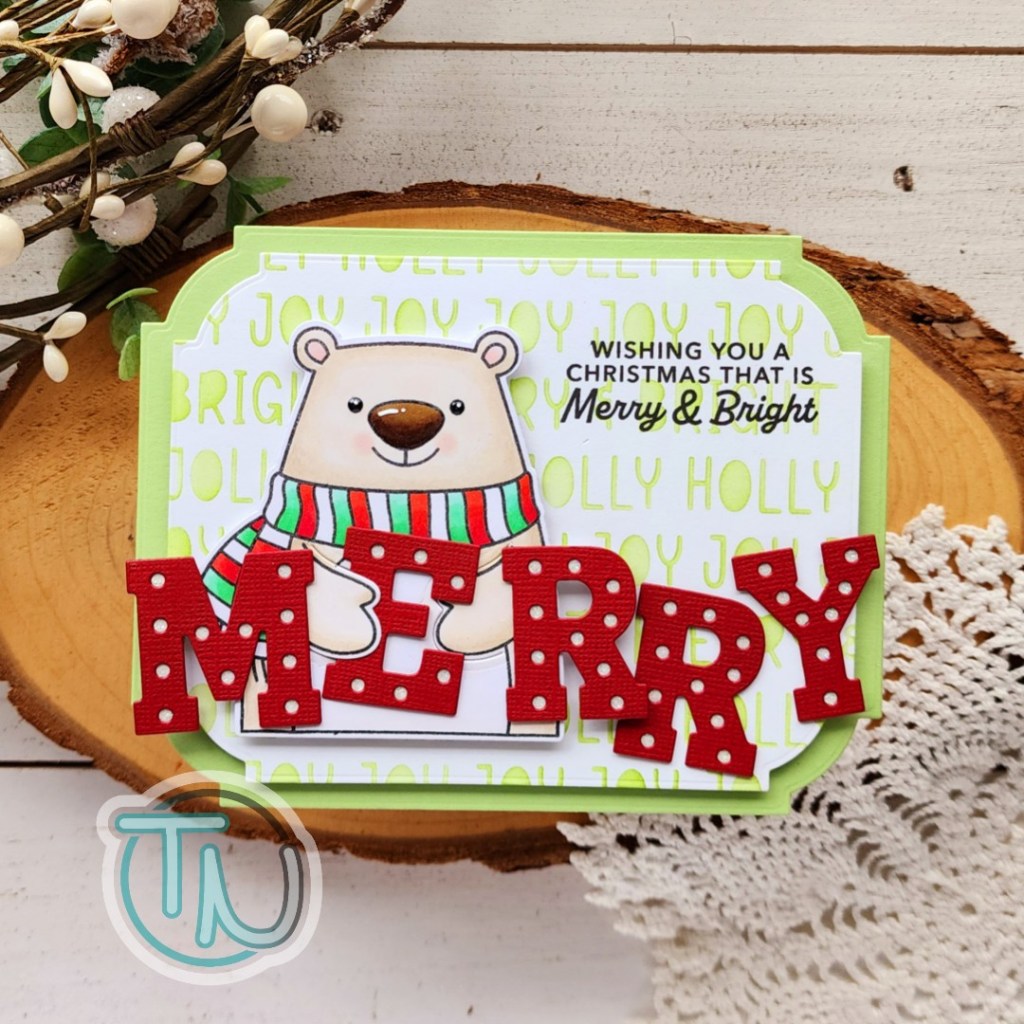
I stamped and colored up that adorable Sunny Studios bear and cut him out with the coordinating dies, then used the extra die in the set so his hands can hold things too! Next, I cut the letters for MERRY with the Mama Elephant Marquee Letters dies. I lined the back with white glitter paper so the holes are sparkly.

Next I cut three Spellbinders Notched Rectangles – 2 of the largest white and green, 1 next size down white. I inked up the smaller one with the Pretty Pink Posh Winter Words stencil. Using my letters and bear as a guide, I stamped a sentiment from the Spellbinders Santa’s Sippin’ Sayings stamp set in the upper right corner of the panel.

I popped the stenciled panel up on the green notched rectangle with foam tape. Then I added my bear with foam squares and the letters with a combination of foam squares and liquid glue depending where they fell.

To create my shaped card, I took the white notched rectangle and scored it 3/8″ on one long side. I creased the fold and added it to the green one with double-sided tape. For finishing touches I added glossy accents to the bear’s nose and eyes. Once that was dry I went over the top and added a white gel pen highlight on them too.

I hope you have a wonderful holiday season and find lots of time to do all the things that make you happy!

Products used today:
Sunny Studio Holiday Hugs stamps and dies
Spellbinders Notched Corners dies
Spellbinders Santa’s Sippin’ Sayings stamps

Pretty Pink Posh Winter Words stencil
Mama Elephant Marquee Letters dies
Liquid glue
Foam squares and tape
Glossy accents
Sakura gelly roll pen

I appreciate you sharing your time with me. Have a fabulous day!
Doodlebugs – Hanging Ornaments Card Duo

Happy Monday friends! To mix things up today for the Doodlebugs blog I’m playing with the new Spellbinders ornament dies – there are a few fun sets depending on your style – and Pretty Pink Posh stencils and dies for the background. And of course I got carried away and made too many ornaments for one card so we’ve got two, just for fun!

Like I eluded to above, I started these cards by just pulling out the Spellbinders Festive Ornaments dies and started cutting pieces. I wanted to make a million of them all because they’re so cute but I focused on my top favorites and cut the pieces for those. I just used cardstock in my stash and actually didn’t have a plan for pairing them up at all.

But once they were all glued together, I immediately put these three together and loved the combo! So I pulled out the new Pretty Pink Posh Winter Words stencil and inked green on green cardstock for a subtle background. Then I stamped a sentiment from Spellbinders Santa’s Sippin’ Sayings and heat embossed it white.

After popping the ornaments up with foam tape I threaded fishing line through them for the look of them hanging but nothing too bold to take away attention from the cute ornaments themselves. I secured the fishing line with washi tape on the back of the panel and then glued it to a card base.

But I still had this adorable light ornament left over and this sentiment in the same stamp set was just calling it’s name. So instead of making more for another card in the same design I thought I would let it shine all on its own. I did use the same stencil on this background panel before die cutting it with the largest Pretty Pink Posh Eyelet Rectangle die although my dark red ink isn’t quite dark enough for this paper.

I heat embossed my sentiment on the bottom of the panel and popped the ornament up the same as the others. Then I threaded fishing line all the same again and popped the eyelet panel up on a white card base.

Aren’t these so fun!?! I can’t wait to make more, including the other sets with the critters and characters in them. These would make great tags and ornaments for your tree too! Lots of ideas!!!

Products used:
Spellbinders Santa’s Sippin’ Sayings stamps
Spellbinders Festive Ornaments dies
Pretty Pink Posh Eyelet Rectangles dies
Pretty Pink Posh Winter Words stencil
Blending brushes
Lawn Fawn Ink – cilantro and chili pepper
Foam tape
Liquid glue
VersaMark
Embossing powder – white
Powder tool
Reverse tweezers

I appreciate you sharing your time with me. Have a fabulous day!
Doodlebugs – Holly Jolly Die Cutting Christmas

Hello everyone! I had a die cutting party for one in my craft room and it was a blast! I played with the new Pretty Pink Posh Build a Stocking die set and it was so fun! I even went a completely different color way than I’m used to for added fun. I hope you enjoy it!
This card actually started with me embossing a piece of white cardstock with the new Spellbinders Sparkling Snow 3D embossing folder. I had to test it out as soon as it came because it looks so pretty on the package. It’s even better in real life. After I embossed the panel I took my pink and purple blending brushes and just went over random snowflakes without adding and ink to them. It gave a sweet, soft glow on the paper and I loved it.

So naturally, I went digging in my paper stash and found pink and purple cardstock that coordinated and started die cutting parts of the stockings. I used liquid glue to adhere them together and played with arrangement on my card for a while before I liked it.

I carefully added liquid glue where the stockings overlapped and placed an acrylic block on them to dry so I didn’t lose my positioning. (That’s how long it took me to get it right.) While that was drying, I die cut sentiment strips and stamped the sweetest sentiment ever on the top layer. I was mindful to use gray ink because the card is so soft, I didn’t want a bold black sentiment stealing all the attention.

With the stockings dry, I added foam squares to everything and popped them in place on the embossed panel. Finally, I added the panel to a card base and my card is all finished.

I love thinking about different ways projects could be fun after I make them and this one screams a “build a stocking” party for kids. Die cut a bunch of pieces and let them loose to build stockings and create cards with them. I think it would be so much fun for everyone! Shoot, might be a fun way to convert a non-paper crafter to the dark side too. Lol.

Products used today:
Pretty Pink Posh Build a Stocking dies
Pretty Pink Posh Sentiment Strip dies
Pretty Pink Posh Sentiment Strips | Christmas stamps
Spellbinders Sparkling Snow 3D embossing folder
Liquid glue
Foam squares

I appreciate you sharing your time with me. Have a fabulous day!