Doodlebugs – Reverse Embossed Backgrounds

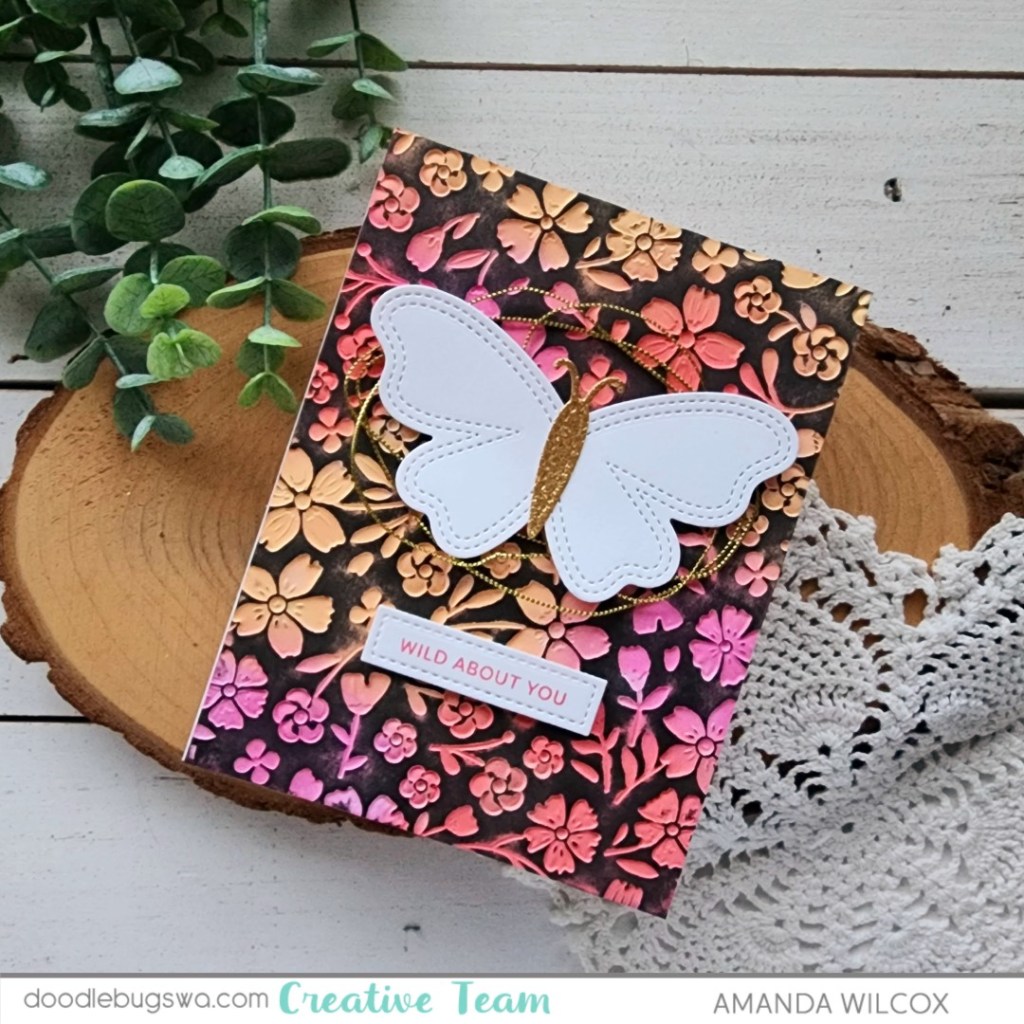
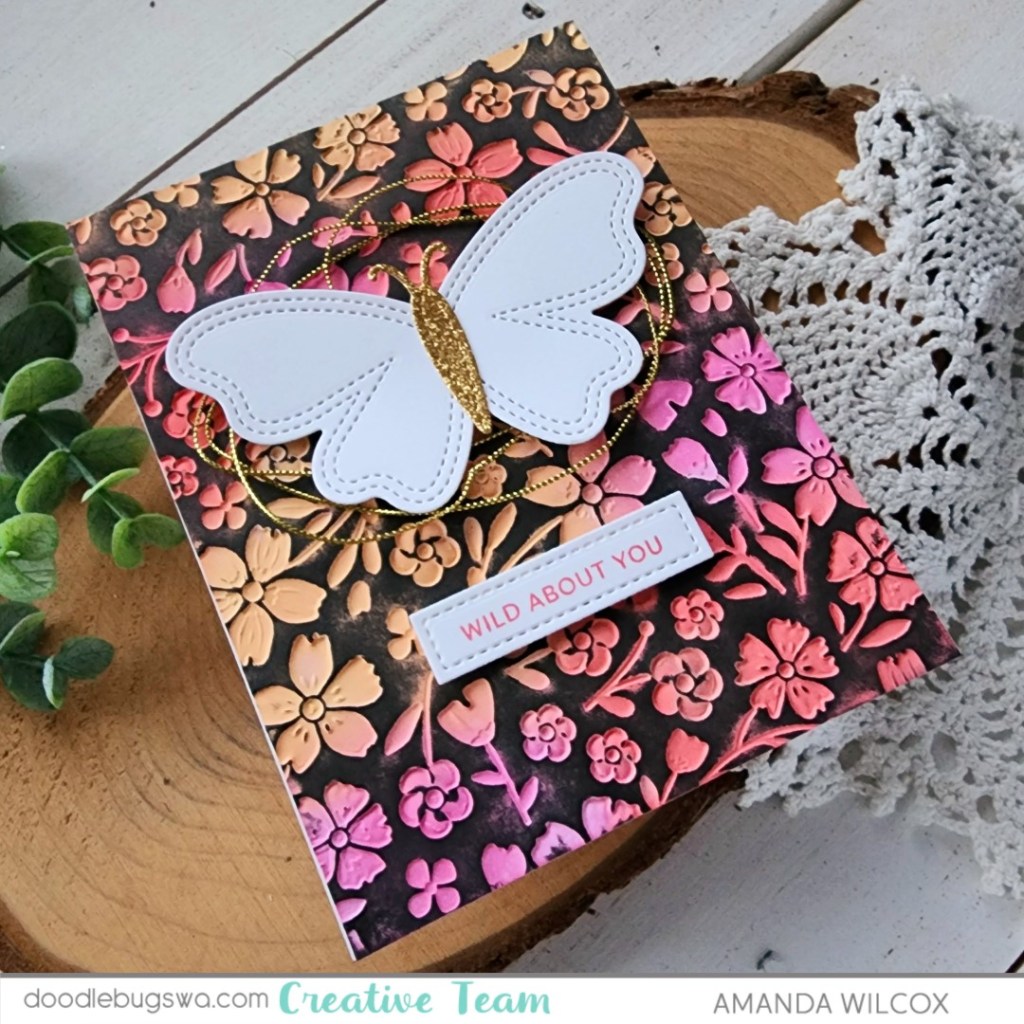
Hey friends! I’m playing with reverse embossed backgrounds today and LOVING the outcome! It’s simple to do but looks complex which makes it all that much cooler!

I started with a piece of white cardstock and ink blende it randomly with distress oxide inks. Today I chose picked raspberry, abandoned coral and wild honey for my colors. There was very little blending involved, mostly just getting color coverage on the panel. Then I put the panel in my Spellbinders Flower Frenzy embossing folder with the color side touching the protruding flowers. This way the flowers are inset into the panel instead of popping up.

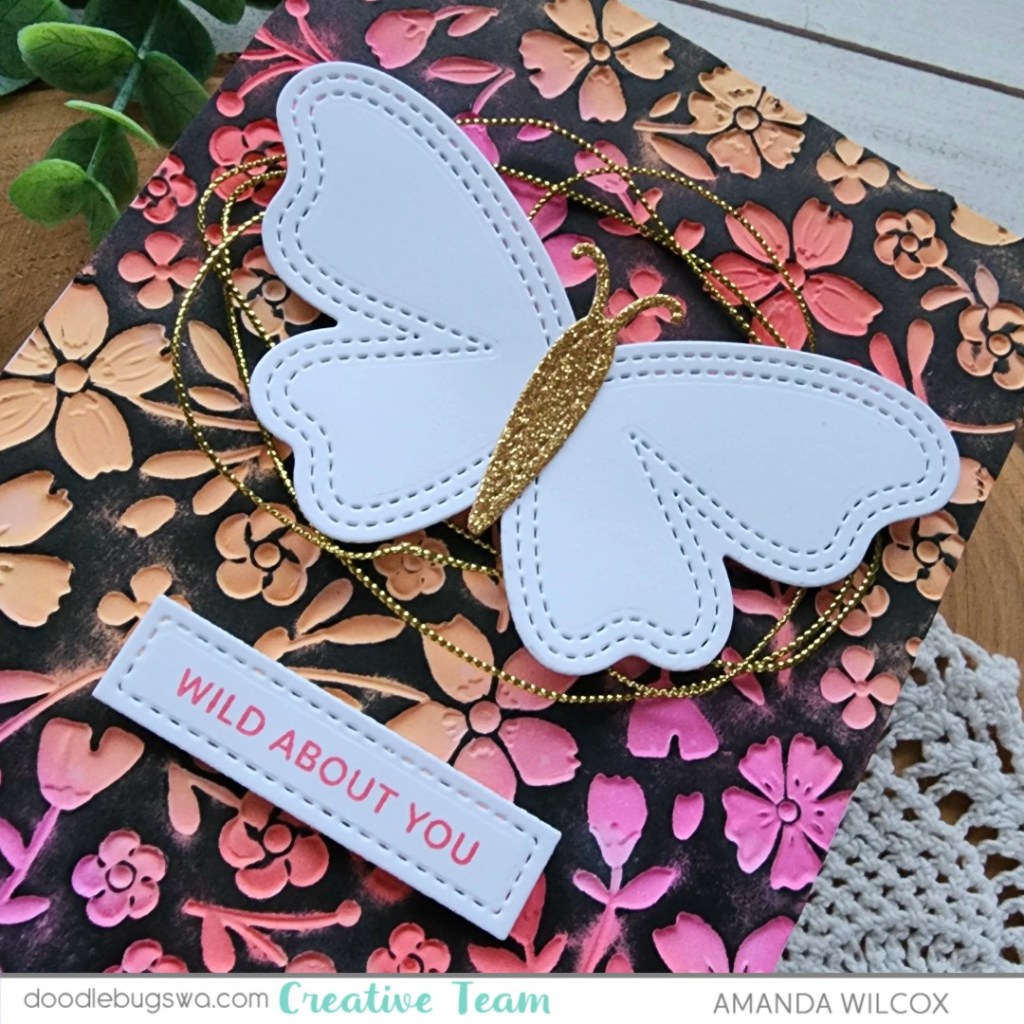
After running that through my die cut machine, I inked up my brayer roller with black ink and carefully rolled ink over the panel. As long as you don’t push your embossing flat with the roller, the ink will stick to the top of the panel and not go in the flower indents.

I glued the panel to a white card base and pulled out the Pretty Pink Posh Stitched Butterflies dies. I chose a simple one to cut from white cardstock with a gold glitter body. I used liquid glue to adhere the pieces, wrapped some gold thread behind the butterfly and popped it up with foam squares on my card front. Last, I chose a sentiment from the Pretty Pink Posh Sentiment Strips | Valentine stamps to ink up with Lawn Fawn guava ink on a sentiment strip, also from Pretty Pink Posh.

Isn’t this technique so cool?!? I can’t wait to try it with different color combos. Maybe even leaving the embossing white and rolling a color over the top. So many possibilities!

Product used:
Spellbinders Flower Frenzy embossing folder
Pretty Pink Posh Sentiment Strip dies
Pretty Pink Posh Sentiment Strips | Valentine stamps
Pretty Pink Posh Stitched Butterflies dies
Foam squares
Distress Oxide Ink – picked raspberry, abandoned coral, wild honey
VersaFine black onyx ink
Lawn Fawn guava ink
Brayer roller

I appreciate you sharing your time with me. Have a fabulous day!
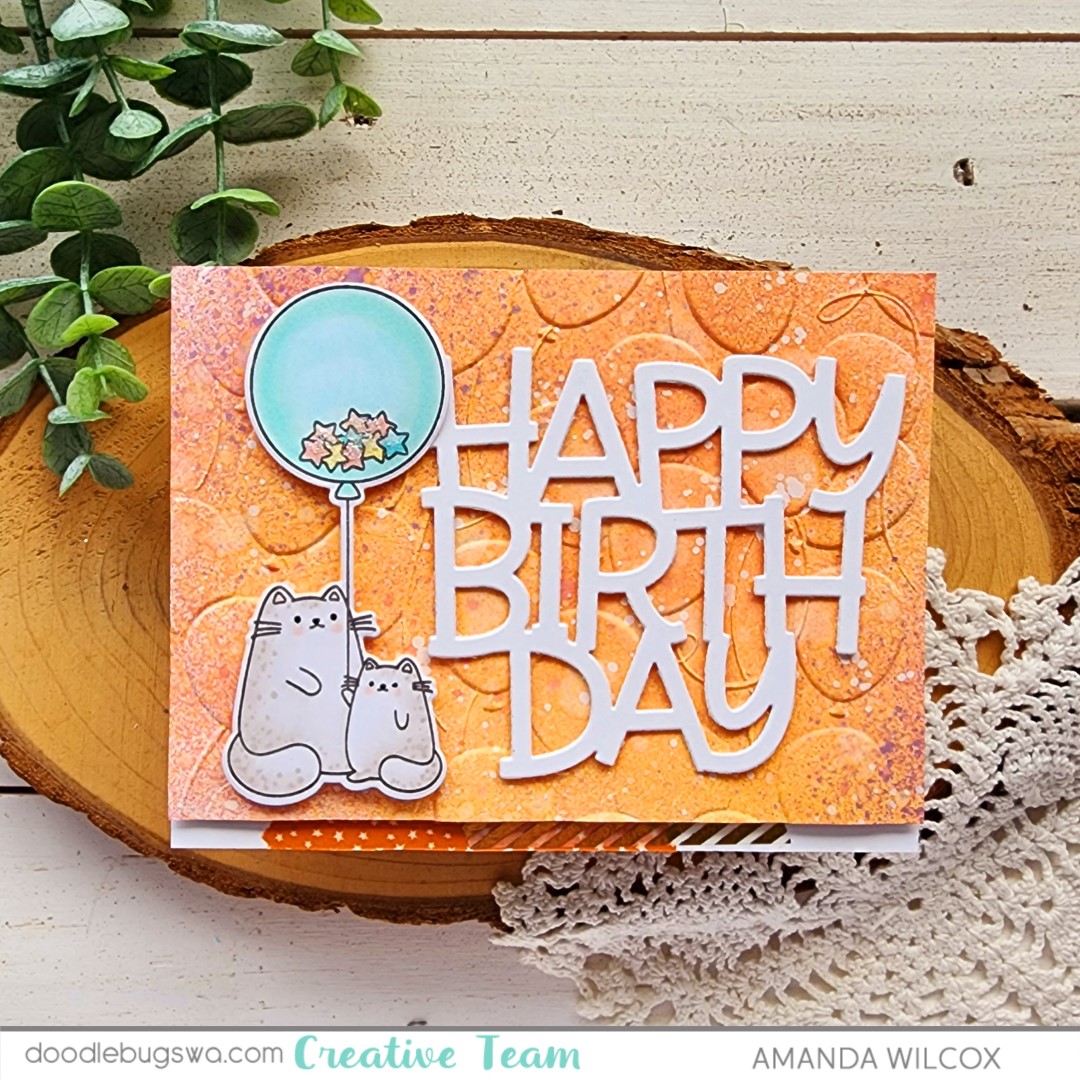
Doodlebugs – Cover Plates with Embossing Texture

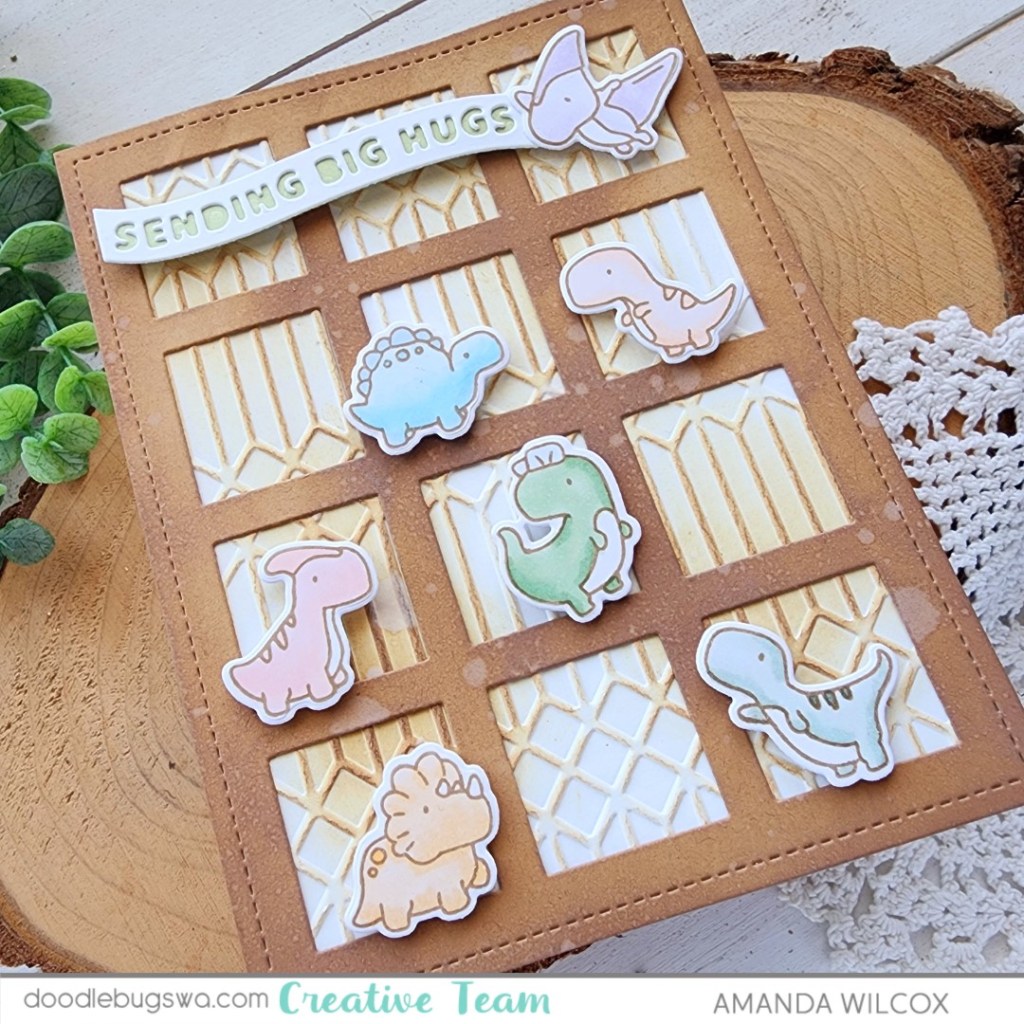
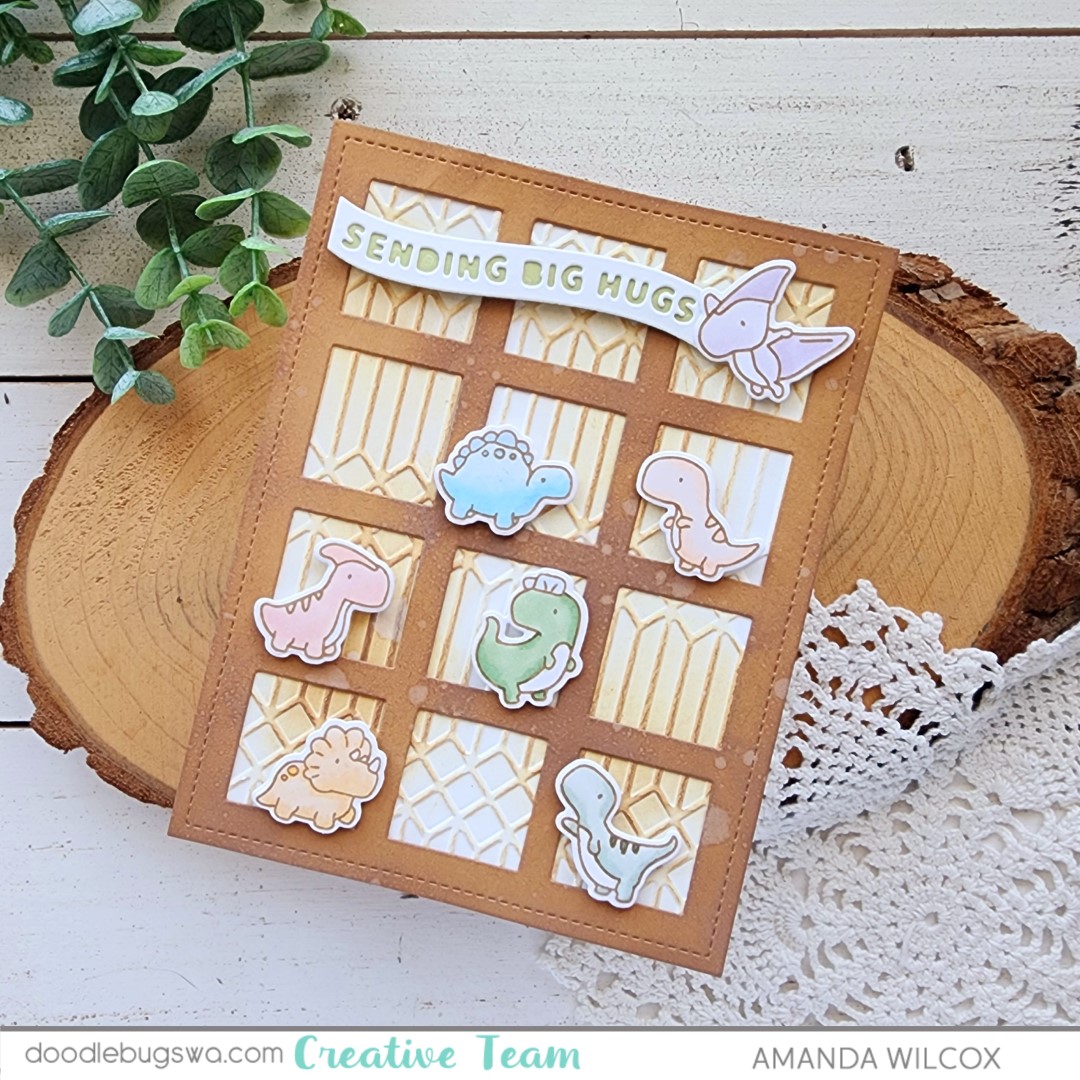
Welcome to a fresh new week everyone! I’m on the Doodlebugs blog today finding new looks for all the fun window cover plates out there. I love using them for added interest and ways to ground images but sometimes that plain background in the windows is boring. Today I played with an idea that you could definitely grow on to add texture and interest to those spaces.

I cut the Mama Elephant Window Grid from kraft cardstock and slid a white panel behind it. Then I pulled out my Little Dinosaur Agenda stamps out and chose a few to fill in the windows. After stamping and coloring the ones I picked, I used the coordinating dies to cut them out.

When it was time to start layering everything together I didn’t want just ink blending or splatter in the windows so I took the Spellbinders Columns embossing folder and ran the white panel through my die cut machine. That was cool but now I wanted a little more so I did random ink blending with distress oxide gathered twigs ink on the window panel and the embossed panel. Then I splattered it all with water. This was much more my style.

I used liquid glue to adhere those panels to a white card base and then popped all my dinosaurs up with foam squares. For my sentiment I cut one of the Mama Elephant Banner Greetings, glued the layers together and popped it in place with a foam strip like the pterodactyl is holding it while flying. This seriously made me giggle.

Remember you could keep the windows that cut out of the cover plate and emboss those pieces too! Another way to test the idea out and not use another piece of cardstock. Anyone interested in seeing that idea? Leave me a comment and let me know.

Products used:
Mama Elephant Grid Panel die
Mama Elephant Banner Greetings dies
Mama Elephant Little Dinosaur Agenda stamps and dies
Spellbinders Columns embossing folder
Distress Oxide Ink – gathered twigs
Distress sprayer
Liquid glue
Foam squares and strips
Lawn Fawn Ink – crunchy leaf (for copic coloring)

I appreciate you sharing your time with me. Have a fabulous day!
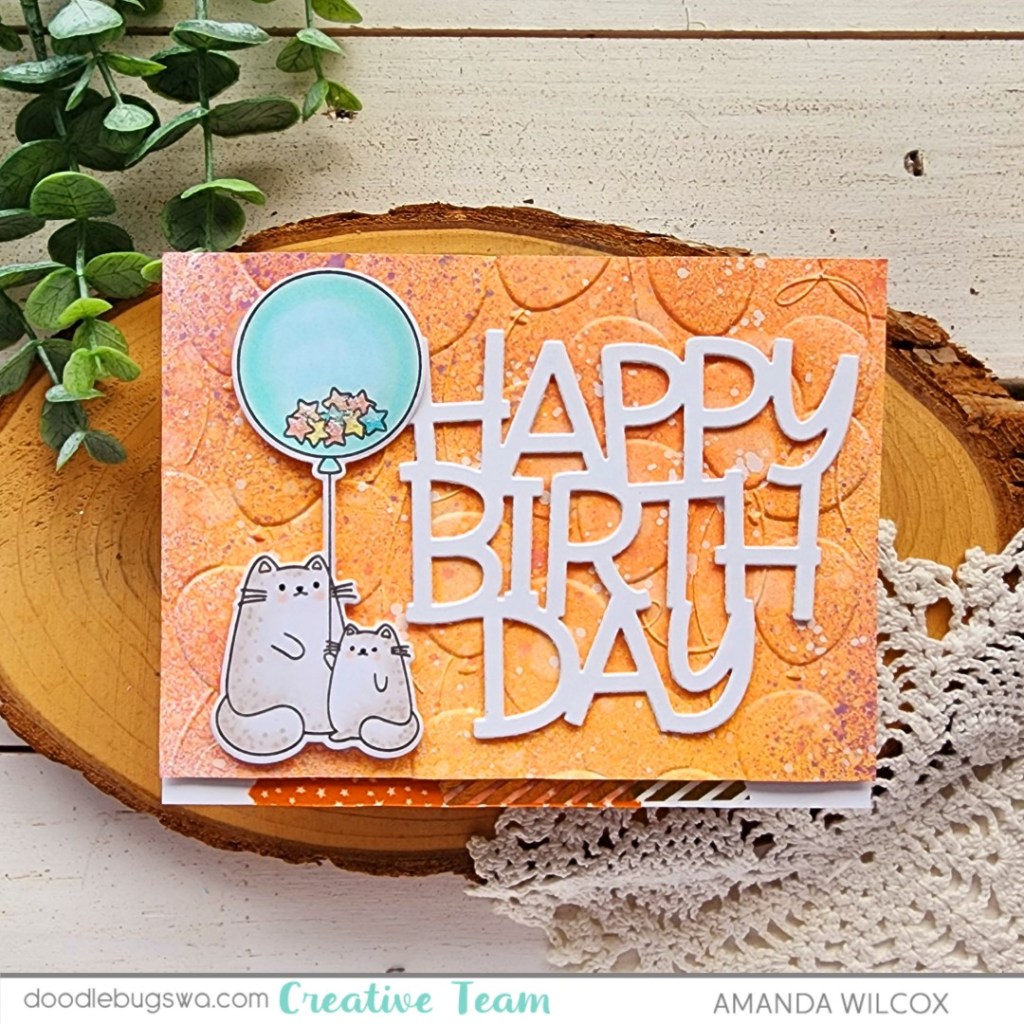
Doodlebugs – Texturizing Your Backgrounds

Hey friends! I’m on the Doodlebugs blog for Mix it up Monday with an idea for adding color and texture to your backgrounds in a different way. We’re going to ink, emboss and then ink again for added awesomeness!

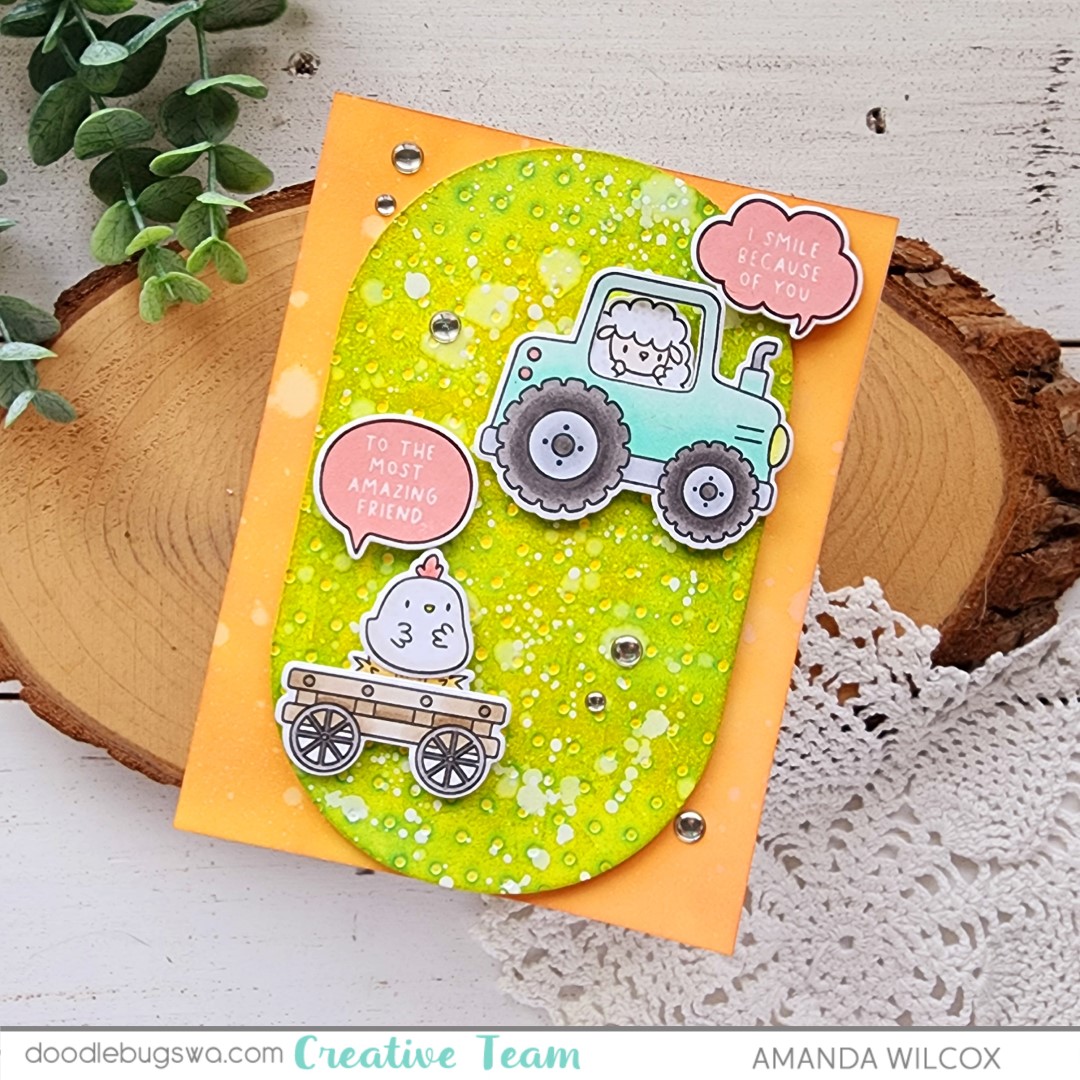
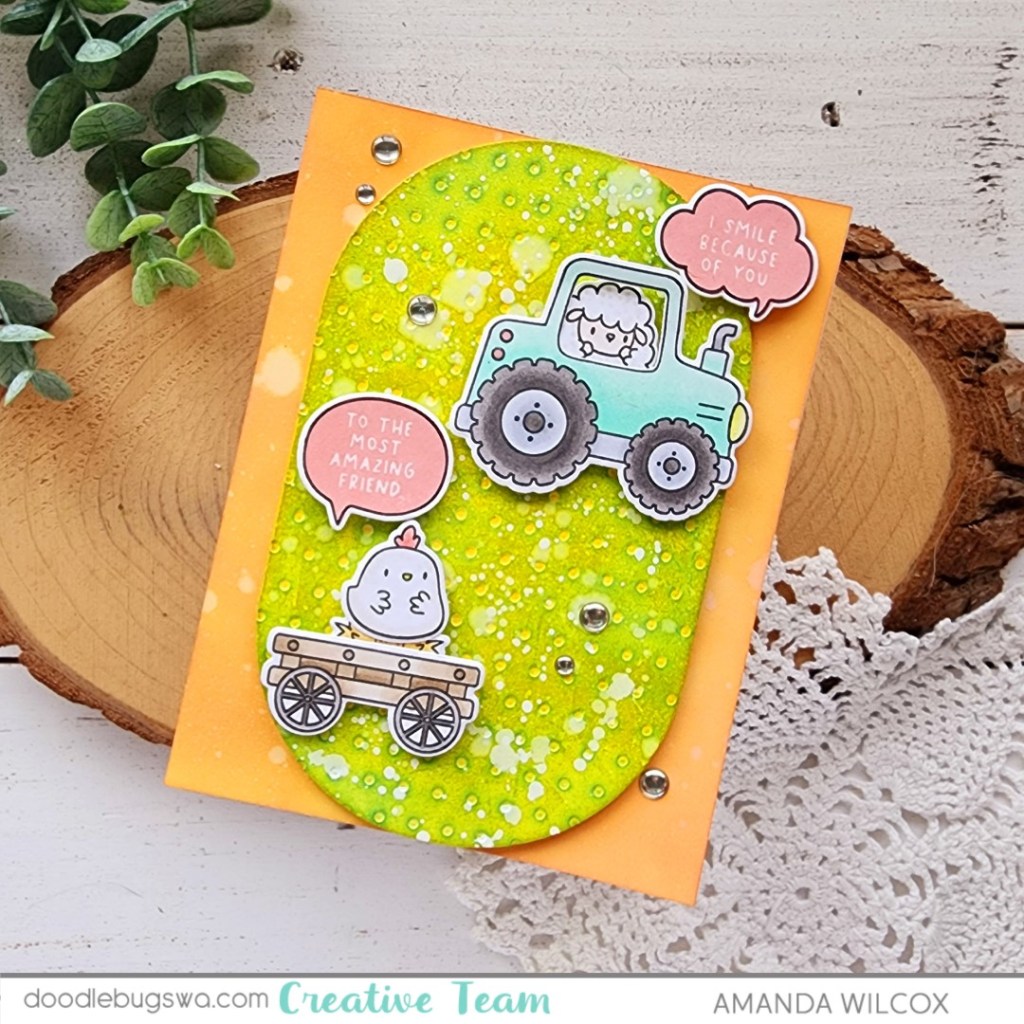
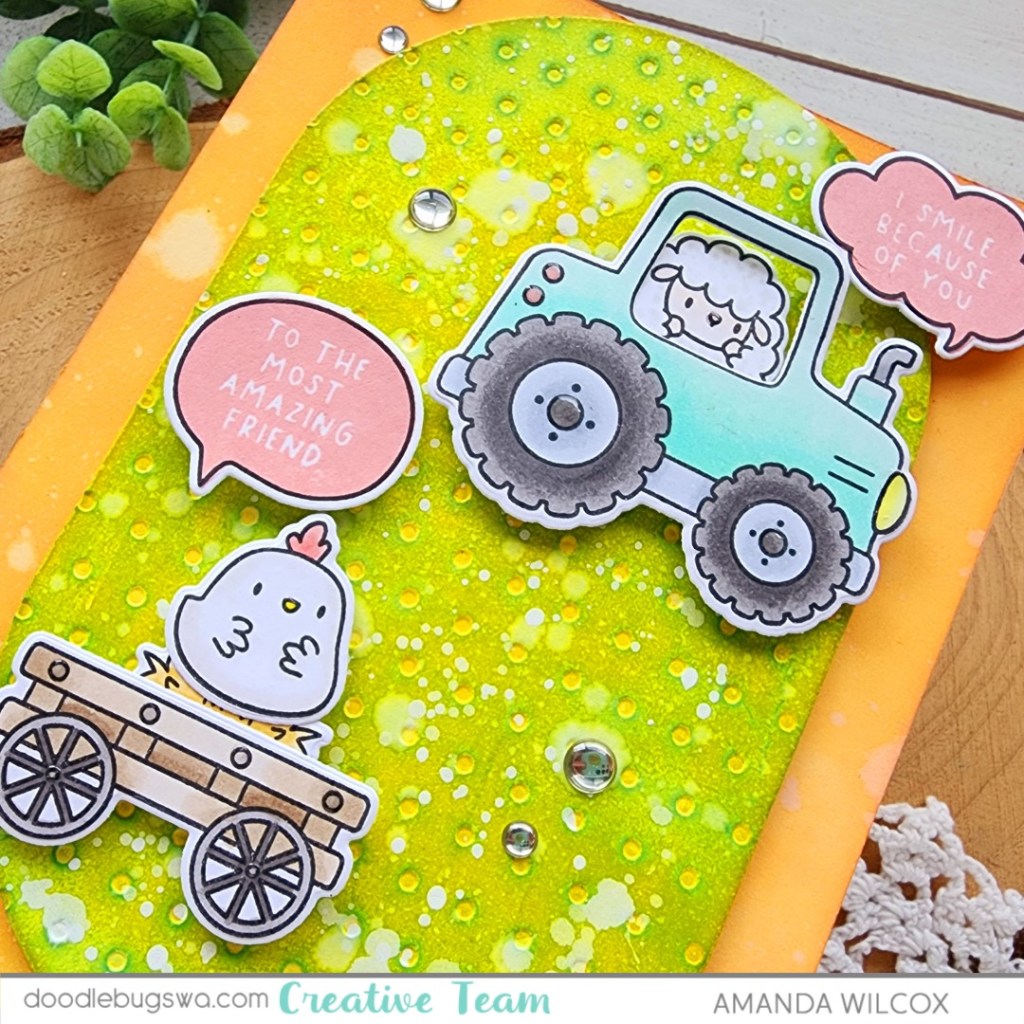
I had an idea for embossing folders and wanted to try it so that’s where today’s project started. I took a piece of white cardstock and die cut it with the largest Spellbinders Modern Oval die. I inked the panel up with yellow ink and inserted it into the Spellbinders Tiny Dot embossing folder and ran it through my die cutter. After I removed it, I flipped it over to what we normally consider the back side. So the dots indent instead of stick up. Then I added a layer of teal ink over the top with a brayer roller. This kept the ink out of the dots and just added a layer over the panel. Then I added a layer of peacock feathers distress oxide ink over that for a darker effect. I spritzed the panel with water and then flicked white paint on it too.

While that was drying I pulled out some Mama Elephant sets to stamp, color and die cut. I started with Little Agenda Farm and then moved on to Simple Friends Bubbles for my sentiments. Last I used liquid glue to assemble my critters in place and added foam squares to the back of everything.

I didn’t want the card base to be stark white so I inked it up with distress oxide ink in ripe persimmon and spiced marmalade and spritzed it with water. Then I adhered the oval with foam tape and finally added the images and speech bubbles.

For finishing touches I added glossy accents to the critter nose/beaks and bits of the tractor and wagon too. Last I added some enamel dots across the design for a bit of shine and reflection in the light.

Products used today:
Mama Elephant Little Agenda Farm stamps and dies
Mama Elephant Simple Friends Bubbles stamps and dies
Spellbinders Modern Oval dies
Spellbinders Tiny Dots embossing folder
Brayer roller
Lawn Fawn Ink – sunflower, peachy keen and mermaid
Distress Oxide Ink – peacock feathers, ripe persimmon and spiced marmalade
Foam tape and squares
Glossy accents
Enamel dots

I appreciate you sharing your time with me. Have a fabulous day!
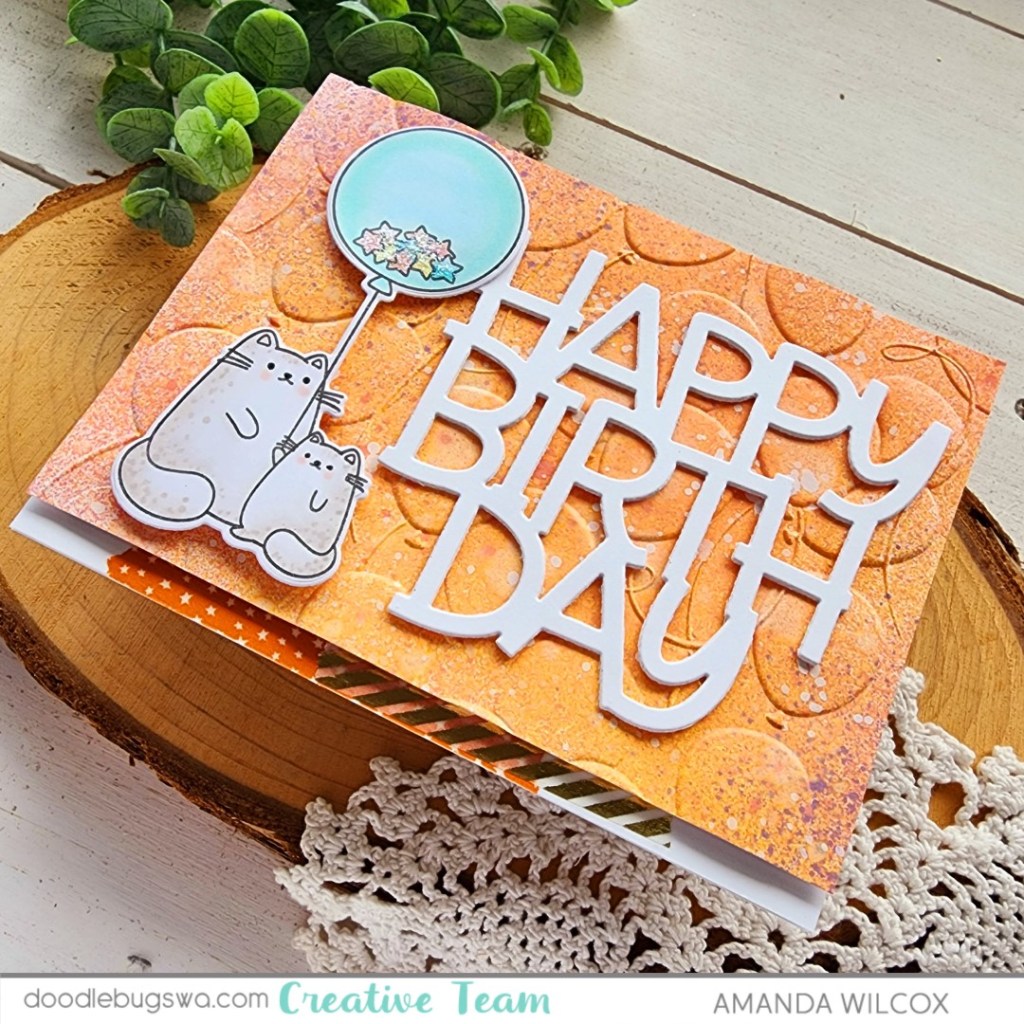
Spellbinders | Concord & 9th – Paper Scrap Buster Cards

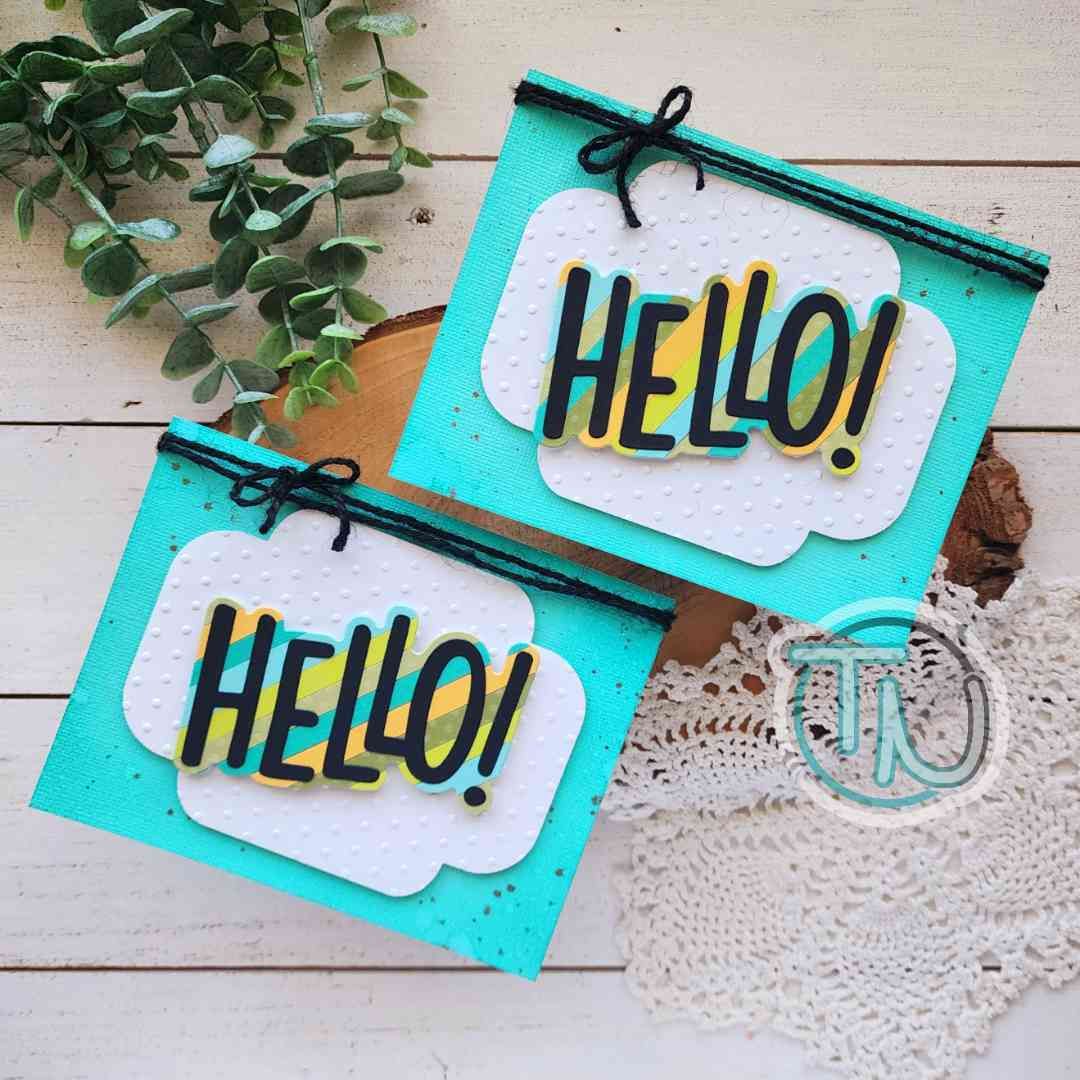
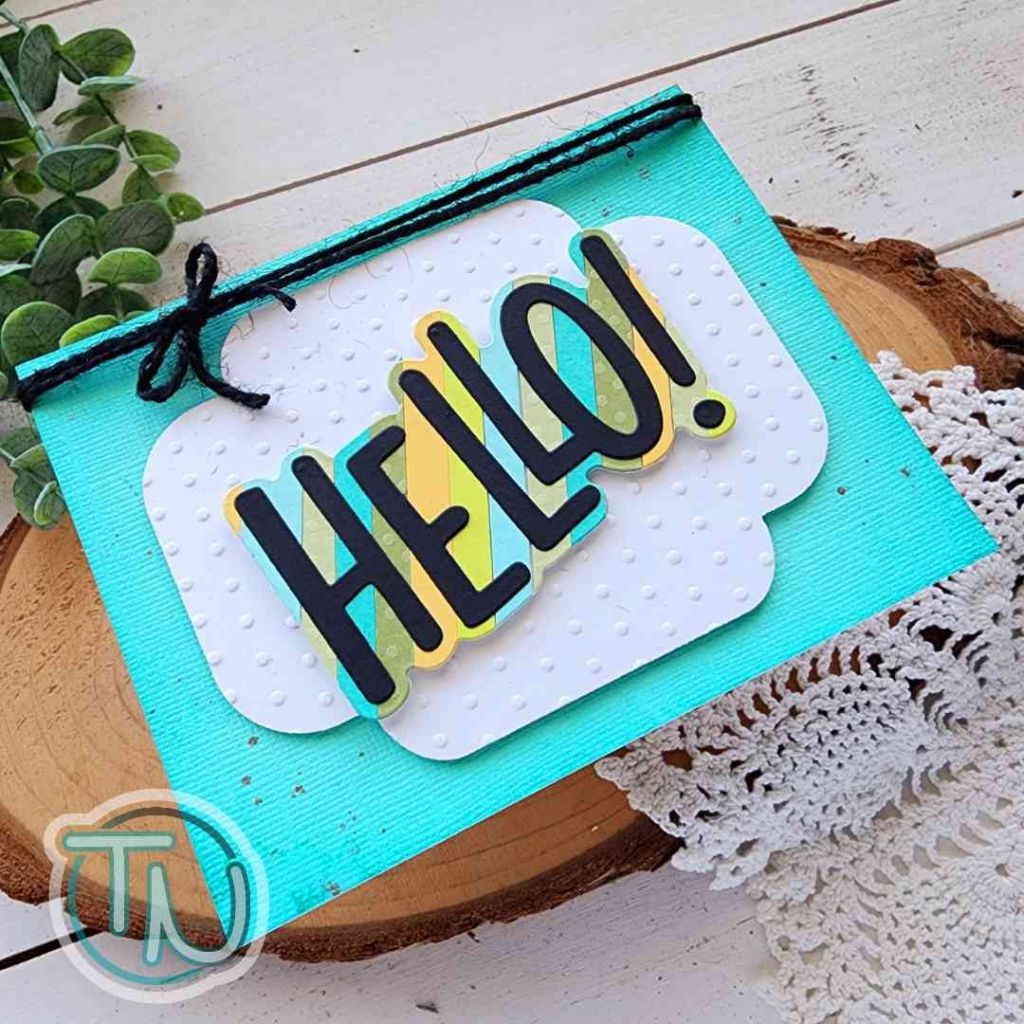
Welcome everyone! So happy it’s Friday and we can almost taste the weekend. It’s going to be fabulous. But first, I have a pair of cards I created with dies from Spellbinders and Concord & 9th plus a bundle of paper scraps I had sitting around.

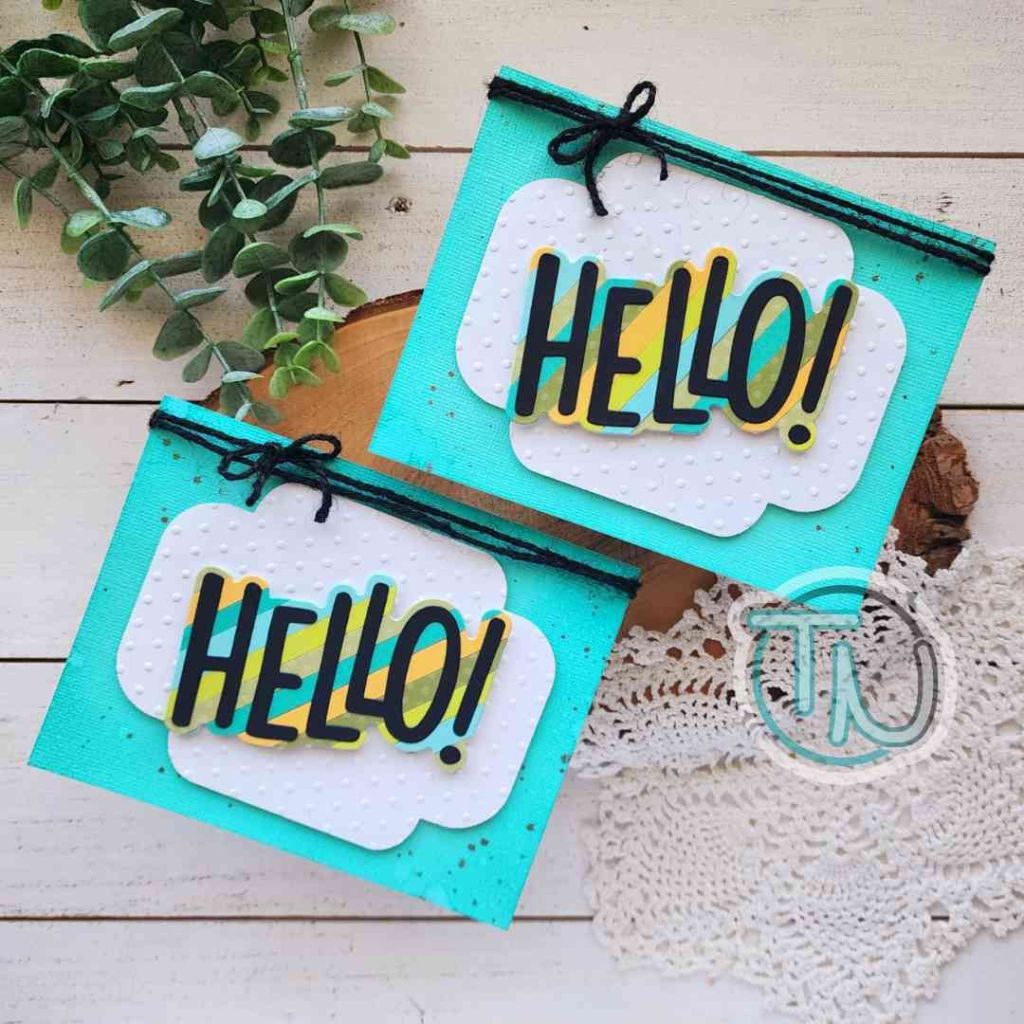
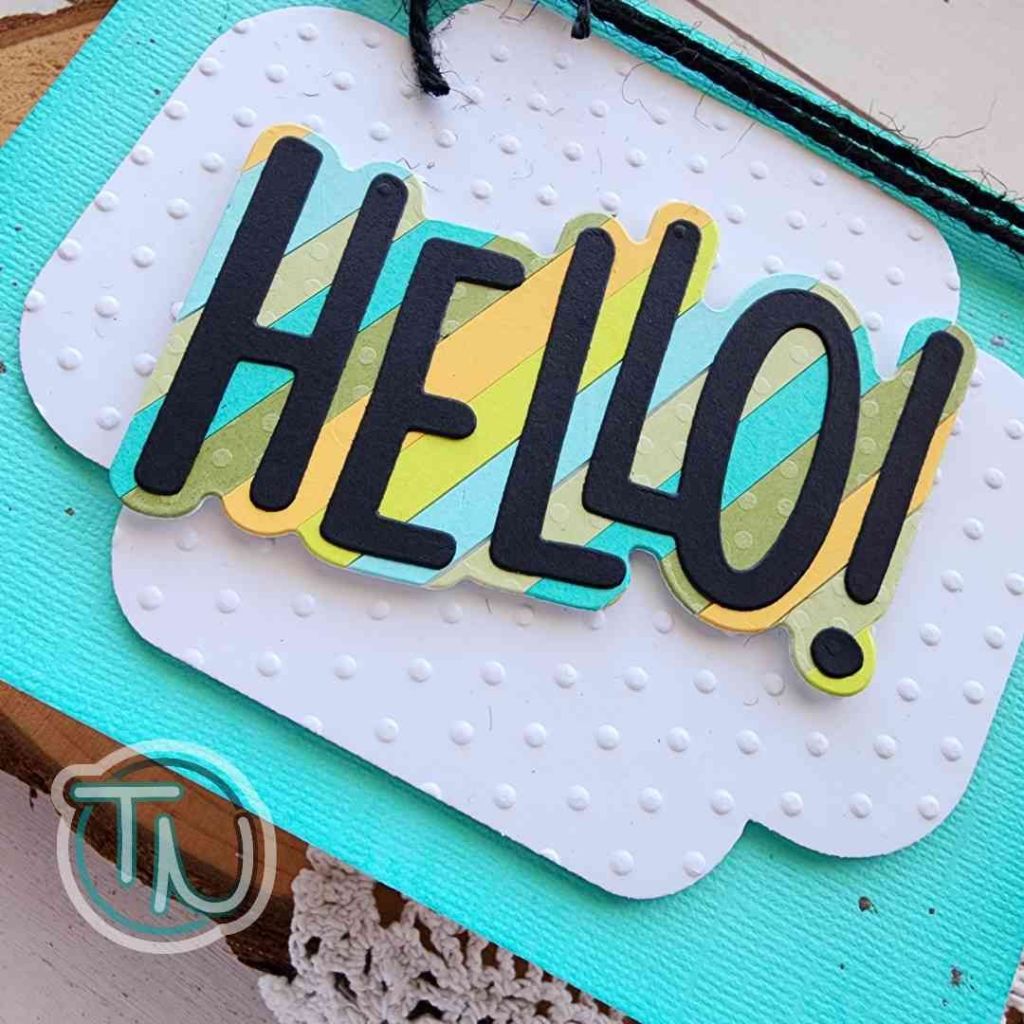
I took the paper scraps and glued them to a piece of paper, the used the Concord & 9th Marked Messages dies to cut the hello shadow from the strip collage I had made. My piece was big enough that I actually got two shadows from it. BONUS! I cut the word from black cardstock and used liquid glue to adhere it in place.

Then I used the Spellbinders Four Petal dies to cut a white background shape. That was a little plain and I thought it would be fun to emulate the dots in the scraps I used so I ran the white panel through my die cut machine with the Spellbinders Tiny Dot embossing folder.

I cut a teal background for my card front and splattered it with metallic watercolor before adhering it with liquid glue to a card front. Then I popped the white panel up with foam tape, followed by the hello panel the same way. For finishing touches I wrapped black jute twine around the top and tied it in a bow.

I like making cards like these to have on hand because you can turn them into lots of occasions depending on the message you write, or they’re easy to add a sentiment strip to later on that says something more specific too.

Products used:
Concord & 9th Marked Messages dies
Spellbinders Tiny Dot embossing folder
Spellbinders Four Petal dies
Foam tape
Liquid glue

LH Colors watercolor – minotaur

I appreciate you sharing your time with me. Have a fabulous day!

Doodlebugs – Embossing Your Ink Blending

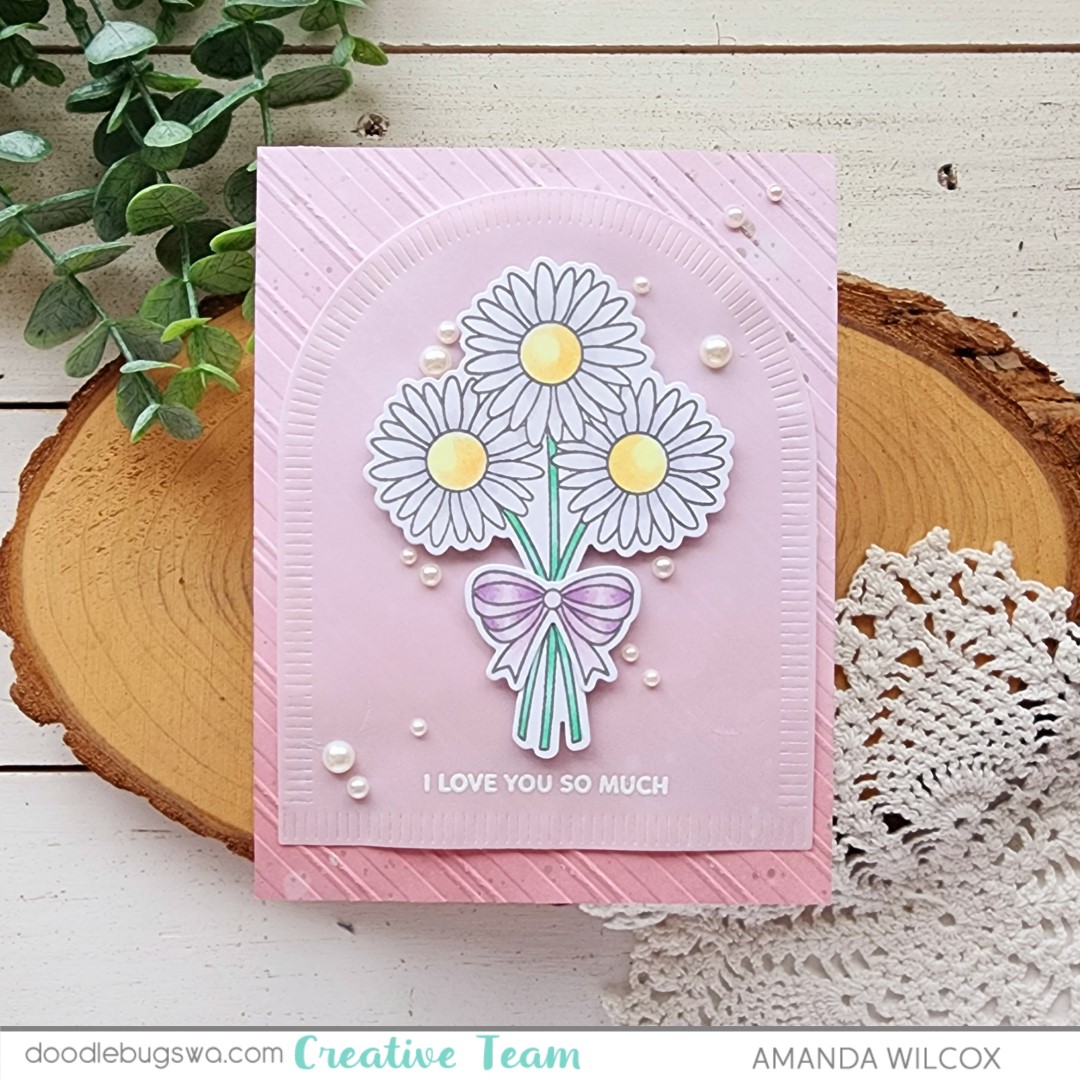
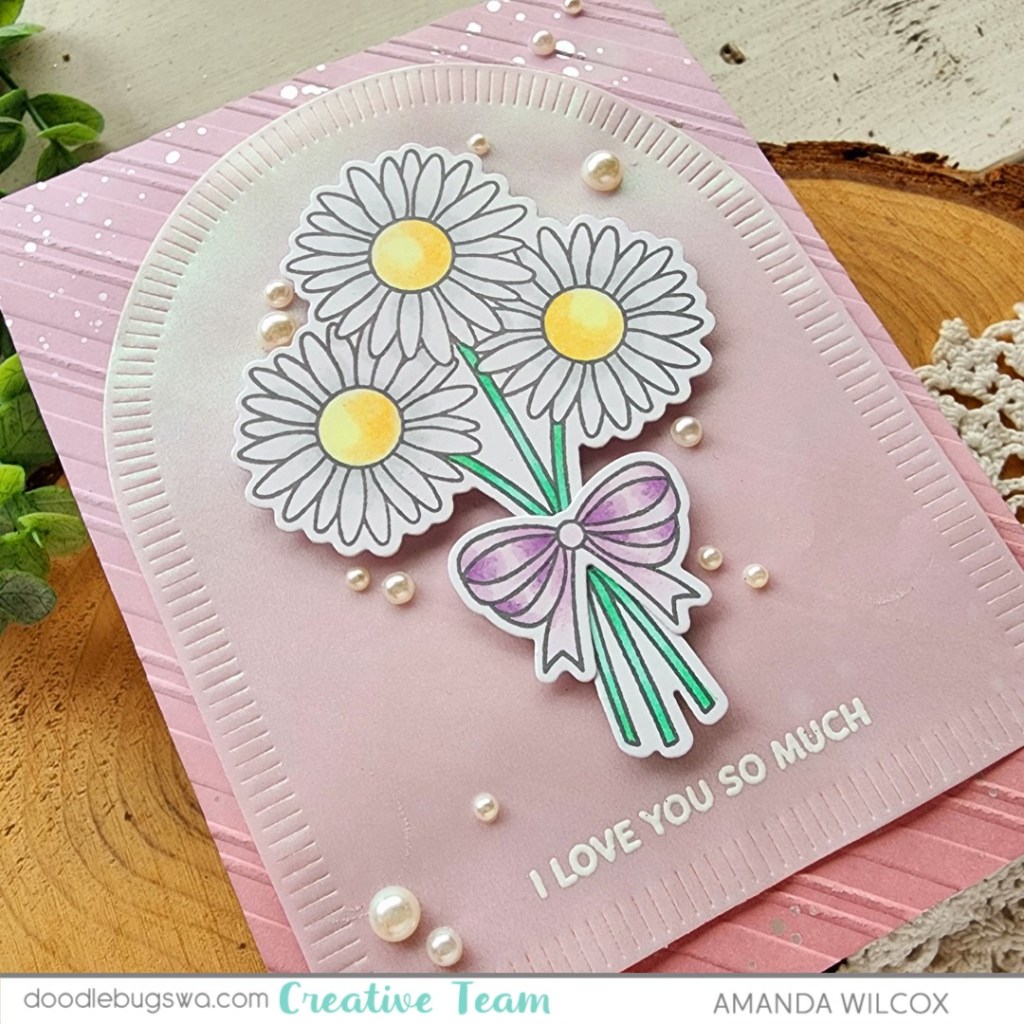
Happy Monday friends! I have a pretty floral card to share with you today featuring some of the March Pretty Pink Posh release plus some previously released goodies from Pretty Pink Posh and Spellbinders.

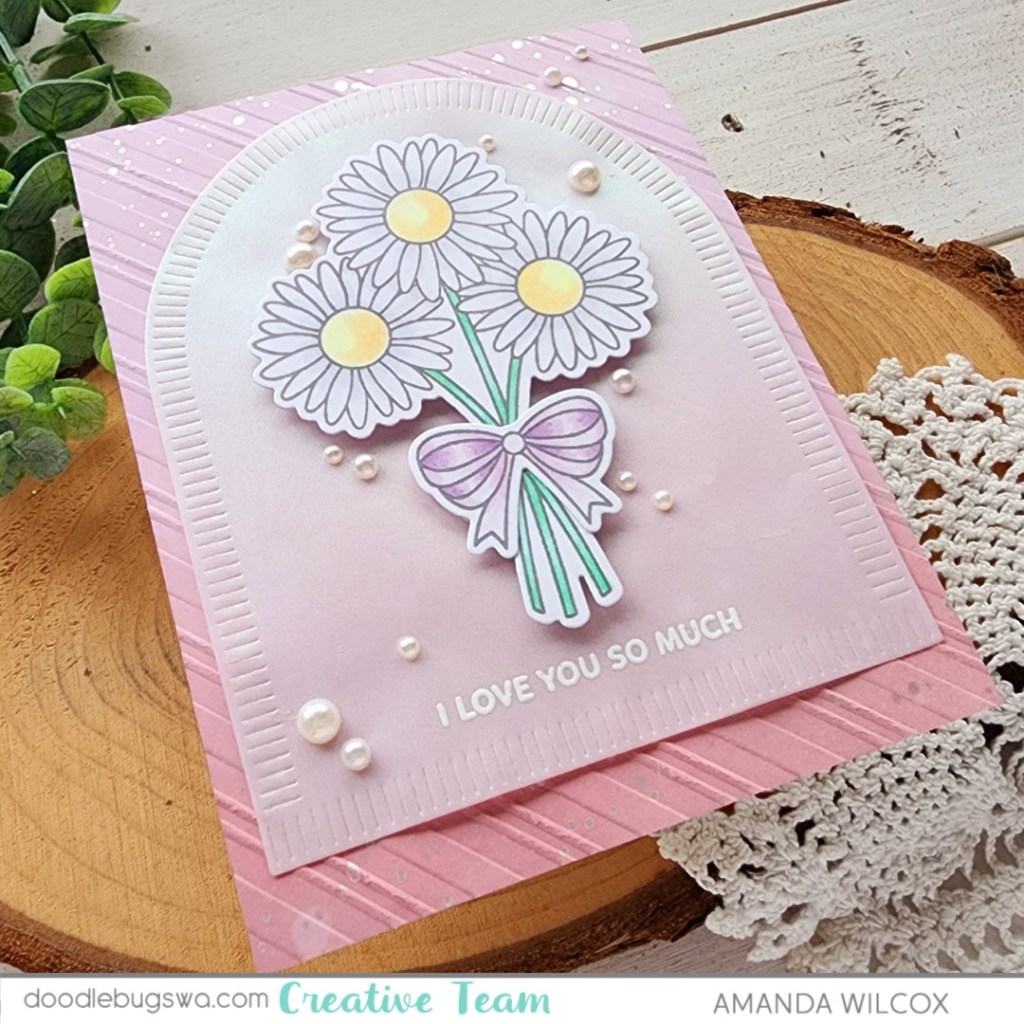
I started by stamping and coloring images from Pretty Pink Posh Daisies with copic markers. I chose a gray copic-friendly ink to soften the look of everything too. Once they were colored, I used the coordinating dies to cut them out and liquid glue to adhere the bow in place.

Next I ink blended a white cardstock panel with distress oxide inks, fading from milled lavender to victorian velvet. I spritzed the panel with water and flicked pearl water color on it for interest. While that was drying I cut the next-to-largest Spellbinders Make a Wish Arch Labels from iridescent vellum. Using the florals as a guide, I stamped and heat embossed my sentiment at the bottom. This came from the Pretty Pink Posh Sentiment Strips | Valentine stamp set.

When I started layering things together, my inked background felt too plain, so I ran the panel through my die cutter in the Spellbinders Candy Stripe embossing folder. This gives a little texture to the background without taking away from the florals in the foreground.

To assemble everything, I added foam squares to the florals and attached it to the vellum panel. Then I hid tape runner behind that to adhere the vellum to the embossed panel. The edges started to curl so I smeared a layer of liquid glue on the corners and a few places around the arch and held it down while the glue dried. If you use your finger or a dauber to spread the glue really thin on vellum, it doesn’t show through.

For finishing touches, I added a scattering of white pearls across the design. They’re soft and elegant, which I thought was perfect for the feel of this card.

Products used:
Spellbinders Make a Wish Arch Labels dies
Spellbinders Candy Stripe embossing folder
Pretty Pink Posh Daisies stamps and dies
Pretty Pink Posh Sentiment Strips | Valentine stamps
Pretty Pink Posh pearls – ivory
Anti-static pouch
Embossing ink
Embossing powder – white
Distress Oxide Ink – victorian velvet and milled lavender
Distress sprayer
Lawn Fawn ink – river rock
Liquid glue
Tape runner
Foam squares

LH Colors watercolor – pearl

I appreciate you sharing your time with me. Have a fabulous day!
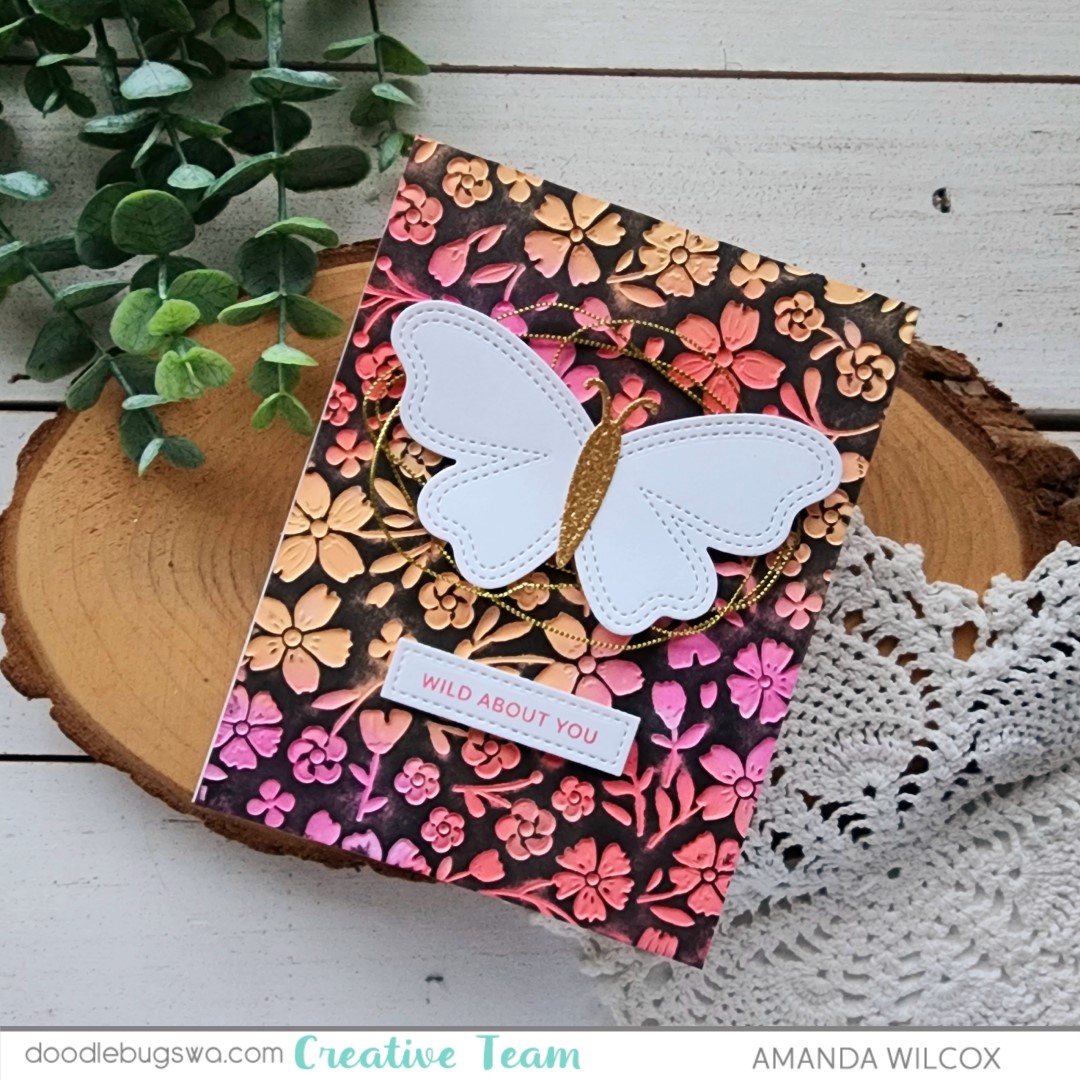
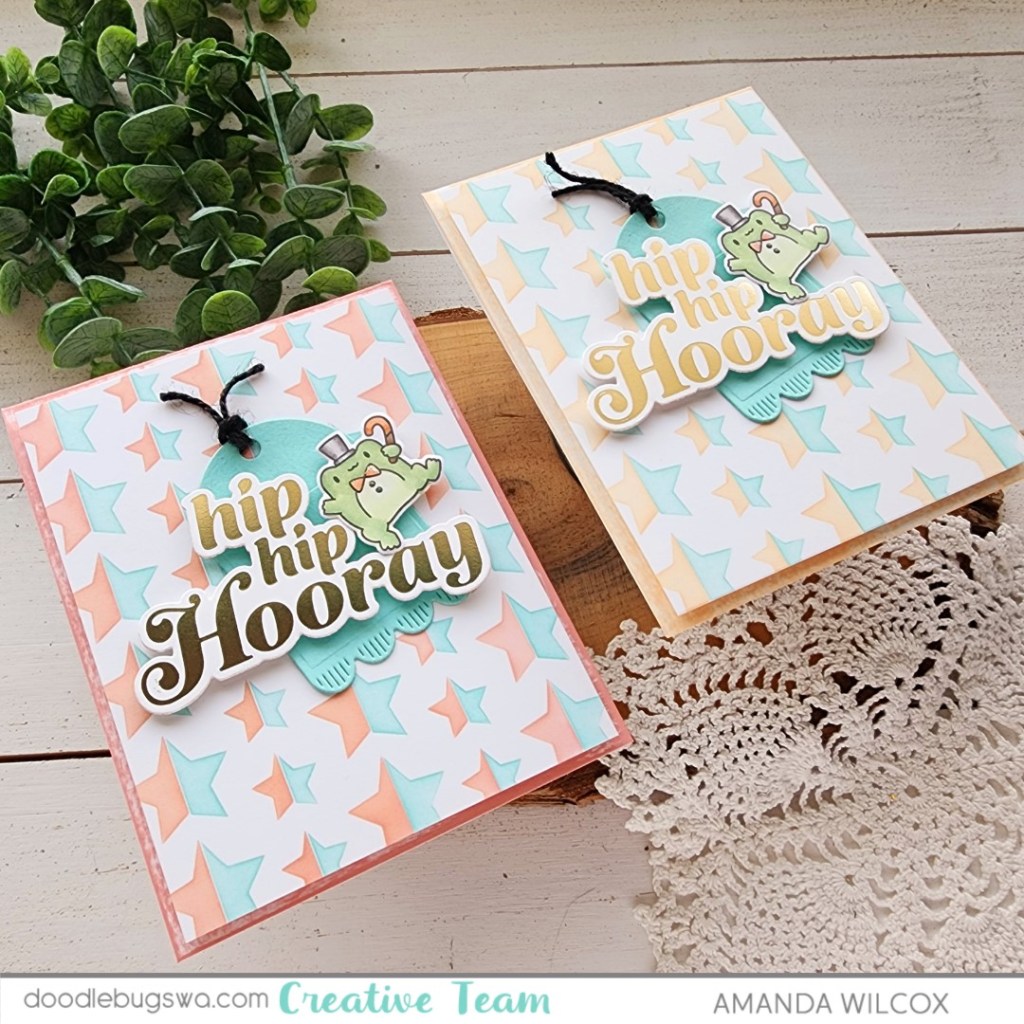
Doodlebugs – Hip Hip Hooray Hot Foiling

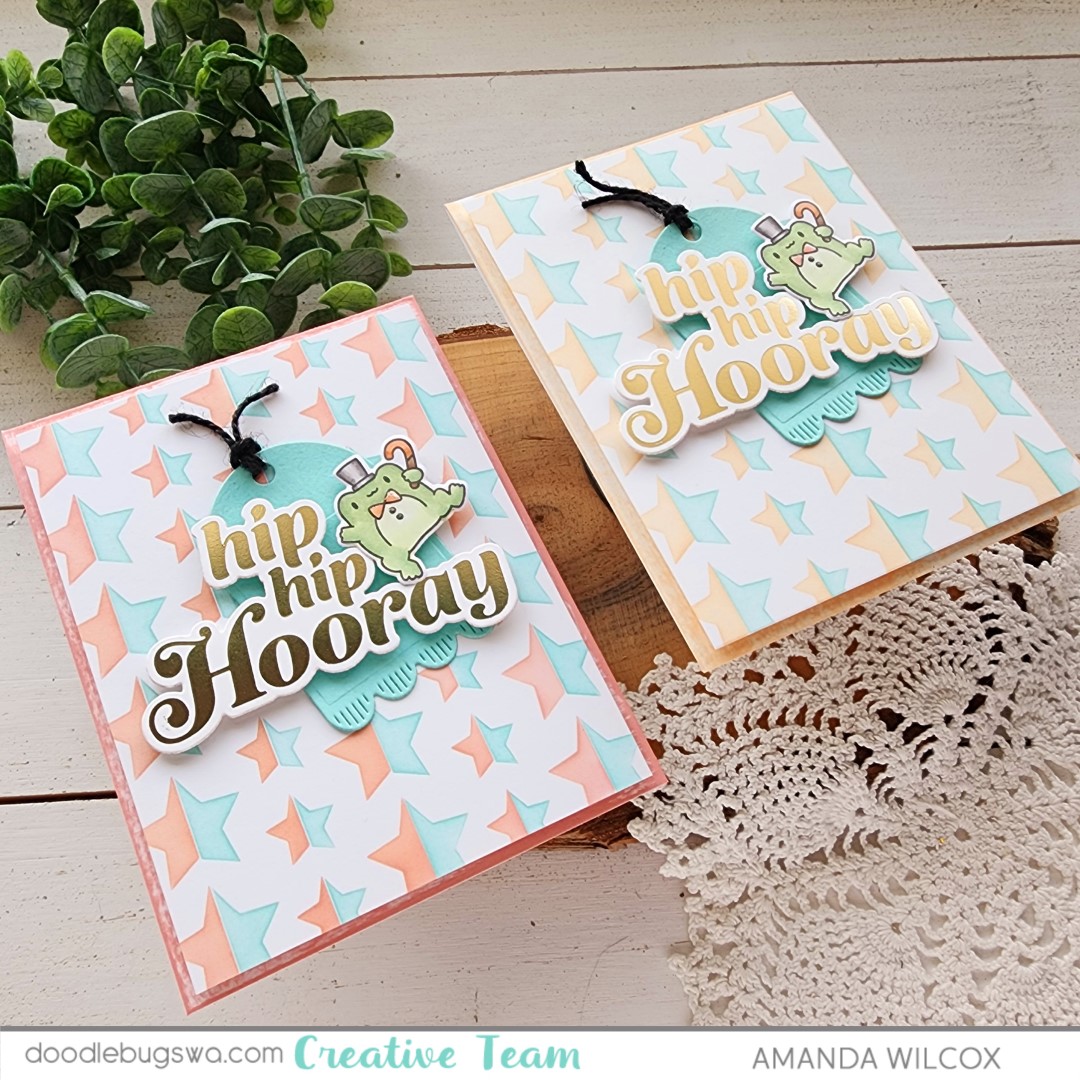
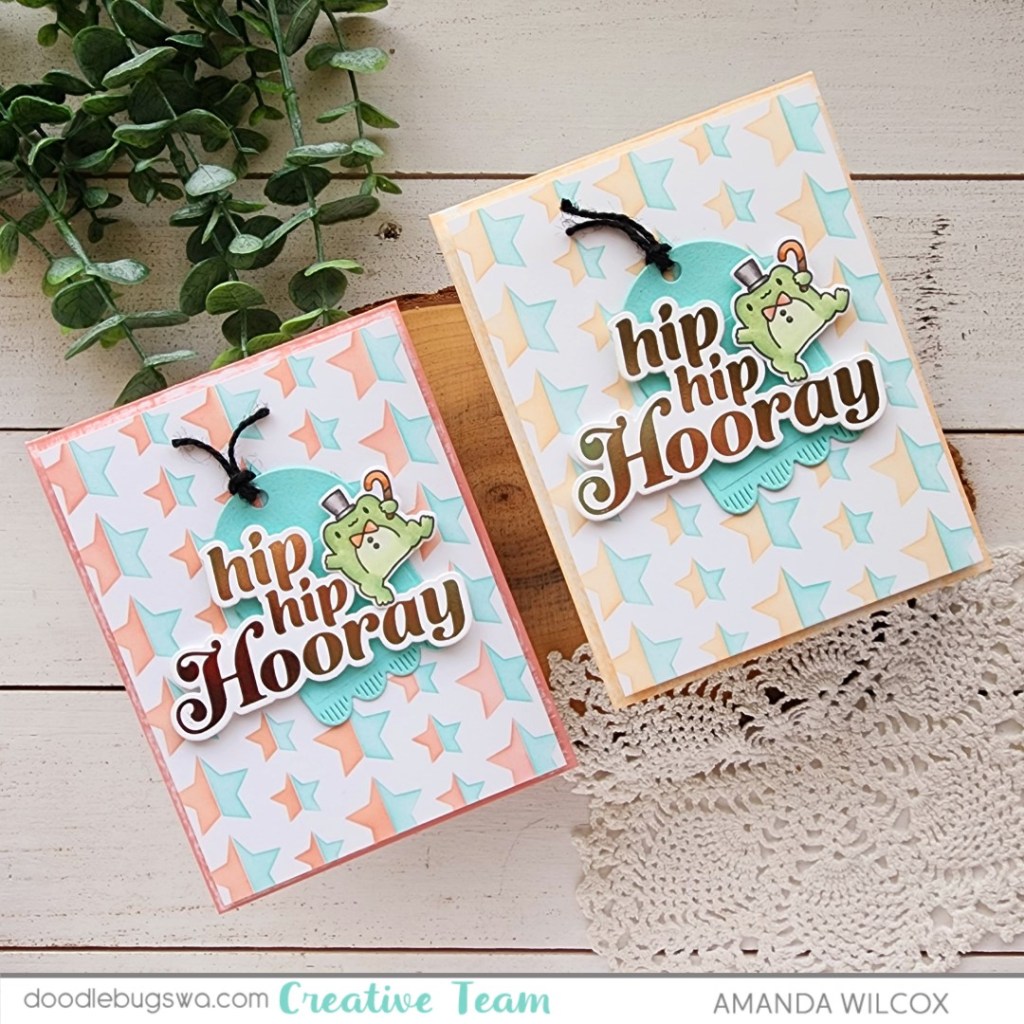
Happy Mix it up Monday everyone! I had so much fun mixing so many companies together to create these fun cards! It all started with the backgrounds and quickly grew from there. Do you ever have that with a new layered stencil? You have to try it in a billion color combinations just to see what you actually like together…or maybe you love them all and you just keep going? The second thought was more what happened to me this time.

After creating my stenciled backgrounds with the Pretty Pink Posh Half Stars stencil set, I took one of the ink pads (peach fuzz and peachy keen) and drug it across two card fronts so they color matched my ink blending.

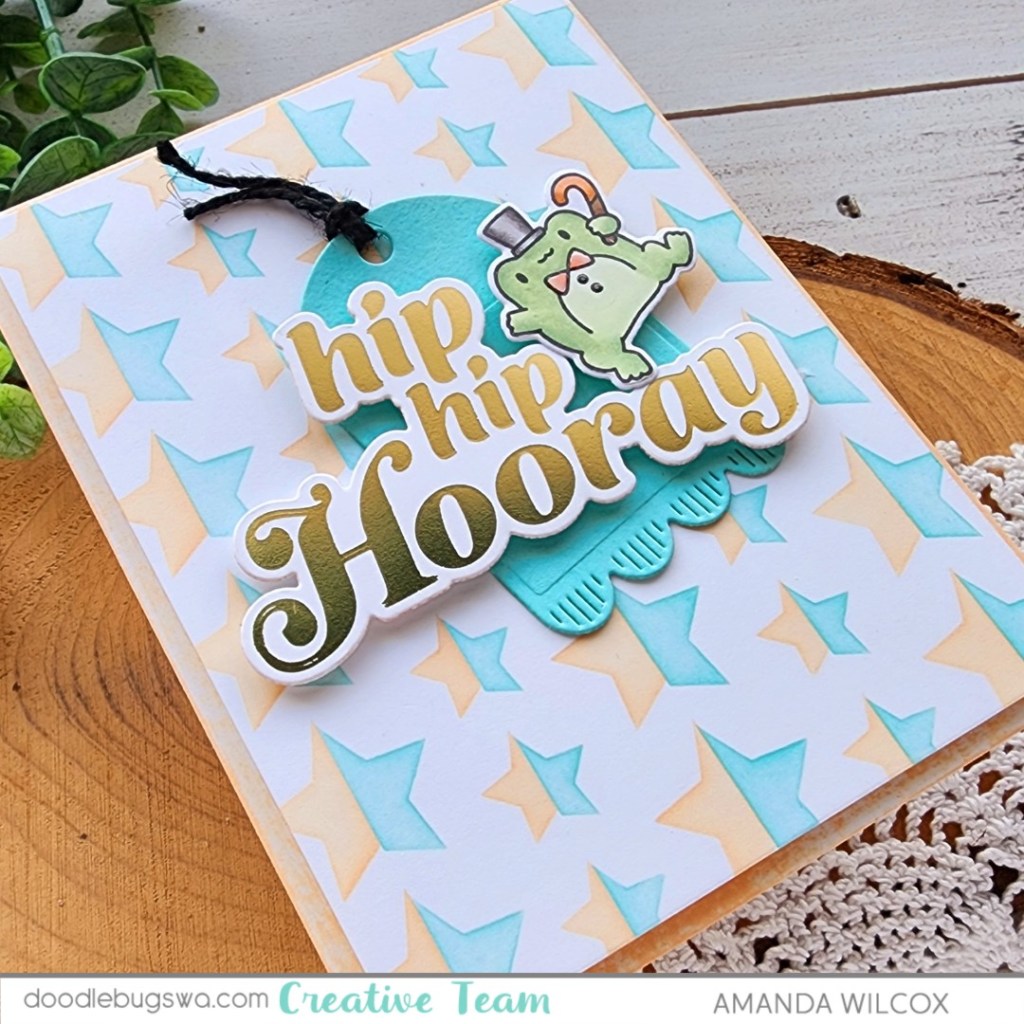
Next, I hot foiled two “hip hip hoorays” from Spellbinders using gold hot foil and the coordinating die to cut them out. When I was looking for my hot foil plates, I found the Spellbinders Make a Wish Arch Labels and thought the tag in that set would be perfect to add to my design. I cut two of those from teal cardstock in my stash and threaded black twine through the holes.

You all know how I love my critters so it was inevitable that when I felt like my design was missing something, I went digging for a cutie to add. The Mama Elephant Hello Froggy set came out a year or so ago but I just recently ordered it so I was more than excited for the chance to use it! I stamped my dapper froggy and colored him with copics before using the coordinating die to cut him out.

With all my elements laid out and ready to go, I started assembling with foam tape, squares and liquid glue. Then I finished the design off with a bit of glossy accents on the froggy’s bowtie and buttons.

I forgot to take a picture but on the inside of each card I stamped a sentiment from Hello Froggy that says “You’re Froggin Awesome” because I thought it went so perfectly with the front.

Products used:
Mama Elephant Hello Froggy stamps and dies
Pretty Pink Posh Half Stars stencils
Spellbinders Make a Wish Arch Labels dies
Spellbinders Hip Hip Hooray hot foil plate
Spellbinders gold hot foil
Foam tape and squares
Liquid glue
Glossy accents
Lawn Fawn inks – peachy keen, peach fuzz, mermaid
Blending brushes

I appreciate you sharing your time with me. Have a fabulous day!
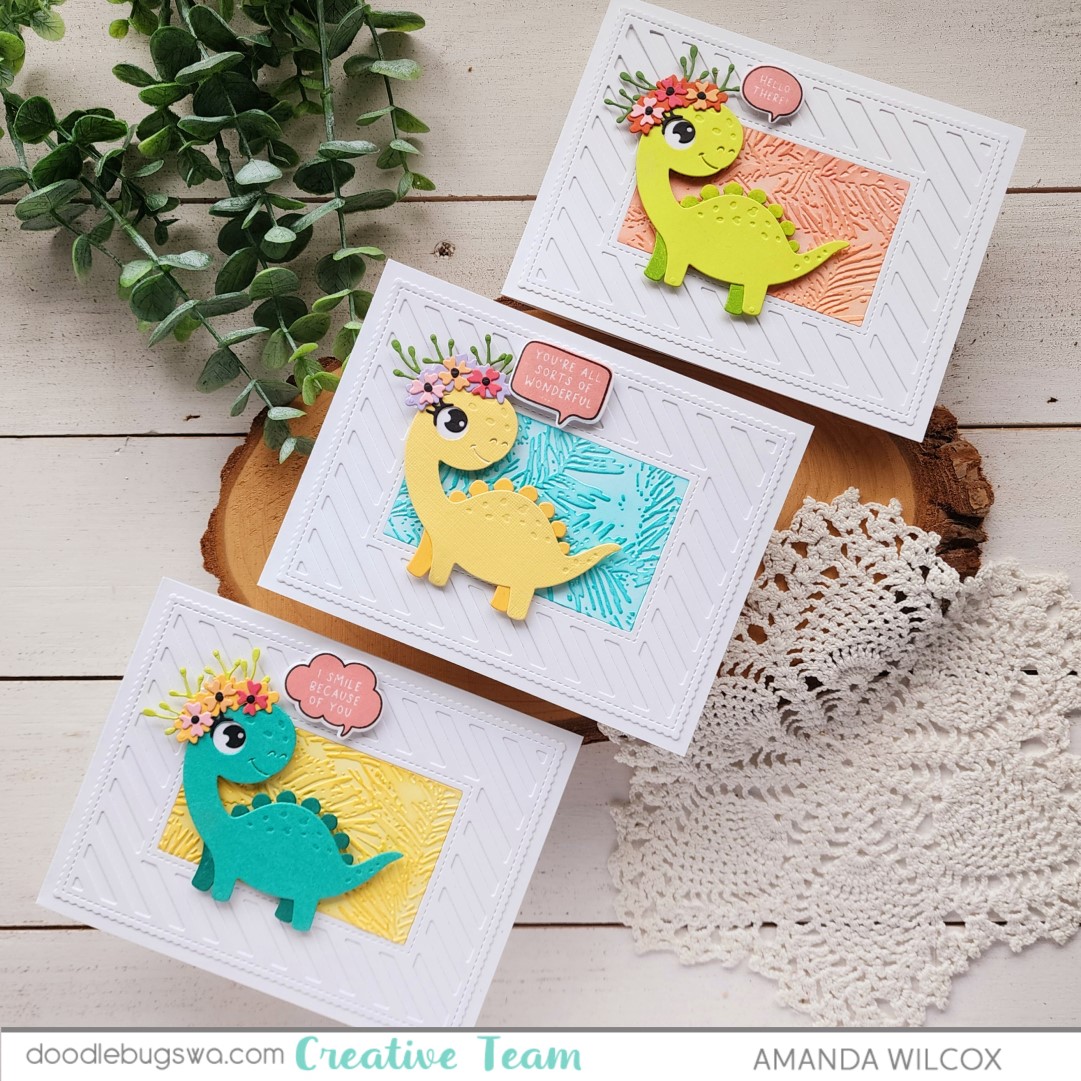
Doodlebugs – Dino Wishes, Mixing Die Cuts and Embossing Folders

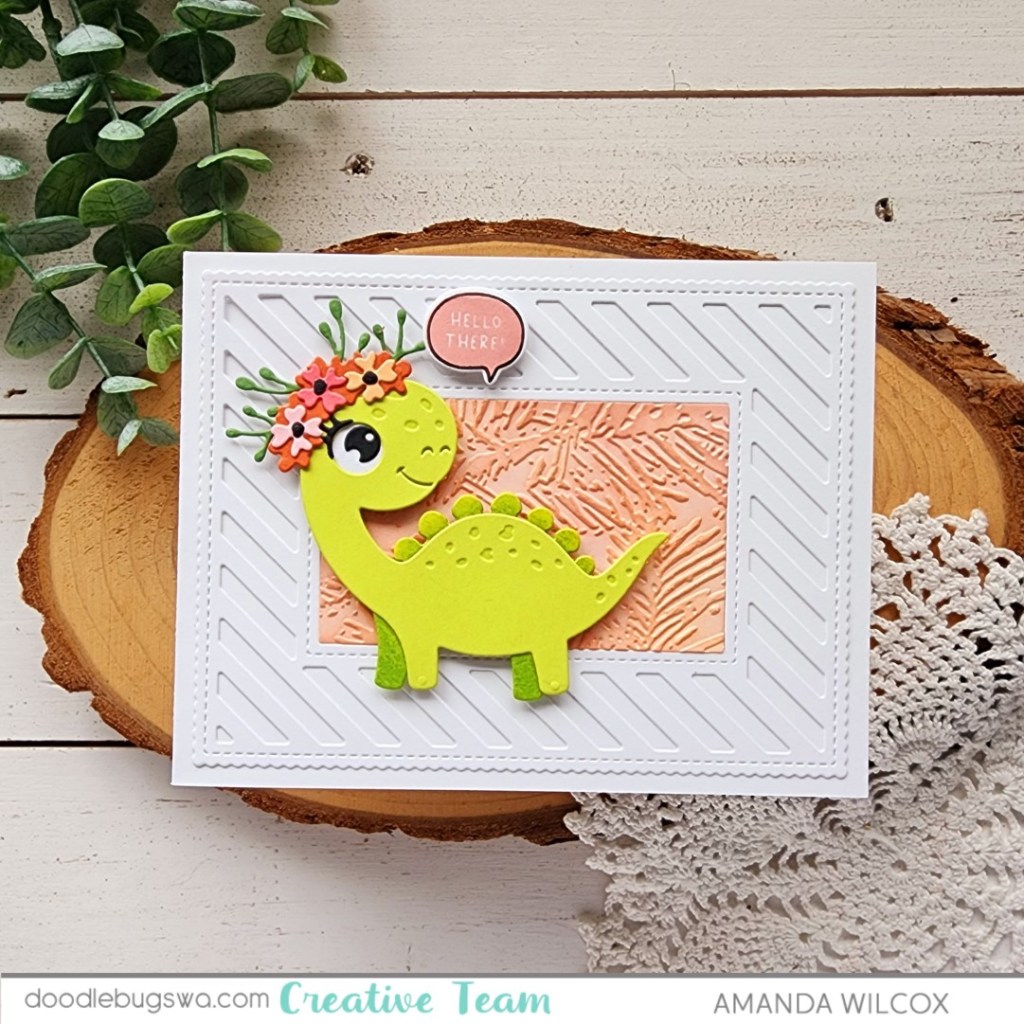
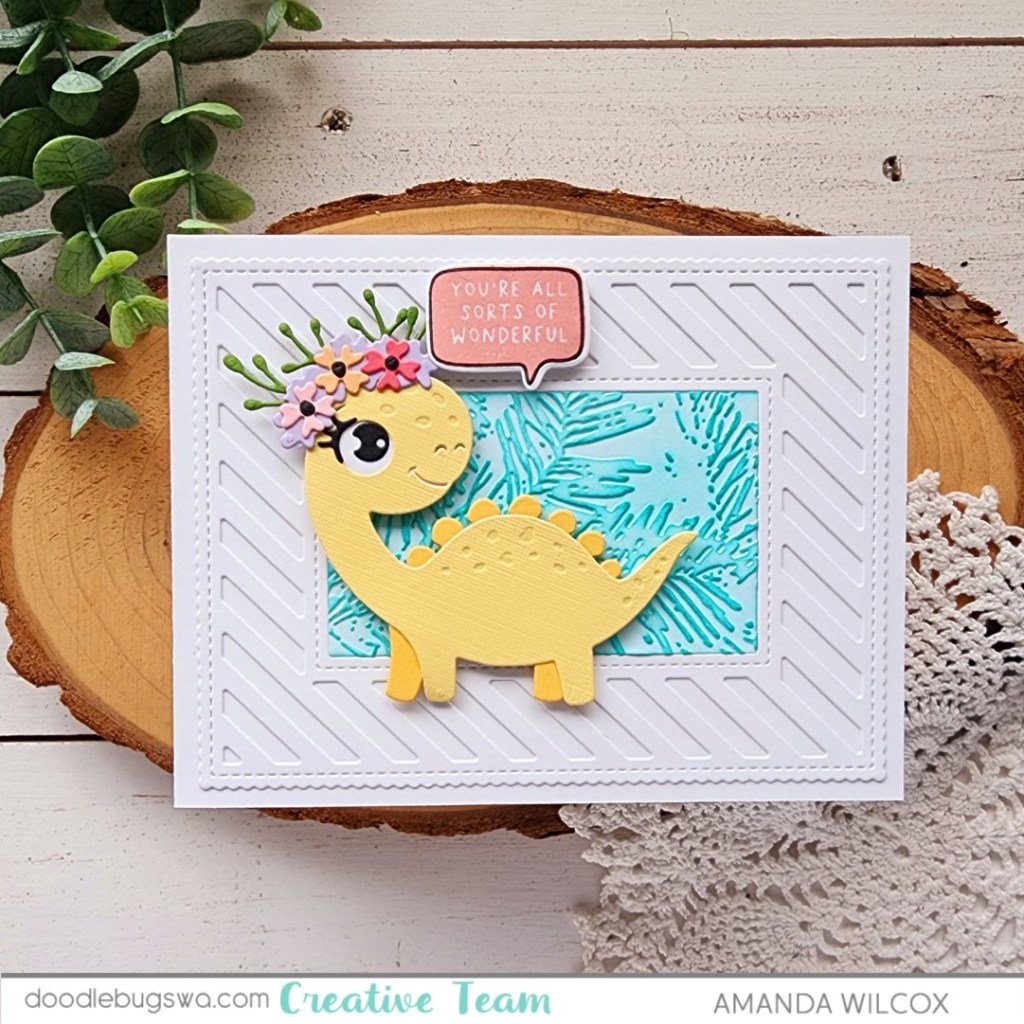
Hey friends! Mix it up Monday is here in a big way today! Prehistoric big!!! Lol. I finally played with the Spellbinders Birthday Dinosaur and couldn’t stop after one so I have three cards to share with you today.

The whole thing started with me just wanting to play around with the adorable dinosaurs and escalated quickly. These dinos come together very quickly and are the simplest to put together. I recommend liquid glue so you have a second to fiddle with placement if you need to but other than that they are very self explanatory.

Once I had the dinosaurs created I went digging for bits and pieces to go with them and since I happened to have this new Mama Elephant Simple Friends Bubbles stamps and die set on my desk, I thought I would see how they went together.

Absolutely perfect, is how they went together! This sentiment set stamps and die cuts six sentiments at once which is awesome! This batch was stamped with Lawn Fawn peach fuzz ink three times to make sure I had good coverage and darken the color a little.

For my background I cut three Mama Elephant Sweet Shoppe Frames, keeping the center piece that cuts out. I glued each one to a white card base. Then used the Spellbinders In the Pines embossing folder on the center piece for each one. I chose contrasting colors to each dinosaur and ink blended those panels before gluing them back in the middle of the frames.

Last I just added my speech bubbles and dinosaurs to each card front with foam squares. They are so cute just how they are that I decided to skip shiny and sparkly for this set of cards. But by all means friends, go ahead and bling away if that’s what your heart desires. I will never stop you! 🙂

Products used:
Spellbinders Birthday Dinosaur dies
Spellbinders In the Pines embossing folder
Mama Elephant Simple Friends Bubbles stamps and dies
Mama Elephant Sweet Shoppe Frames dies
Lawn Fawn inks – lemonade, mermaid, peach fuzz
Liquid glue
Foam squares

I appreciate you sharing your time with me. Have a fabulous day!
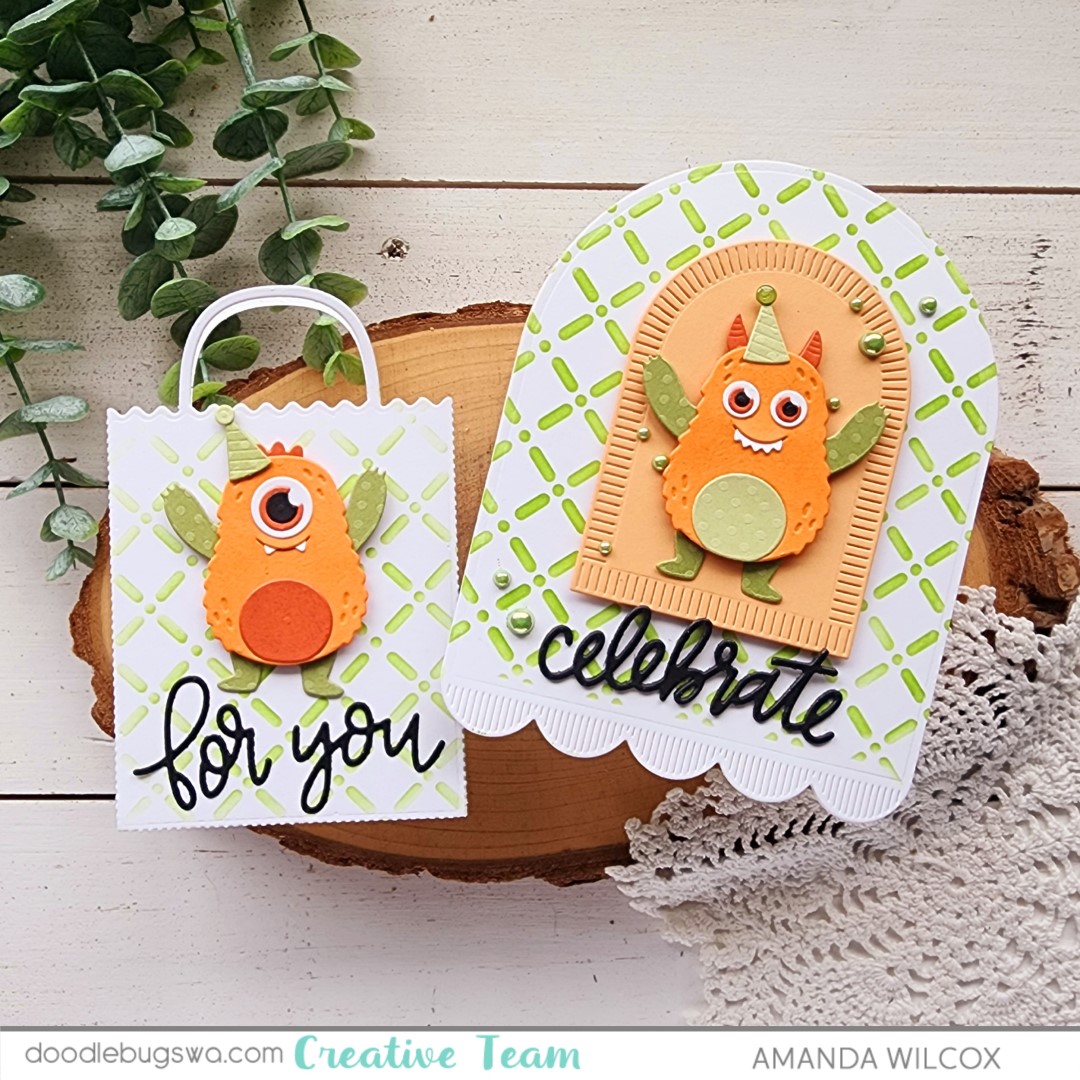
Doodlebugs – Dancing Monster Celebration Wishes with a Shaped Card and Gift Card Holder

Welcome to a monstrous mix-it-up Monday everyone!!! I’m super excited to share my creations today. They were so fun to make! Words don’t really express how much I think everyone should try making one of these dancing creations from Spellbinders. They are really easy and so fun, almost as much fun to give as to get!

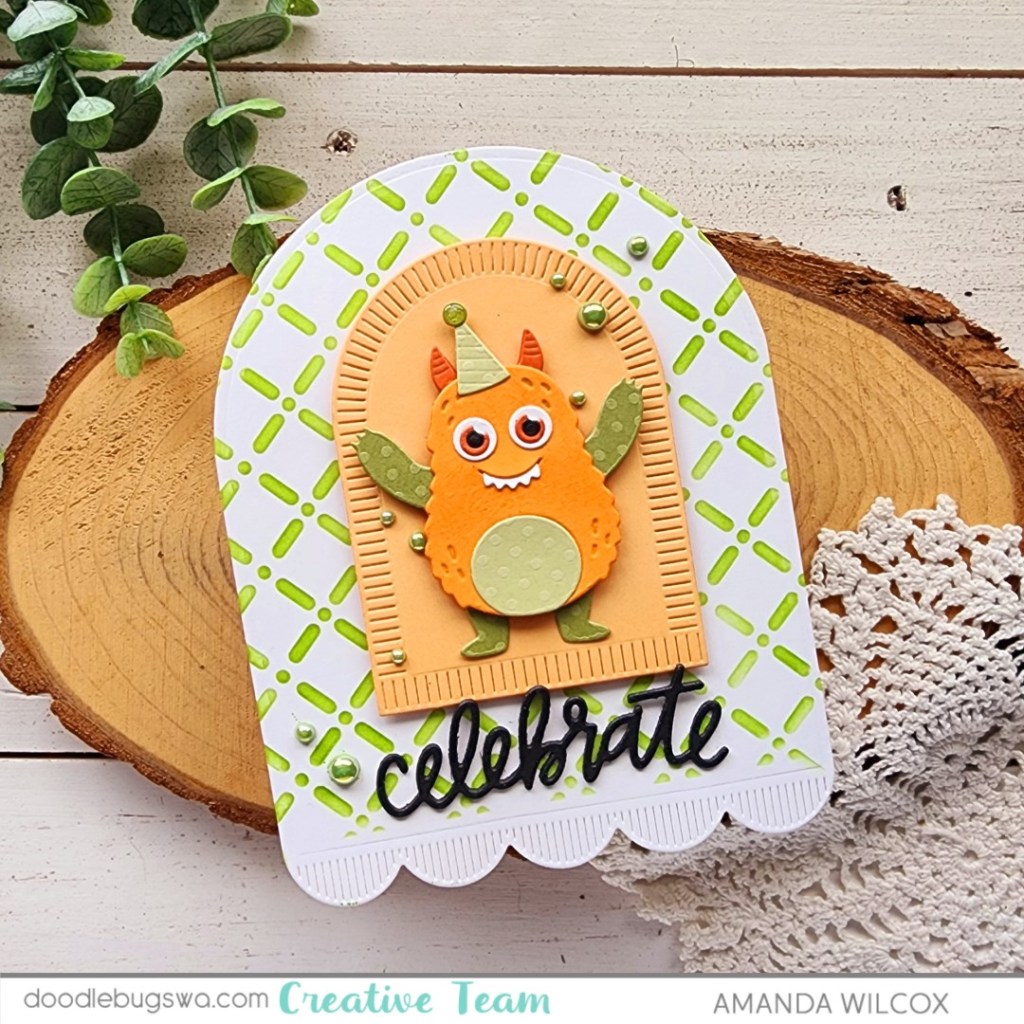
I started these projects by die cutting pieces from the Spellbinders Dancin’ Birthday Monster set. I mixed and matched them, creating two monsters for the heck of it. That’s when I decided it would be great to make a card and gift card holder set! I cut card layers with the Spellbinders Make a Wish Arch Labels dies – two of the largest and one of the next-to-smallest.

I ink blended the Pretty Pink Posh Trellis stencil with Lawn Fawn jalapeno ink, then popped up the orange arch and also the monster. I die cut the word “celebrate” from the Pretty Pink Posh Gift Card Bag die set three times from black cardstock and glued it underneath the arch.

For the card, I finished things off with a scattering of Pretty Pink Posh pistachio pearls and a little glossy accents on the top of the birthday hat.

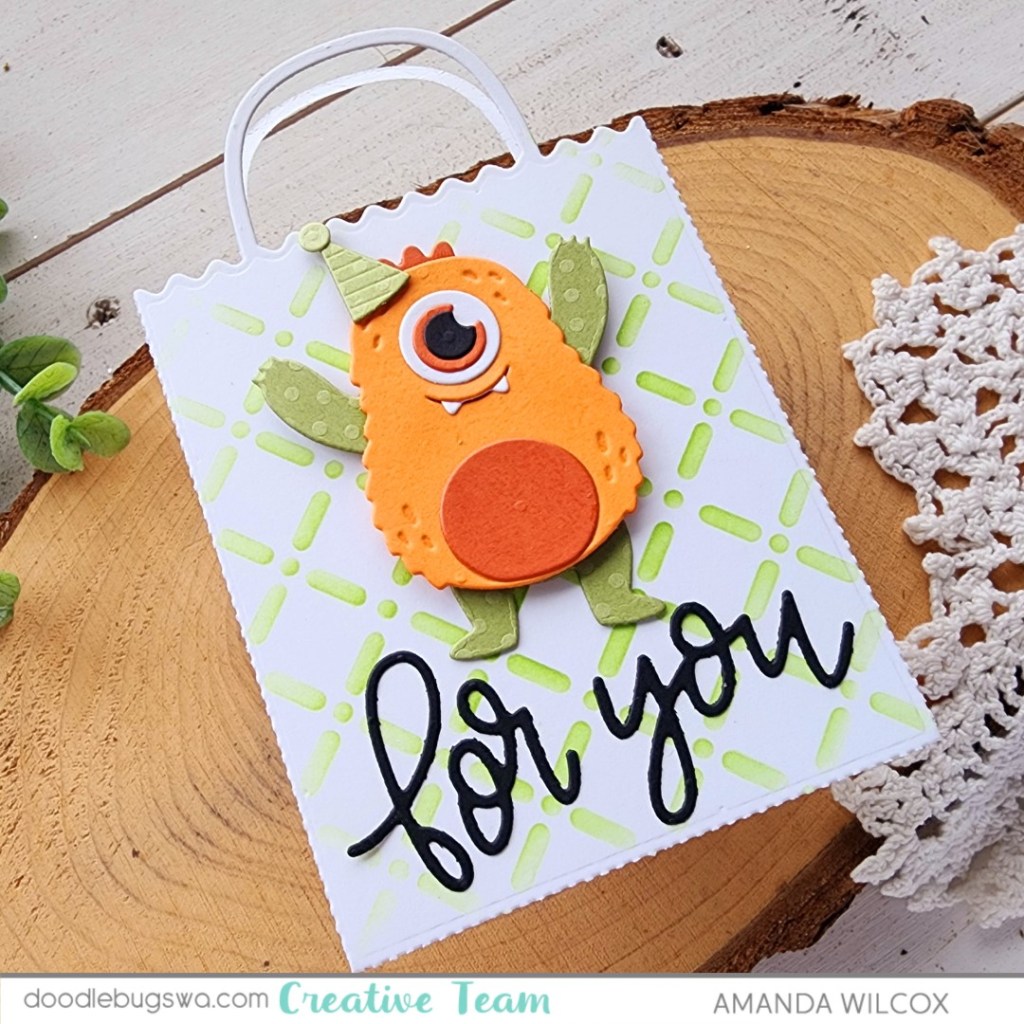
Next, I created my gift card holder using the Pretty Pink Posh Gift Card Bag die set.

After cutting the front and back of the bag from white cardstock, I inked both sides with the Trellis stencil just like the card front. Then I popped up the monster with foam squares and glued my sentiment underneath him. The sentiment is also part of the Gift Card Bag dies.

Dancin’ Character Tip: You’ll see with the Spellbinders dancing characters, the legs have a tab at the top with a hole in it. To attach them to anything, add a foam circle to your base (card front or gift card bag), slide the hole over the foam circle, remove the foam release paper and adhere your character body on top. Be sure that the foam squares on your character don’t impede the movement of the legs though. I just added them to the top half to make sure I was safe.

Please leave me a comment or send an email if this isn’t clear and you’d like a step-by-step photo tutorial.

Products used:
Spellbinders Dancin’ Birthday Monster dies
Spellbinders Make a Wish Arch Labels dies
Pretty Pink Posh Trellis stencil
Pretty Pink Posh Gift Card Bag dies
Pretty Pink Posh pistachio pearls
Liquid glue
Foam circles, squares and tape
Blending brush
Lawn Fawn jalapeno ink
Glossy accents
Tear tape – 1/8 inch

I appreciate you sharing your time with me. Have a fabulous day!
Doodlebugs – Hot Foiling, Stenciling and Shaking All Make a Great Birthday Card

Hey friends! Let’s mix things up with a fun birthday shaker card on the Doodlebugs blog today! I pulled out some fabulous hot foil plates from Spellbinders and combined them with Pretty Pink Posh stencils for my background and the combo couldn’t be more perfect!

I started by hot foiling the Spellbinders Giant Party Balloon and the sentiment in the set. The balloon pieces are silver and the sentiment is moondust hot foil. To accentuate the moondust foil I went around the edge with a blending brush and Lawn Fawn mermaid ink after die cutting it out.

I wanted to make a shaker and this Giant Party Balloon set comes with the inner circle die to make that a reality. How fun is that! So I cut another large circle from white cardstock and inked the center with mermaid ink like the sentiment. Plus I cut an acetate circle and threw all my elements together with liquid glue and foam strips, inserting Spellbinders silver smooth discs as my shaker bits.

Next, I pulled out the Pretty Pink Posh Layered Candles stencil set. I inked the bottom of each candle row with mermaid and the top with peach fuzz. I replaced the candle layer with the detail layer and did the same thing again. Then for the flames, I spread Brutus Monroe yellow Chroma Glaze. It gives a shiny finish which is fun for the background of our blingy shaker balloon.

Finally, I took the mermaid ink pad and drug it across all four sides of my card base. I popped the stenciled panel up with foam tape and glued the balloon directly to that with liquid glue. Then I glued the sentiment to the front of my balloon as well.

To finish my card off, I tied some orange bakers twine around the top into a bow.

Products used:
Spellbinders Giant Party Balloon hot foil plates and dies
Spellbinders smooth discs – silver
Spellbinders hot foil – moondust and silver
Pretty Pink Posh – Layered Candles stencils
Foam tape
Liquid glue
Blending brushes
Lawn Fawn Ink – mermaid and peach fuzz

Brutus Monroe Chroma Glaze – yellow

I appreciate you sharing your time with me. Have a fabulous day!
Doodlebugs – Sending Love and Hugs Die Cut Card

Happy Monday friends! We’re mixing things up on the Doodlebugs blog for another bit of valentine inspiration before the big day arrives. I had fun with dies and embossing today.

I adore this new Pretty Pink Posh XOXO border so that’s where things started for this card. I just cut the main piece from light gray cardstock and one heart from light pink. I still wasn’t sold on what to do so I went digging in my stash and came across the adorable Spellbinders Sweet Birdie.

I used some pink, melon and peach cardstocks from my stash to create my bird and cut a heart for the border from each color too. I glued all the hearts directly to the border except the darkest one which is popped up with a foam square. I ran a white panel through the die cutter with the Spellbinders Tiny Dots embossing folder for my background and glued the border to the bottom. Then I popped the birdie up with foam squares to match the popped up heart.

I stumbled on this ribbon in my stash to tie around the top of my panel and added a tag from the Spellbinders Envelope of Wonder collection. The sentiment comes from the stamp set in that collection too. After tying the bow I added foam squares to the tags to keep them in place.

For finishing touches I just added glossy accents to the birdie’s eye and beak. Isn’t this such a sweet valentine?

Products used:
Pretty Pink Posh XOXO border die
Spellbinders Tiny Dots embossing folder
Spellbinders Sweet Birdie dies
Spellbinders Envelope of Wonder dies
Spellbinders Envelope of Wonder Sentiments stamps
Foam squares
Liquid glue
Glossy accents

I appreciate you sharing your time with me. Have a fabulous day!