Hello everyone! It’s release day for Spellbinders and there are a bunch of new, amazing collections to snag! Today I have a couple of cards to share using the new Joy Shadow dies from Yana’s City Holiday Collection. It’s a very classy Christmas themed collection of dies.

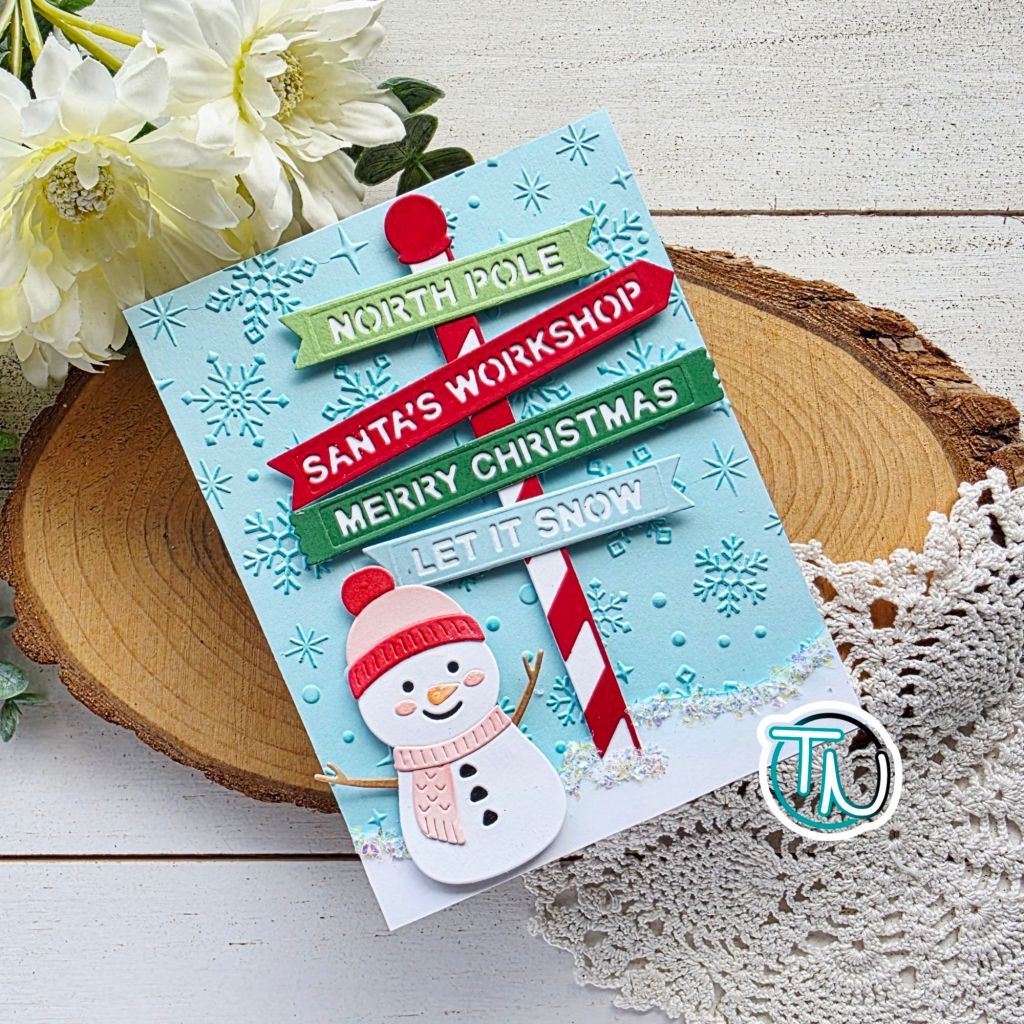
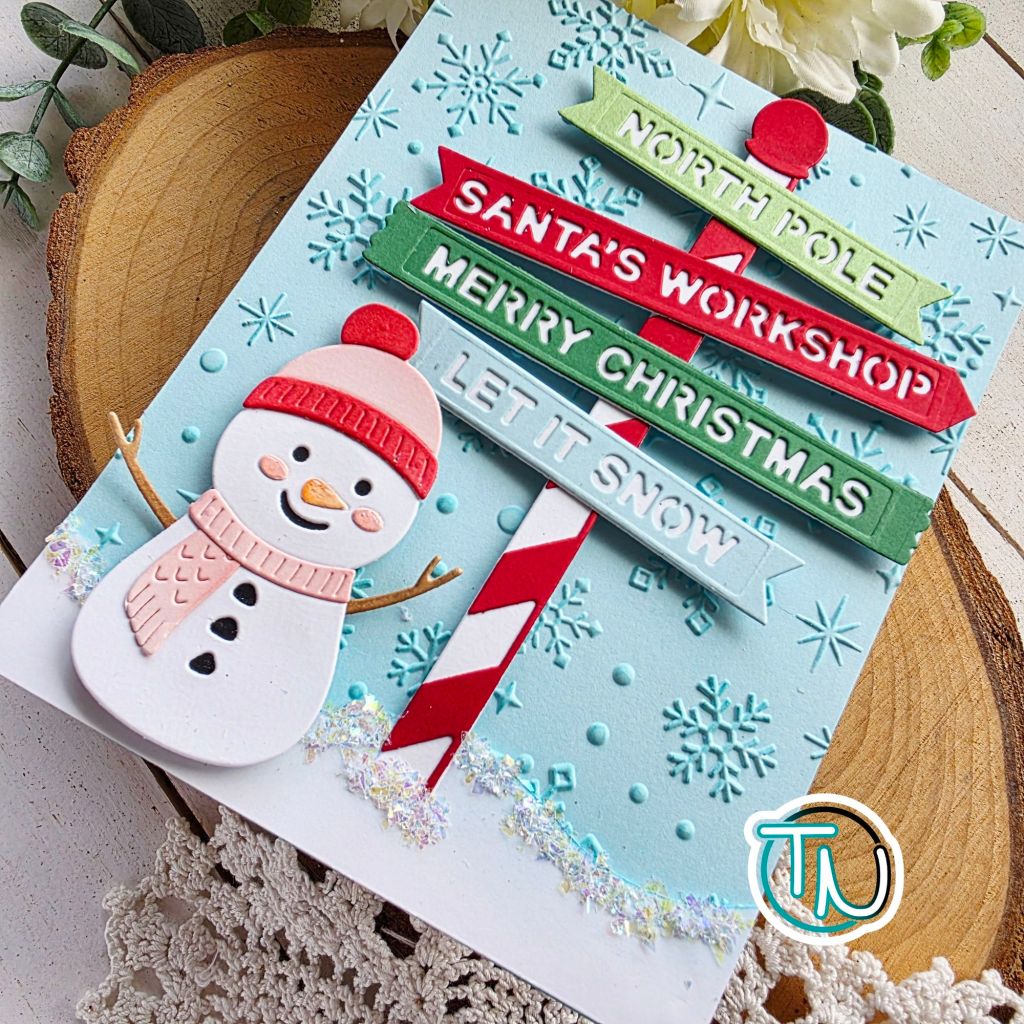
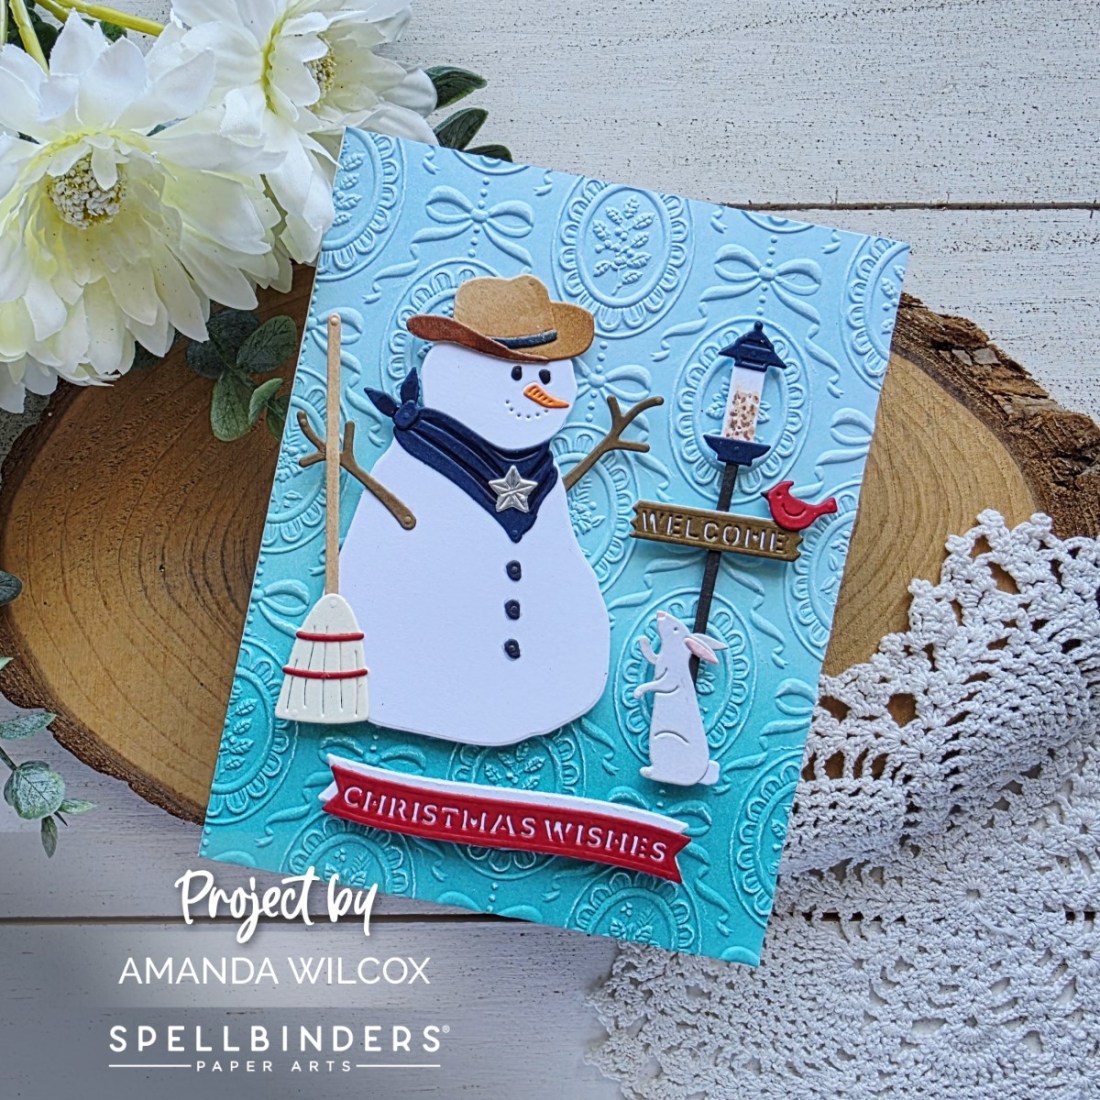
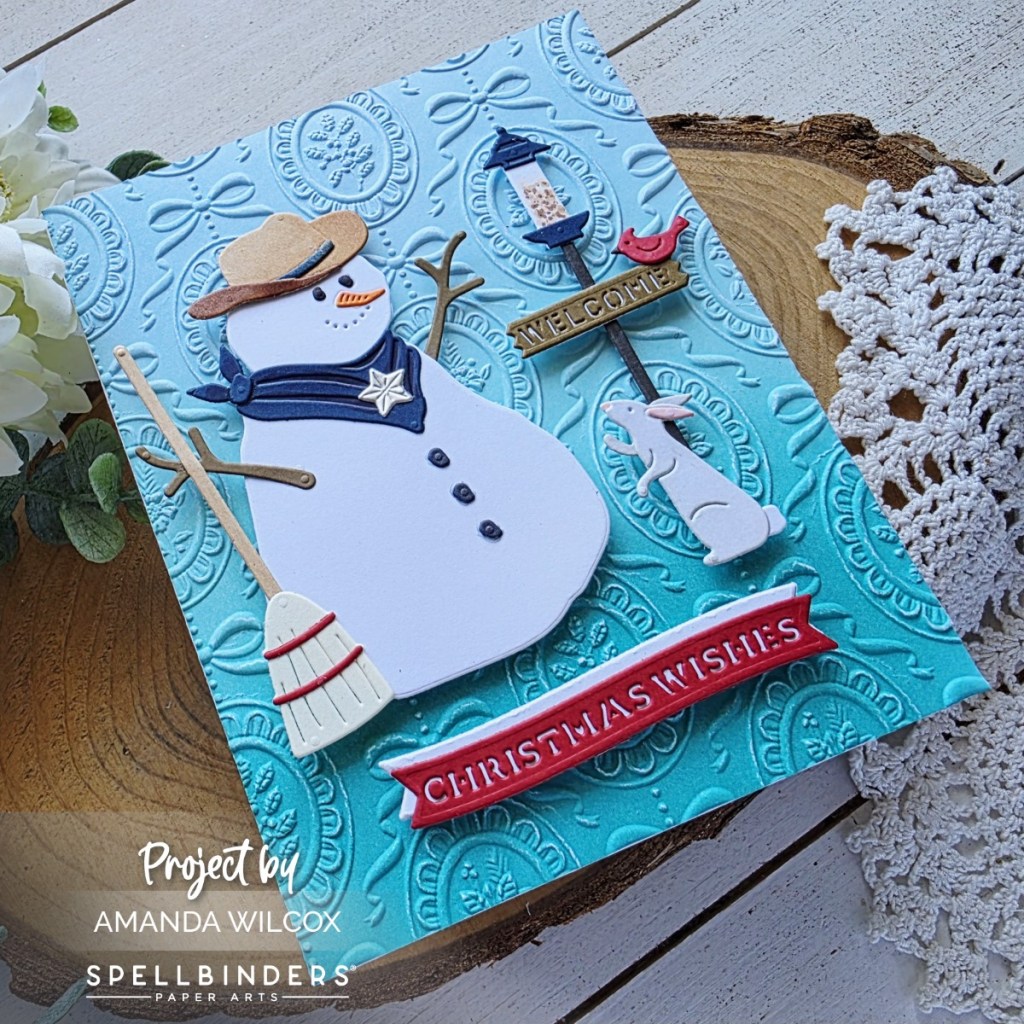
First up I have a very wintery feeling card featuring that bold Joy shadow sentiment, paired with a banner from last month’s North Pole Sentiments set and the Sparkling Snow 3D embossing folder from the year before.
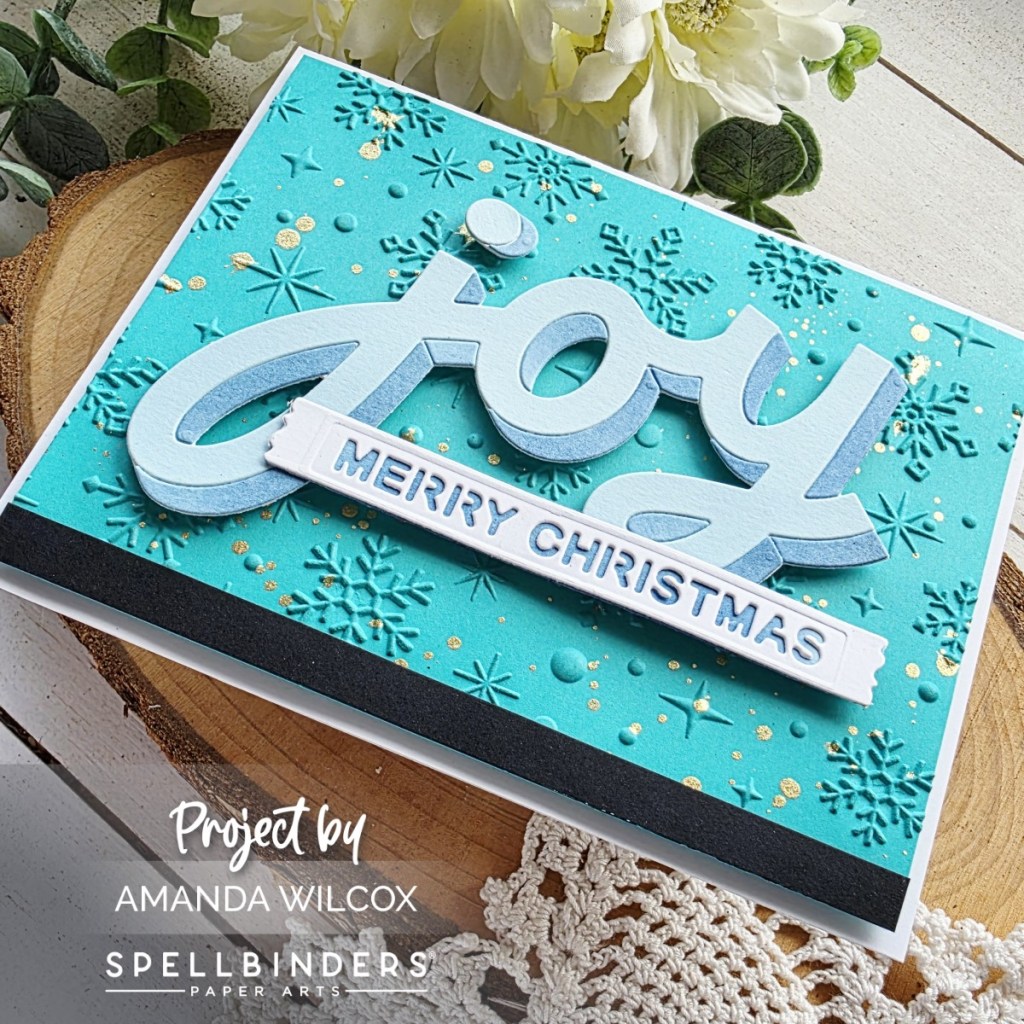
I added some gold watercolor splatter for a little sparkle in the light and, of course, lots of dimension with foam squares and tape.
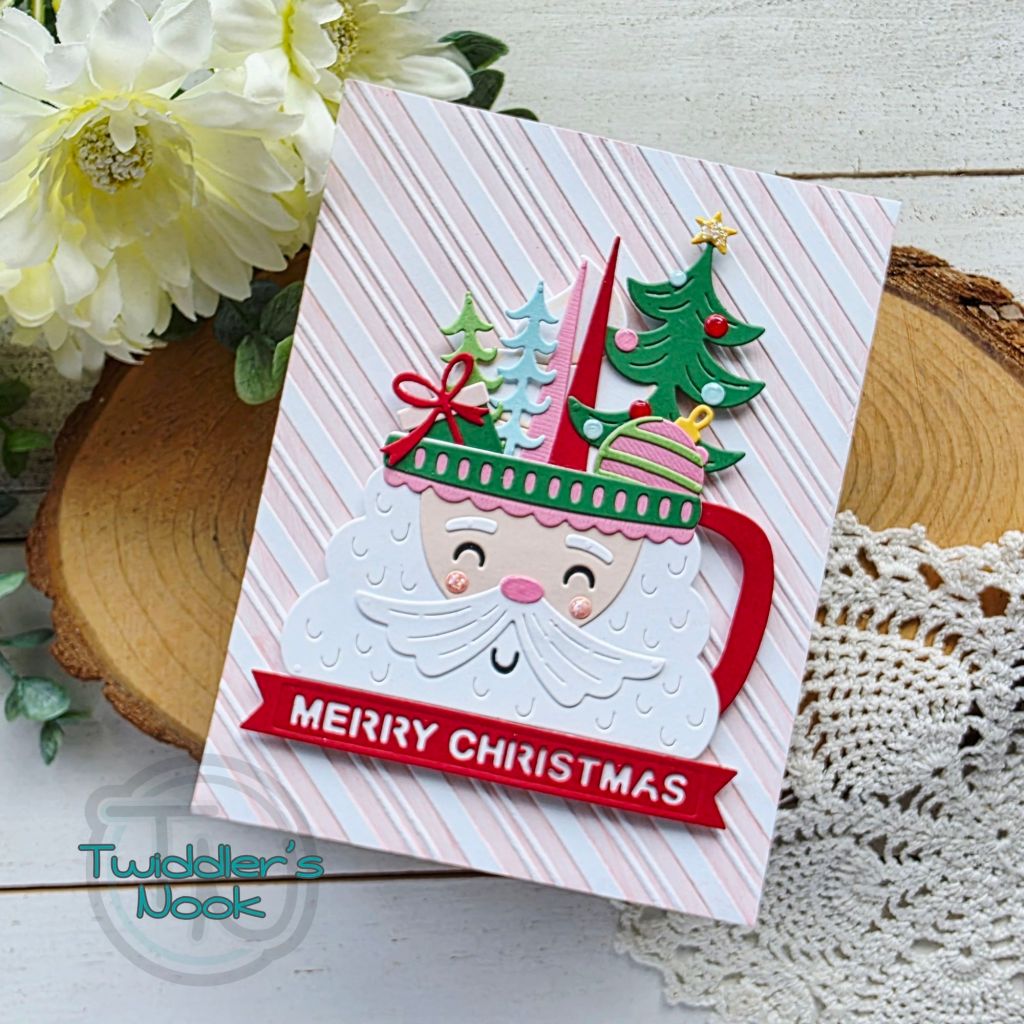
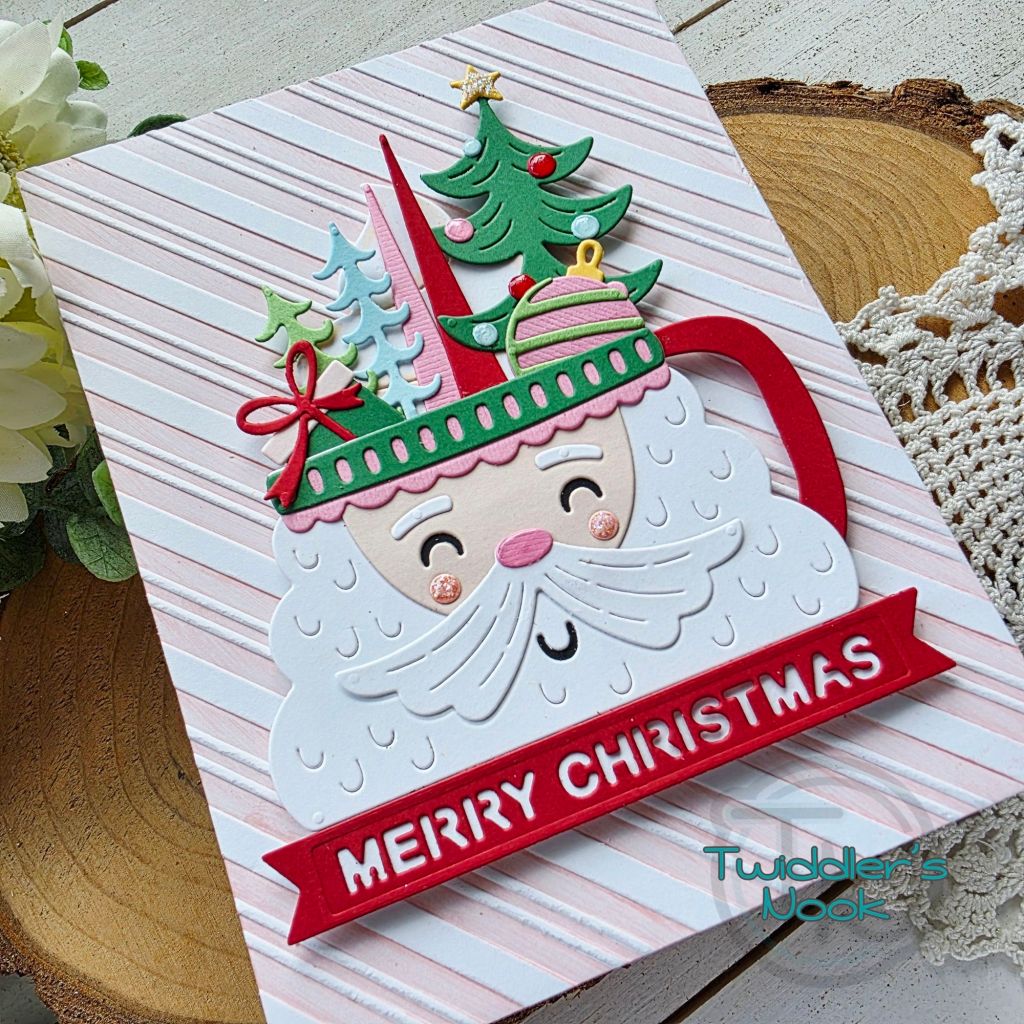
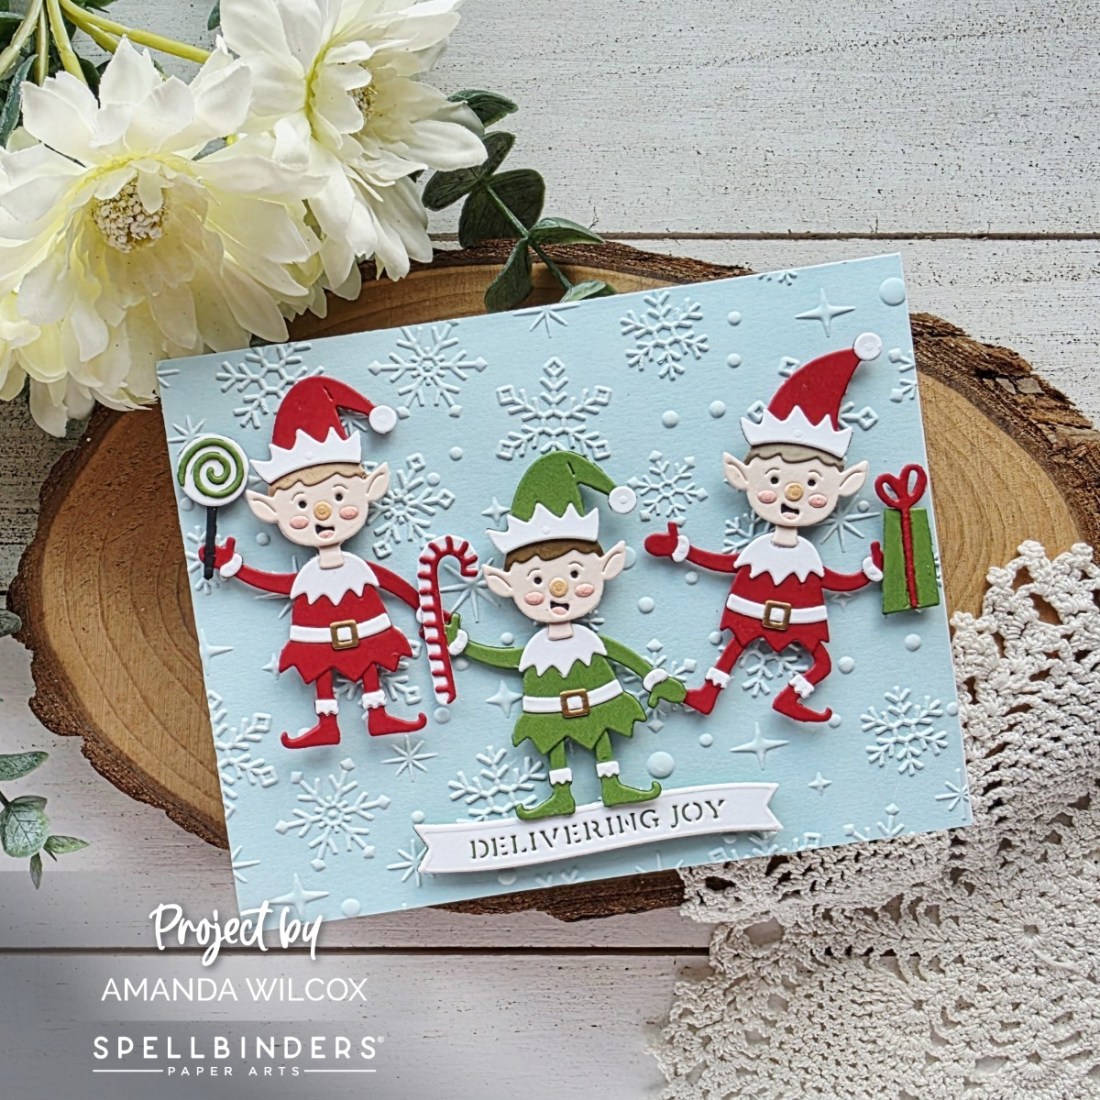
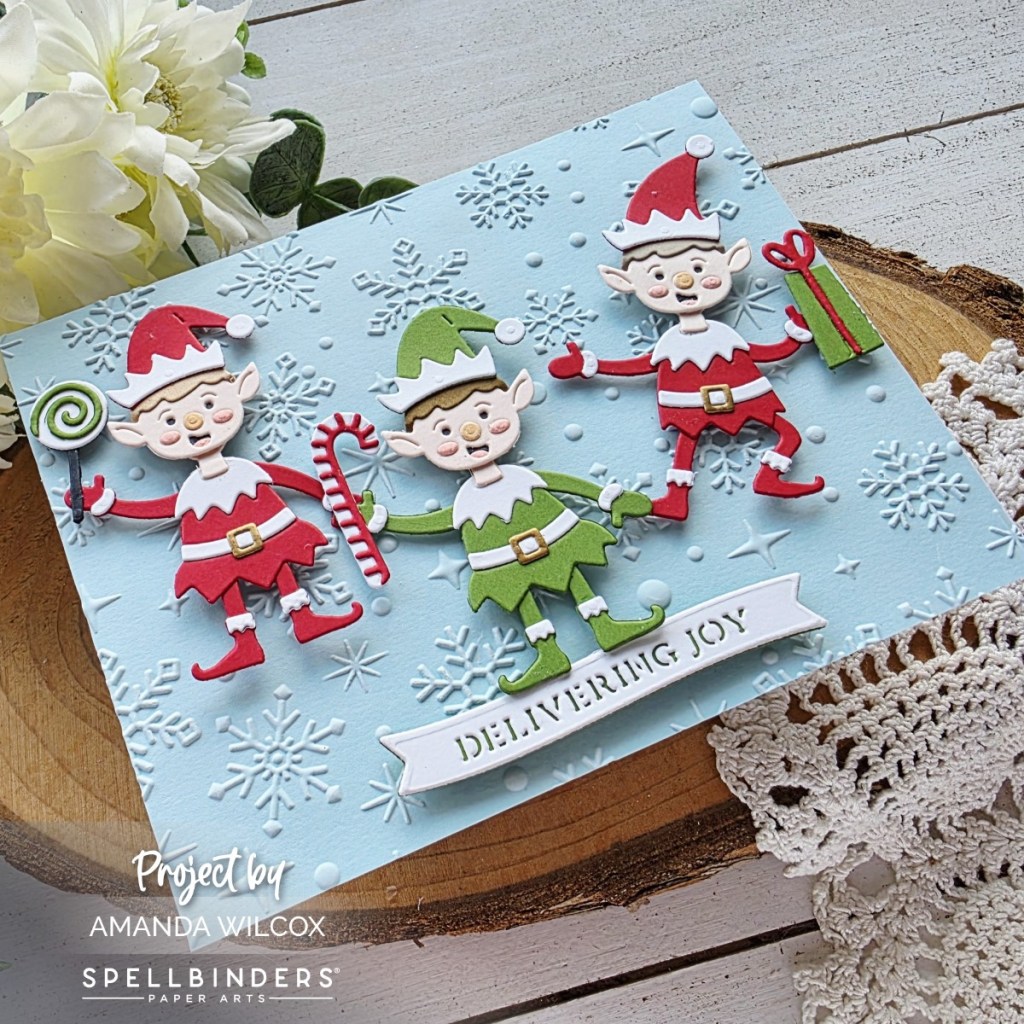
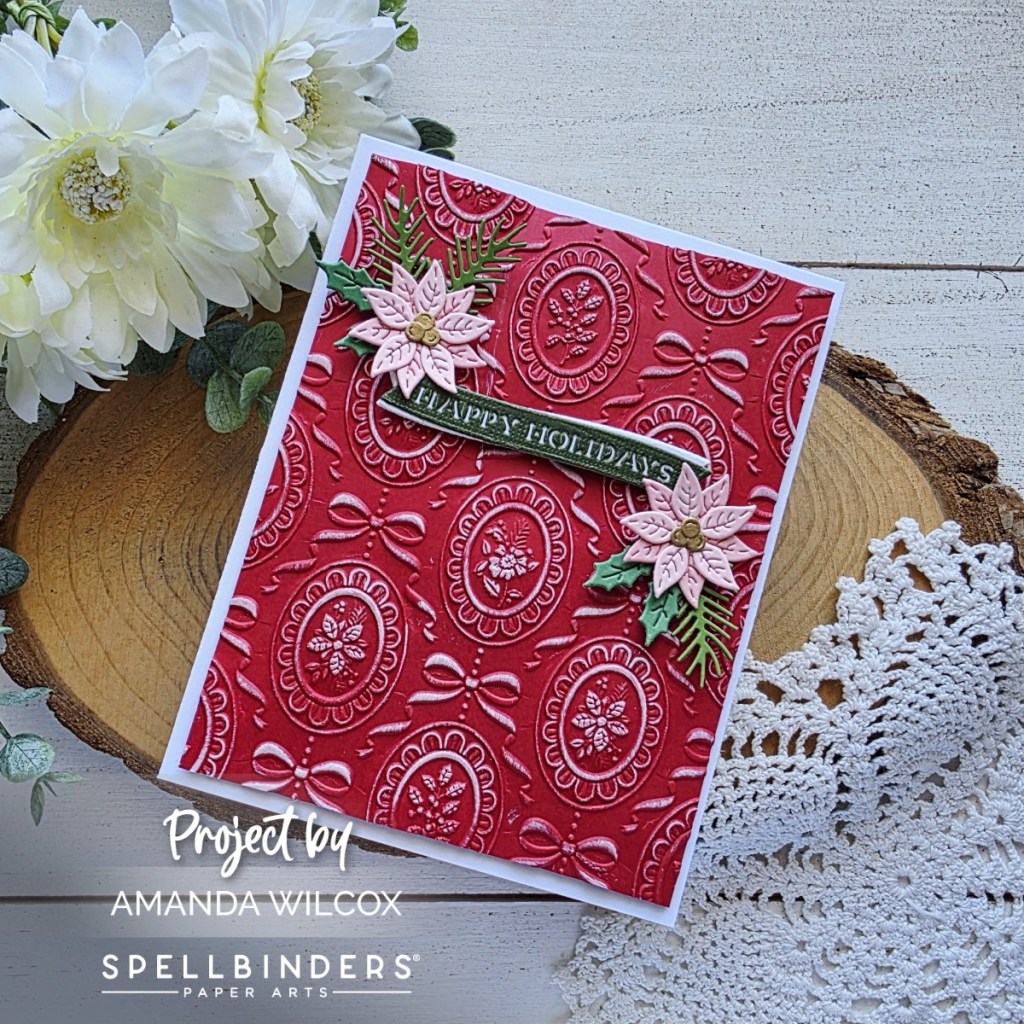
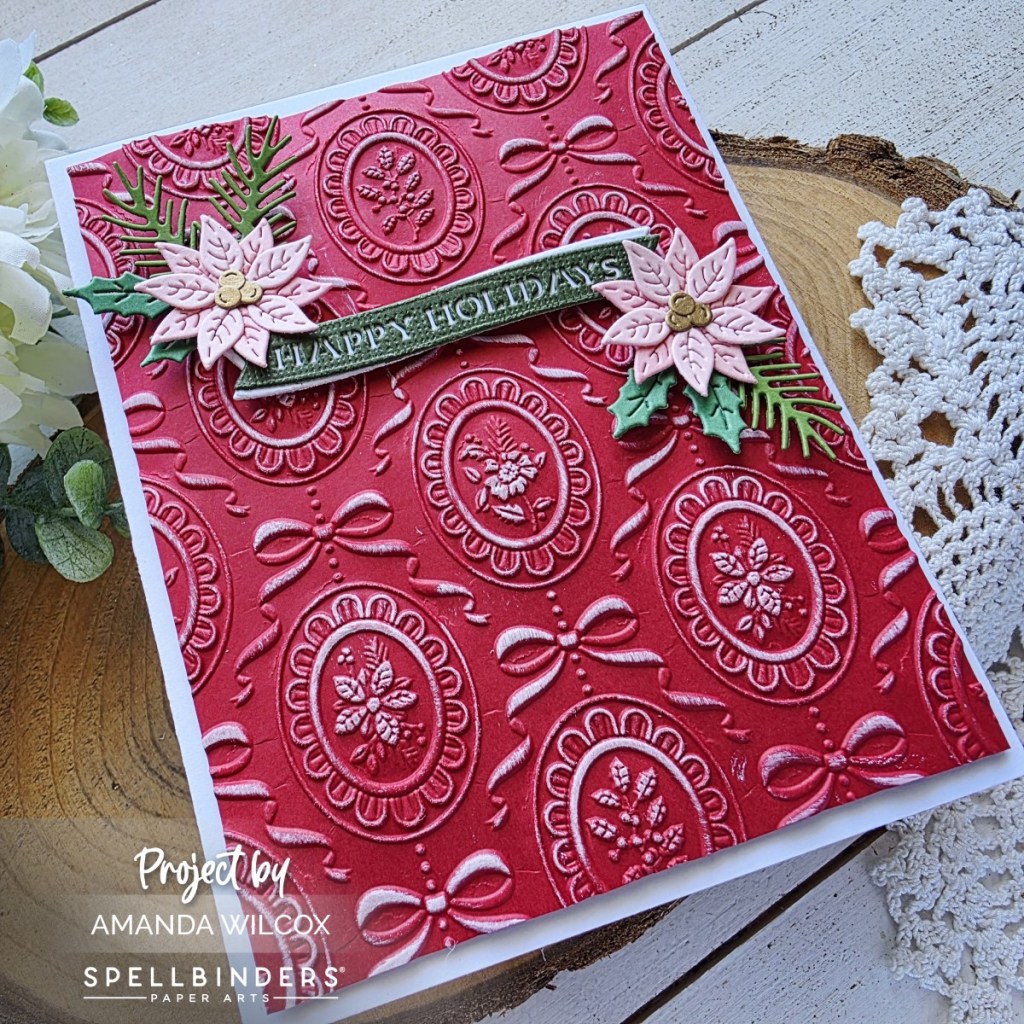
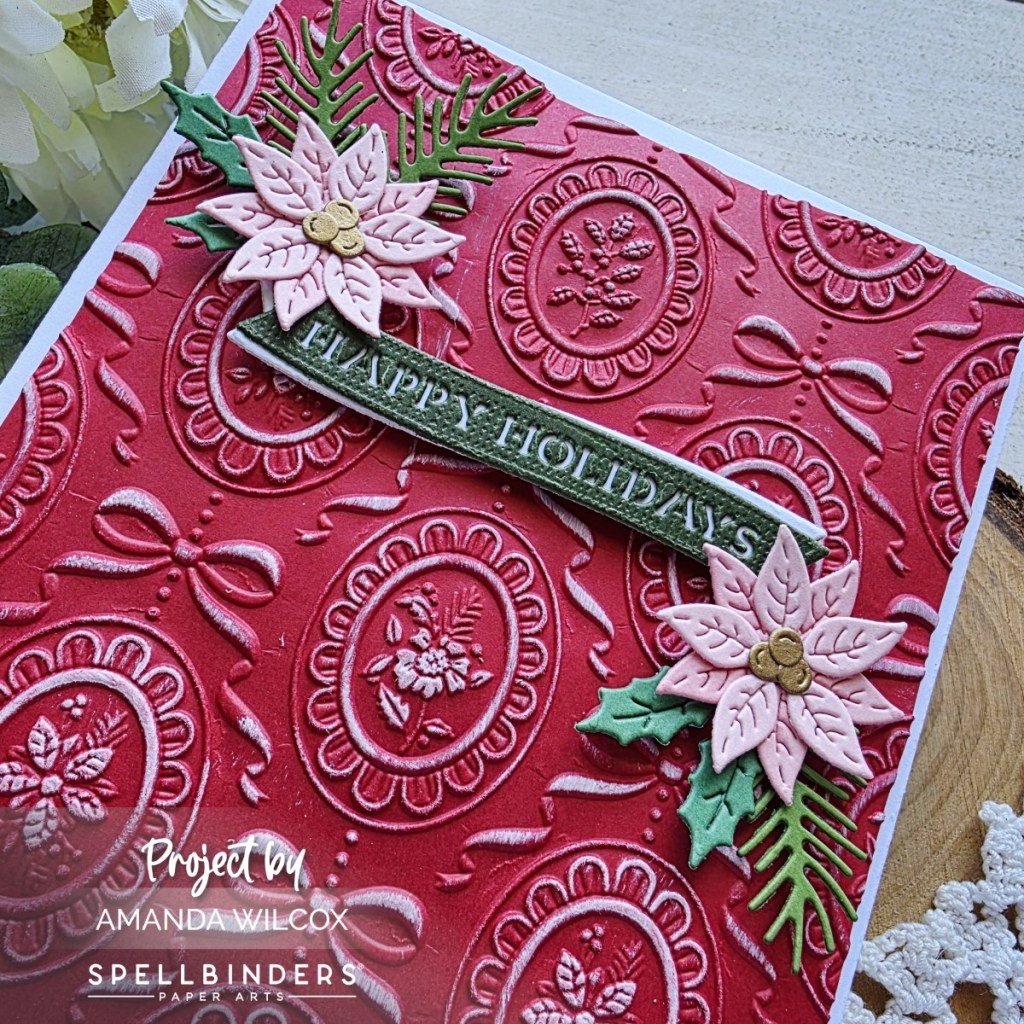
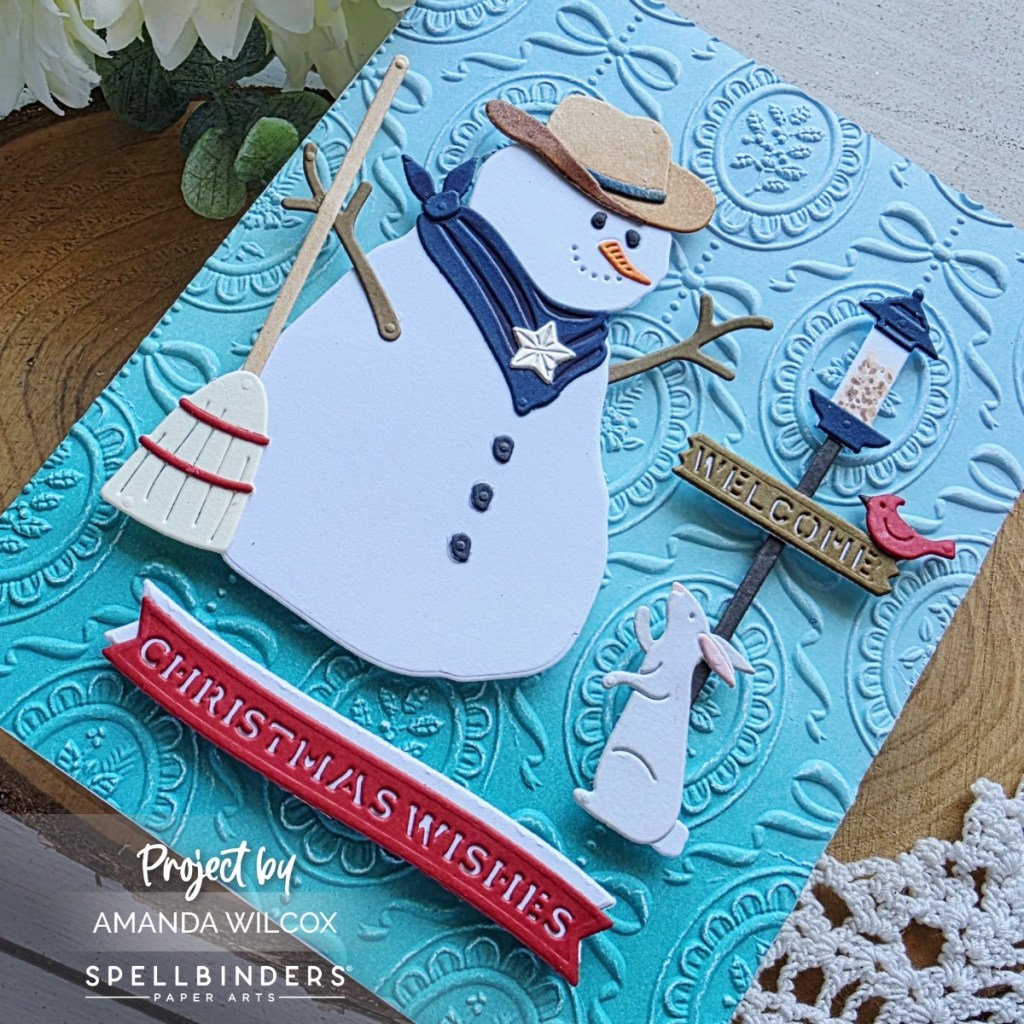
Next, I have a more traditional looking Christmas card to share with you featuring the same Joy Shadow dies.
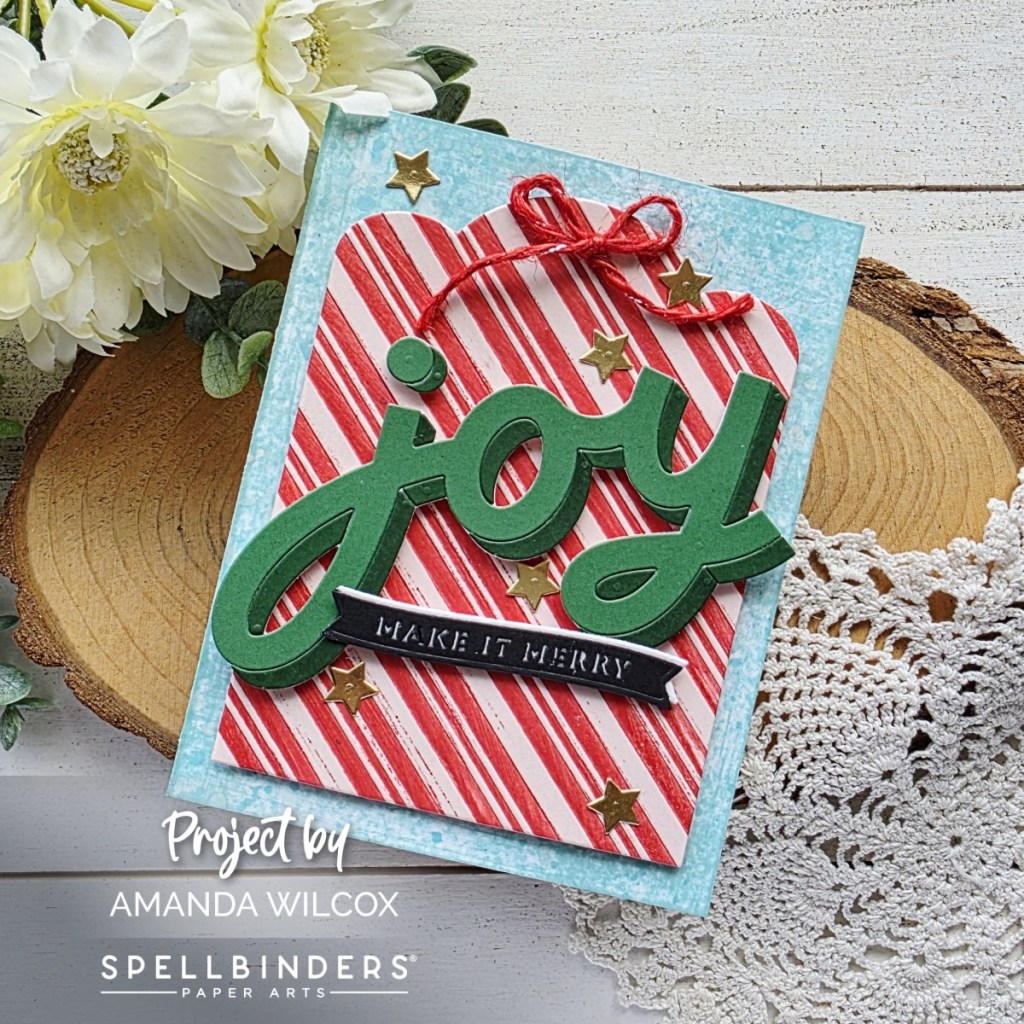
This time I used the Peppermint Stripes embossing folder on pink cardstock. I inked up one side of the embossing folder before adding the pink cardstock and running it through my die cut machine. This transfers the ink to the recessed parts of the embossing and gives you two-tone panels. It’s not difficult, easy to clean up and really expands the use of your embossing folders.
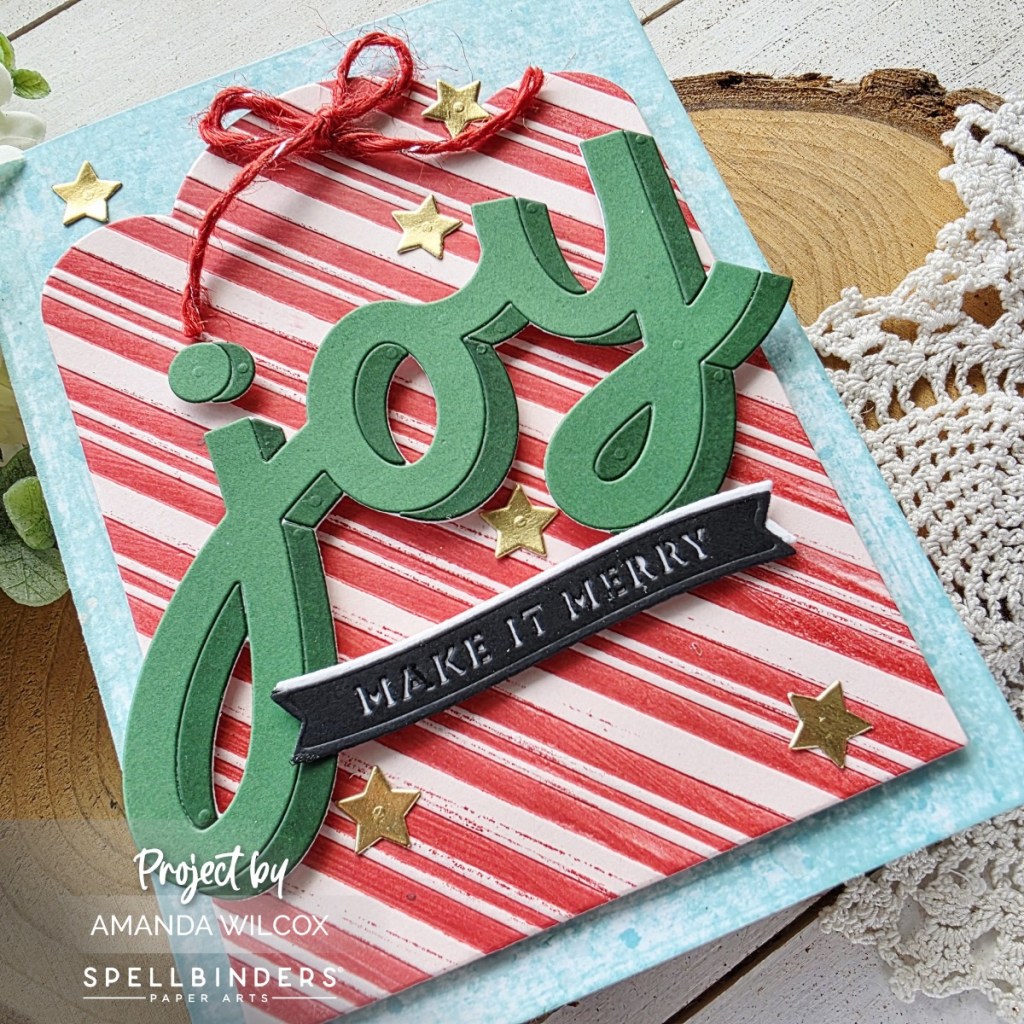
For the texture on the card front, I took my light teal ink pad direct-to-paper for a textured inking, which is also a very quick way to add color to your paper. Then I assembled everything with a combination of foam squares or liquid glue.
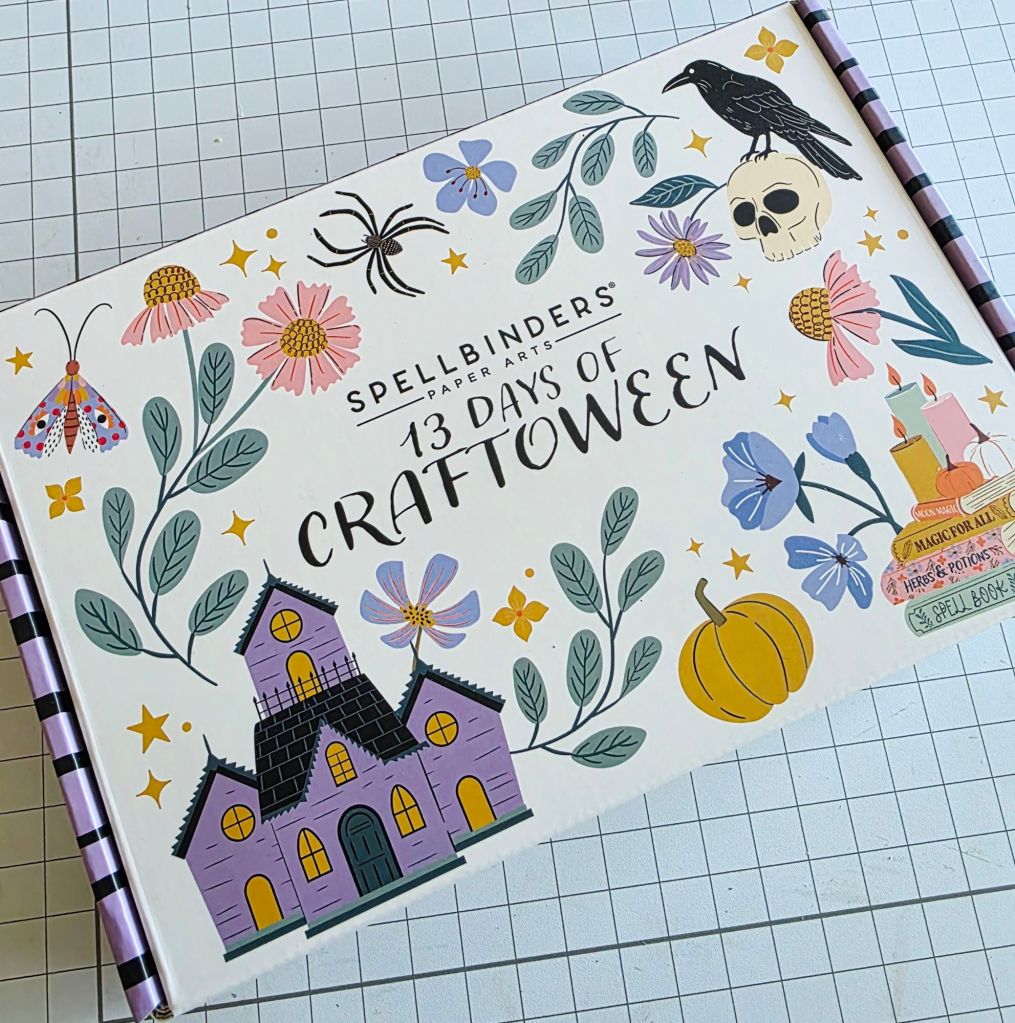
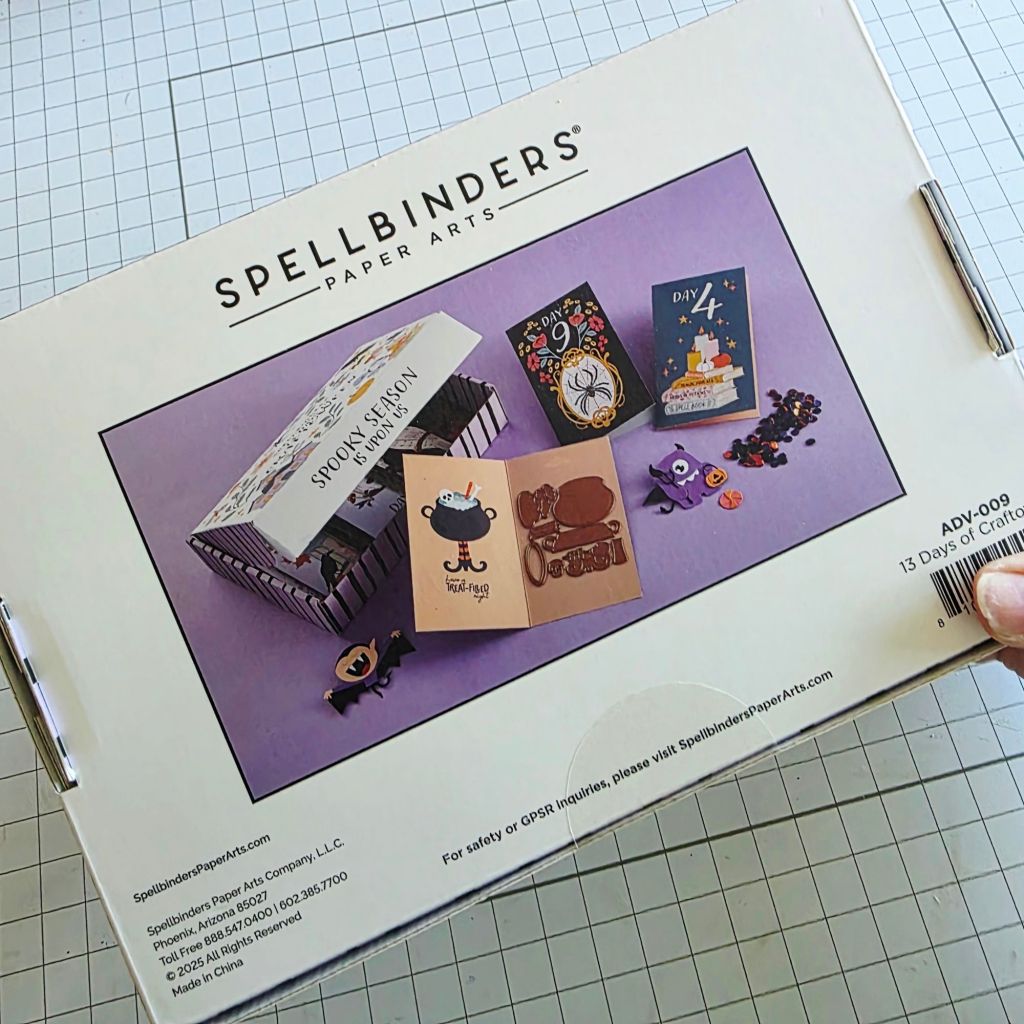
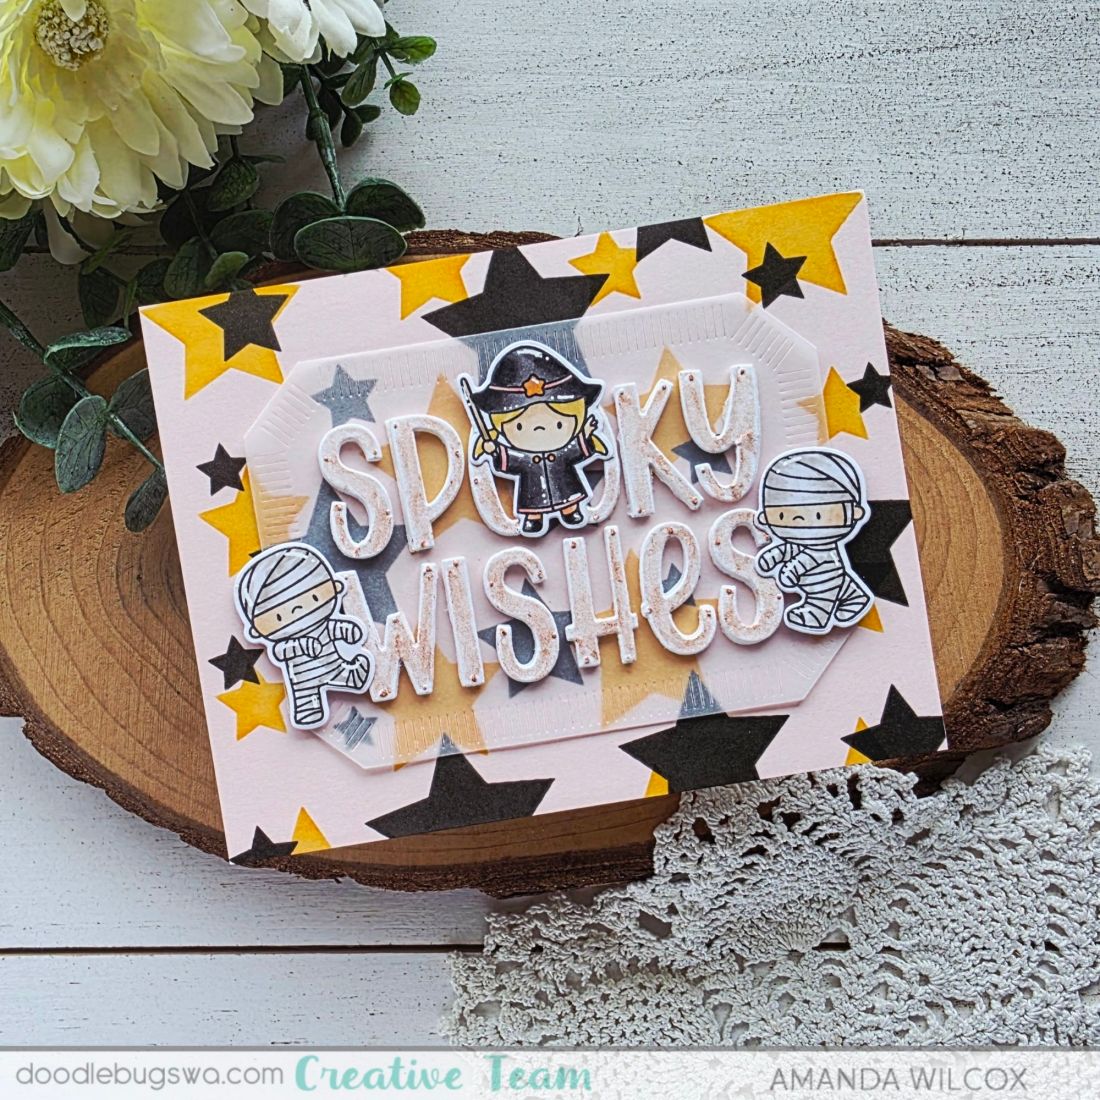
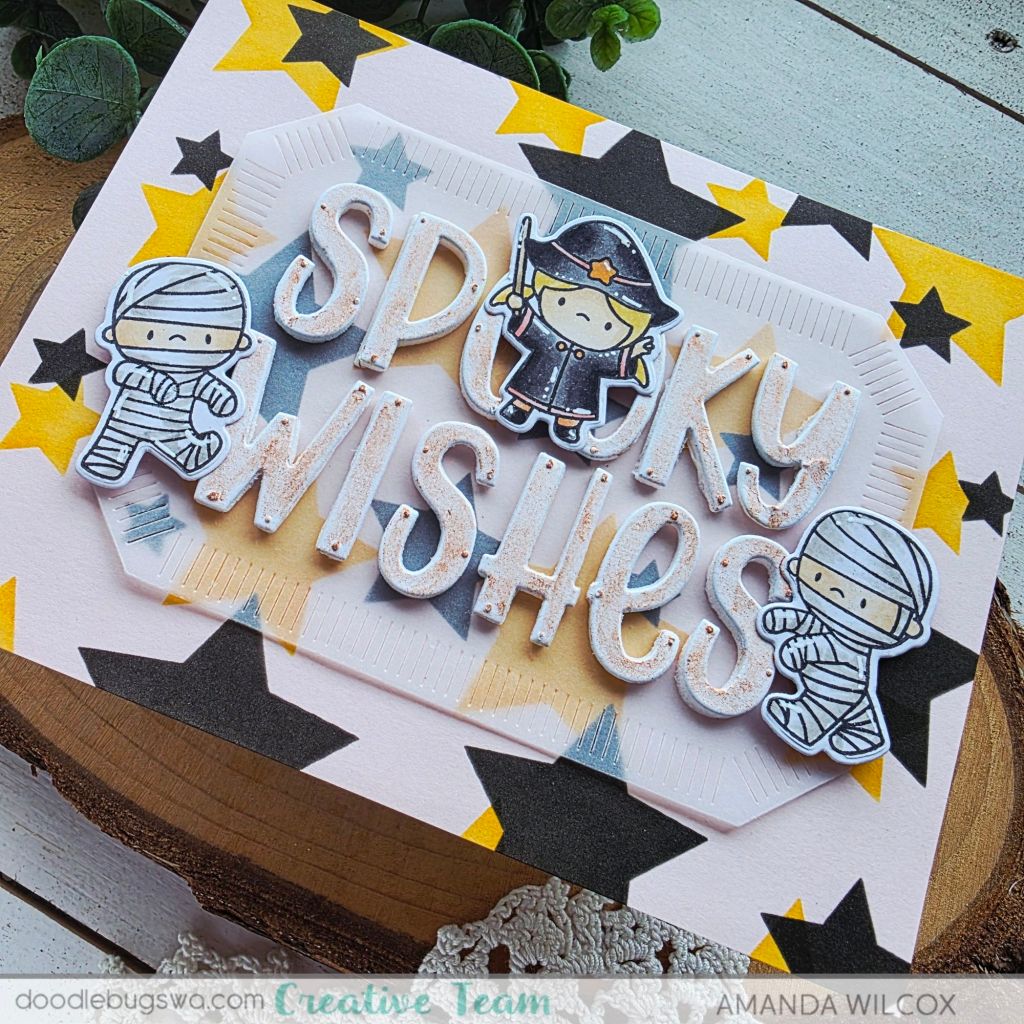
I’ll be back with a couple of fun cards featuring the newly released Cuckoo Cottage Halloween Add On! So stay tuned for that too.
I appreciate you sharing your time with me. Have a fabulous day!