Trinity Stamps – Tell You a Story

Hello everyone! Thank you so much for stopping by. I have a very fun card to share with you today. It features a few new products from Trinity Stamps that are just too fun and super cute!!!

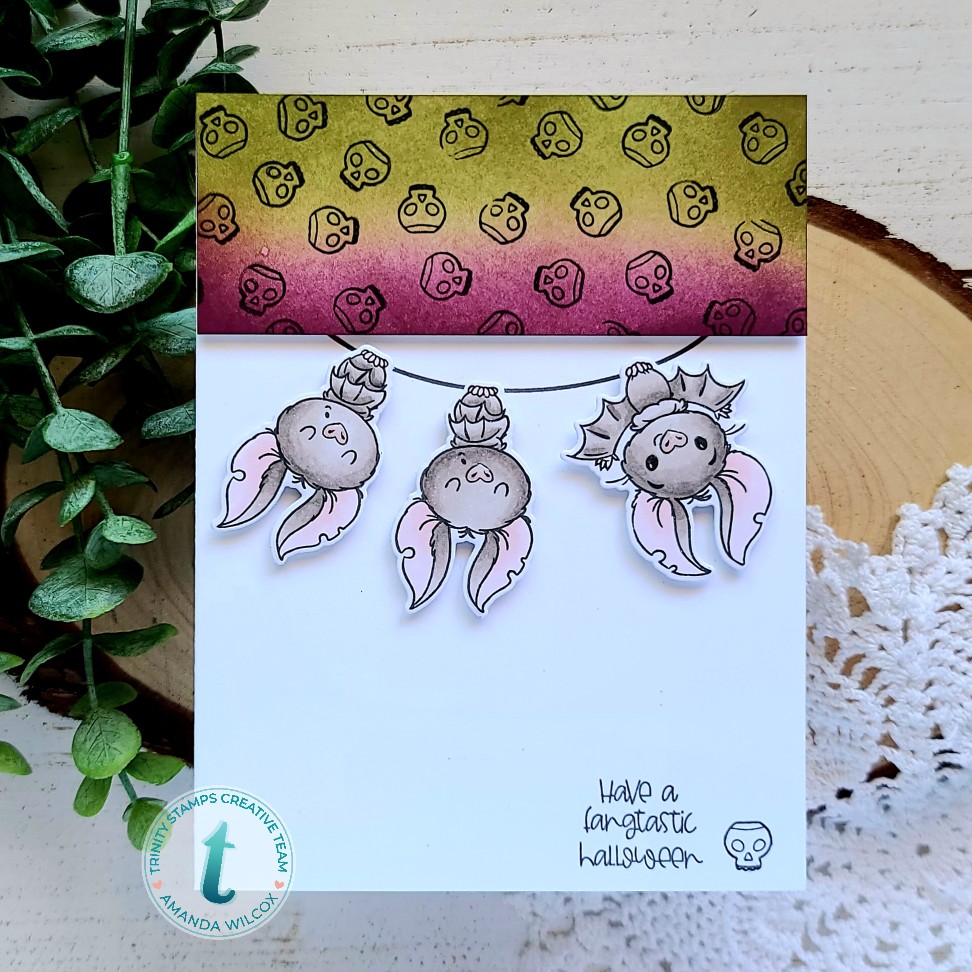
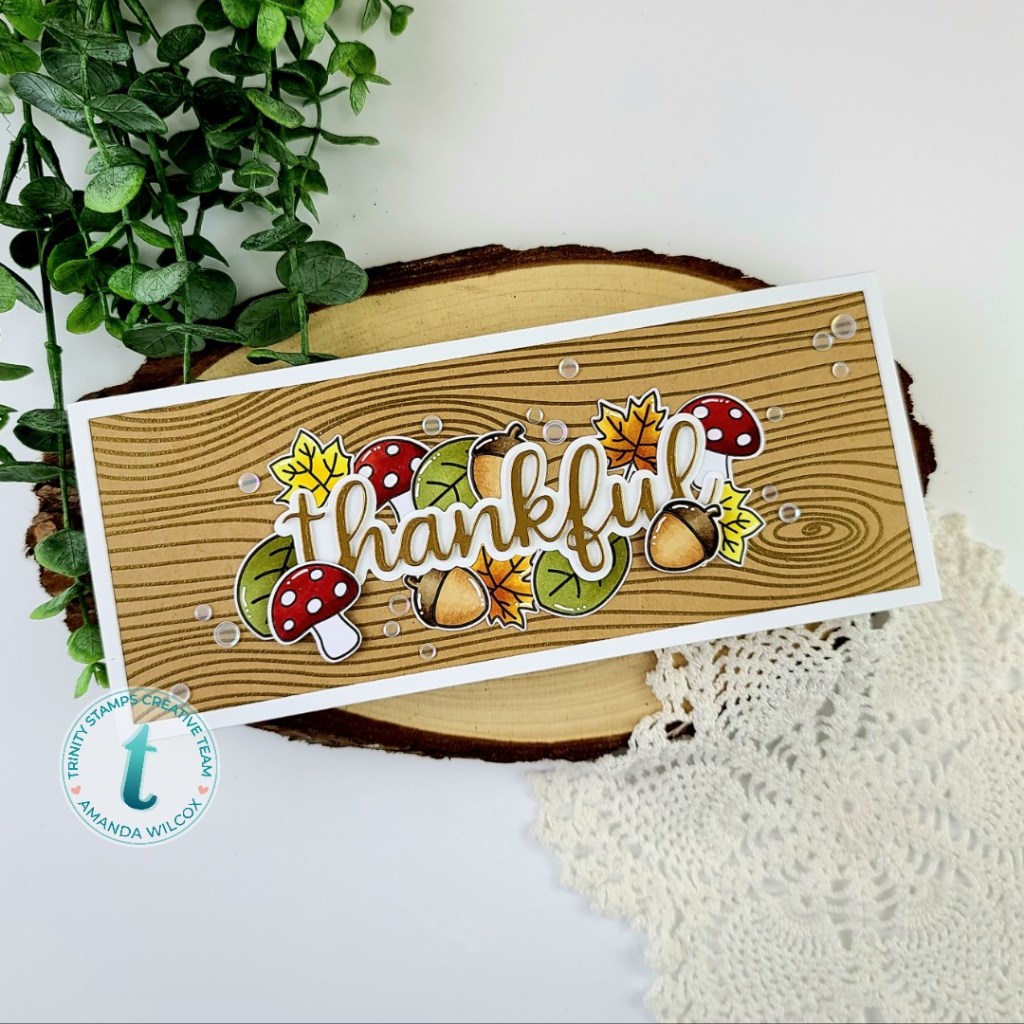
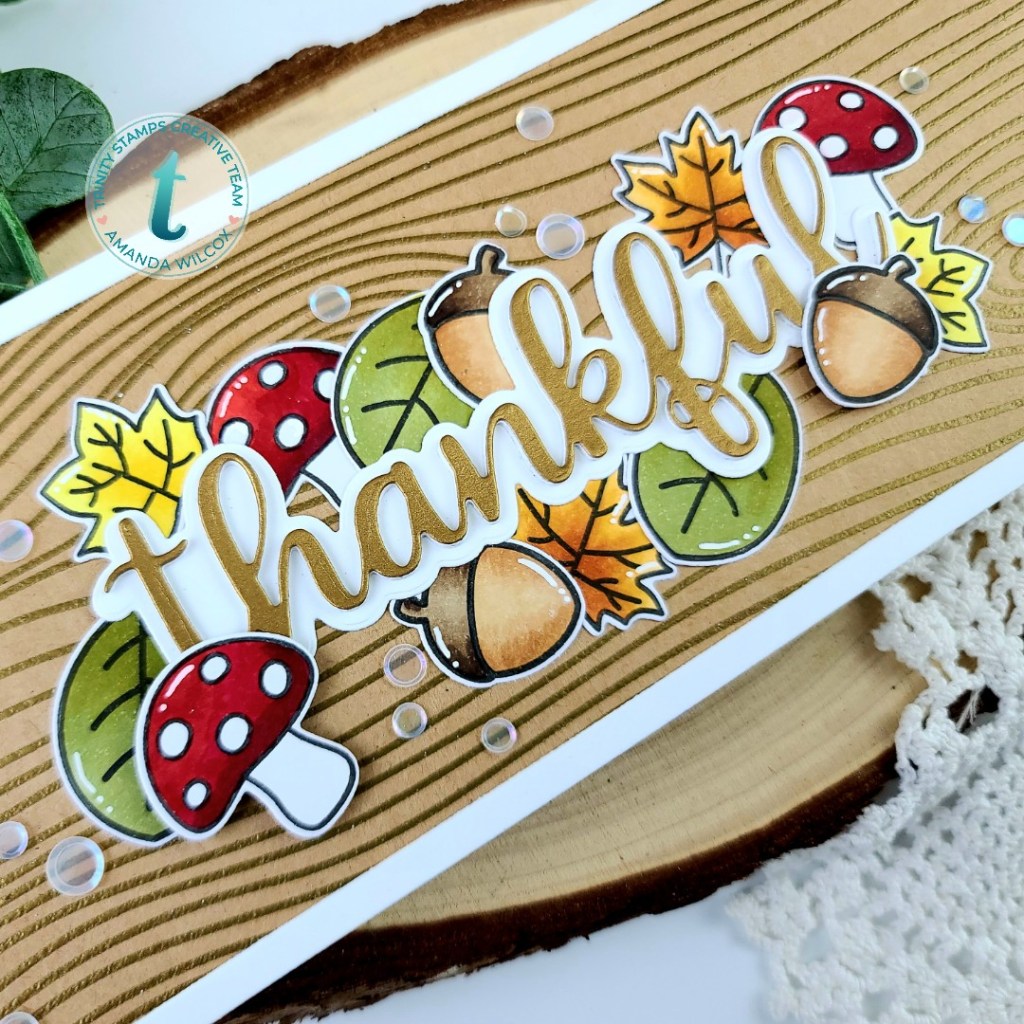
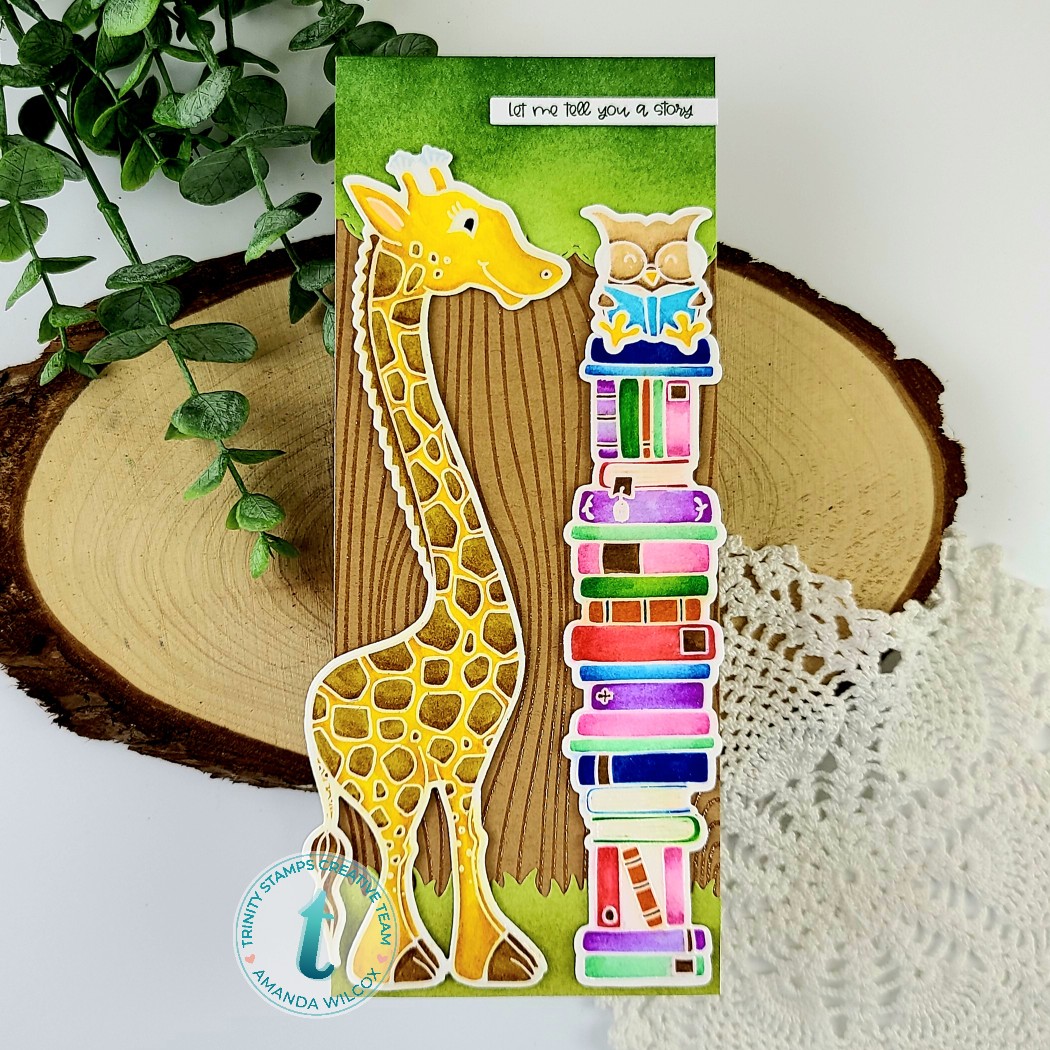
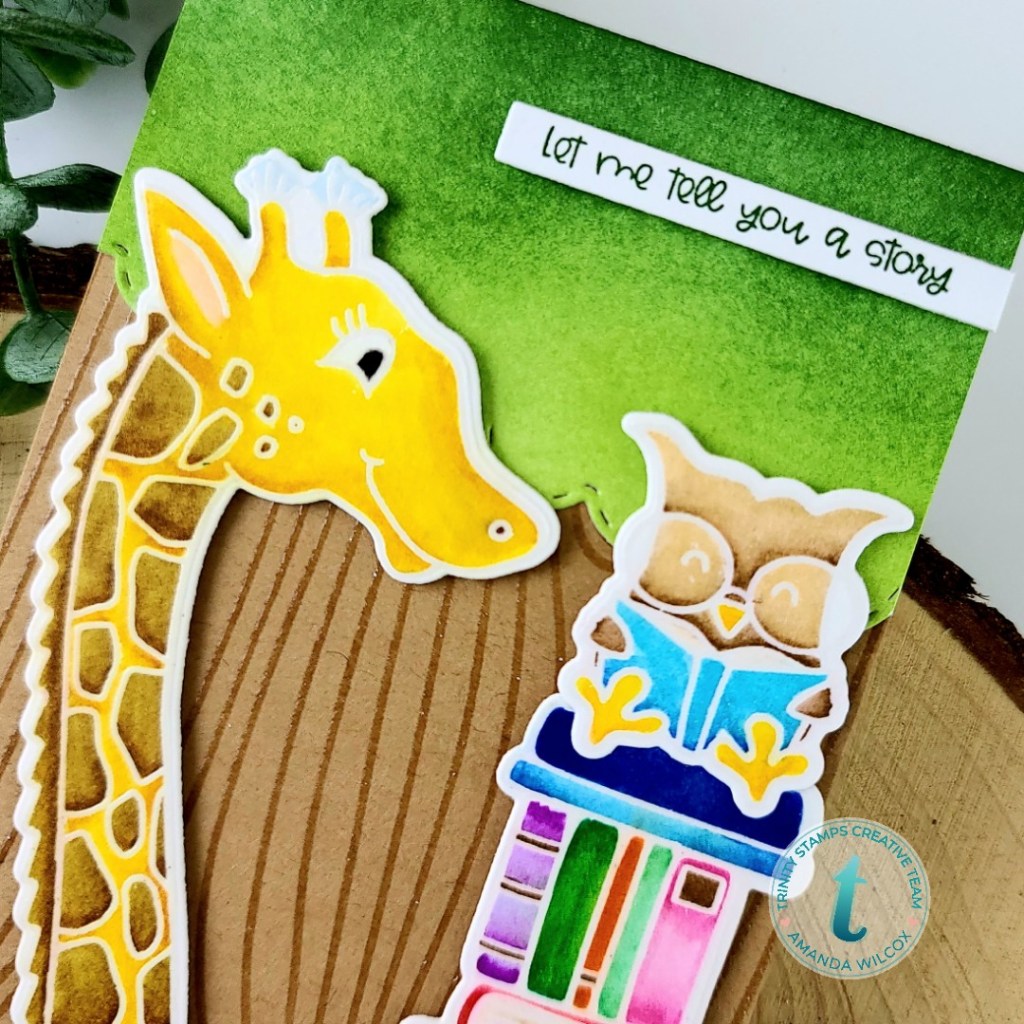
I started my card today by stamping and heat embossing the images from Tall Tales on Bristol smooth cardstock. Then I used Zig Clean Color Real Brush Markers to watercolor them in. This was such a therapeutic process because there is so much to these adorable images! I’m absolutely in love with them! Then I used the coordinating dies to cut them out and moved on to making my card front.

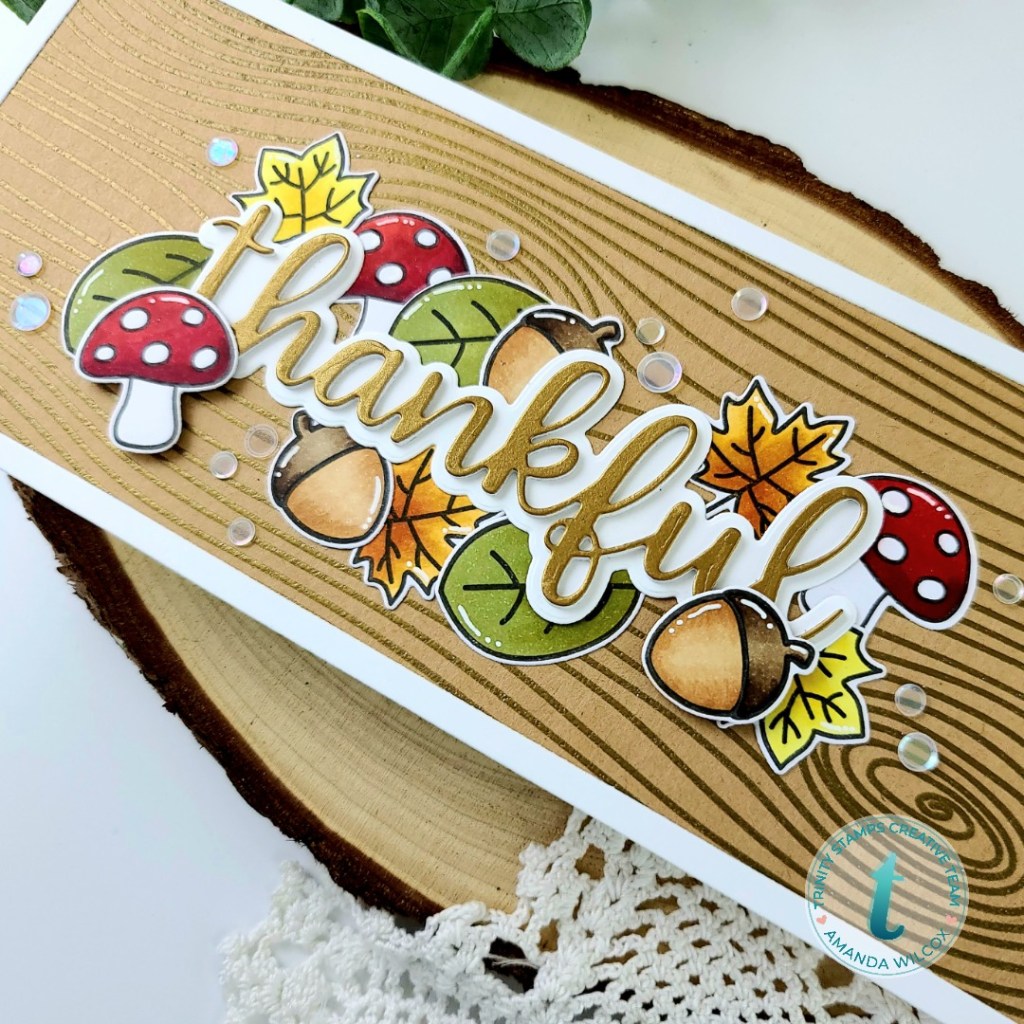
For that, I stamped and heat embossed the new woodsy background stamp with clear embossing powder on kraft cardstock. Then I trimmed it down to 3.5×8.5. I used my blending buddy brushes with some green dye inks on a white panel and used the slimline cloud border to create a top for my tree. I did the same thing a second time and used the great outdoors borders to cut some grass. Now, we move on to assembly.

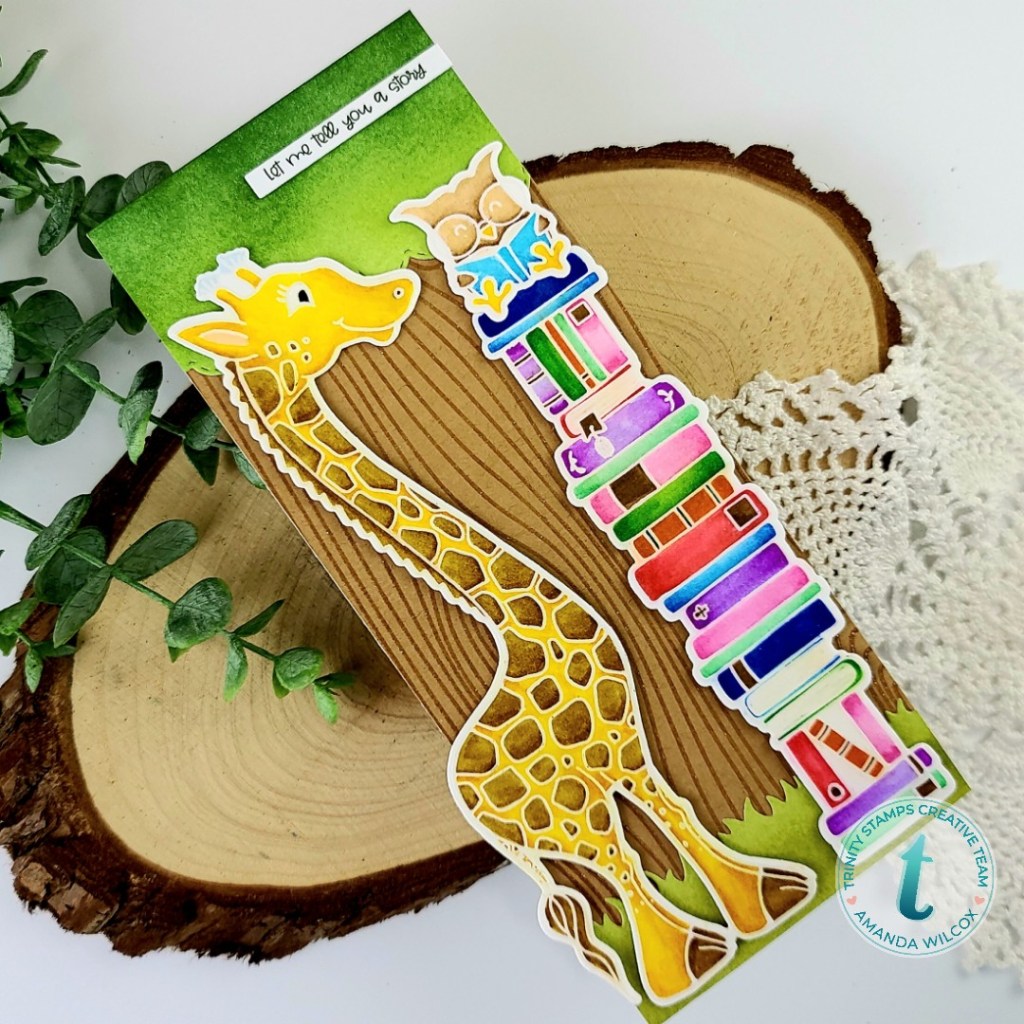
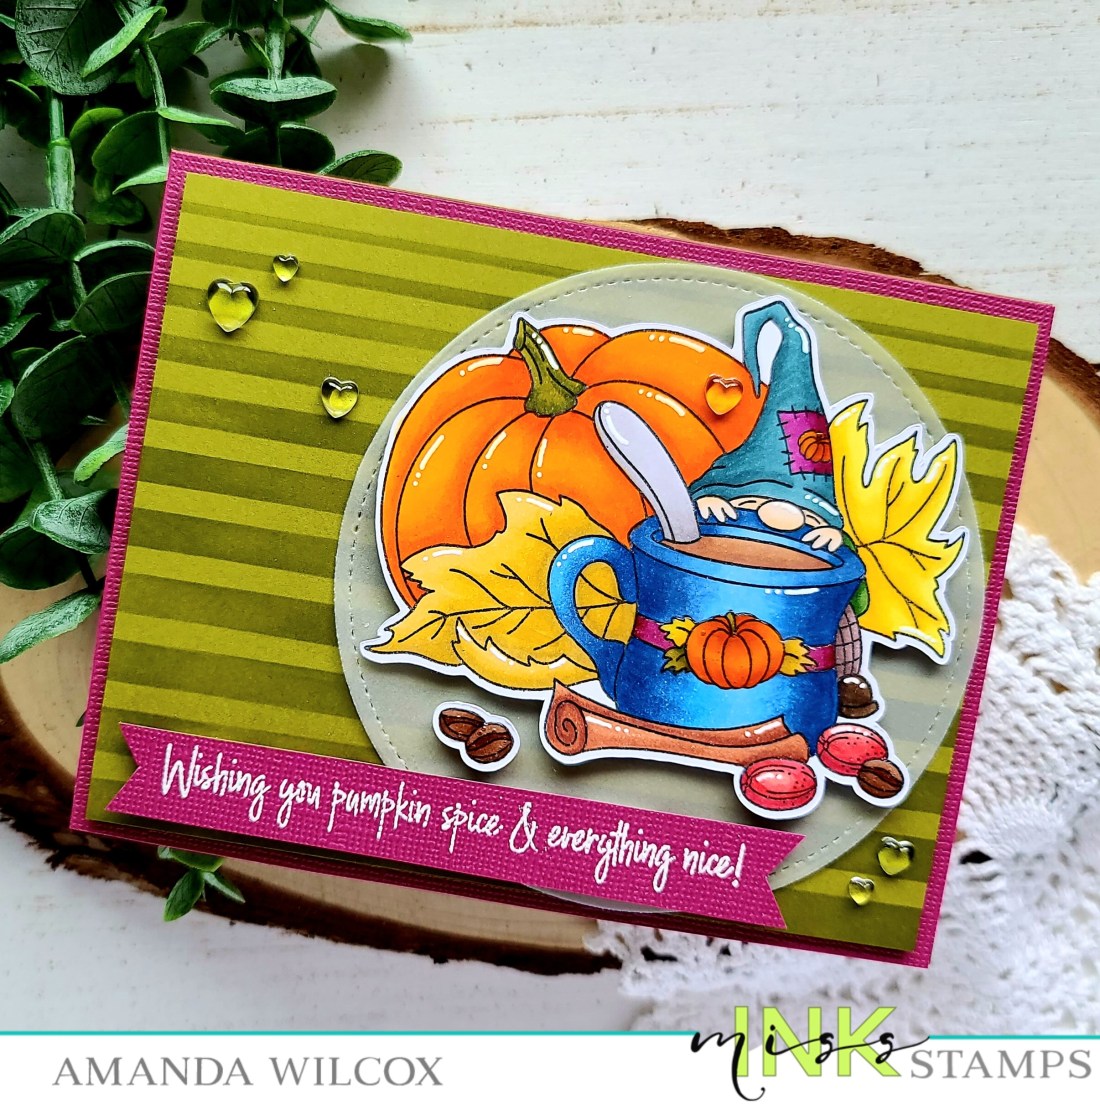
I adhered my woodgrain panel to a card base and used liquid glue to adhere the tree top and grass directly to that. Then I popped the giraffe, books and owl up with foam squares. For my sentiment, I pulled out the new Cozy Bear stamp set and used one from there. I stamped it in green and trimmed it into a strip. Finally, I popped it up with foam squares and my card is finished.

I appreciate you sharing your time with me. Have a fabulous day!

Trinity Stamps – Trick or Treat

Hello there! Welcome to a new week! Since it’s October already, I thought it would be fun to share some Halloween themed fun from Trinity Stamps. I don’t know about you but I loved trick-or-treating as a kid and after I had my daughter, I always loved taking her out! Seeing all the costumes and hearing the laughs and giggles from the kids in the streets is the best!

To create my card, I started playing with distress oxides on a panel. For this combo I used seedless preserves, picked raspberry and wild honey, which mostly gets covered up by the ground but it still gives a glow that I like. I used my slimline modern embossed panels die to cut it out.

Then using the slimline great outdoors border builders I cut some grass and fence from black cardstock. Using these as a guide, I laid out my stamps how I wanted them. I stamped and heat embossed the images from Trick or Treat with black embossing powder.

I adhered my panel to a slimline card base measuring 3.5×8.5 inches. Then I adhered my fence and grass together with liquid glue and popped that piece up on the card front with foam tape.

For finishing touches I glued some crystal clear rhinestones in the background. If you have followed me for long, you know I always like a little shimmer and shine somewhere on my cards. This one was no different.

I appreciate you sharing your time with me. Have a fabulous day!

Trinity Stamps – Fang-tastic Friends

Yippee!!! I’m so glad you’re here today! I’m over on the Trinity Stamps blog with this FANG-TASTIC trio of cards and I’m excited to show you! Bats are one of my favorite critters and these guys are just so stinking adorable, I couldn’t resist coloring a bundle of them up as soon as I opened my stamps!

I showed a sneak peek of this set – Fang-tastic Friends – before the release, you can check that card out HERE if you missed it. But I actually created these beauties at the same time. I decided to use the same general layout but make each one different by switching colors and accents on each one.

This first one features the catching some rays stencil at the top for a fun focal point and a scattering of Nuvo Crystal drops for added interest. I also added some Stickles to the banners because you know I like glittery things!

For the second one, I inked up the panel and then went back and stamped the cool skull image from the set for my own patterned paper. I also added the skull by the sentiment to tie it all together. This time I thought it would be fun to have a couple of snoozing bats with my super awake cutie instead of the banners.

For the last card, I wanted to go away from the Halloween feel and just went for night-time. I inked up the top panel with blues and teals and ran it through my die cutter with the starry skies coverplate. Then I scattered a bunch of the popcorn sugarstar embellishments across the design.

These cards were so much fun to create! I hope you enjoyed them today and found a little inspiration to create something wonderful!

I appreciate you sharing your time with me. Have a fabulous day!

Miss Ink Stamps – Boo to You!

Welcome friends! Thanks for stopping by today to see my super adorable Miss Ink Stamps Boo Crew card. This is the first time I’ve done a masked/ink blended background like this and I’m so happy with how it turned out.

To make my card, I started by laying out my stamps on a card base to decide where I wanted everything and make sure it would all fit right. Then I stamped my Boo Crew images and colored them with copics. I used my scan-n-cut to cut them out and moved on to my background panel.

For that, I stamped the graveyard image and did second generation stamping on a full-stick post-it note and cut out the moon and headstone to mask off. Then took a long piece of post-it tape and tore it down the middle to mask off an uneven ground. I used Trinity Stamps blending buddy brushes and some dye inks to ink up my sky. I removed the masks and inked up the dirt next. Then I came back with copics and colored the images like the trees, headstone and pillars on the gate.

When the background was finished I popped my images up with foam squares and put them in place. Then I stamped and heat embossed my sentiment and cut it in to a banner. This was also popped up. I trimmed my panel to 5.5×4 and popped it up on a white card base.

For finishing touches on my card I added a couple strips of washi tape to the bottom and some glossy accents to the pumpkin eyes, treat bags and candy pieces. Last, I took a white gel pen and added some stars to my night sky.

This card was so much fun to create, words don’t really describe it. The excitement and satisfaction from taking off the masking paper and seeing how cool the inking looks and how it all comes together in the end is awesome! If you haven’t tried this style before, you really should.

I appreciate you sharing your time with me. Have a fabulous day!

Trinity Stamps – Thankful

Welcome back friends! I’m so glad you stopped by because I’m super grateful for each and every one of you and wanted to dedicate this beautiful card to everyone who takes the time to follow my blog, Facebook and Instagram and for all of your wonderful comments and support. I truly appreciate each one!

To create today’s card, I started with the Trinity Stamps woodsy background stamp by heat embossing it on kraft cardstock with gold embossing powder. Then I stamped the images from the same stamp set and colored them with my copics. I used the coordinating dies to cut them out and set them aside.

Next, I cut the word thankful out from the scripty thanks die set. The shadow was cut once from white and the word was cut 3 times from white and once from gold mirror cardstock. Then I used liquid glue to adhere them all together.

I adhered my woodsy panel to a card base and cut a frame from the slimline frame and fold set with white cardstock and adhered it with liquid glue. Then, I arranged my images and decided what I was gluing to the card front and what I was popping up with foam squares.

After that I adhered everything in place and decided to add a scattering of glass slipper confetti mix throughout the design. It’s simple and adds just a little interest and shine to the card. The final finishing touches I added were white gel pen accents to the images.

I appreciate you sharing your time with me. Have a fabulous day!

Trinity Stamps – You are MAGIC

Happy weekend everyone! I wanted to pop in really quick with a simple but fun card that I made with one of the new stamps from the Trinity Stamps Autumn Rainbow release.

I used the mini card from the slimline frame and fold set for my card base and the panel I stamped on. I stamped the image from You’re Magic a second time, colored it with my copics and used the coordinating dies to cut it out. Then I layered it all together with foam tape in between the layers.

These word art images from Trinity Stamps are so fun and make putting together a beautiful card simple and effortless.

While I was making my card, my daughter loved the sentiment and thought that whoever we gave this card to needed a wand to go with it so she made one herself. I thought it was pretty cool and now we have to find someone special to share it with.

I appreciate you sharing your time with me. Have a fabulous day!

Miss Ink Stamps – Pumpkin Spice & Everything Nice

Hi there! It’s that fabulous time of year again…pumpkin spice everything! Which happens to be exactly what my shirt says today. I love pumpkin everything and this time of year is my absolute favorite! But I digress…

It’s release week for Miss Ink Stamps and we have some super fun sneak peeks for you! Today I’m sharing Pumpkin Spice Latte. This set is so much fun! I had a blast coloring it, especially with these bold, fall-type tones.

I paired the image with the stripes stencil from the basics stencil bundle and a vellum die cut Lawn Fawn stitched circle. I also heat embossed my sentiment on a strip and cut banner ends with my scissors.

I finished things off with some white gel pen accents to the images and glossy accents on some key areas like the coffee beans, decoration on the mug and the gnome’s hat. Then I glued down some Trinity Stamps boiled sugar jelly drop heart embellishments too.

Today is your last chance to comment over on Instagram for a chance to win before the release goes live for purchase tomorrow!

I appreciate you sharing your time with me. Have a fabulous day!

Coffee Loving Cardmakers – Coffee and You

Good morning everyone! It’s Tuesday Tea on the Coffee Loving Cardmakers blog today, so grab your cuppa and settle in for some ultra cuteness to be shared!

I had an idea for a fun layout so my card came together a little backwards for my typical style. I started by arranging the dies from my MFT Stamps Stitched Arch STAX dies on my card to see how I could get them to fit. Once I liked it, I arranged my stamps to see if I could fill the windows how I wanted and it worked perfect! I sent the arch dies through my die cutter and then moved over to stamping and coloring like I usually do.

I wanted to play with the Coffee and You set from Reverse Confetti because I just got it a few weeks ago and hadn’t been able to play yet. So I stamped and colored my images with copics, then used the coordinating dies to cut them all out.

Next, playing off the colors of my images, I inked up the arches that were die cut from my panel. I left the front panel white and stamped my sentiment on it.

For assembly, I added foam tape to the back of the white panel and then used it as a guide to adhere the inked arches to the card front. Once those were in place I removed the release paper and put the white panel in place. I added my images with a combination of foam squares a liquid glue to fill in my windows.

For finishing touches, I added a scattering of coffee bean clay hearts from Trinity Stamps and some glossy accents to the elephant’s feet and mouse noses.

This is such a clean and simple card for me but I really love how sweet it turned out.

I appreciate you sharing your time with me. Have a fabulous day!

Trinity Stamps – Stencil Fun

Hi everyone! I wanted to pop in today to remind you that the new Trinity Stamps release is live and full to the brim with amazing goodies! I played with one of the new stencils yesterday – pumpkinhead layering – and had so much fun, I wanted to share my cards with you.

I had some extra squares from cutting stitched slimline windows on previous cards and thought it would be fun to stencil the new pumpkins on them. You can mix and match between the 2 different pumpkin sizes and a bundle of faces! I had a blast. I also used the slimline stripes stencil on the background panel for a little texture there too. Isn’t it so fun?

I happened to have 6 of those squares so I couldn’t just stop at 3, I used them all and created a second card as well! This time I used the slimline lots of dots stencil on the background and also tested out the new slimline quilted background die and stencil combo. It was SO COOL!!!

I hope you have an amazing weekend! Head to the Trinity shop and treat yourself!

I appreciate you sharing your time with me. Have a fabulous day!

Trinity Stamps – Thankful For You and Instagram Hop

Happy Thursday everyone! We’ve got some major fun happening over on the Trinity Stamps Instagram page today and tomorrow. We’re having a 2-day Instagram hop with chances to win each day.

Today I’m sharing another sneak of some fun products coming your way, available for purchase tomorrow!

What’s this I see??? Slimline stitched and solid strips! And another batch of those too cute gnomes! Sooo much fun to be had!

I just love this whole line of gnomes and was so happy to see more added to he mix. So fun and festive, these guys will be great all the way through November!

And those slimline strips are perfect for making sentiment banners too! Tons of versatility and fun to play with.

I appreciate you sharing your time with me. Head over to Instagram and hop along for some more inspiration and comment for chances to win.