I can’t believe it’s the final day of reveals for the Newton’s Nook Holiday Release! One more round of amazing goodies to share with you and tomorrow you can hop on and shop ’til you drop! I can’t wait to see what you all create with this amazing release!
Without further ado, let’s see what we’ve got today!
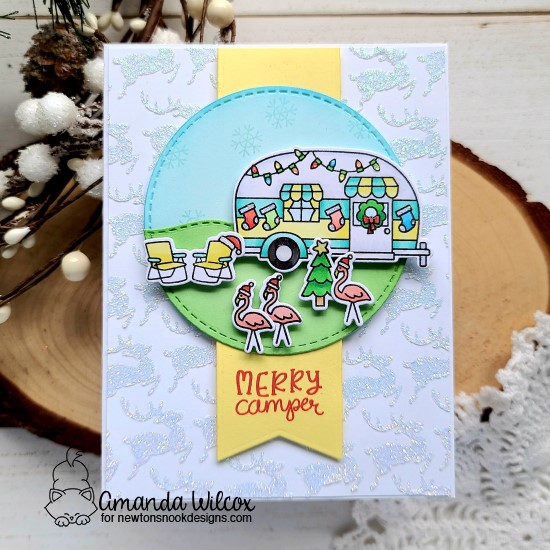
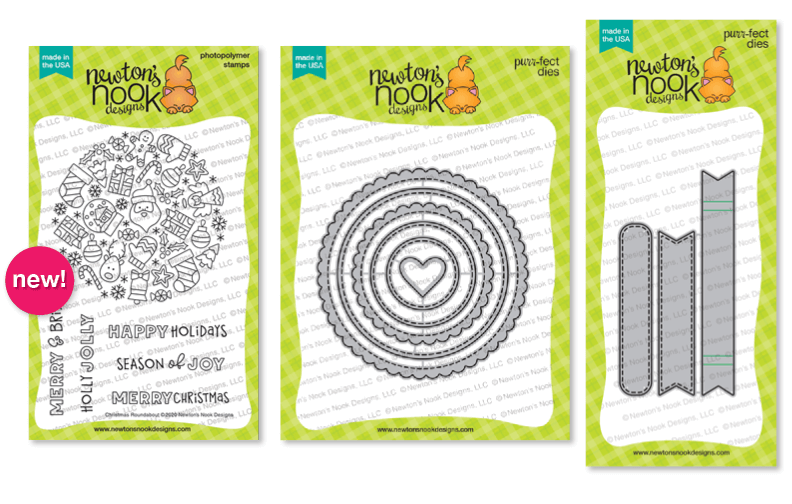
Christmas Roundabout
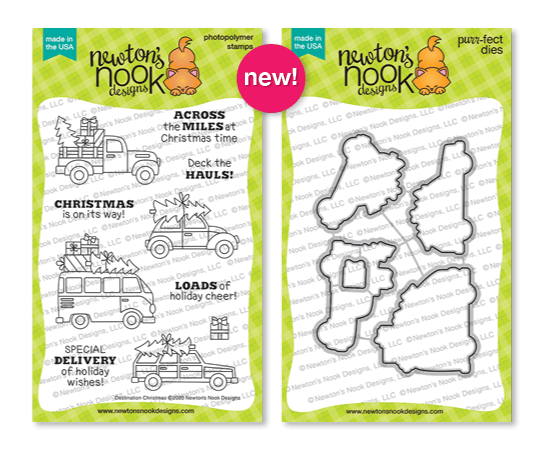
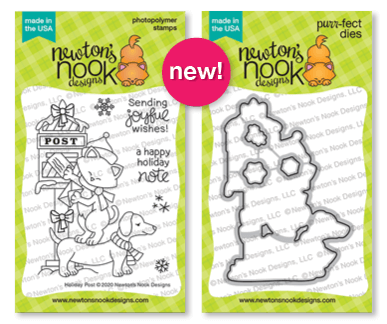
Holiday Post
I’m so excited that they’ve added yet another fun roundabout to the collection! These stamps are so versatile and fun to create with!
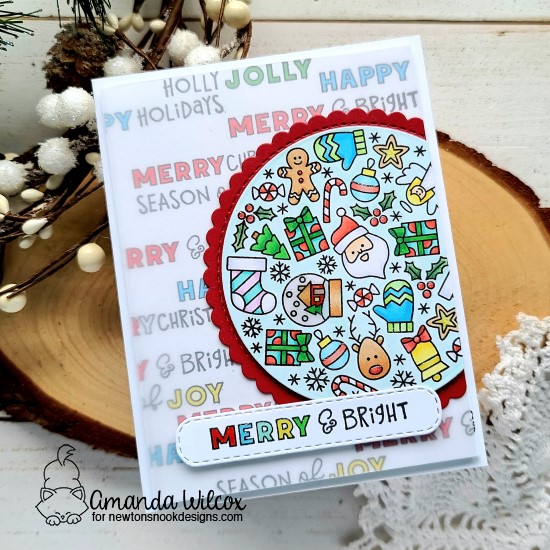
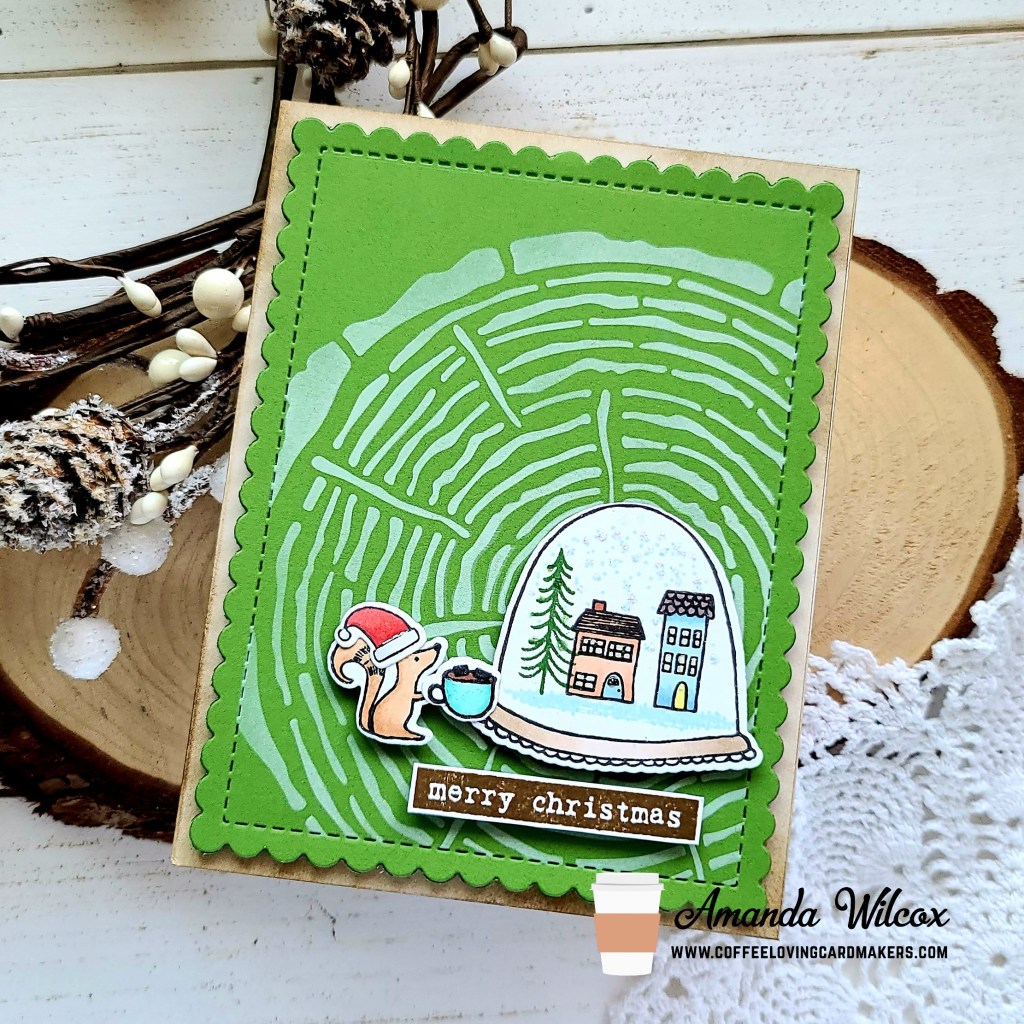
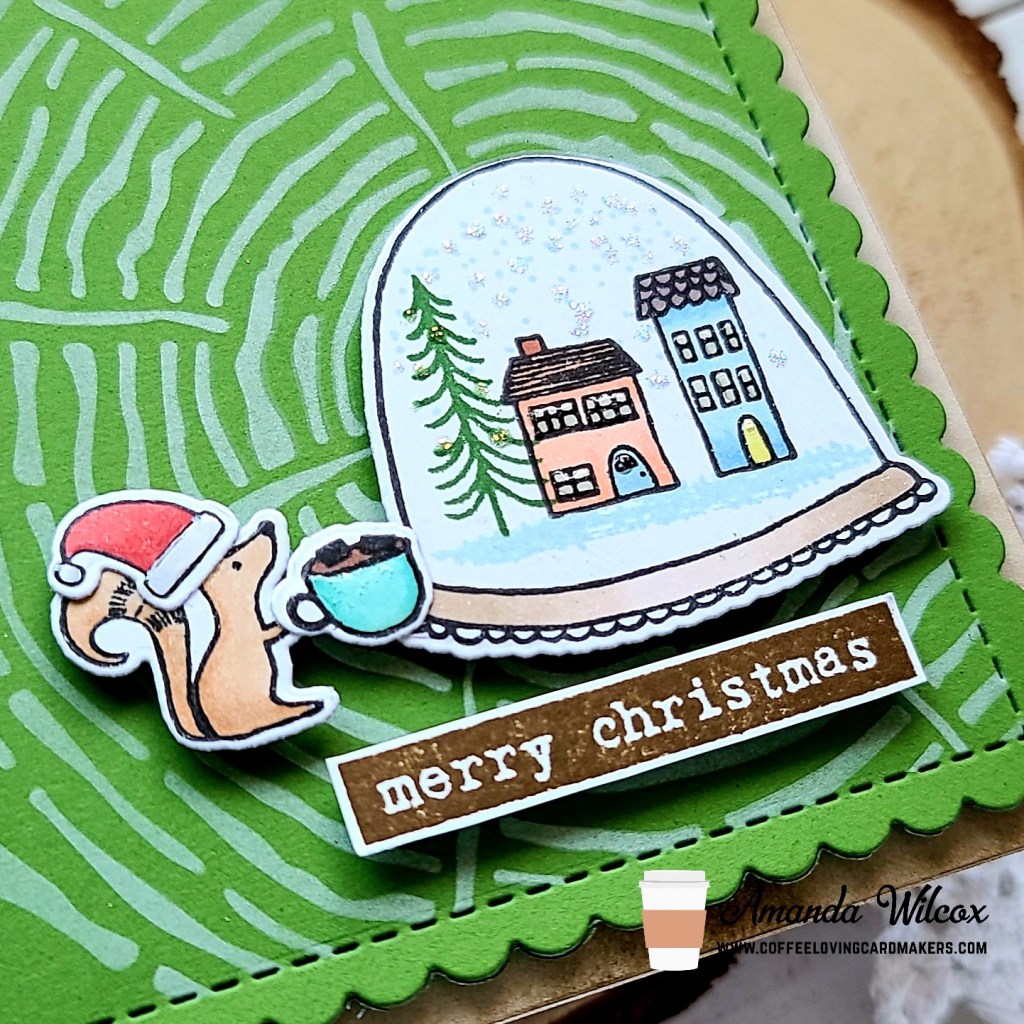
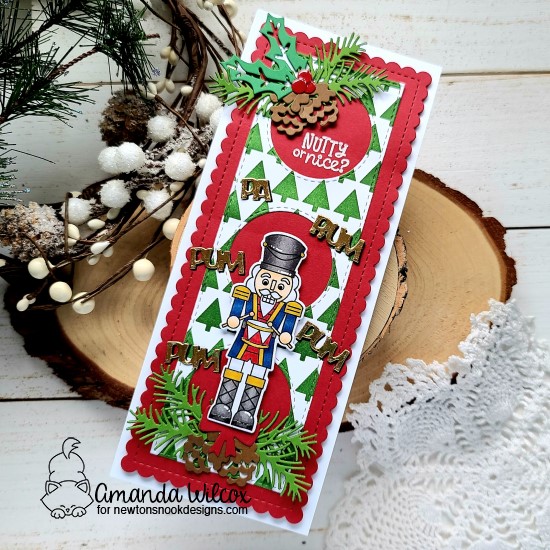
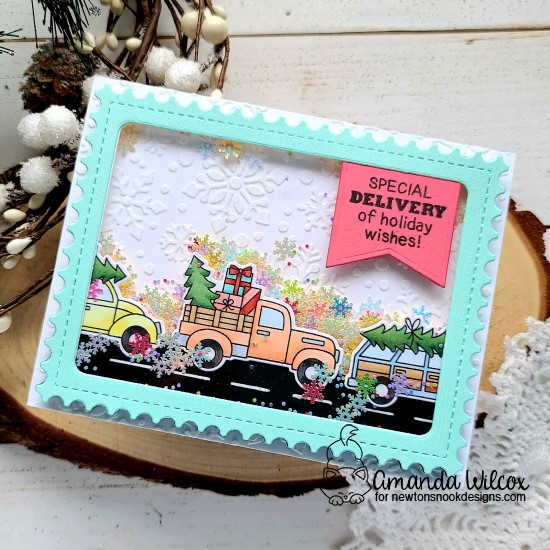
Today I went with bright and fun for my Christmas Roundabout creation. I colored the image with my copics and used a circle die from my stash to cut it out. I adhered it to the largest of the Circle Frames with foam tape. Then I took the sentiments from the set and randomly stamped them on a panel. I colored the outline words with copics and added a layer of vellum over the top before adhering my roundabout and trimming off the side. Then I popped the panel up with foam tape. I die cut one of the Banner Trio dies and stamped my sentiment on it. I colored the outline letters again with the colors I used before and popped it up on the bottom of my card. For finishing touches, I added some glossy accents to various things like the sentiment banner, snowglobe, holly berries, etc.
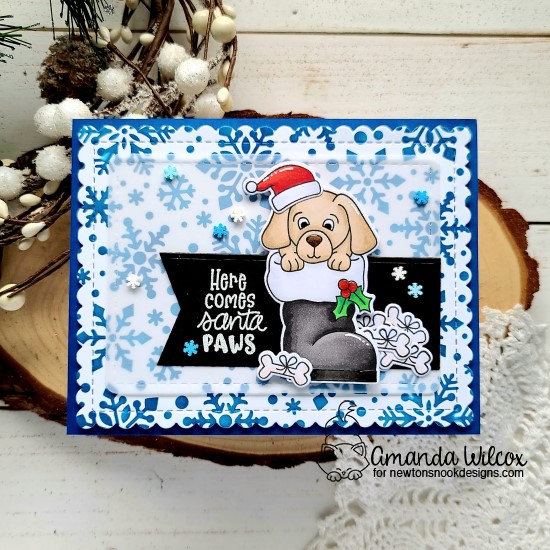
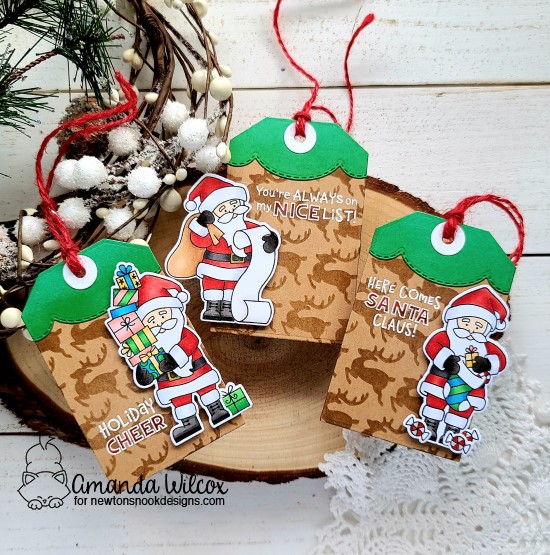
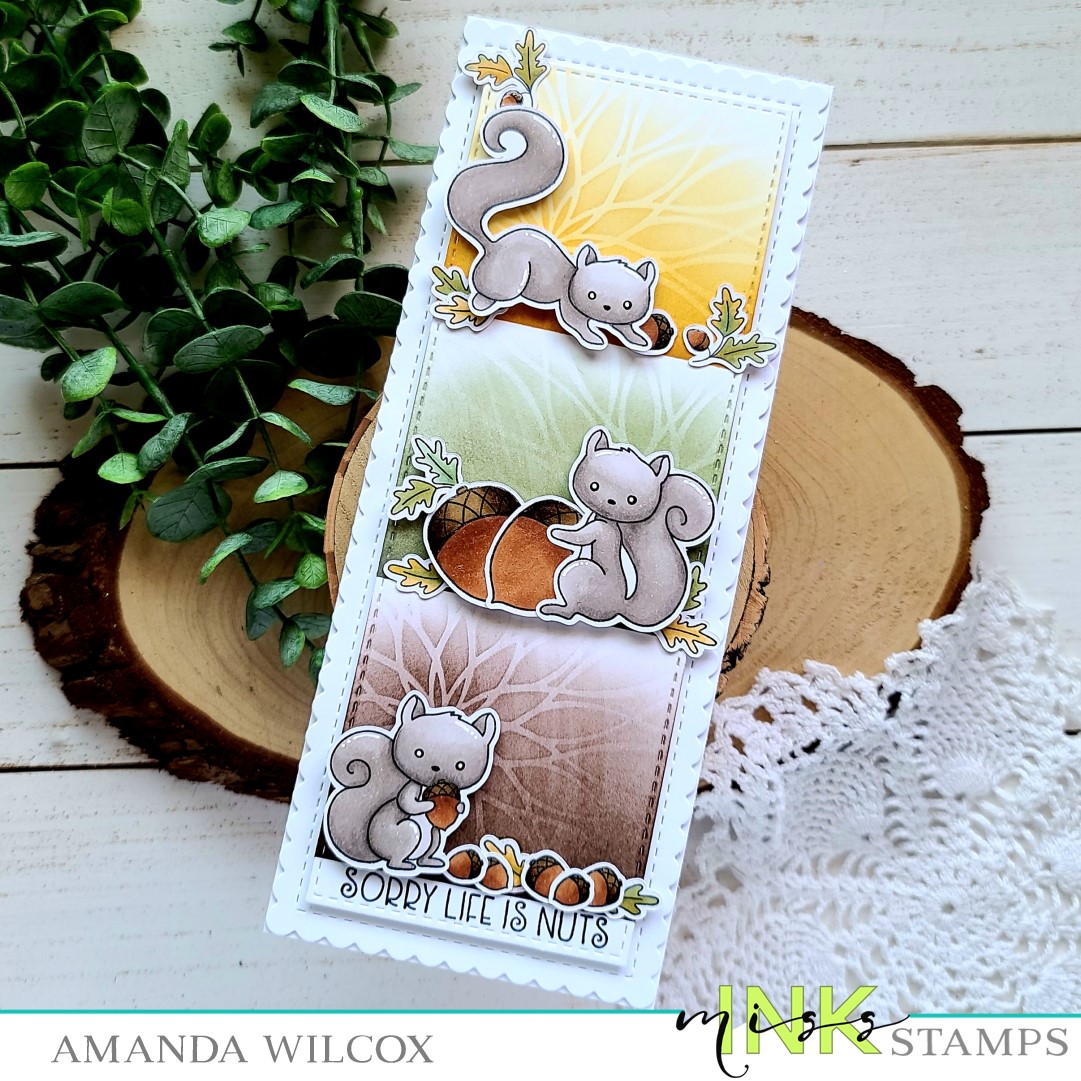
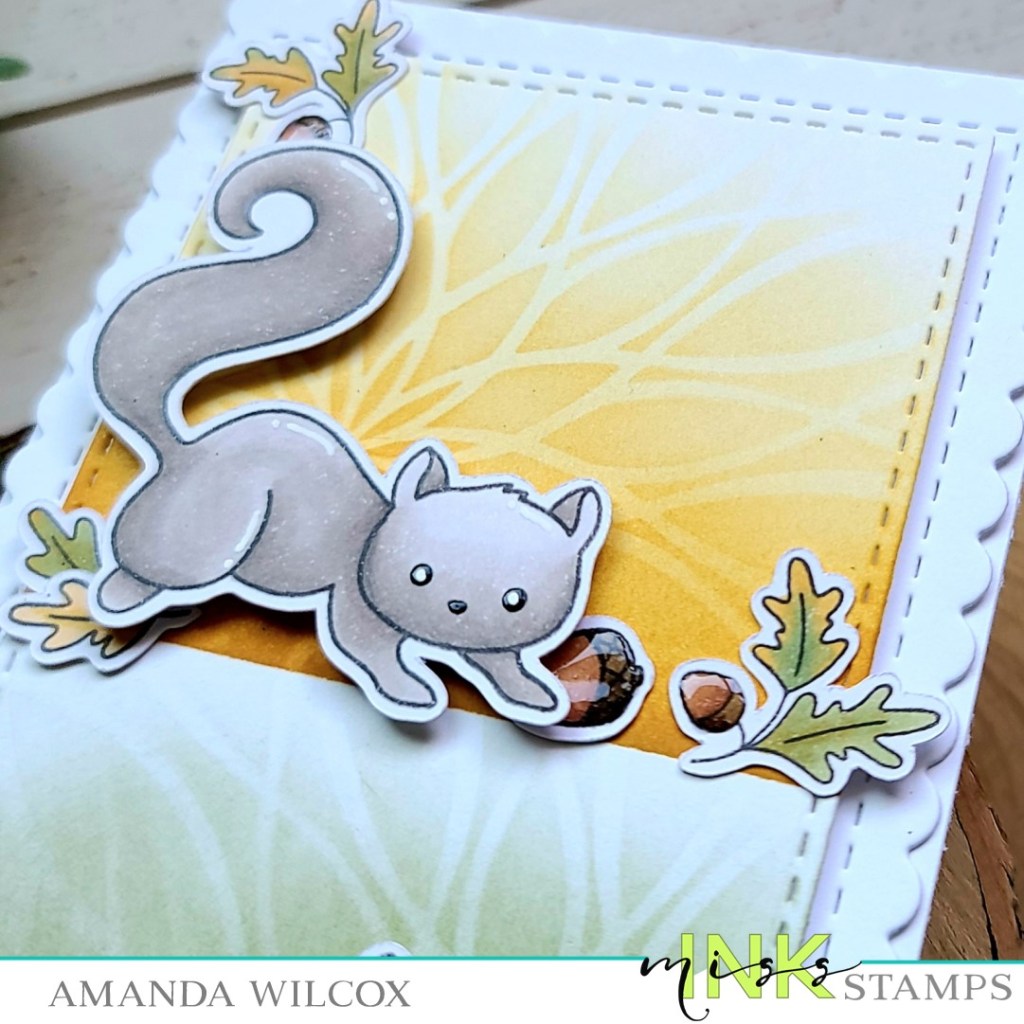
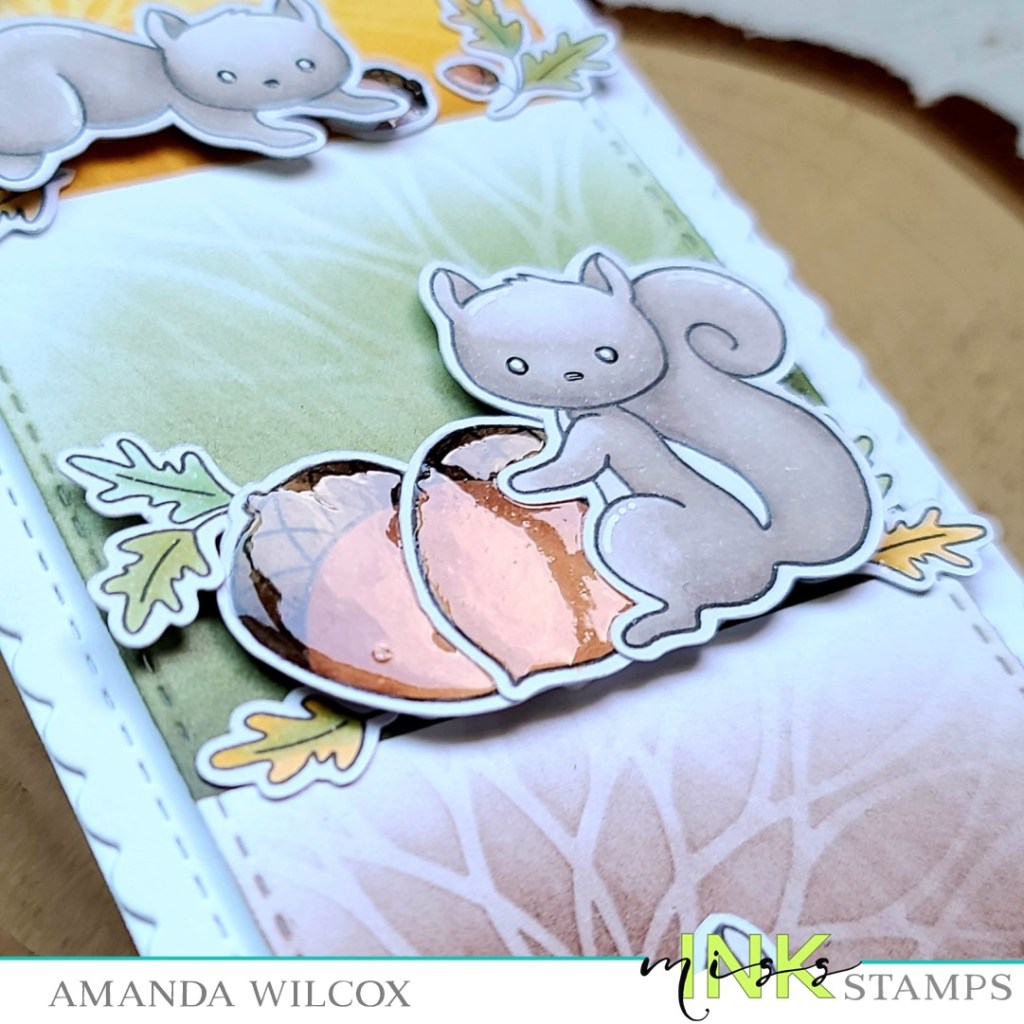
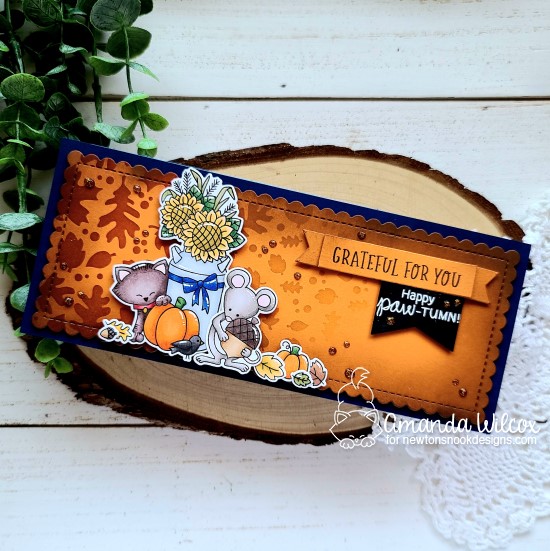
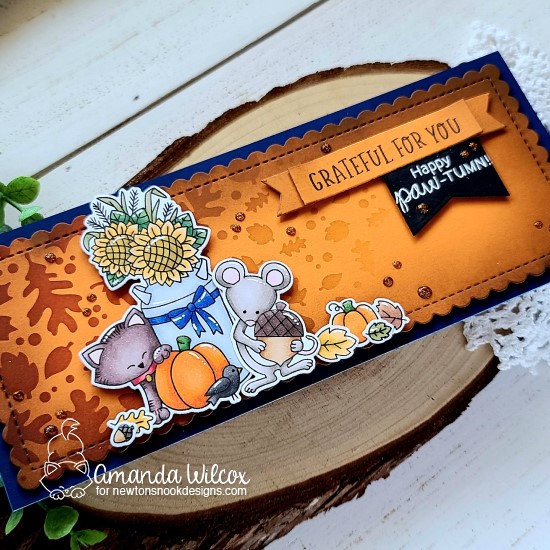
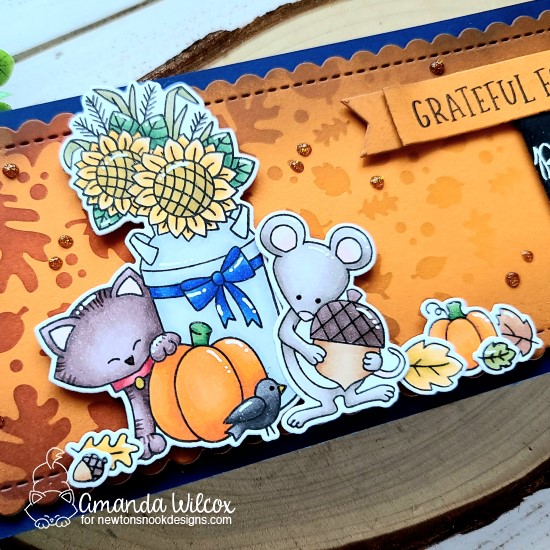
Now that I’ve shared some bright and happy, I’m going to switch gears to a more muted, vintage style for my final card share.
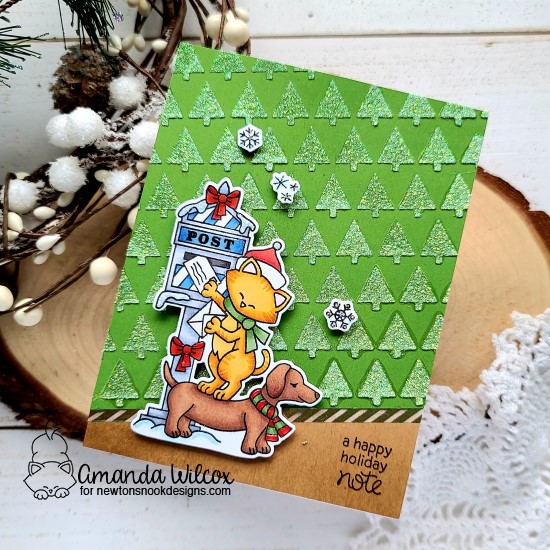
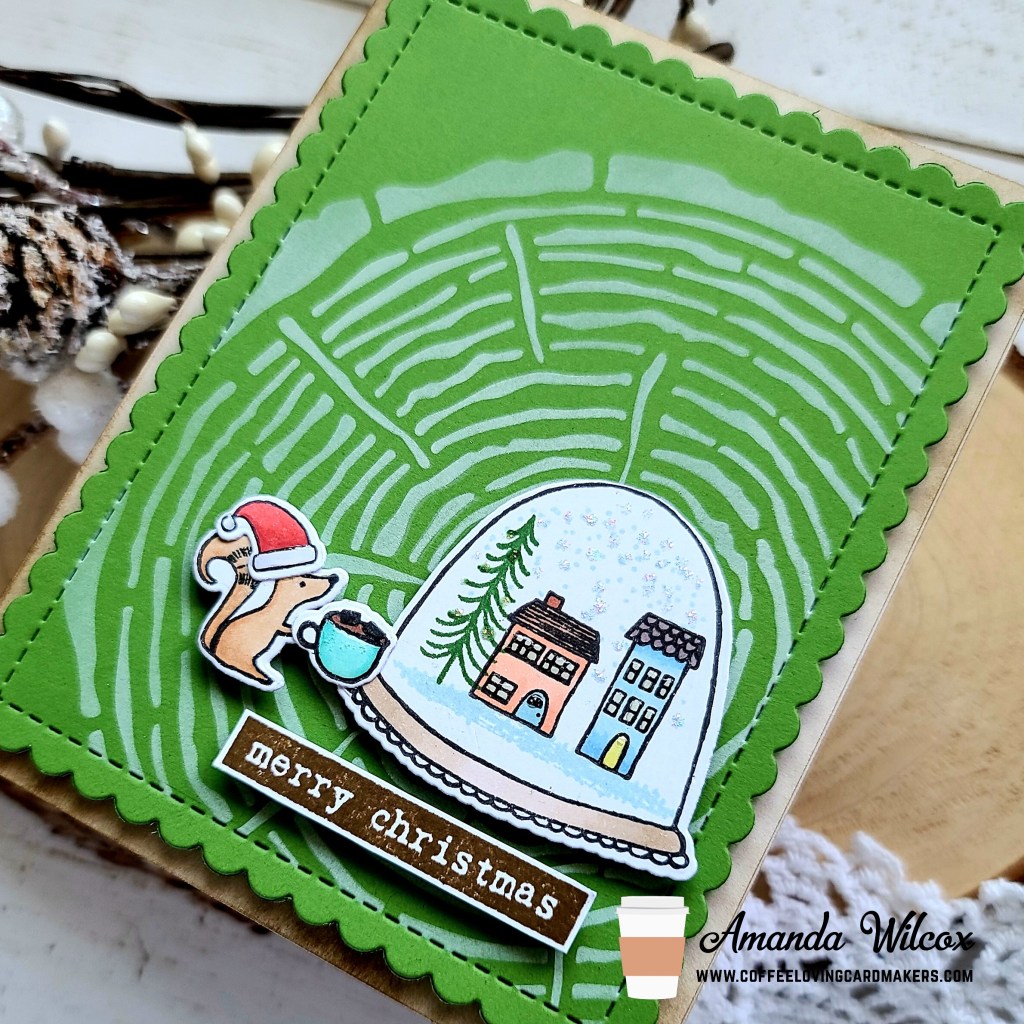
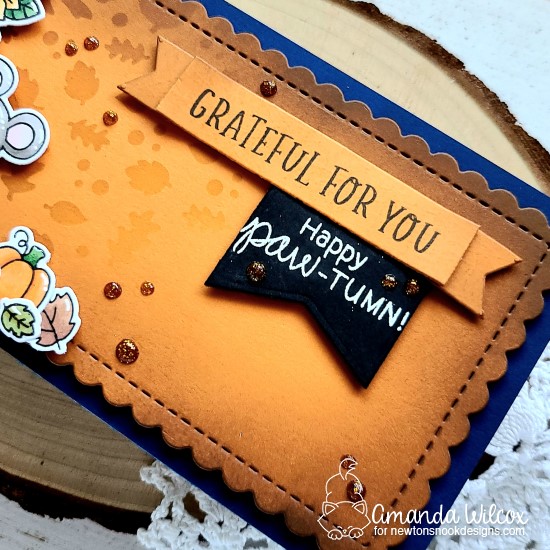
I colored my image with copics and used the coordinating dies to cut in out. Then I took a green panel and used glitter glitz gel with the tiny trees stencil at an angle. I trimmed it down and adhered it to a kraft card base. I added a stripe of gold washi tape as a border. I popped my images up with foam squares and used my MISTI to stamp my sentiment on the bottom right of the card. For finishing touches, I just added a little glossy accents to the pup’s scarf and mailbox bows. Then I added Stickles to the snow and snowflakes to tie it in with the glittery background.
Would you like to win the “Holiday Post” Stamp Set or the “Christmas Roundabout” Stamp Set?We will choose ONE lucky winner for each stamp set!
Here’s how to win: Comment on the NND blog and Design Team blogs (see list below)! Thewinner will be chosen at random from the collective reveal posts. Make sure to check out each of their blogs and comment for your chance to win. You will not know which blog has been chosen so the more you comment on the better your chances are of winning! You have until Thursday October 22nd at 9pm EST to comment — winners will be announced on the blog post on Friday, October 23rd.
Check out all the awesome Design Team Blogs below to enter:
Newton’s Nook Designs
Ellen Haxelmans
Larissa Heskett
Samantha Mann
Zsofia Molnar
Maria Russell
Andrea Shell
Tatiana Trafimovich
Amy Tsuruta
Amanda Wilcox